I say this everytime, but I think this kitchen refresh for under $500 really is my favorite project of all time. 
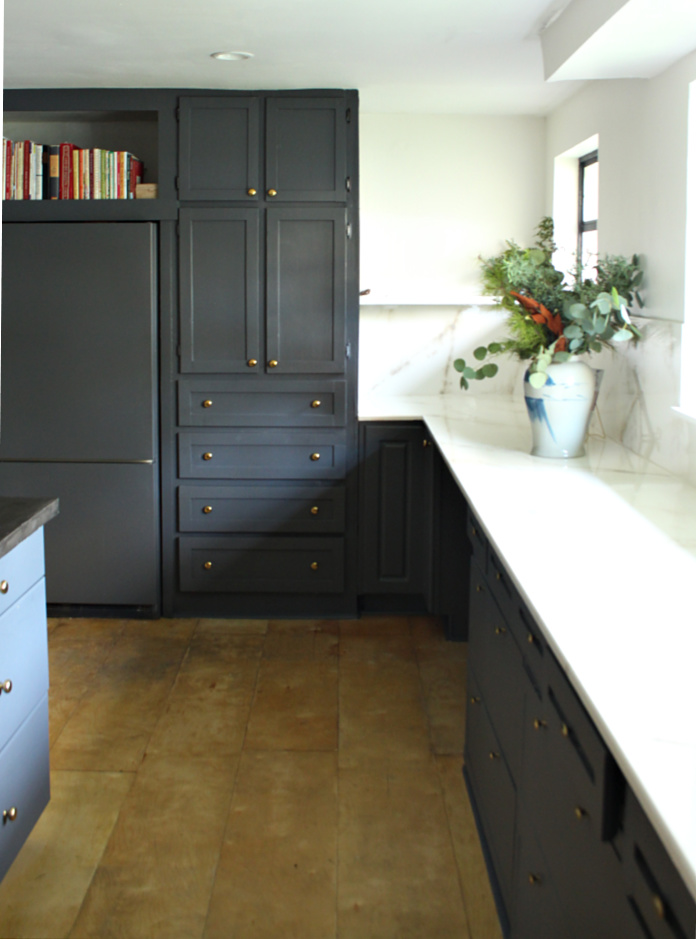
This kitchen refresh seed was planted when I saw the videos on youtube about epoxy countertops. I was flabbergasted by the low cost and the amazing results. So I plotted my plan for years, yes years. When you have no budget for unnecessary renovations it takes a long time to pull the trigger. I watched Mikes(stonecoat countertops) videos over and over learning everything I needed to know before jumping in. Finding a local epoxy supplier who sold me the epoxy for a fraction of what I would’ve paid online, finally pushed me over the edge. …
Search Results for: roman shade
Foyer and Hallway renovation…Fall 2018 One Room Challenge
Game on…my foyer and hallway renovation for the One Room Challenge (with media partner Better Homes & Gardens) is underway and I’m pretty excited.
The Fall One Room Challenge started yesterday. For anyone unfamiliar with the ORC, it’s a bi-annual event where 20 bloggers and designers transform a room in a matter of six weeks and report their progress online every Wednesday.
In addition to the 20 “featured” designers/bloggers, any blogger can participate as a guest, and link up to the ORC every Thursday. And that’s where I come in…
…
my black and white bathroom makeover
This black and white bathroom makeover is my first big project of 2017. I have a new perspective on DIY this year…just do it. Which is my nature. However, for some reason in the recent past, I bought into the notion that I shouldn’t start a project or renovation until I had all the materials and/or all the money to completely finish the job. Probably because I have a lot of unfinished projects, and some times I let it get me down. But…the bottom line is that these unfinished projects are STILL FAR BETTER than their former untouched state.
This bathroom for instance…
Even though this bathroom has a long way to go, and there are elements I would do differently with more time and money(brass light fixture and faucet, marble top for the vanity), I really love it so far.
I still need to …
- make a roman shade for the window.
- figure out how I want to hang towels.
- possibly ombre dye the shower curtain(from the bottom up).
- I’d like to move the plant from the back of the toilet to a sweet plant stand between the toilet and shower.
- possibly hang wallpaper above the tongue and groove pine wainscoting.
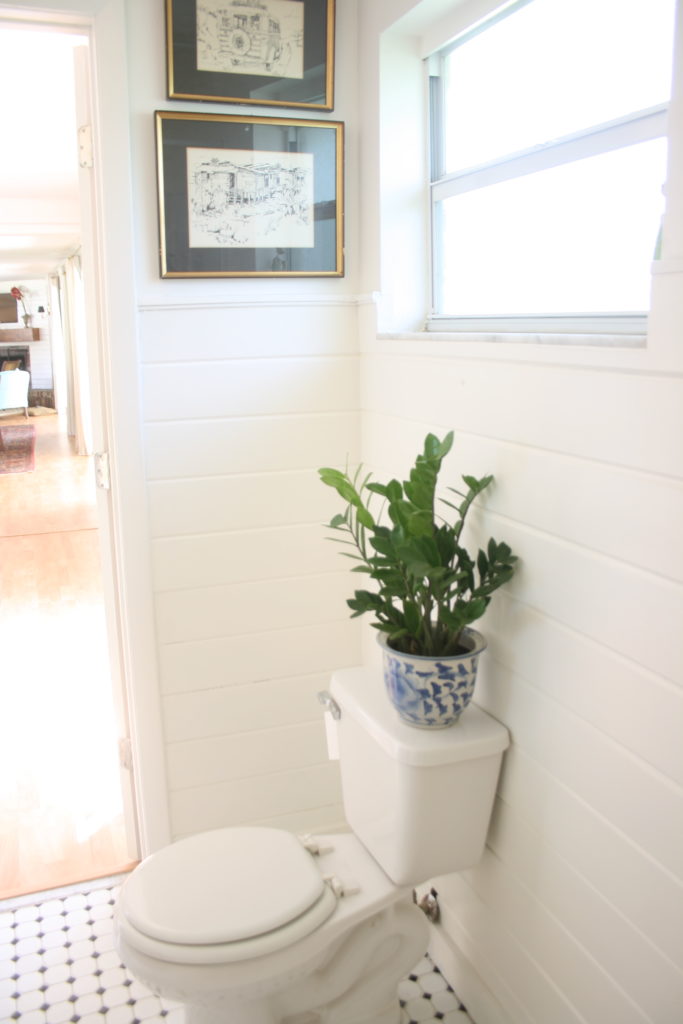
a few before and afters…
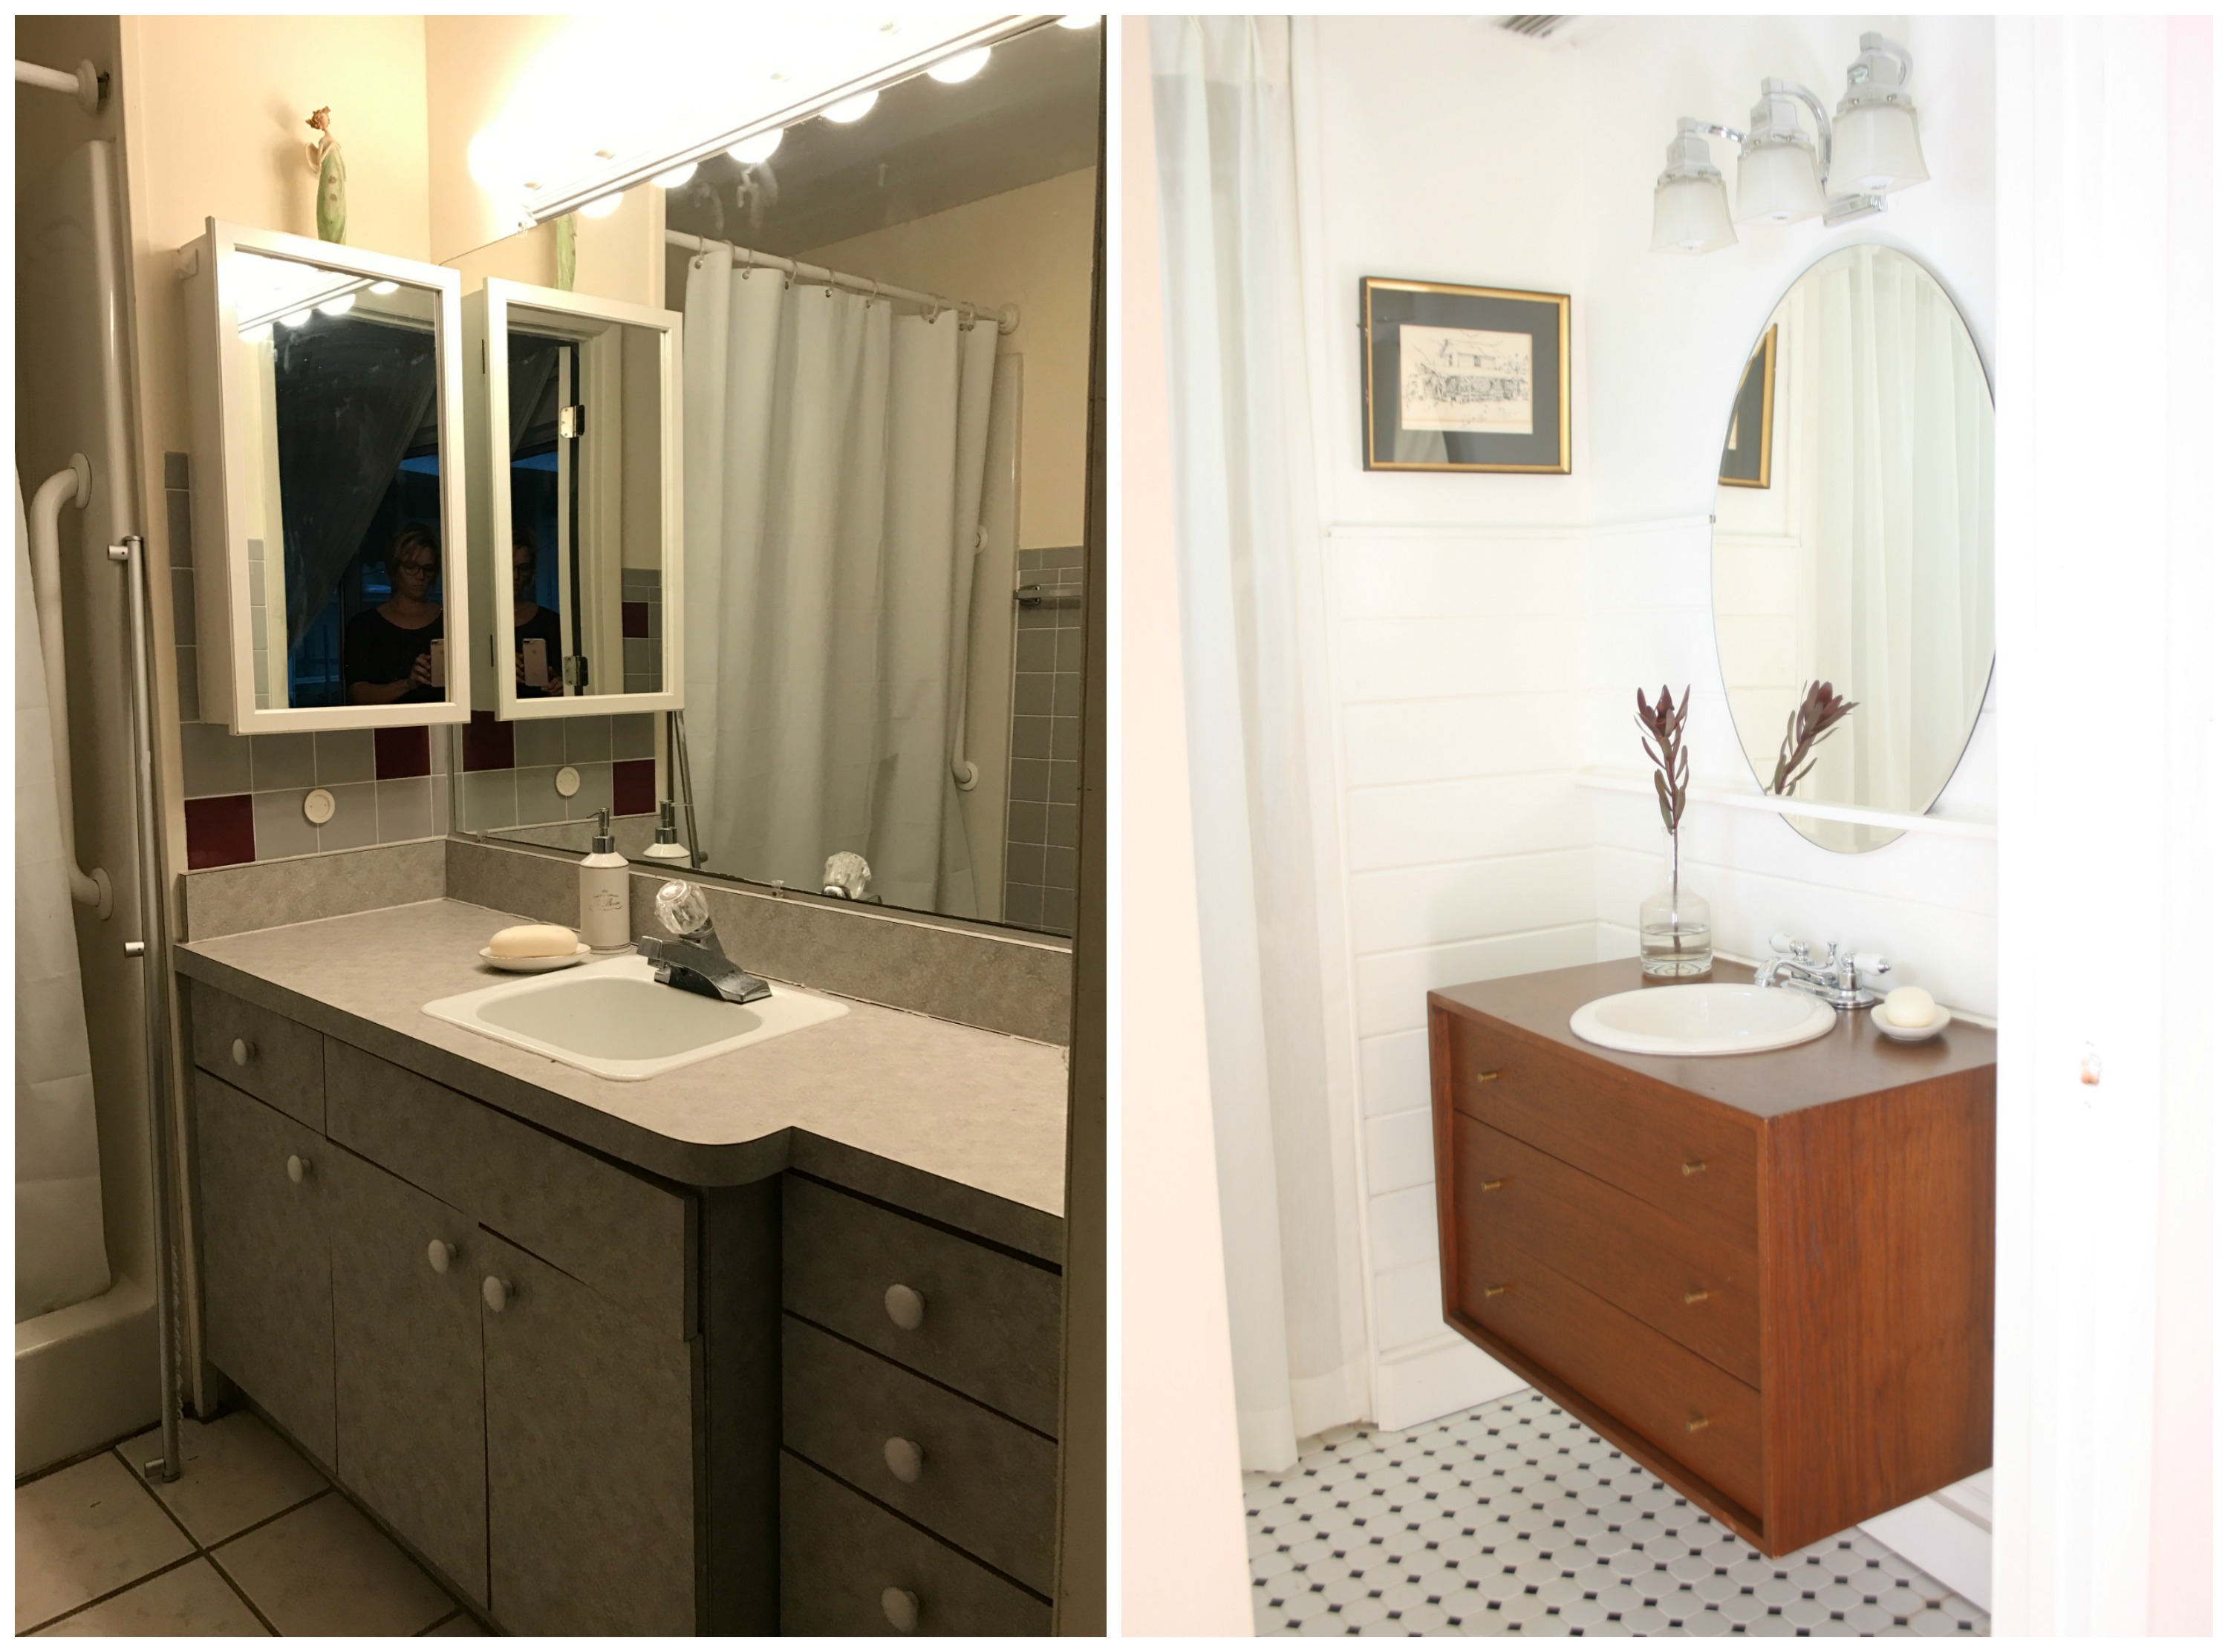
A huge improvement right? Looking back at these pictures I can’t believe I lived with it so long.
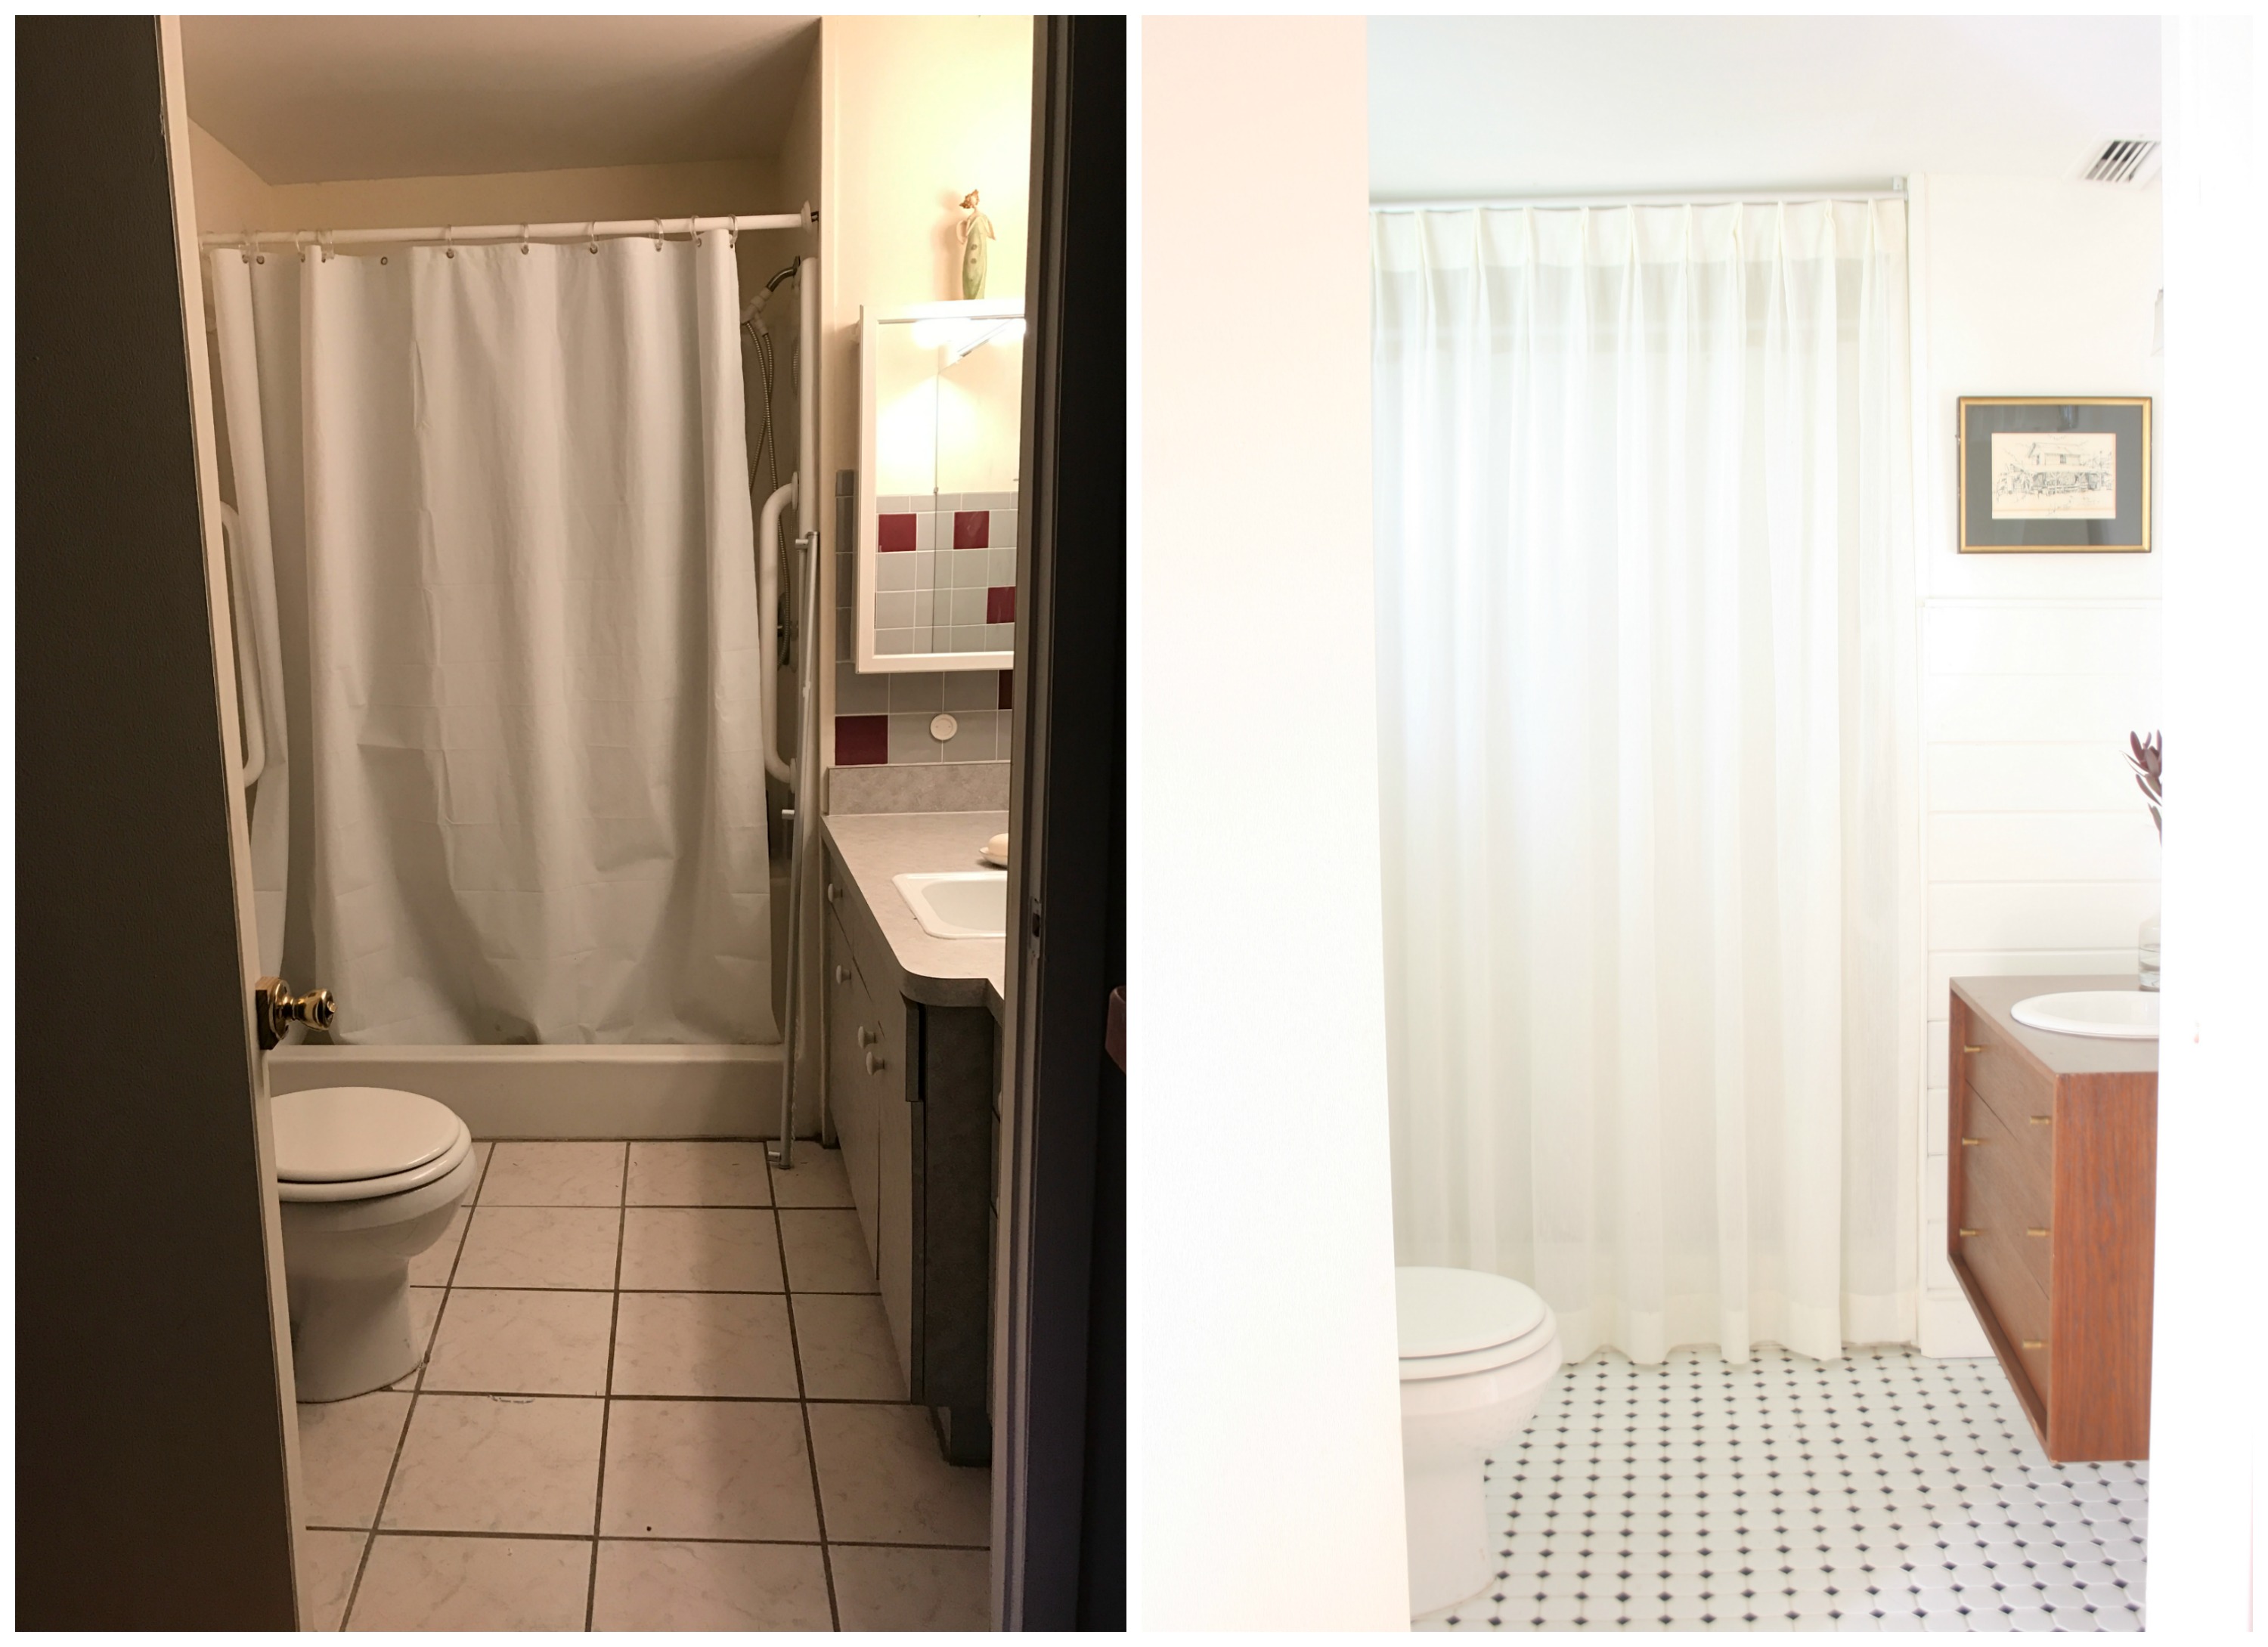
Ouch!
The befores are hard to look at right?
Check out this post on the breakdown of how I made this renovation happen for less than $200.
master bedroom progress
I’m out of the weeds y’all! I’ve been so busy with client work that I’ve had zero time for anything around here. At the first of this year I intended to really get busy and finish some projects and start a few new ones, but that was all sabotaged by constant sewing work. I’m not complaining though, 😉
Last year I installed my closet cabinets and made a headboard for my bed. (closet post here and headboard post here) I put the headboard in the room just after the first of the year and that’s about it. I bought fabric for a roman shade and a duvet cover but it sat on the shelf since then.
So, I actually had to close my workroom for the month of July so I could clear my client list and have a couple weeks to do a few projects around here. Client work begins again in August and then my sewing machine is on fire until Christmas. 
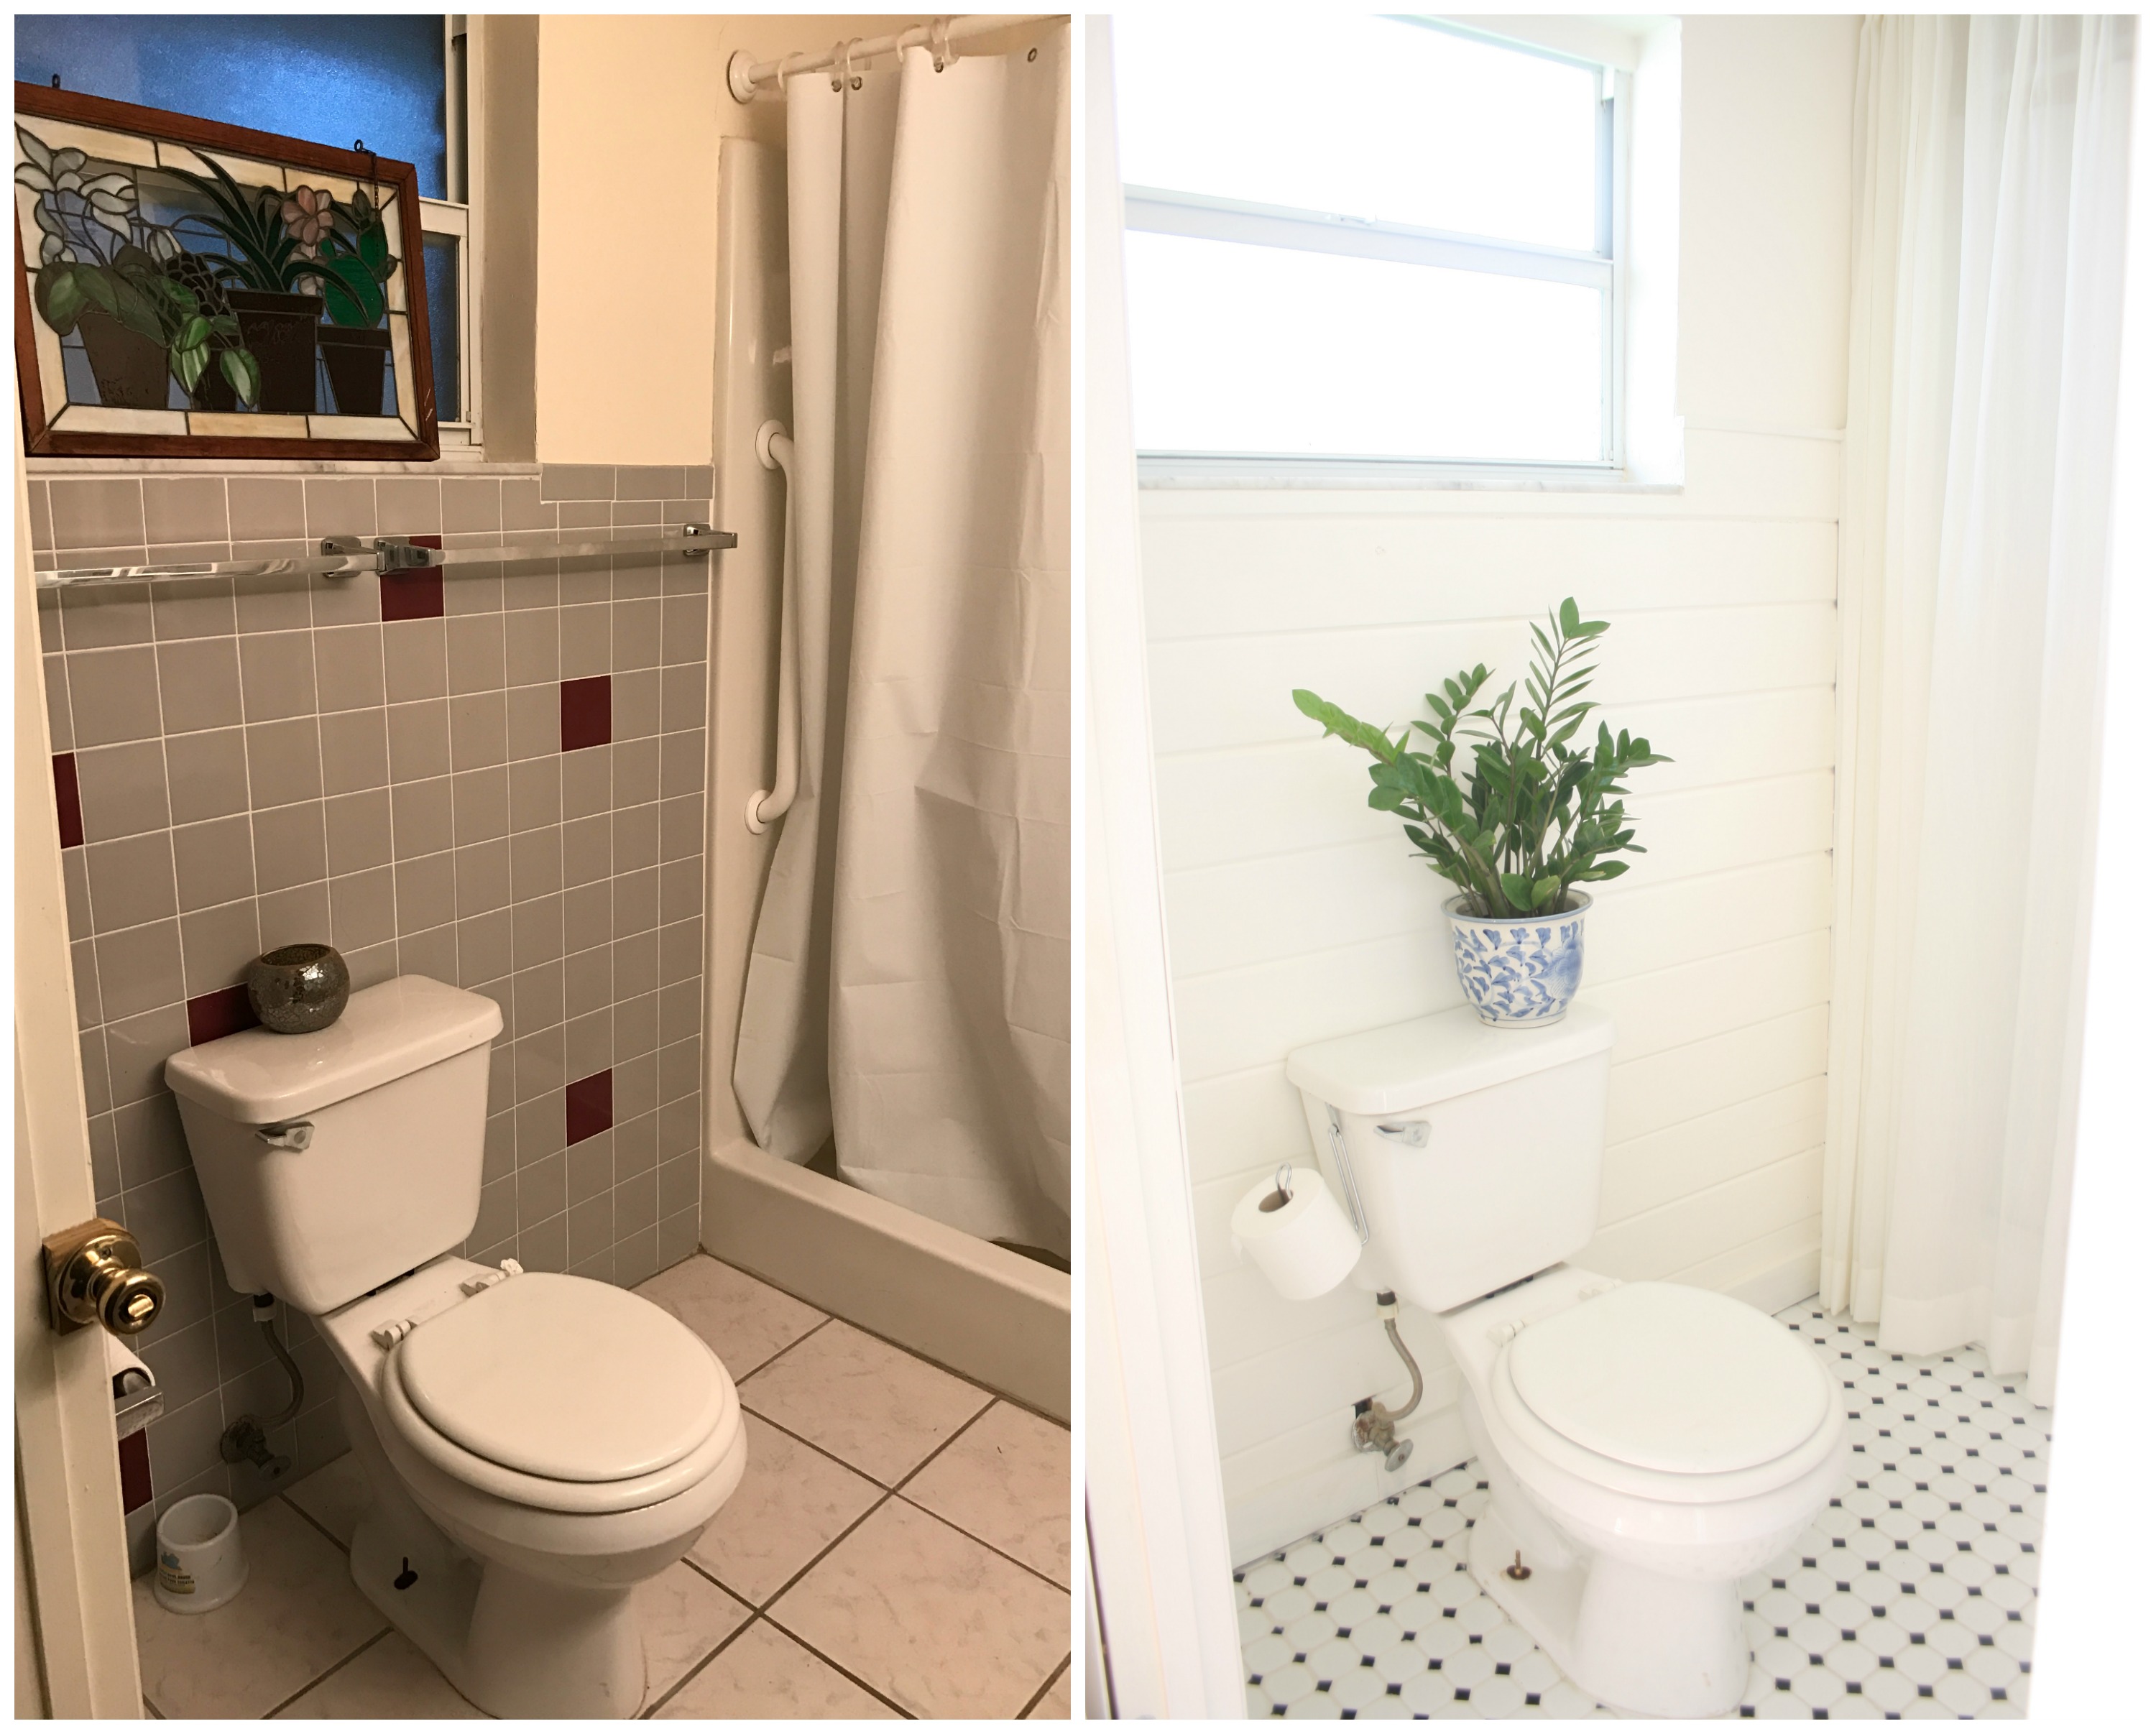
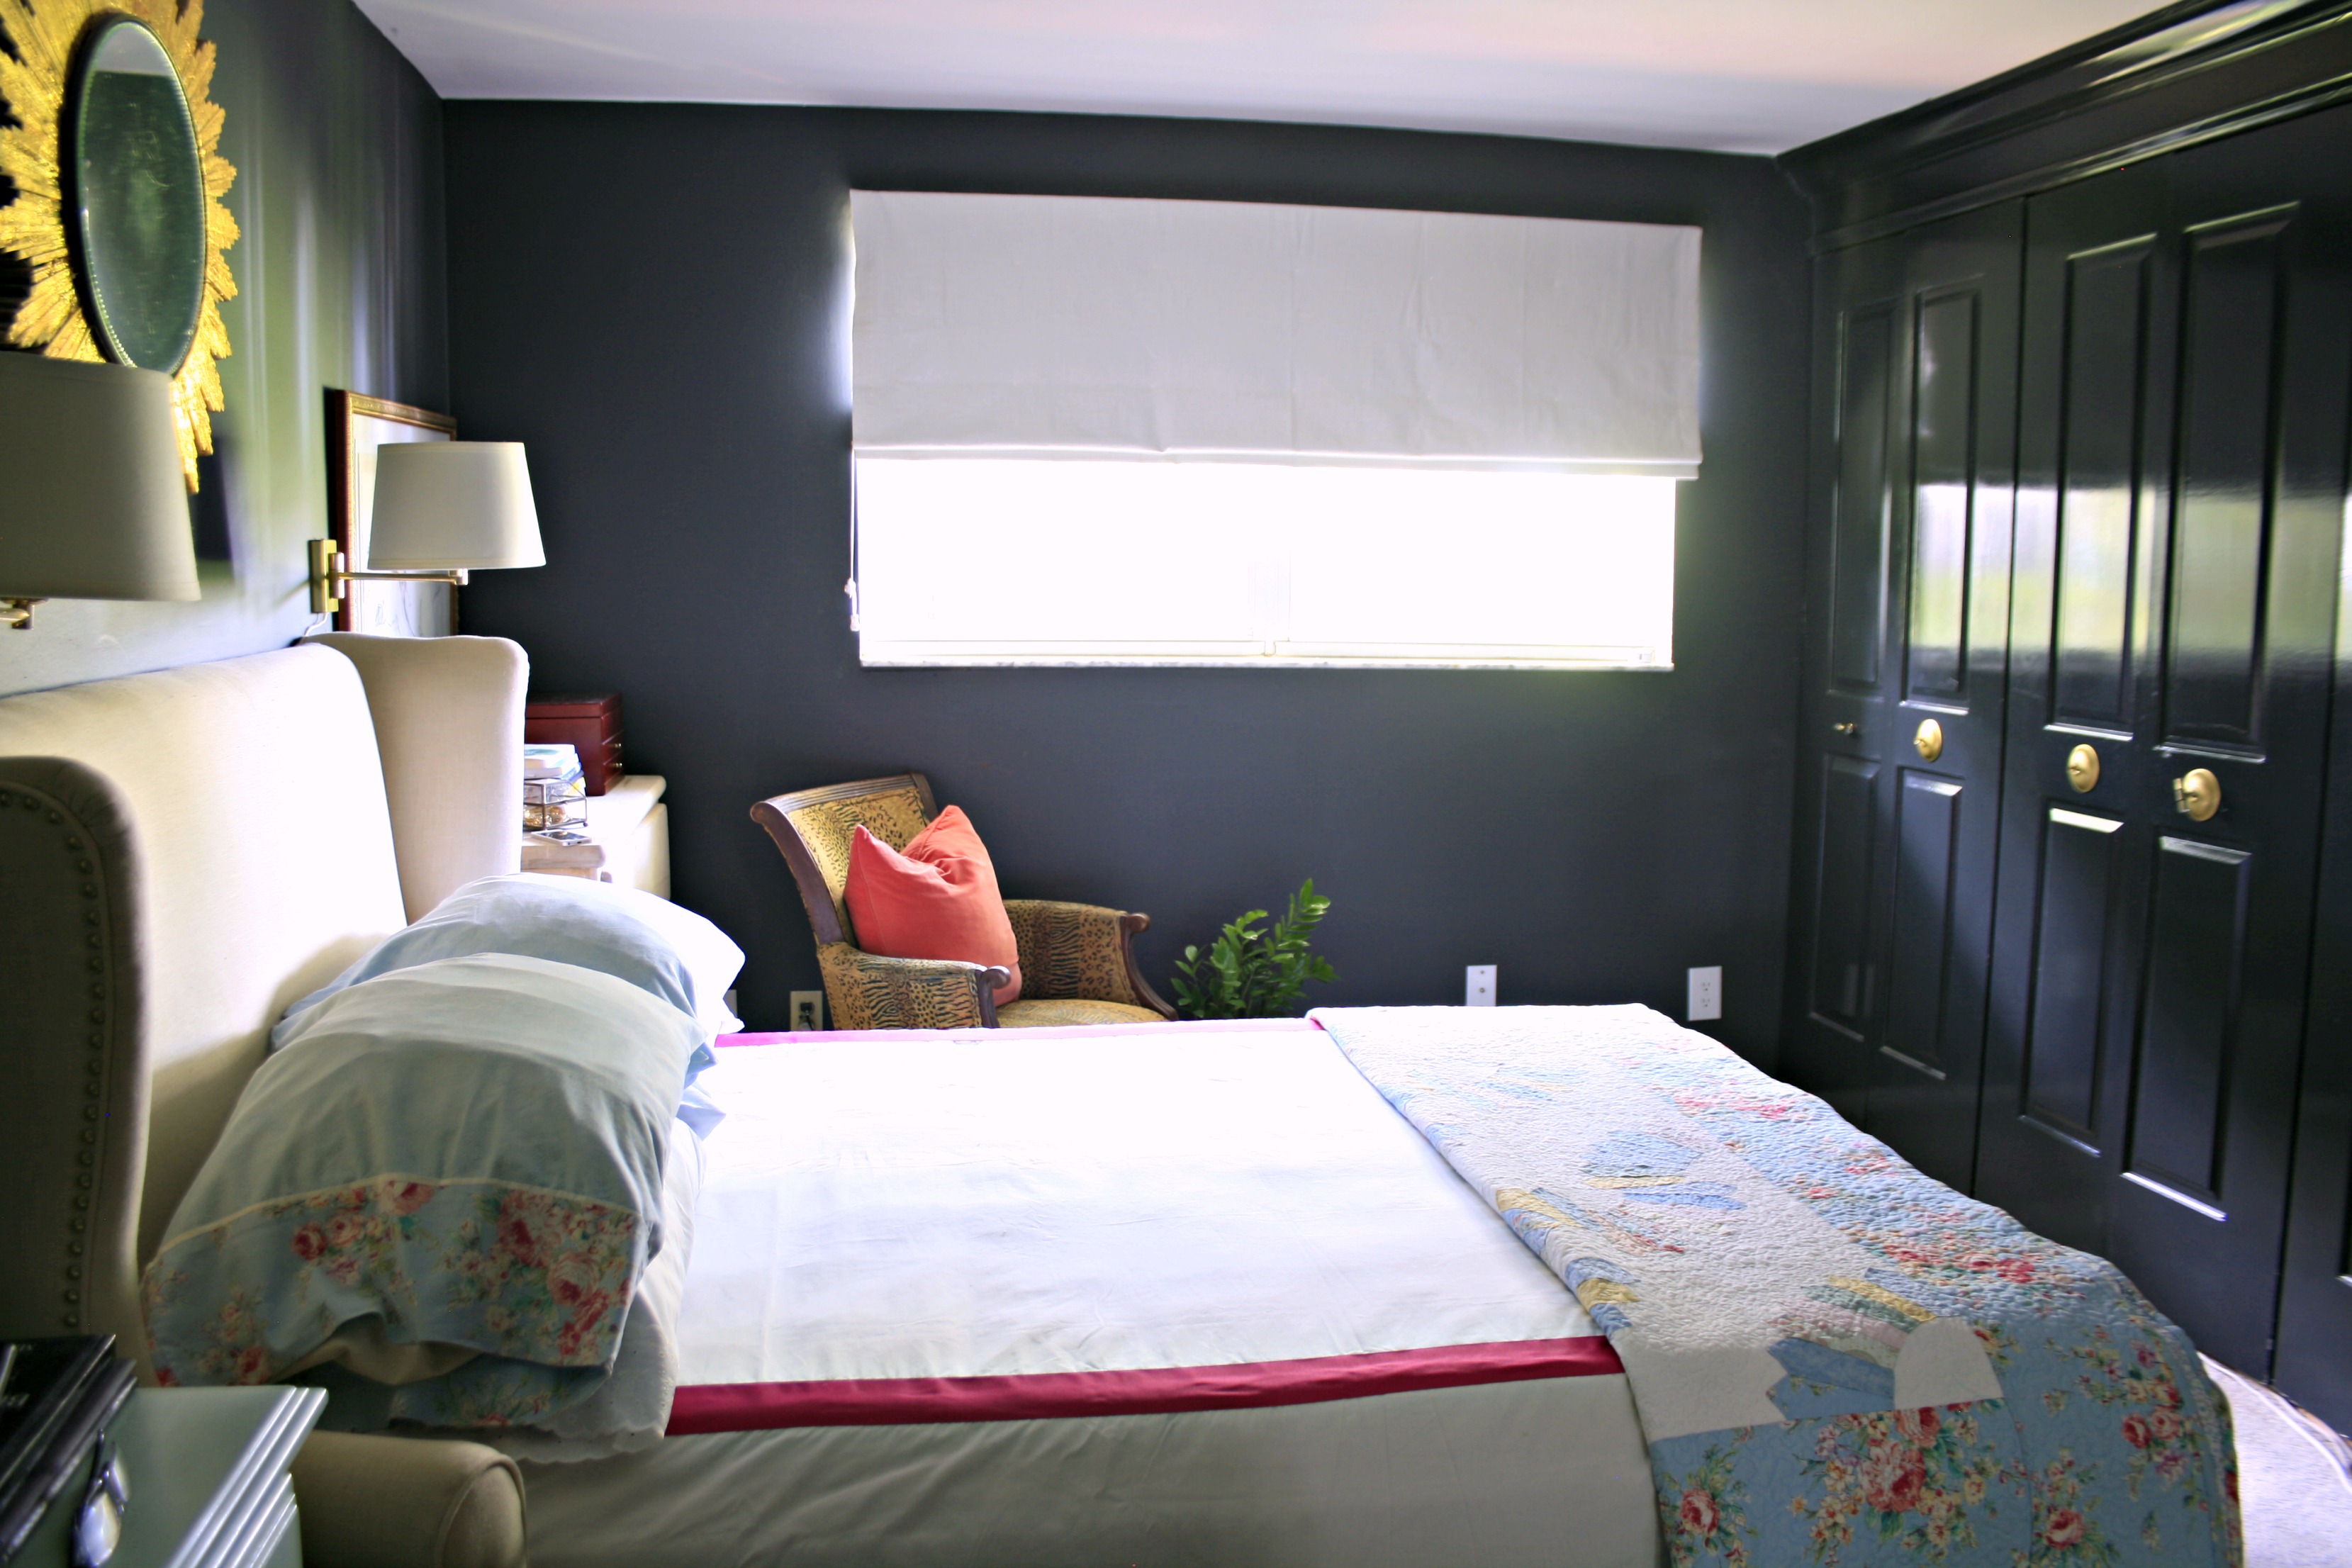
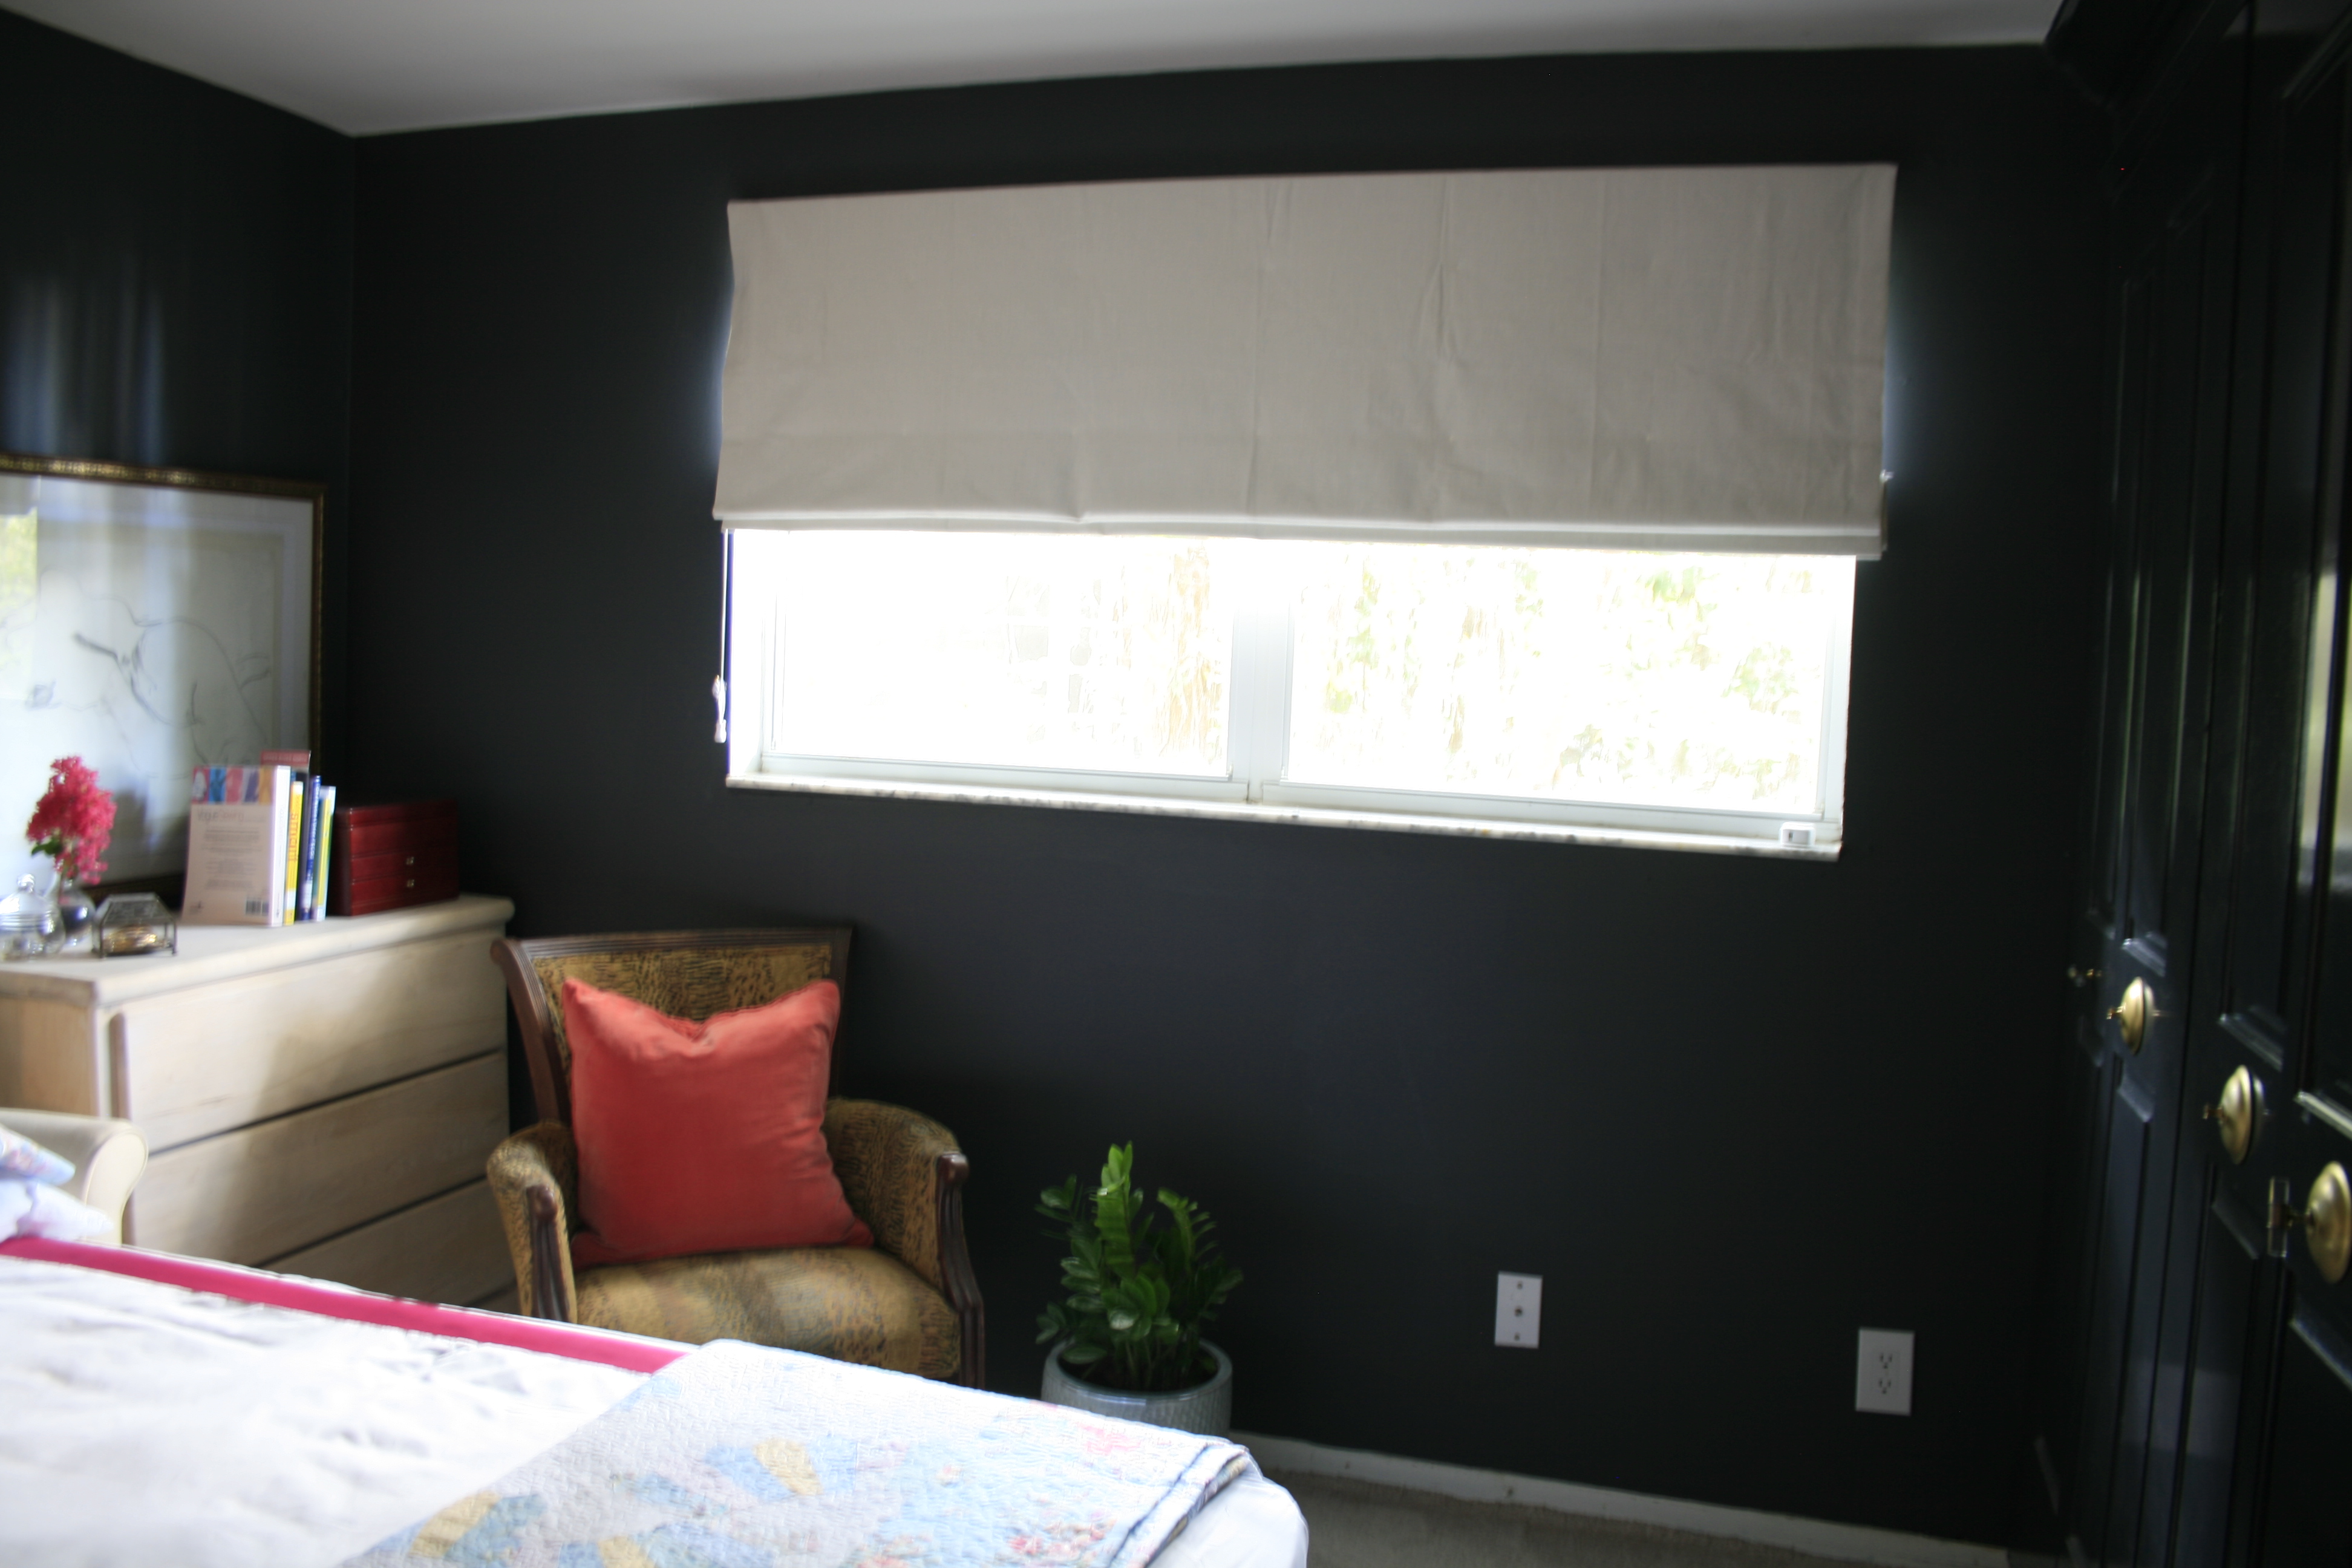
I made the roman shade the other day and wish I had thought it through a little more and made it come all the way to the ceiling, I’ll just have to put a valance(pelmut box) over the top and possibly add trim similar to the picture below. It’s pretty boring now but still waaaay better than the blinds I had previously. Plus, I used blackout lining, so they make my room super duper dark, which we love!
My mother in law made this lovely quilt for my bed along with the matching pillow cases. I love it so much! I think it’ll be an heirloom.
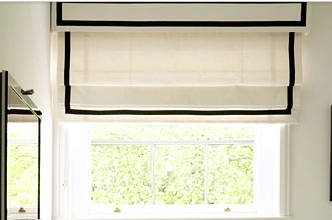
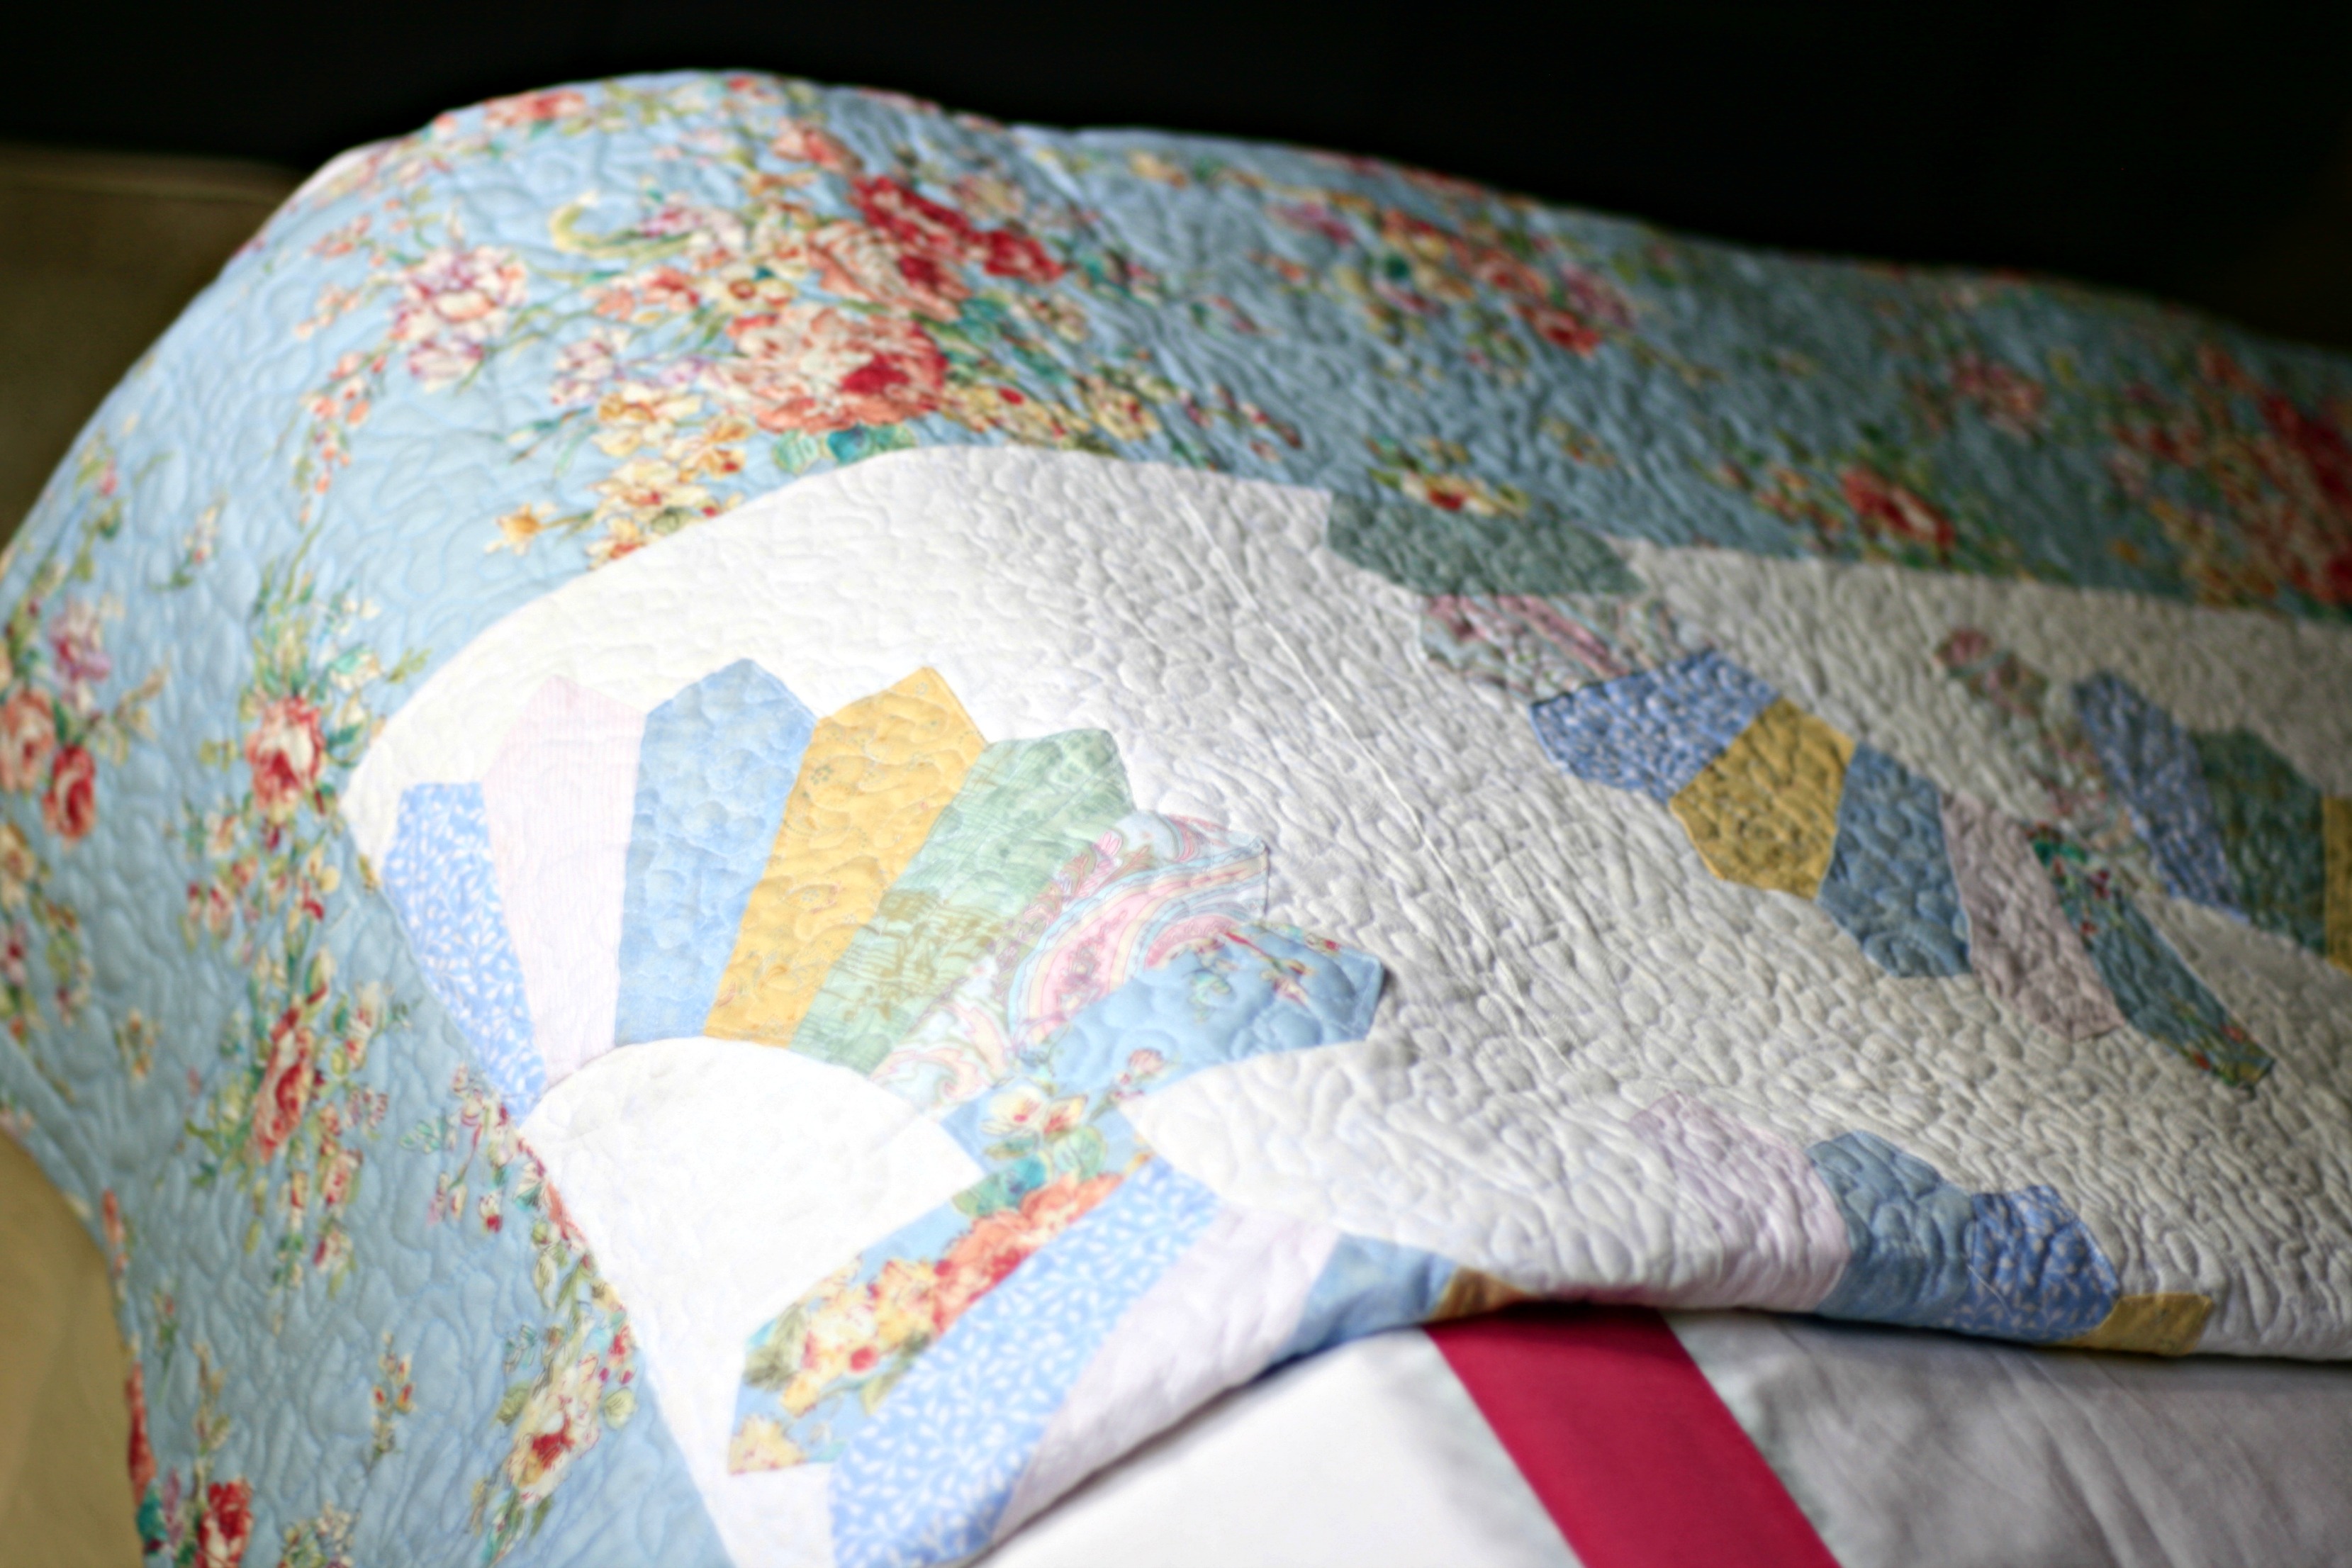
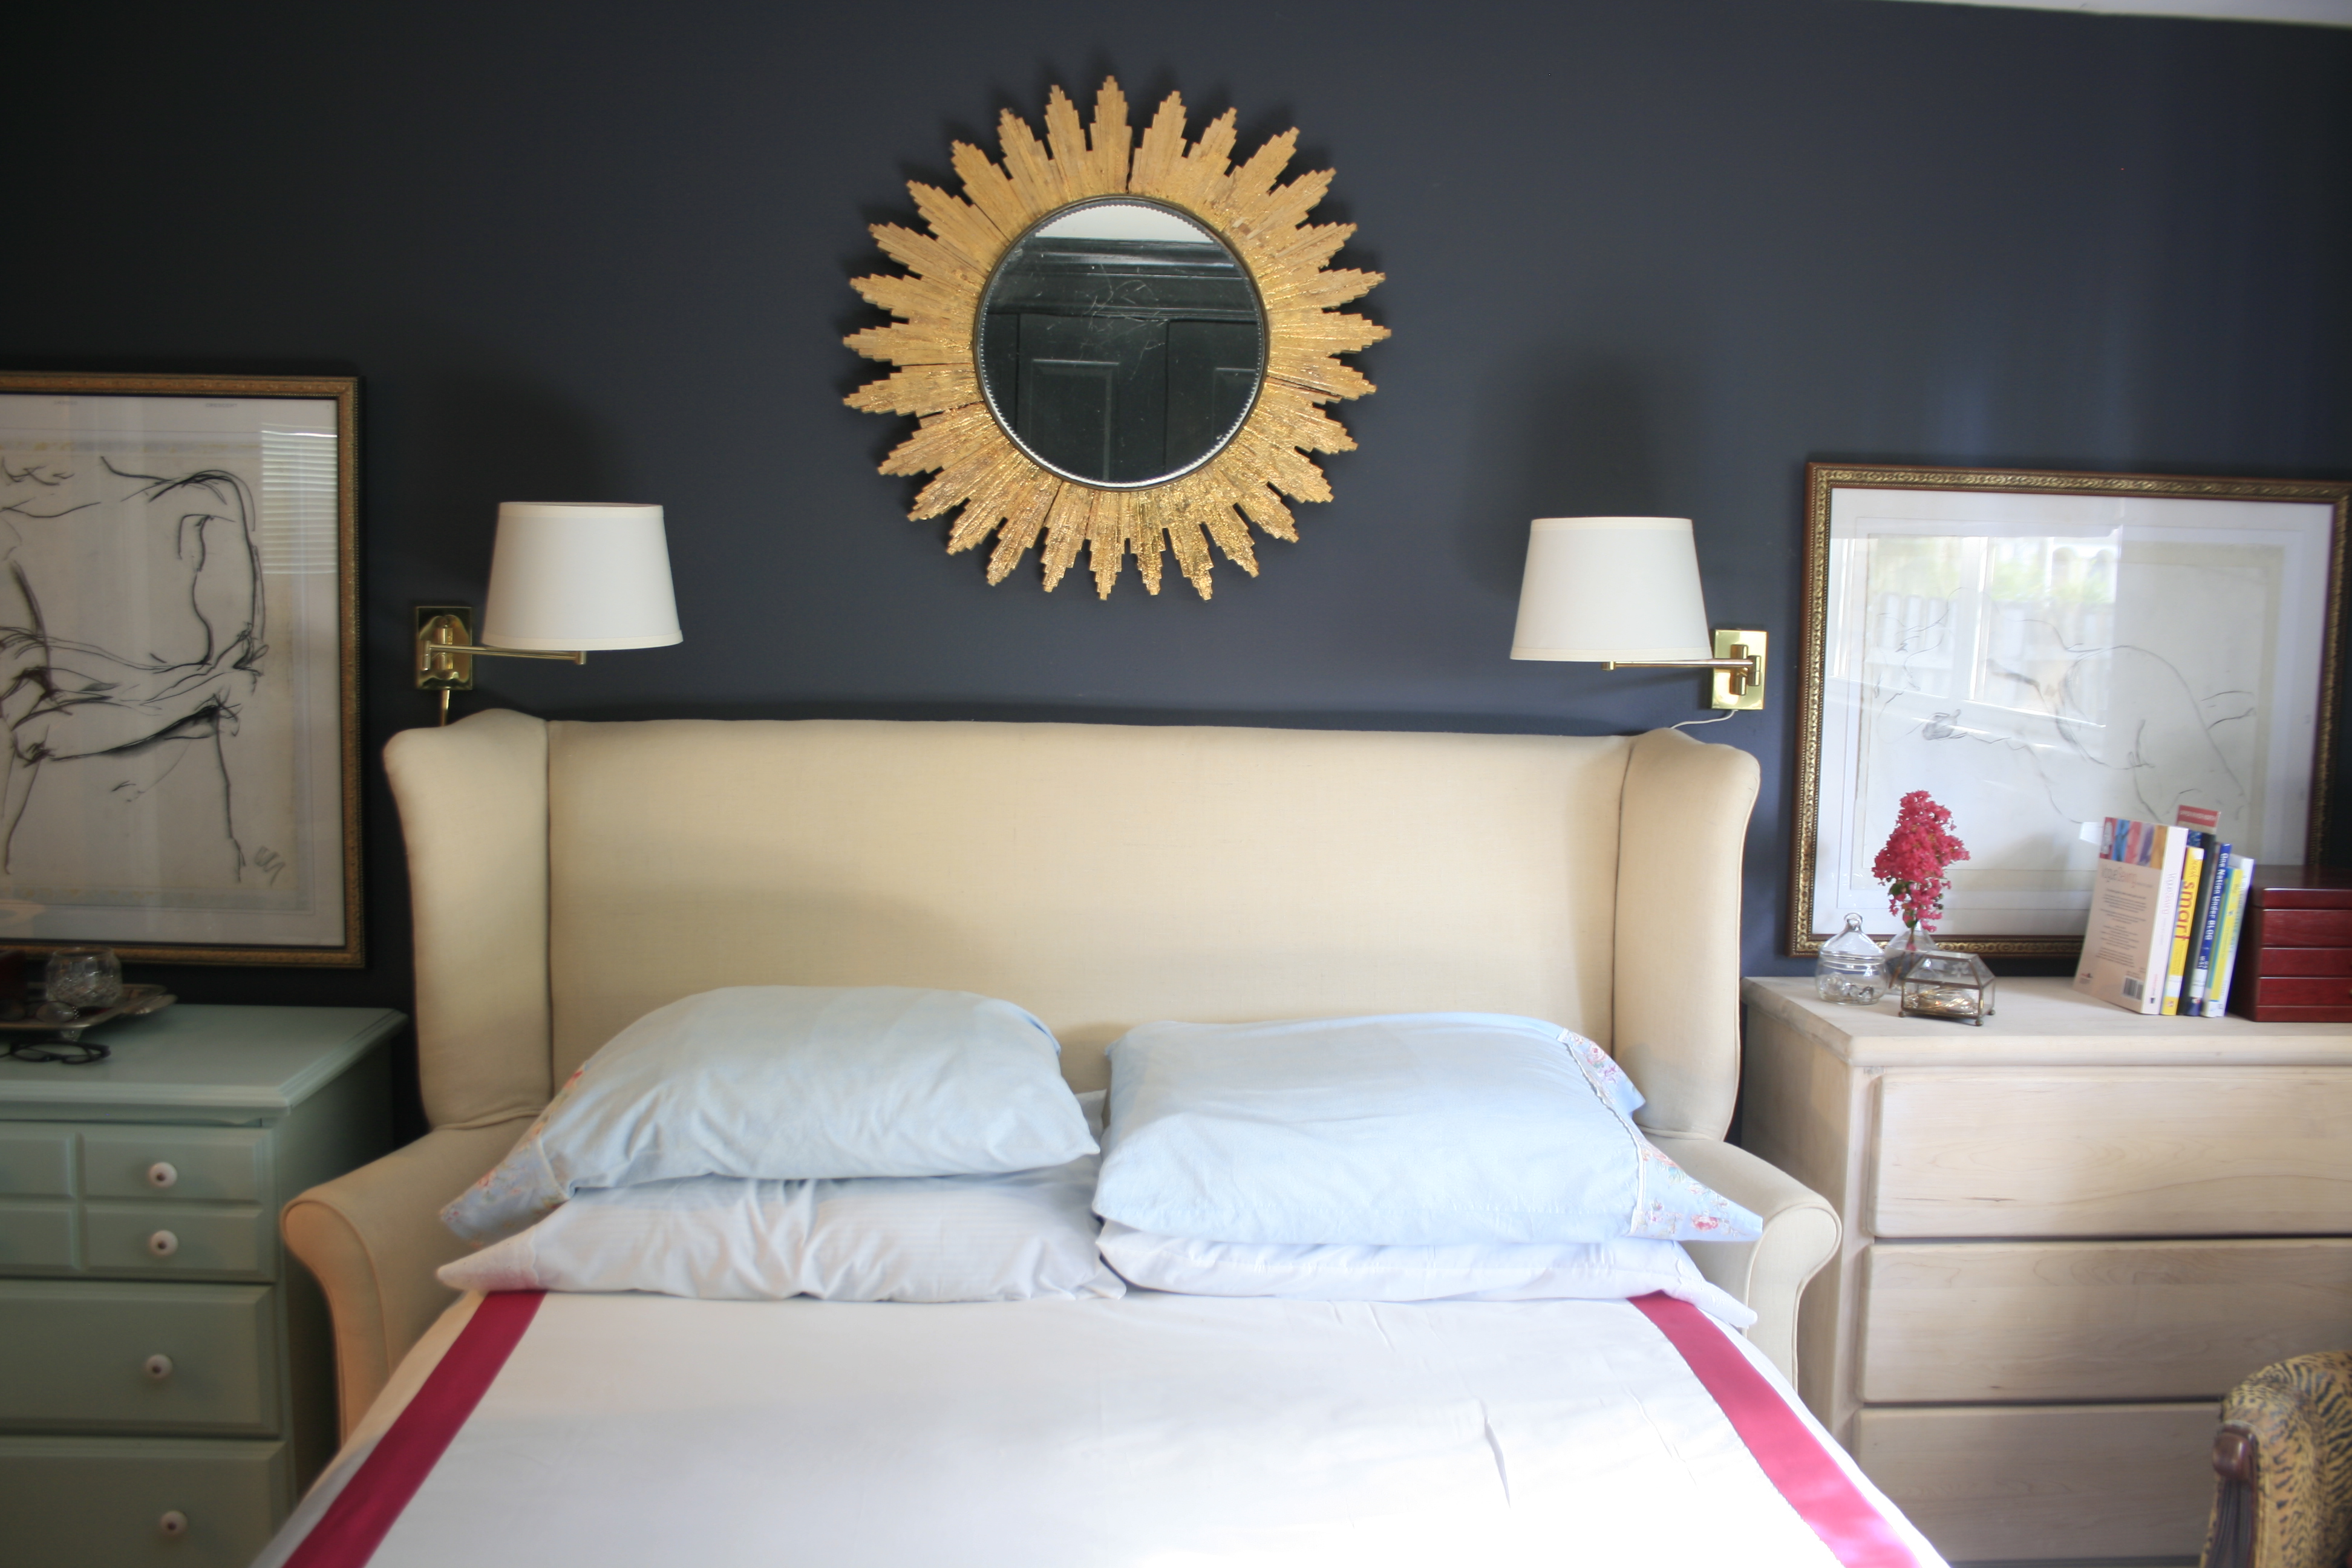
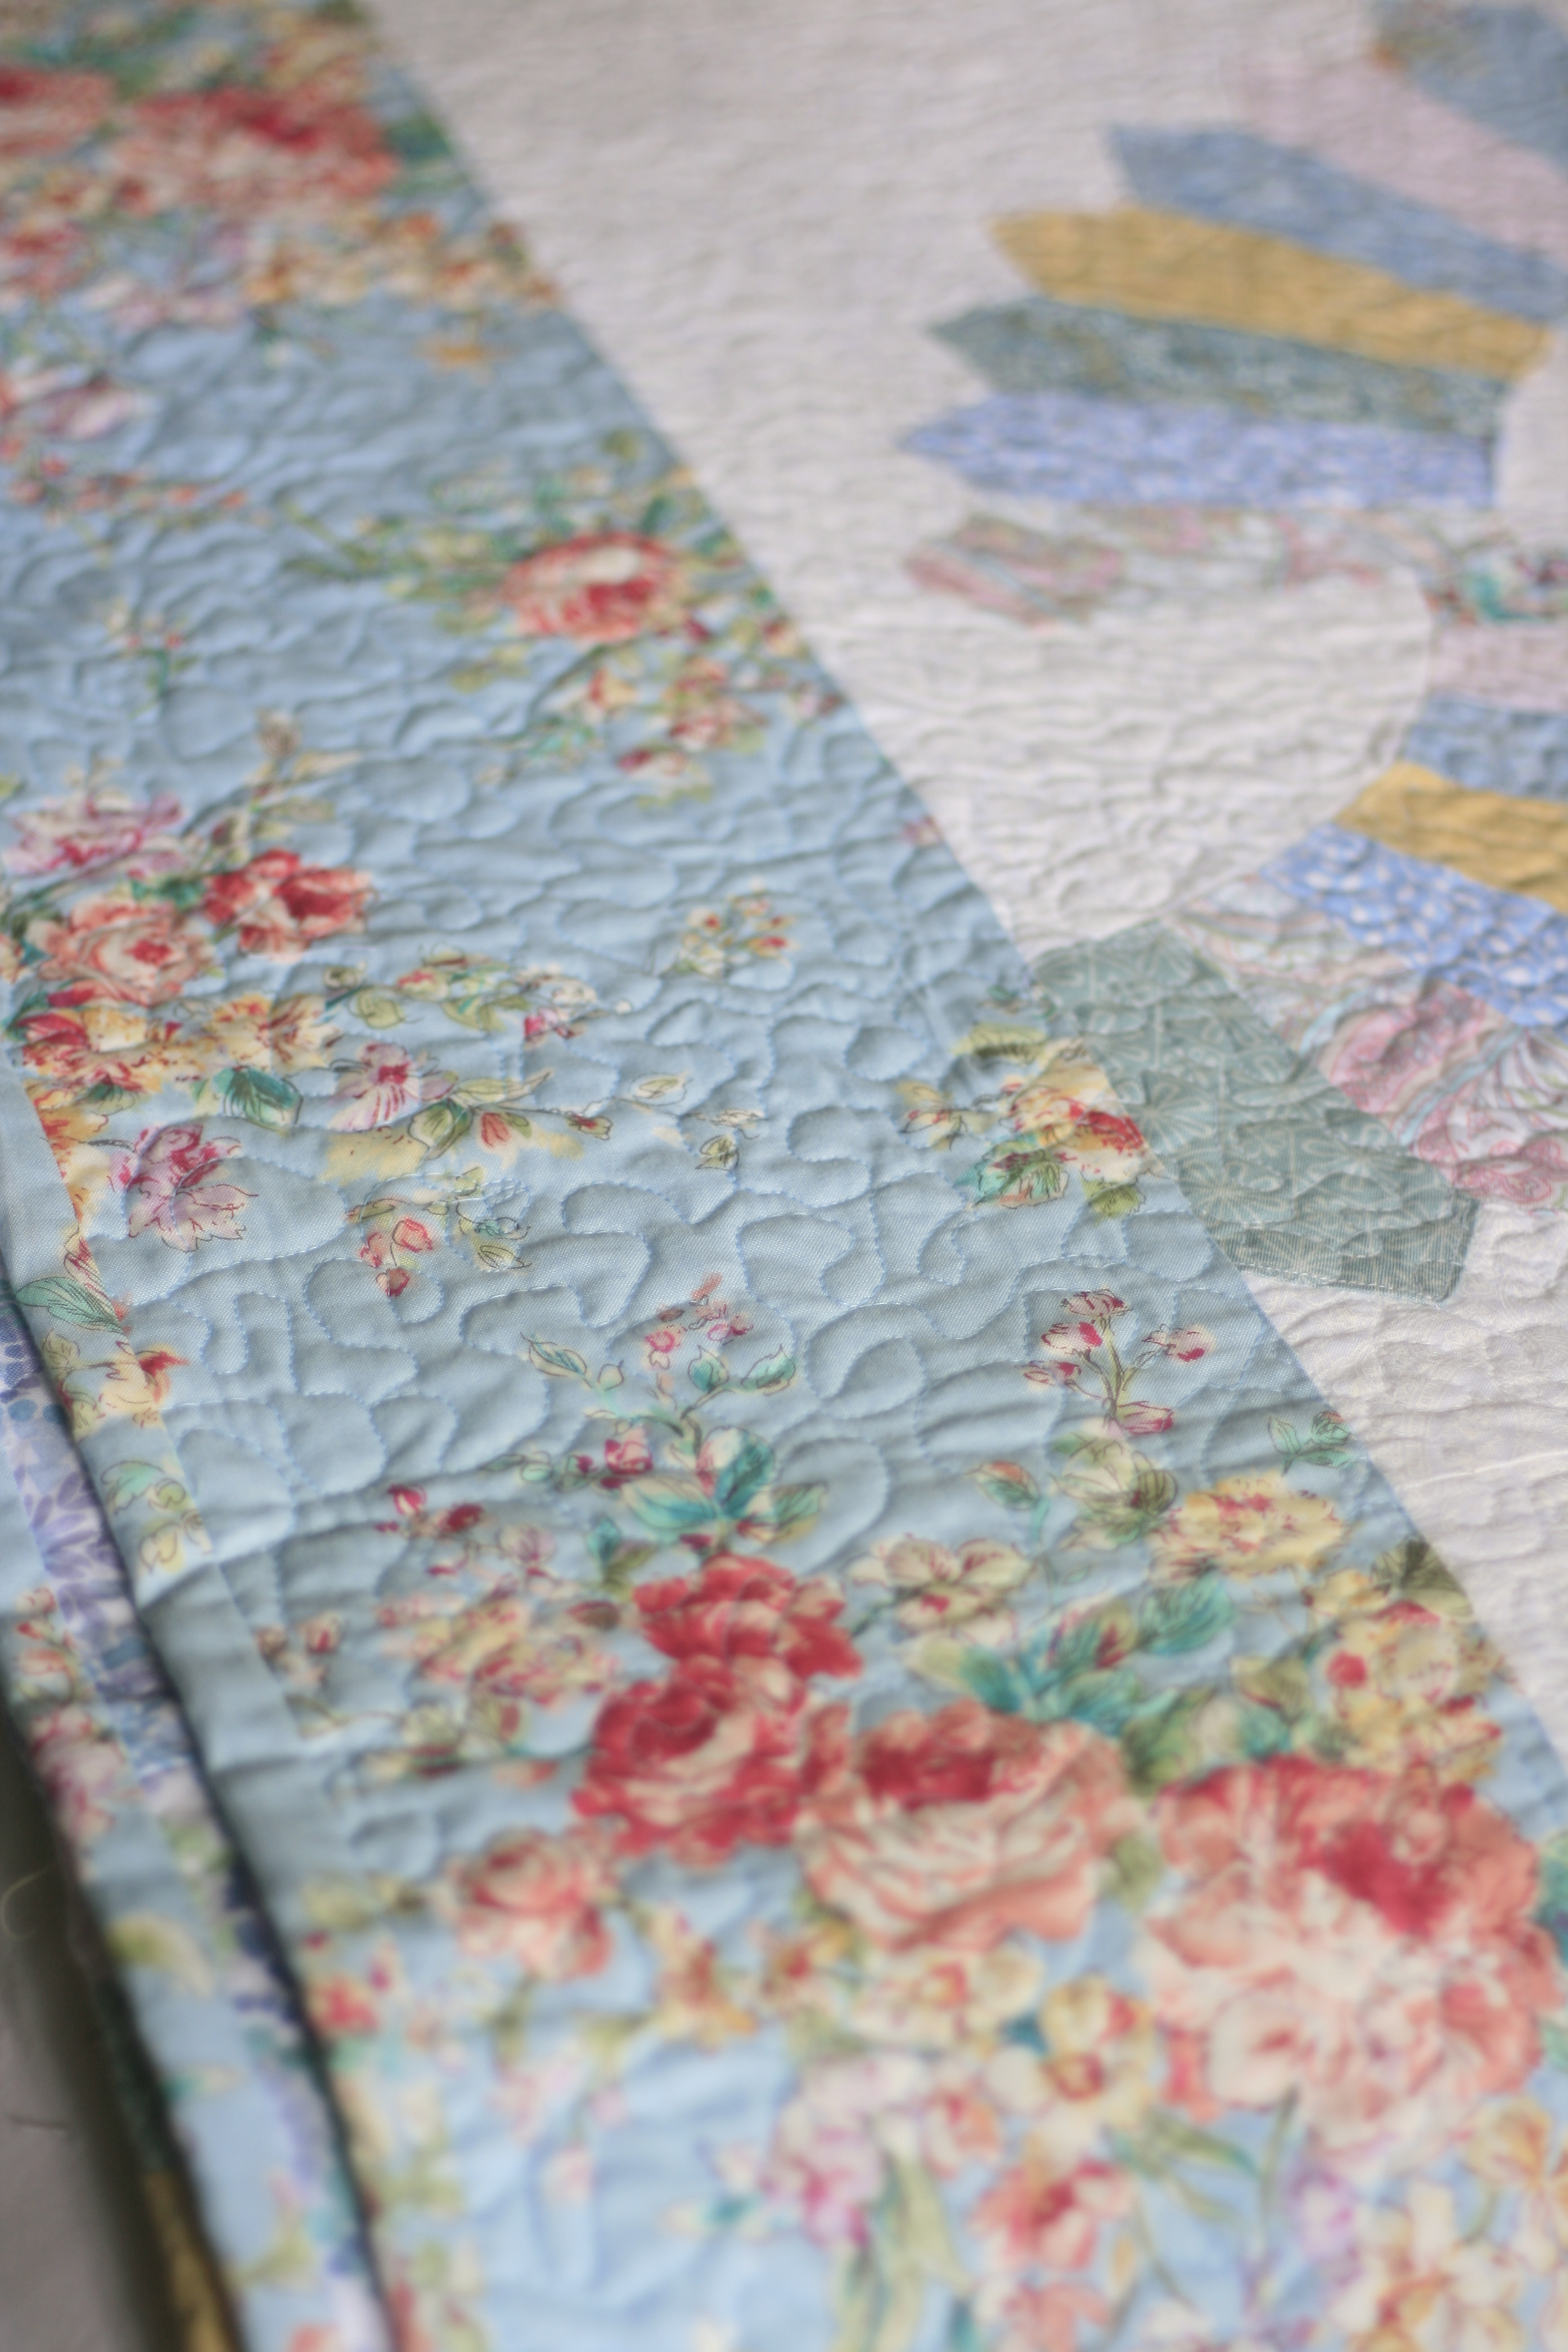
The duvet cover with the pink/fuschia ribbon trim I recently made.
This dresser was recently given to me by a good friend. I stripped it yesterday and now I’m really not sure what to do with it. I initially thought I would leave it natural and just wax it or hemp oil it. But now that it’s in the room I kinda want to high gloss paint it or lacquer it a saturated color. I need some suggestions.
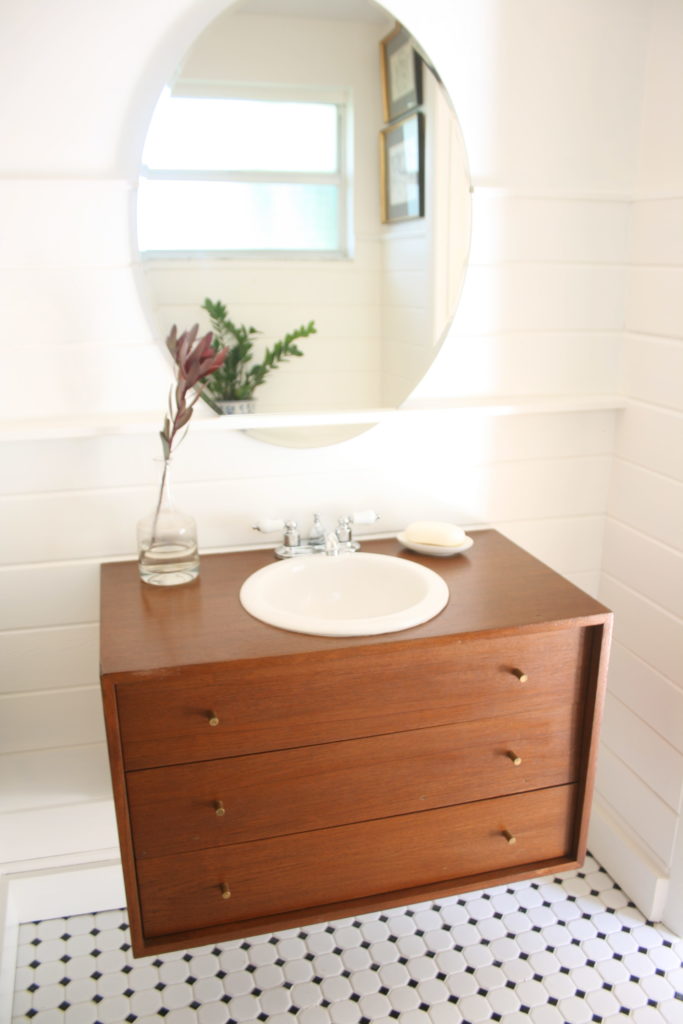
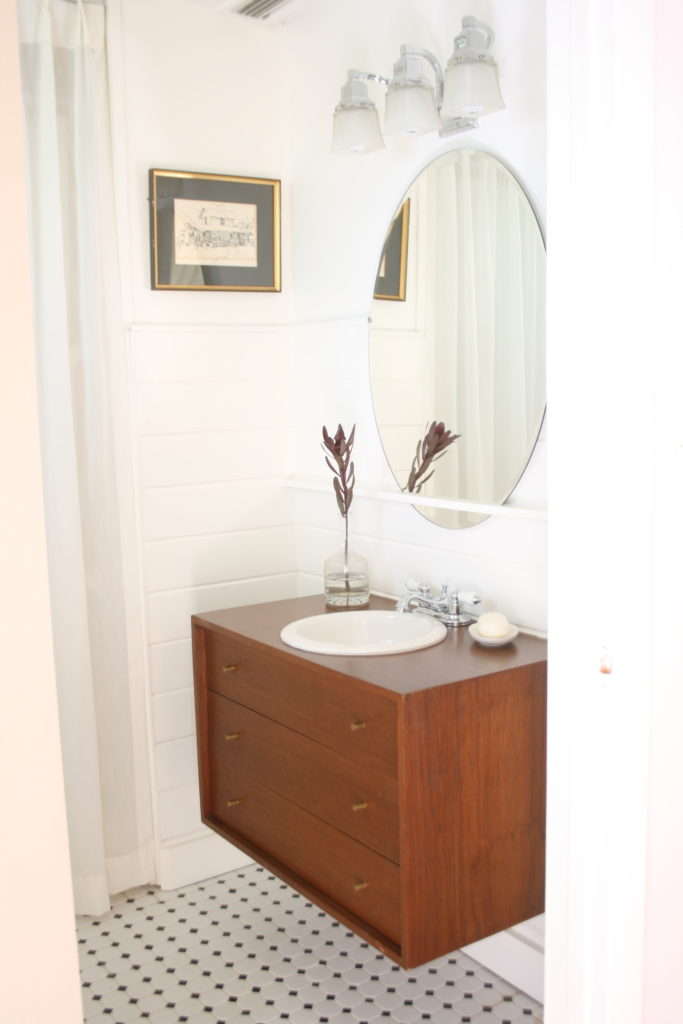
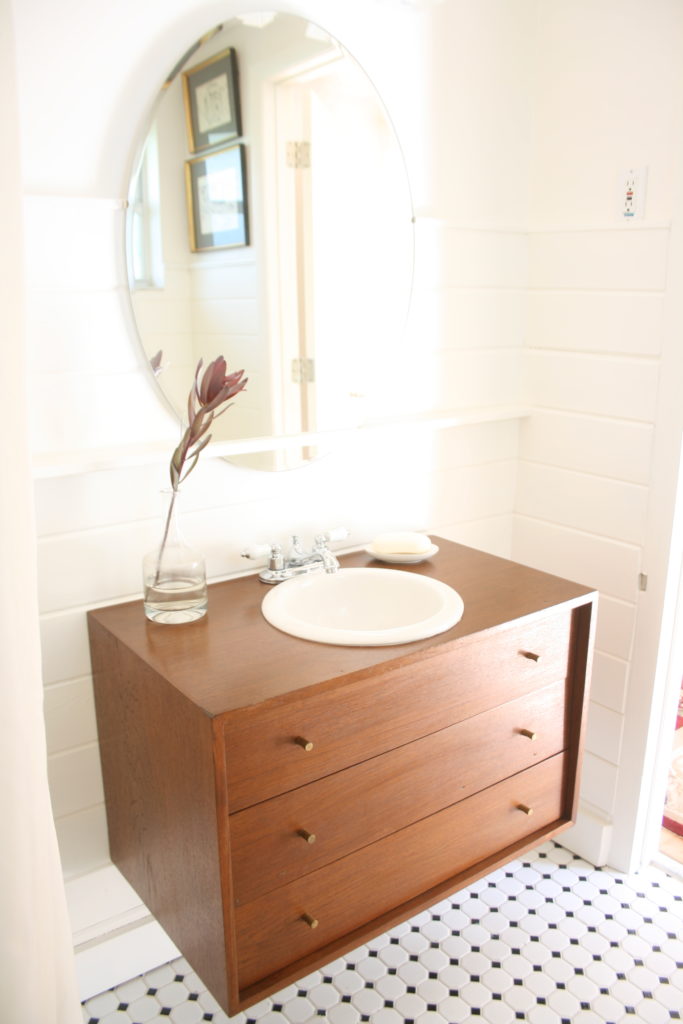
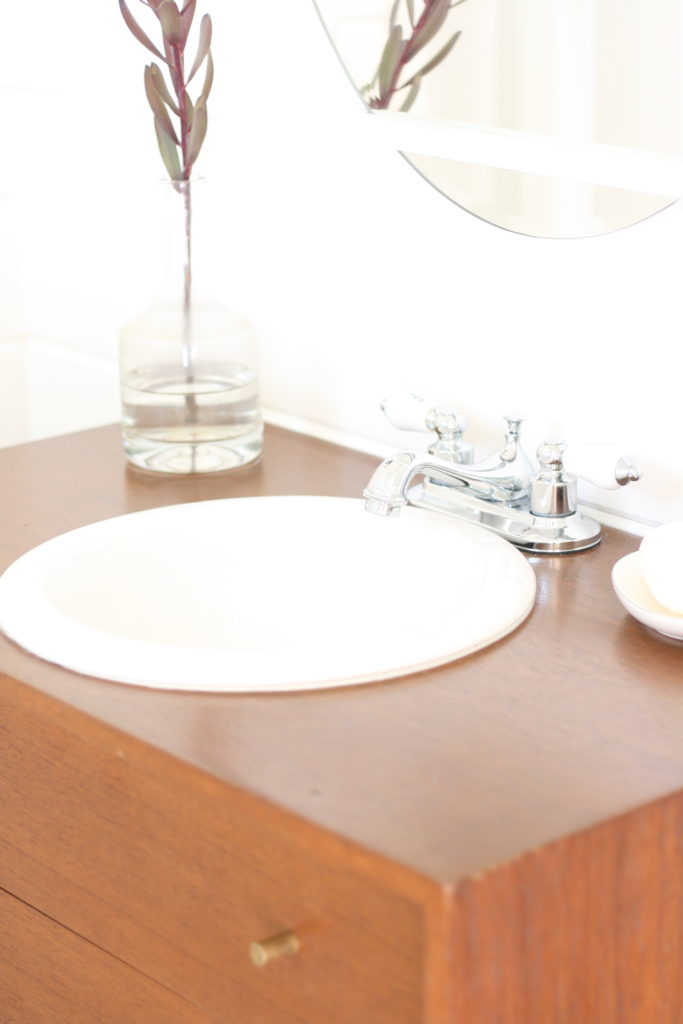
Fool-proof mirror cleaning anyone?
That’s where I am with my bedroom progress. It’s coming along and I’m happy with the progress but still have a few things I need to finish.
- roman shade header/valance
- paint ceiling…probably a very pale pink(contemplating high gloss)
- paint inside of closet cabinets…probably pale pink also.
- new flooring
- figure out what to do with the bedside dresser….lacquer? natural finish? possibly paint on body only and stain drawers? knobs or no knobs?
I could really use some suggestions on the dresser. Please tell me what you think.
Then on to the master bathroom…
closet cabinets continued…
My closet cabinet is coming along slowly but surely.
For the last week I’ve been working on these closet cabinets little by little. I was stumped for a while because my doors are 1 1/2″ inches thick and sadly European style full overlay hinges have a maximum door thickness of 3/4″ inch, otherwise they will not open. The hinge side of the door won’t have the space to clear the door adjacent to it(the other hinge side). Fortunately, I read that bit of information on the hinge box before I set all my cabinet boxes in place and fastened them to the wall. That saved me some frustration…but I was left with the dilemma of what to do(after I finished grieving the purchase of these silly doors I thought would save me a bunch of time and grief) .
I considered routing out the inside edge of the door to make it 3/4″ inch thick but couldn’t because the hinge needed 1 1/2″ inches from the doors edge and router bits don’t cut that far. My only option was to space my boxes apart by 1/2″ inch so the doors would swing and clear each other. Bummer! I really, really wanted the doors to line up seamlessly across the wall.
It could be worse. Only 1/2″ inch between door sets. Somehow the doors all fit, they line up relatively well, and they open and close. So far so good. Next I need to tackle the inside. The section closest to the window will be hanging space only, the middle section will have open shelves top to bottom, and the third section will house a TV with drawers below that.
This closet is just the first of many projects in my master bedroom. I have big plans. Next up …paint. I think I want to do high gloss paint on the cabinets and the same color on the walls in a flat sheen and a couple shades lighter. I love a dark cocoon like master bedroom.
After fresh paint on the cabinet and walls I’m going to make a roman shade for the window.
Then a wingback style headboard, a new side table, new art, and eventually new floors.
Everything seems to take much longer than I expect and more money too. Hinges alone were $80 bucks! A result of those silly heavy doors I bought …solid, heavy masonite. They must weigh 70 pounds a piece and required 5 hinges each. ugh!
Oh well…like my mom always said…”you live and you learn and sometimes you just live”.
I’ve got a lot of work to do. If you have any questions about specifics I’d be glad to share.
What do you think of the dark paint? Do you think it will give the walls the ‘eternity effect’ and make the space feel larger?
Oh! I’m going to put brass library lights over each of the door sections as well.
xoxo
mimzy