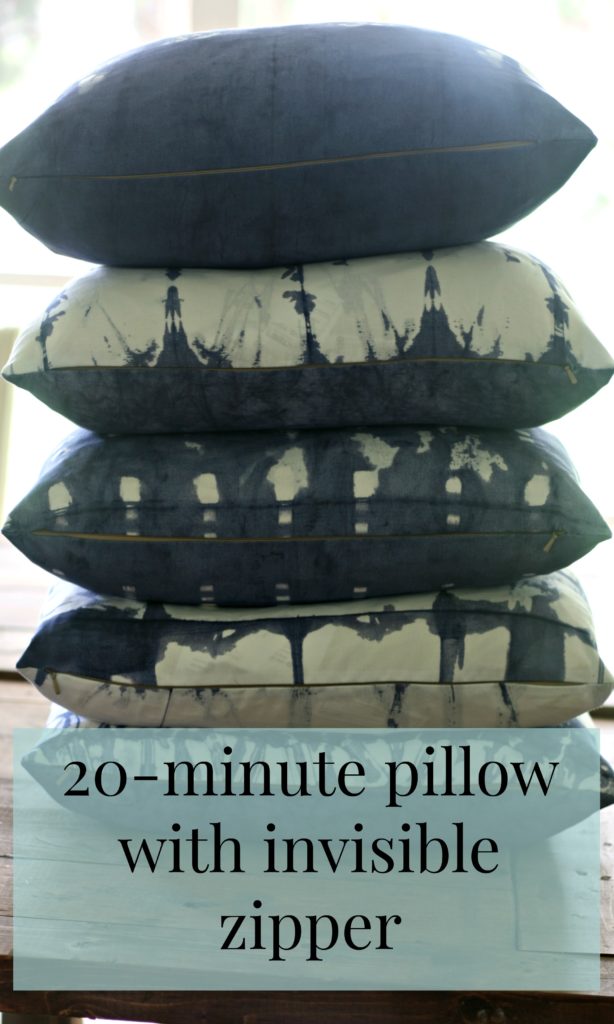
No joke…this is a 20-minute pillow. From cutting out the fabric, to stuffing it with the feather insert, it will really only take about 20 minutes. I made the five pillows in the pictures in less than an hour. It’s super easy and super lovely the way the invisible zipper really does disappear. It thrills me every time.
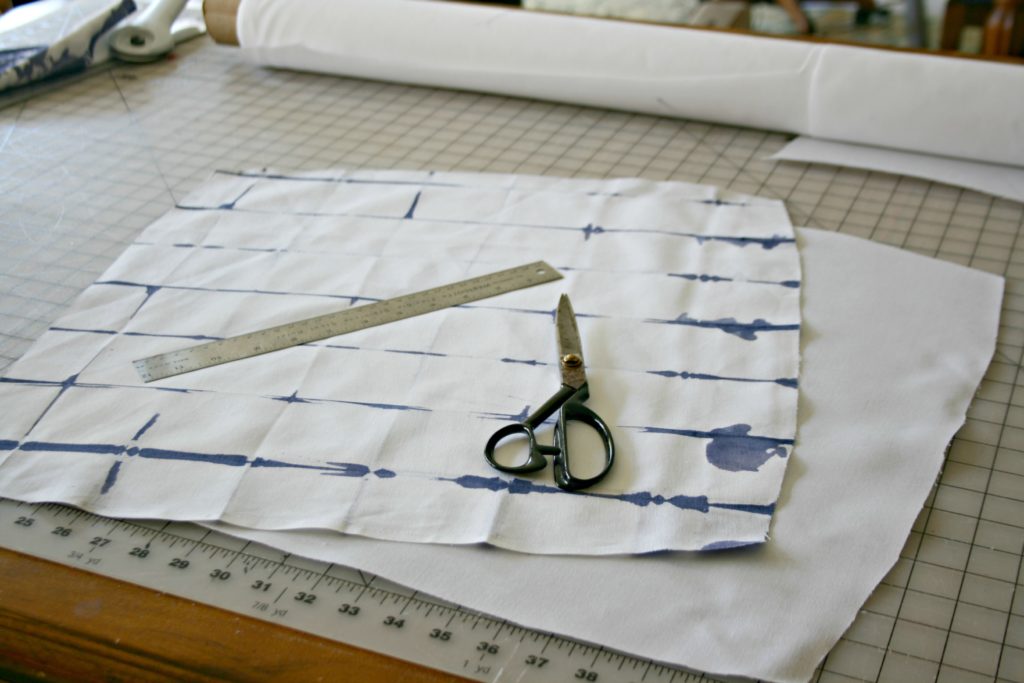 I cut out the front and back of the pillow at the same time. Stack the front and back of the pillow neatly and line up the edges to match.
 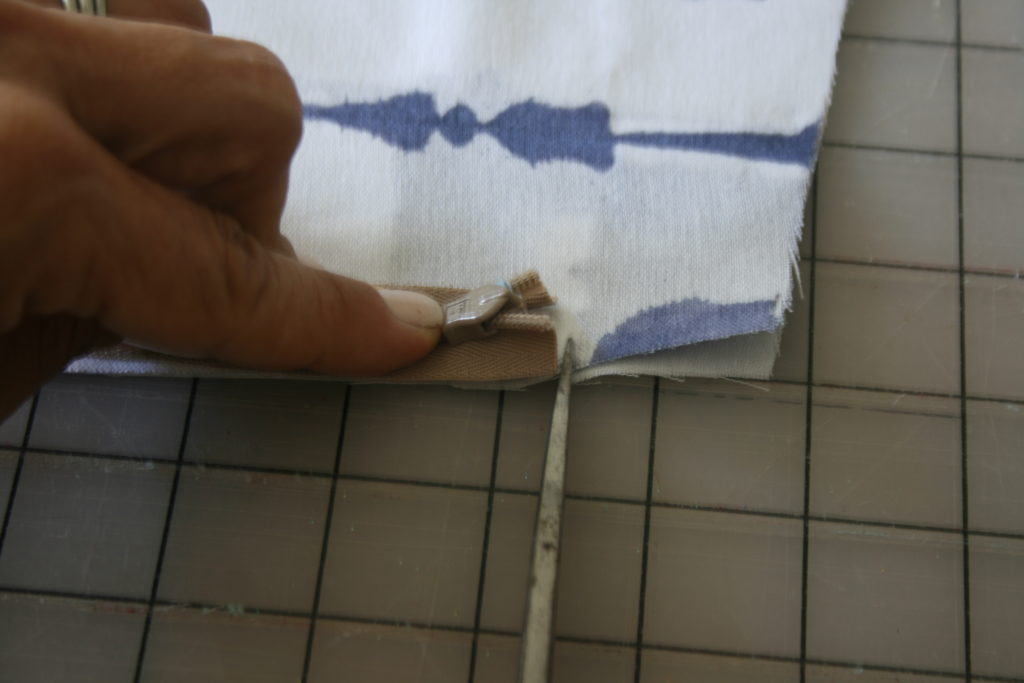 Center the zipper on the bottom edge of the pillow and snip a notch on both ends of the zipper(about 1/8″ deep) to mark where the zipper will be sewn into the pillow.
 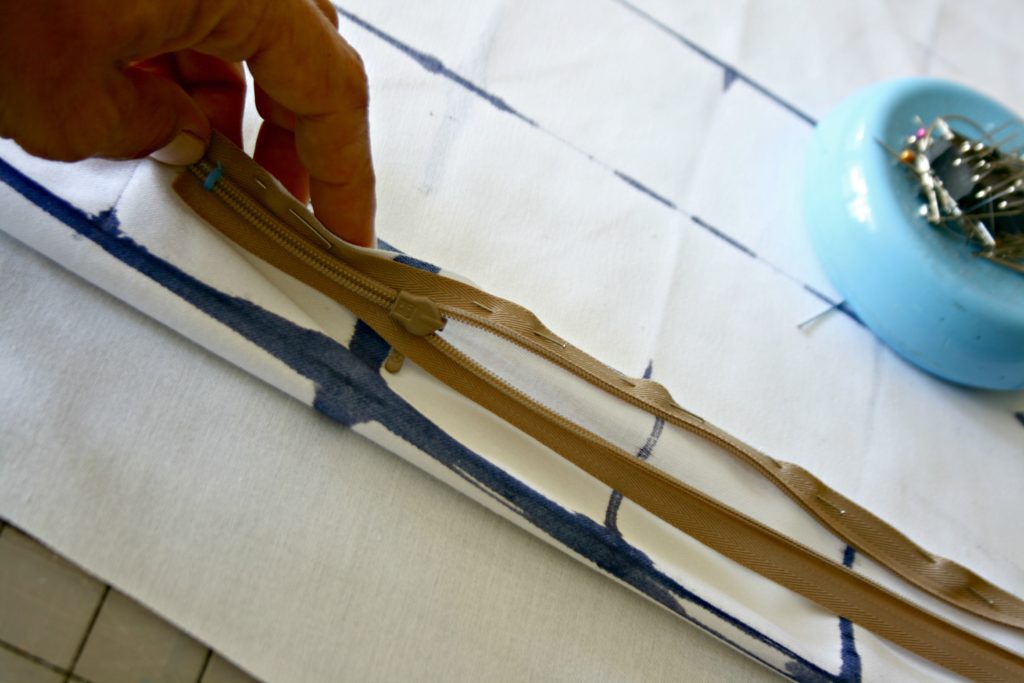 Open the zipper all the way and pin the right side of the zipper to the right side of the front of the pillow, with the end of the zipper starting at the notch you cut. Then pin the other half of the zipper to the right side of the back of the pillow. Then zip the zipper to make sure you have it right.
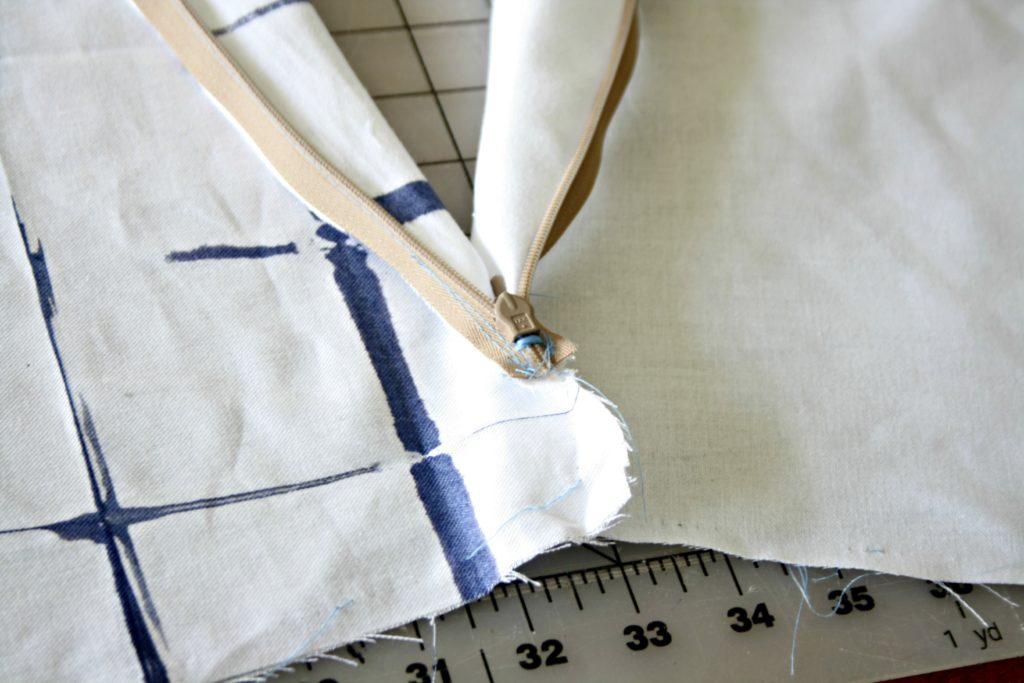 The fabric is right side to right side with the zipper pull down(facing away from you which will end up being the outside of the pillow). When the pillow is finished and turned right side out, the only thing you’ll see is the pull.
 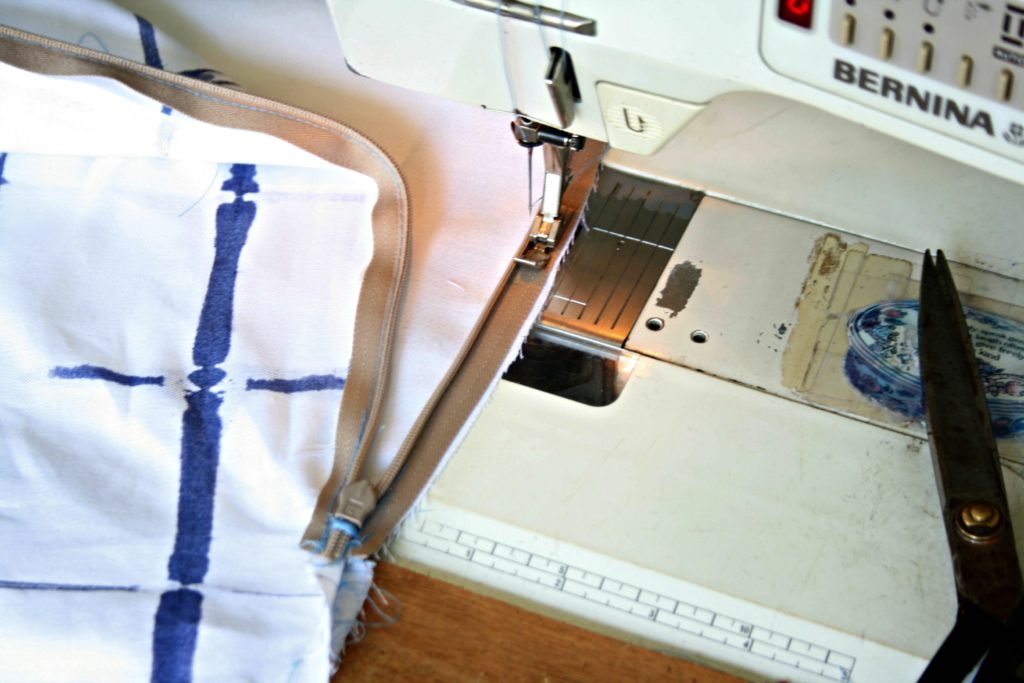 Take your pinned zipper to the sewing machine and sew the zipper as close to the zipper teeth as possible. This part must be done with the zipper open or you won’t be able to sew close enough to the teeth to make the zipper invisible. You also won’t be able to get close enough around the pull, you’ll have to close the zipper partly and sew the portion where the pull was again.
 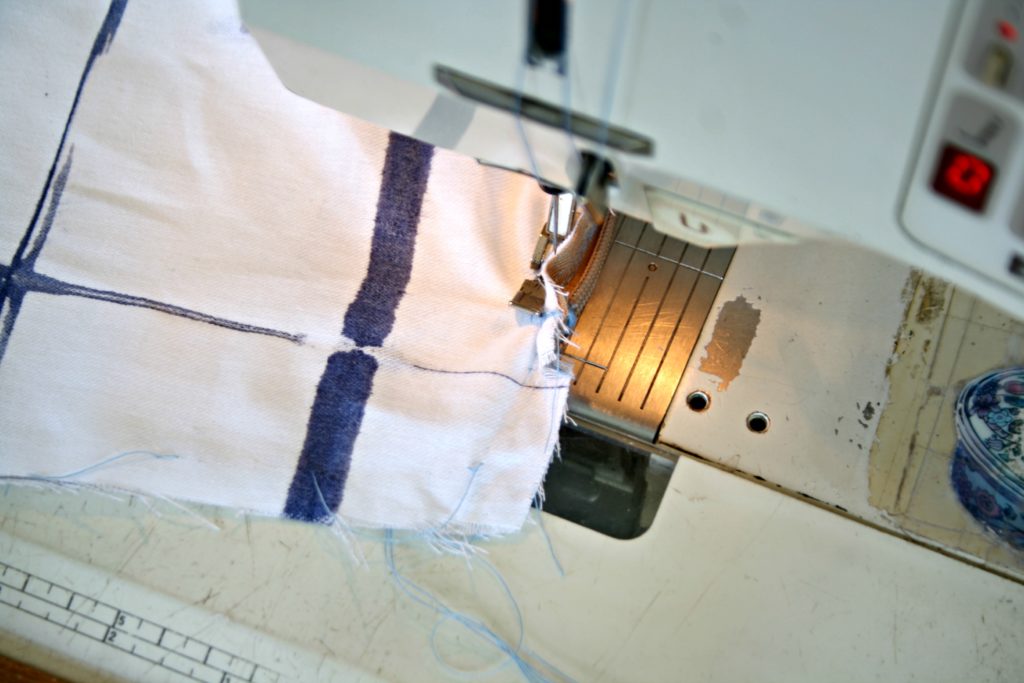 Then you sew all the way around the pillow with a 5/8″ seam allowance. I start right next to the zipper about 1/4-1/2″ from the end of the zipper, so when the zipper is closed there’s no gap at the end of the zipper tape.
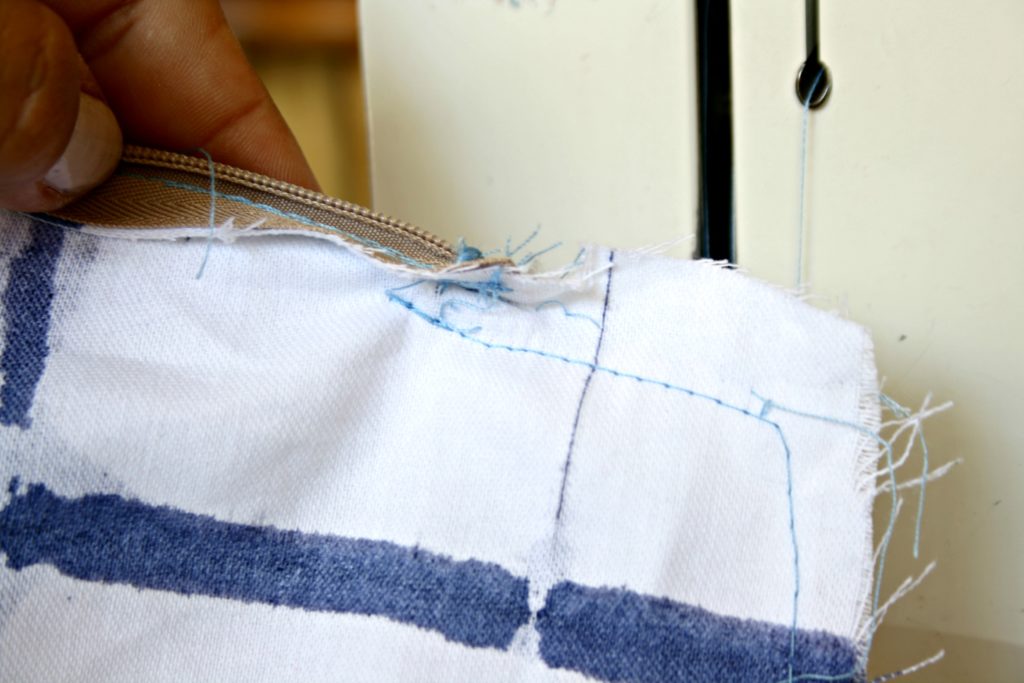 See how I sewed right next to(or on the inside of) the zipper about 1/2″ ? You want to sew as close as possible to the zipper without hitting it.
 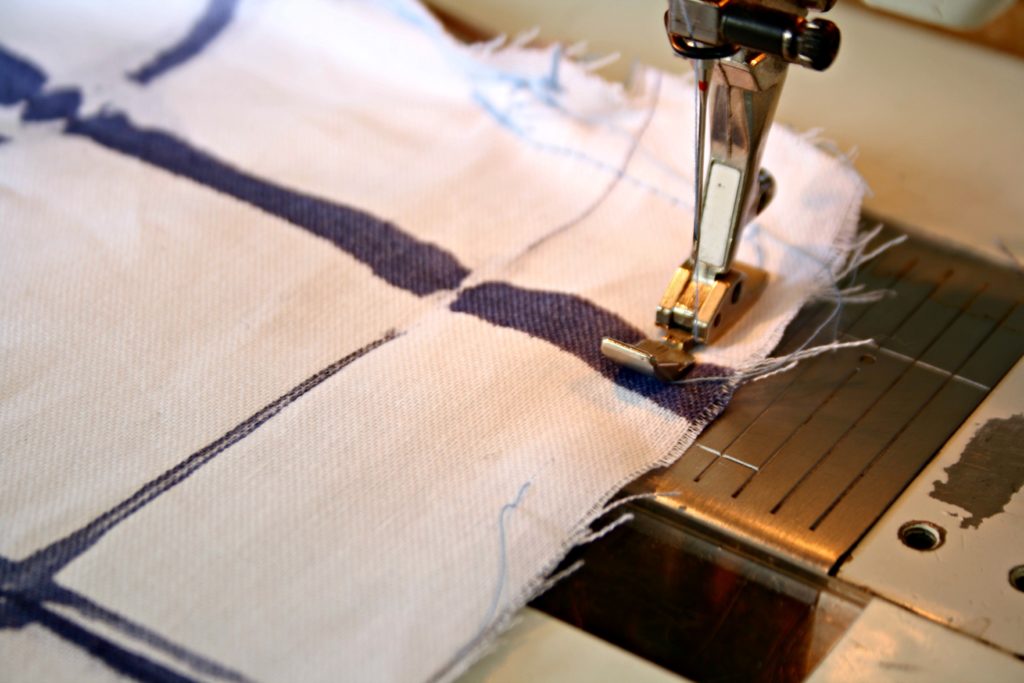 That’s it, sew 5/8″ all the way around and your done. Turn your pillow right side out and stuff it with your filler of choice. I like the IKEA feather inserts. They come in 20″ square, 26″ square and I think 20 x 26″. By far the best price around.
 I made a video with these same instructions, I think it’s easier to understand on video.

 Mary. Amie says
June 8, 2021 at 12:00 amMimzy. What is the name of the company you buy your pillow cuting template from
Would you please print it.
I would love to buy one.
 Mary Amie says
June 1, 2021 at 1:11 amI love your beautiful pillows and your easy instructions on making them.
Keep the good work up, I a fan for life.
 mimzylombardo@gmail.com says
June 2, 2021 at 4:29 pmThank you so much Mary!!!
 BestAdam says
September 10, 2019 at 7:28 amI see you don’t monetize mimzyandcompany.com, don’t waste your traffic, you can earn additional bucks every month with new monetization method.
This is the best adsense alternative for any type of website (they approve all websites),
for more details simply search in gooogle: murgrabia’s tools
 BestNola says
October 13, 2018 at 5:21 pmI have noticed you don’t monetize your website, don’t waste your traffic,
you can earn additional bucks every month.
You can use the best adsense alternative for any type of
website (they approve all websites), for more info simply search in gooogle:
boorfe’s tips monetize your website
 Dani says
June 4, 2017 at 11:38 pmWhere did you get those fabrics??
 mimzy says
June 5, 2017 at 9:53 amI made them….its super simple. I did a tutorial here….https://www.mimzyandcompany.com/shibori-style-tie-dye/
 Veronica Roth says
November 3, 2016 at 9:31 pmReally nicely done! I usually make the envelope pillows because I don’t really know how to sew, but that invisible zipper doesn’t seem like that big a deal. Last time I did a zipper it was a super big one in a painted canvas pencil bag. I thought that the bigger zipper would be easier. Anyway, have to pull out the indigo dye first. Love how you lined them up on your swing.
 Stephanie @ Casa Watkins Living says
November 3, 2016 at 5:50 pmAbsolutely gorgeous !!!!! Will be sharing on my facebook page tonight!
 mimzylombardo@gmail.com says
November 5, 2016 at 8:07 pmThank you Stephanie!!!