This week I’m working on a set of kitchen cabinets for a client. Her house is only ten years old and her cabinets are in almost new condition, the problem is they’re the not-so-lovely honey oak widely installed by builders in early 2000. She wants something less orange.
I’ve painted loads of kitchen cabinets, so I have a few tips and tricks I’ve learned mostly by trial and error and some traces of what I learned from my friend Dan, who showed me years ago how to use a compressor and sprayer.
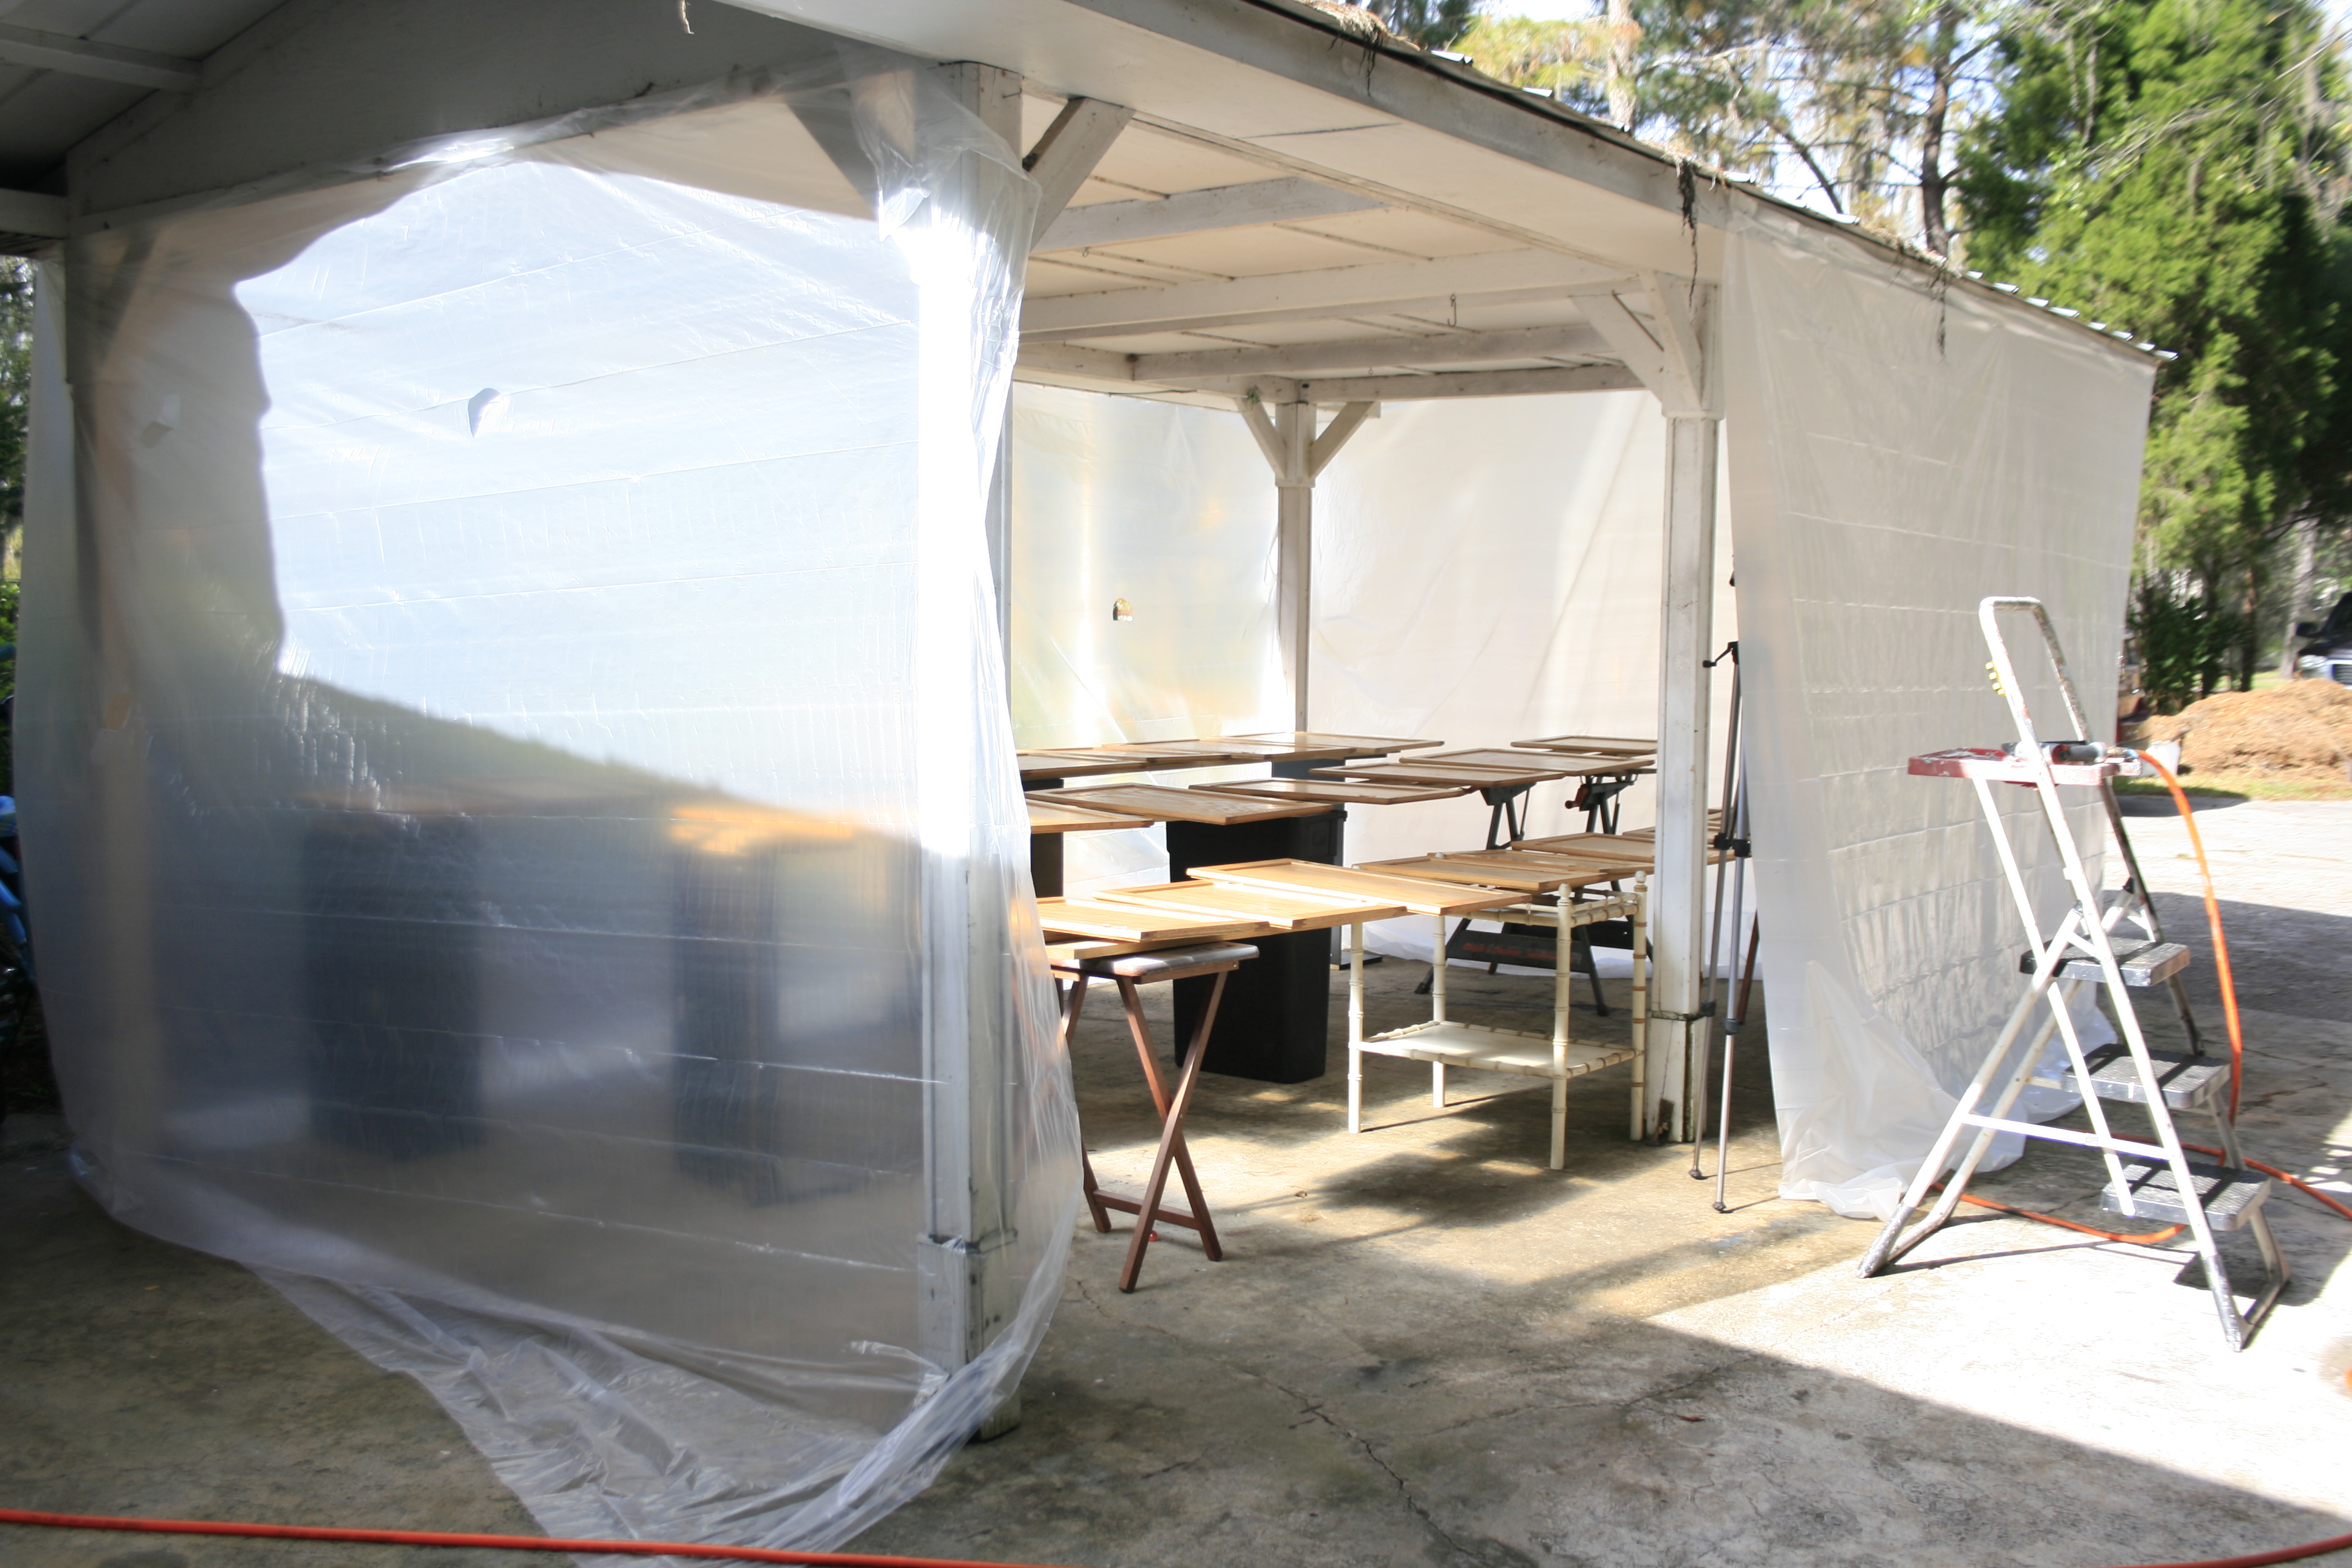
Since my garage has only a sliver of unoccupied space and the lighting is less than desirable for painting, I use my carport. I wrap it with plastic drop cloth to keep the paint in and keep dust, dirt, leaves and moisture out.  https://www.mimzyandcompany.com/wp-admin/media-upload.php?post_id=1073&type=image&TB_iframe=1
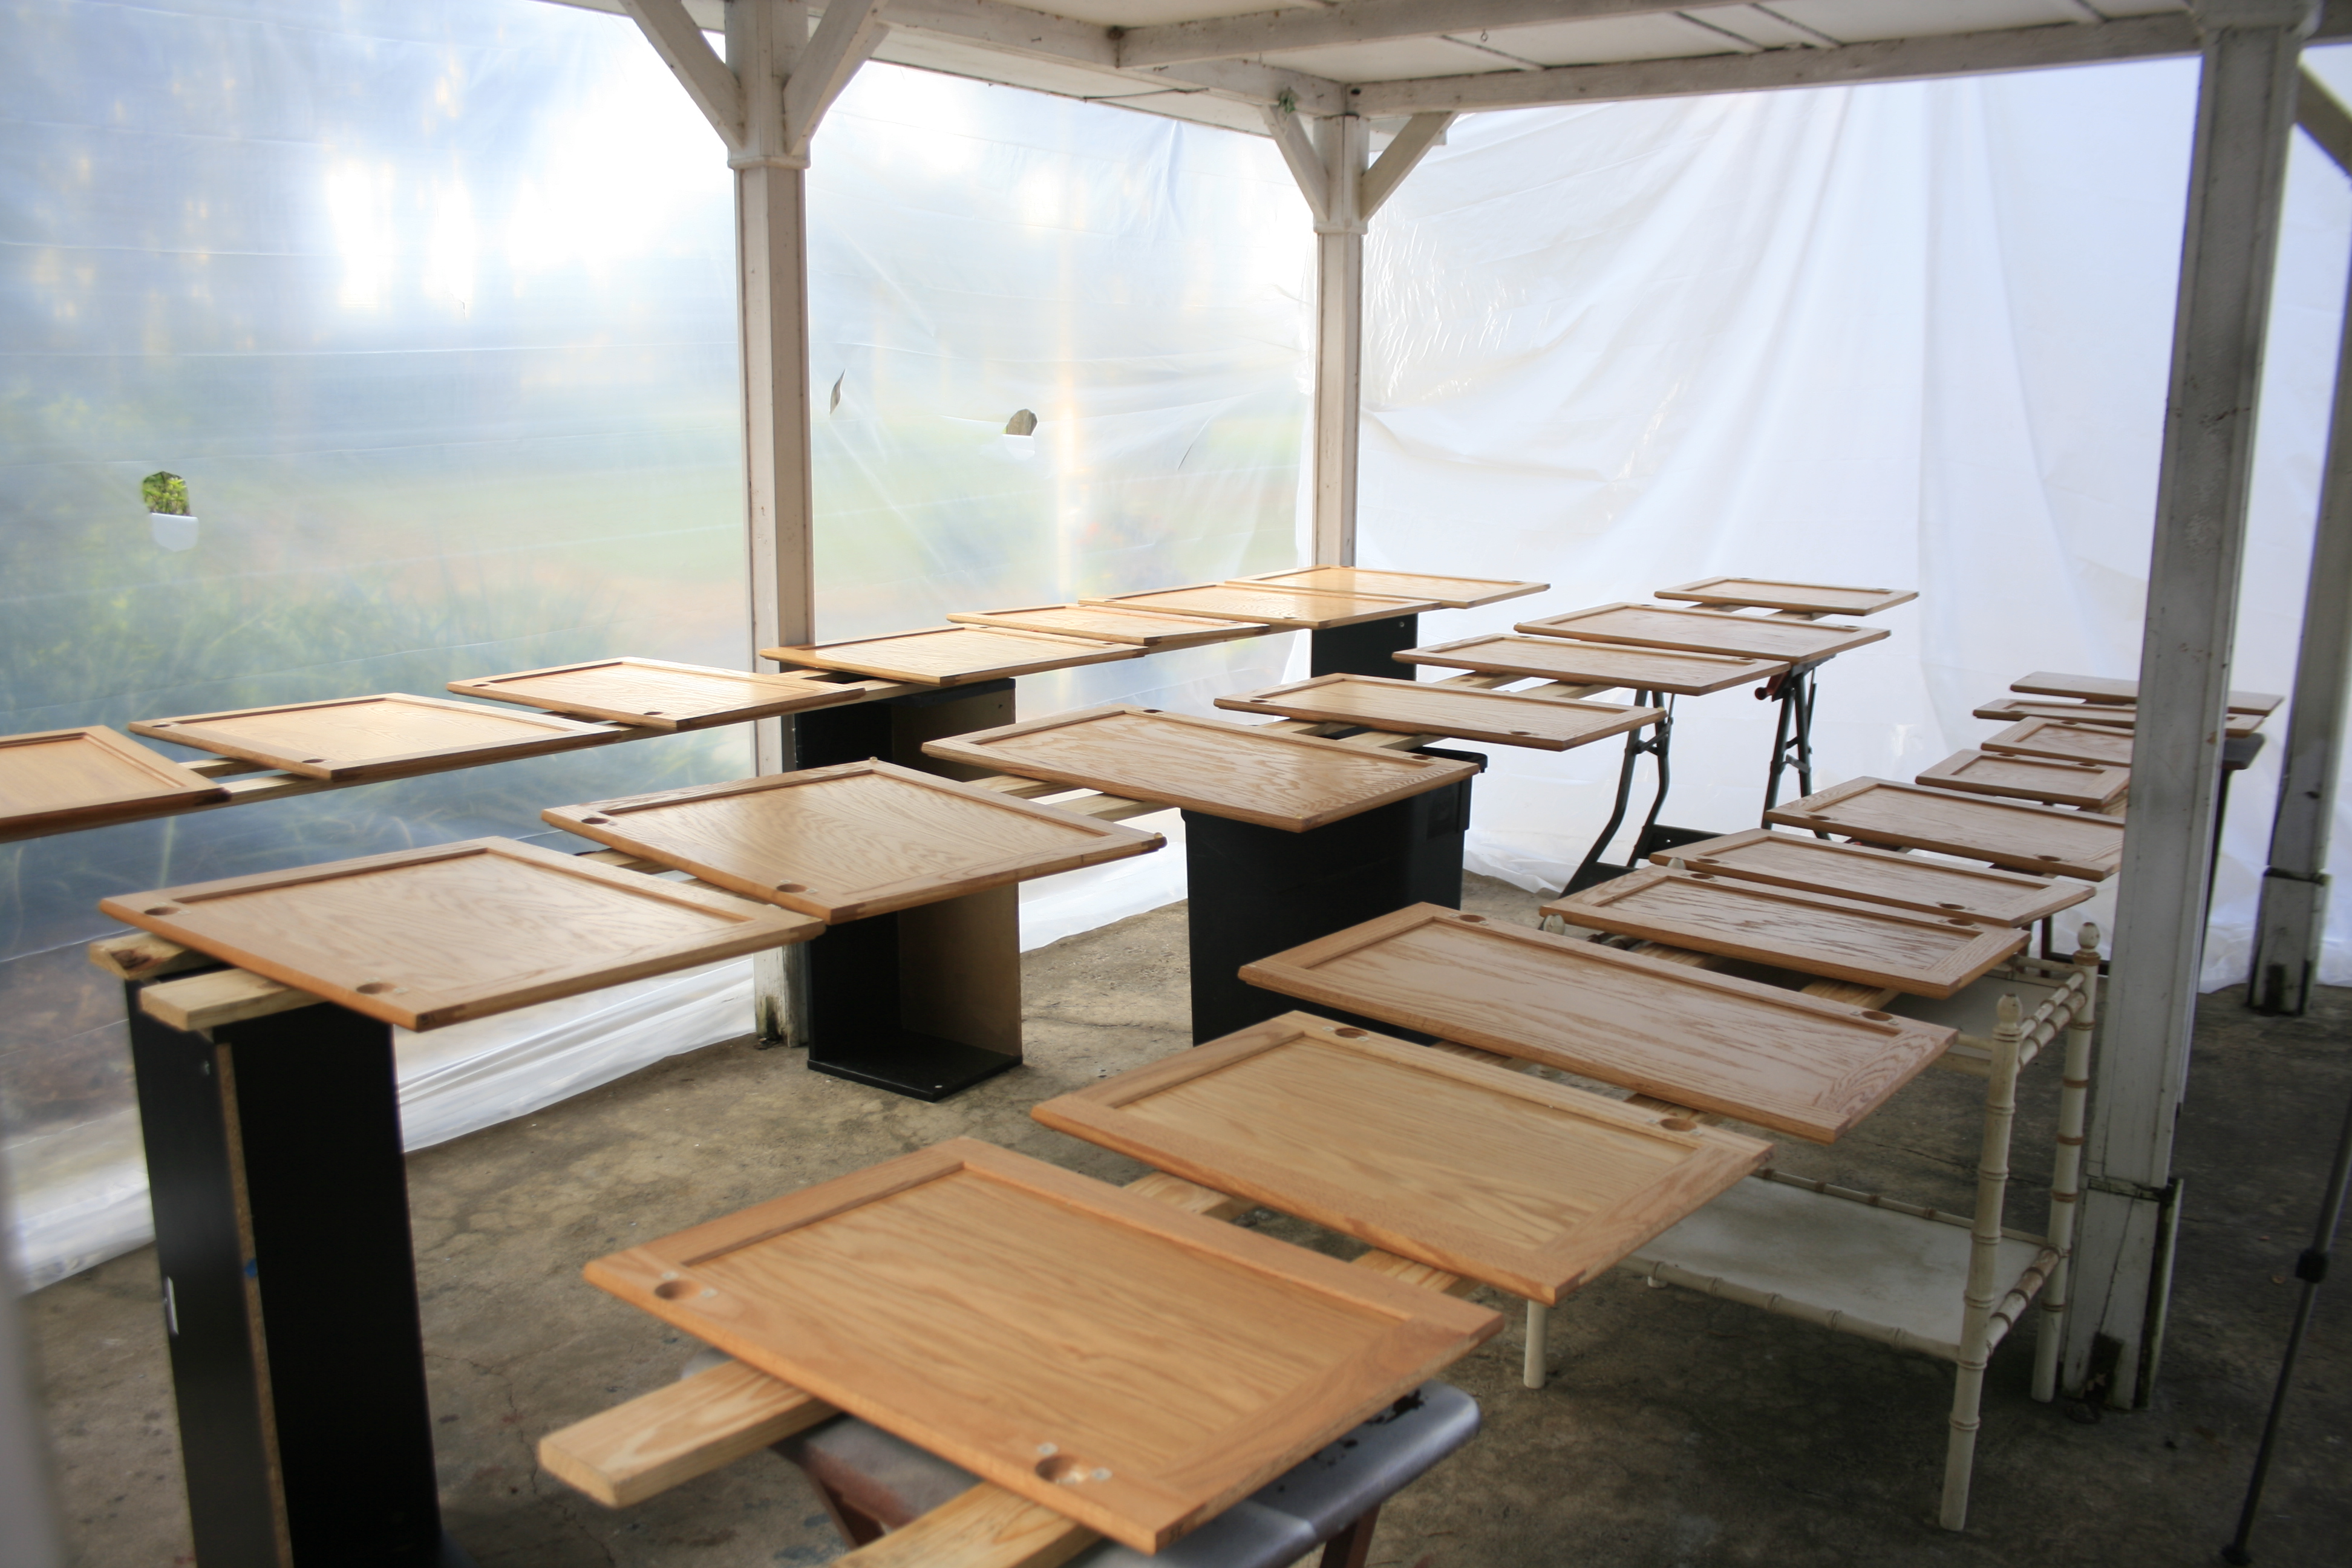
I set my cabinet doors on 1×4’s held up by mostly sawhorses and other objects about the same height. The last time I hung my cabinet doors with eye hooks, to allow them to rotate in the air so both sides could be painted at once, but that requires a lot more space with this many doors. It’s a lot easier on your back if the cabinets are set at counter height.
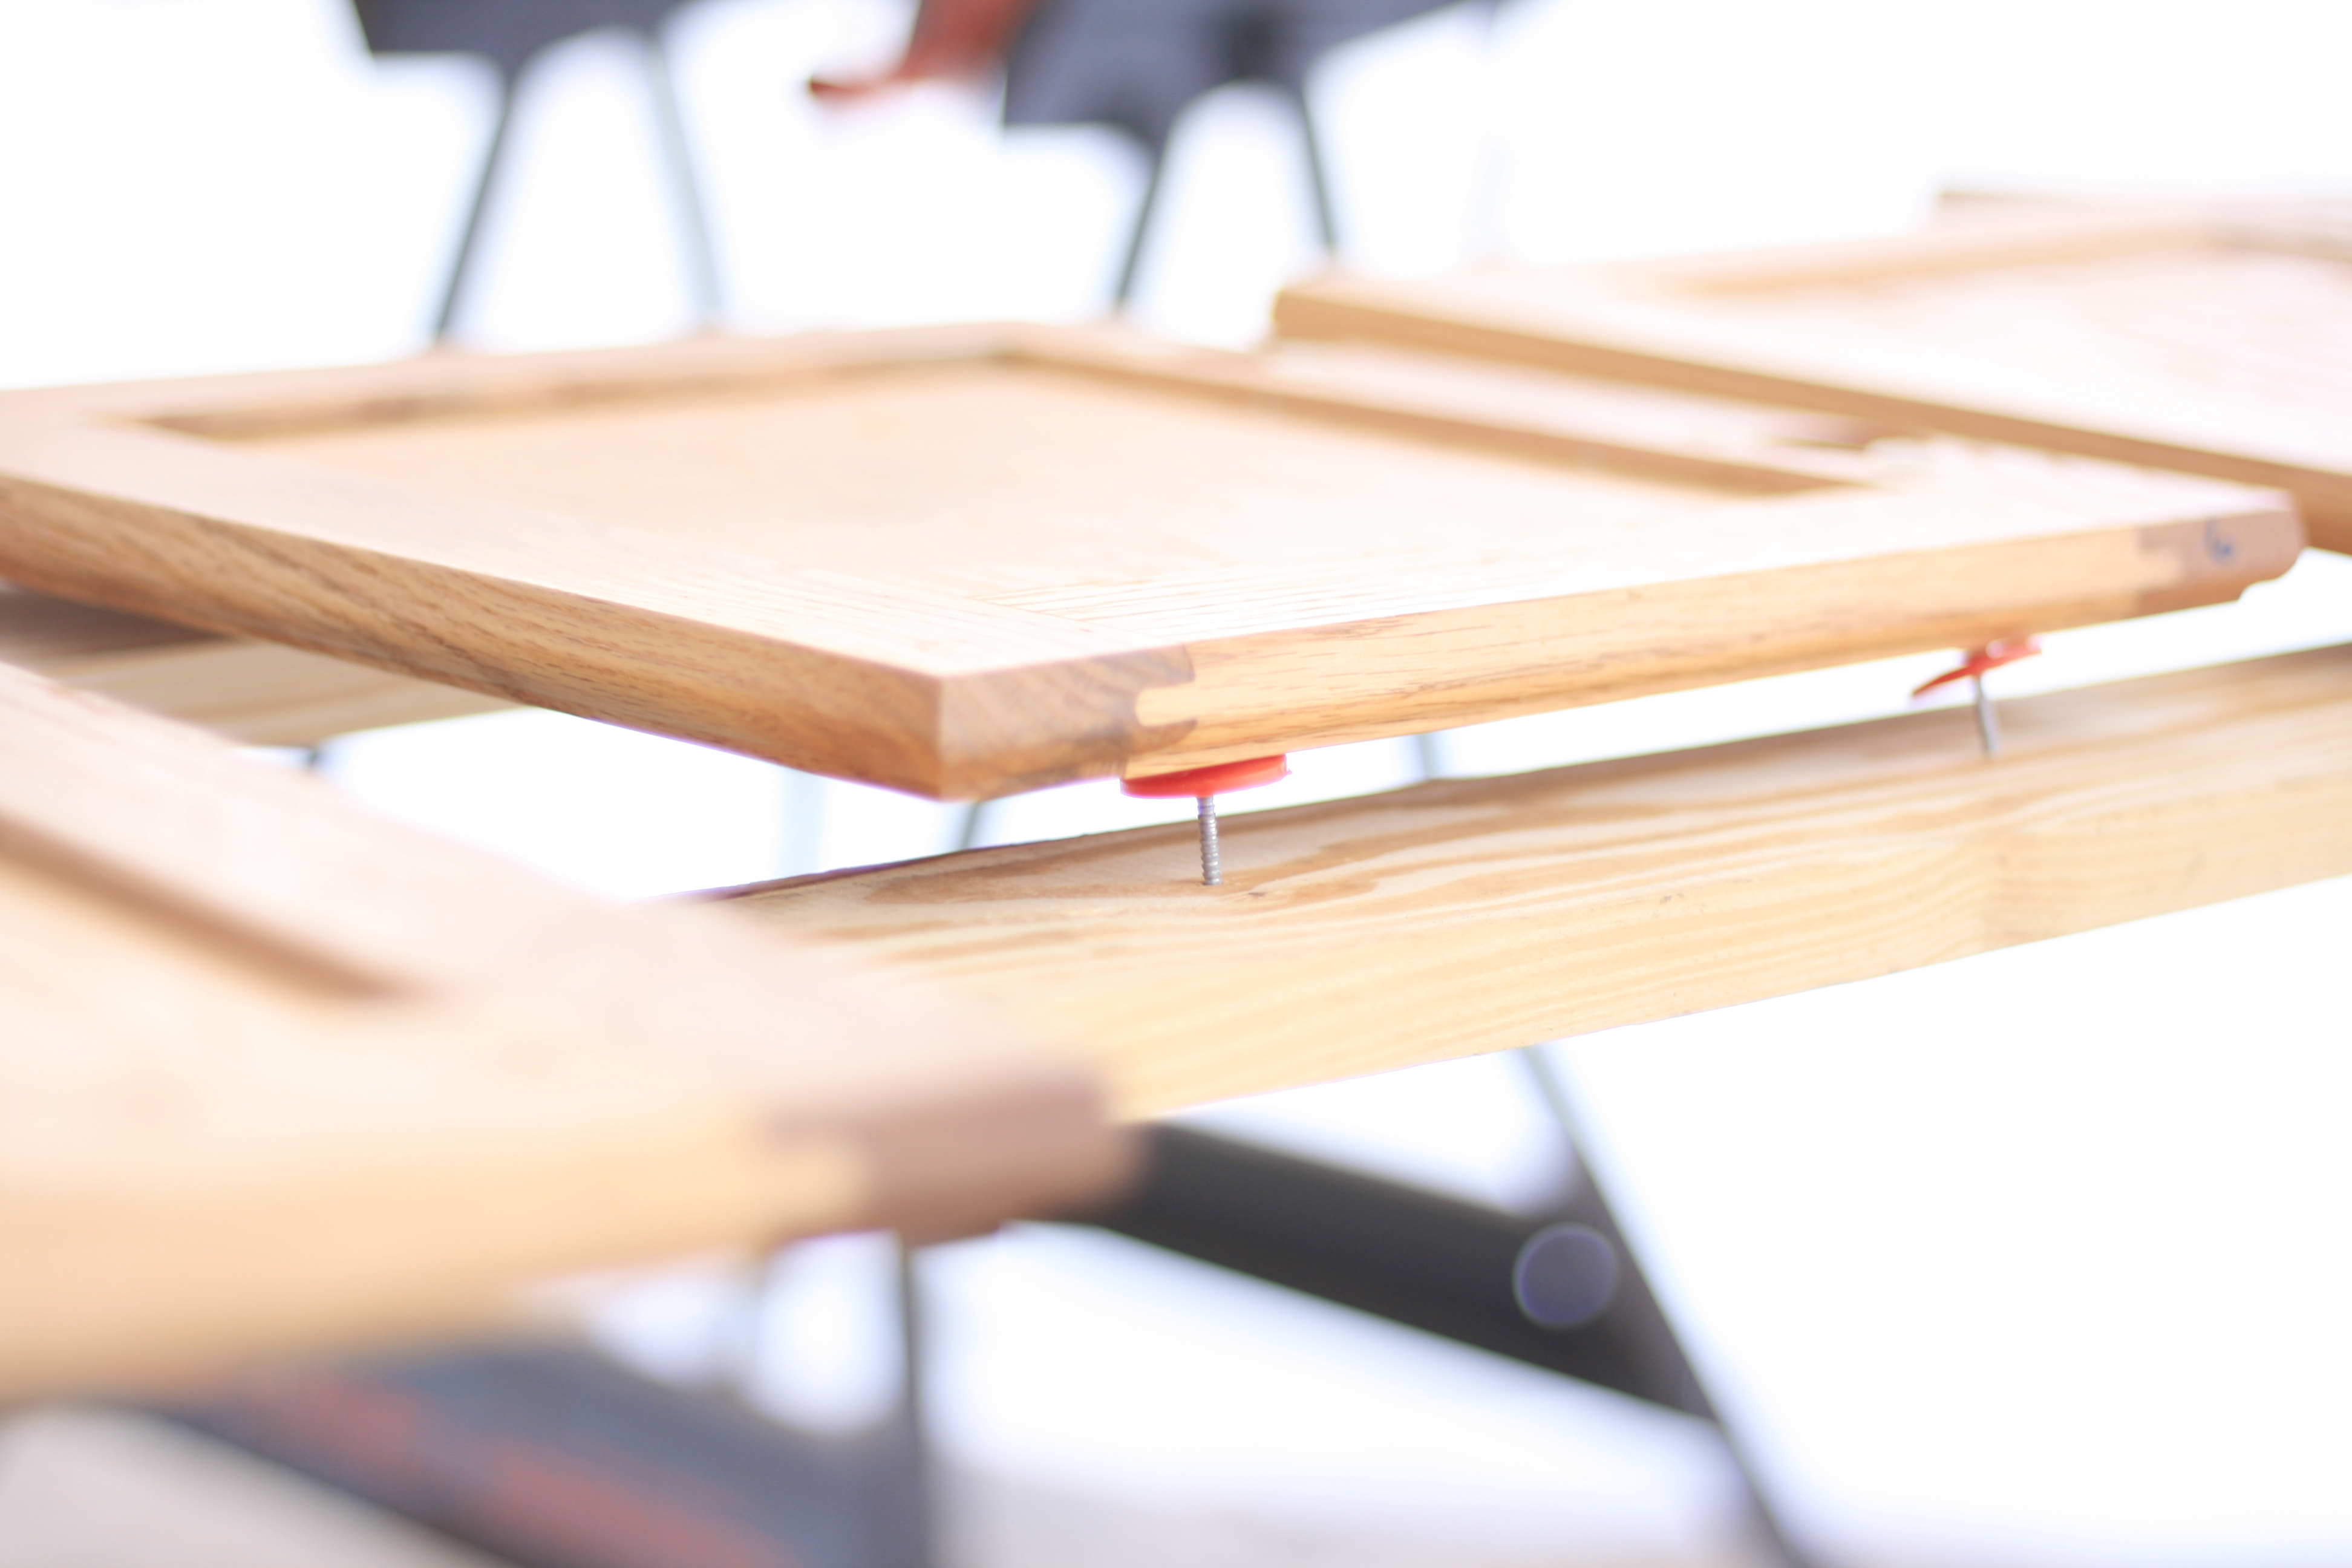
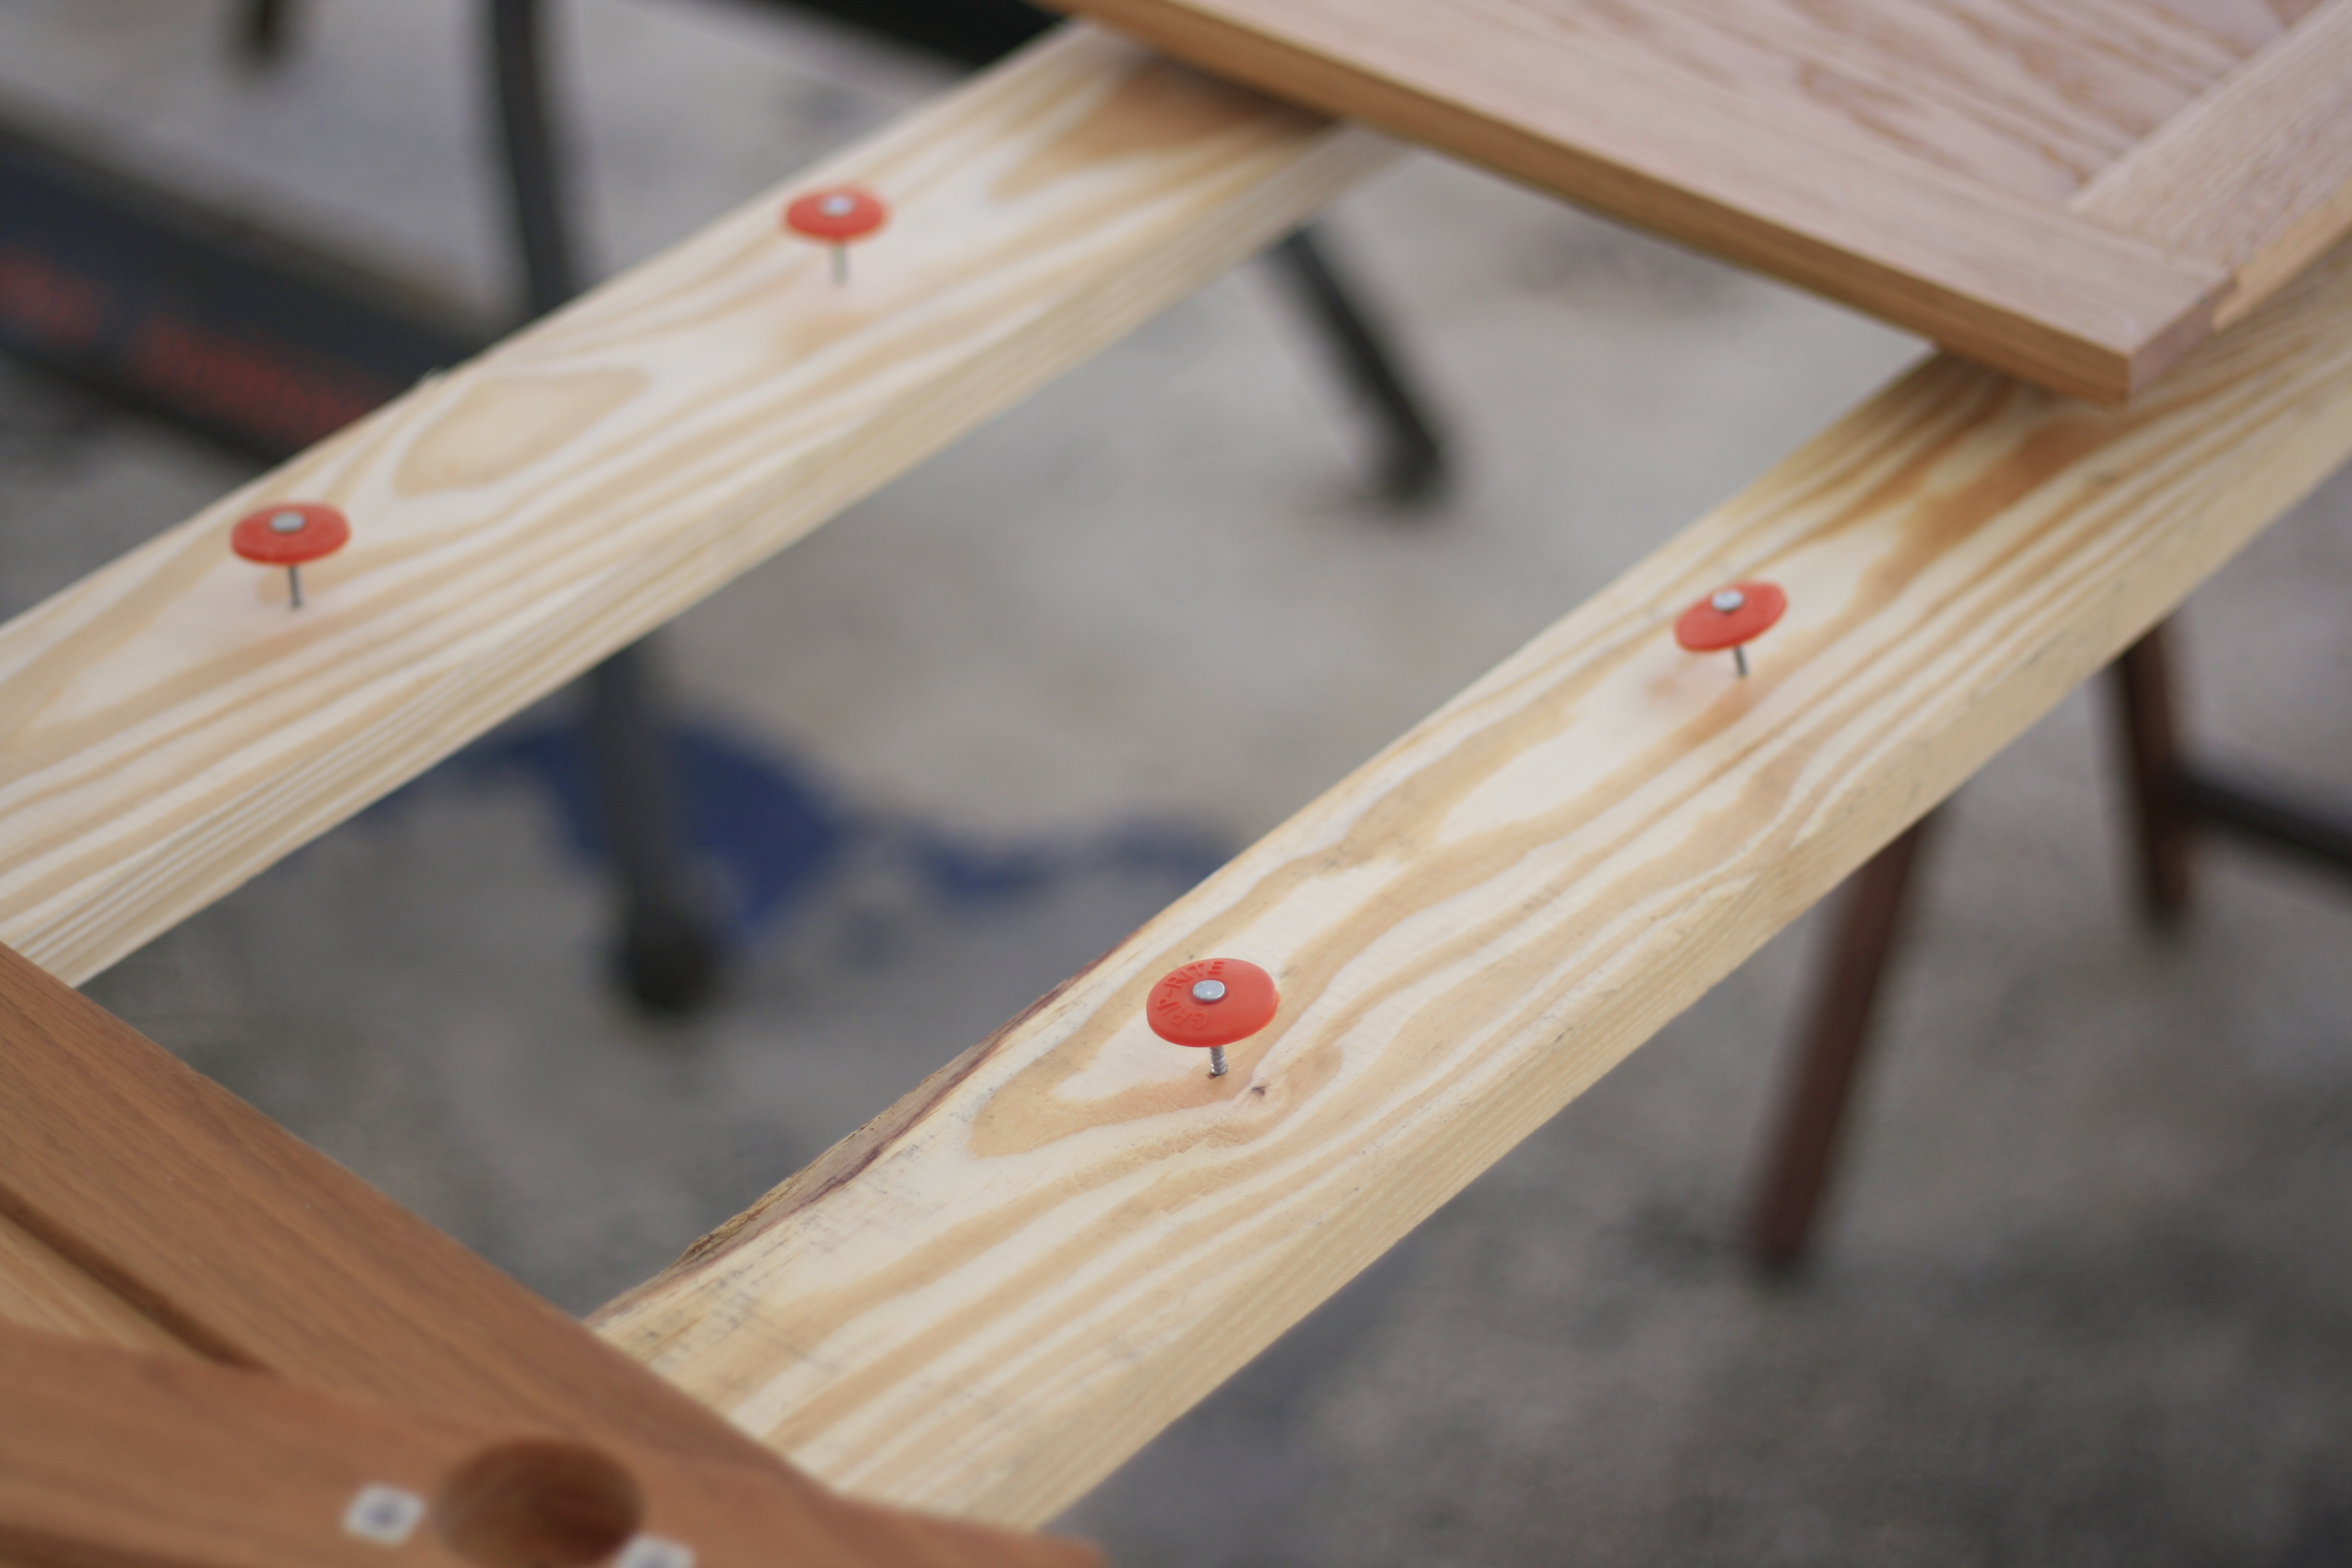
 I raise my doors off the 1 x 4’s with roofing nails …seen above, to keep the paint from pooling up on the edges. The hardware stores carry paint pyramids made for this purpose but that would have been very costly for this many doors.
  I use painters tape over the tops of the orange caps to keep the nails from scratching my doors and it works like a charm.
  I used this critter sprayer along with my compressor. It’s super simple to operate and clean and the best part is that it uses standard mason jars which can be purchased at the grocery store. Which means I can have several mason jars loaded with different product(paint, poly, primer) and all I have to clean to switch between products is the nozzle. Love that!
A short video of my spray booth ….and basically the same information repeated, but probably easier to understand.
Pretty boring stuff. I don’t have any before and after photos of this yet(the fun stuff). Hopefully I’ll have some down the road a bit. I’ve been entirely too swamped with Christmas deadlines. I started the process with this client in September with a Thanksgiving deadline in mind, but she couldn’t make up her mind on the sample and then her contractor that did the carpentry to bring the upper boxes to the ceiling and install crown moulding took longer than expected. So everything got pushed back. What’s new, right?
Anyway….glad to be finished with that project. One more sewing project to finish the beginning of this week and then off to celebrate the Birth of our Lord.
Merry Christmas!!!
xoxo
Mimz

 cathie says
July 18, 2018 at 11:45 amHI! Do you have any close ups of the texture of the finished texture? Is it really pro smooth or a bit bumpy?
 mimzylombardo@gmail.com says
July 19, 2018 at 10:55 amHi Kali, the cabinets come out super smooth. No texture at all…the key to that smooth texture is sanding between coats with really fine sand paper…220 grit or more. it doesn’t take long to sand either, just a quick once over is all you need. I’ll have to see if I have some closeups of these cabinets. they’re like buttah…
 Manny says
December 5, 2017 at 7:39 amHi I am also interested on getting that critter sprayer did you have to thin the paint and shellac primer for it to spray well? Also what brand of paint do you use for kitchen cabinets? My wife wants to paint our white and still looking for the best brand of paint and the best sprayer to use. Thanks. And great blog
 mimzylombardo@gmail.com says
December 13, 2017 at 5:18 pmHi Markus…sorry I missed your comment. I love the critter. I didn’t thin the shellac primer it’s already very thin. I think I may have thinned out the paint though, but only slightly. I generally use Behr paint because Home Depot is so convenient for me. Behr has held up well on my kitchen cabinets and has great coverage. Thanks for asking! Good luck with your kitchen.