 Parson’s style slipcovers are the easiest style to make because they are symmetrical and have no arms.
This post might contain affiliate links…check my disclosure here.…

Sewing for your home and other DIY stuff.
This tutorial and video, how to reupholster a boxed dining chair seat, is a detailed(video) and step by step tutorial, so if you’re about to embark upon a project like this, definitely tune in.
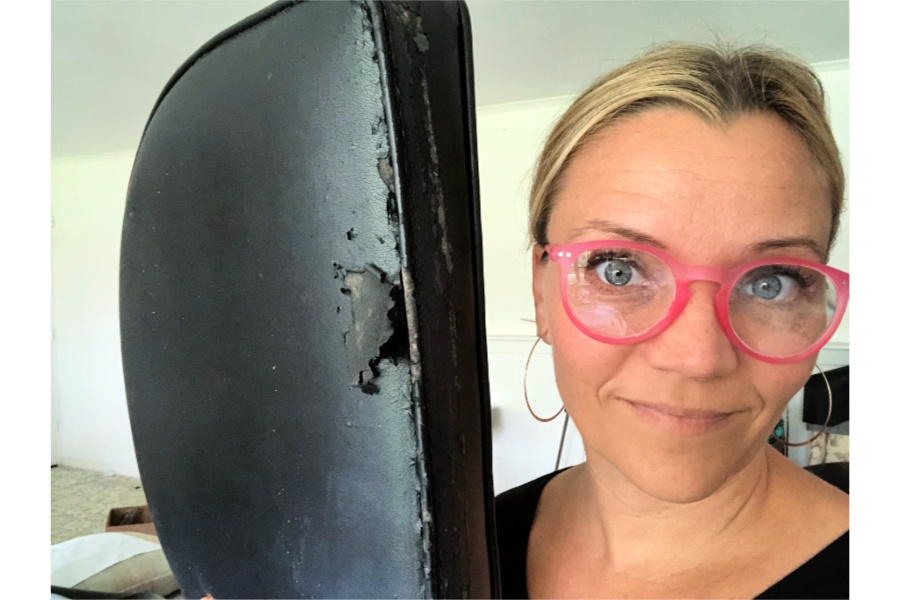
Do You have a dining chairs that look like this????
This post might contain affiliate links…check my disclosure here.
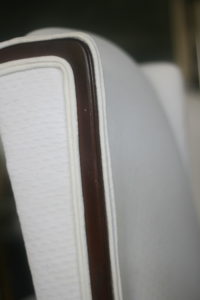
This boxed dining chair seat is generally beyond the DIY realm. The “boxed” design…meaning welt(piping) on the top edge of the foam and the bottom edge, requires sewing welt, cutting the boxing piece, and sewing those two pieces together to create the boxed design. I’ll show you how to make this happen even if you only have basic sewing skills and a home sewing machine. It’s a little time consuming the first time, but not that difficult….

I picked up this cute little sofa table/desk from Craigslist last week. I intended to use it in my foyer but when I placed it in it’s new home it was way too small. Maybe not waaaay, but not what I imagined for the space. No big deal though, because I recently sold the MCM dresser I had behind my sofa so I plopped this sweet little desk behind the sofa and it’s perfect. The wood looks like oak but prettier and it looks cerused(lime washed). I love it.
The original dark green fabric and braided trim had to go asap and my ever growing fabric stash supplied me with plenty of replacement possibilities. So this tutorial will show you how simple it is to replace these seats.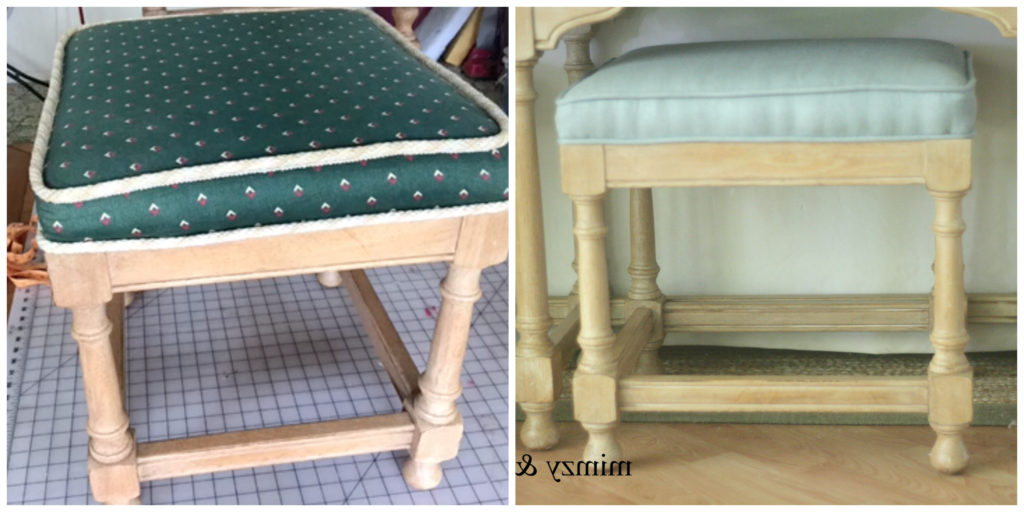
This attached boxed seat cushion tutorial works for a boxed bench cushion like these small benches or dining chairs. You’ll see from the tutorial, these bench cushions are attached to a platform, which is then screwed to the bench frame.
I’ll include a few still pictures of each step of the process of recovering these benches, but it will be an abbreviated version of the “how to” because I made an extensive “how to” video. Probably too much information. My camera skills and video editing leave a lot to be desired, but you have to start somewhere right?
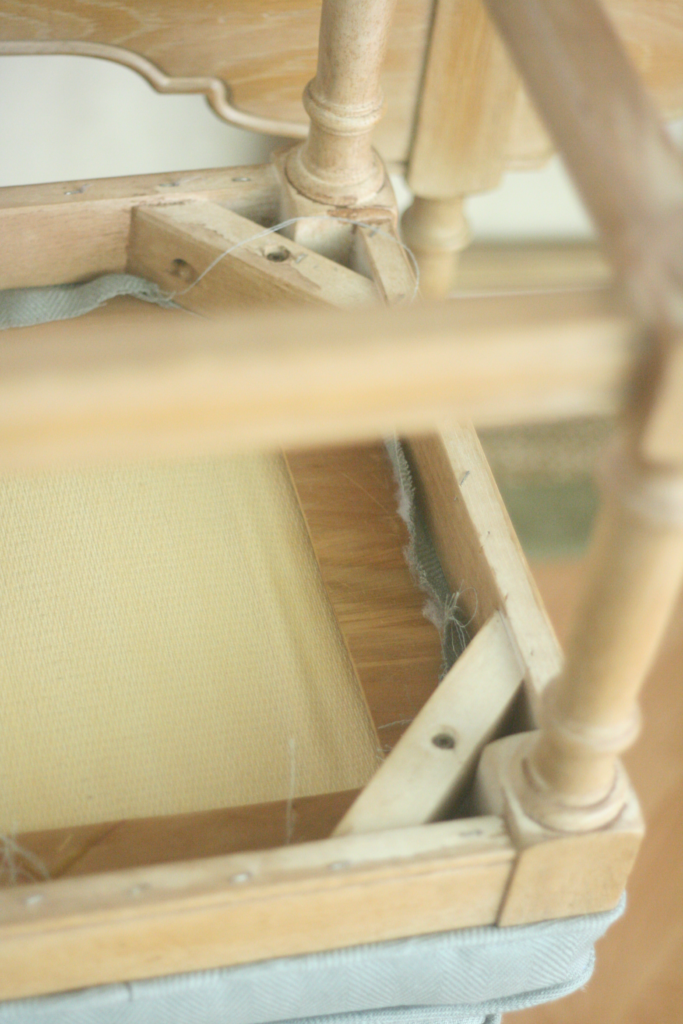
Step one:Unscrew the cushion from the frame. Just four screws.
 2. Remove the old fabric and welt from the cushion. This may not be necessary if the old cushion cover didn’t have welt(piping), and if the new fabric will totally hide the color and pattern of the old fabric.
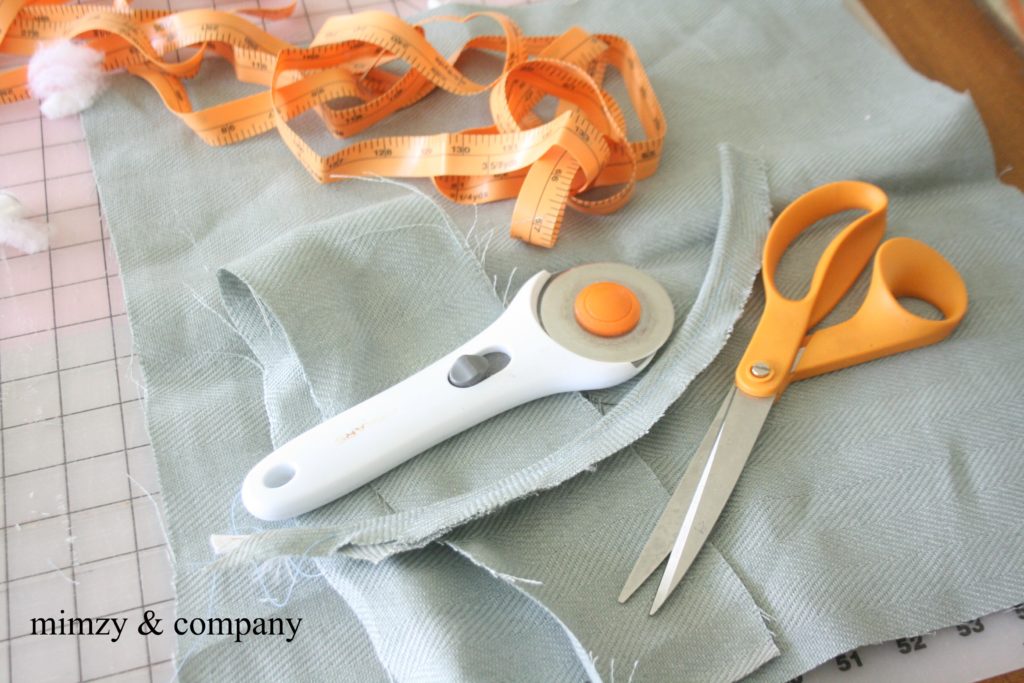
3. Cut your fabric to the proper dimensions. Measure the foam front to back and side to side and add one inch for the seam allowance. Measure the box(the height of the sides of the cushion) and add 3 inches. 1/2″ for the seam allowance and 2″ to wrap around the bottom comfortably.
4. Cut and create welt(piping)….previous tutorial …https://www.mimzyandcompany.com/how-to-make-welt-for-an-upholstered-headboard/
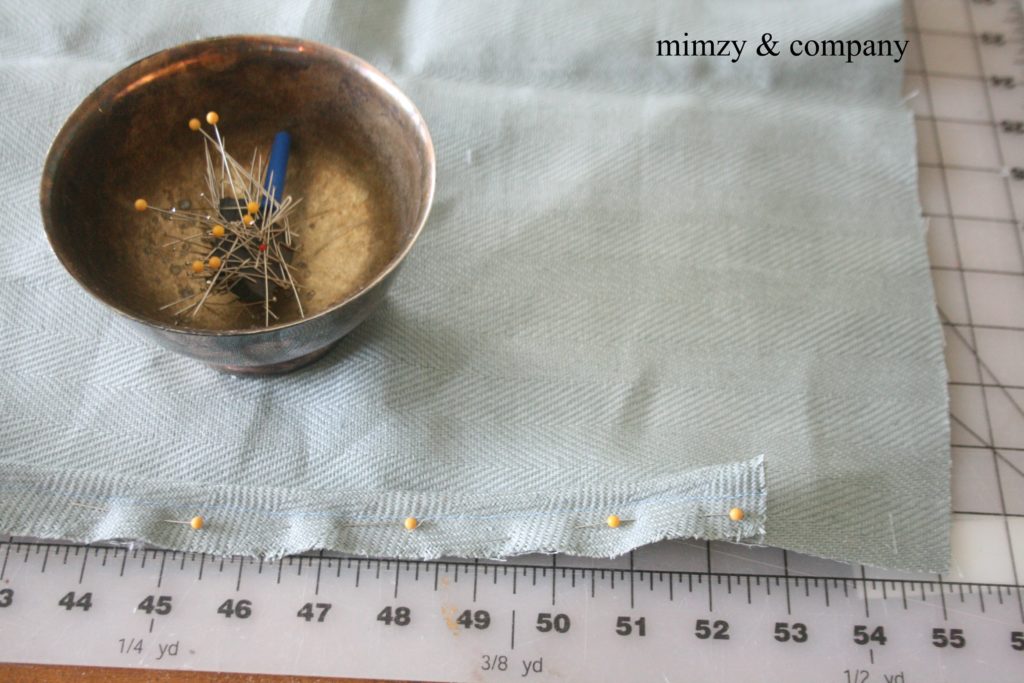 5. Pin the welt to the top piece of fabric and sew it together.
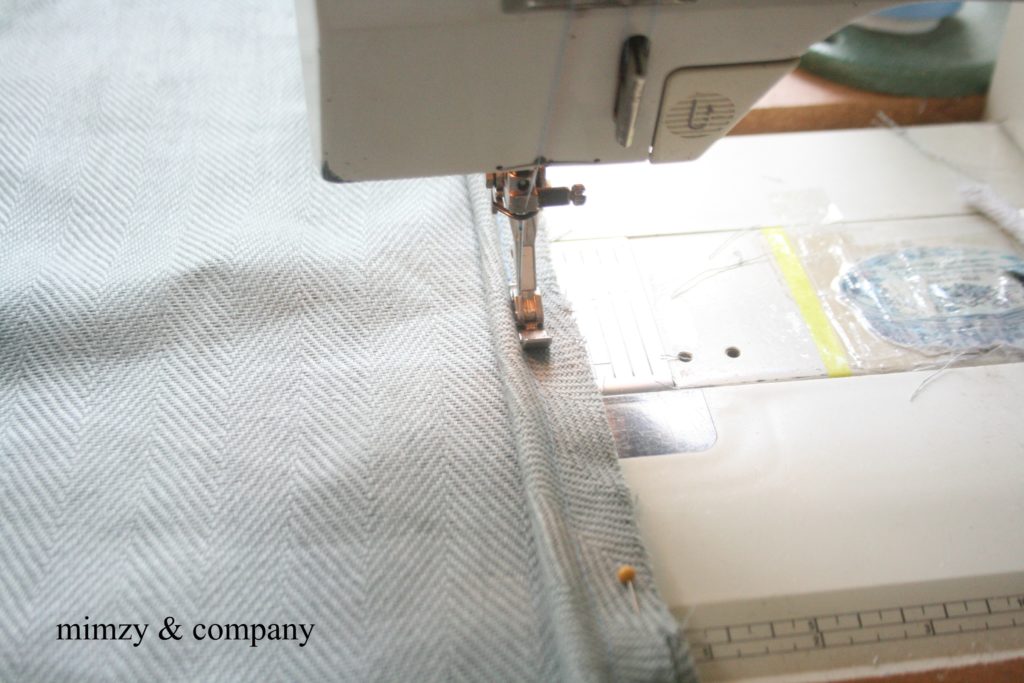
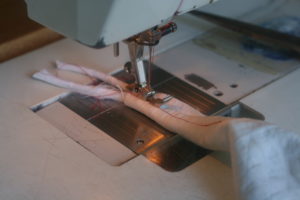
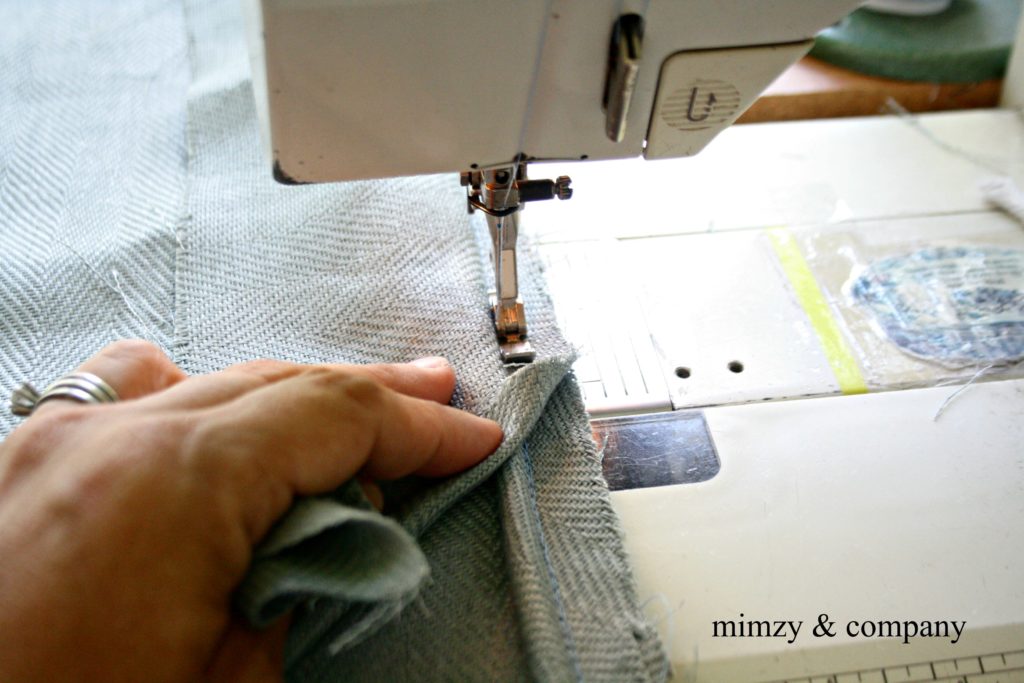 6. Sew the box piece to the top piece of fabric sandwiching the welt in between. Remember, right side of fabric to right side of fabric. Also, the unfinished edge to the welt goes out….I did this wrong so many times when I first started home decor sewing. So, if you turn your piece right side out and find the welt is backwards give yourself a break…it happens.
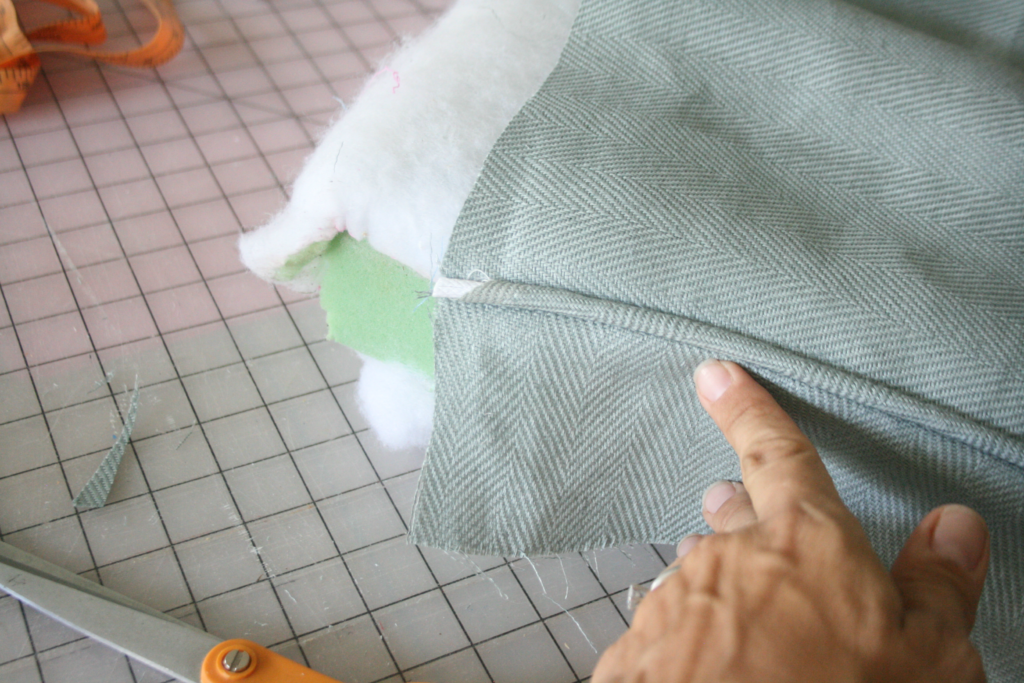
7. Now that all the sewing is complete it’s time to attach the fabric to the foam and staple it together. Turn the fabric cushion cover right side out and fit it over the cushion and the wood platform. You may want to add a little more batting into the corners of the cover to plump it up a bit. 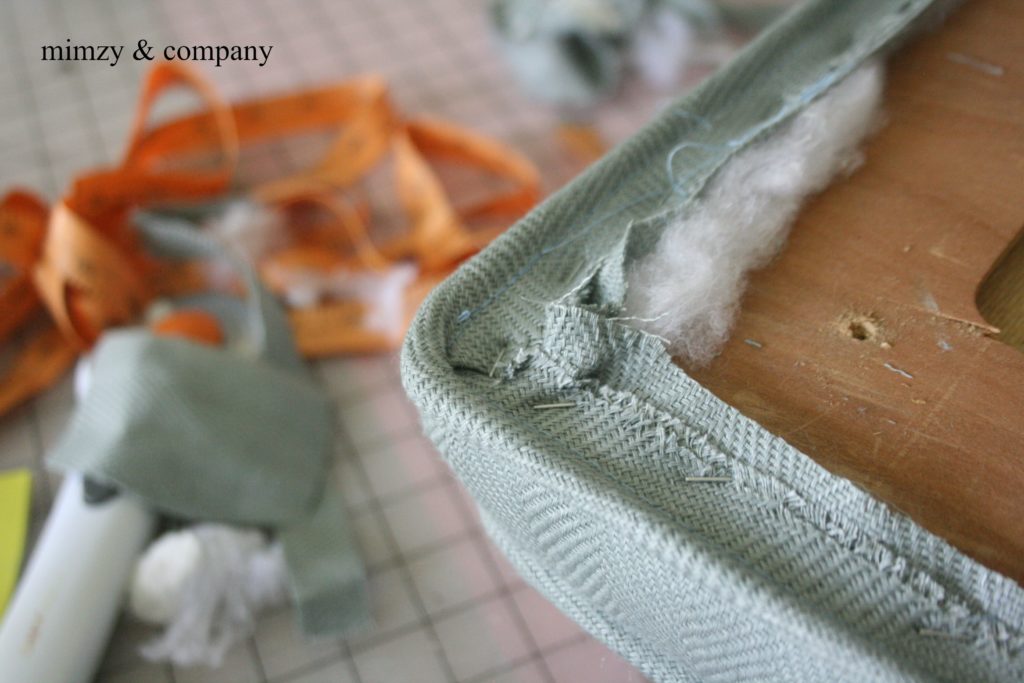 8. Staple the cover to the bottom of the wood platform and attach the bottom welt.
This picture tutorial is over simplified and there are a lot of little steps that are really hard to convey with still pictures. If you want to get the full gist of the project definitely watch the video below. Just be warned it’s a lot of information. 
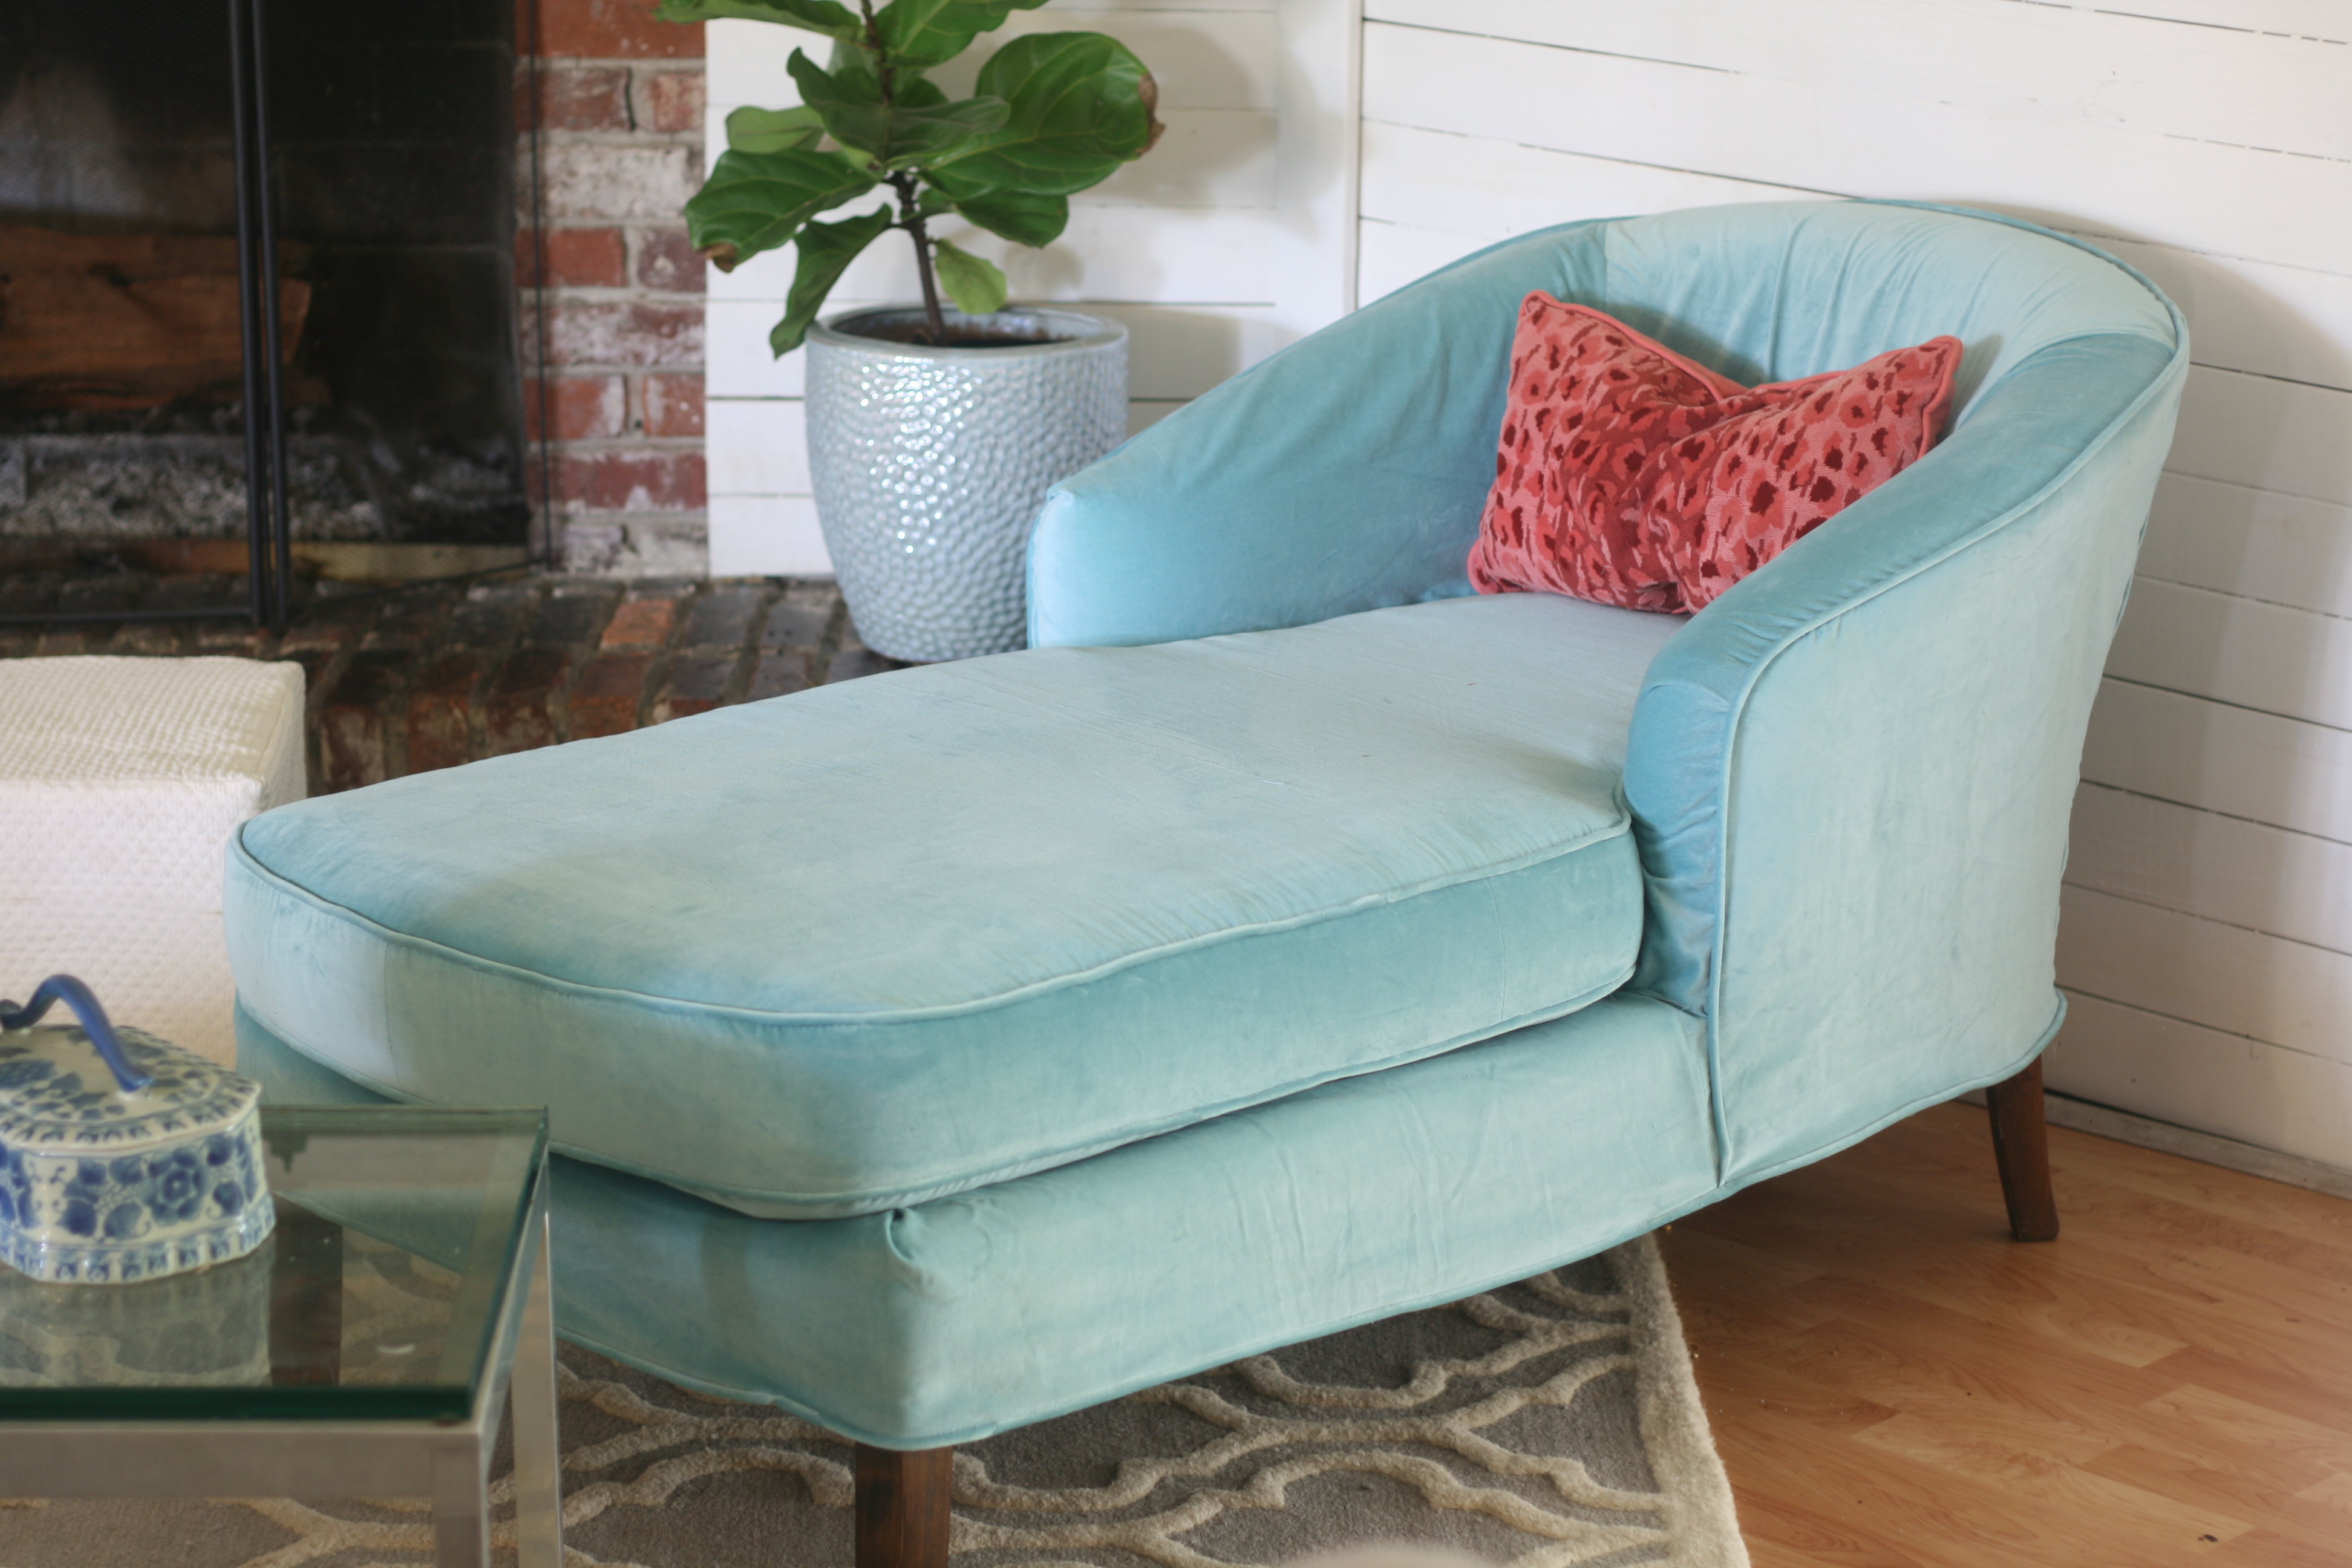
I made a slipcover for myself! My girls room actually, but my house anyway. I bought the chaise lounge at auction a couple months ago for $5. It’s been sitting in my workroom since then staring at me begging for some love.
 The original fabric peeking out from under the slip.
 A lovely floral fabric in decent shape, but just not my style.
  I was hoarding these two clearance IKEA curtain panels in my fabric stash with the intention of making two twin headboards for my guest room, but never came up with a solid plan for that room. Since then, my guest bedroom plans have changed numerous times so I decided to use the curtains for this chaise. I’m so glad I did, it’s so soft and comfy.
 This skirt-less style slipcover is the easiest and fastest slipcover to make. Finish it off with welt and it’s done (although you could just as easily hem it).
  This chaise originally had a floor length skirt with box pleats. It looked a little frumpy so I immediately tore the skirt off and it instantly made it better(flowers and all).
This was super quick and simple update for this chair. When I put it in it’s permanent location in my girls room after I paint, I’ll update you.
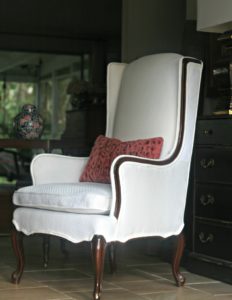 I scored this chair at thrift store for next to nothing. Like $5 or something, and it’s perfectly solid and doesn’t smell! Even though I have a garage full of projects, I just couldn’t pass on the deal because it’s such an easy style to reupholster.
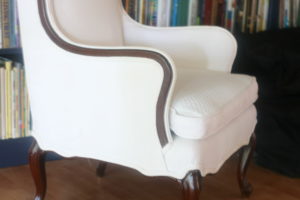
I love to see a good upholstery before and after, but I’m always a little let down when someone finishes the project with gimp or rick rack cording. It just looks cheap to me. I know it’s easier than cutting bias strips and making double welt but it’s soooooo worth the extra time. It’s the icing on the cake.
 I have a tutorial here about how to make single welt cord, and the double welt is the same thing you just make the bias strips wider and add and extra piece of cording. It’s super simple and anyone with a sewing machine can make double welt. It doesn’t require anything other than a zipper foot(or a double welt foot).
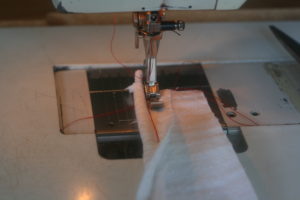
It’s really only one step more than making single welt. Then once the welt is made you just hot glue it in place. It might require a staple or two at the beginning or end of a length of cord but that’s all. I always feel like I’m cheating when I use hot glue but that’s how it’s done y’all.
I made a quick video because I think it’s just easier to see the process on video. If you have any questions about how to make welt please comment below.
How do you feel about rick rack and gimp? Does it bother anyone else?
Also….I’m not for hire. I don’t do upholstery except for myself and resale. HOWEVER….if you want a slipcover feel free to ask. I do have a fantastic upholsterer if you want a reference and are in my area.
I’m out of the weeds y’all! I’ve been so busy with client work that I’ve had zero time for anything around here. At the first of this year I intended to really get busy and finish some projects and start a few new ones, but that was all sabotaged by constant sewing work. I’m not complaining though, 😉
Last year I installed my closet cabinets and made a headboard for my bed. (closet post here and headboard post here) I put the headboard in the room just after the first of the year and that’s about it. I bought fabric for a roman shade and a duvet cover but it sat on the shelf since then.
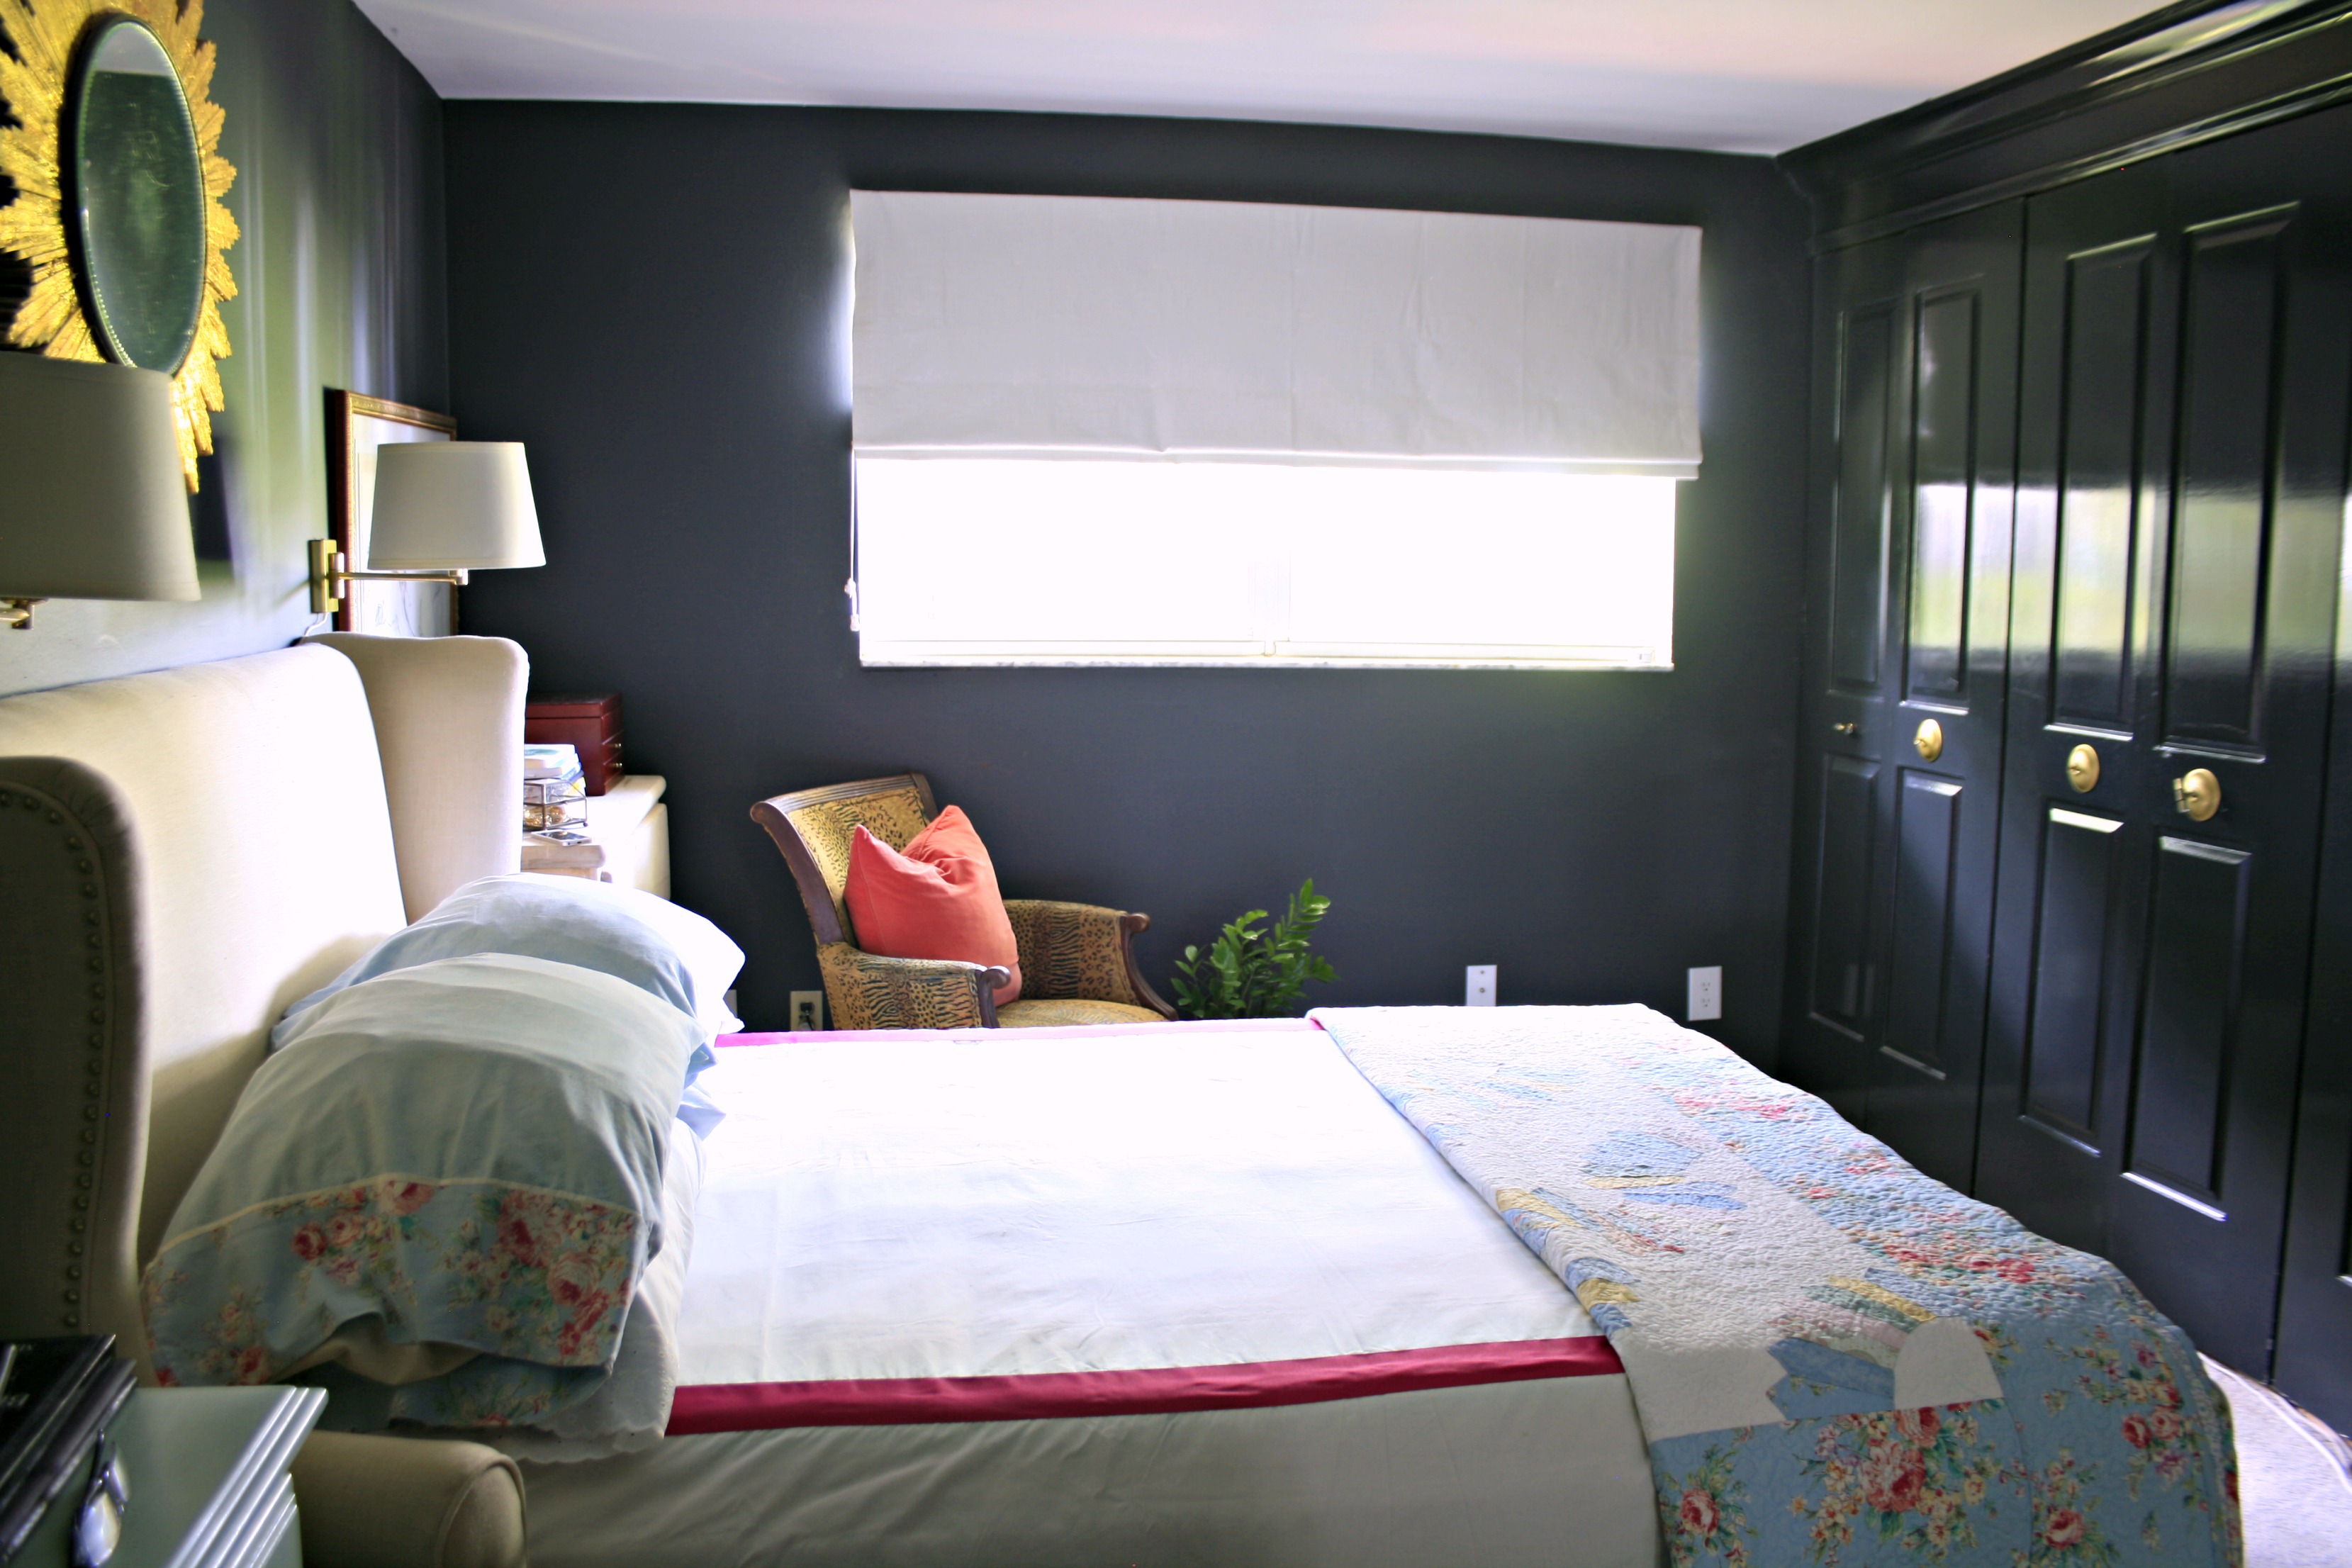
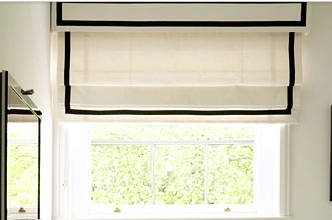
So, I actually had to close my workroom for the month of July so I could clear my client list and have a couple weeks to do a few projects around here. Client work begins again in August and then my sewing machine is on fire until Christmas. 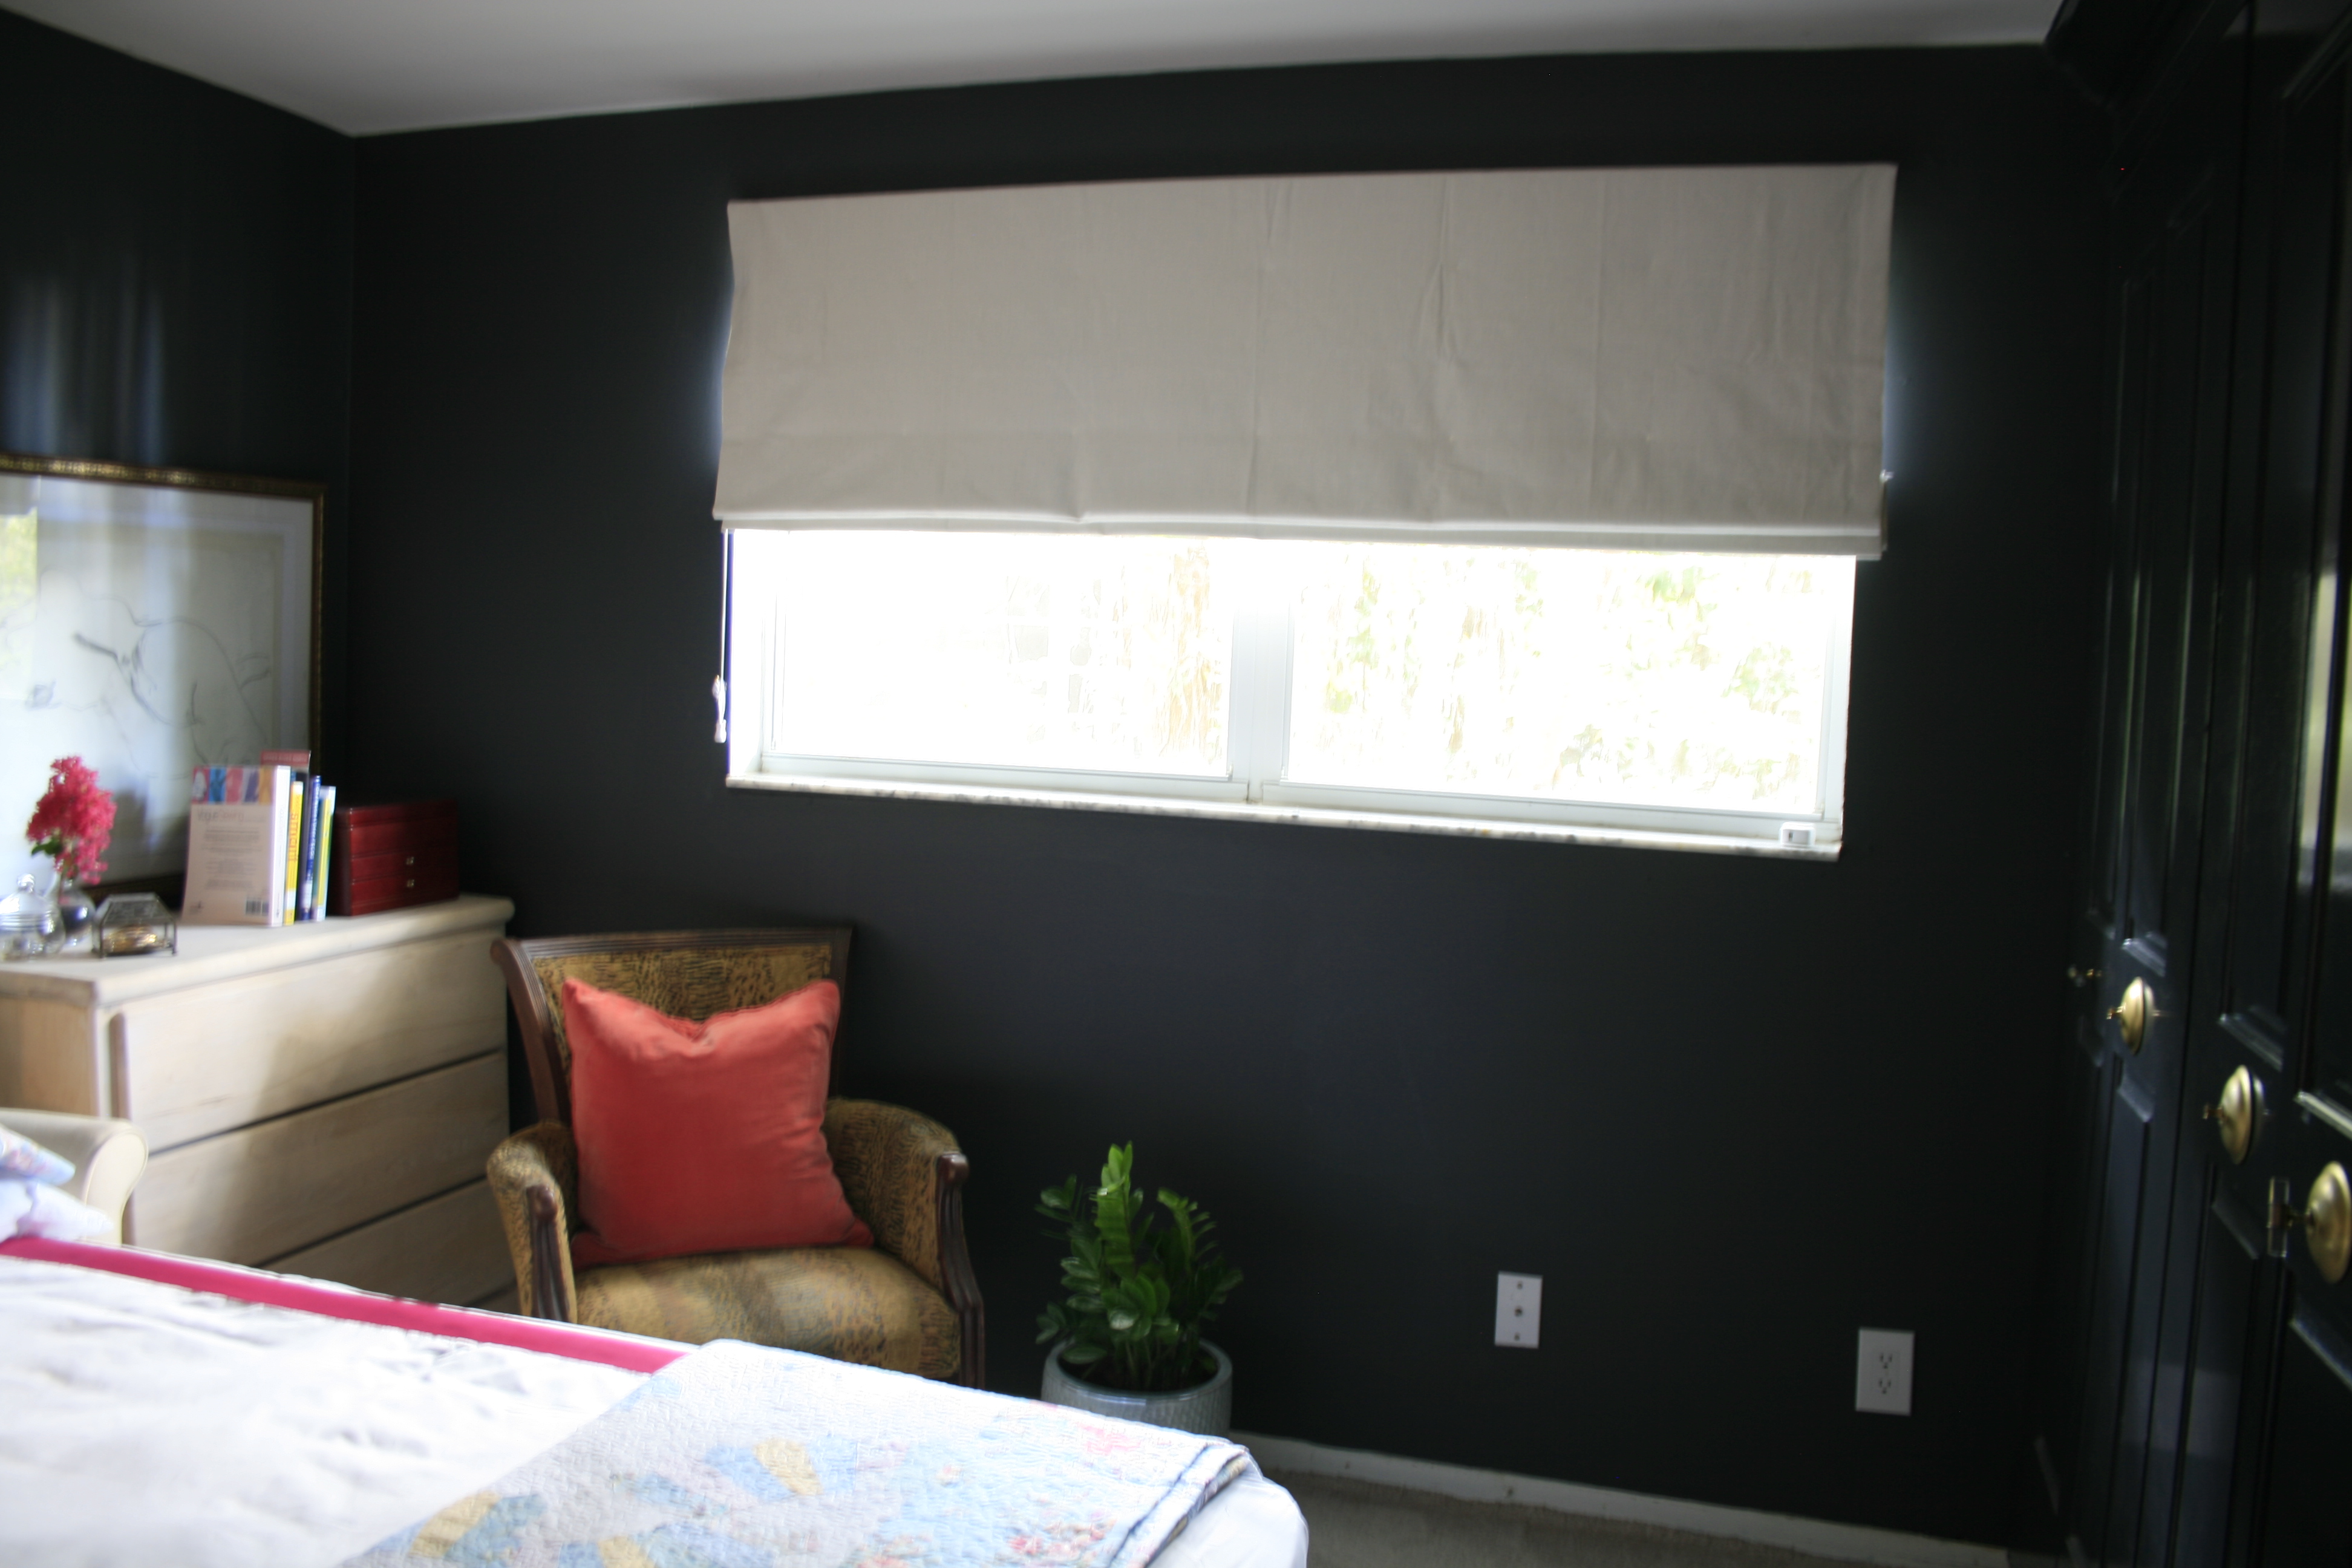 I made the roman shade the other day and wish I had thought it through a little more and made it come all the way to the ceiling, I’ll just have to put a valance(pelmut box) over the top and possibly add trim similar to the picture below. It’s pretty boring now but still waaaay better than the blinds I had previously. Plus, I used blackout lining, so they make my room super duper dark, which we love!
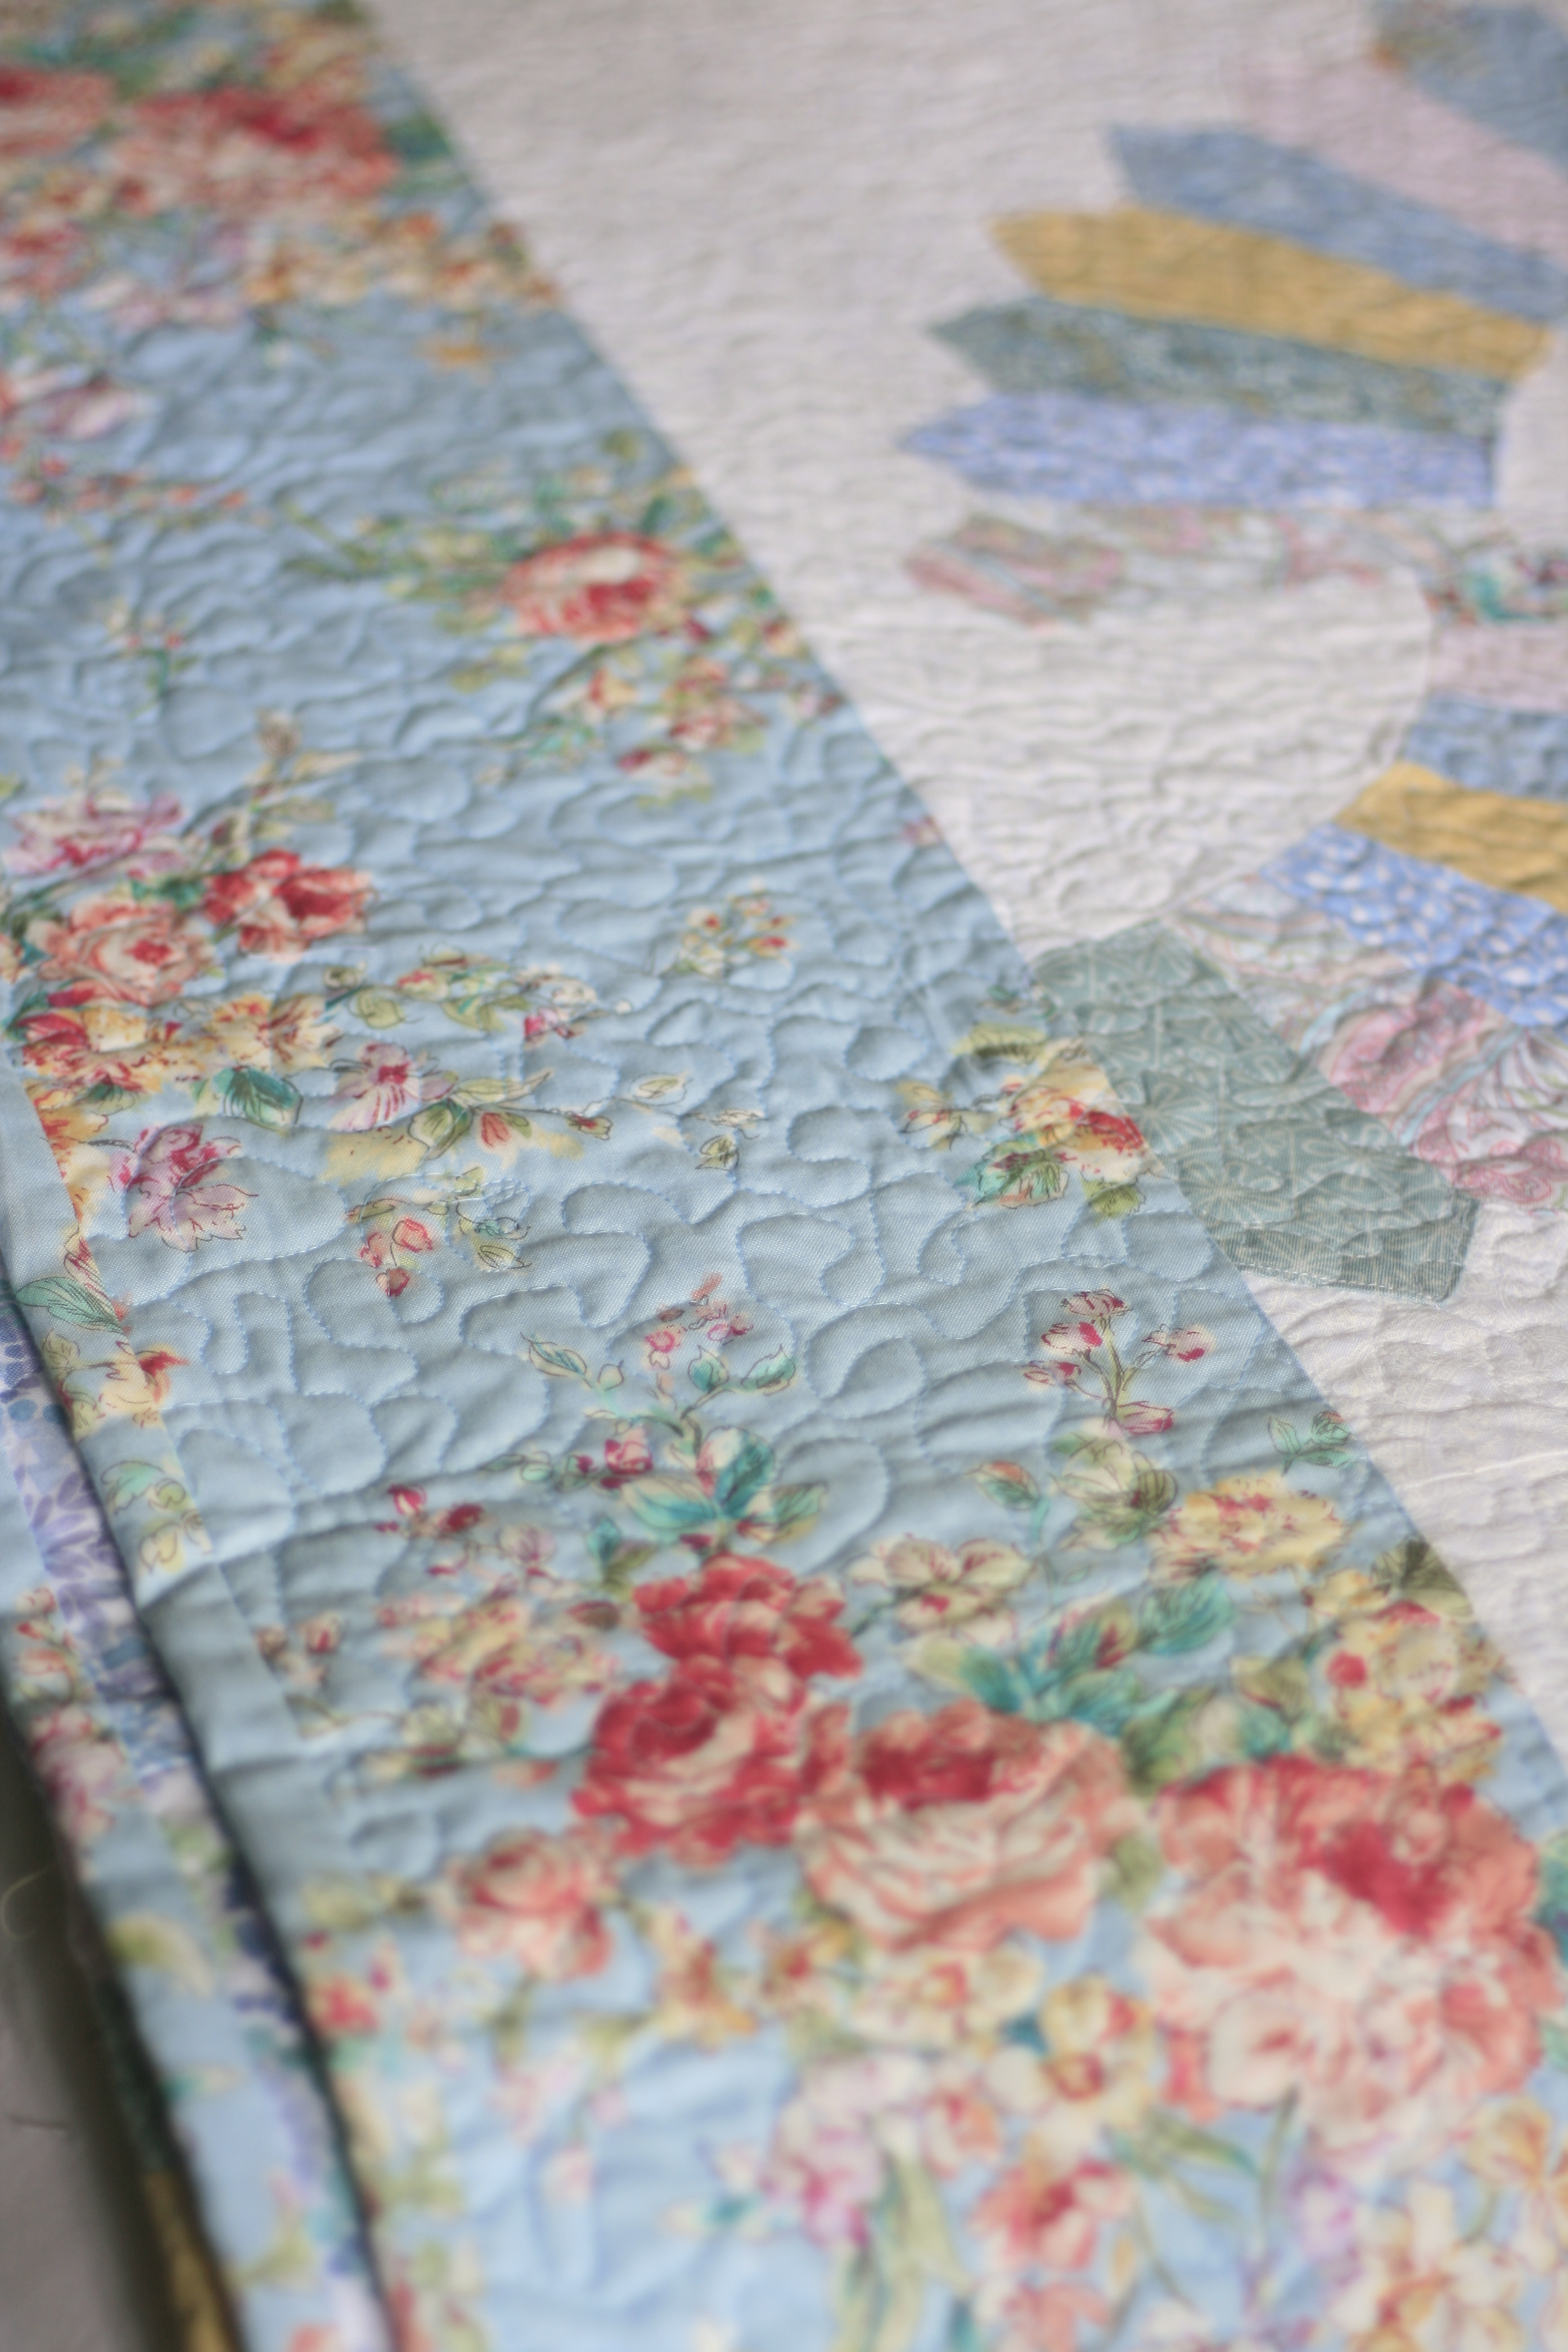
My mother in law made this lovely quilt for my bed along with the matching pillow cases. I love it so much! I think it’ll be an heirloom.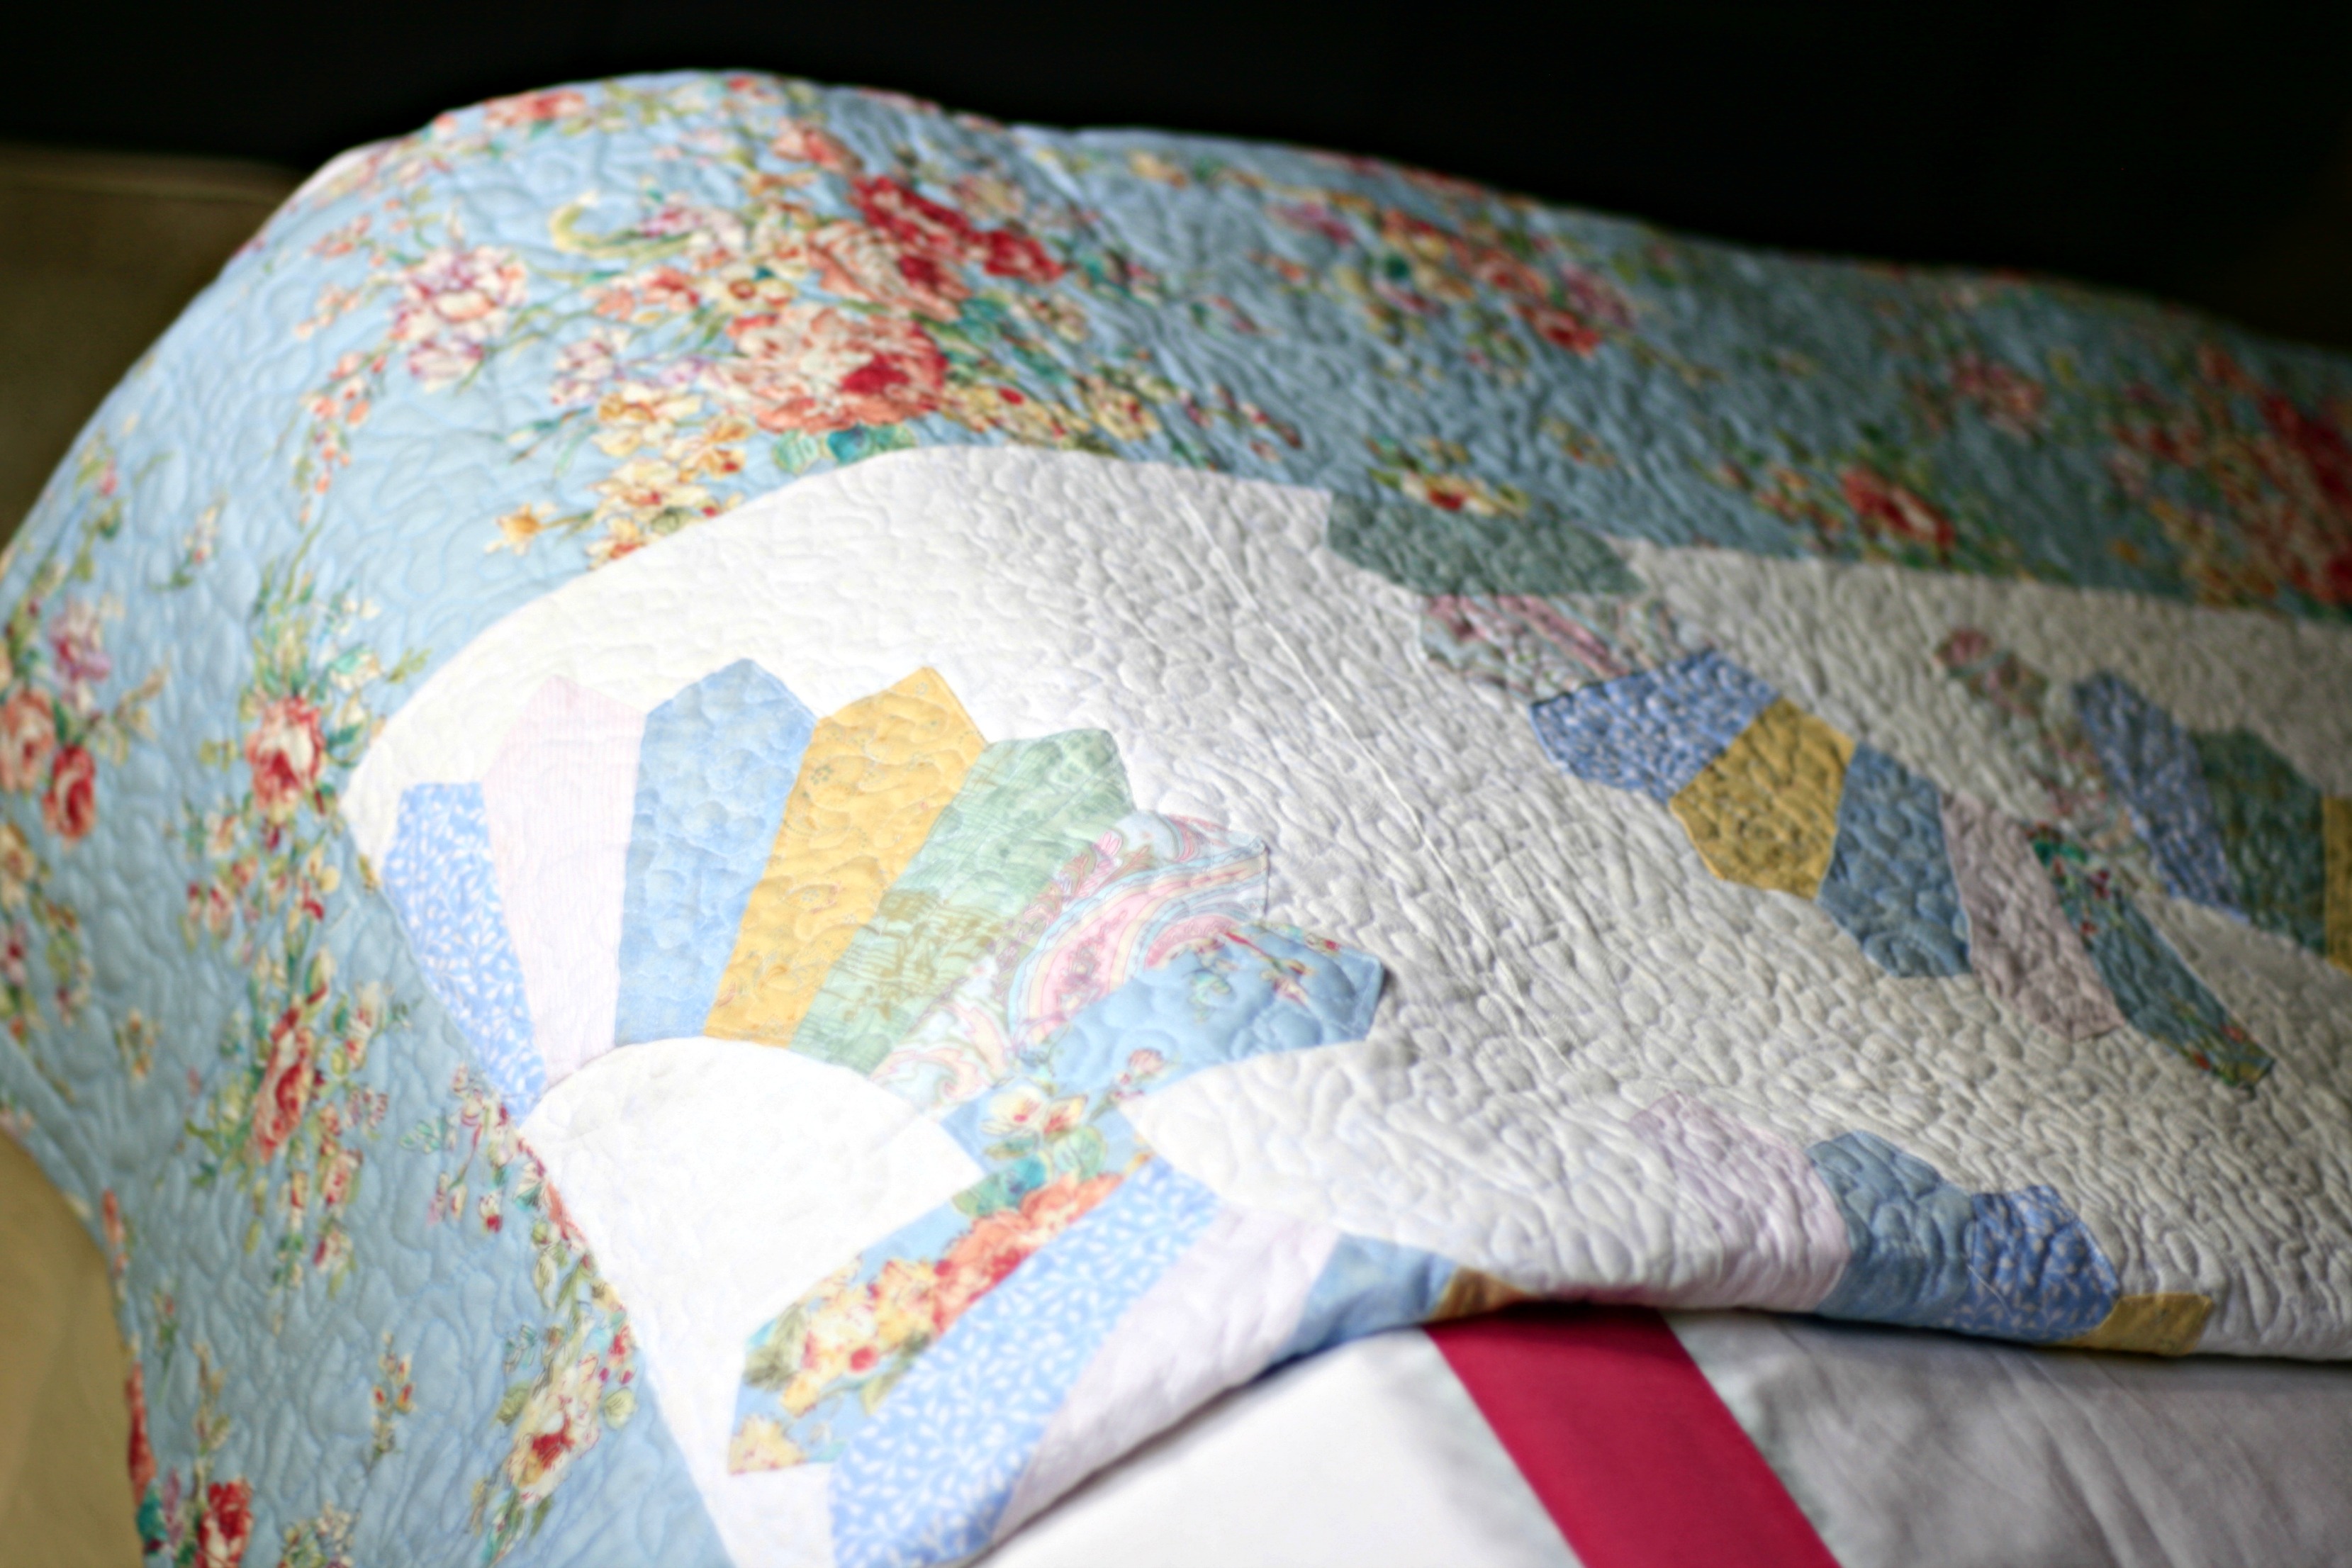
 The duvet cover with the pink/fuschia ribbon trim I recently made.
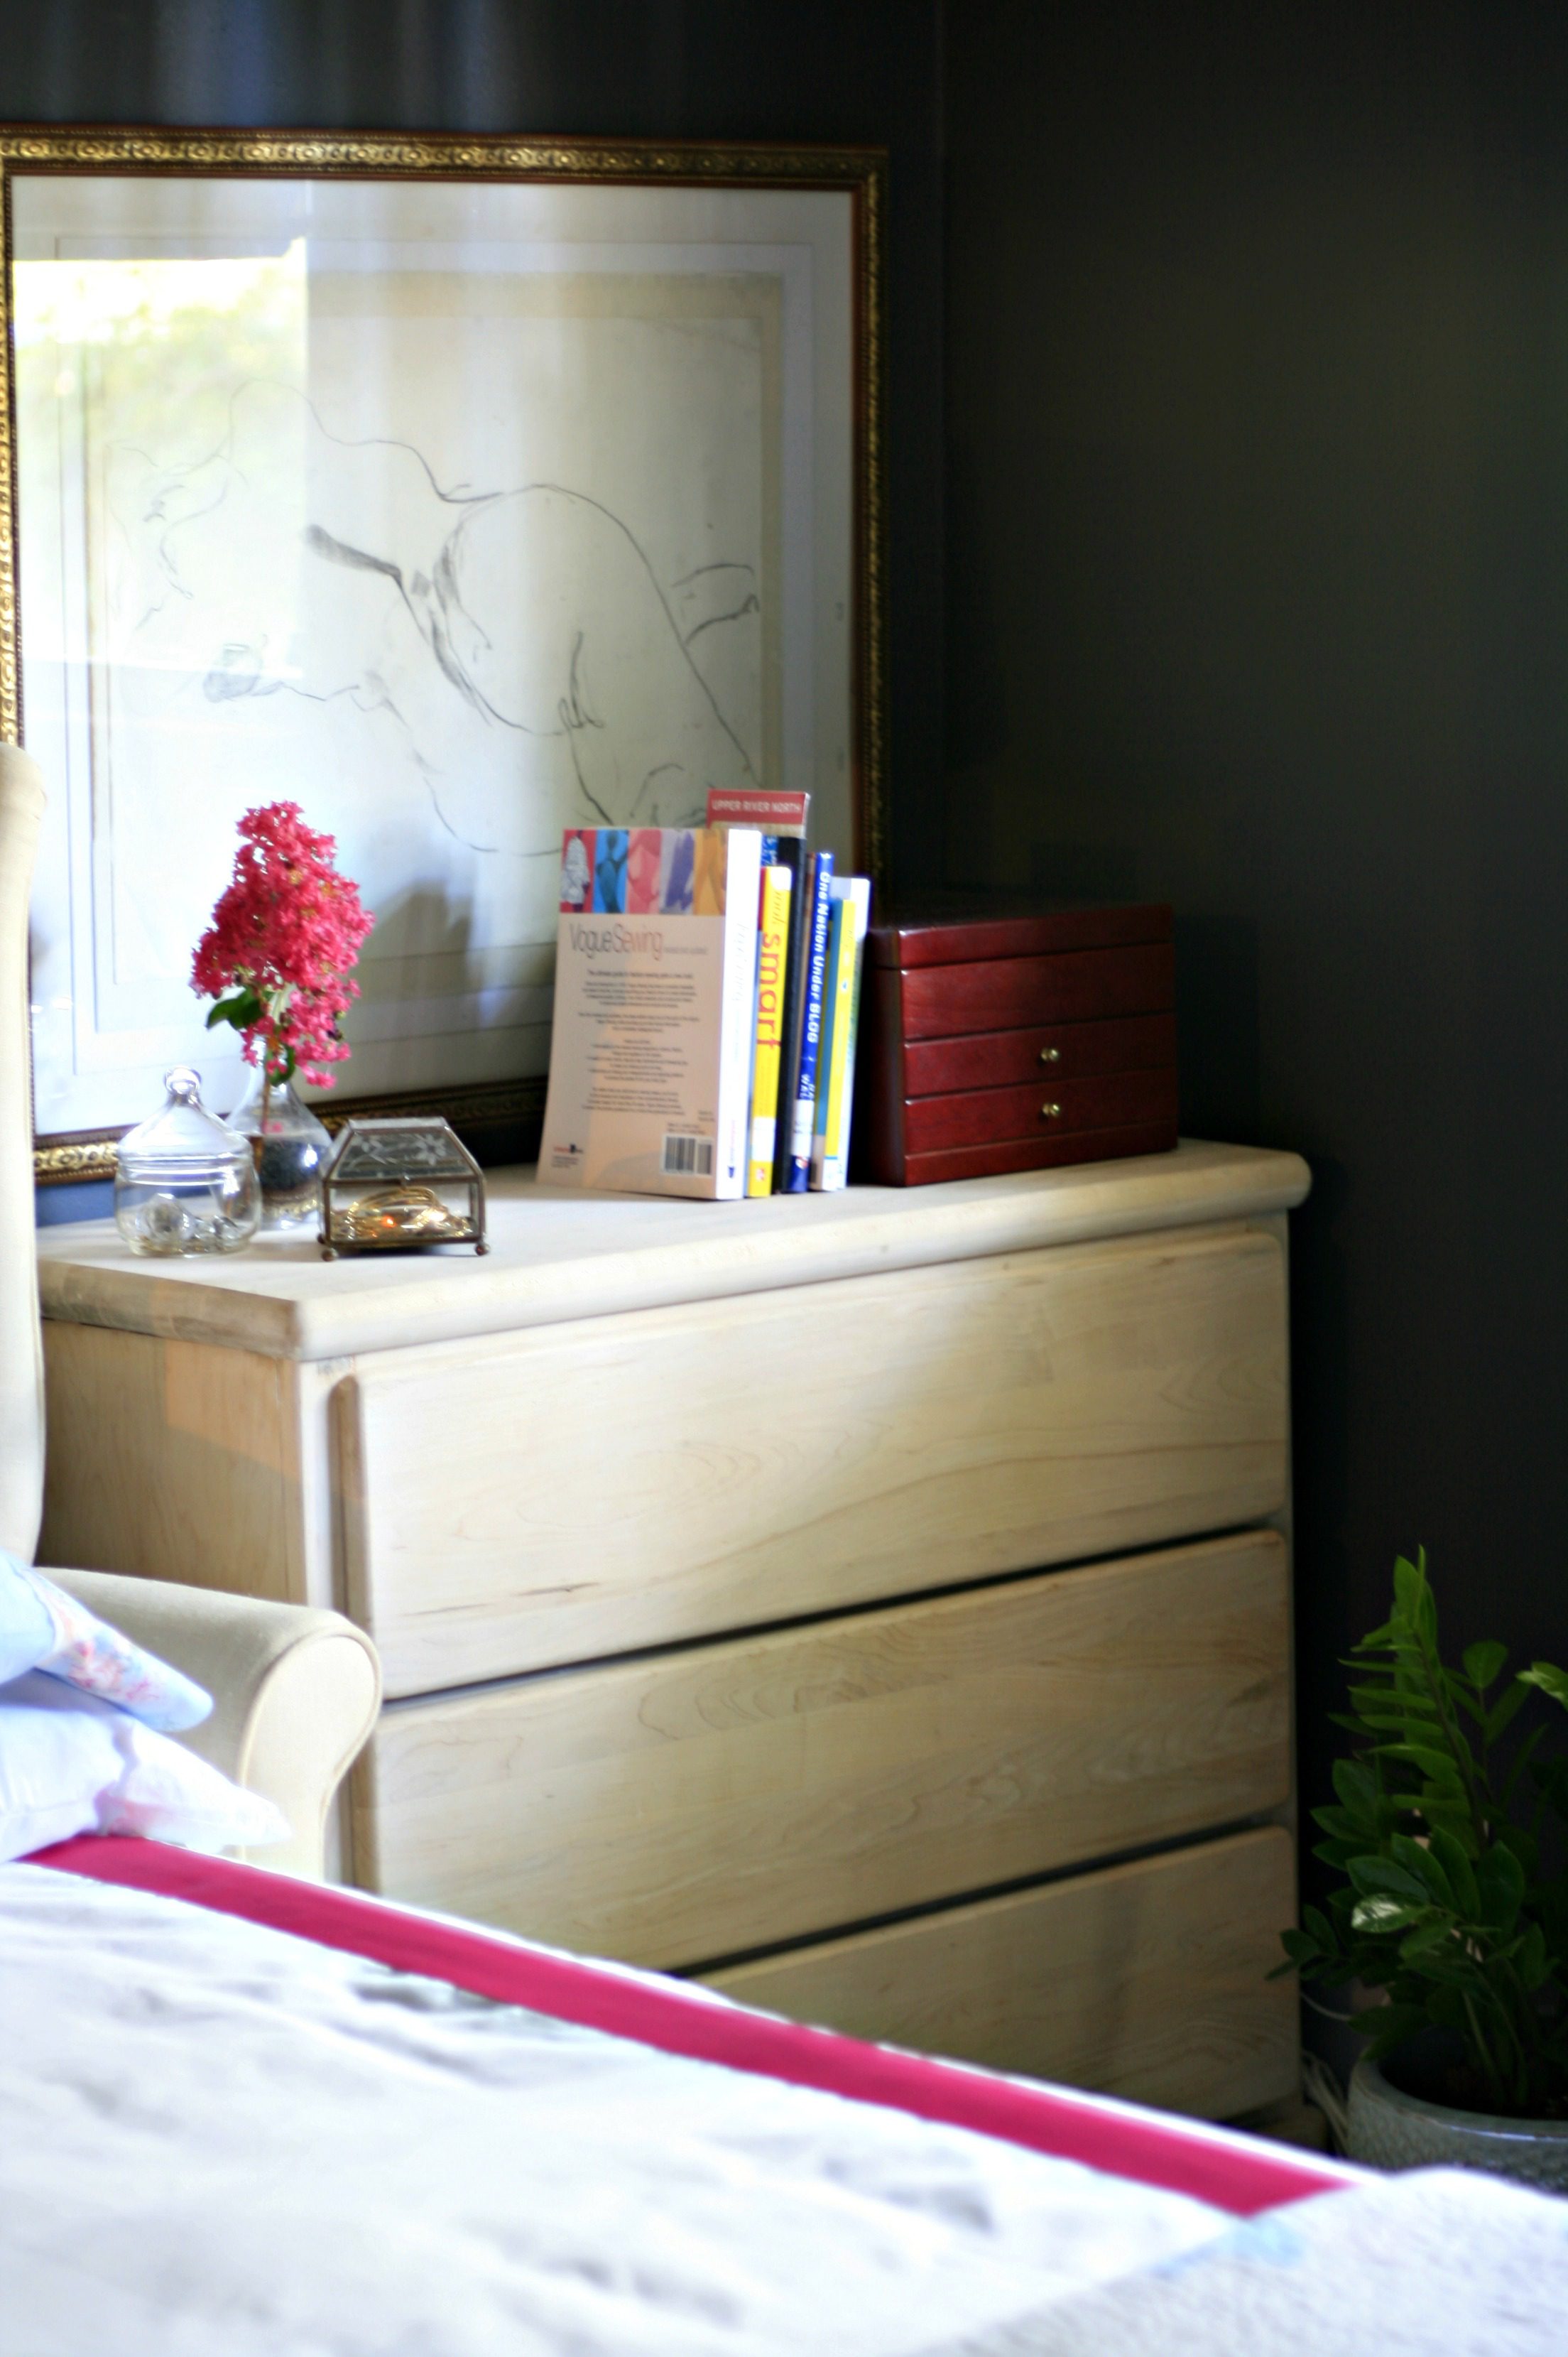
This dresser was recently given to me by a good friend. I stripped it yesterday and now I’m really not sure what to do with it. I initially thought I would leave it natural and just wax it or hemp oil it. But now that it’s in the room I kinda want to high gloss paint it or lacquer it a saturated color. I need some suggestions.
 Fool-proof mirror cleaning anyone?
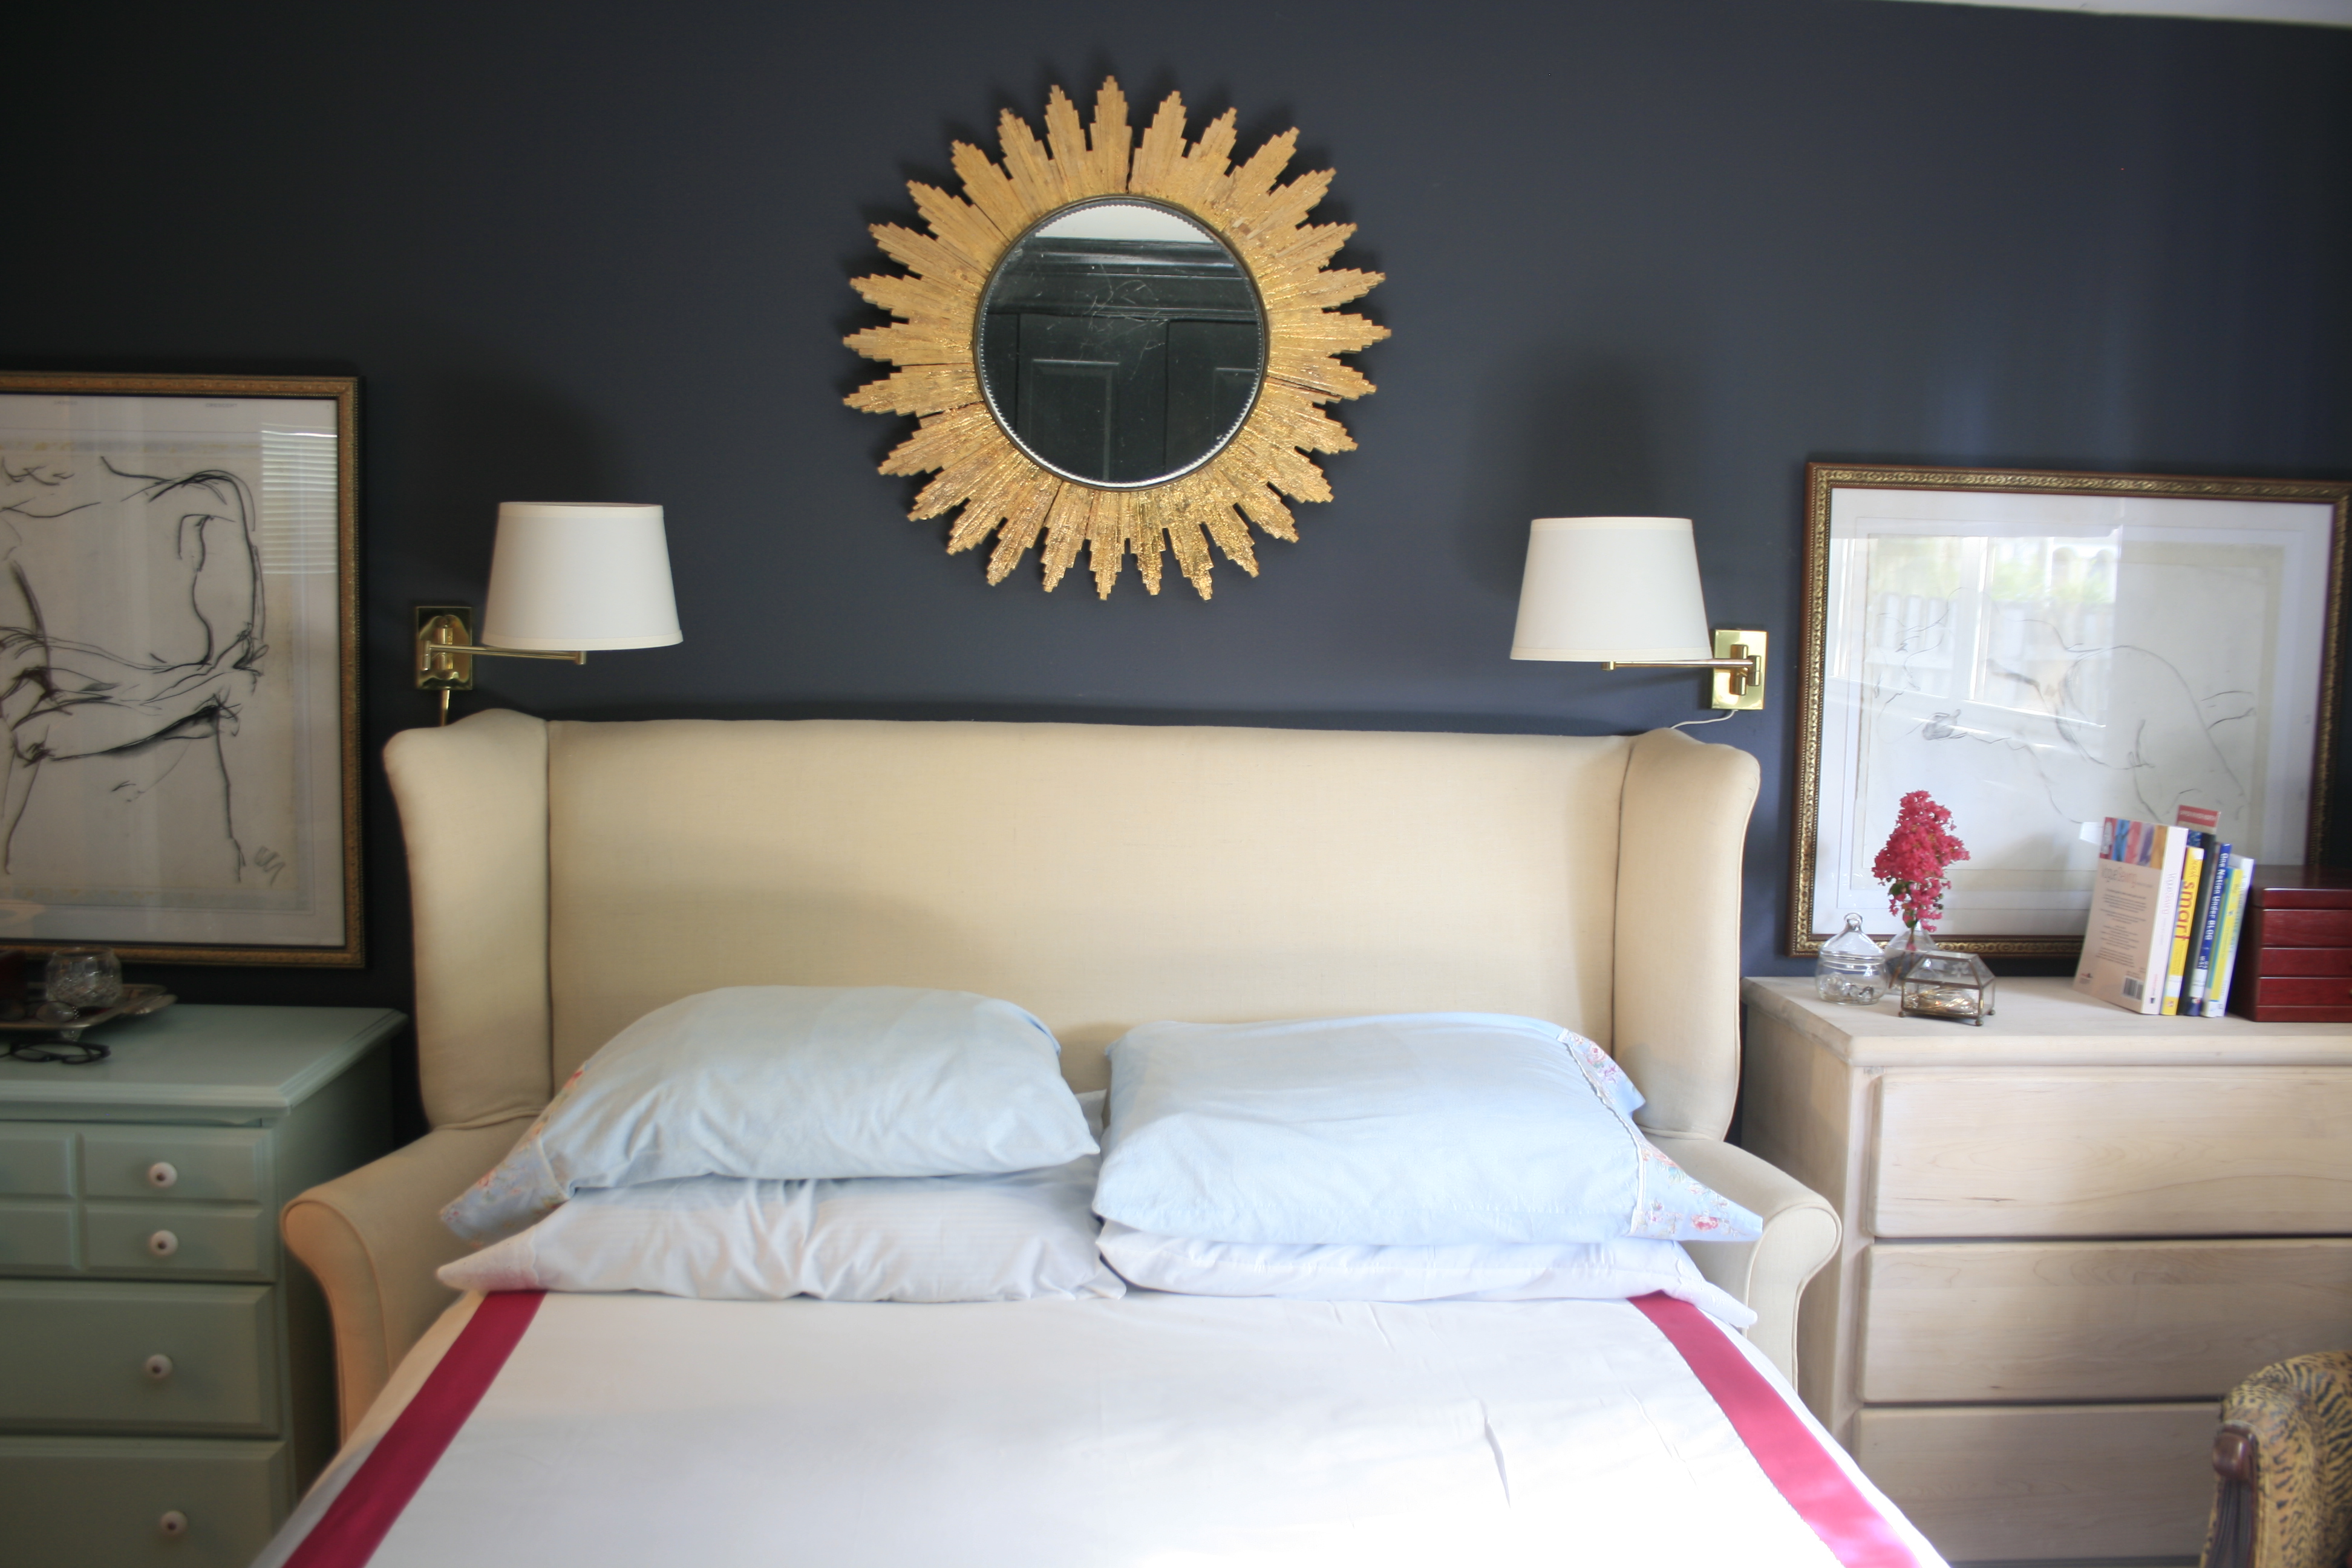
That’s where I am with my bedroom progress. It’s coming along and I’m happy with the progress but still have a few things I need to finish.
I could really use some suggestions on the dresser. Please tell me what you think.
Then on to the master bathroom…