Holy Smokes! How does one week pass by so quickly?! Week one of the One Room Challenge has been less productive than I hoped. My plan was for demo to be complete this week, but life has been extra busy. On top of my usual crazy routine, we’re hosting a foreign exchange student from Austria. The exchange program was arranged through my son’s piano teacher at school and the intention is for the students to see what it’s like to live like an American student. So, they’re shadowing the students through their school day and any other activities they may have after school. It’s been sooooo fun but I put off the bathroom demo a few days to accommodate our guest. So this week I mostly planned, shopped and sourced all my products. I went Tampa Salvage to scope out the vintage tubs and sinks. 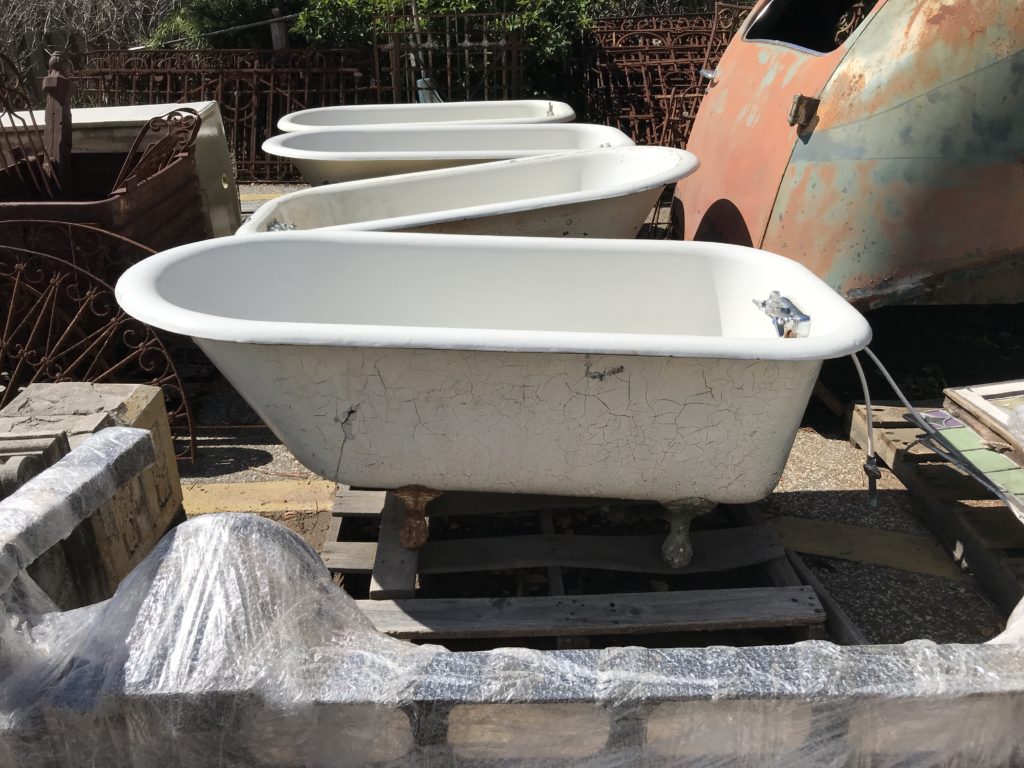 I haven’t seen this many clawfoot tubs in one place before. I think they had ten tubs! Usually salvage shops may have one or two very beat up tubs, but this place had an abundance and they all look decent. I want one that has the spigot holes in the tub so I don’t need to install a freestanding faucet. It’ll save money and plumbing time.
 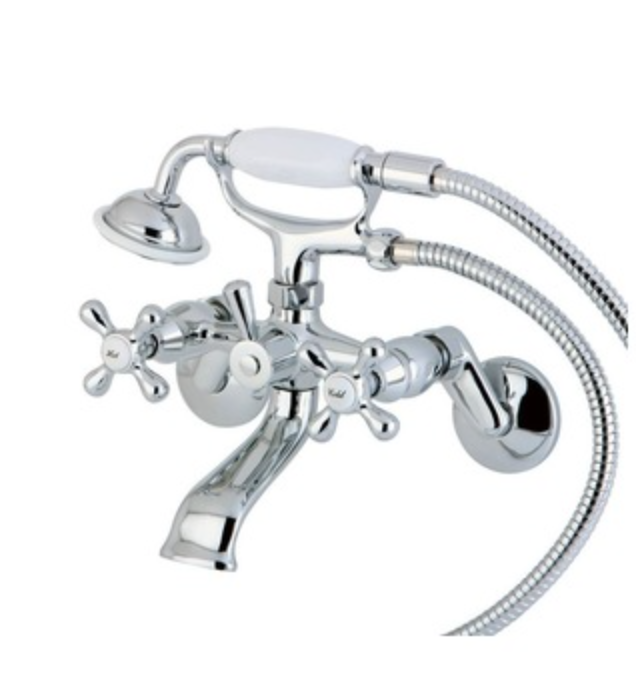 This is the type of tub faucet I want. I’d love a brass model of this but it depends upon all the other fixtures in the bathroom. I know I can mix metals but I prefer to keep the metals the same on the shower, tub and sink, and I haven’t found the right affordable brass shower fixtures yet.
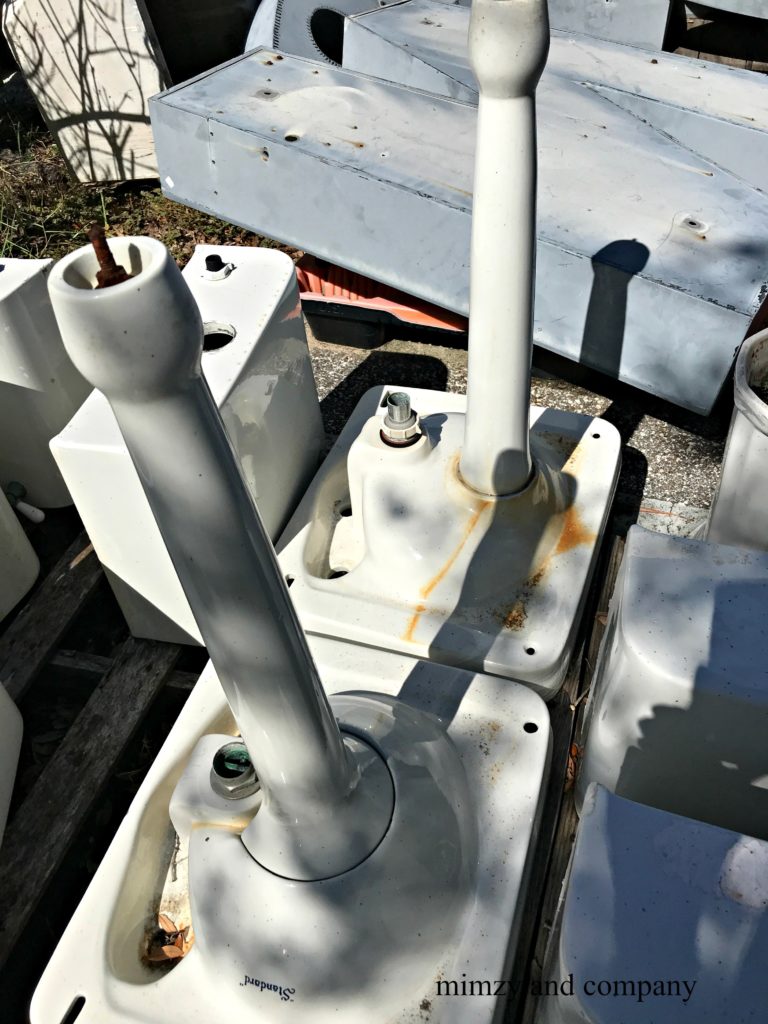 After seeing these 1920’s peg-leg pedestal sinks I’m 99% sure I’ll use these. See the “standard” stamped on the bottom? The salvage shop owner told me that the company was called Standard before the name was changed to American Standard we now know. I thought that was interesting.
 I’m generally very committed to function and I know if I have a double vanity I’ll have much more storage but…the vanity creates a large space for stuff to accumulate. Both on top and inside the vanity. The current vanity is covered with junk most of the time. I feel like the pedestal sinks may solve the clutter problem. I plan to use these recessed medicine cabinets above each sink for toothbrushes, toothpaste, etc.. And I’ll have some sort of basket or something for toilet paper. I plan to make something special for hanging and placing the hairdryer and flat iron while in use…that’ll be a post on it’s own.
 I think I may need to refinish the sinks, but I won’t be sure until I get them home and clean them up. I’ve done my kitchen sink(here) and it’s pretty simple. I think the bathroom sinks will hold up better since there’s no pots and pans banging around inside.
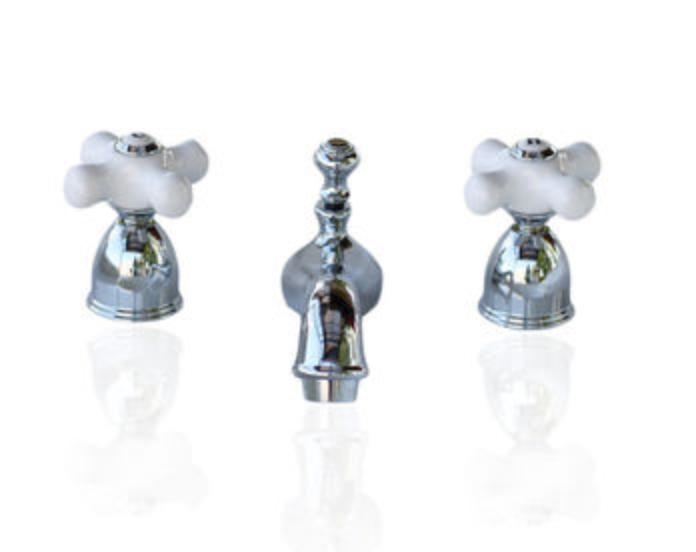
These simple faucets for the pedestal sinks are appropriate I think.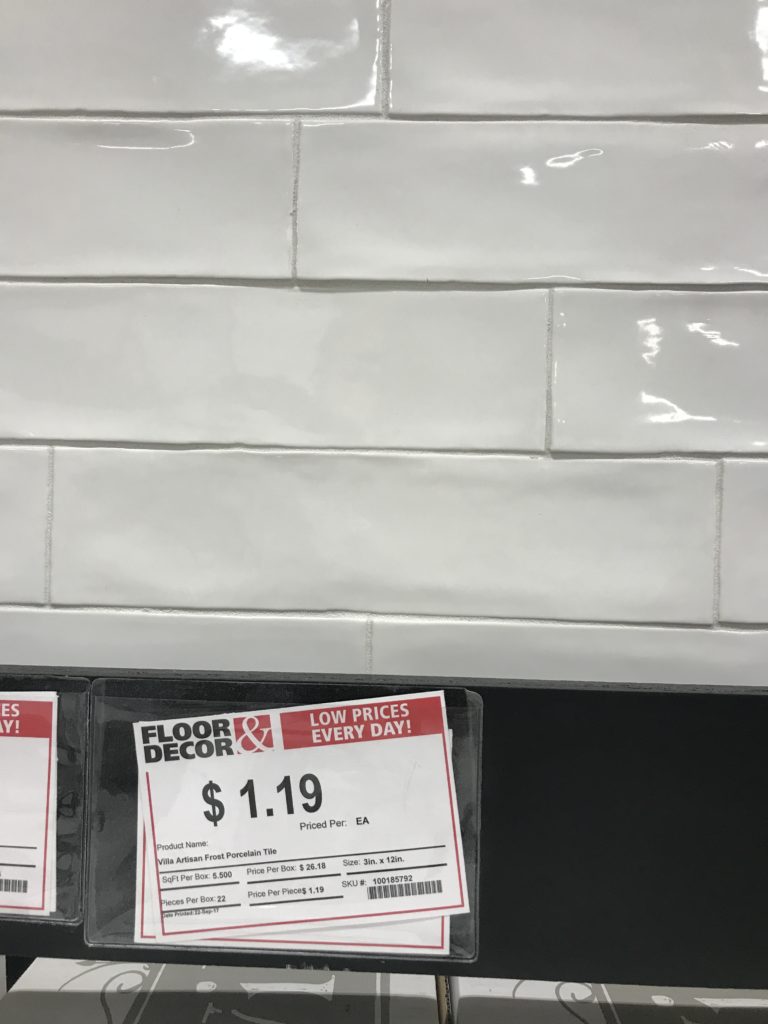
This is a close up of the wall tile I plan to use. I love the wavy edges of it!
Today I went to Interiors trading(a huge “to the trade” fabric and wallpaper wholesaler) to look for fabric for the shower curtain and also possible wallpaper options for above the tile in the bathroom. It was totally overwhelming and I didn’t come away with anything for the bathroom. I did, however, find a wallpaper for my girls bedroom.
I really want pale pink linen or linen blend for the shower curtains, so I’ll probably end up ordering online. 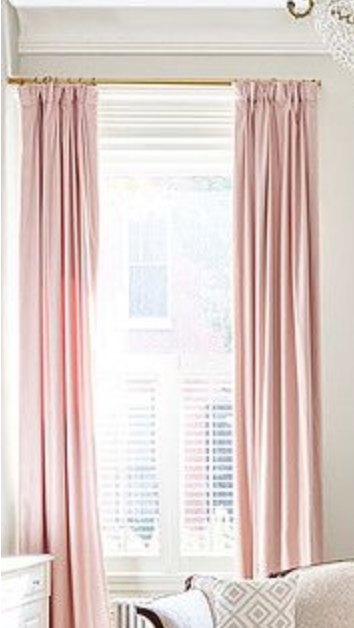 I’m off to Denver this weekend to visit with friends. Then next week will be hardcore demo and hopefully big progress toward my goal. If you missed my original design plan check out last weeks One room challenge post here.
Also, check out the other featured bloggers and guest bloggers here. So much inspiration! Boxwood Avenue | Coco & Jack | Design Manifest | IBB for DWD | The House That Lars Built | Little Green Notebook | The Makerista | Making it Lovely | Old Brand New | Old Home Love | The Painted House | Megan Pflug Designs | Pink Pagoda | Erica Reitman | Sacramento Street | Simply Grove | Jill Sorensen | Sugar & Cloth | Vintage Rug Shop | Waiting on Martha * Media Partner House Beautiful | TM by ORC
Have a great weekend!


 My kids bathroom. Not sure if this room is the right choice for the ORC due to the scope of the project, but I have a pretty solid plan so I’m going for it.
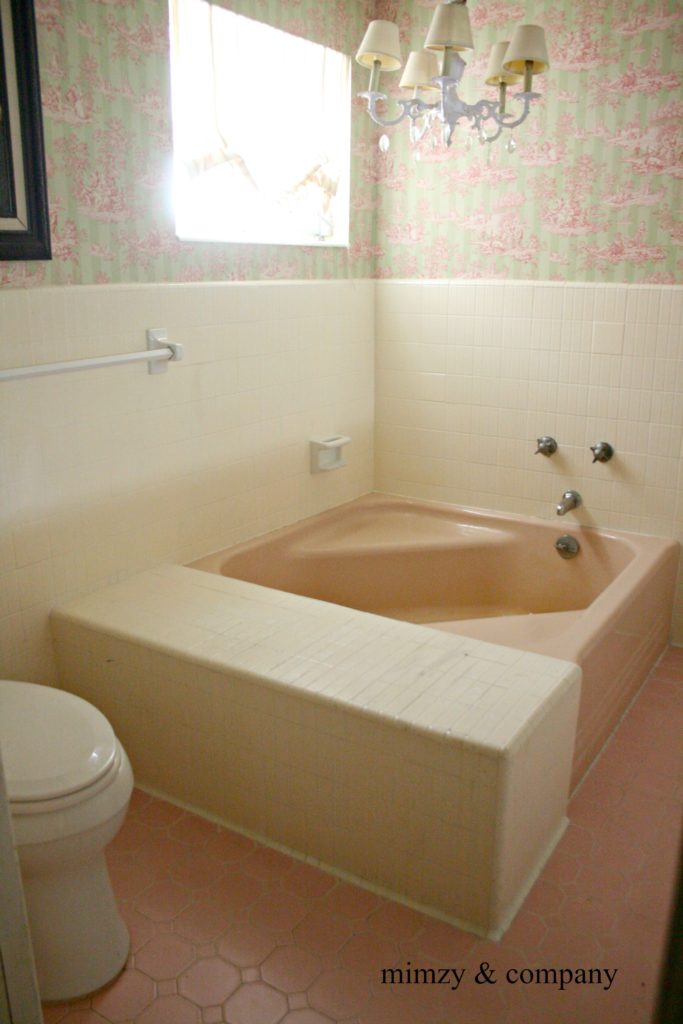 Obviously it needs a lot of love. Down to the studs kind of love.
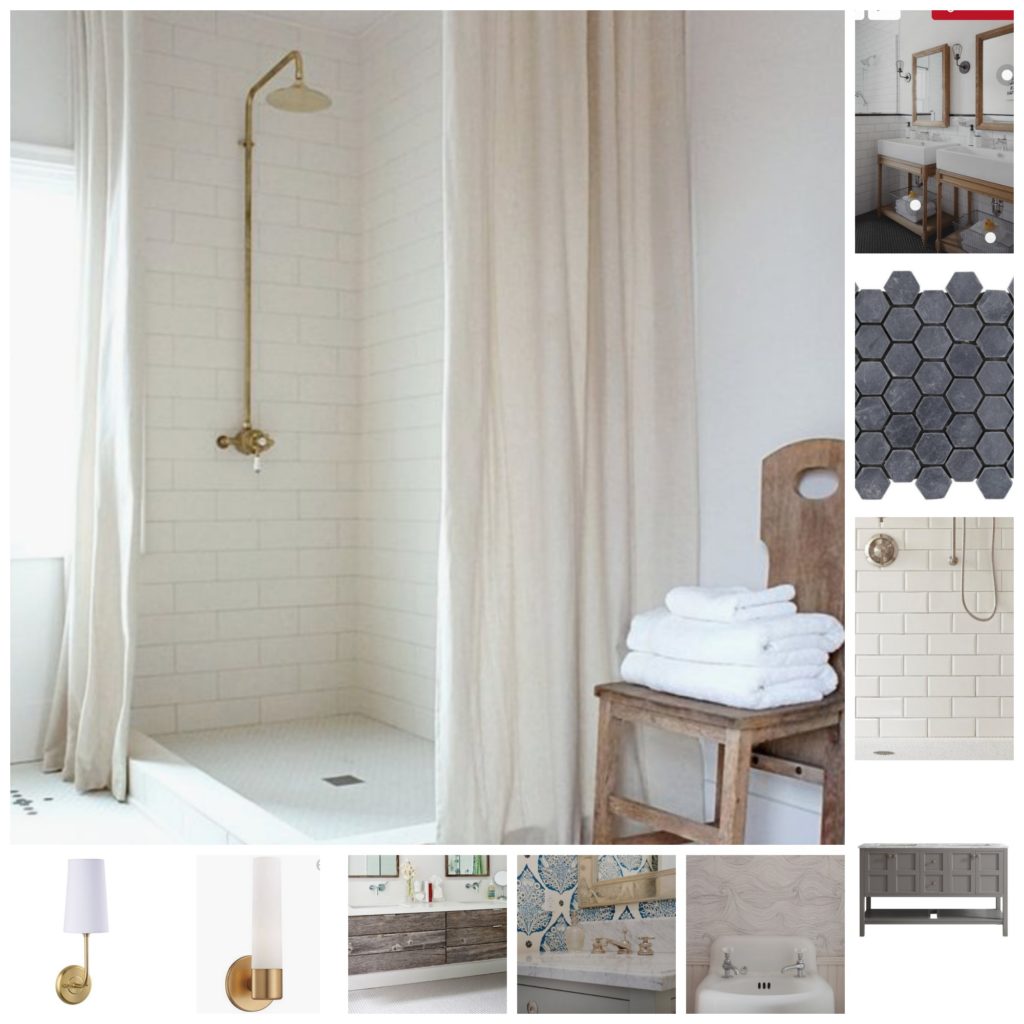 I know for sure I want the charcoal color slate floor tile in the picture for the ease of maintenance. I want white subway tile for the walls. I may go with the beveled edge or a wavy edge tile.
 The lighting plan is similar to what’s existing, I’ll add one sconce between the mirrors above the vanity but the can lights will remain as-is and the ceiling fixture location will stay the same.


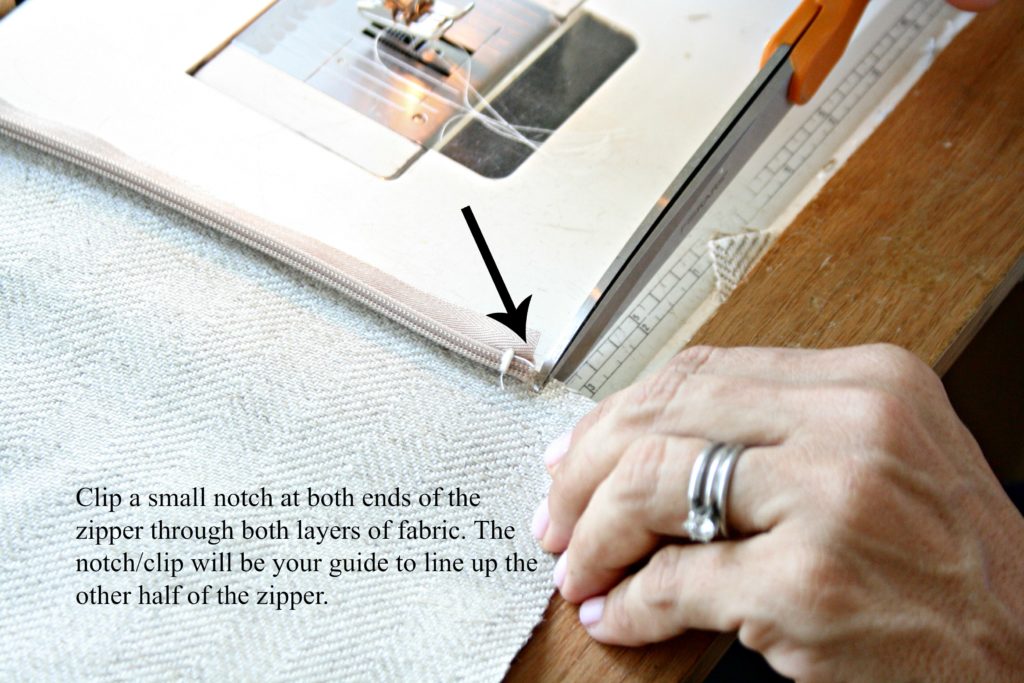


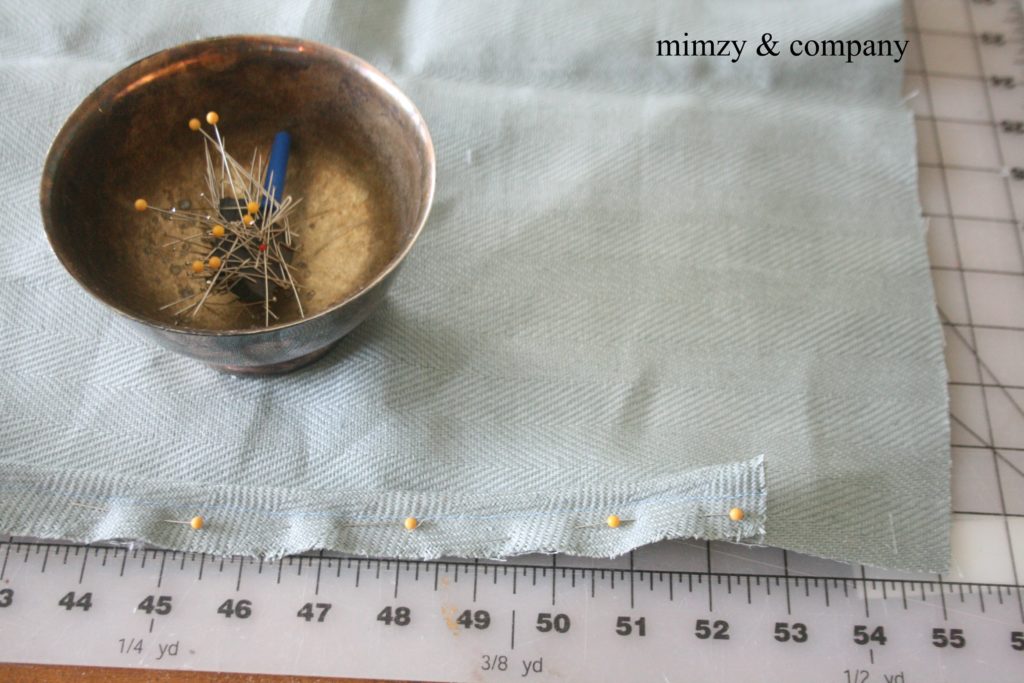
 4. Once the zipper is attached you will sew all the way around the pillow with a 1/2″ seam allowance.
  5. Clip the corners, serge or zig zag the seam if you so desire, and turn the pillow right side out. Your finished! Now you can stuff the feather insert into the zippered pillow cover, plump and style…
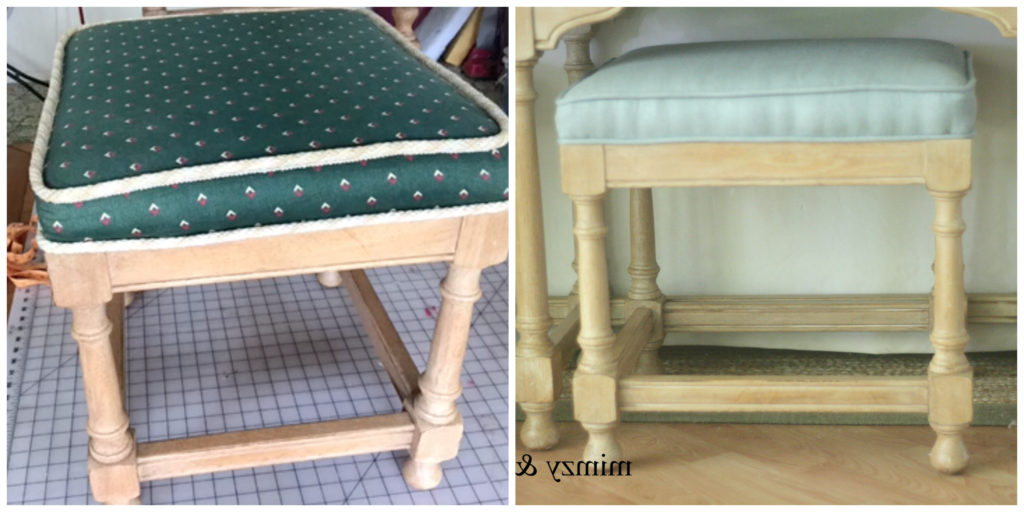
 2. Remove the old fabric and welt from the cushion. This may not be necessary if the old cushion cover didn’t have welt(piping), and if the new fabric will totally hide the color and pattern of the old fabric.
 5. Pin the welt to the top piece of fabric and sew it together.
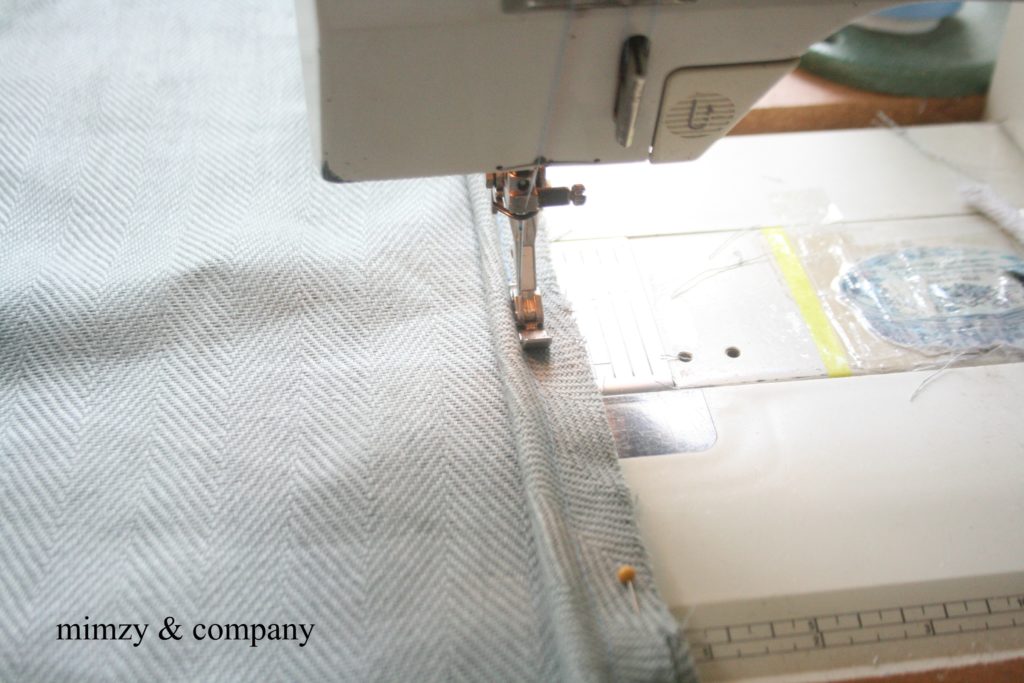
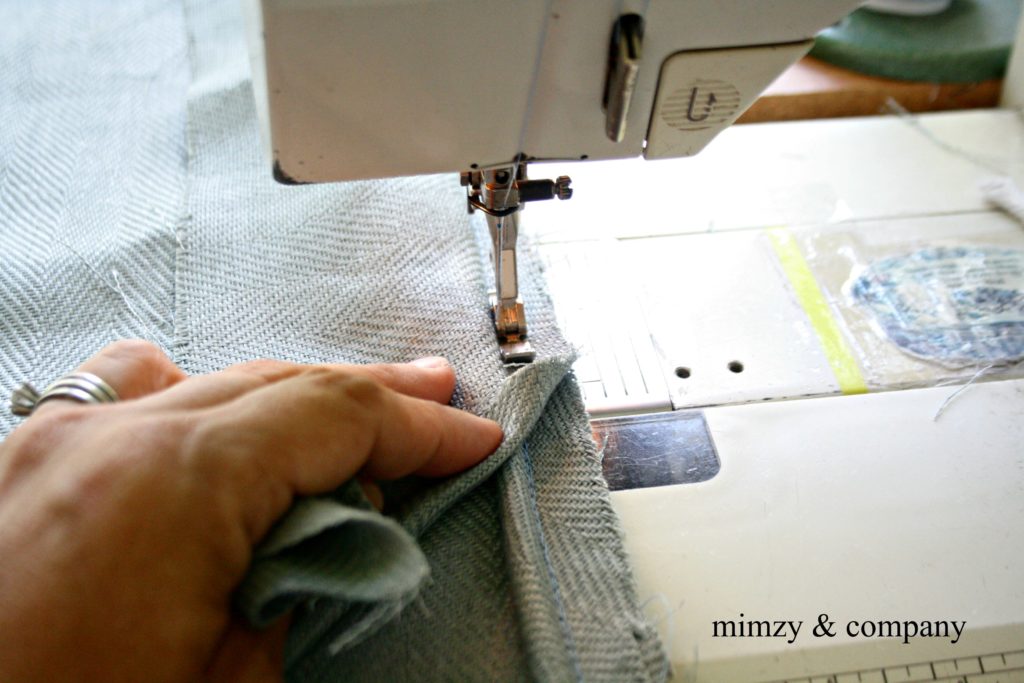 6. Sew the box piece to the top piece of fabric sandwiching the welt in between. Remember, right side of fabric to right side of fabric. Also, the unfinished edge to the welt goes out….I did this wrong so many times when I first started home decor sewing. So, if you turn your piece right side out and find the welt is backwards give yourself a break…it happens.
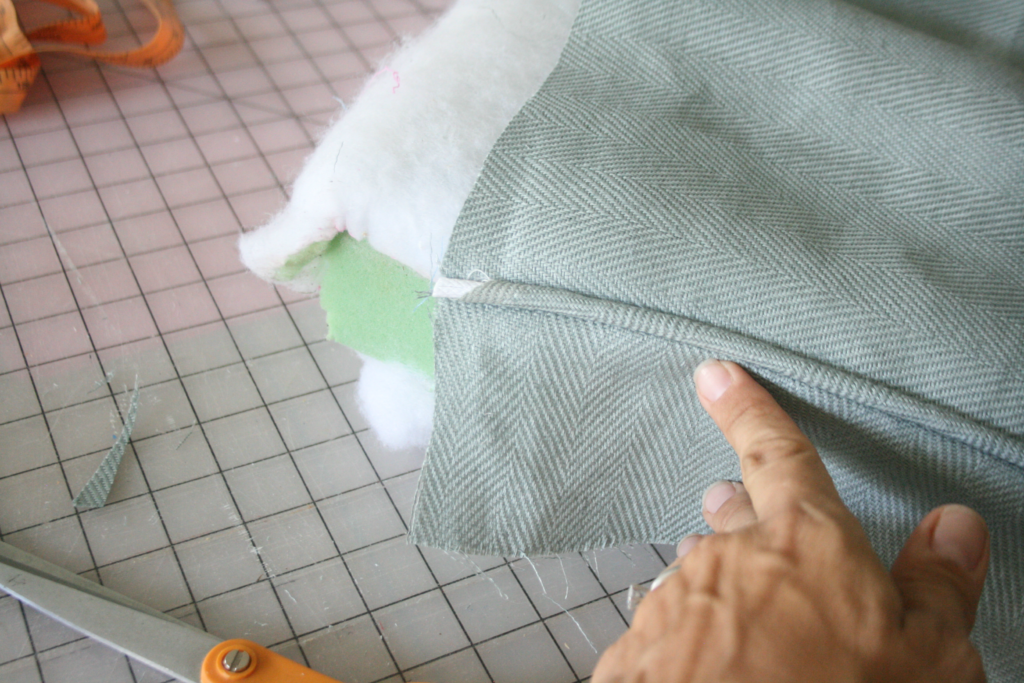
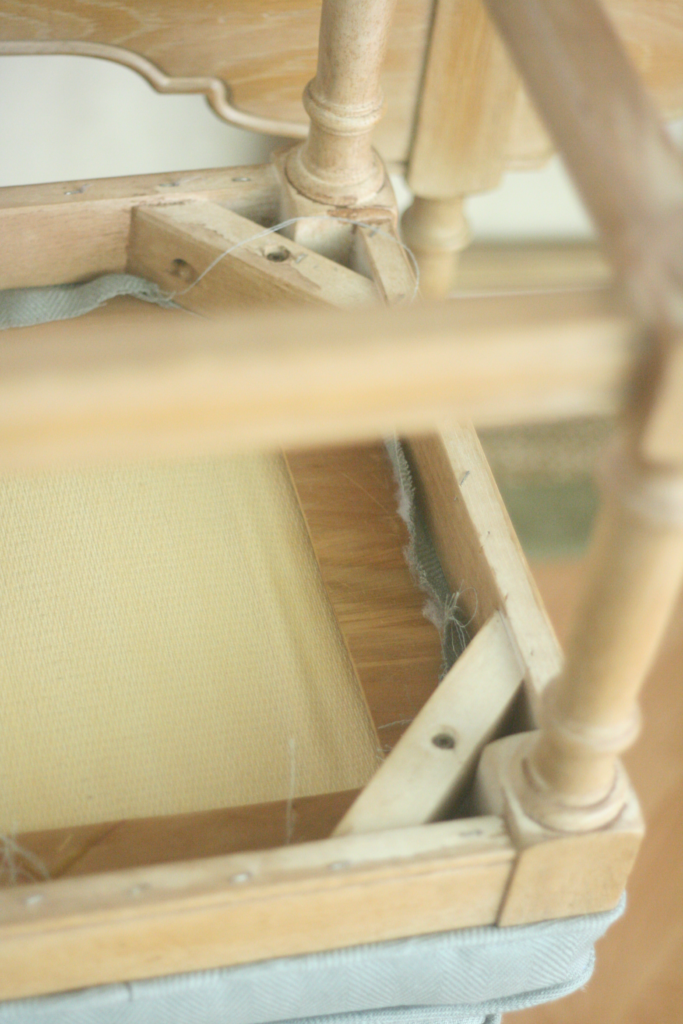
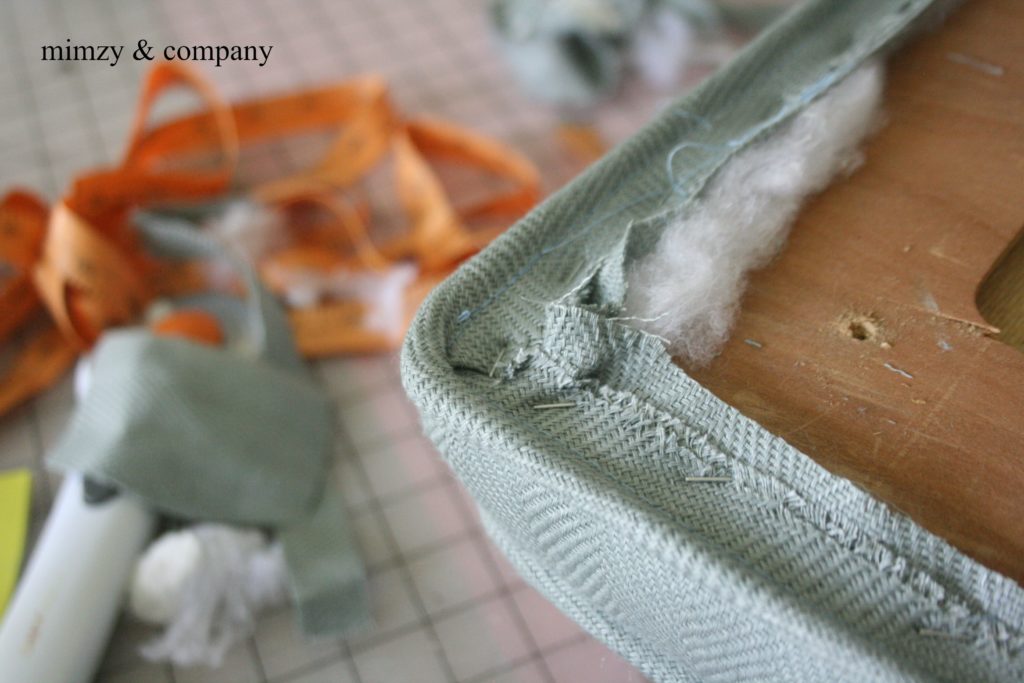 8. Staple the cover to the bottom of the wood platform and attach the bottom welt.
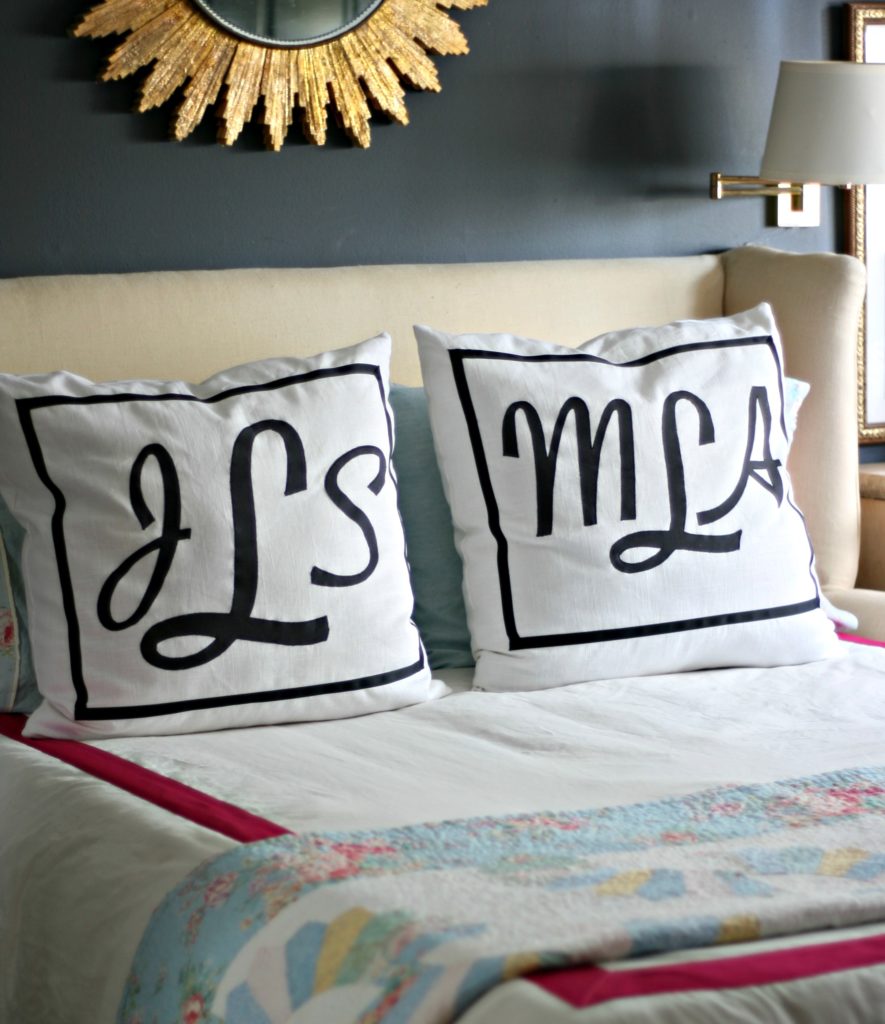 I love a good preppy monogram in the right setting. They’re so traditional and can really personalize a space. On Instagram, I came across a monogram pillow made by a fellow seamstress and it inspired me to try my hand at appliqué.
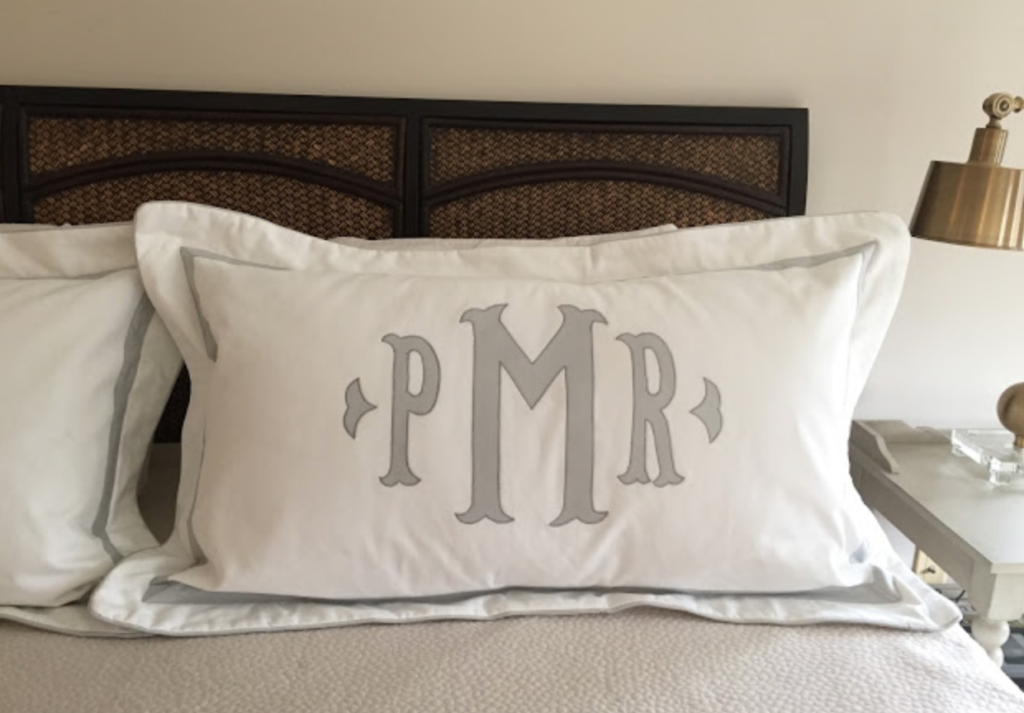
 Next, grab some
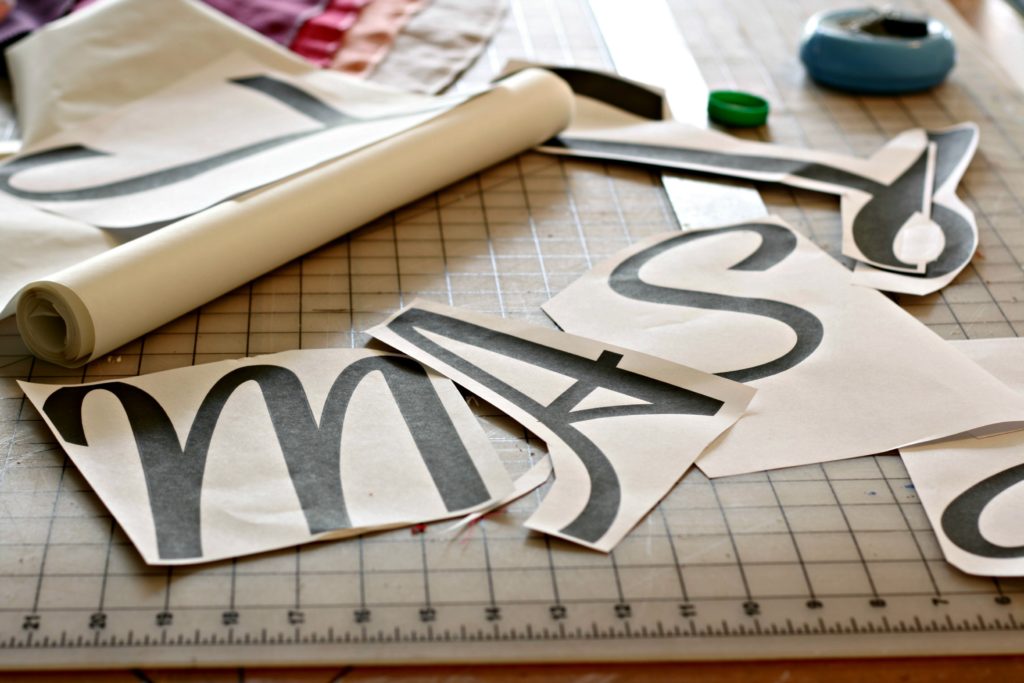
 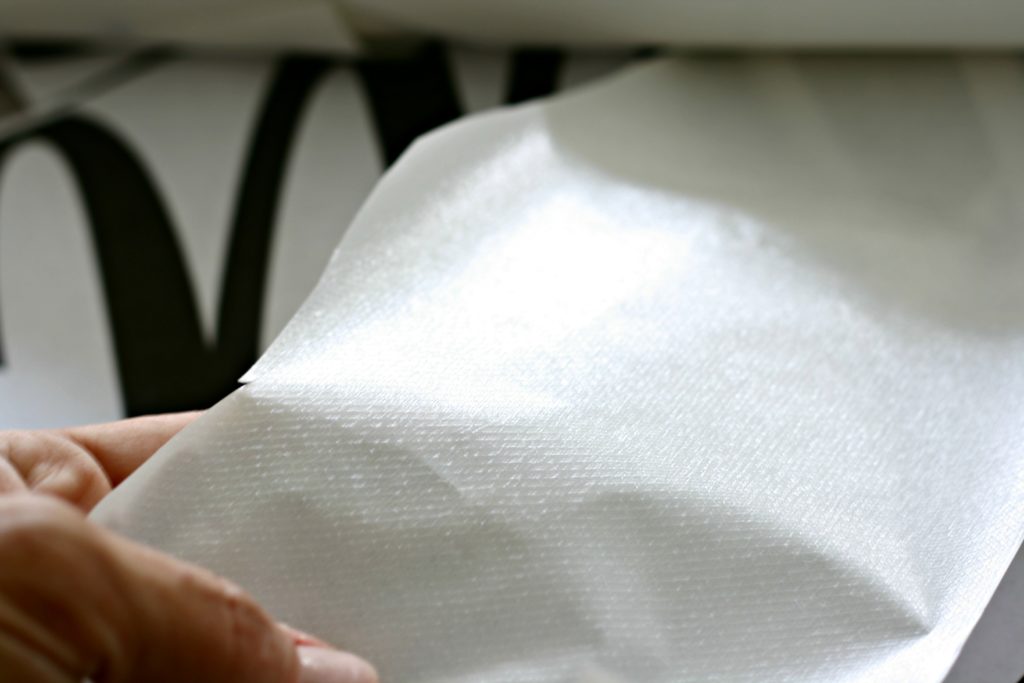 Transfer the letters to the
 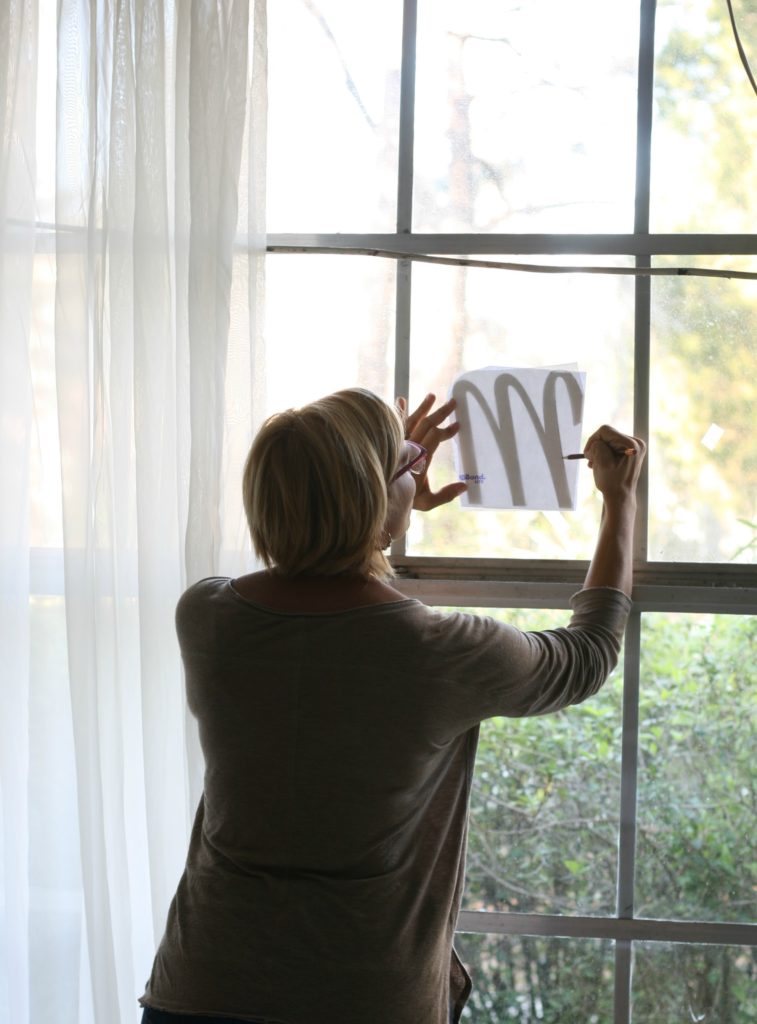 I trace onto the smooth side, the textured side is facing the letter. Notice the letter is backward. Like me, you’ll probably have to do it wrong a couple times before it sinks in.
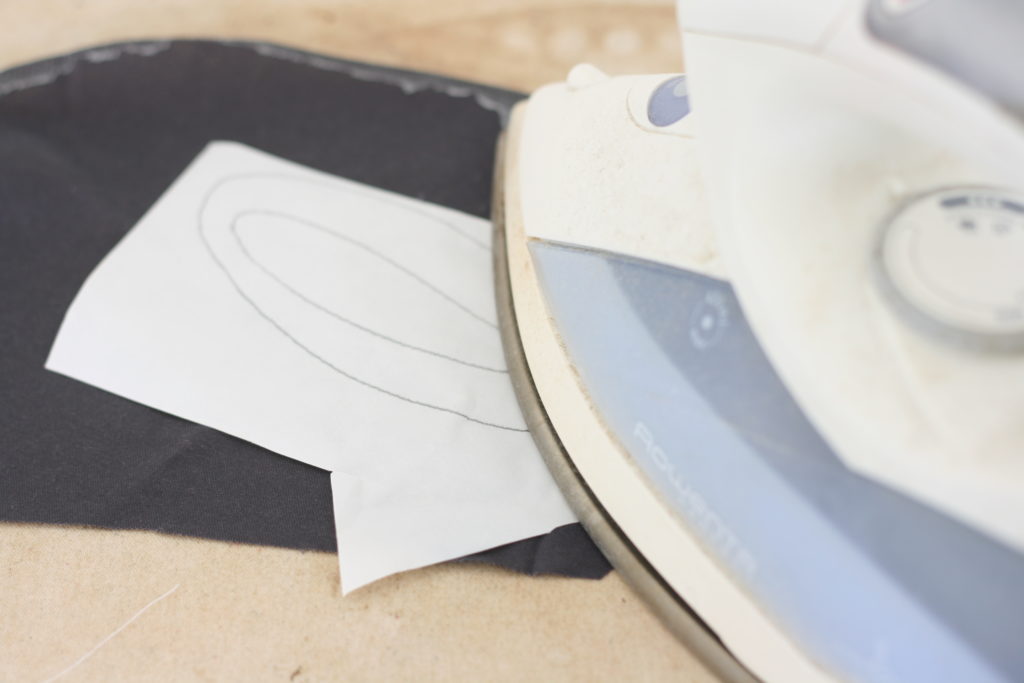
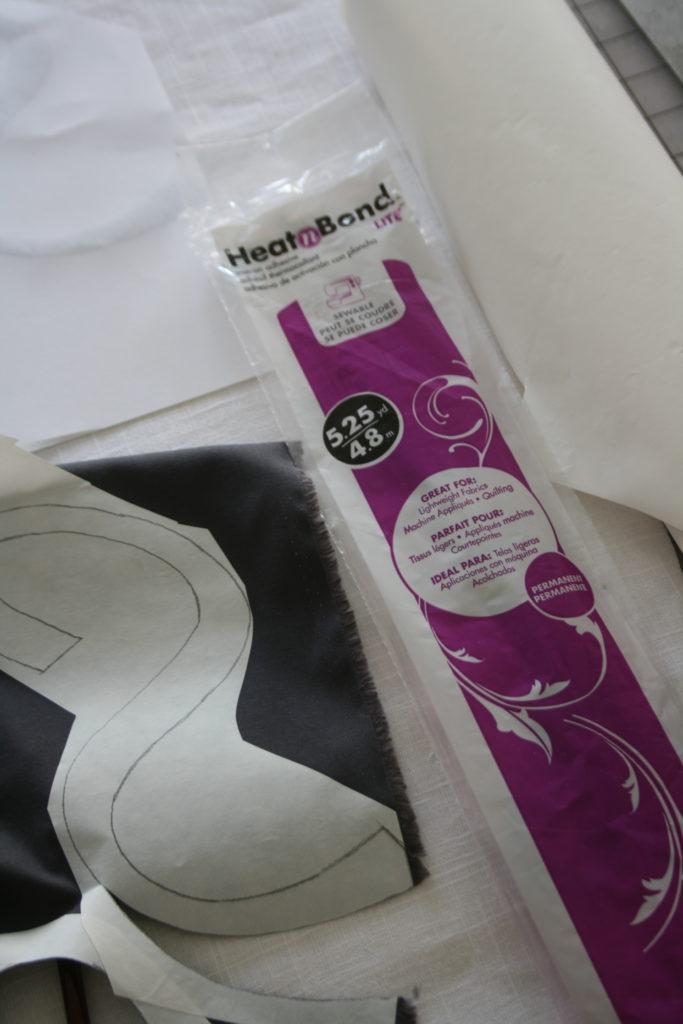
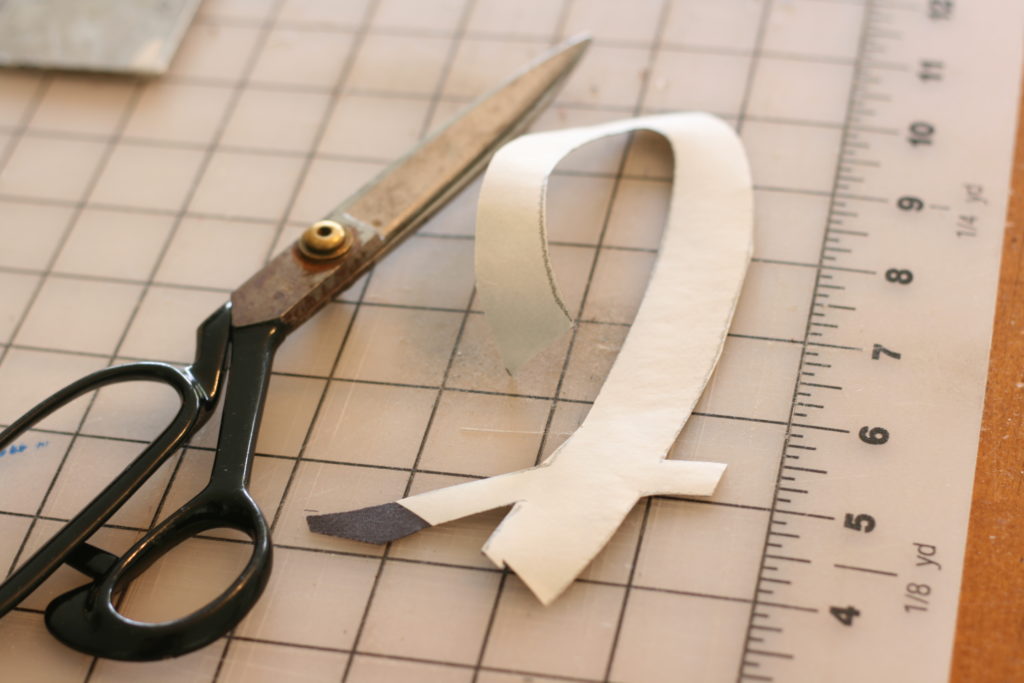 Separate the heat and bond paper from the fabric letter.
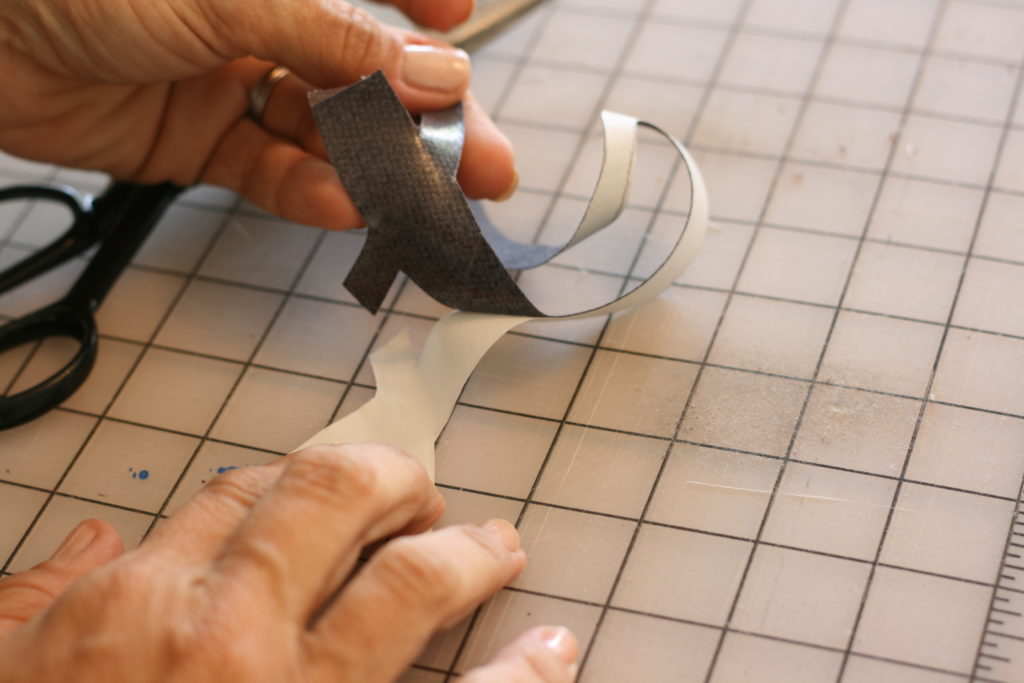 Finally, press the letter onto the background fabric.
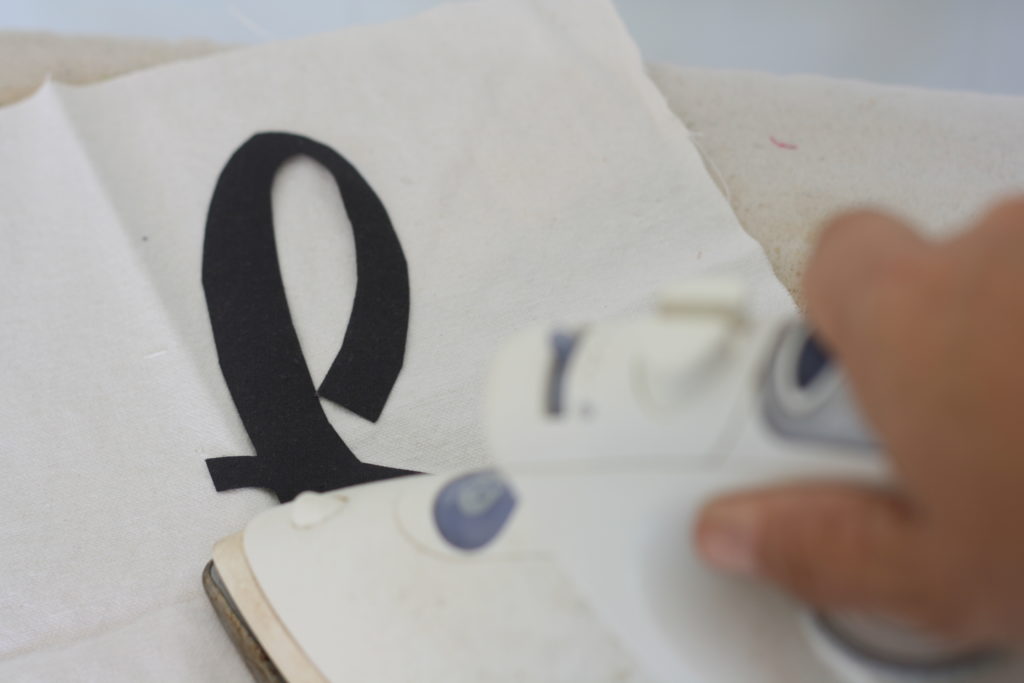 Then the finishing touch to the appliqué is the satin stitch that holds the letter to the background fabric. The heat and bond is just to keep the design from shifting while you stitch around it.
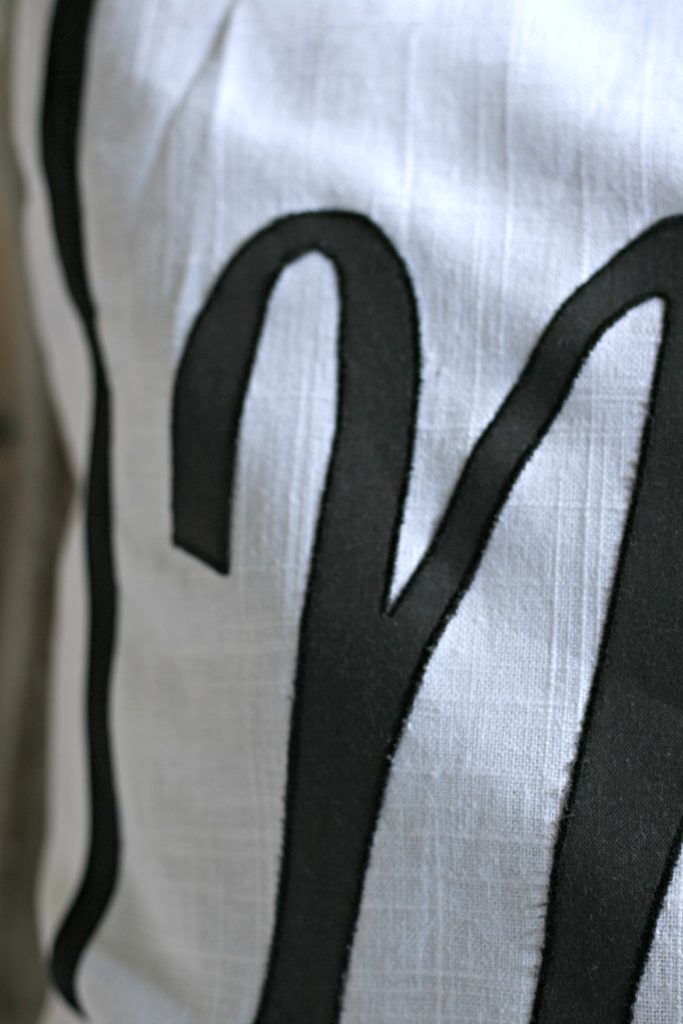 I use a preprogrammed satin stitch on my sewing machine. The following video is a quick tip.


