It took me a little time, but I finally realized how to install this bathroom mirror over the tile wainscoting so it’s plumb and hangs at the correct height for our family.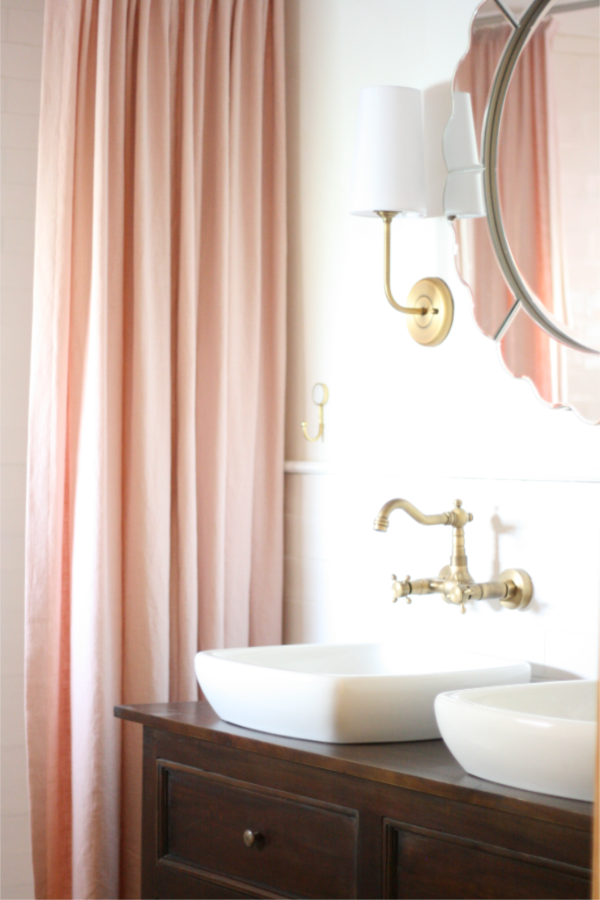 I renovated this bathroom last year for the fall One Room Challenge. You can see the before and after of my renovation in my ORC reveal post here. It was quite a transformation. …
Do you have and unused trampoline? The best way to use an old trampoline mat.
I cannot think of a better way to use an old trampoline mat than this chaise lounge repair project!
My neighbor gave us her trampoline when her kids outgrew it, and then my kids used the heck out of it, until it broke and bent. As we were taking it apart to dispose of it, it occurred to me that the old trampoline mat, is basically the same fabric used in outdoor sling patio furniture(but maybe even stronger). 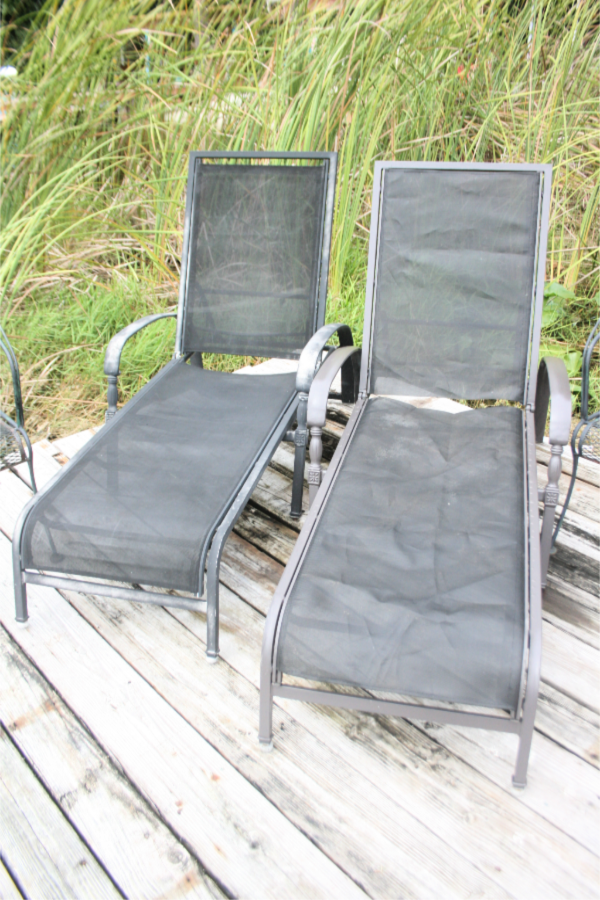 …
…
the easiest roman shade ever…a relaxed roman shade
Roman shades are super easy to make and quite inexpensive. You can get fancy and professional by adding a header kit to make your shades cordless and spring action, but if you’re on a tight budget, or a beginner sewist this relaxed roman shade method is for you, construction is easy and supplies are few.
This post may contain affiliate links…read my disclosure here.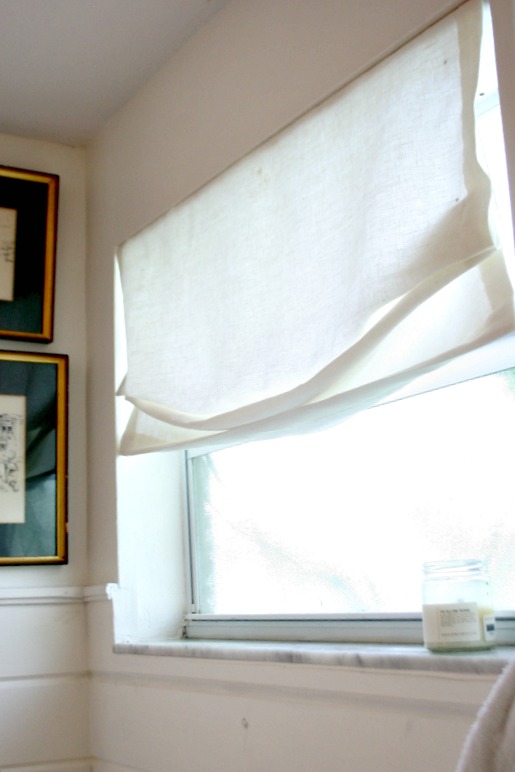 …
…
Easy embroidered black cat pillow
I generally don’t decorate for halloween, but when I saw this embroidered black cat pillow I knew I had to make one.
 …
…
Foyer and Hallway renovation…Fall 2018 One Room Challenge
Game on…my foyer and hallway renovation for the One Room Challenge (with media partner Better Homes & Gardens) is underway and I’m pretty excited.
The Fall One Room Challenge started yesterday. For anyone unfamiliar with the ORC, it’s a bi-annual event where 20 bloggers and designers transform a room in a matter of six weeks and report their progress online every Wednesday.
In addition to the 20 “featured” designers/bloggers, any blogger can participate as a guest, and link up to the ORC every Thursday. And that’s where I come in…
 …
…
spray painted nightstand
I finally decided to spray paint my nightstand thanks to Homeright and the handy HVLP sprayer they provided for this project. 
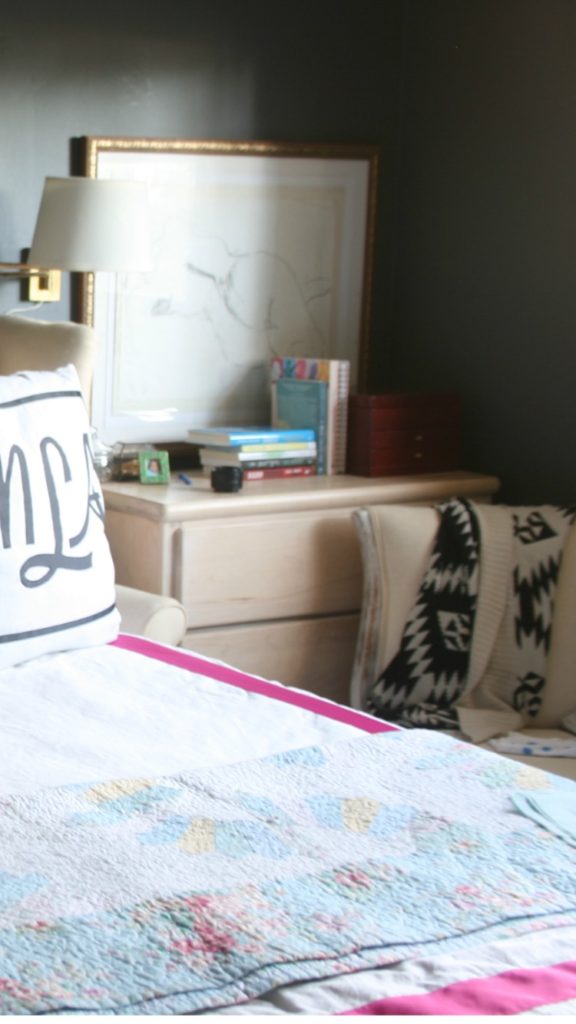
This nightstand has been totally unfinished for about a year. When my friend gave it to me it was painted a couple times, so I stripped it and left it unfinished. I finally decided to paint it the same color as my walls so it would recede and sort of disappear. 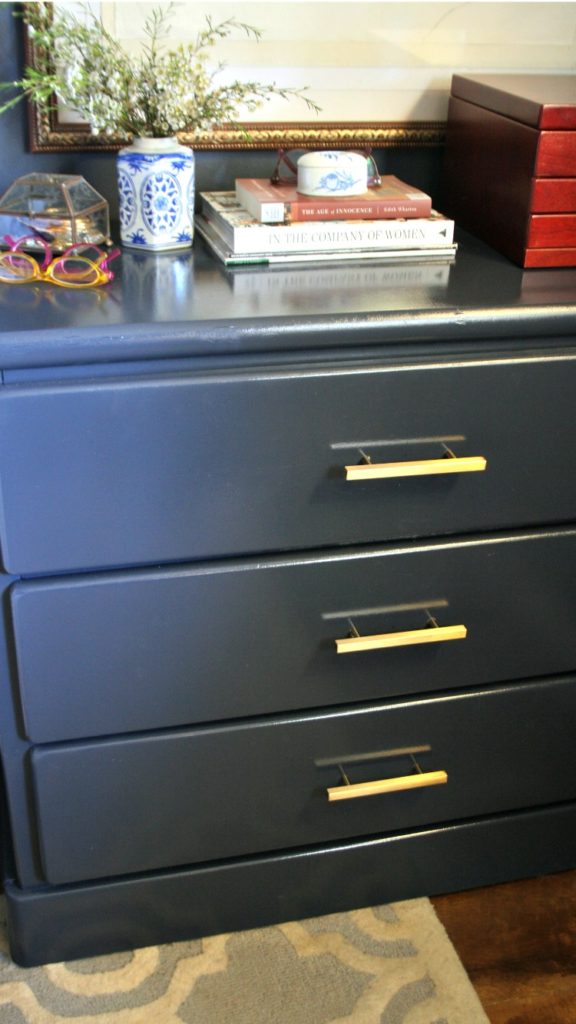 I picked up these brass drawer pulls at Home Depot and I love the way they look with the dark color.
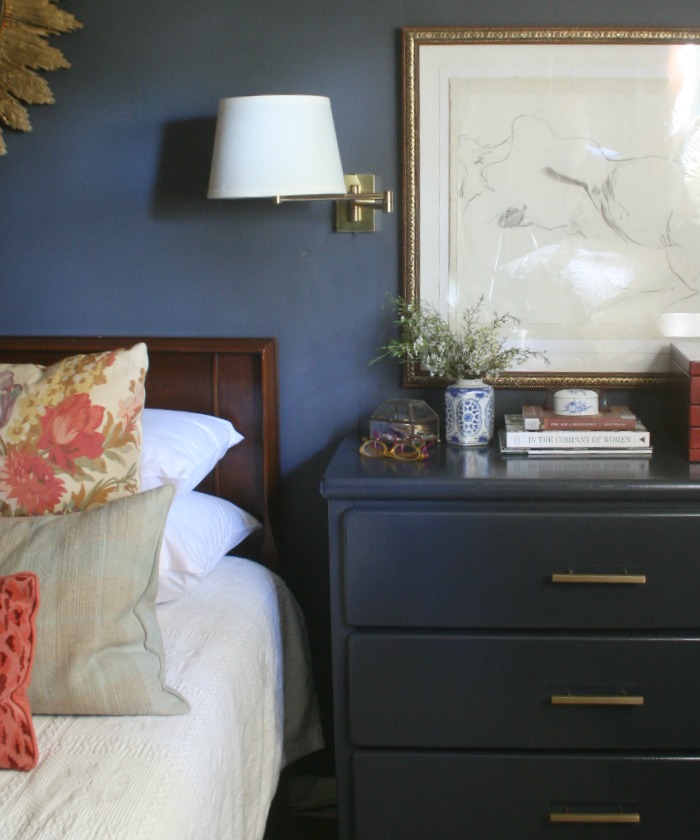 I used the Homeright HVLP sprayer and spray shelter that I was given this summer at the Haven conference. The sprayer is perfect for painting furniture. It holds about a quart of paint, just the right amount for a dresser this size.
  The sprayer is super easy to use and easy to clean. It comes with a couple different tips so you can use the sprayer with a variety of product, from stain to paint to primer. I even used it with shellac primer on a previous project, it worked great and the sprayer cleaned up well.
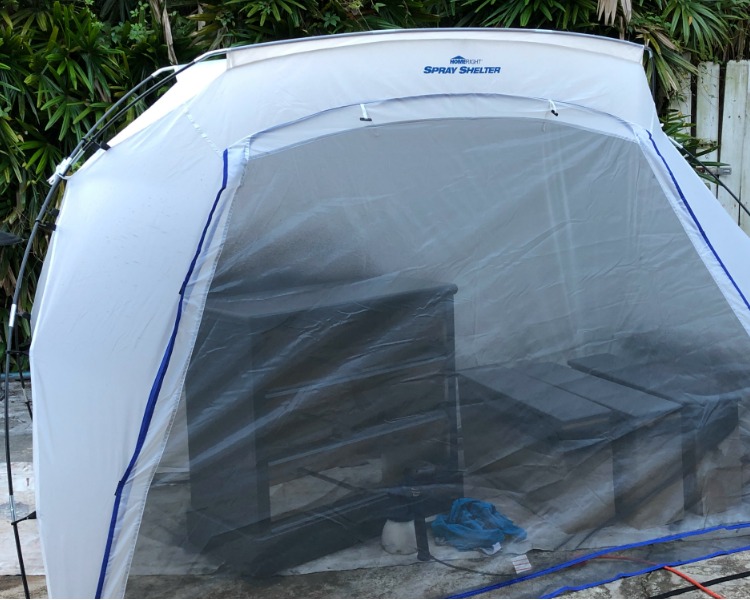 The spray shelter is also very convenient. I usually wrap my carport like this with plastic drop cloth when I paint furniture or cabinets, this shelter is so much easier and faster to set up.
One of my favorite things about the shelter is that it closes up completely with a convenient velcro door. I actually left my nightstand in the shelter overnight to dry and the shelter kept out debris and the morning dew. 
I’m very happy with the way the nightstand turned out. This was an easy weekend project anyone can accomplish.
A video to show how easy it is to use an HVLP sprayer to paint furniture…even my camera man(daughter)got in on the action.
