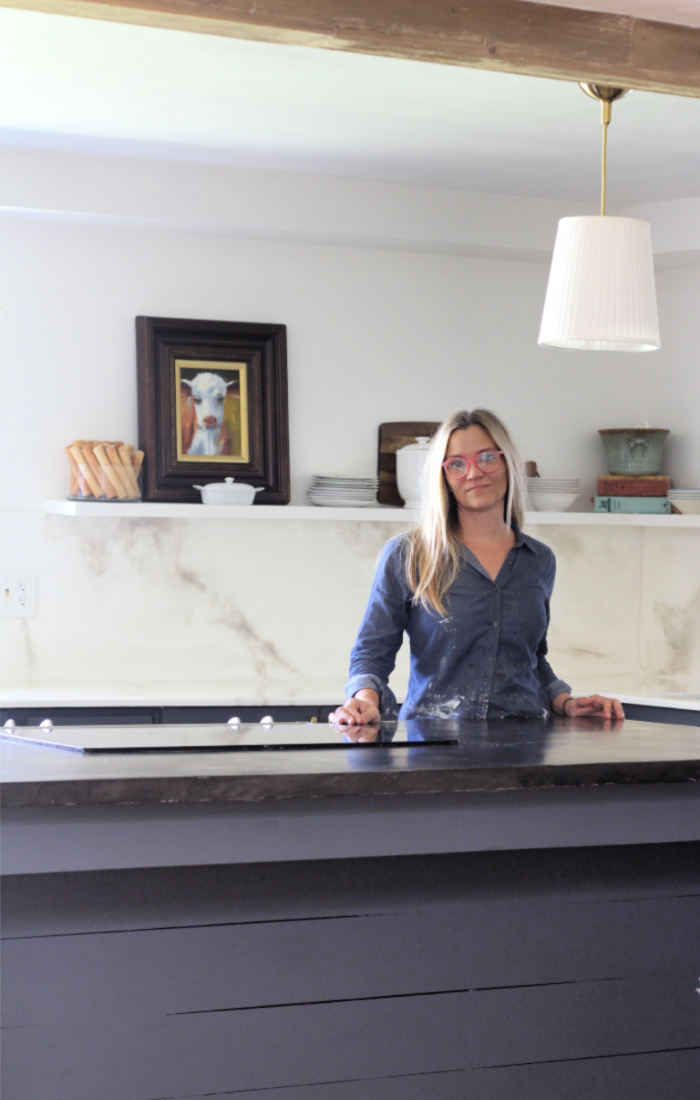
I say this everytime, but I think this kitchen refresh for under $500 really is my favorite project of all time. 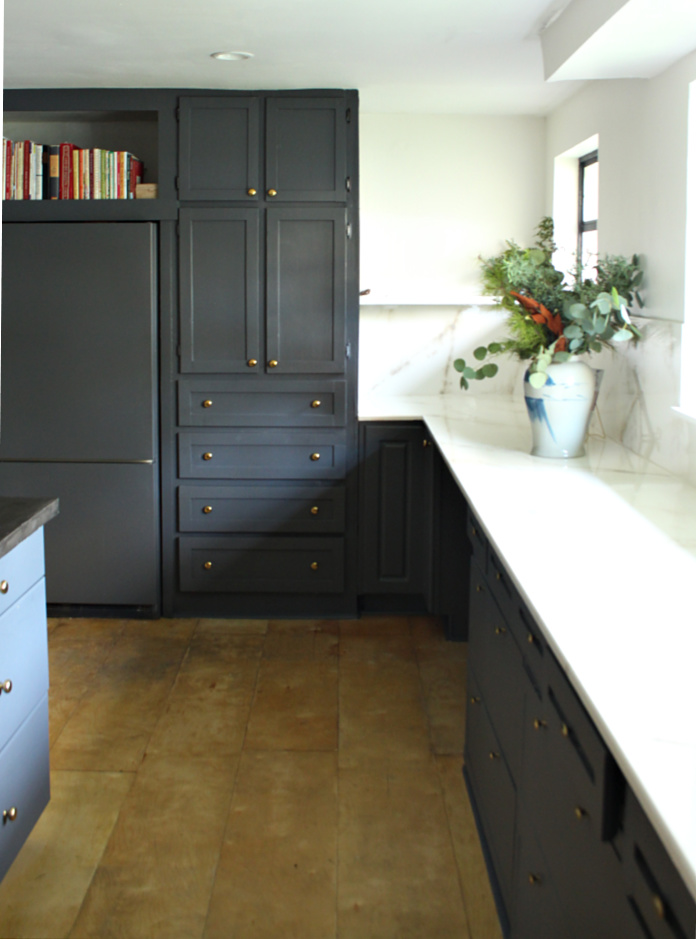 This kitchen refresh seed was planted when I saw the videos on youtube about epoxy countertops. I was flabbergasted by the low cost and the amazing results. So I plotted my plan for years, yes years. When you have no budget for unnecessary renovations it takes a long time to pull the trigger. I watched Mikes(stonecoat countertops) videos over and over learning everything I needed to know before jumping in. Finding a local epoxy supplier who sold me the epoxy for a fraction of what I would’ve paid online, finally pushed me over the edge.
 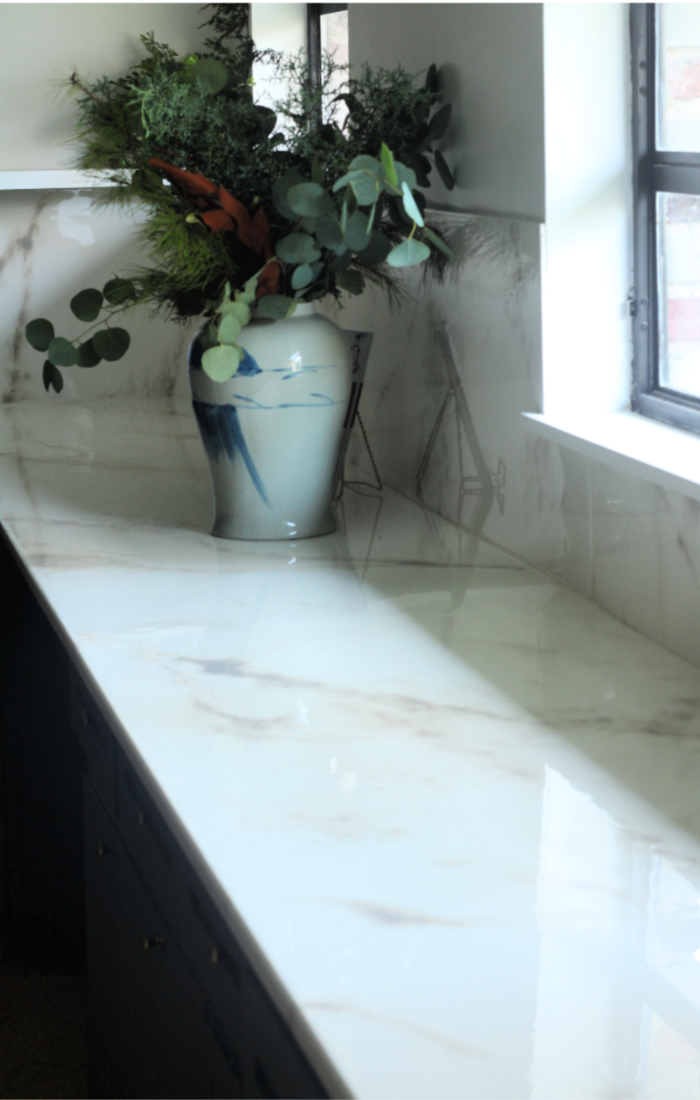 I removed my old uneven Ikea butcher block because it was different thicknesses from one end to the other, and replaced it with 3/4″ MDF. I rounded over the edges with a router and primed then painted the MDF white. I used 1/4″ plywood underlayment for the backsplash then glued that to the walls with construction adhesive. I have videos of the prep work involved in pouring epoxy here, and the actual epoxy pour here.
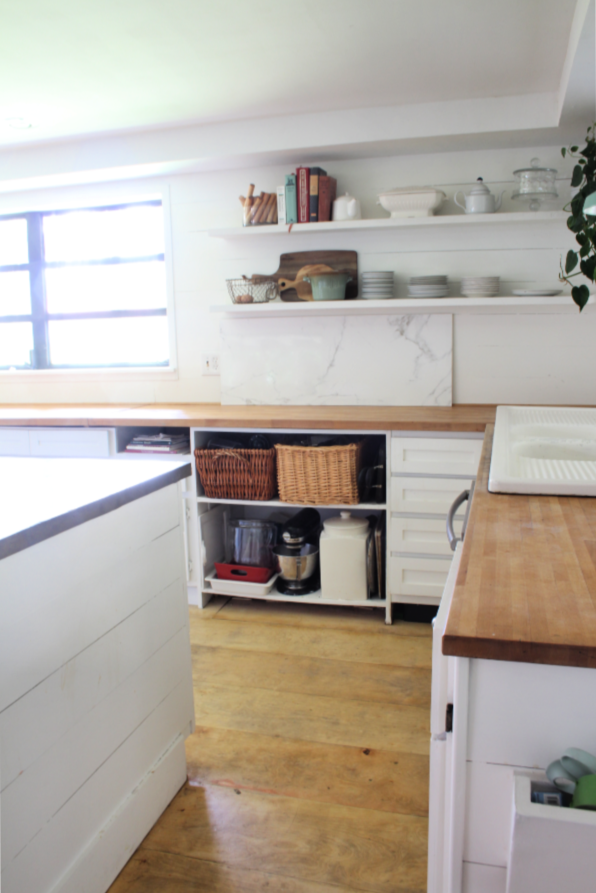 This is how the kitchen looked before. My cabinets were all white and I had some open cabinets that I finally closed up with some shaker cabinet doors. I have a video about how I made these shaker cabinet doors the easy way here.
 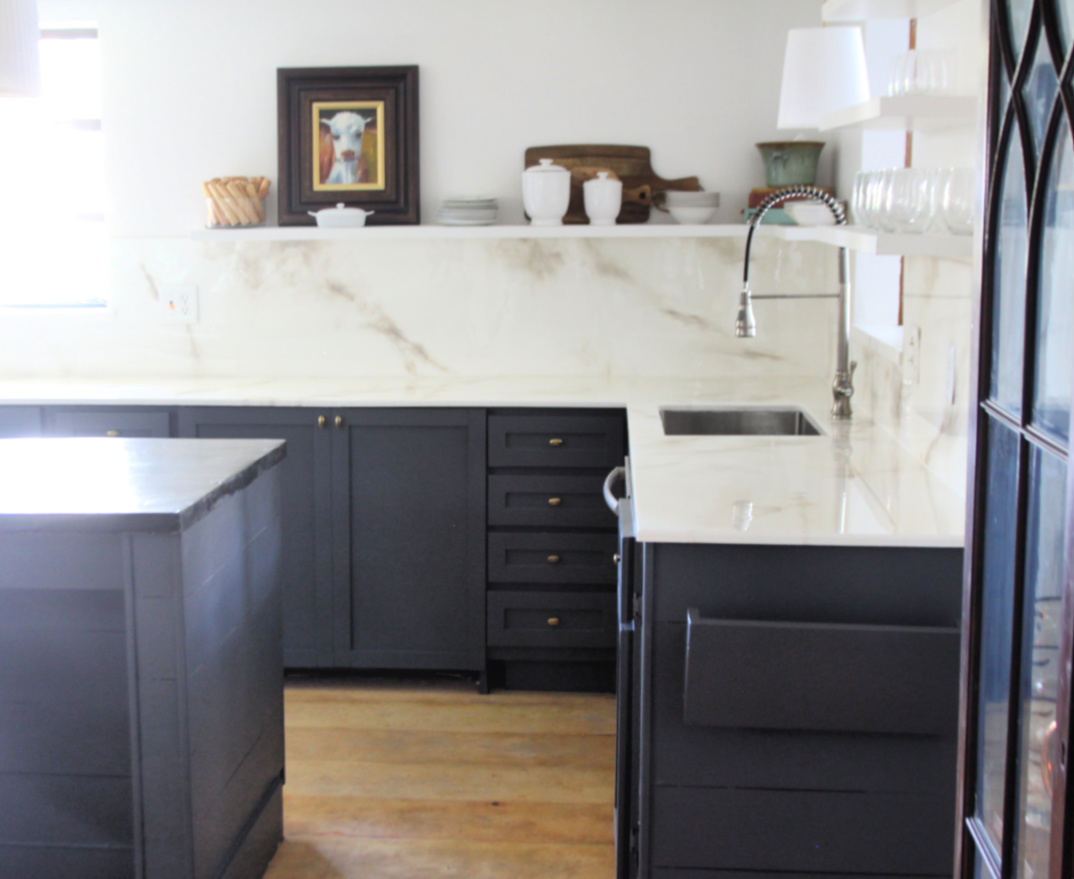 This is after I made the cabinet doors, painted out all the cabinets and added brass drawer pulls that I bought from craigslist.
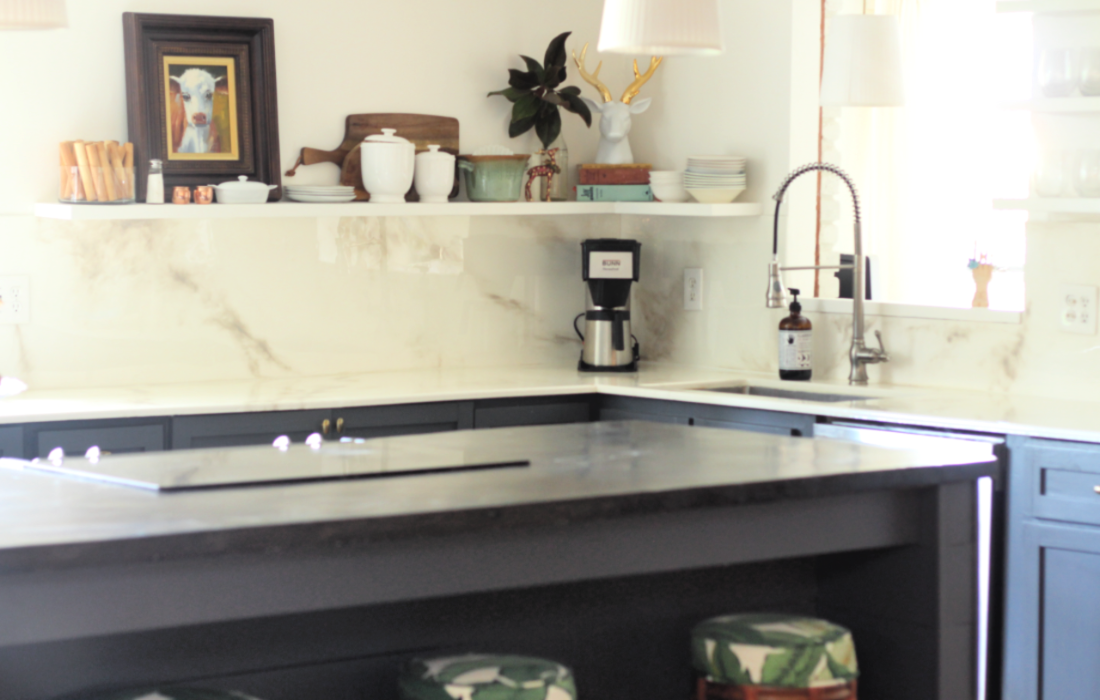 I removed the upper floating shelf because it was a dust collector. Everything on the top shelf was rarely used so I eliminated it in favor of more space to display taller items like art, flowers, etc. I had to move the bottom floating shelf down a bit so it would sit directly on top of the backsplash. I have a floating shelf install video here. These floating shelves are THE easiest method of installing floating shelves because the shelf is a hollow core door, so you don’t have to build anything, you just cut the door to proper size and install it.
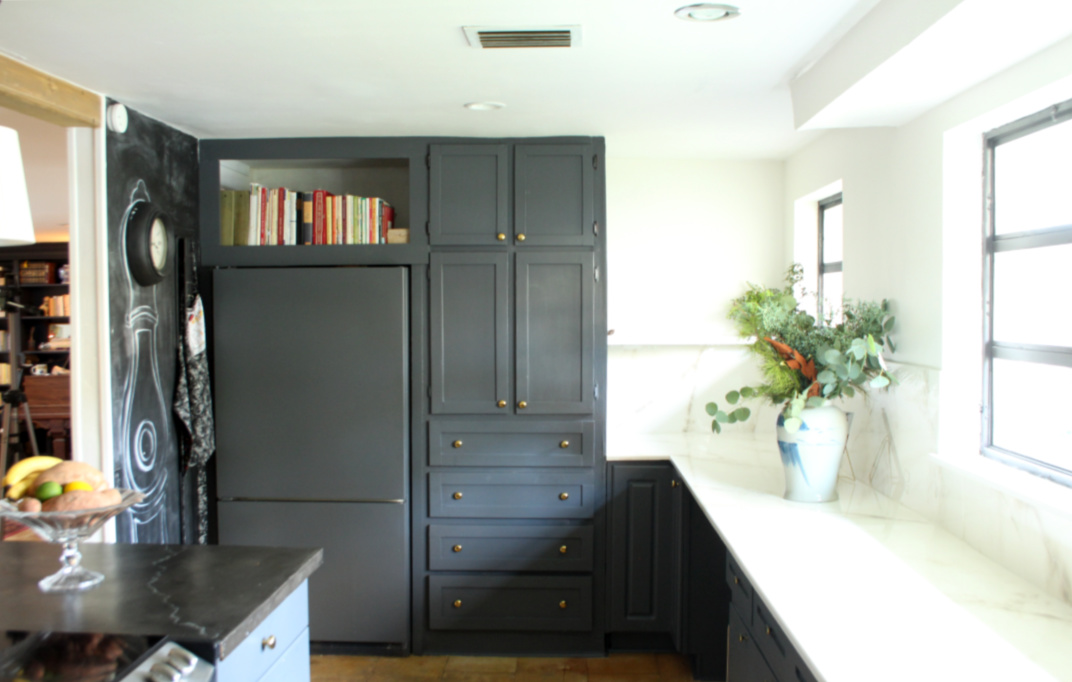
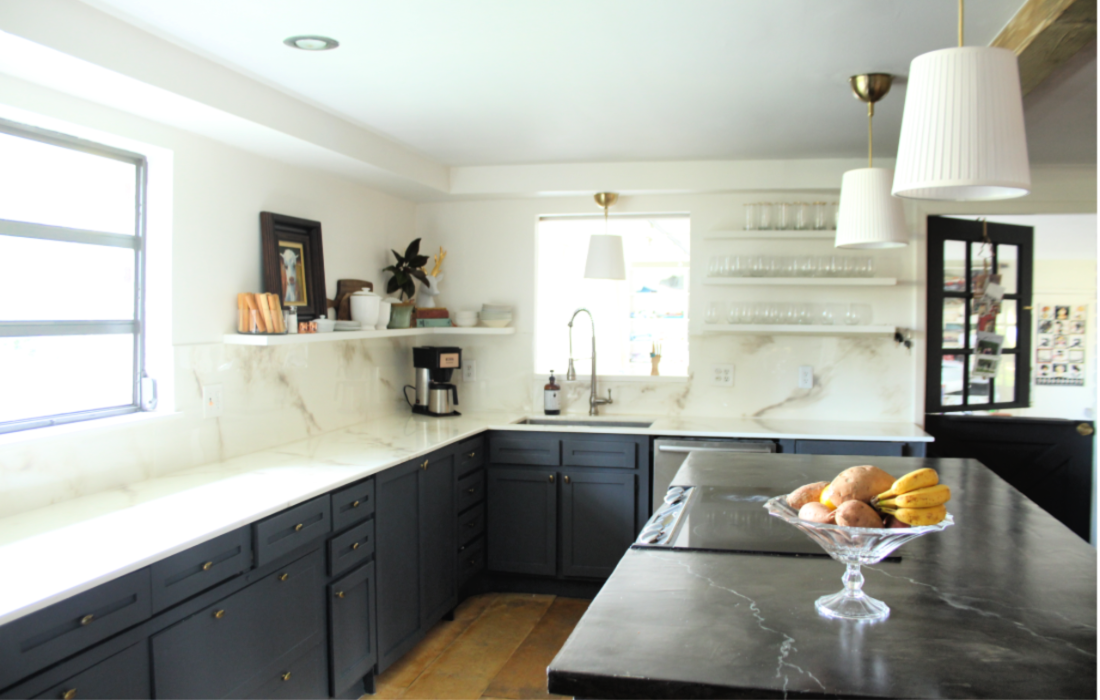 The view with my back against my painted fridge. My pendant lights are not my first choice…I would love some cone shaped brass fixtures but my budget only allowed for these simple Ikea models. I’d also like to install some swing-arm sconces over the floating shelf eventually, but not till I can find what I want for a price I’m willing to pay. 😉
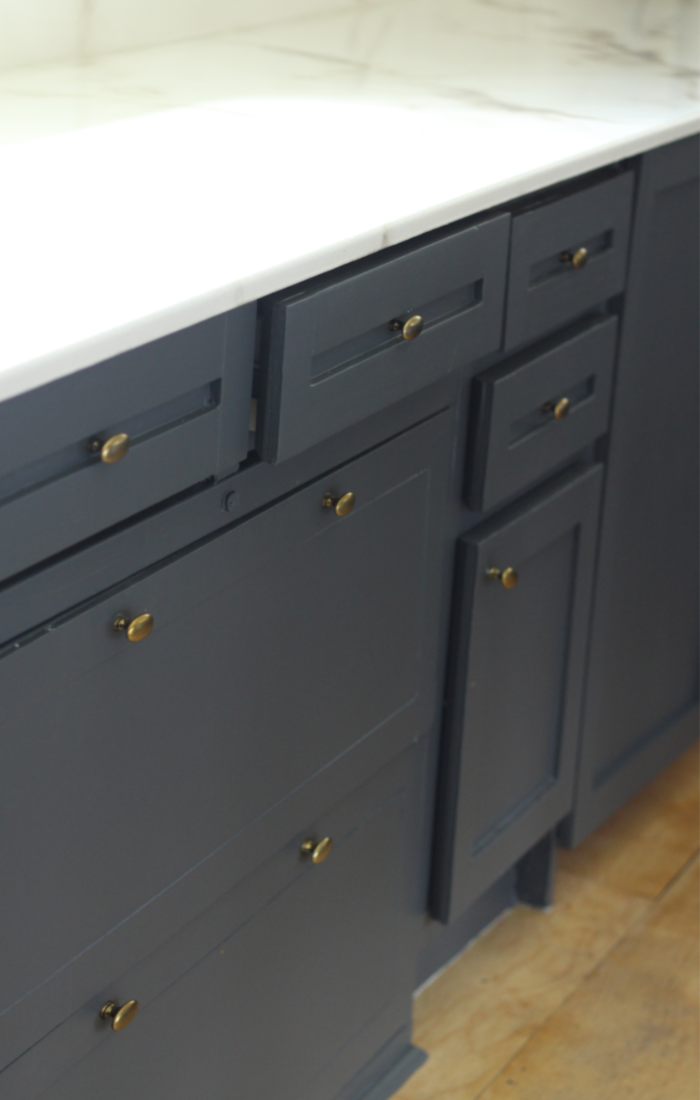 I painted all my cabinets this lovely dark color by Behr. It’s Behr Graphic Charcoal N500-6. I think the color really hides all the flaws and differences in my cabinets. Not sure why I didn’t see that drawer partially open. Oops.
The bottom left large drawers are actually file cabinets that I trimmed out with lattice trim to look shaker style. They’re extremely heavy duty and can hold copious amounts of plates, platters, and bowls. I have a very old tutorial here about turning file cabinets into kitchen cabinets.
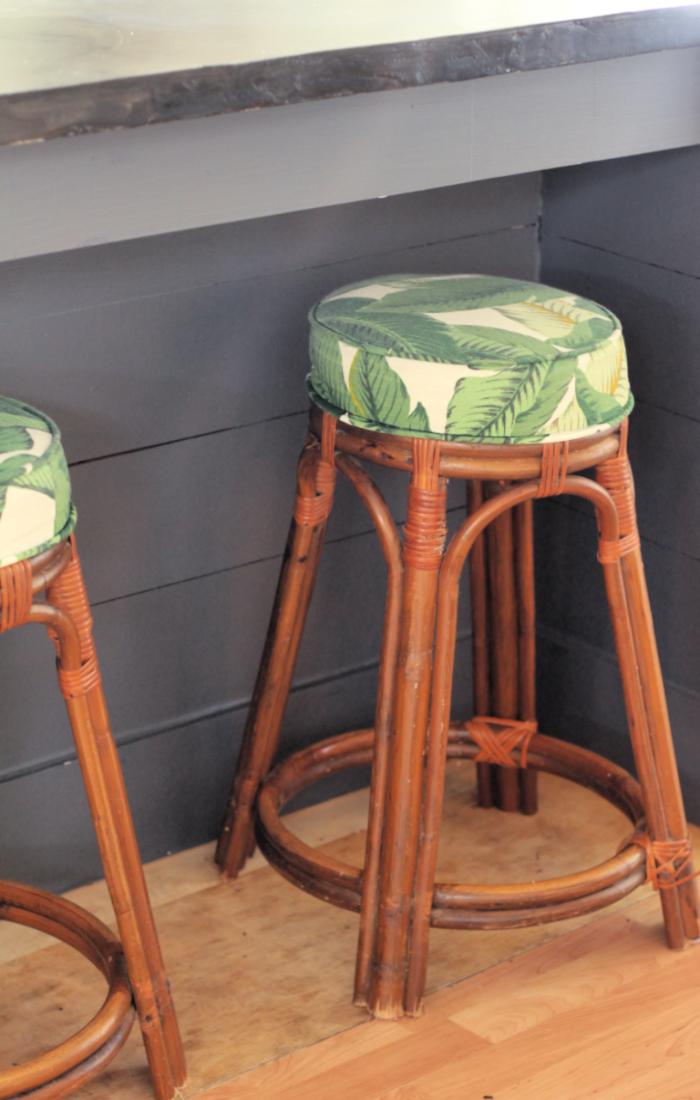 I replaced my tall barstools with backs, for these more unobtrusive stools. I really like that they tuck under the island so neatly and are hidden from view. I’m on a “less visual clutter” kick right now.
I bought the stools from someone on offerup or craigslist. They were advertised as counter height and even said they were 24″ tall, but when I got to the apartment the seller already had them downstairs and outside. I could tell they were 29″ tall but since she already went through the trouble of bringing them downstairs and they were only $18 for the set, I paid her and left. I was disappointed and thought I would just recover and sell them, but then Beast mentioned cutting the legs down. I didn’t even think of that, and it worked light a charm! I still need to sand them and replace a bit of the cane wrapping. I love them.
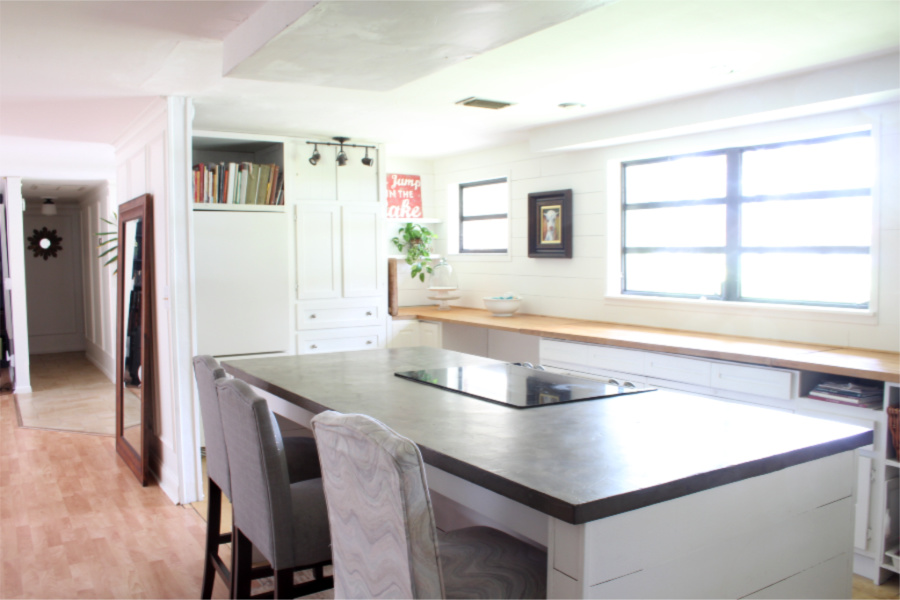
I also removed the light fixture that used hang right in front of the upper pantry cabinet and installed a can light further out. That fixture was so close to the pantry that I had to carefully maneuver things around the light and into the upper pantry. Huge improvement.
 I need to find a new piece of art for this small floating shelf in the corner. But I’m not in a rush…I want something I love. I plan to make roman shades for the two windows but I want to find fabric I love for those as well, so again no rush.
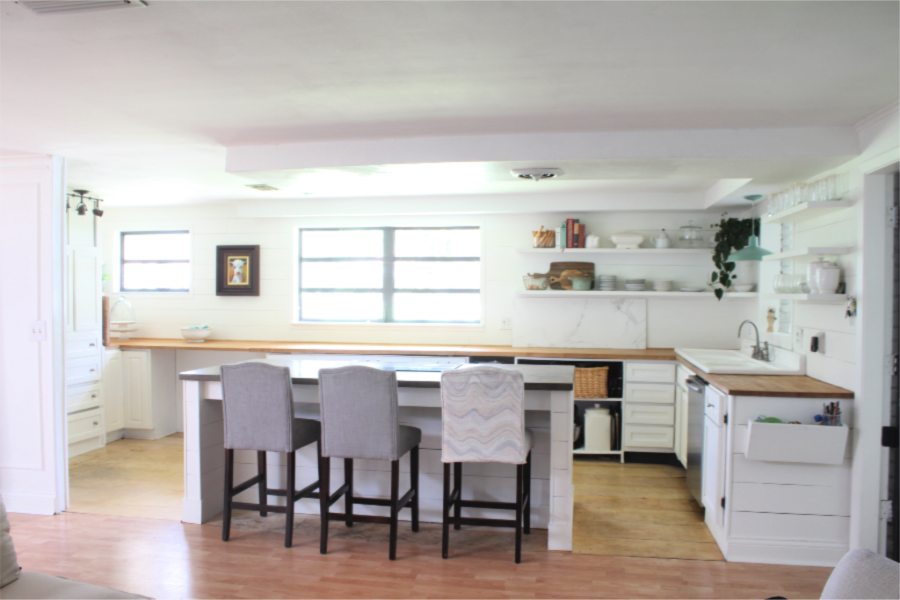 Before…
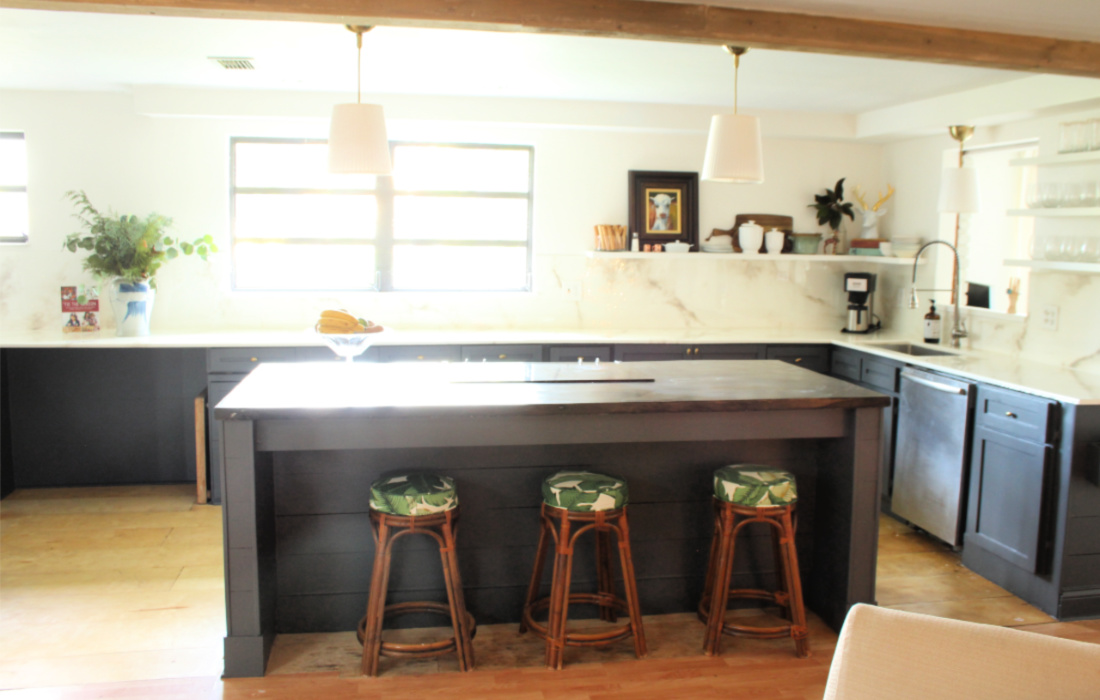 After…
I’m pretty thrilled with this refresh. Eventually I’ll make or buy new cabinets, but my windows all need replacing (I still have some 1962 jalousie windows) and until I can do that I don’t want to replace cabinets because I might change the layout of my kitchen and put the stove centered on the window wall with a large decorative hood and a window on each side of the stove. We’ll see.
I also plan to replace the floors in the main areas of my house, including the kitchen, hopefully sooner than later. We had a leak under the kitchen sink at some point and didn’t realize it because the water was actually under the wood floors. So the kitchen floor is trash. Little by little is the way it goes. Exactly the opposite of my all or nothing perfectionist personality. I just want everything beautiful now so I can sit back and enjoy it, but God is teaching me to be content in all things.
Tell me in the comments what you think…
Here’s a video overview of my kitchen …

 Darla says
May 12, 2020 at 1:00 pmI LOVE this!! Using hollow core doors for floating shelves – awesome. I have the bi-fold doors I took off my bedroom closet and didn’t know what to do with them until now. Thanks so much for sharing your redo!
 mimzylombardo@gmail.com says
May 12, 2020 at 9:00 pmYou’re welcome! I’m glad it helped!