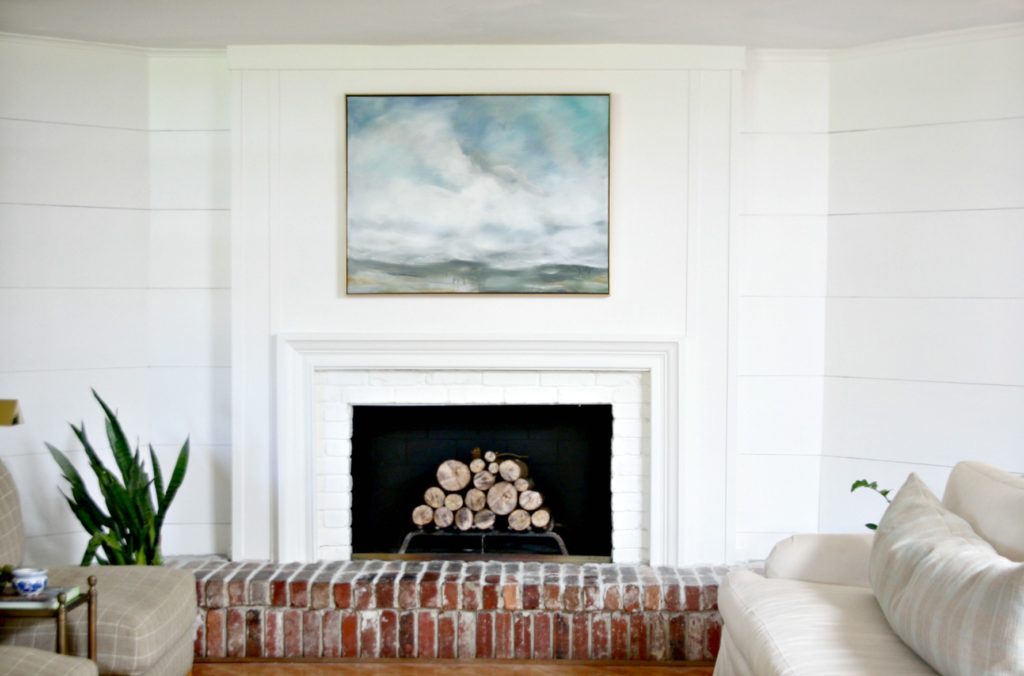
This fireplace reface started more than ten years ago, shortly after we bought our house. So this tutorial on how to reface a fireplace will be my second attempt at it. And this time I think I’ll be much happier with it.
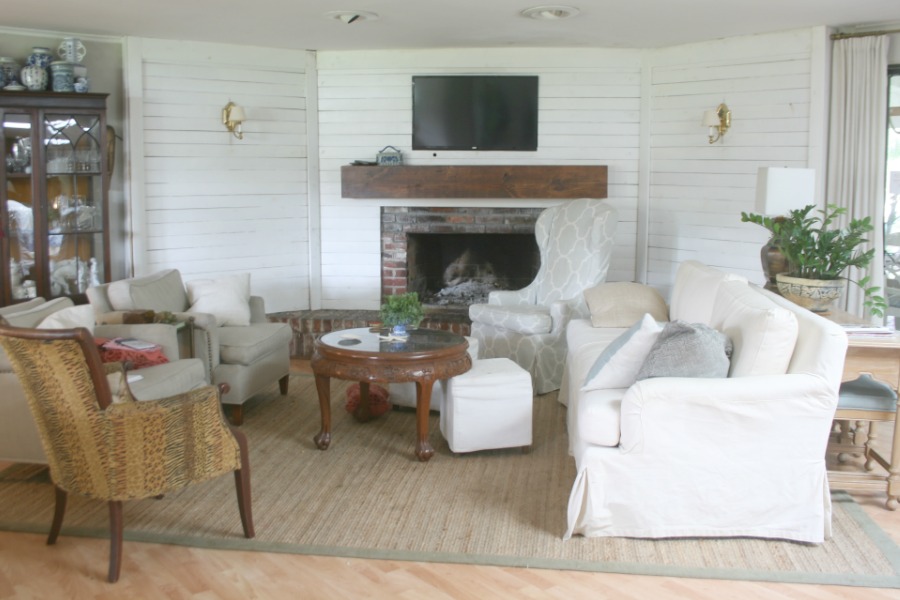
This was the look we lived with for 10 years. This is the 2009 version… at the beginning of the shiplap trend. I guess at the time I didn’t know about ripping thin plywood into strips to make faux shiplap, so I used 1 x 4’s to cover the brick. I neglected to space the 1 x 4’s so some of the lumber is touching and some is not, contributing to the messiness of the whole thing. Or…maybe over time the lumber shrunk and warped and that’s why it looks so bad now. Either way, I thought it looked pretty good when I first installed it, but over time it deteriorated.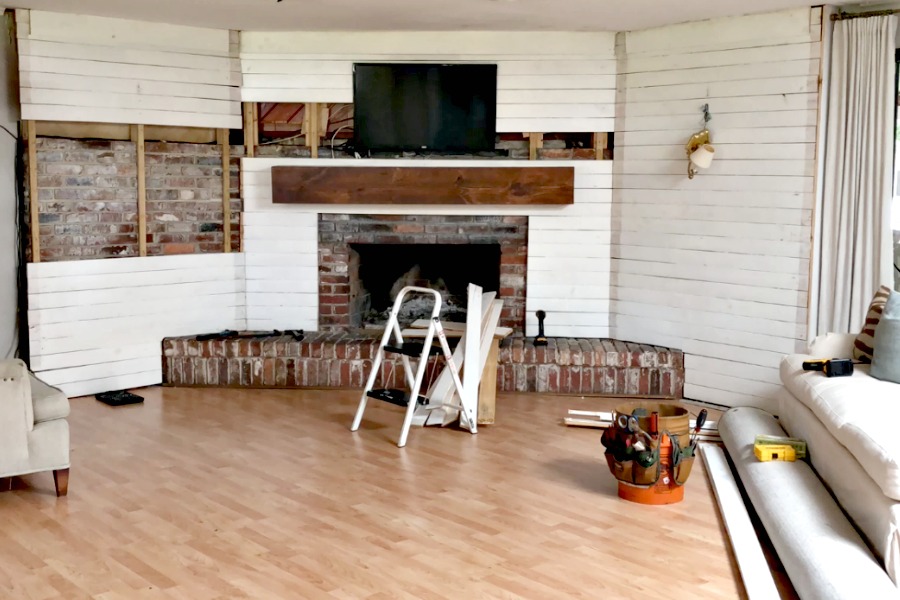 The only advantage of this wall treatment was the gap created by the furring strips where I could hide the TV and sconce cords.
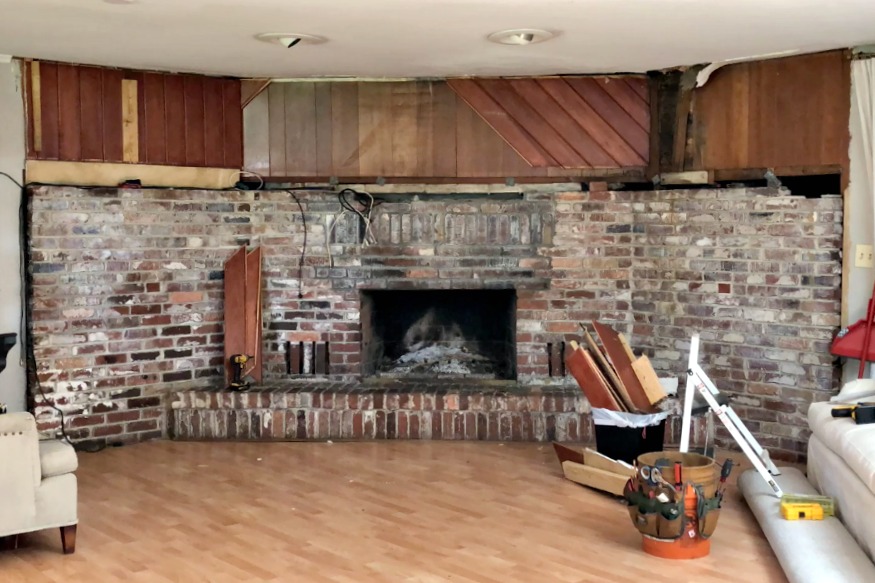
This is almost exactly how it looked when me moved in, except the diagonal cedar went all the way across the top. So terrible…especially since our ceilings are not even 8′ tall. The horizontal line of the brick 3/4 up the wall makes the ceiling feel even shorter. I really wish I could have taken out the hearth as well and made the firebox come down to the floor, but that would call for a professional for sure. oy…
My initial plan on the morning I decided to tackle this project was to take the brick off the side walls and stack it on top of the center bricks to create a floor to ceiling brick fireplace similar to the lovely picture below.
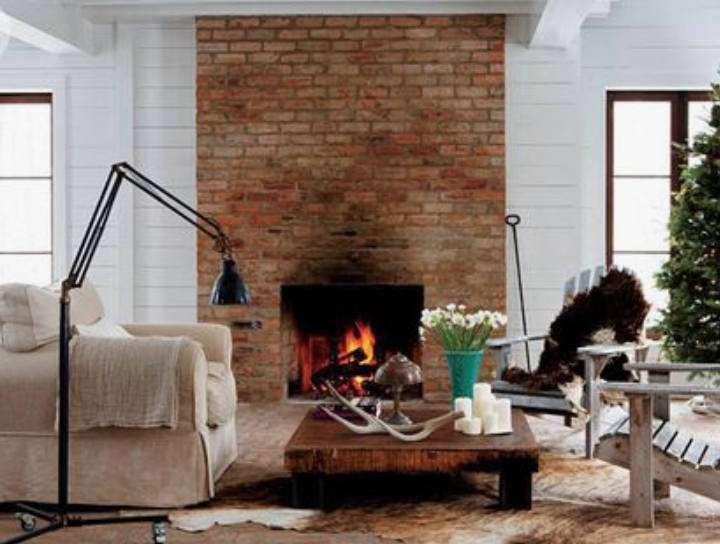
This was the image in my minds eye when I sat staring at the tired faux shiplap wall that morning, I thought to myself…self this won’t be that difficult and it should be nearly free. Just some mortar and elbow grease. ha! I think that’s how most projects start.
Two weeks later and a lot of rubble hauling later…
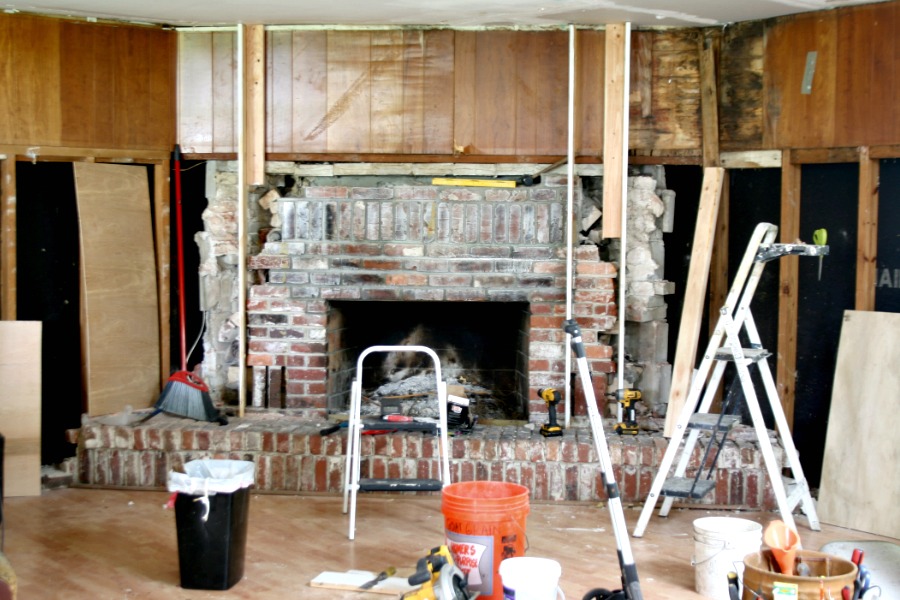 When I started to chip away at the brick I quickly realized it would be nearly impossible to get a straight square corner on the brick. I would’ve had to remove a brick without disturbing the brick above or below, cut it on a wet saw, and reinstall it between the two bricks…holy shizzle…too much work and time for me.
 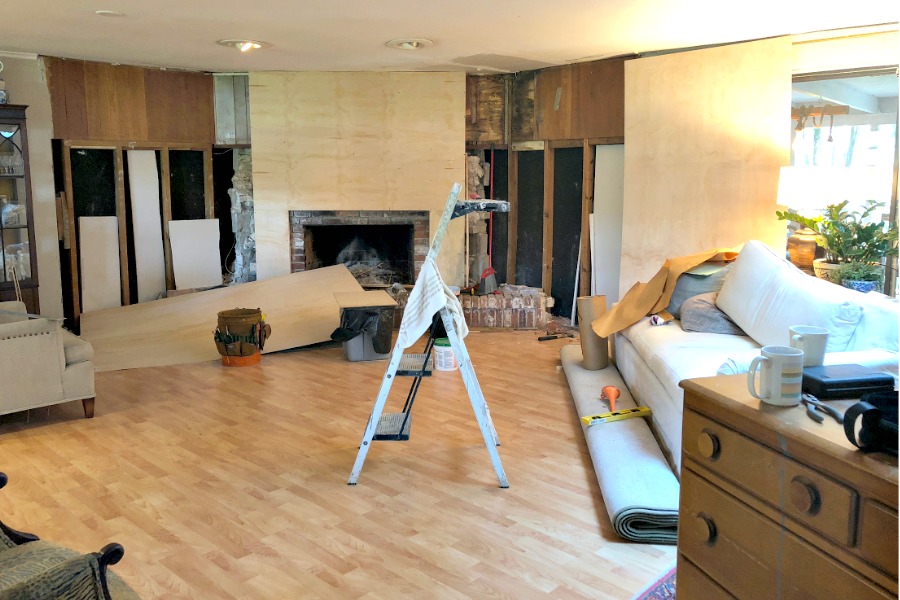 So…I decided to cover it all up again. This time with underlayment. As you can see from the pictures, I took the brick off the side walls of the fireplace to make the walls flat and on the same plain as the rest of the walls in the living room. Just the very center around the fire box sticks out farther than the side walls.
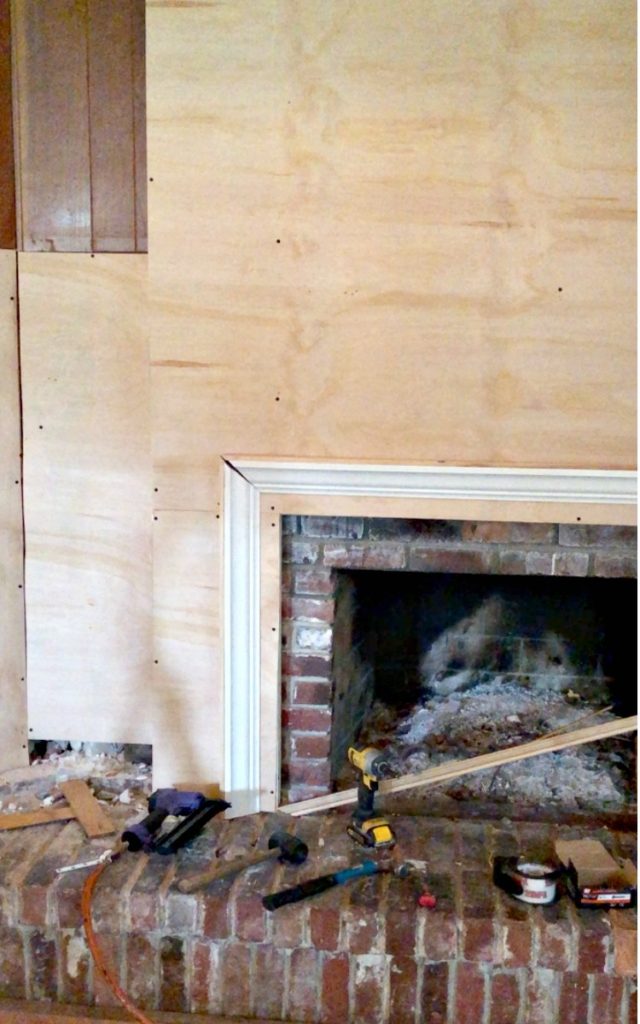 I then applied a very simple mantle piece around the firebox using lattice moulding, crown moulding and picture rail.
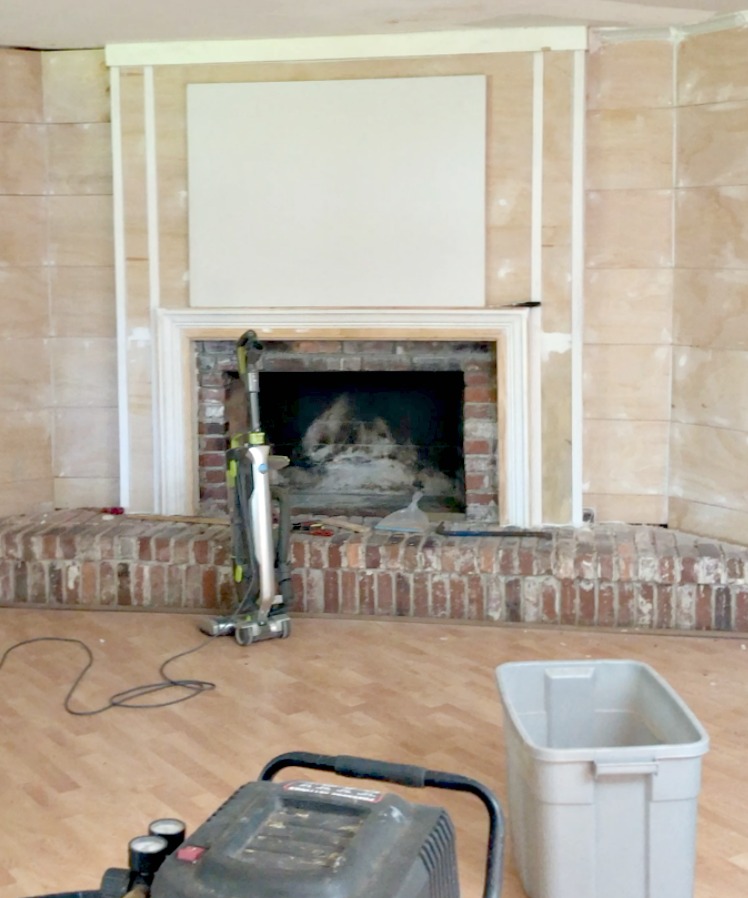
Next I applied 12″ wide faux shiplap, cut from flooring underlayment sold at Home Depot for $13.98 for a 4’x8′ sheet. It’s very affordable.
Sidenote: Notice how spur of the moment I decided to tackle this project…I didn’t even clean out the ashes until the point of putting it all back together. Sometimes you just need a complete change of pace.
I was waffling for a long time about the shiplap treatment. And finally jumped back on the shiplap wagon again. I was planning to avoid the whole horizontal lines of shiplap on this iteration of my fireplace reface, but shiplap is such an easy, fast, and inexpensive way to finish the walls. If I had re-drywalled, I would’ve had to take off all the paneling on two whole walls of my house, plus re-install the drywall, which is way heavier than shiplap plus the hassle of mudding, waiting for it to dry, sanding, more mud, more dry time, more sanding. You get the idea…drywall is not easy…it’s an artform actually, and I prefer to leave that to a professional if at all possible.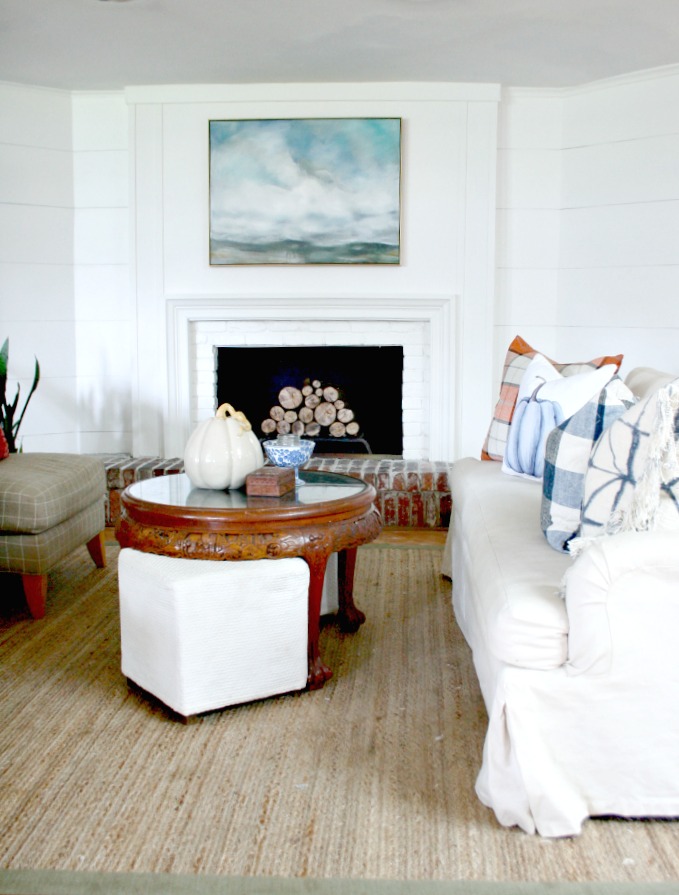 This is the finished fireplace, minus a pair of sconces on either side of the art. I painted the brick around the mantle piece and painted the inside of the fireplace with heat resistant black paint to clean up the look.
Initially I thought I would paint the hearth brick white to match the walls, but when I finsished painting the walls and the brick around the firebox, I realized the brick should remain unpainted. It would’ve been too much white.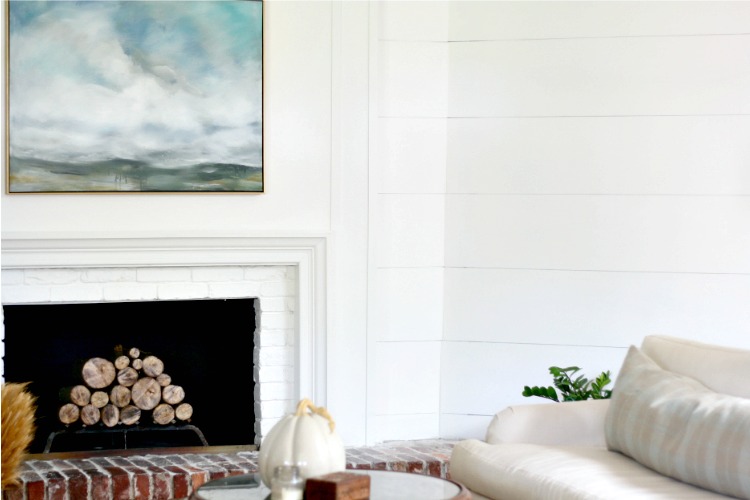
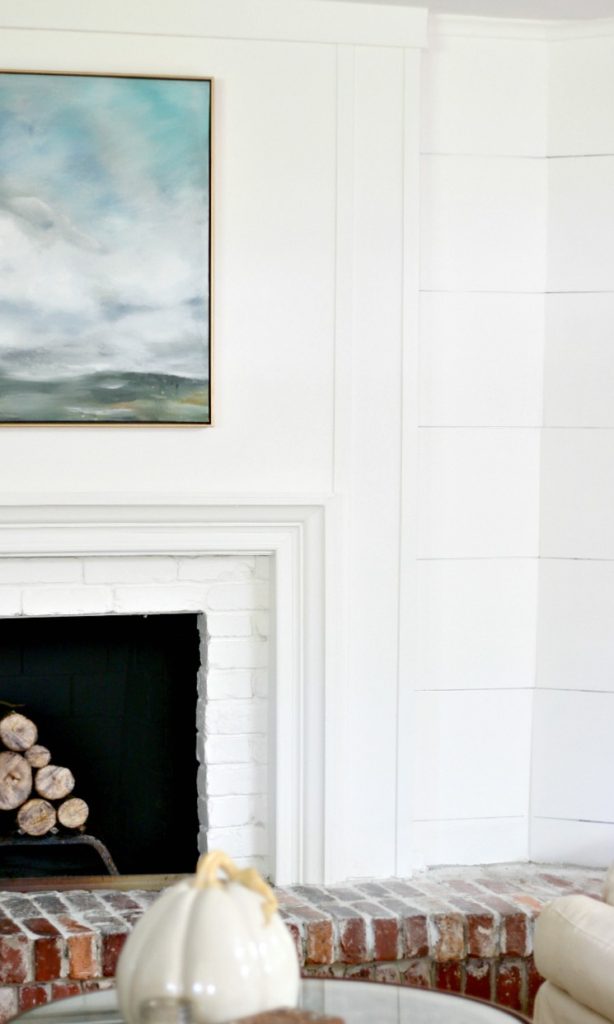 The pair of sconces will go on either side of the art in between the two strips of lattice moulding eventually. I just need to decide what type of sconces to use. I’ll most likely go with something pretty traditional and almost certainly brass. Probably like this.
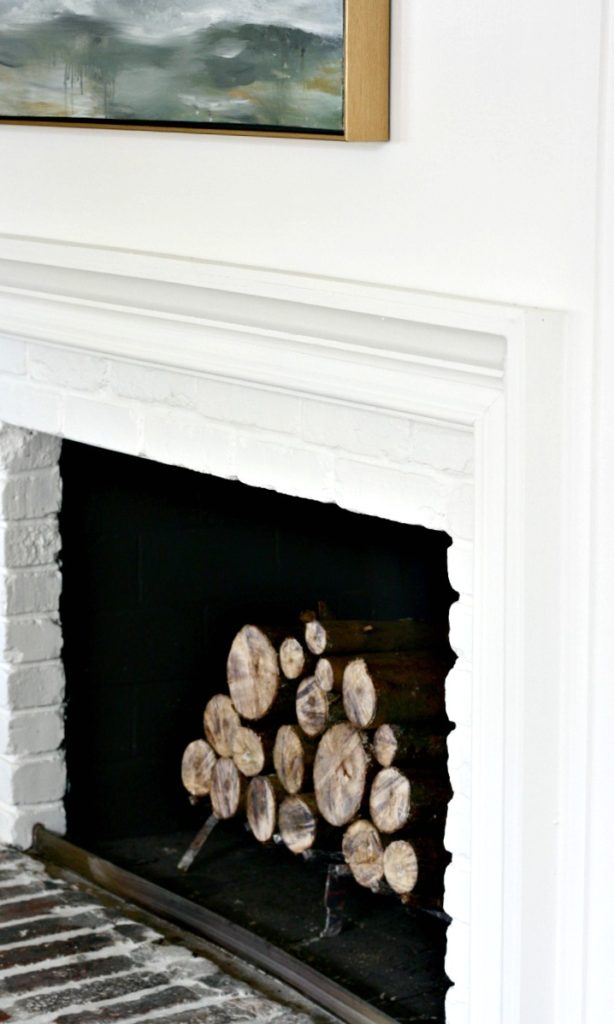 A close up of the moulding around the firebox. It’s narrow, only 2.5 inches deep. Now I don’t ever have to think about what to put on the mantle. I love that because I’m not a great stylist and prefer minimal decor.

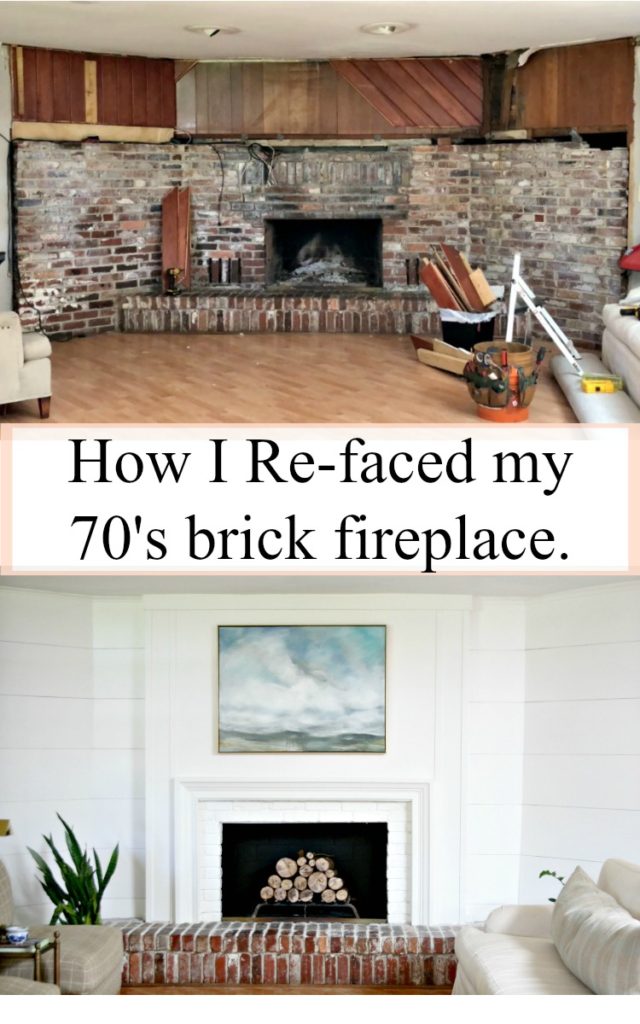 One final before and after of this brick fireplace refacing. What do you think? I’m pretty thrilled with how it turned out.
I did a time-lapse video of the process with a couple clips of me talking about the process in the middle and at the end. Check it out…it’s kinda amusing and a little cringe-y.

 Nadia says
June 7, 2020 at 4:19 amDo you mind if I quote a few of your articles as long as I provide
credit and sources back to your webpage? My blog is in the very same area of interest as yours
and my visitors would genuinely benefit from some of the information you provide here.
Please let me know if this alright with you. Regards!
 mimzylombardo@gmail.com says
June 7, 2020 at 5:41 pmsure.
 Sarah Del Rio says
October 1, 2018 at 1:44 pmAmazing!
 mimzylombardo@gmail.com says
October 2, 2018 at 12:33 amThank you Sarah…so are you!
 Patty Snow says
September 28, 2018 at 4:57 pmMimsi! You are so creative and talented! I’ve never met anyone who can imagine and complete so many beautiful projects. You are truly an artist!
 mimzylombardo@gmail.com says
October 1, 2018 at 9:49 amThank you so much patty!