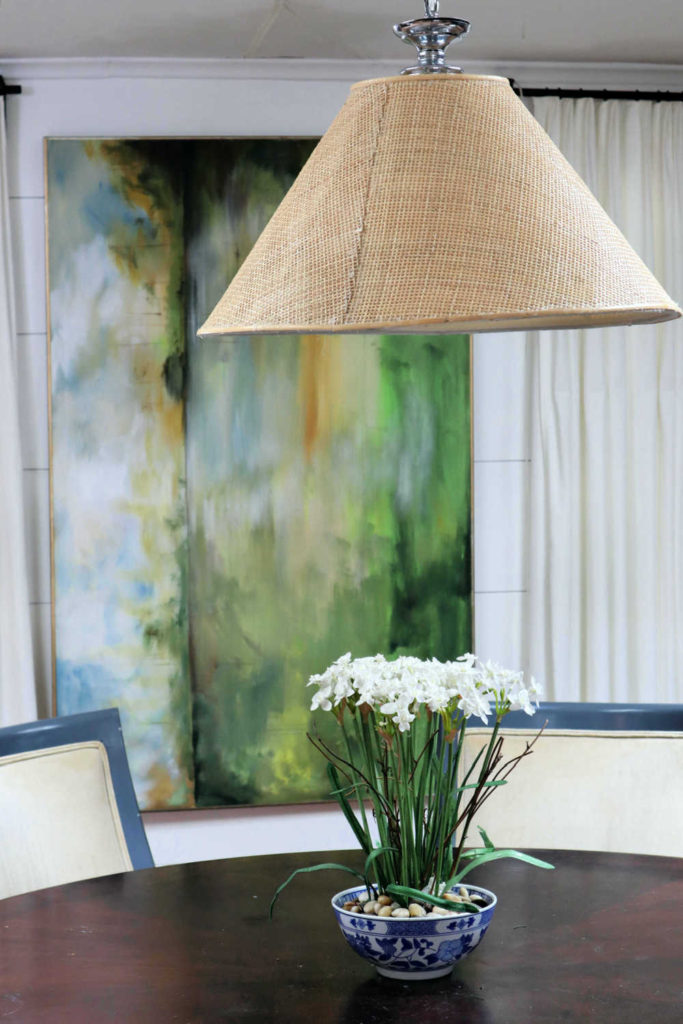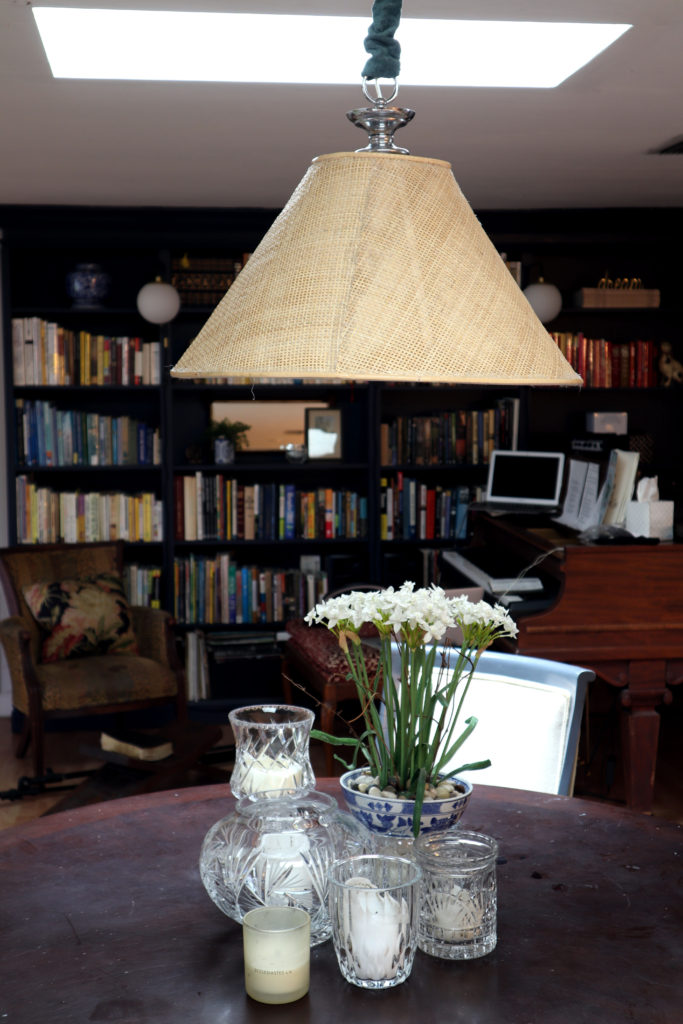
My plain white drum shade chandelier needed a glow up, so I decided to use some leftover cane webbing and a cone shaped lamp shade to do just that. I bought the shade at Habitat for Humanity for $2, and initially I planned to use open weave traditional cane to make a pleated style lampshade. But time and resources ran dry so plans changed, and I used what I had on hand. I’ll make the pleated style shade at a later date because this shade feels a little too small for my table, AND I made a very big mistake, read til the end or watch the video to see what I did.
Let’s get started…
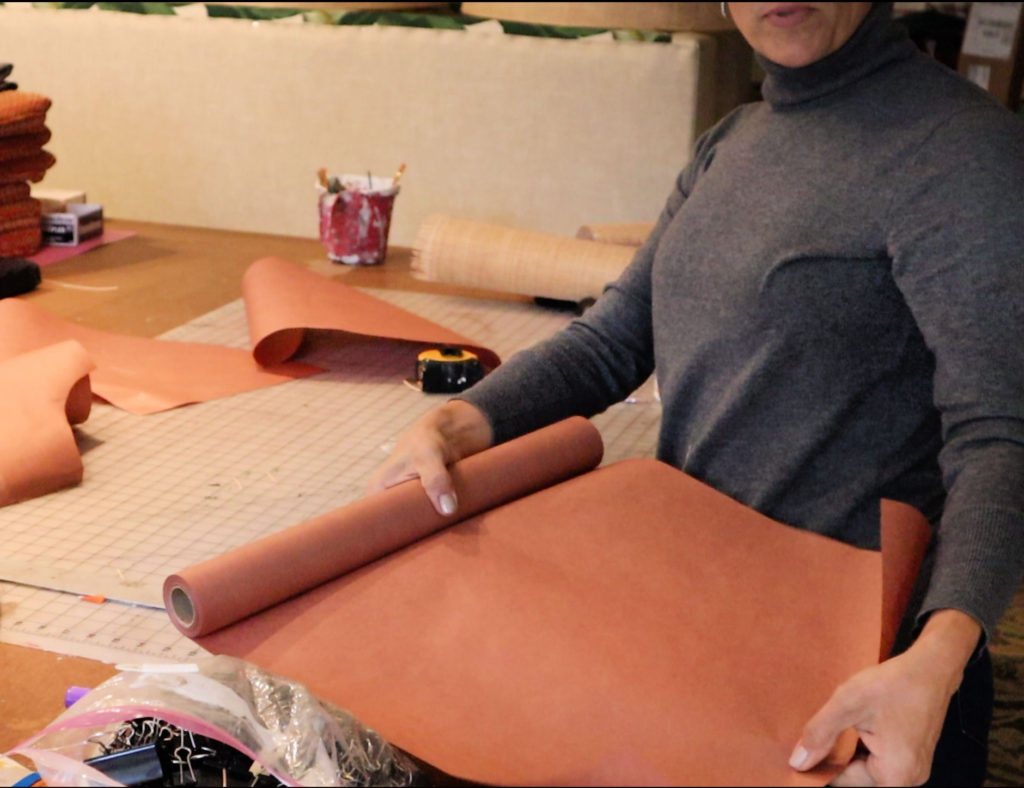
Step 1: Make a paper pattern.
I used butcher paper from the grocery store to make a pattern. This step is important because cane is not cheap and if you mis-cut it’ll be costly.
You could use any kind of paper to make your pattern. Leftover Christmas wrapping paper, painters paper, etc. etc.
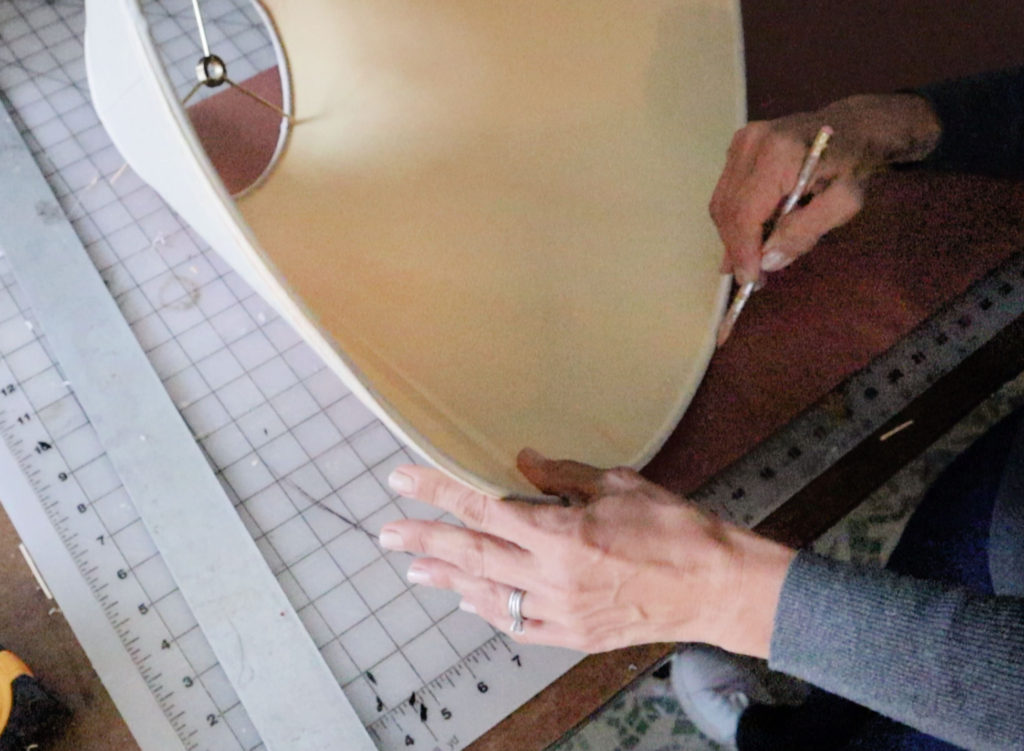
Step 2: Trace the lampshade onto the paper.
Roll out the paper on a flat surface and using your lampshade trace the shape of the top and bottom edge of your shade as you roll it across your paper. Be sure to start tracing with the seam of the shade lined up with the straight edge of the paper. This is much easier to comprehend from the video.
Obviously the shade will not be covered with this one piece of paper. So you’ll have to do this process two or three times depending upon how wide your material is and how big your lamp shade is.
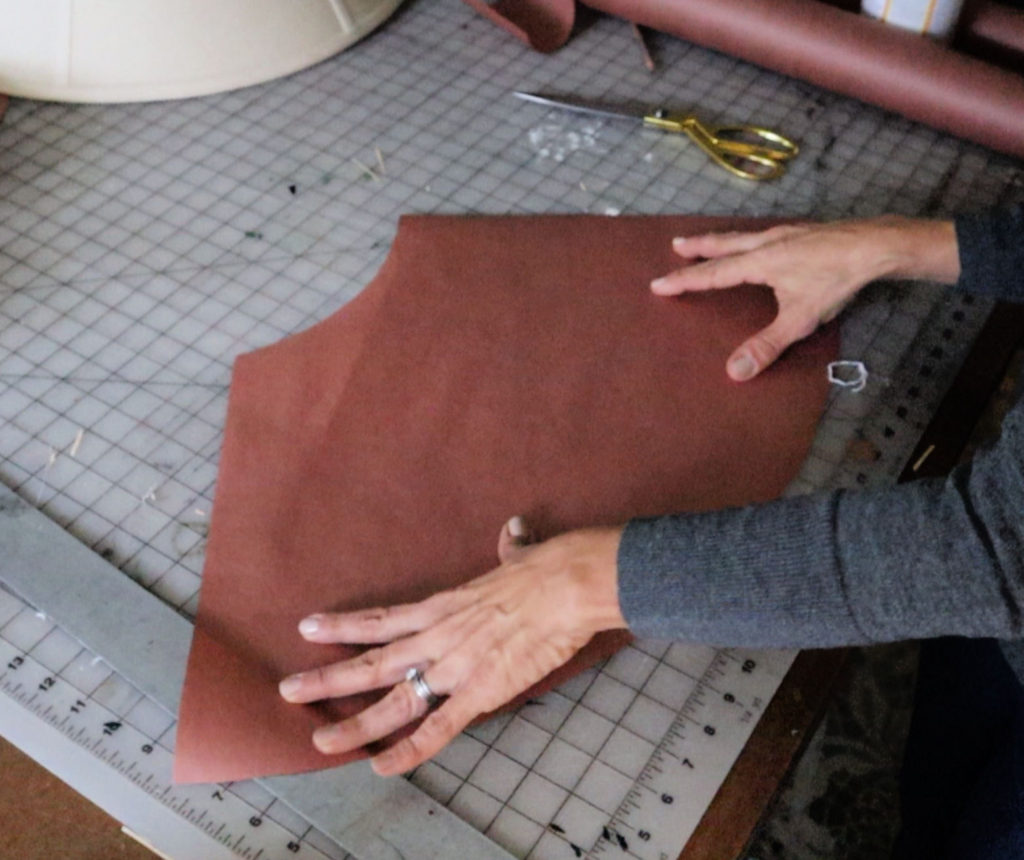
Step 3: Cut out your paper pattern
You’ll need to cut out two or three of these paper patterns depending upon the size of material and size of lampshade.
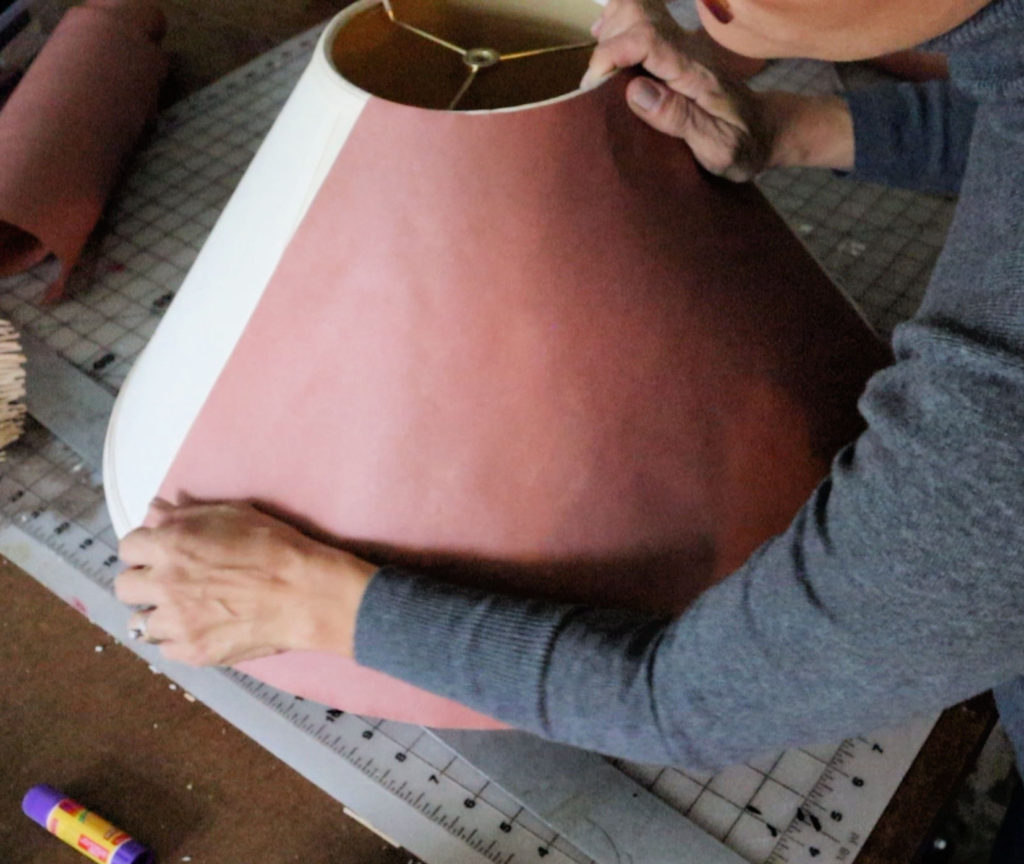
Step 4: Dry fit your paper patterns.
Cut out ALL your pattern pieces and dry fit them all to your shade, making sure they cover the whole shade and they only overlap at the seams by about 1/4″-1/2″. This way when you cut out your cane it’s exactly the right size and you won’t have to cut the caning again and potentially have wasted caning.
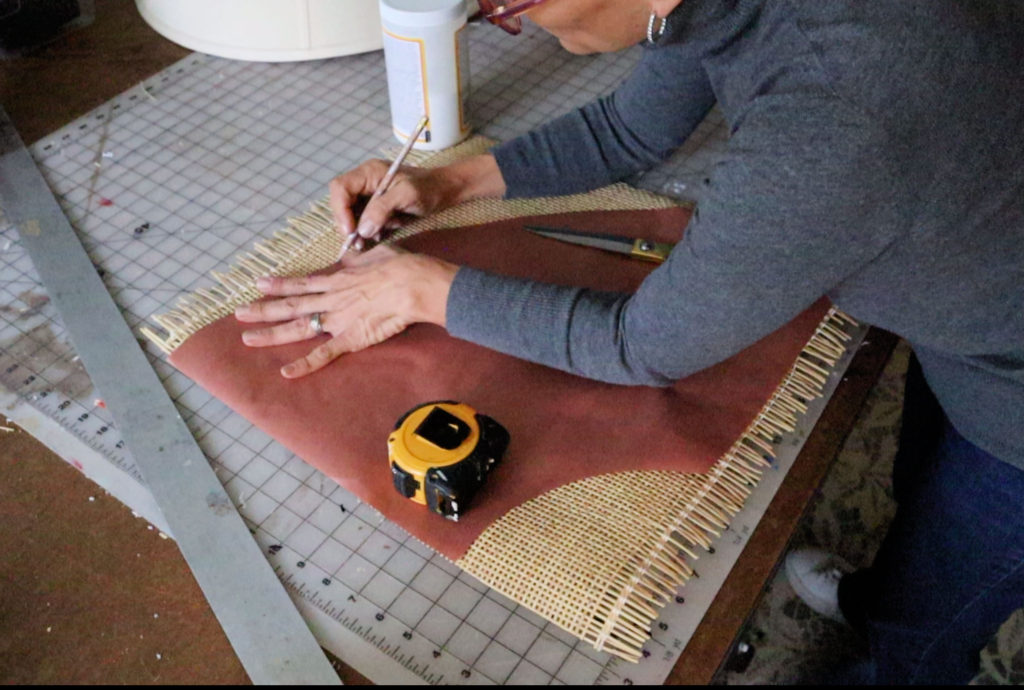
Step 5: Cut out the caning pieces.
Once you have your paper patterns just right, use those paper patterns to cut out the caning. Pro tip: number your paper patterns so you know for sure you only cut each pattern one time.
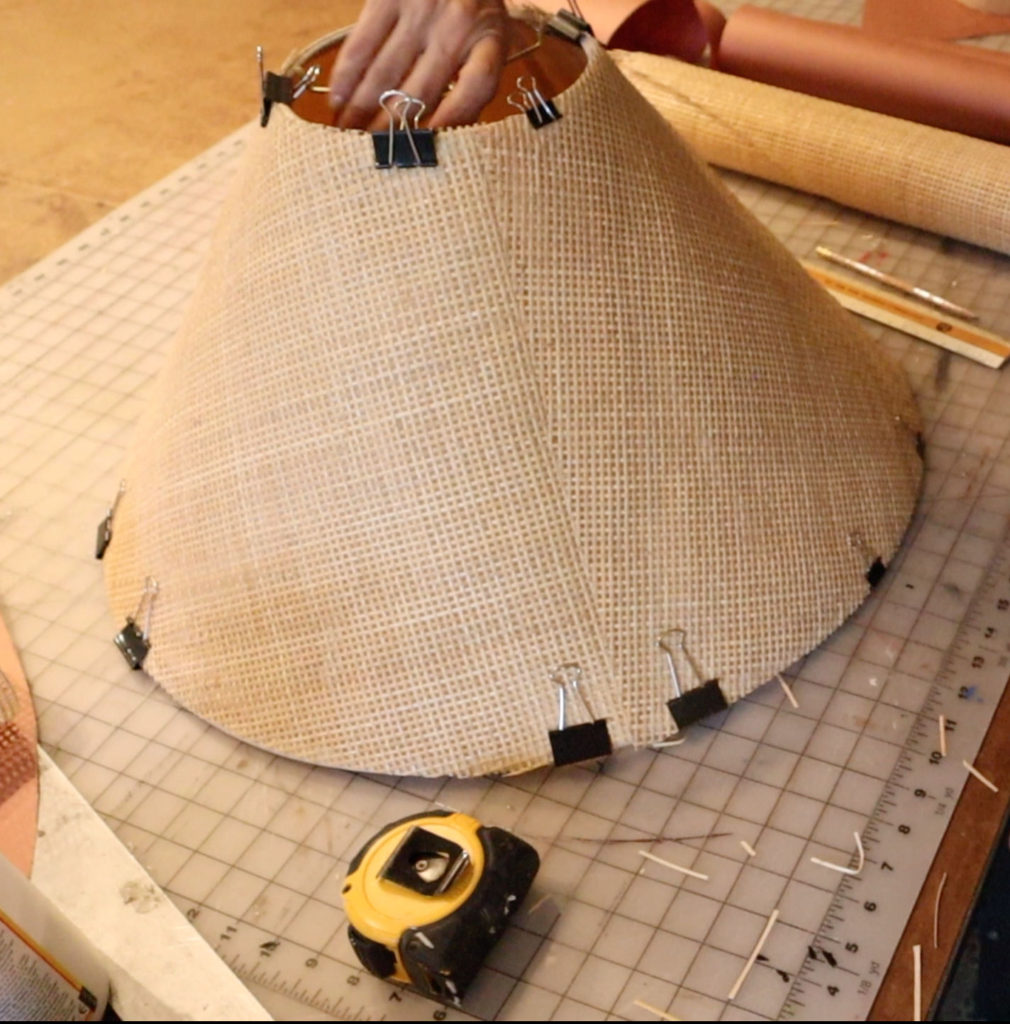
Step 6: Dry fit the cane pieces.
This step is crucial, and binder clips or clothes pins are a game changer. Clip all the pieces to the lampshade to make sure you have a proper fit. That all the seams line up without overlapping too much or not enough.
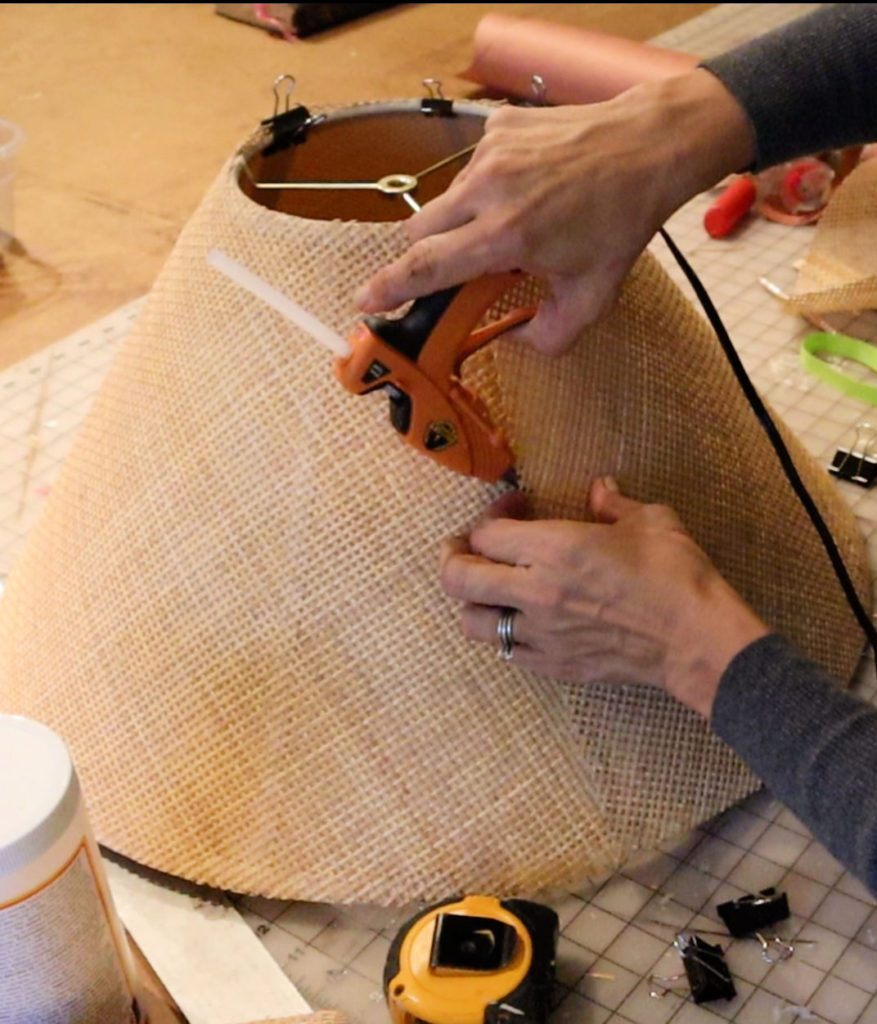
Step 7: Hot glue the cane to the shade.
Run a generous line of hot glue down all four edges of your cane pieces. I ran about a 6″ strip of glue at a time. This way I could press the cane down flat into the hot glue to make sure it was totally flat and adhered to the shade sufficiently.
Pro tip: As you run the glue along the bottom and top of the shade make sure to pull the caning tight so you don’t have any bubbles/ripples. You want a very taught finished project.
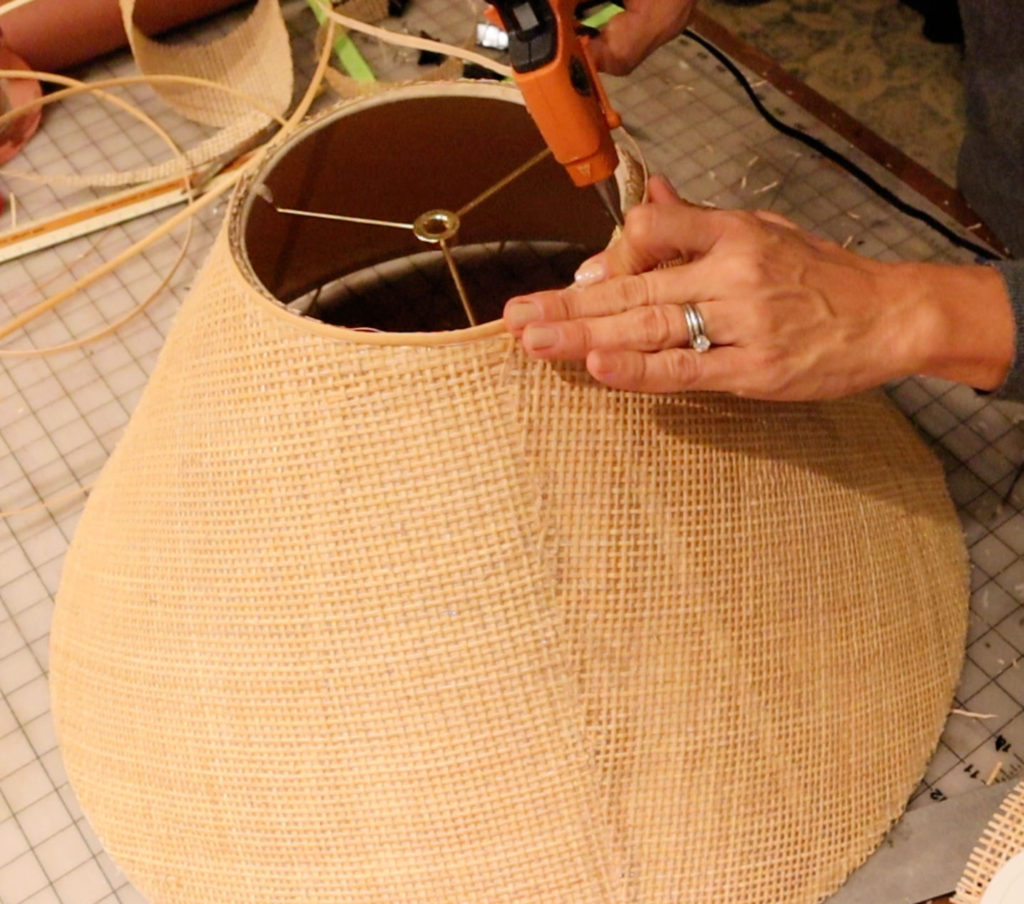
Step 8: Cover the raw edges with spline.
The last step before installation is to cover the raw edges with cane spline. Simply hot glue the spline to the edge making sure to cover the jagged edges of the pressed cane.
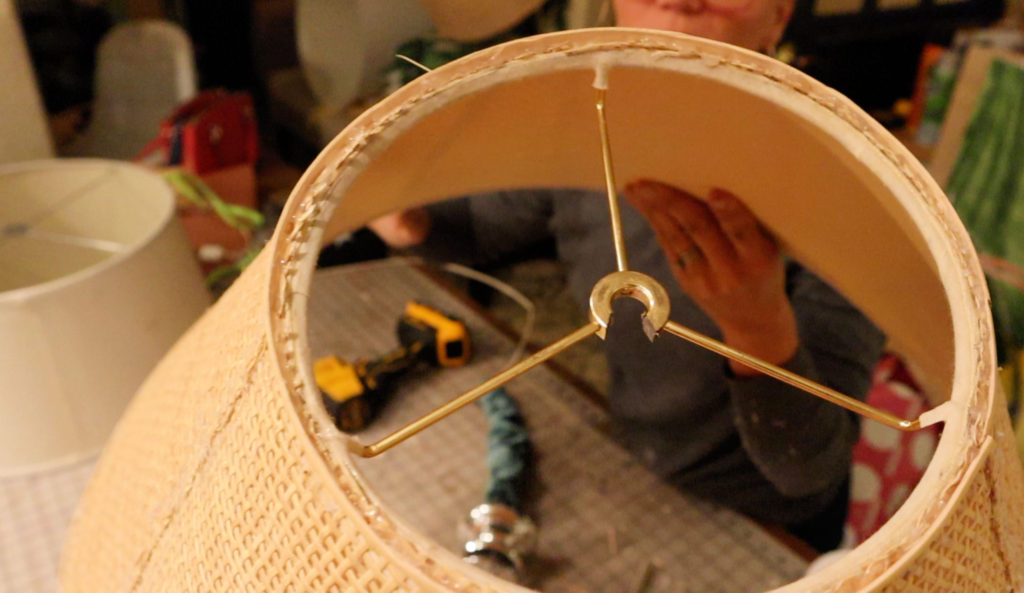
Step 9: install your beautiful new lamp shade.
The shade on my original chandelier has a U shaped circle thing in the middle of the spider fitter(I just learned the name of this piece). So I had to cut my new shade the same way so I could install it on my chandy. I used my sawzall(reciprocating saw) with a metal blade for this step. You could use a hand saw as well.
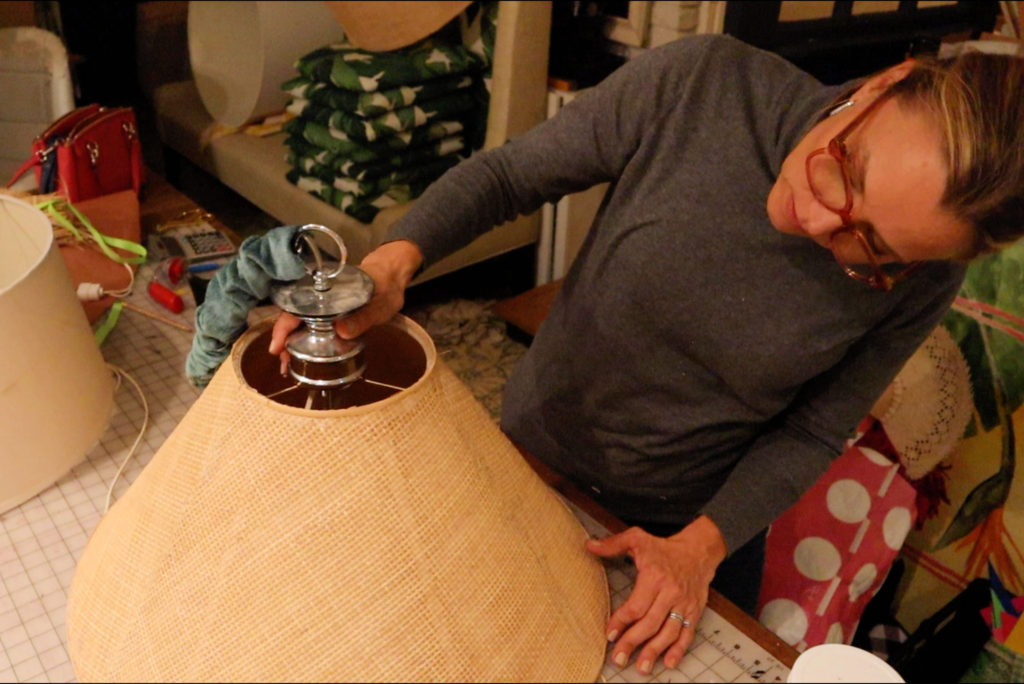
That’s that! I have cute new shade for my dining table. I still may attempt my original plan with the pleated caning once I have more time and money to execute it. We’ll see.
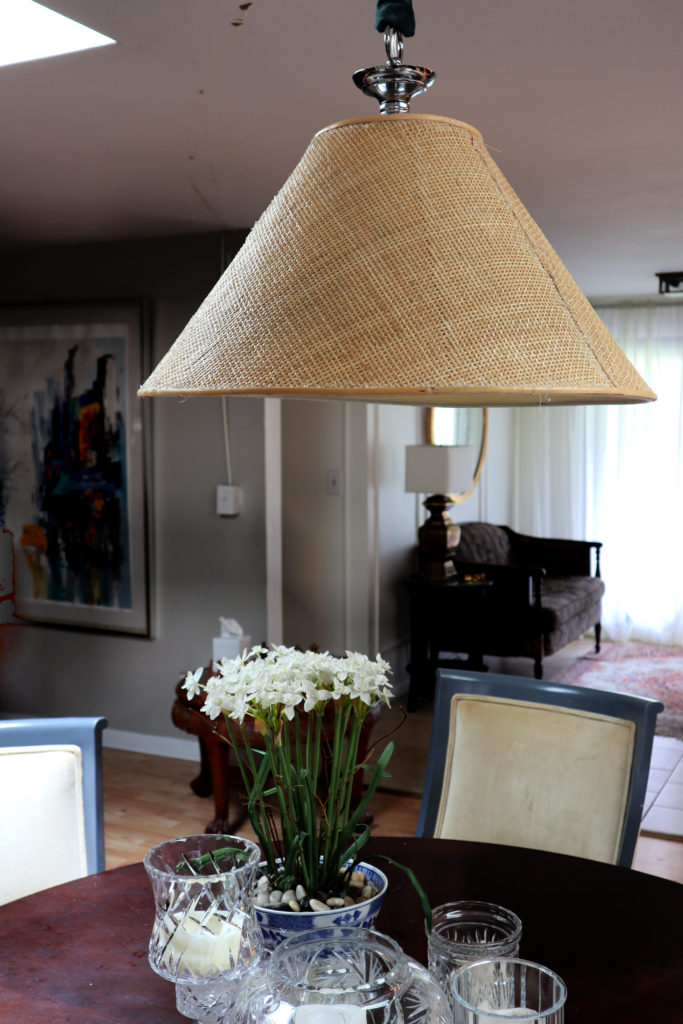
So, what was my catastrophic error in this project? My lamp shade has seams on the outside of the shade and you can see them through the caning at night when the light is turned on…womp, womp. So when my chandy is lit you see those seams plus the seams of my cane and they don’t line up. Lesson learned. The lamp shade needs to be smooth.
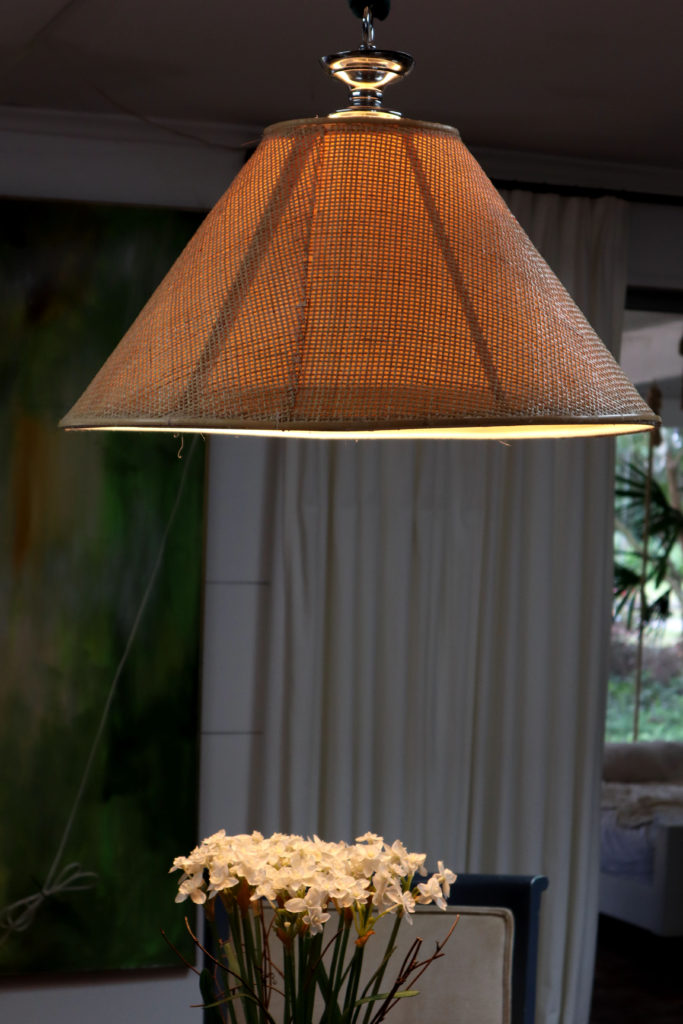
Like my mom always said…You live and you learn, and sometimes you just live. ;).
So…I’ll keep you updated as to what I end up putting above my dining table.
