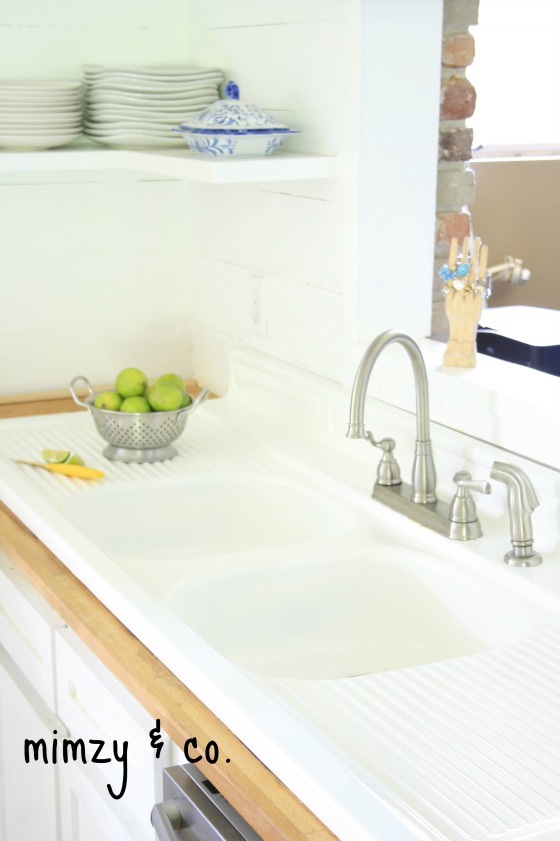
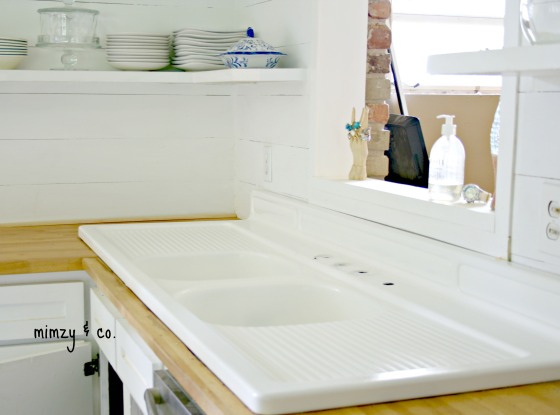
 My lovely newly refinished sink.
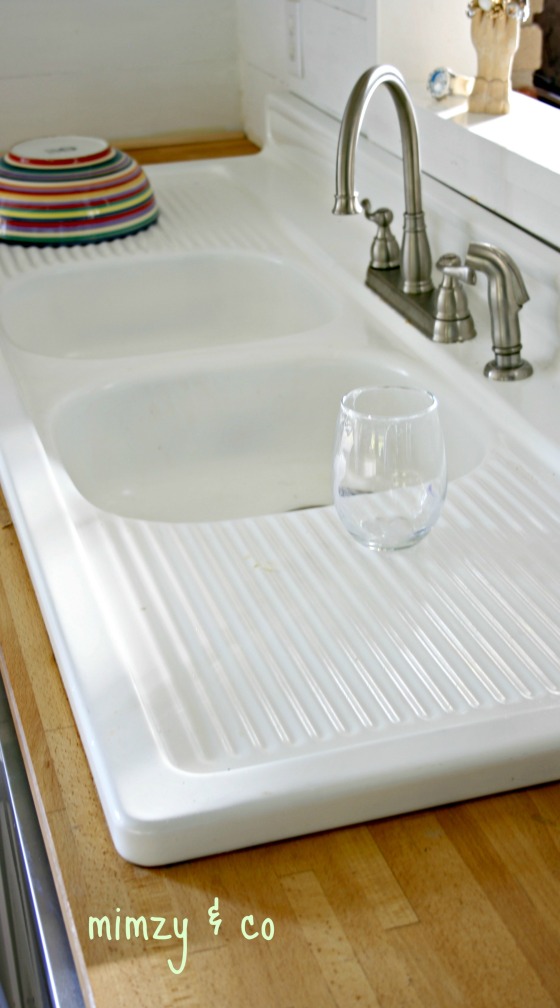 I’ve been procrastinating this kitchen sink refinish for about a year because I knew it would be a bigger project than intended… as usual. So when the tailpipe connected to the sink strainer came loose and flooded my kitchen floor , it went to top of my to-do list.
The sink was a craigslist purchase shortly after we bought our house 5 years ago. I hesitantly paid 30 bucks for it, not sure if it was such a good deal in the current state. I love, love, love the sink! The double drain boards make it sooooo efficient, especially since I have wood counter tops. I immediately refinished it and installed it two days before Thanksgiving. Therefore…it didn’t get the prescribed cure time of 72 hours, more like 24 hours(generously). So that refinish job only lasted about 2 years before it started to chip. I don’t know if that’s typical of the product or if I didn’t let it cure long enough. I’m still pleased with sink.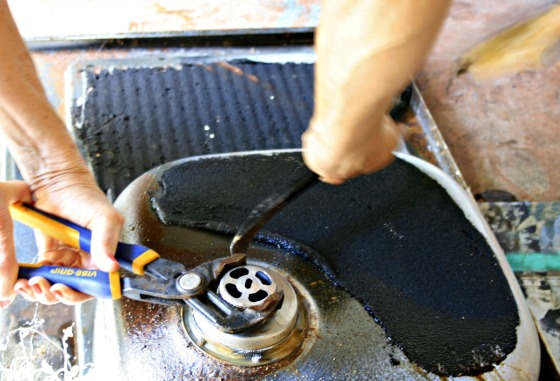 I turned off the water of course and unhooked the plumbing, removed sink from the countertop and brought it to the garage where we took out the strainer baskets. There’s this tool sold at HD specifically made for installing and removing the strainer but we don’t have that, so we used a hammer and pry bar to remove the nut. I would highly recommend buying that tool for the install of the new strainer baskets! It makes tightening the strainer much easier and reduces the risk of scratching the sink like I did!
 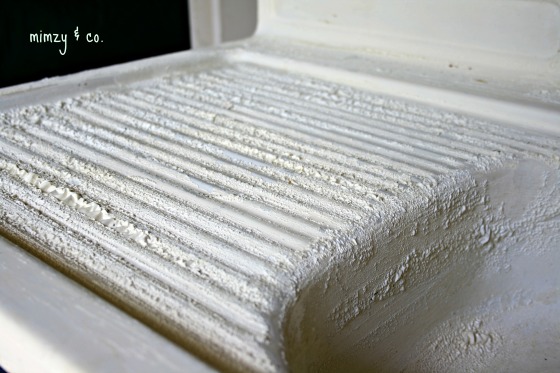 I applied a generous amount of paint stripper according to the directions and like magic the old paint bubbled up immediately. So satisfying! I used this stripper also sold at HD. I found the best way to remove all the gooey old paint was with small wire brush(gold bristles were best, the silver bristles left a grey haze).
 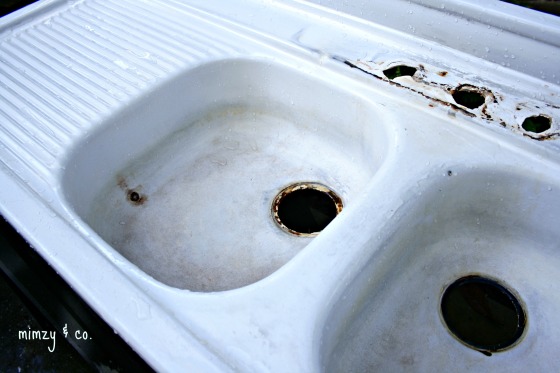 We schlepped the sink to the back yard to hose it down and clean it according to directions of this 1-part epoxy kit I bought. The last time I refinished this sink I used a two-part epoxy by the same company, but they no longer make it. It required the DIY’er to mix the two parts by joining the two aerosol bottles of paint inside a plastic bag with a straw like tool, I suppose it was too complicated for most so they simplified it by selling it already mixed. Anyhoo….I followed the directions on the box to the letter because I had the help of Beast and he’s doesn’t do short-cuts.
It cured for 72 hours and it looks spectacular! We’ll see how long it lasts…I’ll keep you updated. I’m gonna try this same product on a clawfoot bathtub next. I think the main reason this epoxy doesn’t last forever in the sink is because of all the metal bangin’ around in there. I have a feeling it will be more long-wearing in the tub.
Anyone else used this one-part epoxy product with long lasting results? OR has anyone used something better?

 Julie says
March 25, 2021 at 2:55 pmLooks great. I will a smaller sink to do this summer and your info helpful. What brand did you use?
 Paula says
January 7, 2021 at 1:25 pmI had my old cast iron tub refinished by a so called professional it started peeling off in less than 5 years. I really don’t know what to do now any suggestions?
 beth says
November 30, 2020 at 1:03 amwhat was the brand of the kit. Just about to start the same project, except no paint on my sink.
 Rebecca Barnes says
June 9, 2020 at 10:22 amHi Mimzy! This is Rebecca, Pamala’s friend. I came across your blog on Pinterest this morning and I have to say, you are always several steps ahead of me on the DIY scale. This is the sink of my dreams! My husband and I have been looking at buying one, but I wasn’t sure how to refinish it. Thanks to you, now I know. Just wanted to say “Thank you!” Keep doing what you do…you are so amazing at it! 😍
 Tricia Fletcher says
March 26, 2020 at 7:08 pmApparently HD no longer sells the stripper or epoxy. Do you remember the brands? Thanks.
 mimzylombardo@gmail.com says
November 4, 2019 at 9:04 pmit’s called Homax tub and tile refinisher, Home Depot carries it.
 DoreenX says
August 16, 2017 at 1:02 pmHi blogger i see you don’t monetize your page. You can earn additional money easily, search on youtube for: how to earn selling articles
 sbwilliams26 says
September 14, 2015 at 12:43 pmI’m wondering how your second attempt is holding up? I’m about to tackle this myself.
 mimzyandcompany says
September 28, 2015 at 11:17 amHi Shawna…sorry for the delay. I just realized you commented. My second attempt at refinishing my sink has turned out to be less effective than the first. Despite my efforts to really do exactly as the directions instructed, it hasn’t held up well. It’s chipping pretty heavily already. Definitely not as good as the first time. But, the first time around I used a 2-part epoxy from the same company. I think it was a better product but probably too caustic and maybe not really meant for a DIY’er because the process of mixing the two parts was difficult. Oh well…next time I may just call a professional. I hope your results are far better!