This guest bath makeover, that I started only the week before having out of town guests, was supposed to be a quick cover up job. Just a “refresh” is what I had in mind. It all started with some tongue and groove pine I salvaged from my neighbors demolition a few months ago. It was my intention to use it shiplap style directly over the top of the existing tile to avoid stripping the tile off the wall.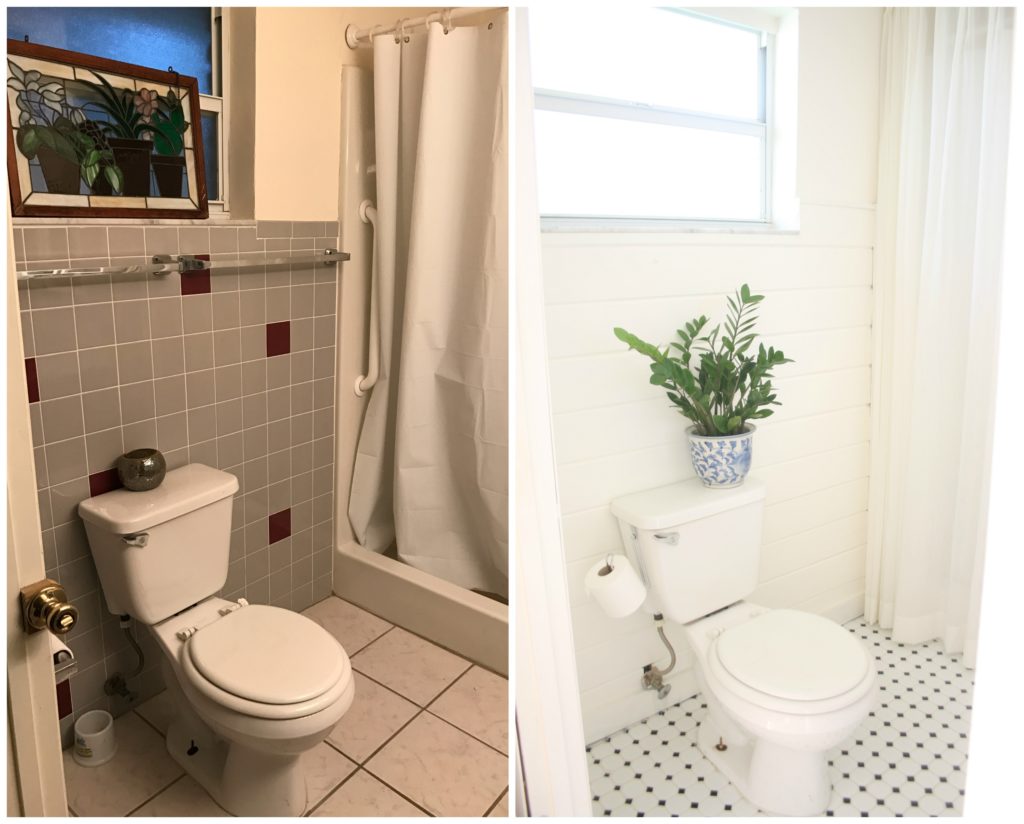
My entire “refresh” list included: make a new floor to ceiling shower curtain, cover the ugly wall tile with ship lap, install a new vanity, sink, faucet and mirror. I never intended to take out all the tile on the walls and floors, remove the toilet, and replace drywall, but this remodel had different plans for me.
When I cut the first piece of pine to cover the tile I quickly realized it wouldn’t work. First, it was too thick to fit behind the toilet. Second, the thickness would stick out way past the door trim. And finally I didn’t really have a way to fasten it to the tile(too heavy for glue alone). If I used 1/8″ thick plywood or hardboard it would’ve worked, but I already accumulated all this pine and stored it under my kids slip and slide for months, so I wasn’t about to scrap it. So I got out my flat pry bar and removed the tile.
I wasn’t planning to retile the bathroom floor either. My intention was to just fill in the holes under the old vanity with some new tile very similar to what’s already in the bathroom and throw down a large area rug. I dreaded taking up the toilet and possibly breaking it upon removal, and dealing with the new wax ring and gasket was more than I wanted to deal with.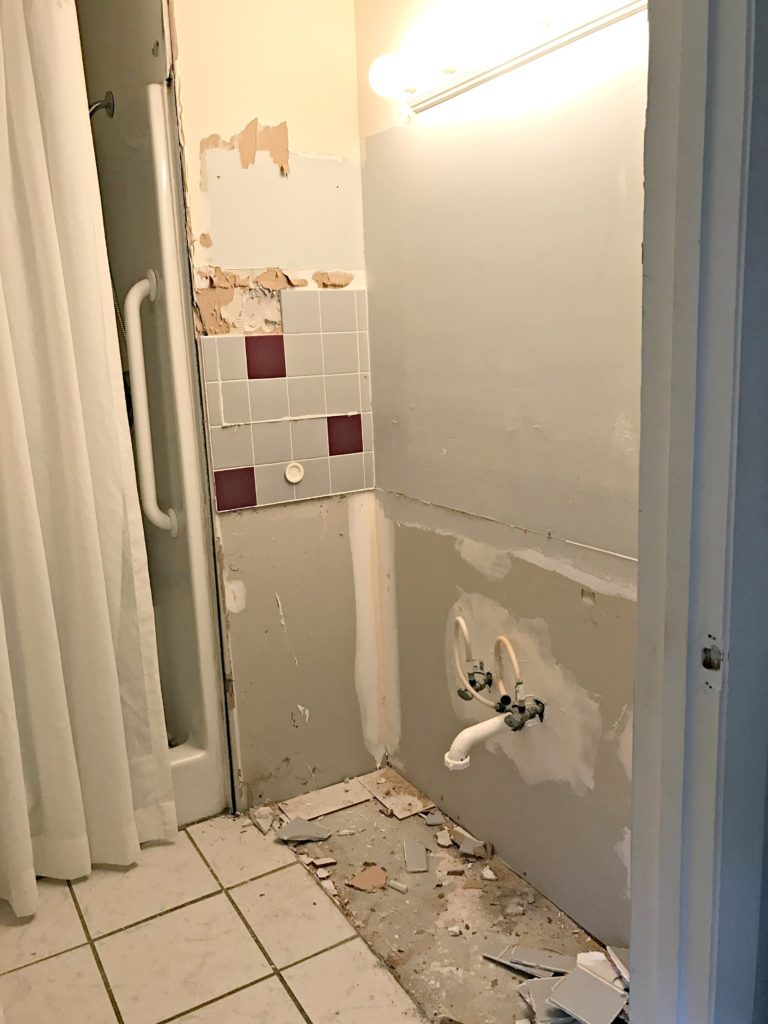
It was the Habitat Restore tile that sealed the retiled floor deal. I happened upon it while I was shopping for a sink, and I couldn’t pass up the $1 per square foot price and traditional yet vintage looking style.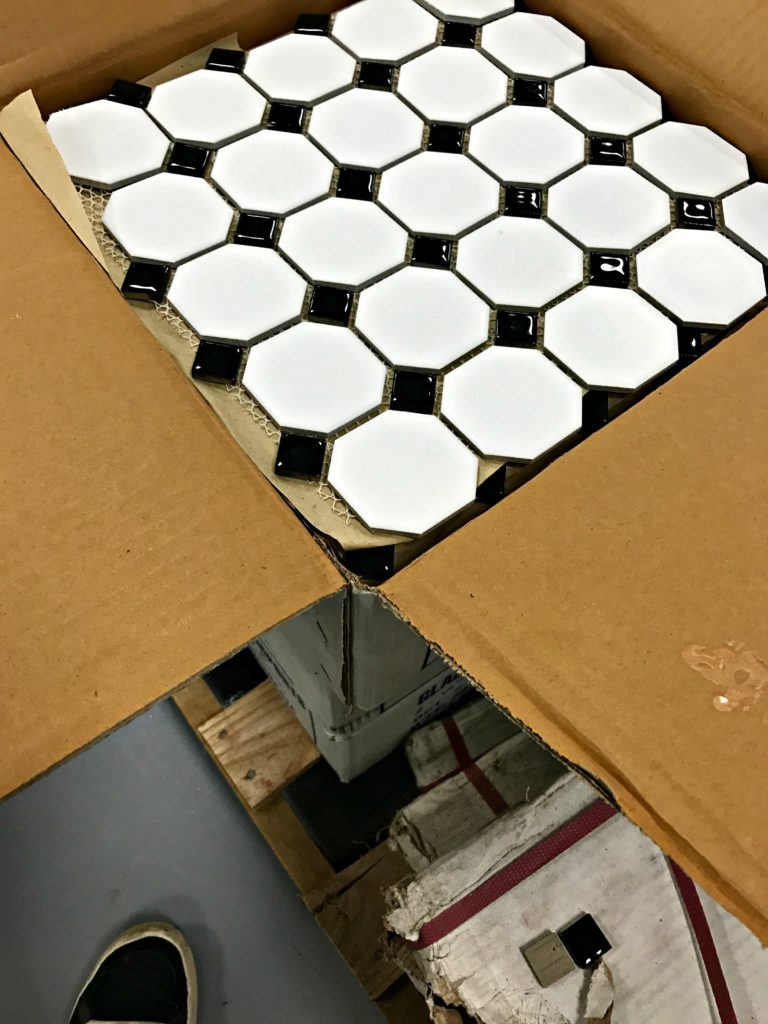
So, to get on with the prices and see how I did it for $200…
shiplap walls…free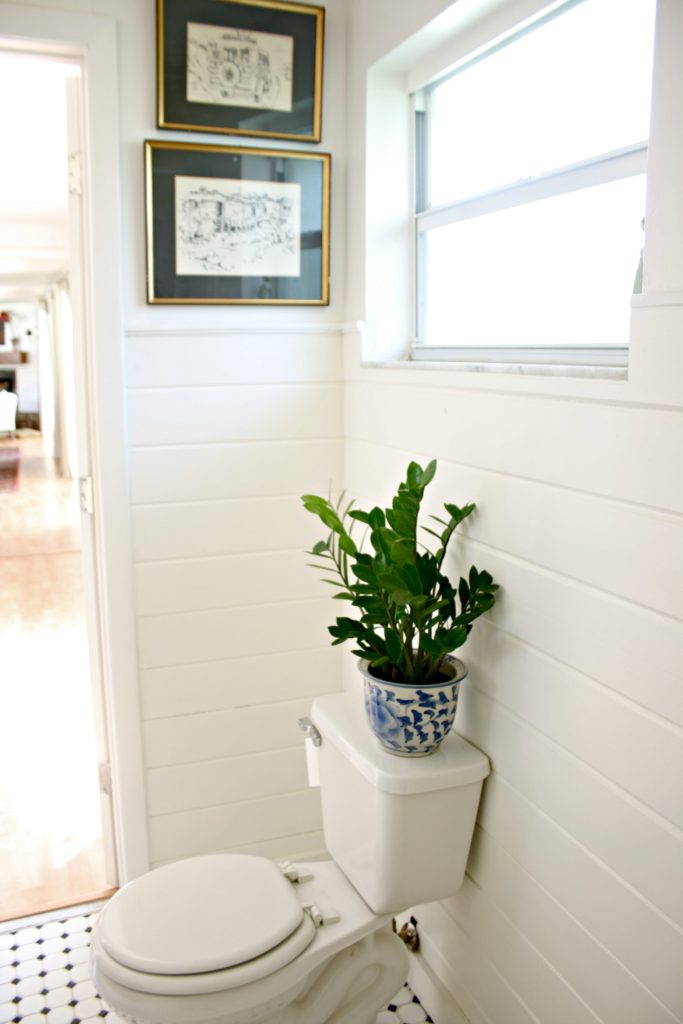
vanity…$14 from local thrift store(it was marked $24 but I used a $10 off frequent shopper discount)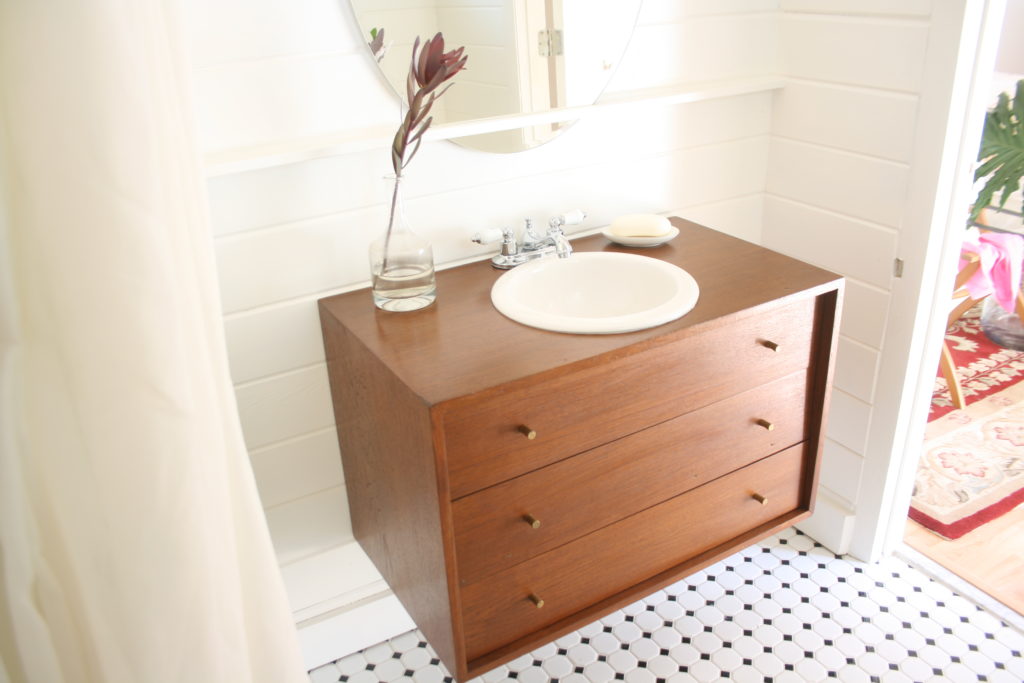
sink…$40 craigslist
faucet $32 Home Depot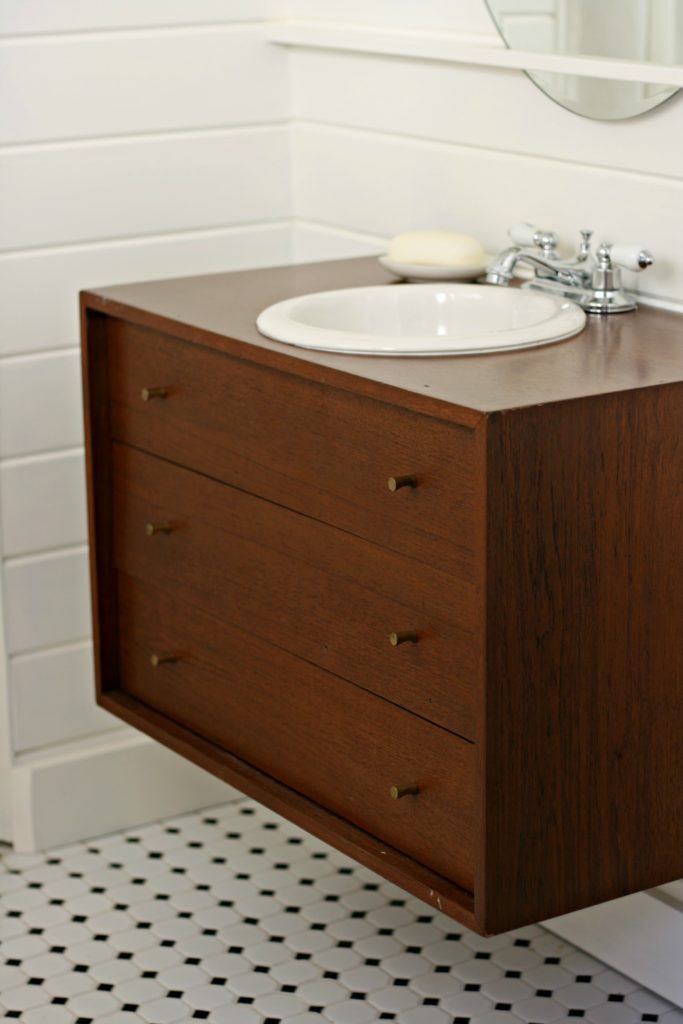
Mirror $10 craigslist
vanity light fixture $10 habitat restore 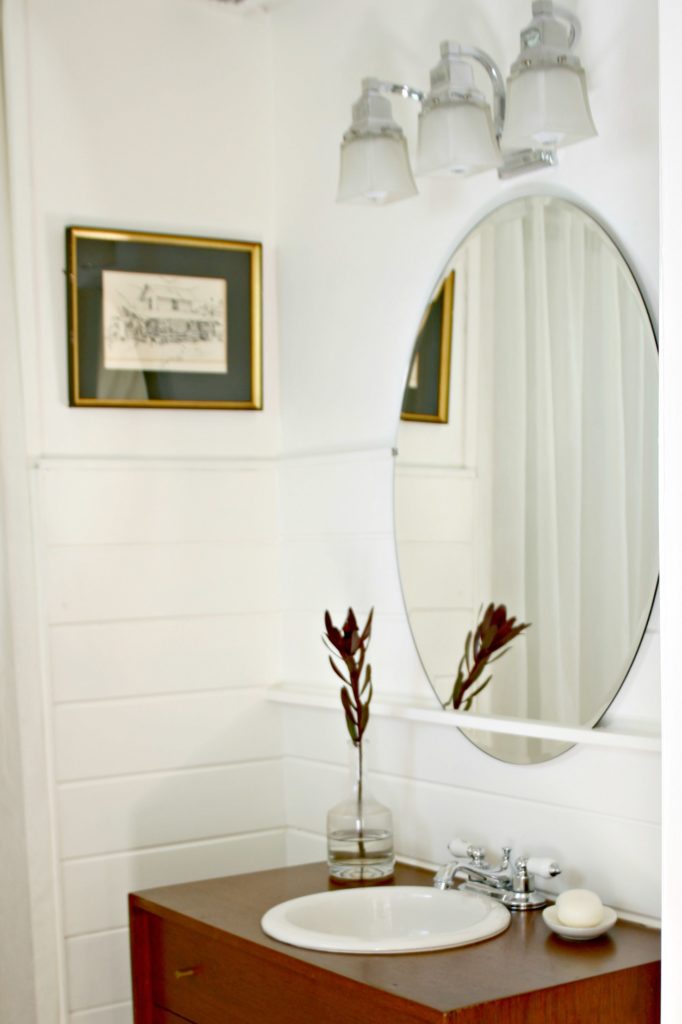
floor tile…$40 habitat Restore
thin set and grout…$21 Home depot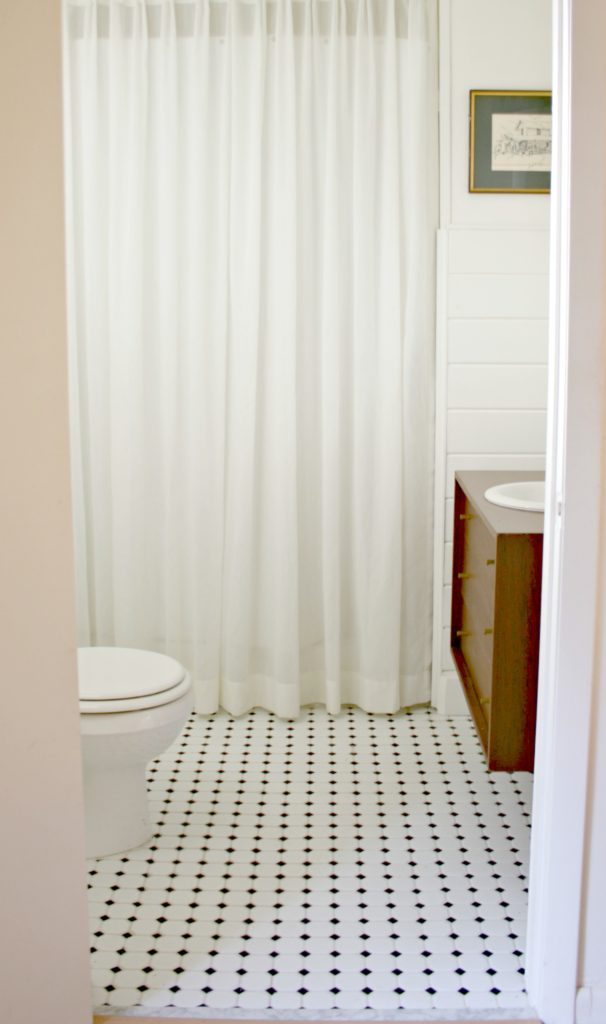
random trim…$12 Home Depot
Mirror clips…$4 home depot
Shower curtain…home made with fabric I had.
shower curtain track…$7 Ikea
wax ring…$4 Home Depot
caulk…$6 Home Depot
paint…left over from kitchen cabinets
screws and random hardware…used what I had.
I feel like I could have done a tutorial for each step of this project but I was in a pretty big hurry to finish it up so I didn’t take pictures until after my company went home.
If you have any questions about any aspect of this project feel free to comment. 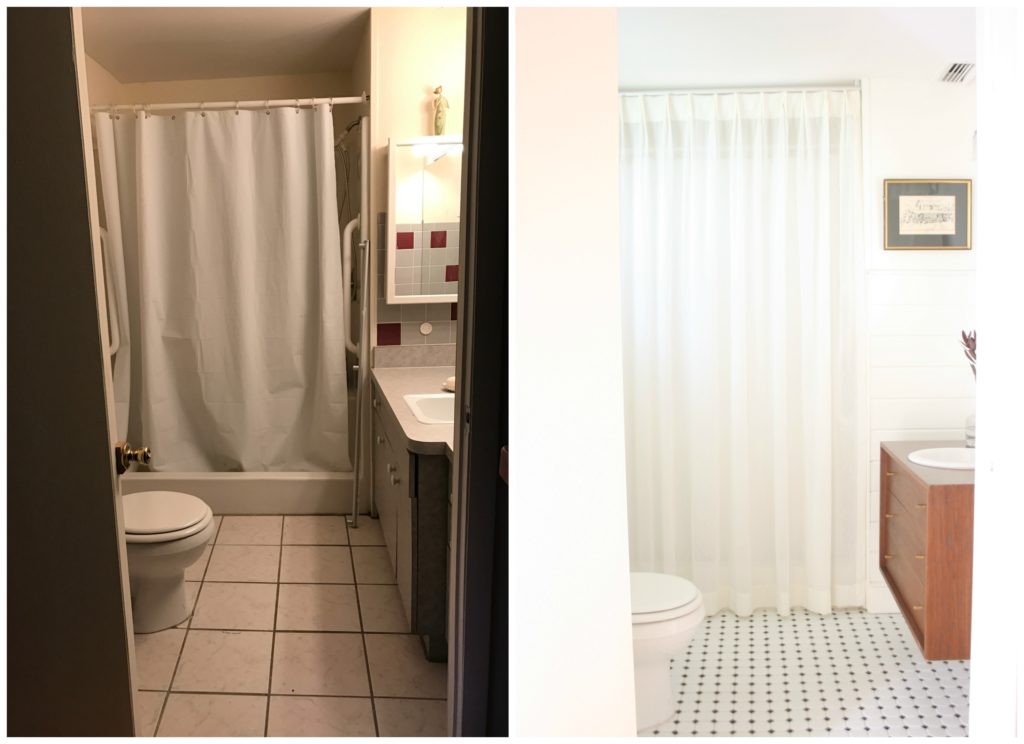 One more before and after because I just can’t help myself.

 AJ says
February 26, 2019 at 12:47 pmSo gorgeous!!! Great Job and beautiful tile floor!
Question: Did you repair or replace drywall or
just cover up old damaged drywall with shiplap?
Thanks!
 mimzylombardo@gmail.com says
February 26, 2019 at 8:30 pmThank you! Most of the drywall was damaged and torn off when I removed the tile, so I put in new insulation between the studs and then attached the tongue and groove pine directly to the studs on the wall behind the toilet.
 Howard says
February 26, 2019 at 7:52 amThis was a fantastic project, a question. Did you have to remove the floor tiles, or did you just l ay the new tiles over the old floor.
 mimzylombardo@gmail.com says
February 26, 2019 at 10:21 amI removed the old tile…
 Sue says
February 26, 2019 at 6:29 amHi did you do the tiling yourself and take the old tiles up? I think it looks fantastic! I have an en-suite which is in desperate need of a face lift, unfortunately it’s one of those jobs that keep being shunted to the bottom of the list until the pocket allows it!! As it’s off my bathroom it’s only me that sees and uses it!!
Well done good job to you😊
 mimzylombardo@gmail.com says
February 26, 2019 at 10:24 amThank you! Yes…I did remove the old tile and lay down new tile, and yes I did it myself. I totally hear what you’re saying about the bathroom no-one sees. My ensuite bathroom is terrible and it too is pushed to the bottom of the to-do list because no-one sees it but me and my husband. Thats really why this guest bathroom got renovated first because it’s the bathroom everyone uses. Thanks for commenting.
 Beth Jelks says
April 23, 2017 at 11:11 pmI love the idea of a ceiling to floor curtain. What type of fabric was used? A shower curtain type?
The remodel looks awesome
 mimzylombardo@gmail.com says
April 24, 2017 at 12:21 amThank you! I actually bought a bunch of curtains from a hotel liquidator in my area, it’s a poly/ cotton blend. I just had to take out the header and make it shorter and put in new pinch pleats. Then I used a regular sized plastic shower curtain inside that on a standard tension rod. You can kinda see at the top of the curtain that the plastic shower curtain is too short. I still think it looks way better all the way to the ceiling….thanks for commenting!