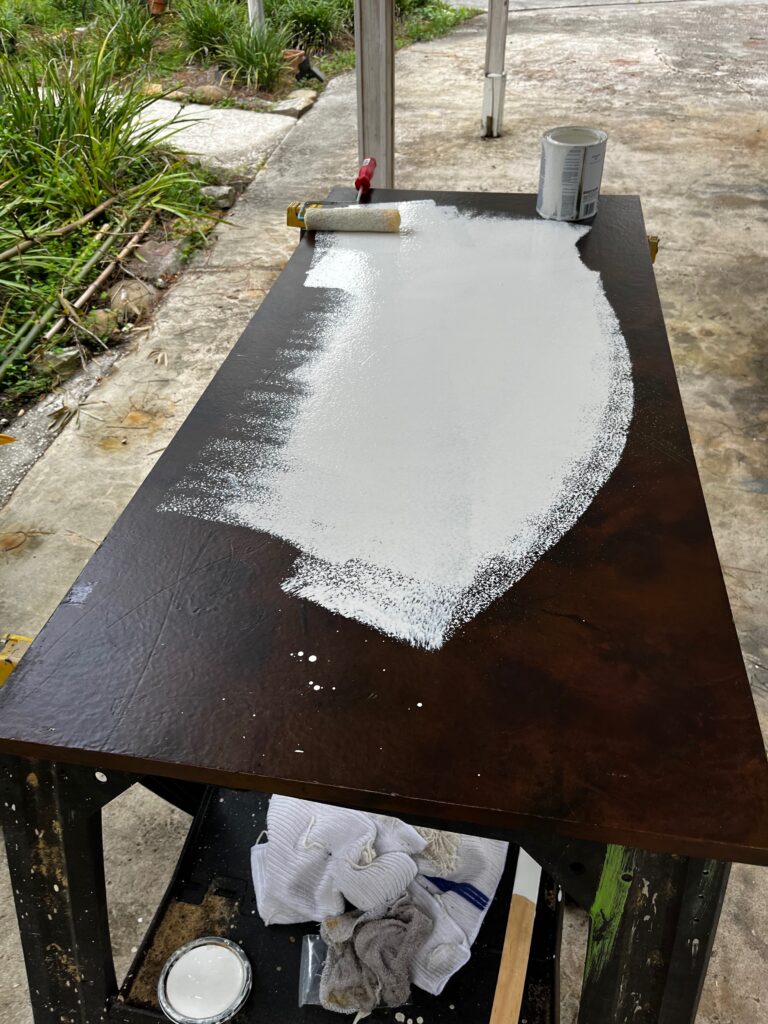
I started by priming the table top with a shellac primer by BIN. It’s sold at Home Depot and it’s the absolute best primer on the market. It’s the only primer that’ll stick to IKEA furniture. Then I applied two coats of my favorite white, Swan Wing by Behr.
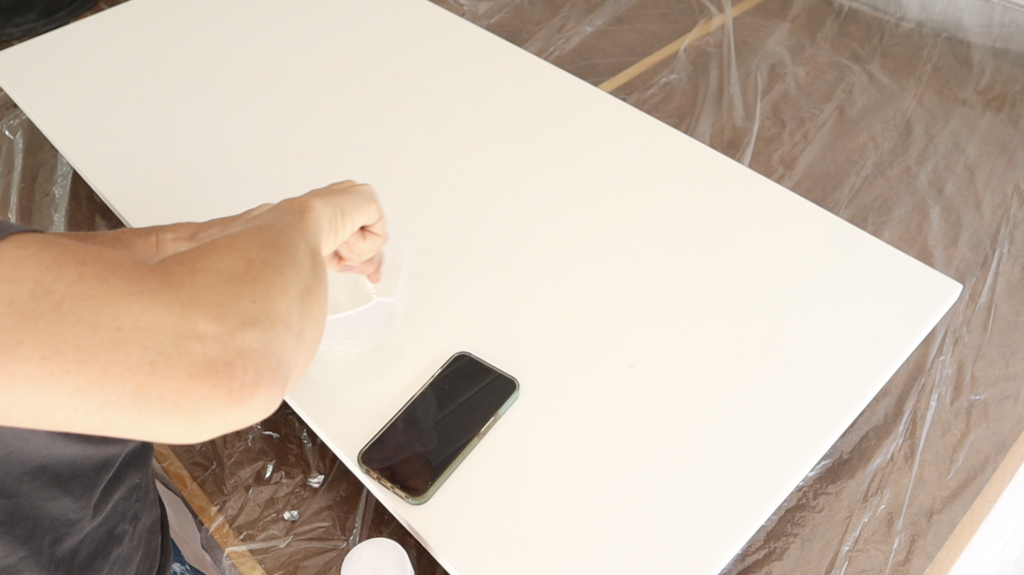
The paint needs to completely dry for at least eight hours. I generally leave mine to dry overnight before applying the epoxy.
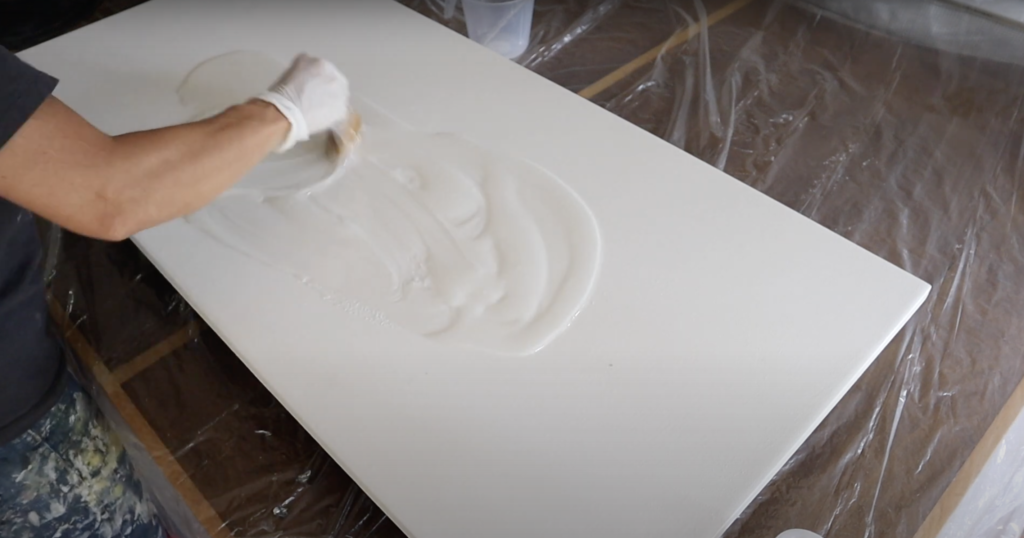
Now it’s time to mix the epoxy according to the manufacturers instructions. Mine is a tabletop epoxy by @TotalBoat. It’s a 1:1 mixing ratio. I mix for a solid 5 minutes and then pour onto my surface and mix even more on my surface using a brush just to make sure.
There are a couple very important details to ensure a proper cure. 1. mixing ratio must be exact. 2. temperature needs to be between 70-80 degrees.
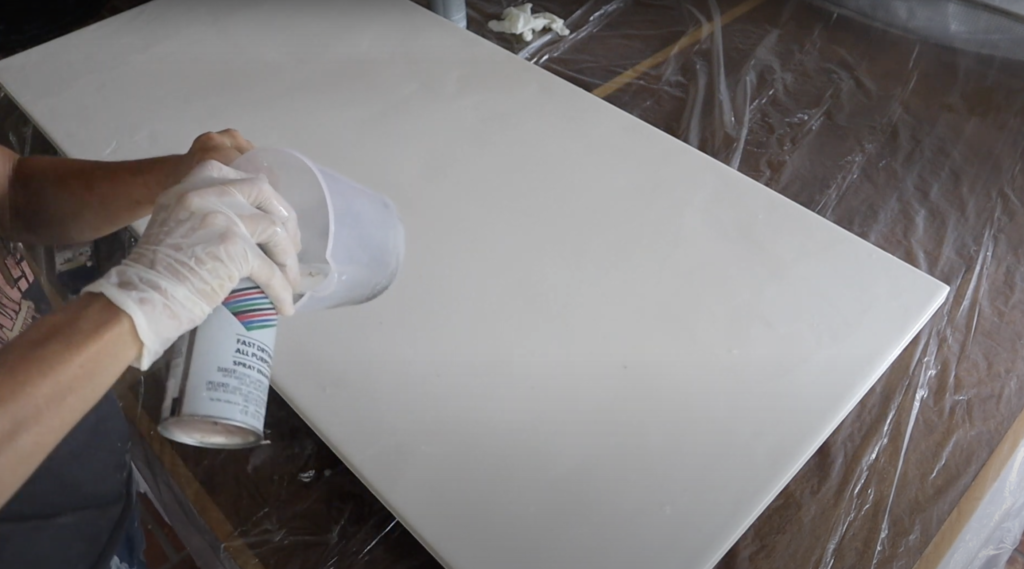
I always leave about a half inch of epoxy in the bottom of my bucket to mix my colors for the veining/design. Then I spray some spray paint right into that epoxy. I use this epoxy to create the veins on my tabletop. You could just use straight spray paint without mixing it with epoxy, but I needed to mix mine because I didn’t have gray and had to mix black and white to get the color I was after.
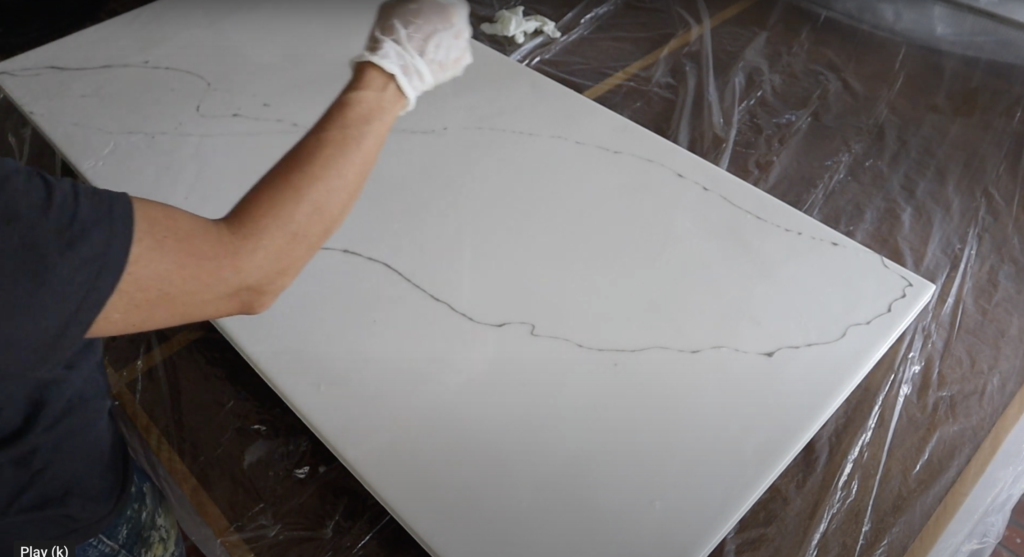
I like to use my paint mixing stick to drizzle the spray paint onto the surface to create my vein patterns. This part is really subjective. I like my faux marble to look very subtle and really light. So I don’t really add much color to the surface, I only apply veining. I see other people add a lot of gray and black and “chop” the surface with a paint brush to add all over color. I just prefer a more subtle look and for my background to stay mostly white.
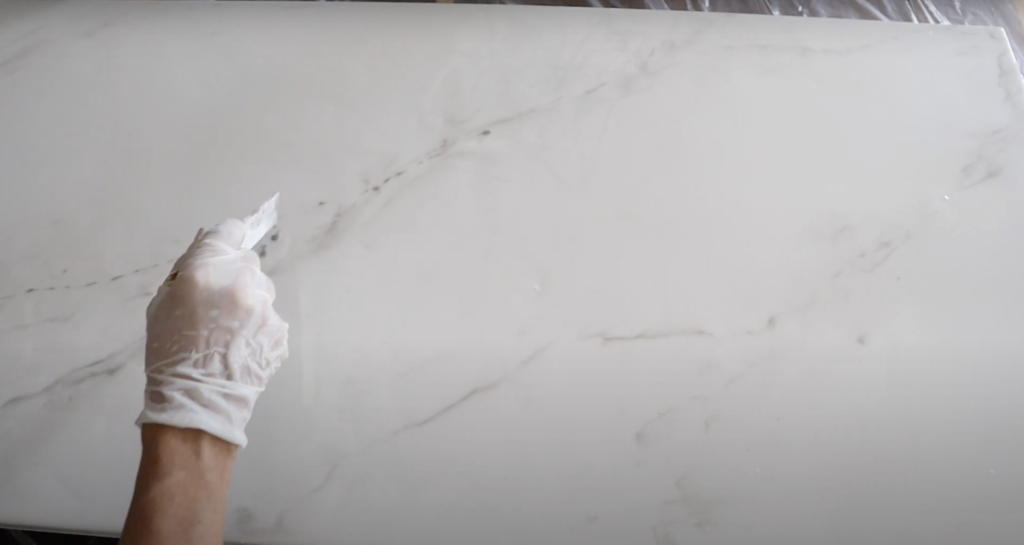
I drizzle the color and then use my paint brush that has epoxy loaded in it already to softly drag and soften the vein lines.
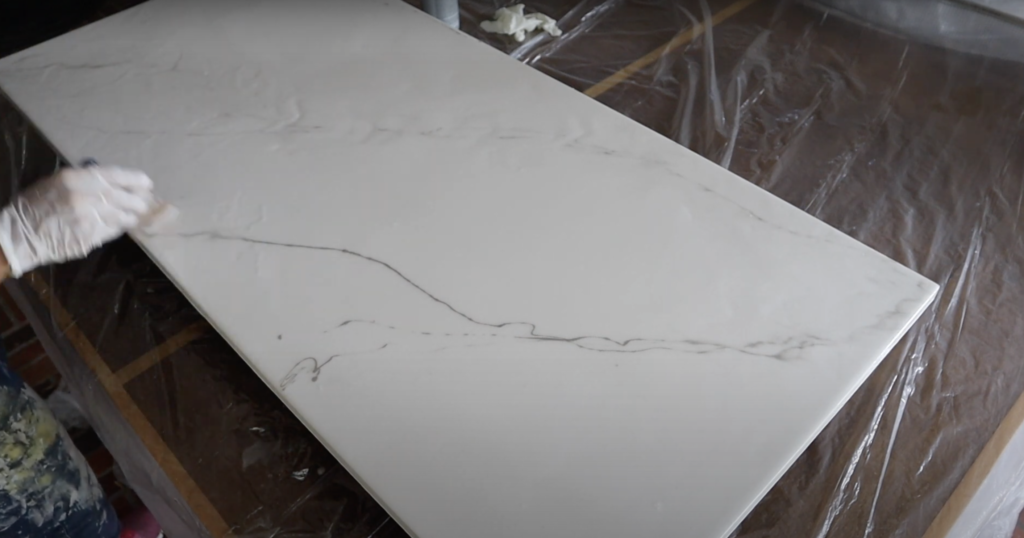
I very lightly drag the veins to soften.
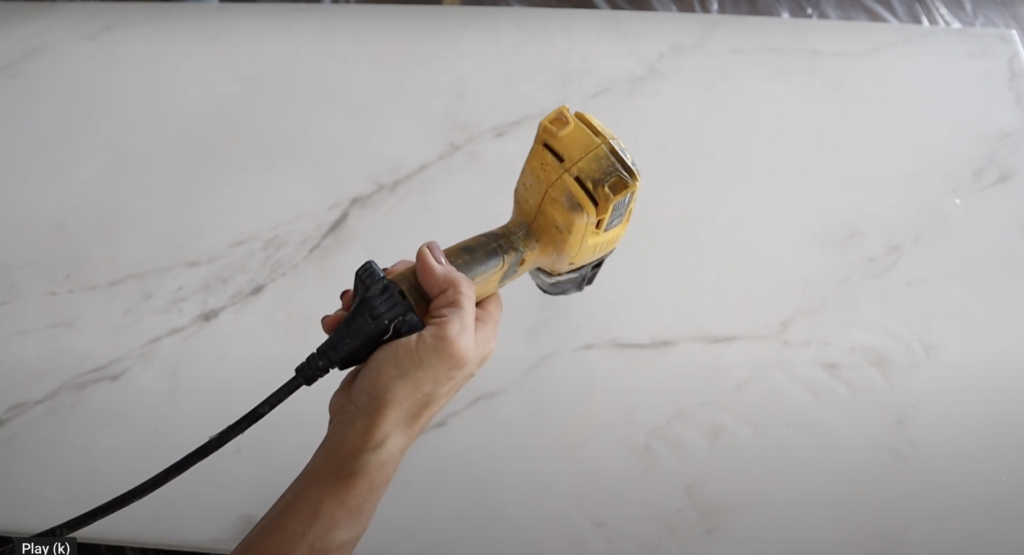
Once the pattern/design is the way you want it, you use a heat gun to finish the process. The heat helps flatten and level the epoxy and also pops all the air bubbles. The heat gun can also manipulate the vein lines too. The video shows this in detail.
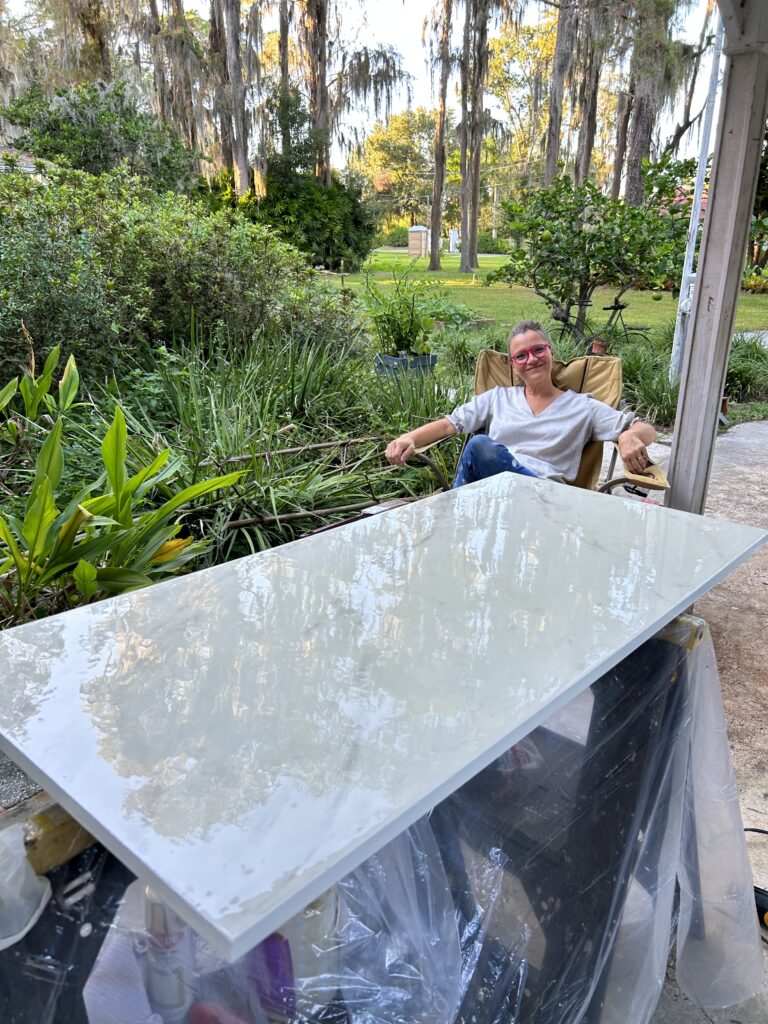
Here’s me happily waiting for the epoxy to cure and watching bugs land in my surface. grrrr. I DON’T recommend applying epoxy outside, even if it’s under a carport. I had to sand this down, prime and repaint the surface, before applying another coat of epoxy.
Anyway, once the first coat has cured for at least four hours but not more than six hours you can apply your second coat(flood coat). It’s this flood coat that makes the glass like surface to your tabletop.
Your tabletop will be ready to use after 24 hours and fully cured after 30 days. DO NOT set anything hot on the table before 30 days. After 30 days it’s pretty much indestructible. In my kitchen I set hot pans right on the epoxy and it’s fine.
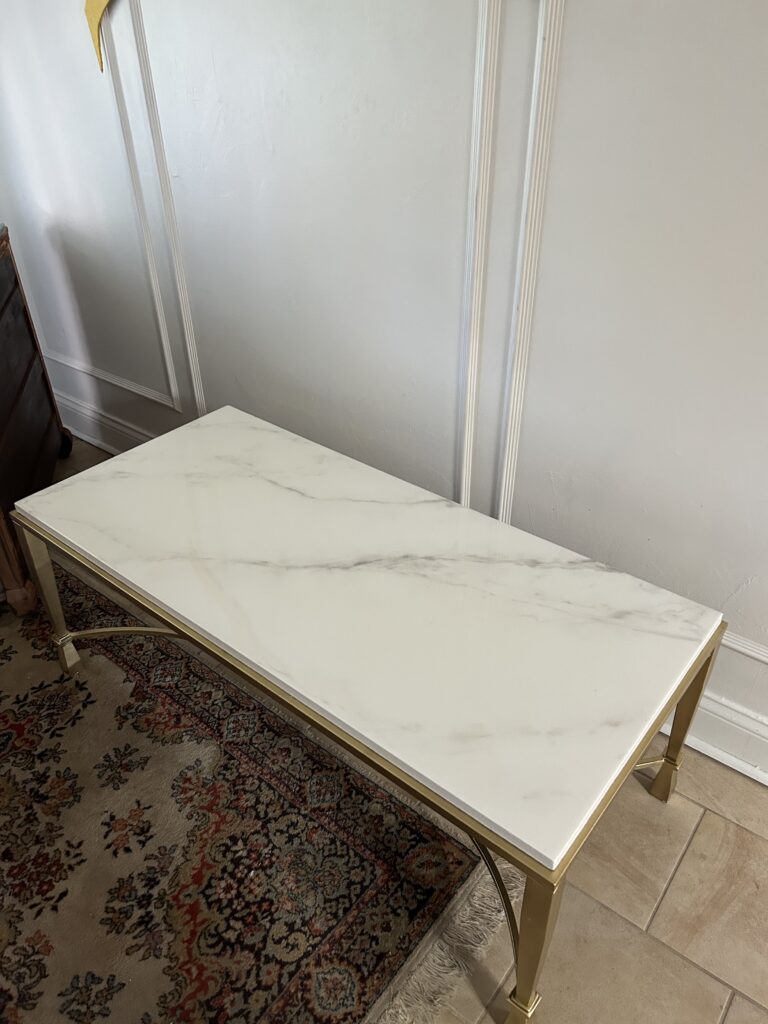
Here’s my table finished.
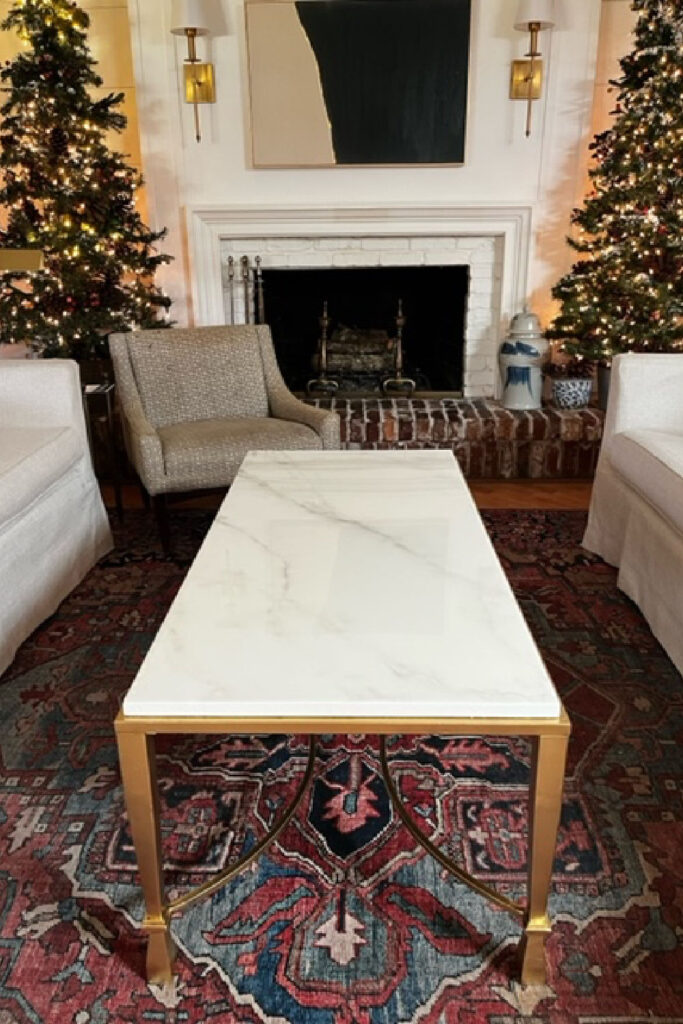
And here she is in my living room. I love the way it turned out. The gold paint I used is made by Krylon, it’s called 18k gold. I love the sheen and finish. I don’t plan to keep this table in my house, it’s too pretty.
Other epoxy videos:
Epoxy over laminate kitchen counters…
