This simple pillow cover is by far the fastest and easiest zippered pillow you can make.

Decorative throw pillows…I have a love hate relationship with them. I love that they can completely change the look of a room, I love the low cost of that change, and I love the beauty of a well curated group of throw pillows. However, 99% of the time my couch throw pillows are either on the floor or scrunched up in a ball, stuffed between the arm and the cushion, and I hate that. It doesn’t stop me from making more pillows though…you know why? Love prevails!

I love that I can make a throw pillow in less than an hour, and it doesn’t cost an arm and a leg because a 20″x20″ pillow only takes 1/2 -5/8 yard or fabric. And I love that they can be swapped out seasonally to satisfy my need to change things in my house frequently.
So the love definitely outweighs the hate. I created this blog post as a step by step tutorial about how I make zippered pillows. I also made a video with tons of information that will help shed some light on the details that don’t come across in still pictures.
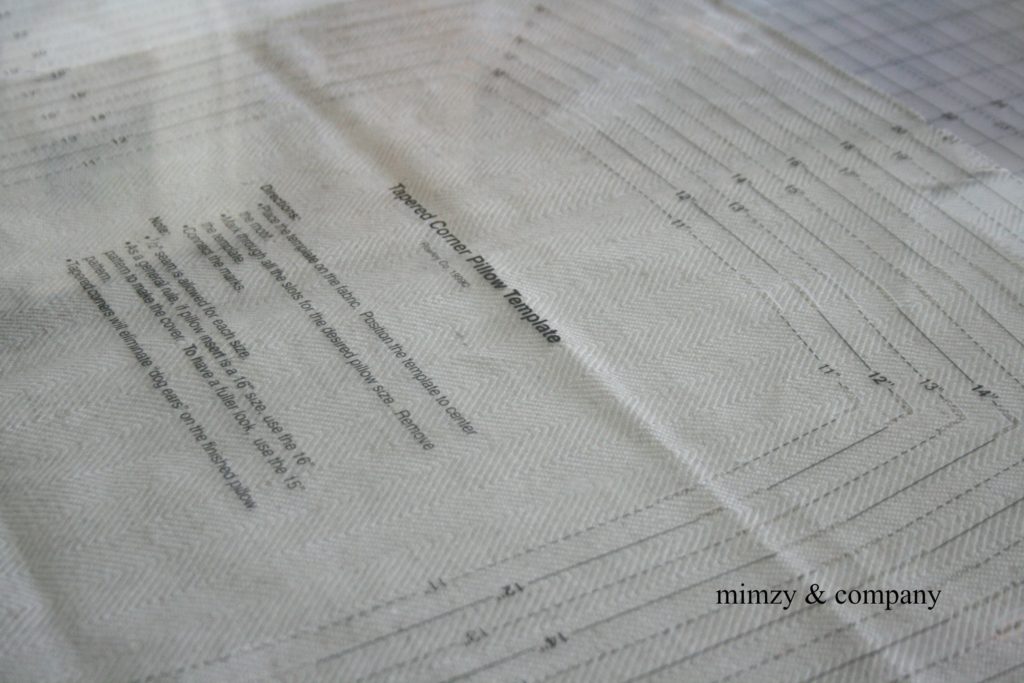
I use a pillow template that I bought from Rowleycompany.com because I make tons of pillows and this template makes it so easy to cut out pillows. It has tapered corners so my pillows won’t be dog-eared, and it’s transparent so if I have large pattern fabric I can slide the template around the fabric to decide which part of the pattern I want in the center.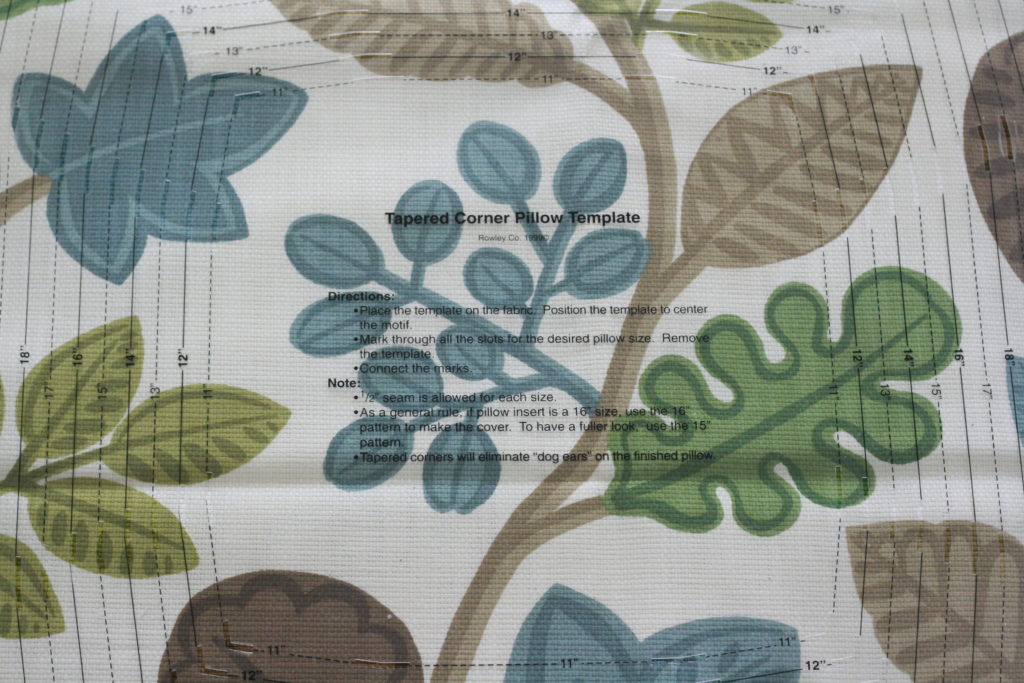
- You simply trace through the openings of the template at the correct dimension and follow the line all the way around the square.
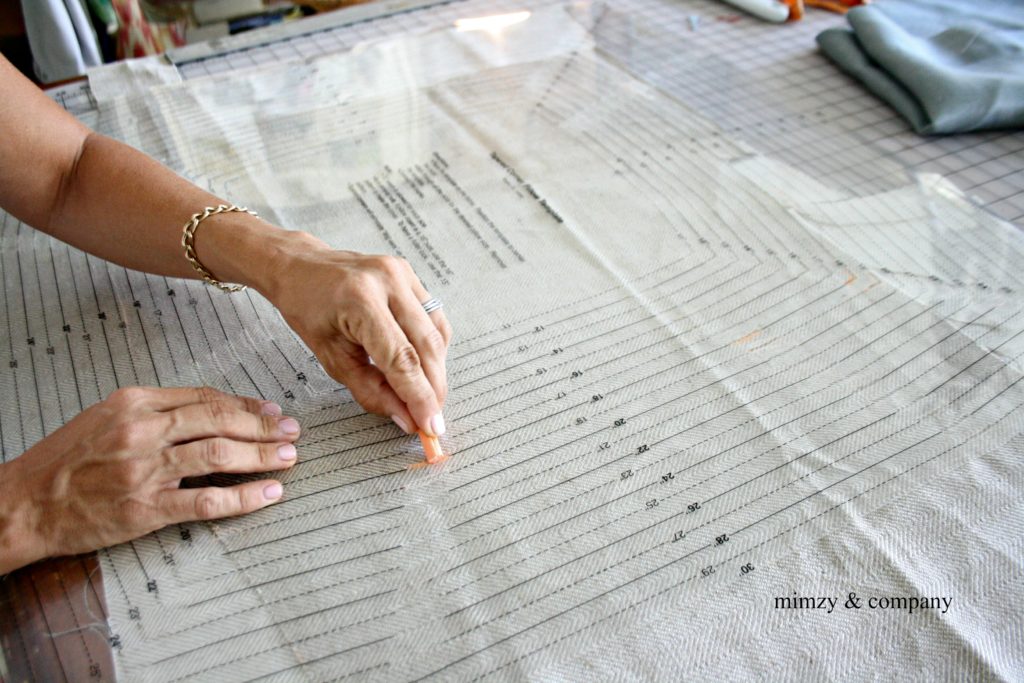
If you don’t have a template just use a yard stick, measure and mark your fabric to the size you want and then connect your lines.
TIP: if your pillow insert is 20×20 cut your fabric 20×20 so your finished pillow will be plump. You don’t want to have a lot of extra space inside your pillow. 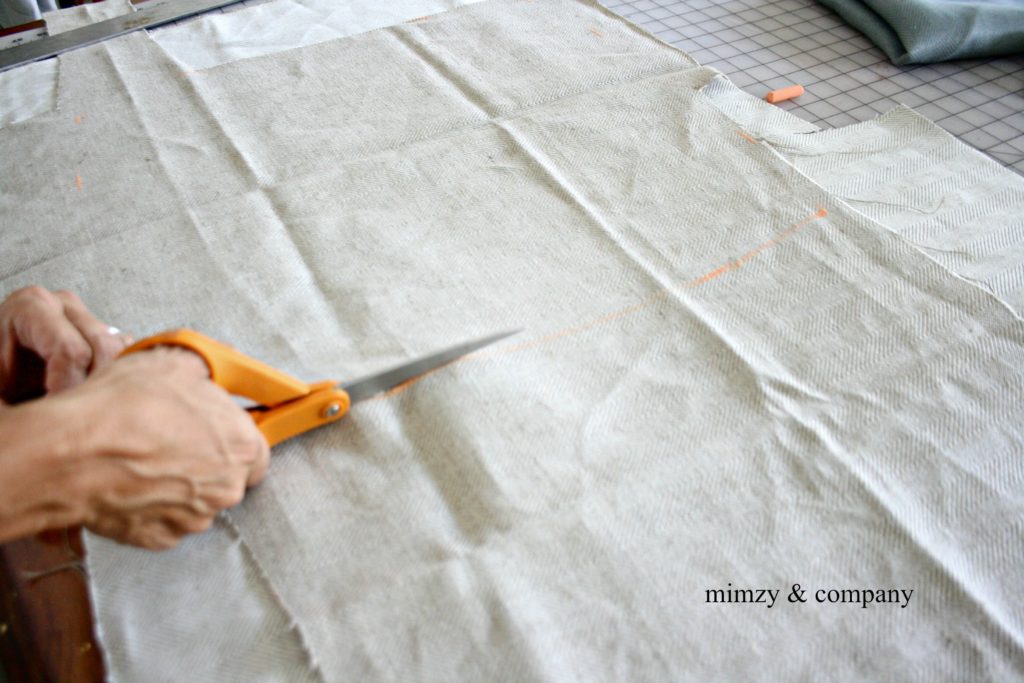
2. Remove the template, connect your lines if you want, and cut out your pillow. I usually cut through both layers of fabric at once but your scissors need to be sharp. 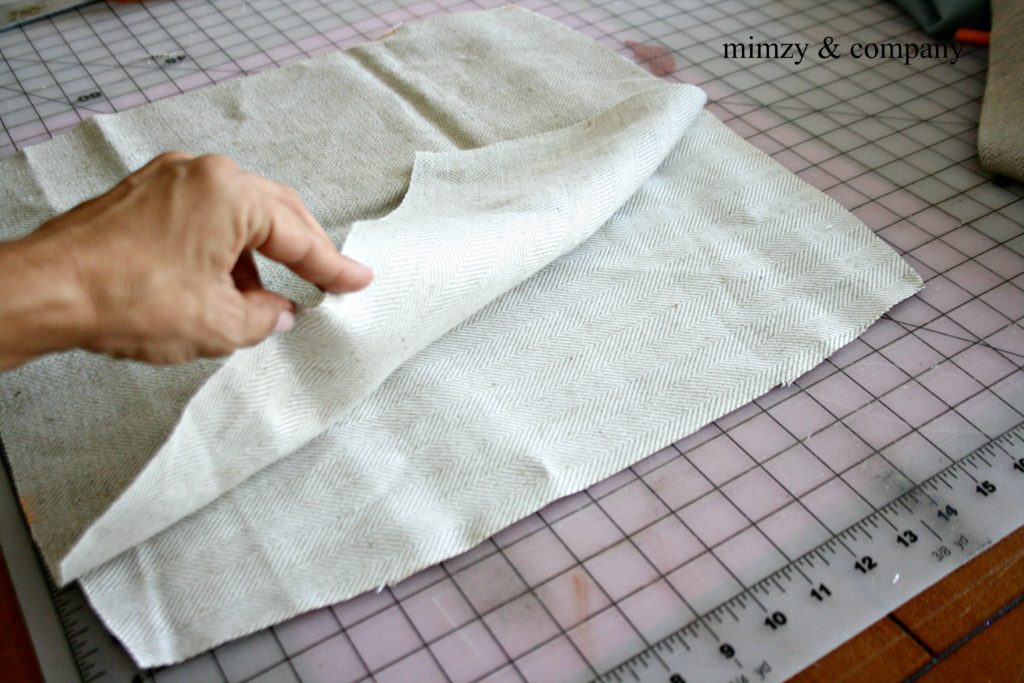
Place the two sides of the pillow together right side to right side. Bring it to the sewing machine to start sewing.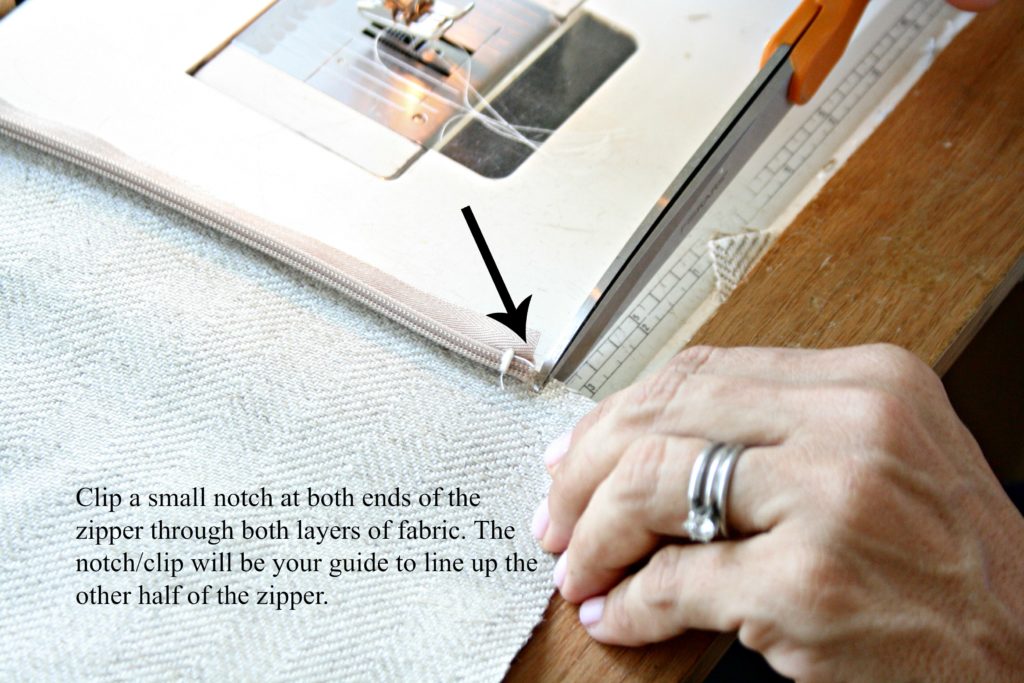
3. You sew in the zipper first. Lay the zipper down on your two layers of fabric and snip/clip a notch in both layers of fabric in order to mark where the zipper is placed on both layers.
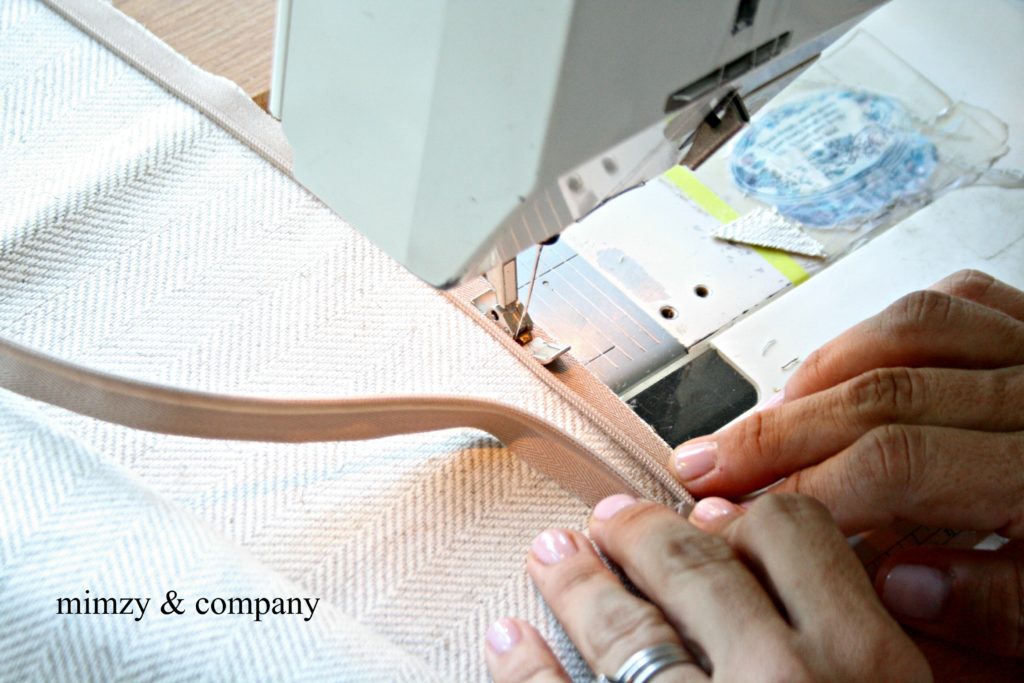
Open the zipper and sew the zipper as close to the teeth as possible without sewing into them. You sew the zipper with the right side down. Again right side to right side(this time it’s right side of fabric to right side of zipper).
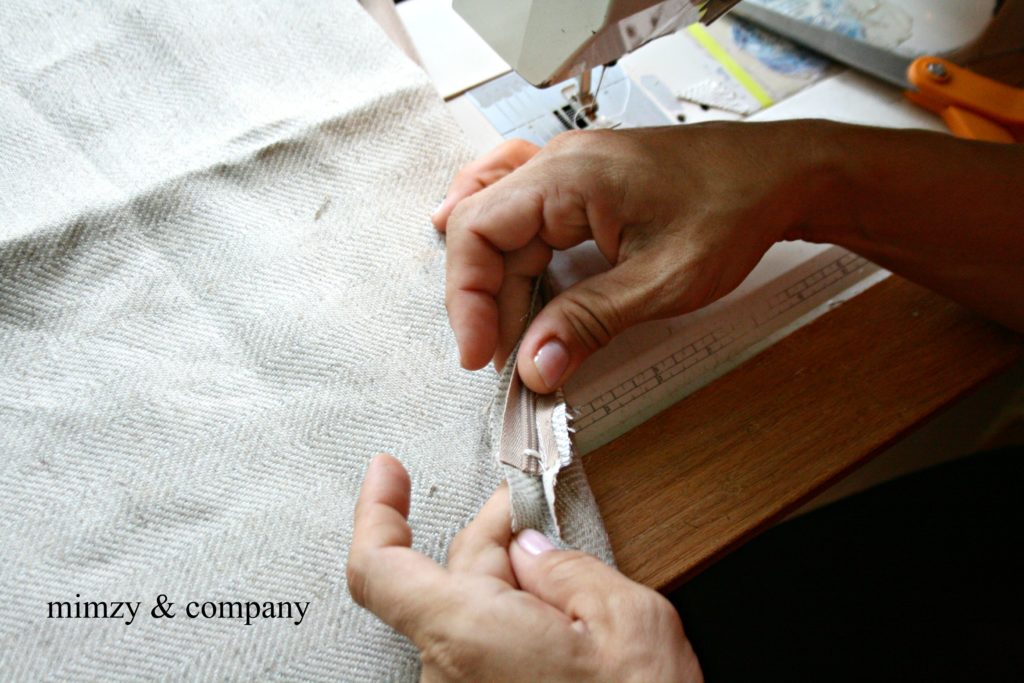
Do the same with the other half of the zipper. 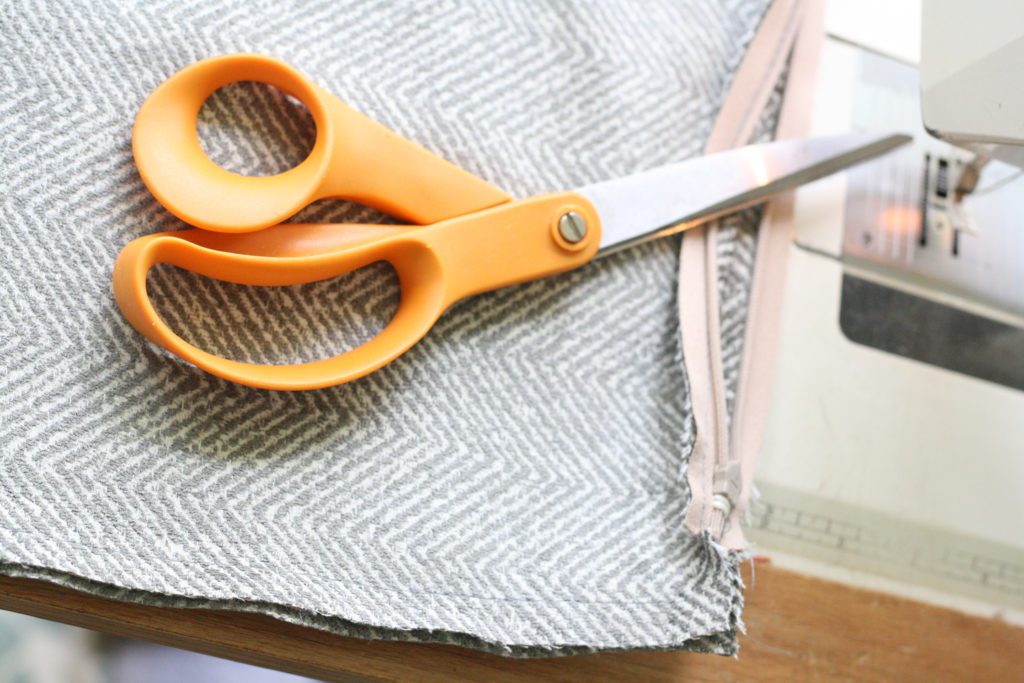 4. Once the zipper is attached you will sew all the way around the pillow with a 1/2″ seam allowance.
 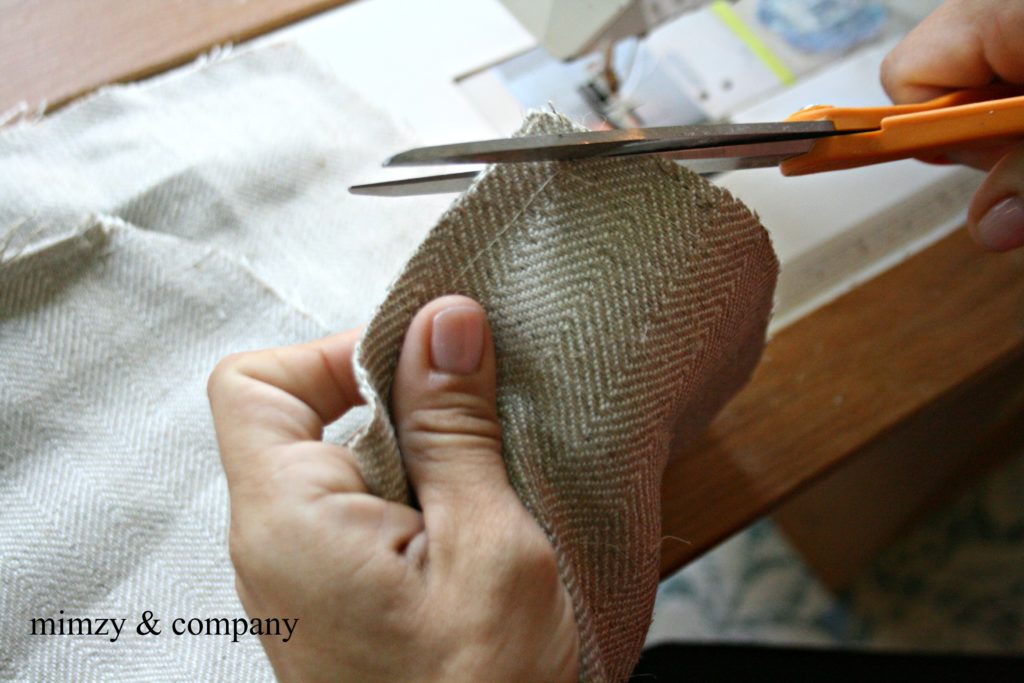 5. Clip the corners, serge or zig zag the seam if you so desire, and turn the pillow right side out. Your finished! Now you can stuff the feather insert into the zippered pillow cover, plump and style…
It’s a pretty simple 5 step process….
1. draw out the pillow on the wrong side of fabric.
2. cut out the pillow
3. sew in the zipper.
4. sew all the way around pillow.
5. turn pillow right side out, stuff it and style it.
It’s really that simple….
The video below explains all the details that are hard to capture in still pictures.
Tell me what you think. If you’re making a pillow and have questions, feel free to DM me and I will answer your questions asap.
Happy pillow making!

 mimzylombardo@gmail.com says
September 26, 2017 at 10:00 amThank you so much for looking! and pinning the images! You can do it!
 Emma Maria says
September 25, 2017 at 10:21 amHI, This tutorial really help me to learn something new. Well explained tutorial. I don’t know much on sewing but have some basic knowledge. Seems I can also make it. Thanks for sharing. Pinned those images.