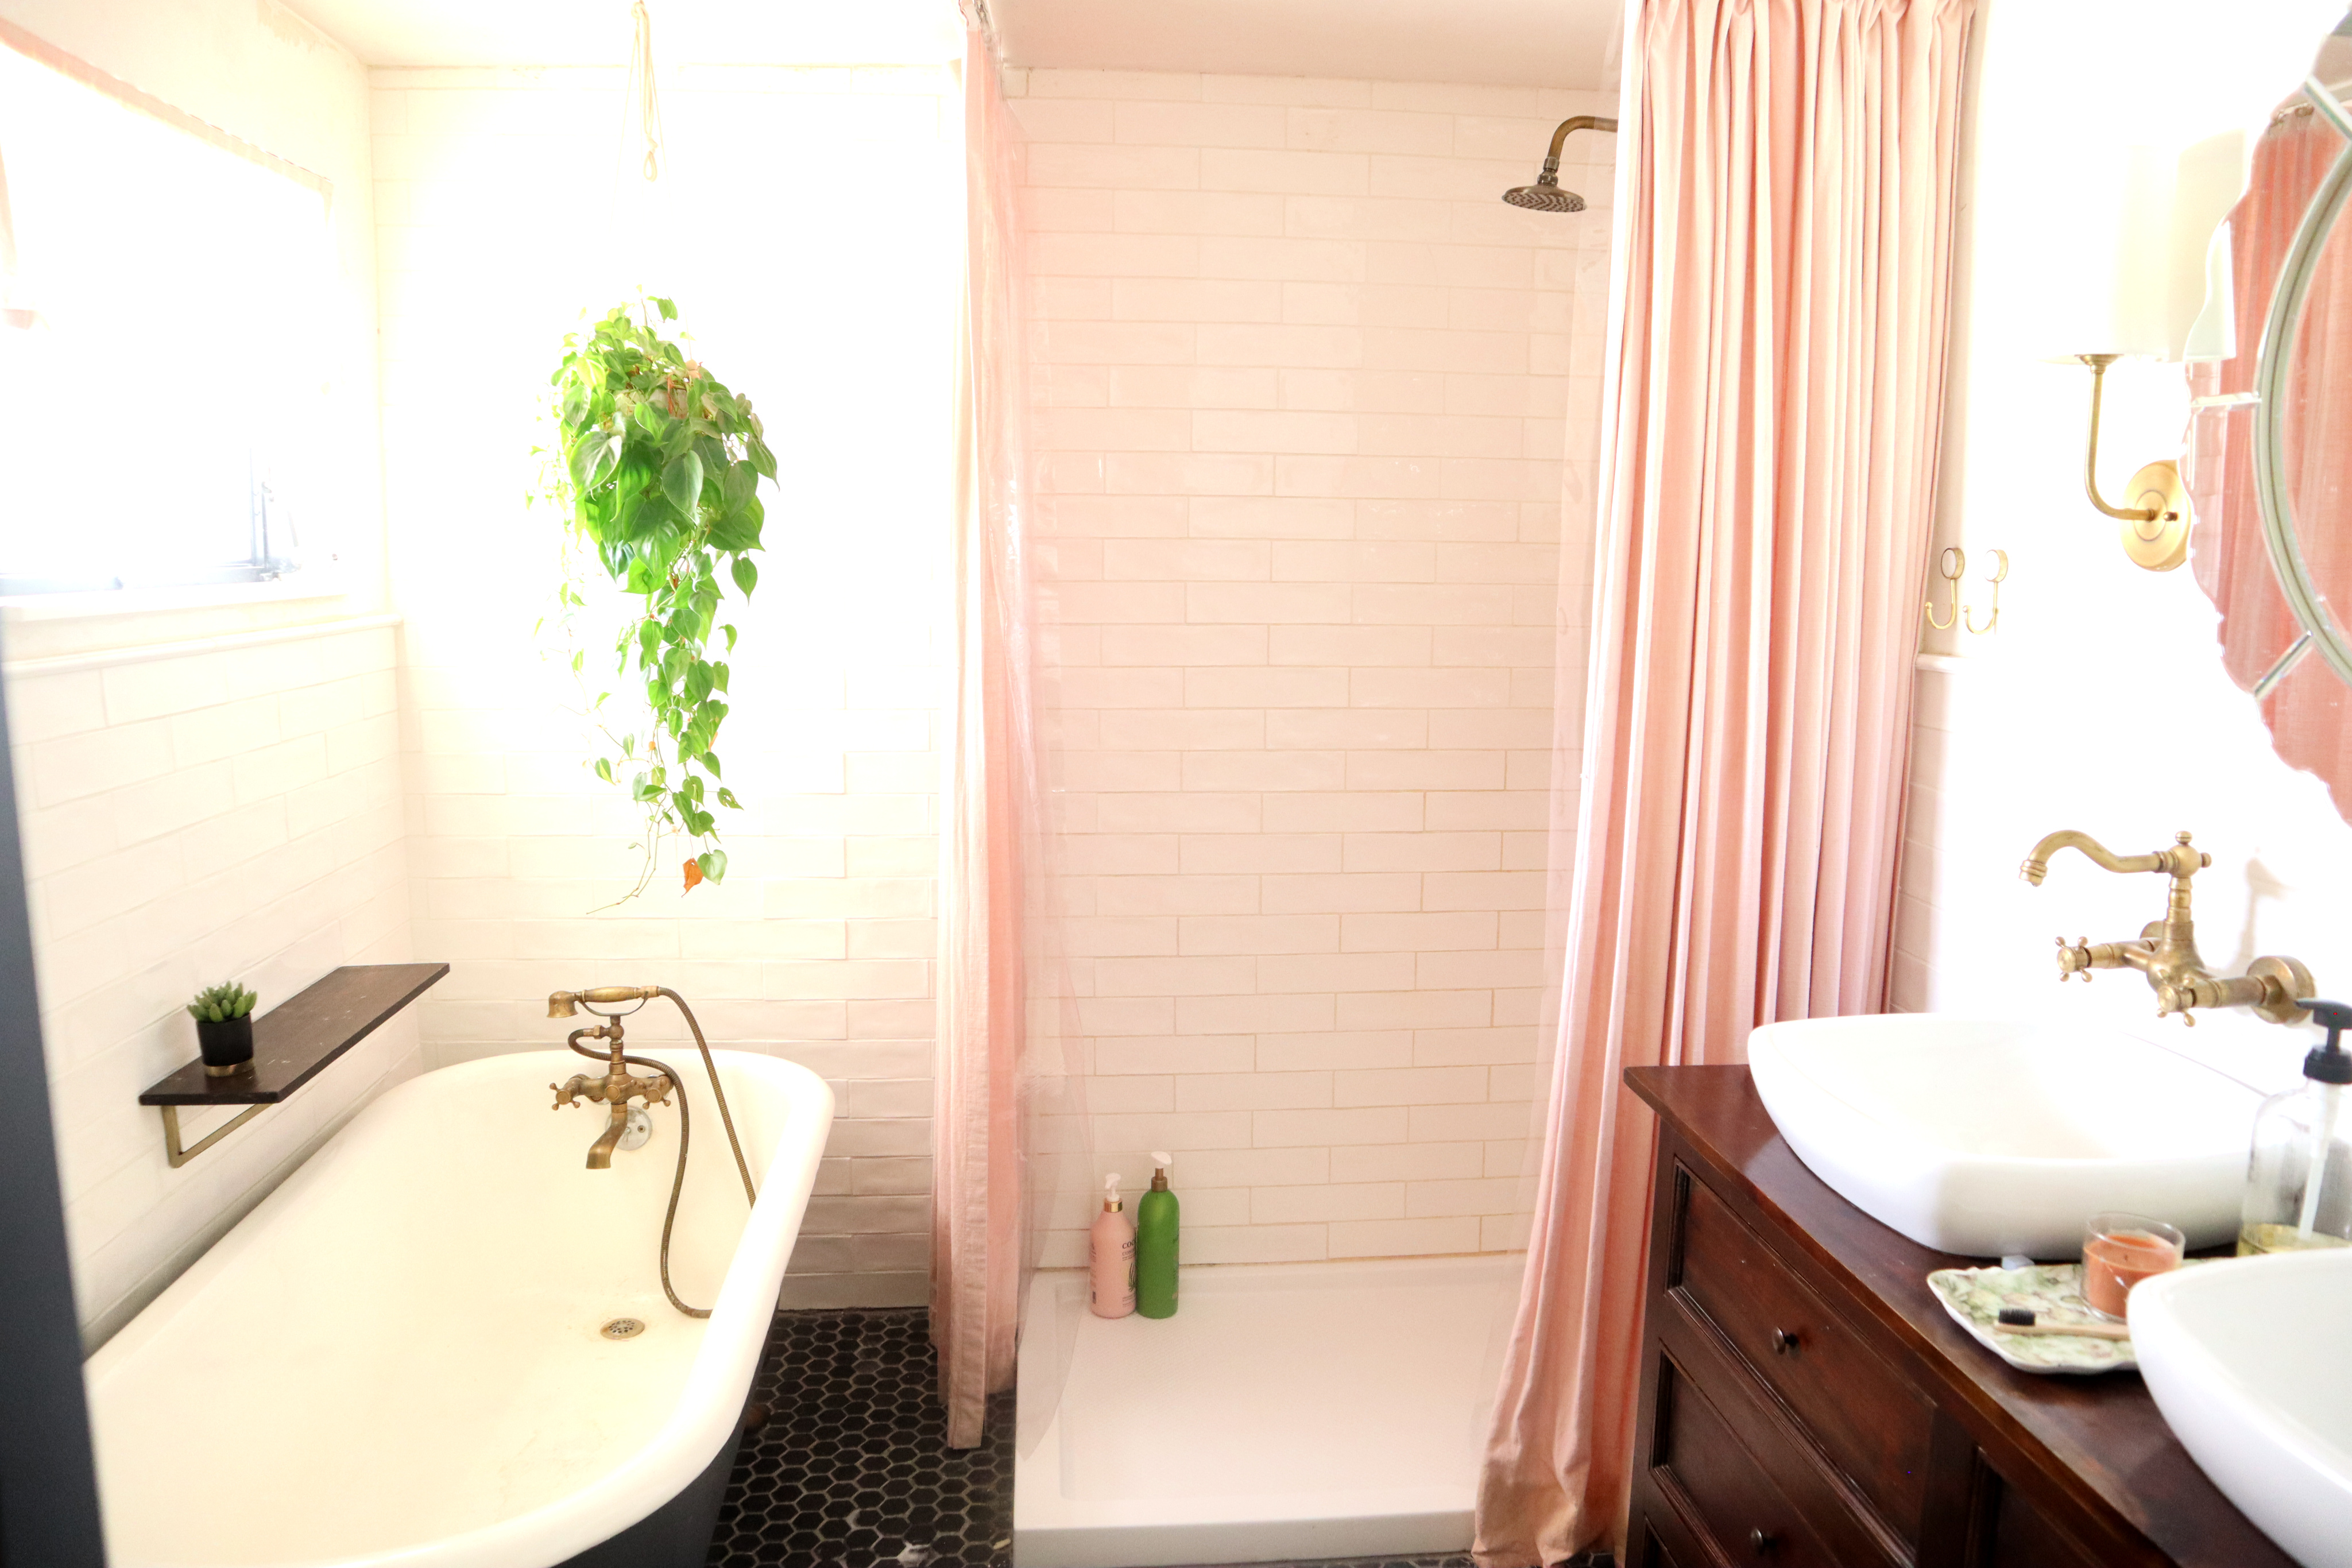
 I can’t believe I didn’t think to make my own shower curtain liner sooner!
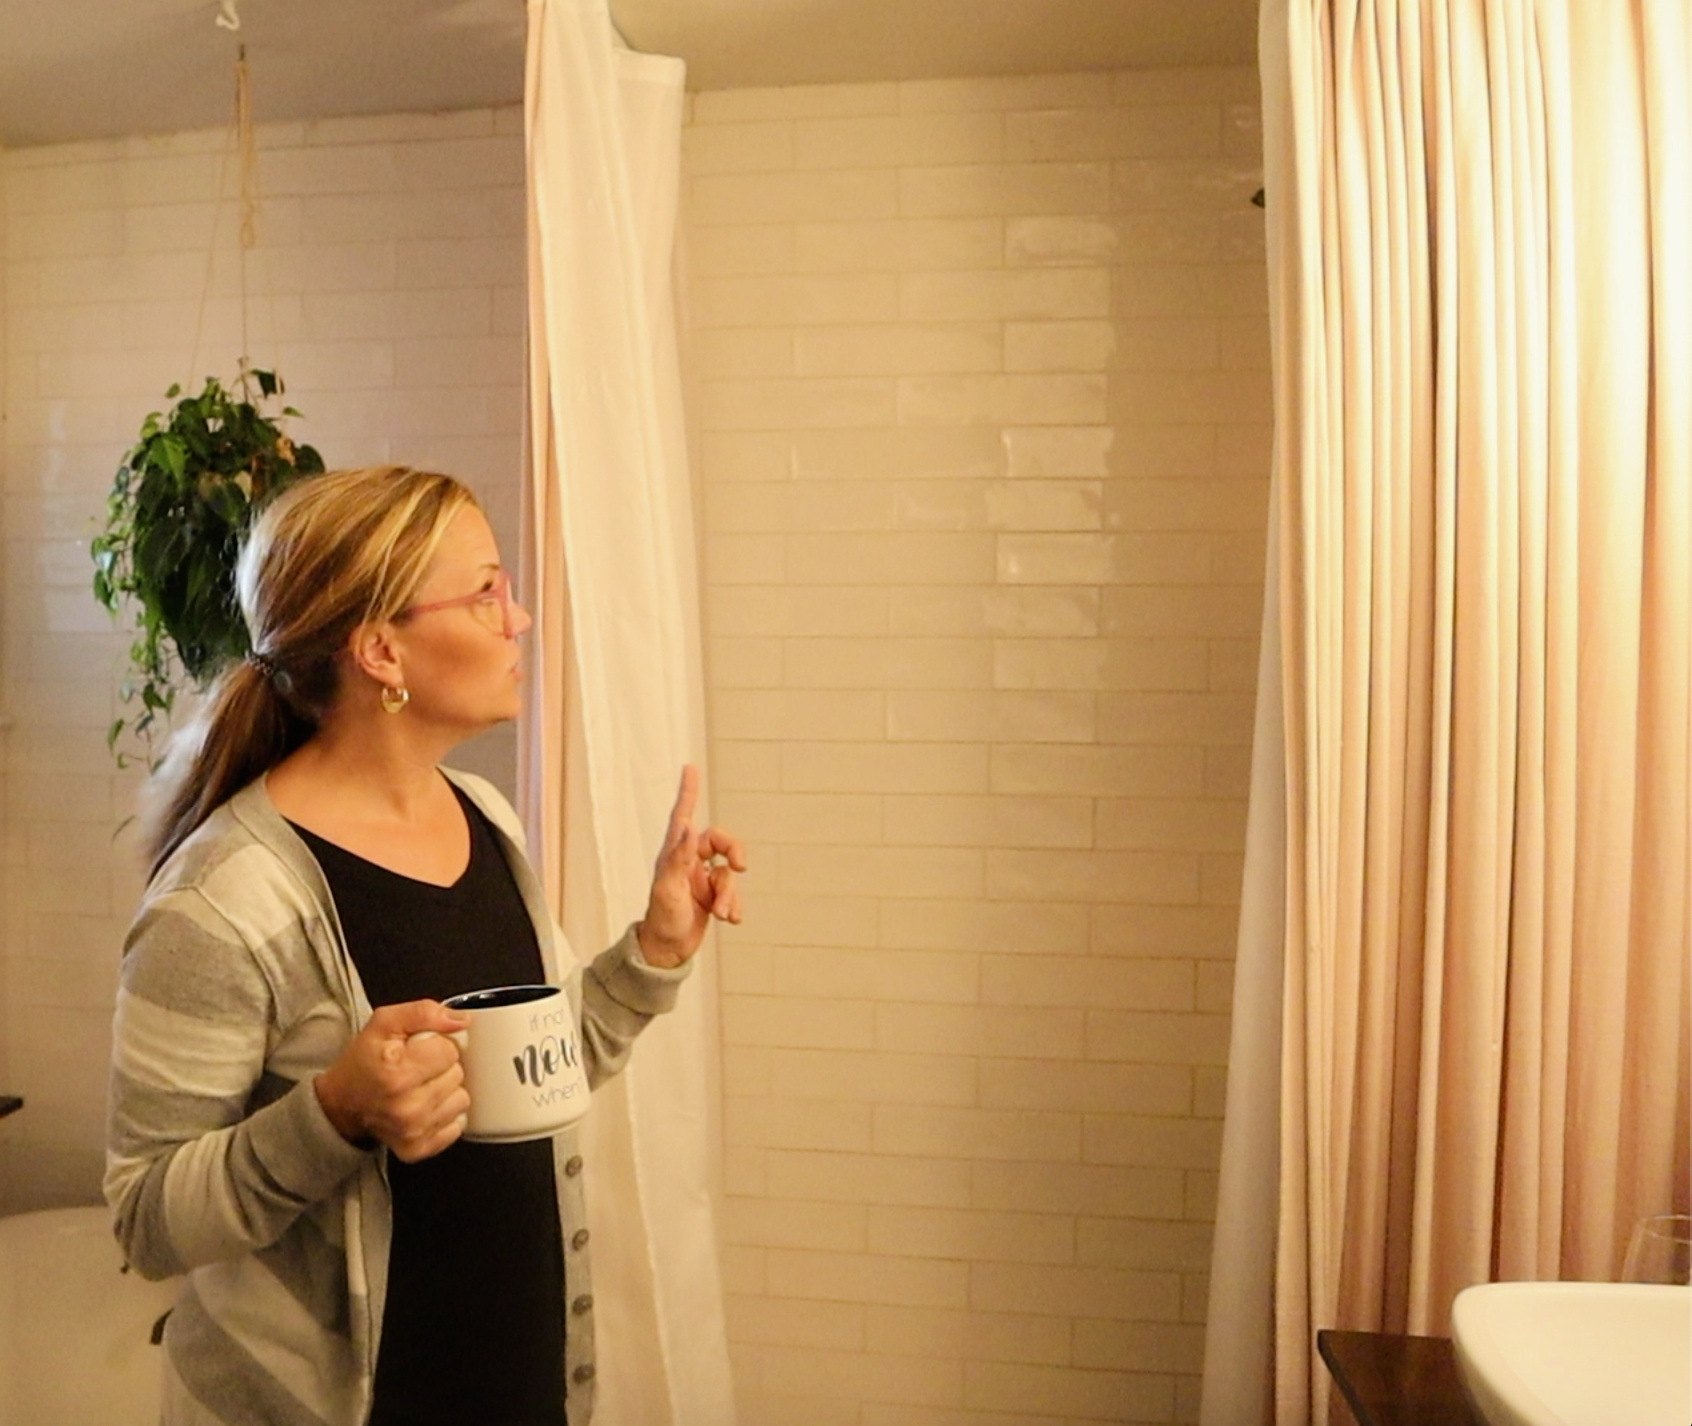 When I renovated this bathroom for the One Room Challenge back in 2019(which is still not finished BTW) I bought the longest possible shower curtain liner I could find. It turned out to be just slightly short so it doesn’t stay inside the shower pan, and therefore water leaks all over the floor when my kids take a shower.
Recently, when I was perusing Joann Fabrics, I stumbled upon the vinyl section(I usually skip right past it because it brings back nightmares of davenports covered in protective plastic) it occurred to me that I could make a shower curtain liner just the right length. Since my shower pan is 48″ on the long side, the 54″ width of the vinyl is perfect.
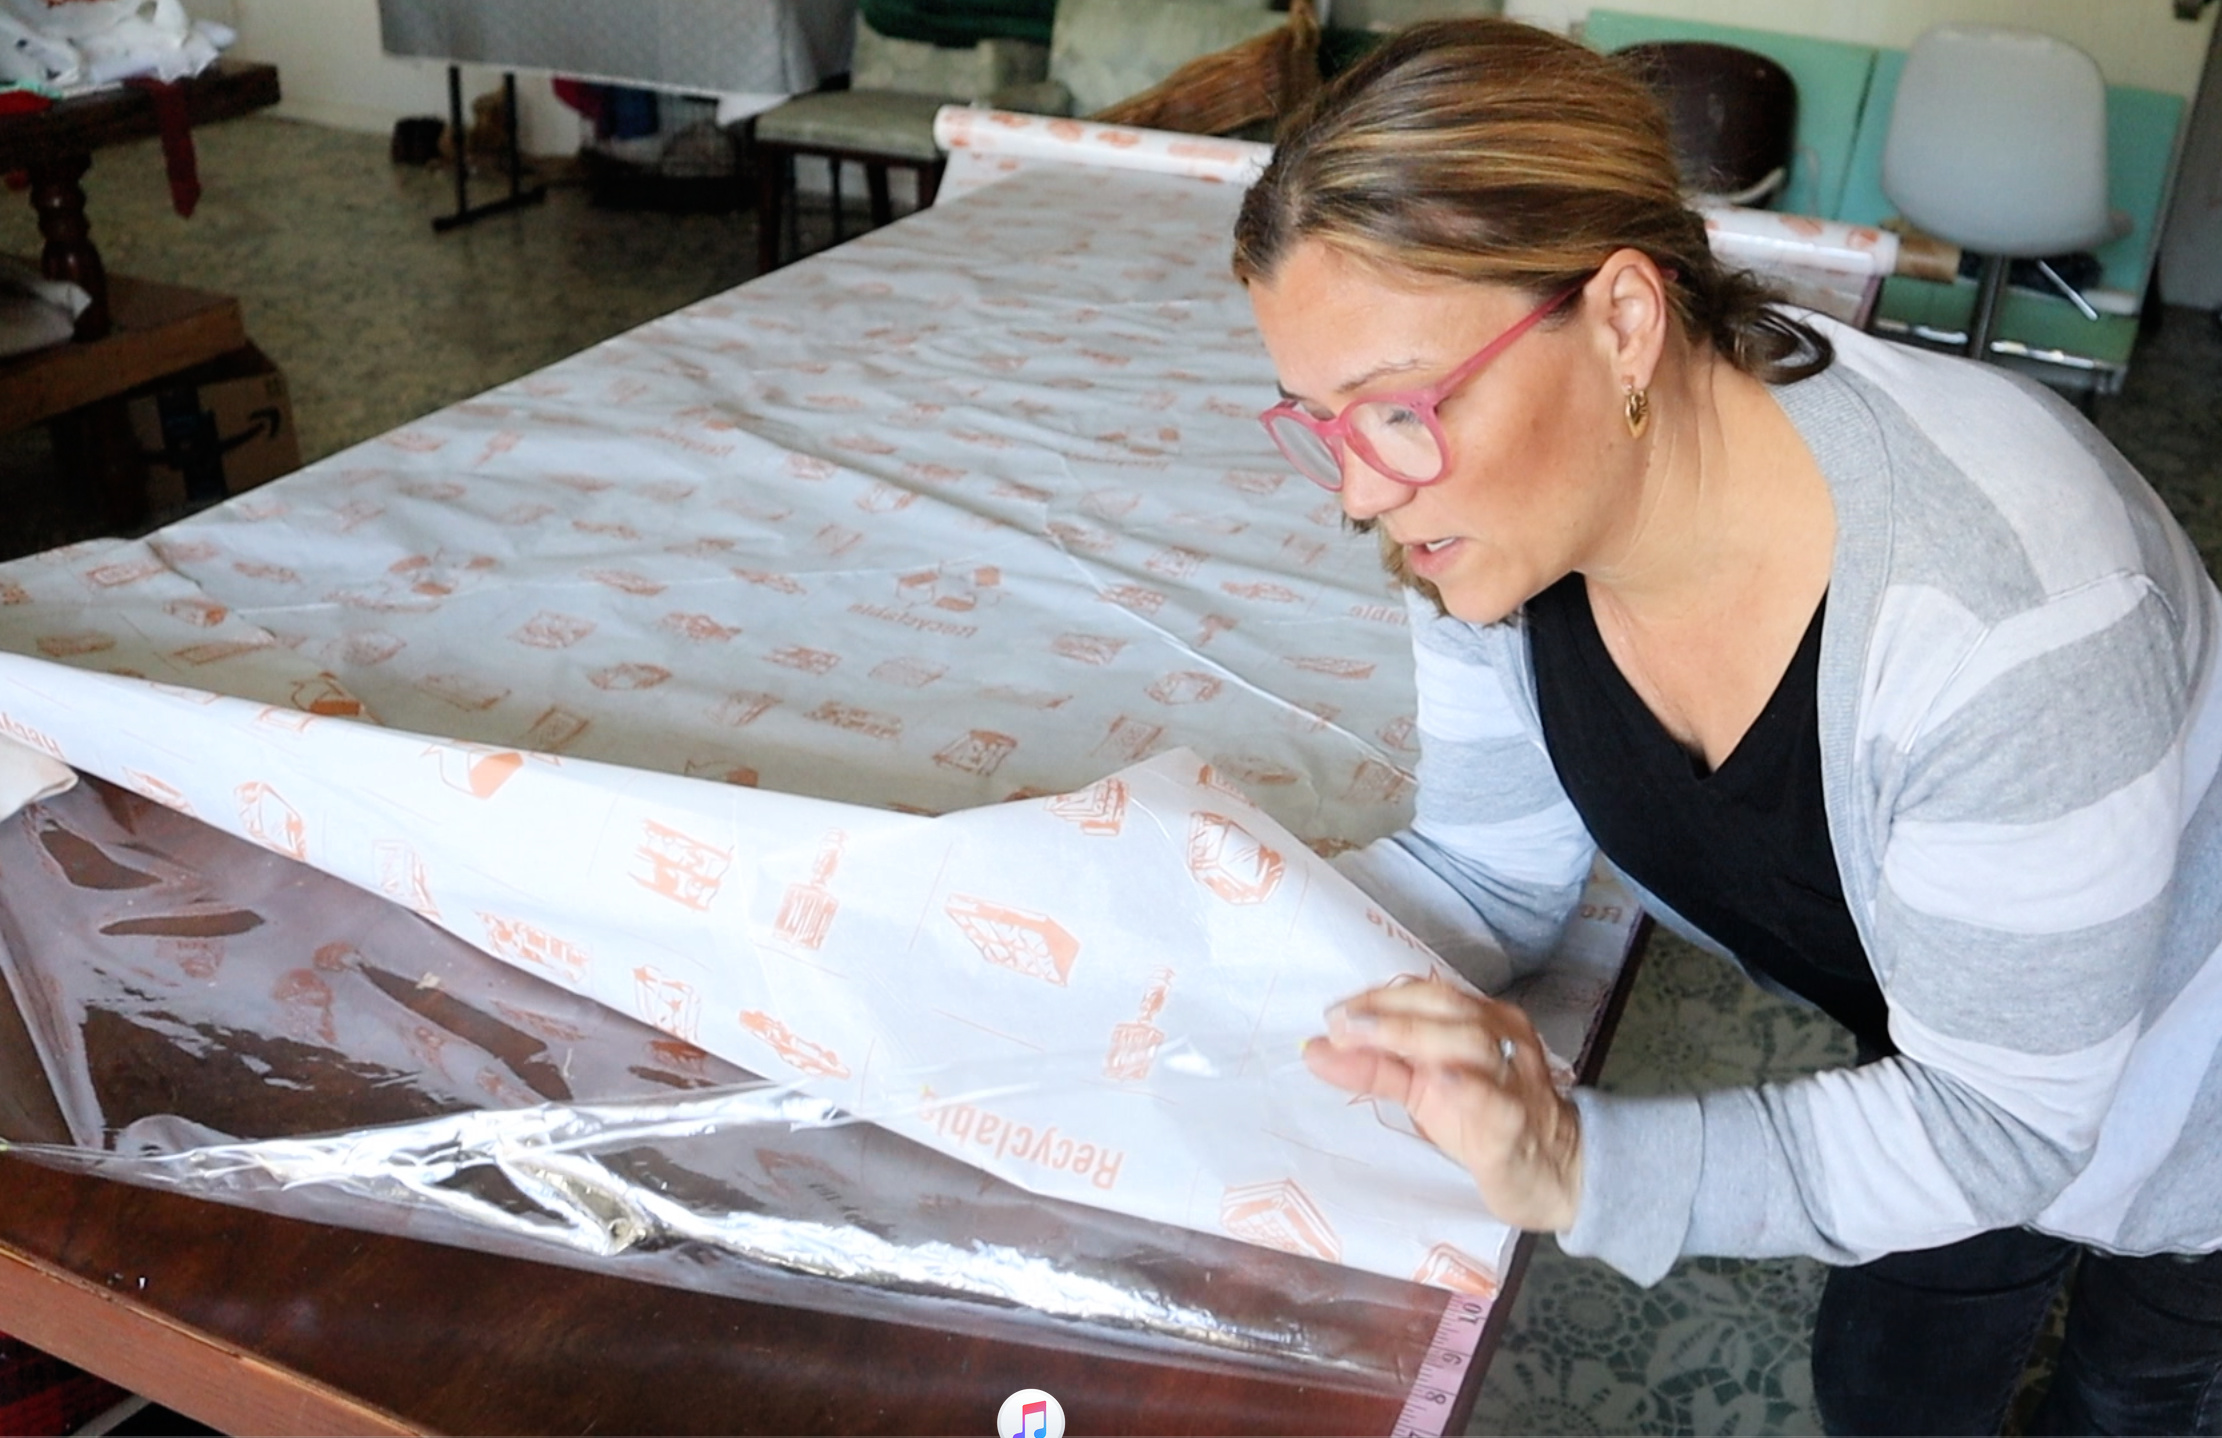 My ceilings are quite low in my house at less than 8′. Inside my shower pan to the ceiling is only 89″. So I only needed 3 yards of vinyl for each side of the shower. I bought <this> vinyl using my 50% off coupon, of course. Insider tip…Joann sells a calendar with monthly coupons in it. The coupons are good for regular AND sale priced items, plus the coupons on the Joann App.
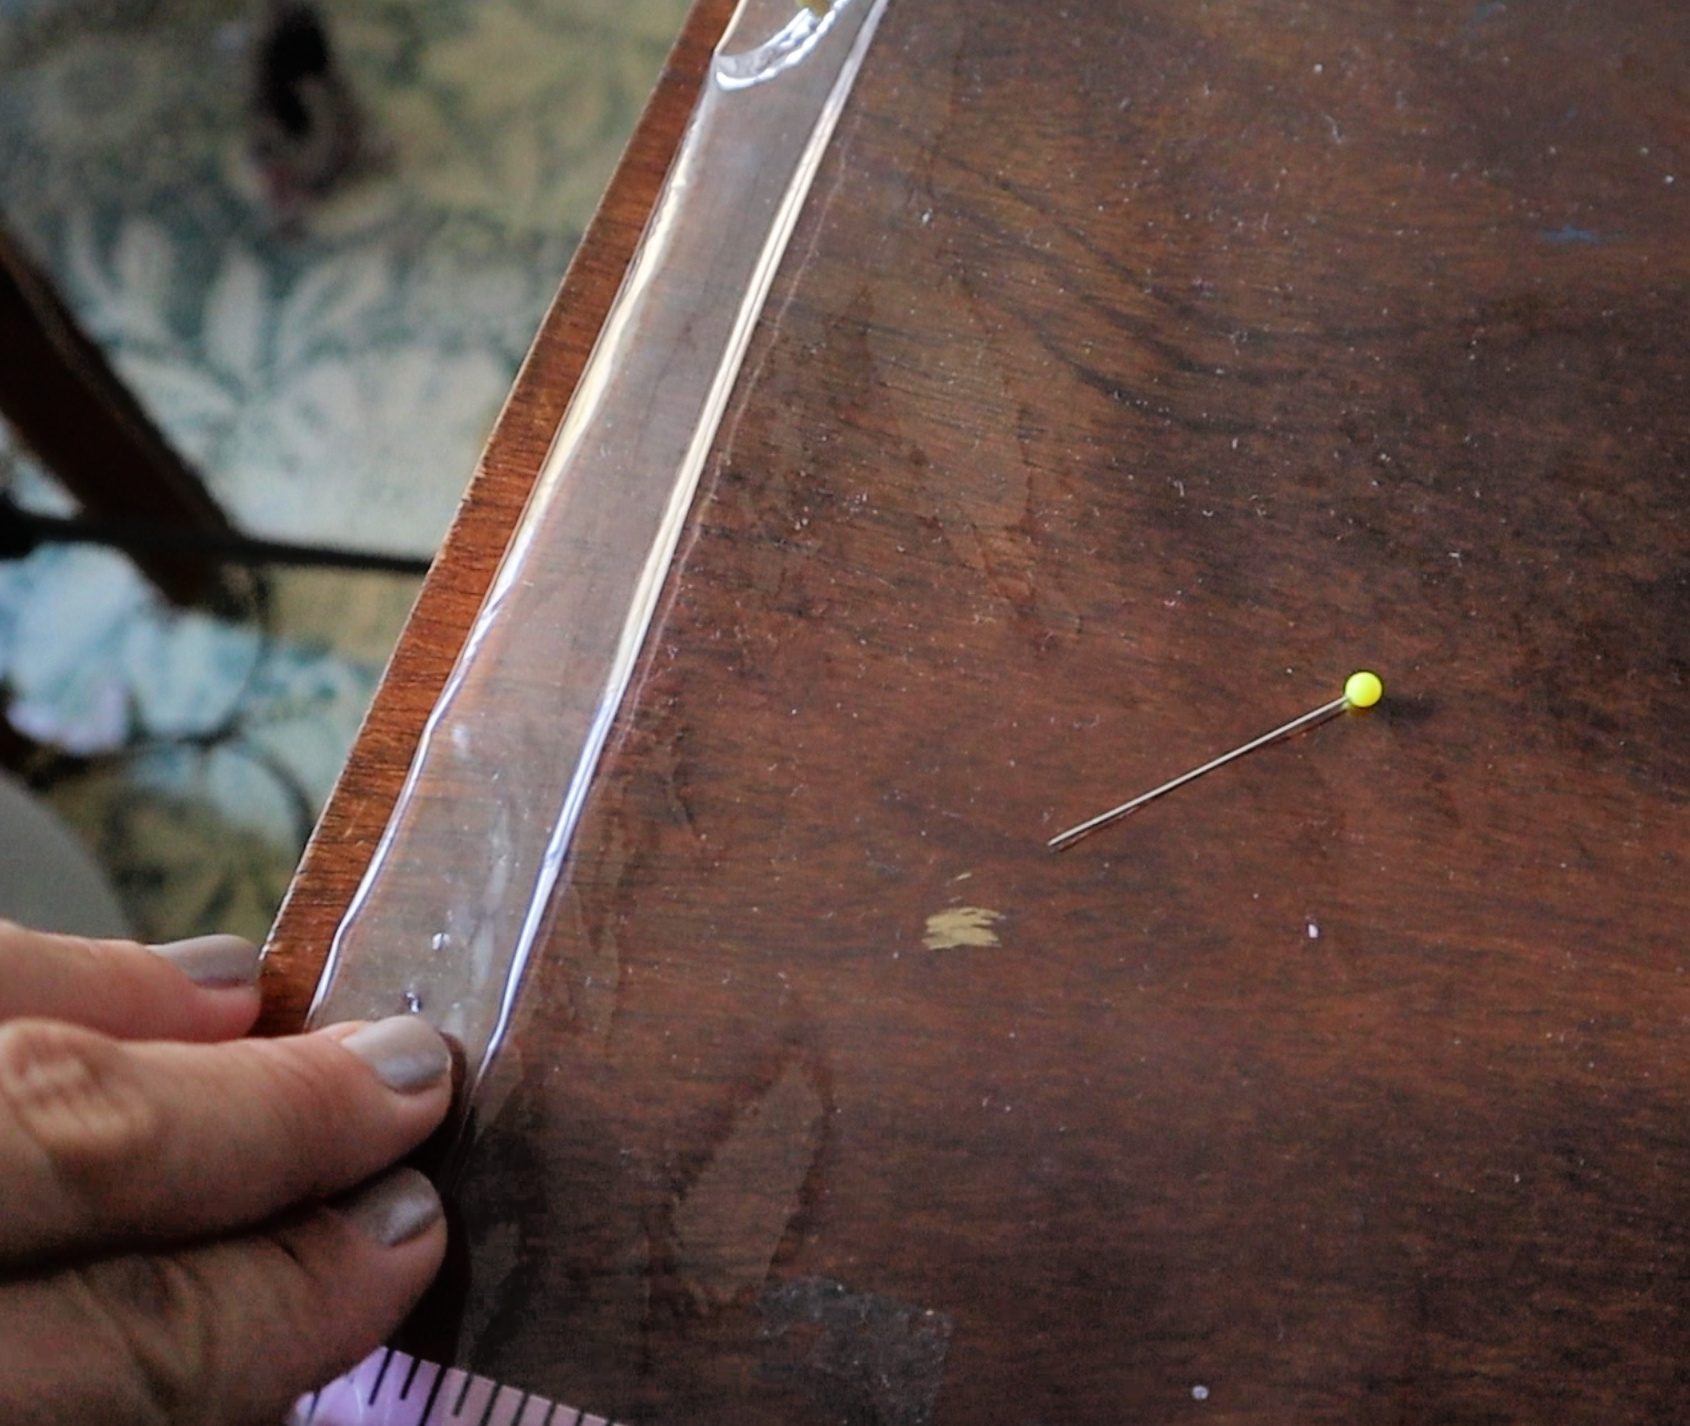 The first shower liner I made, I folded over a double one inch hem at the top to strengthen the vinyl for the grommets AND I sewed the seam. However, the second shower curtain liner, I only folded the hem and then installed the grommets without sewing the hem because the grommets hold the hem closed. Win-win for a non sewer.
 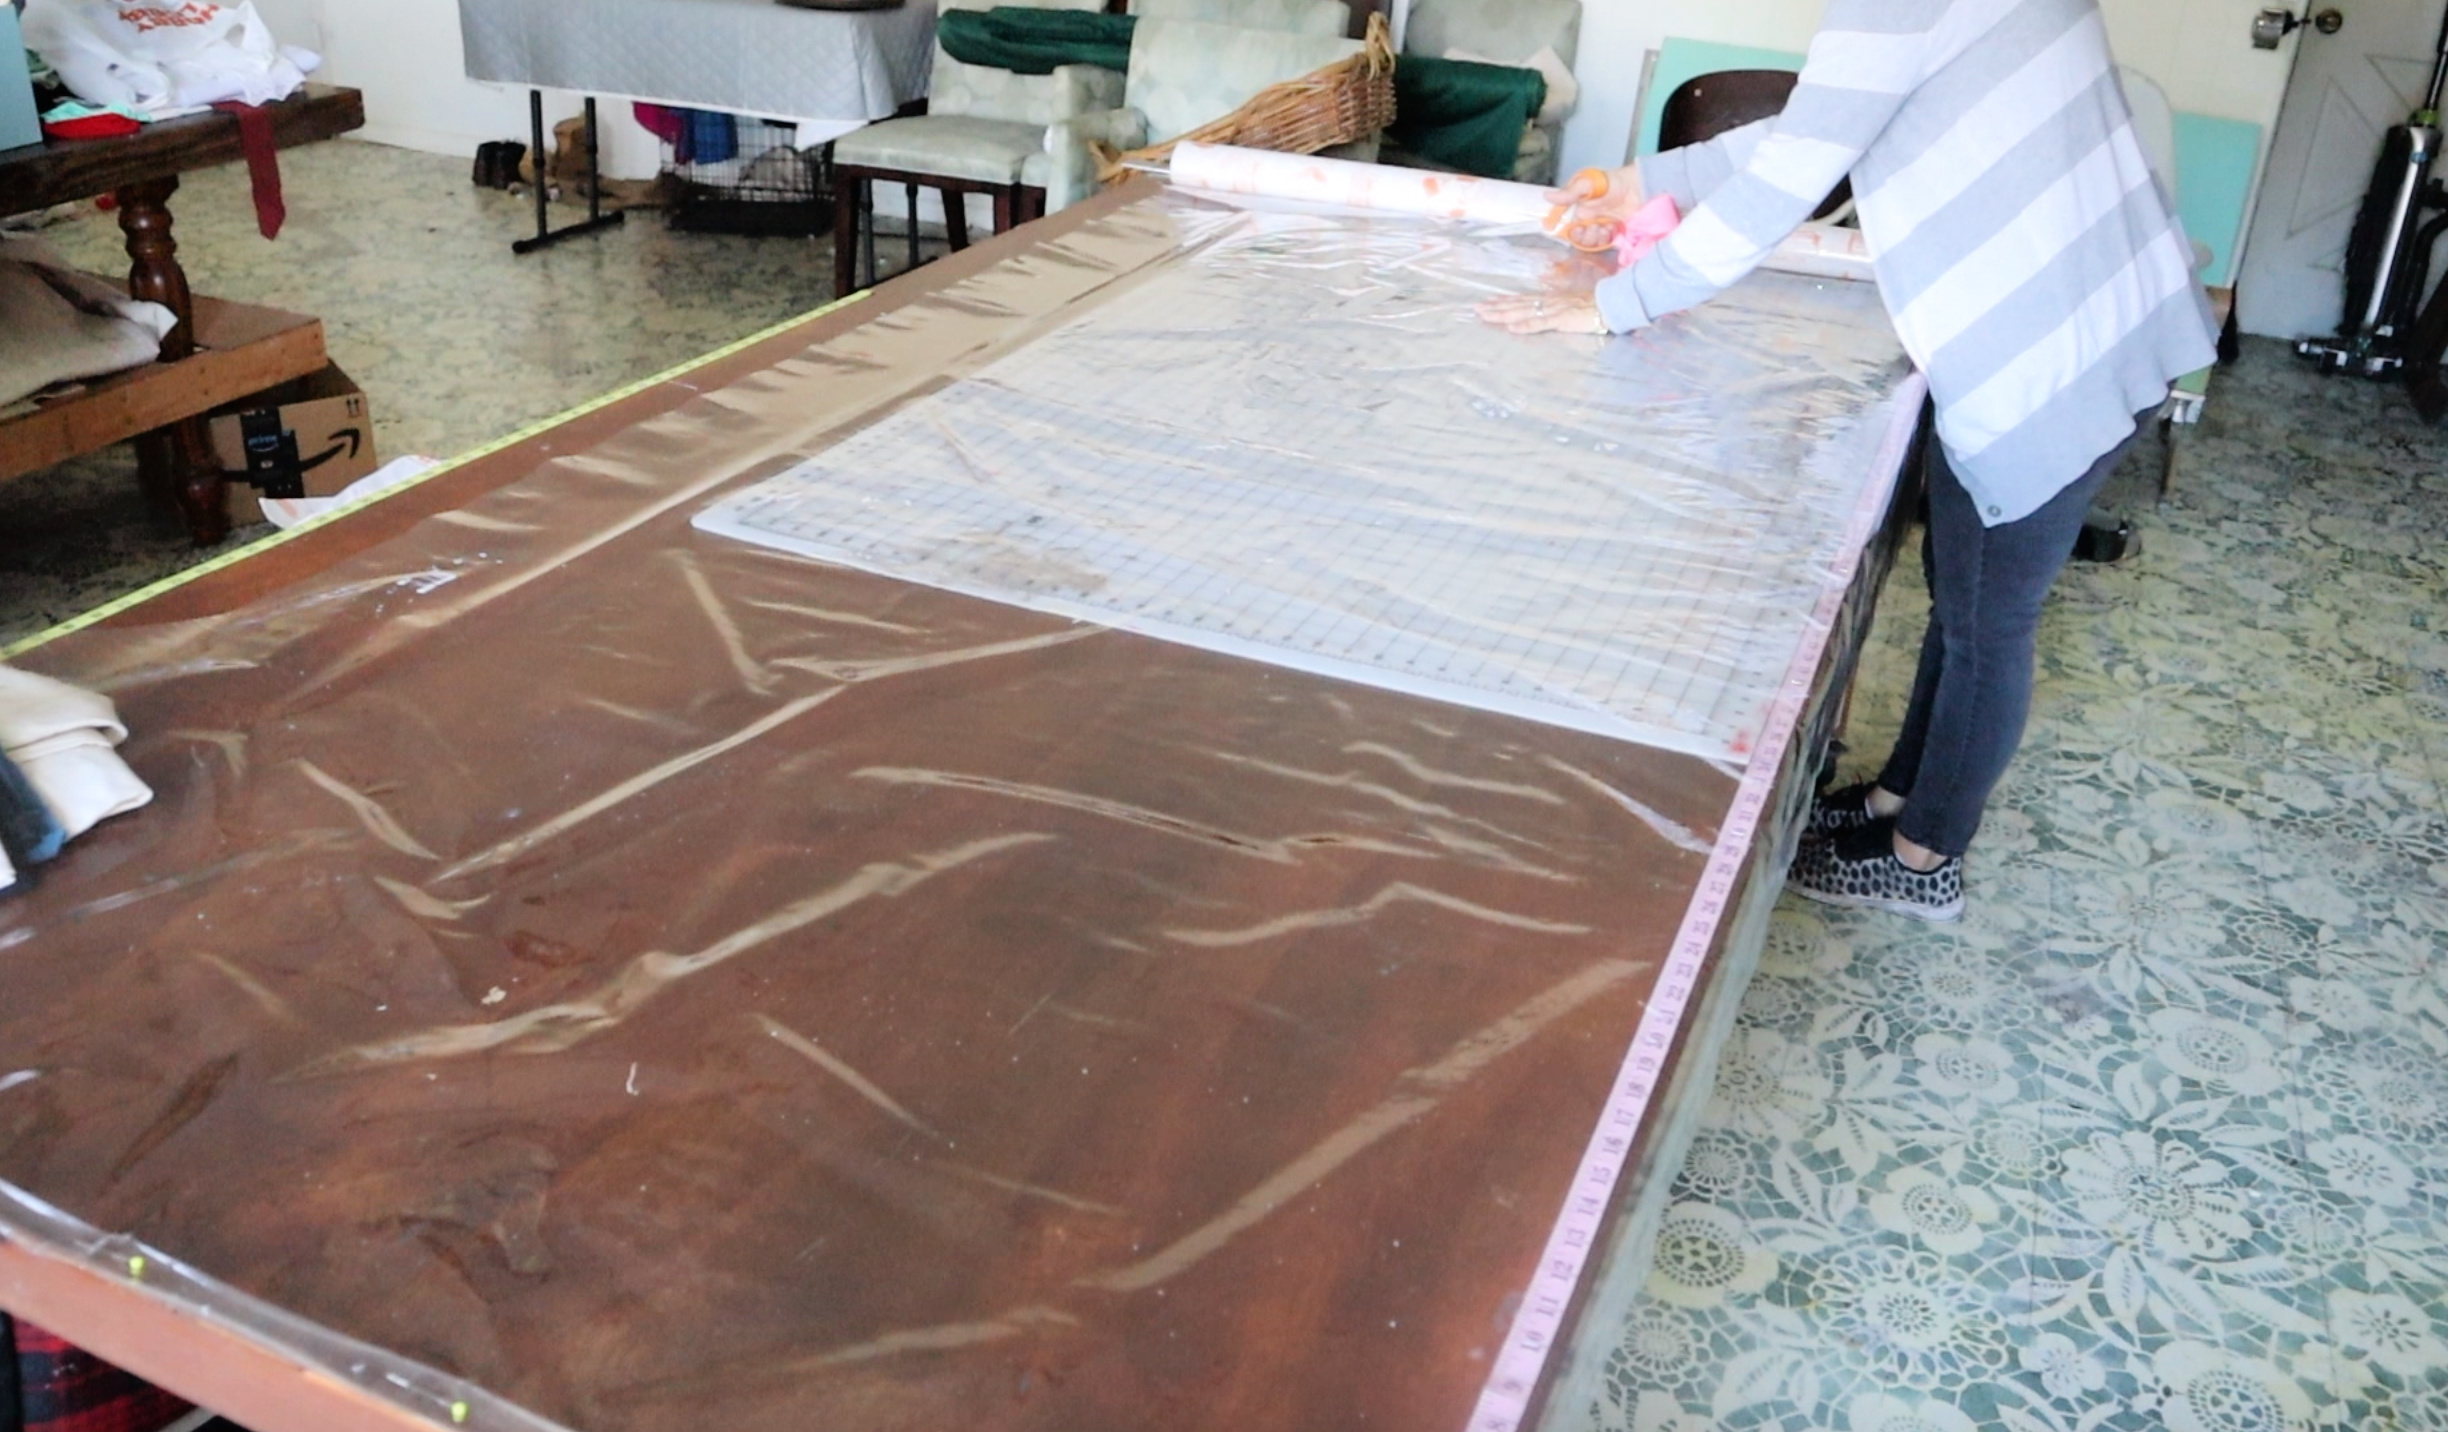 I cut my shower curtain liner longer than needed so I could hang my liner and then cut it to the exact proper length. I cut mine to just kiss the floor of the shower.
 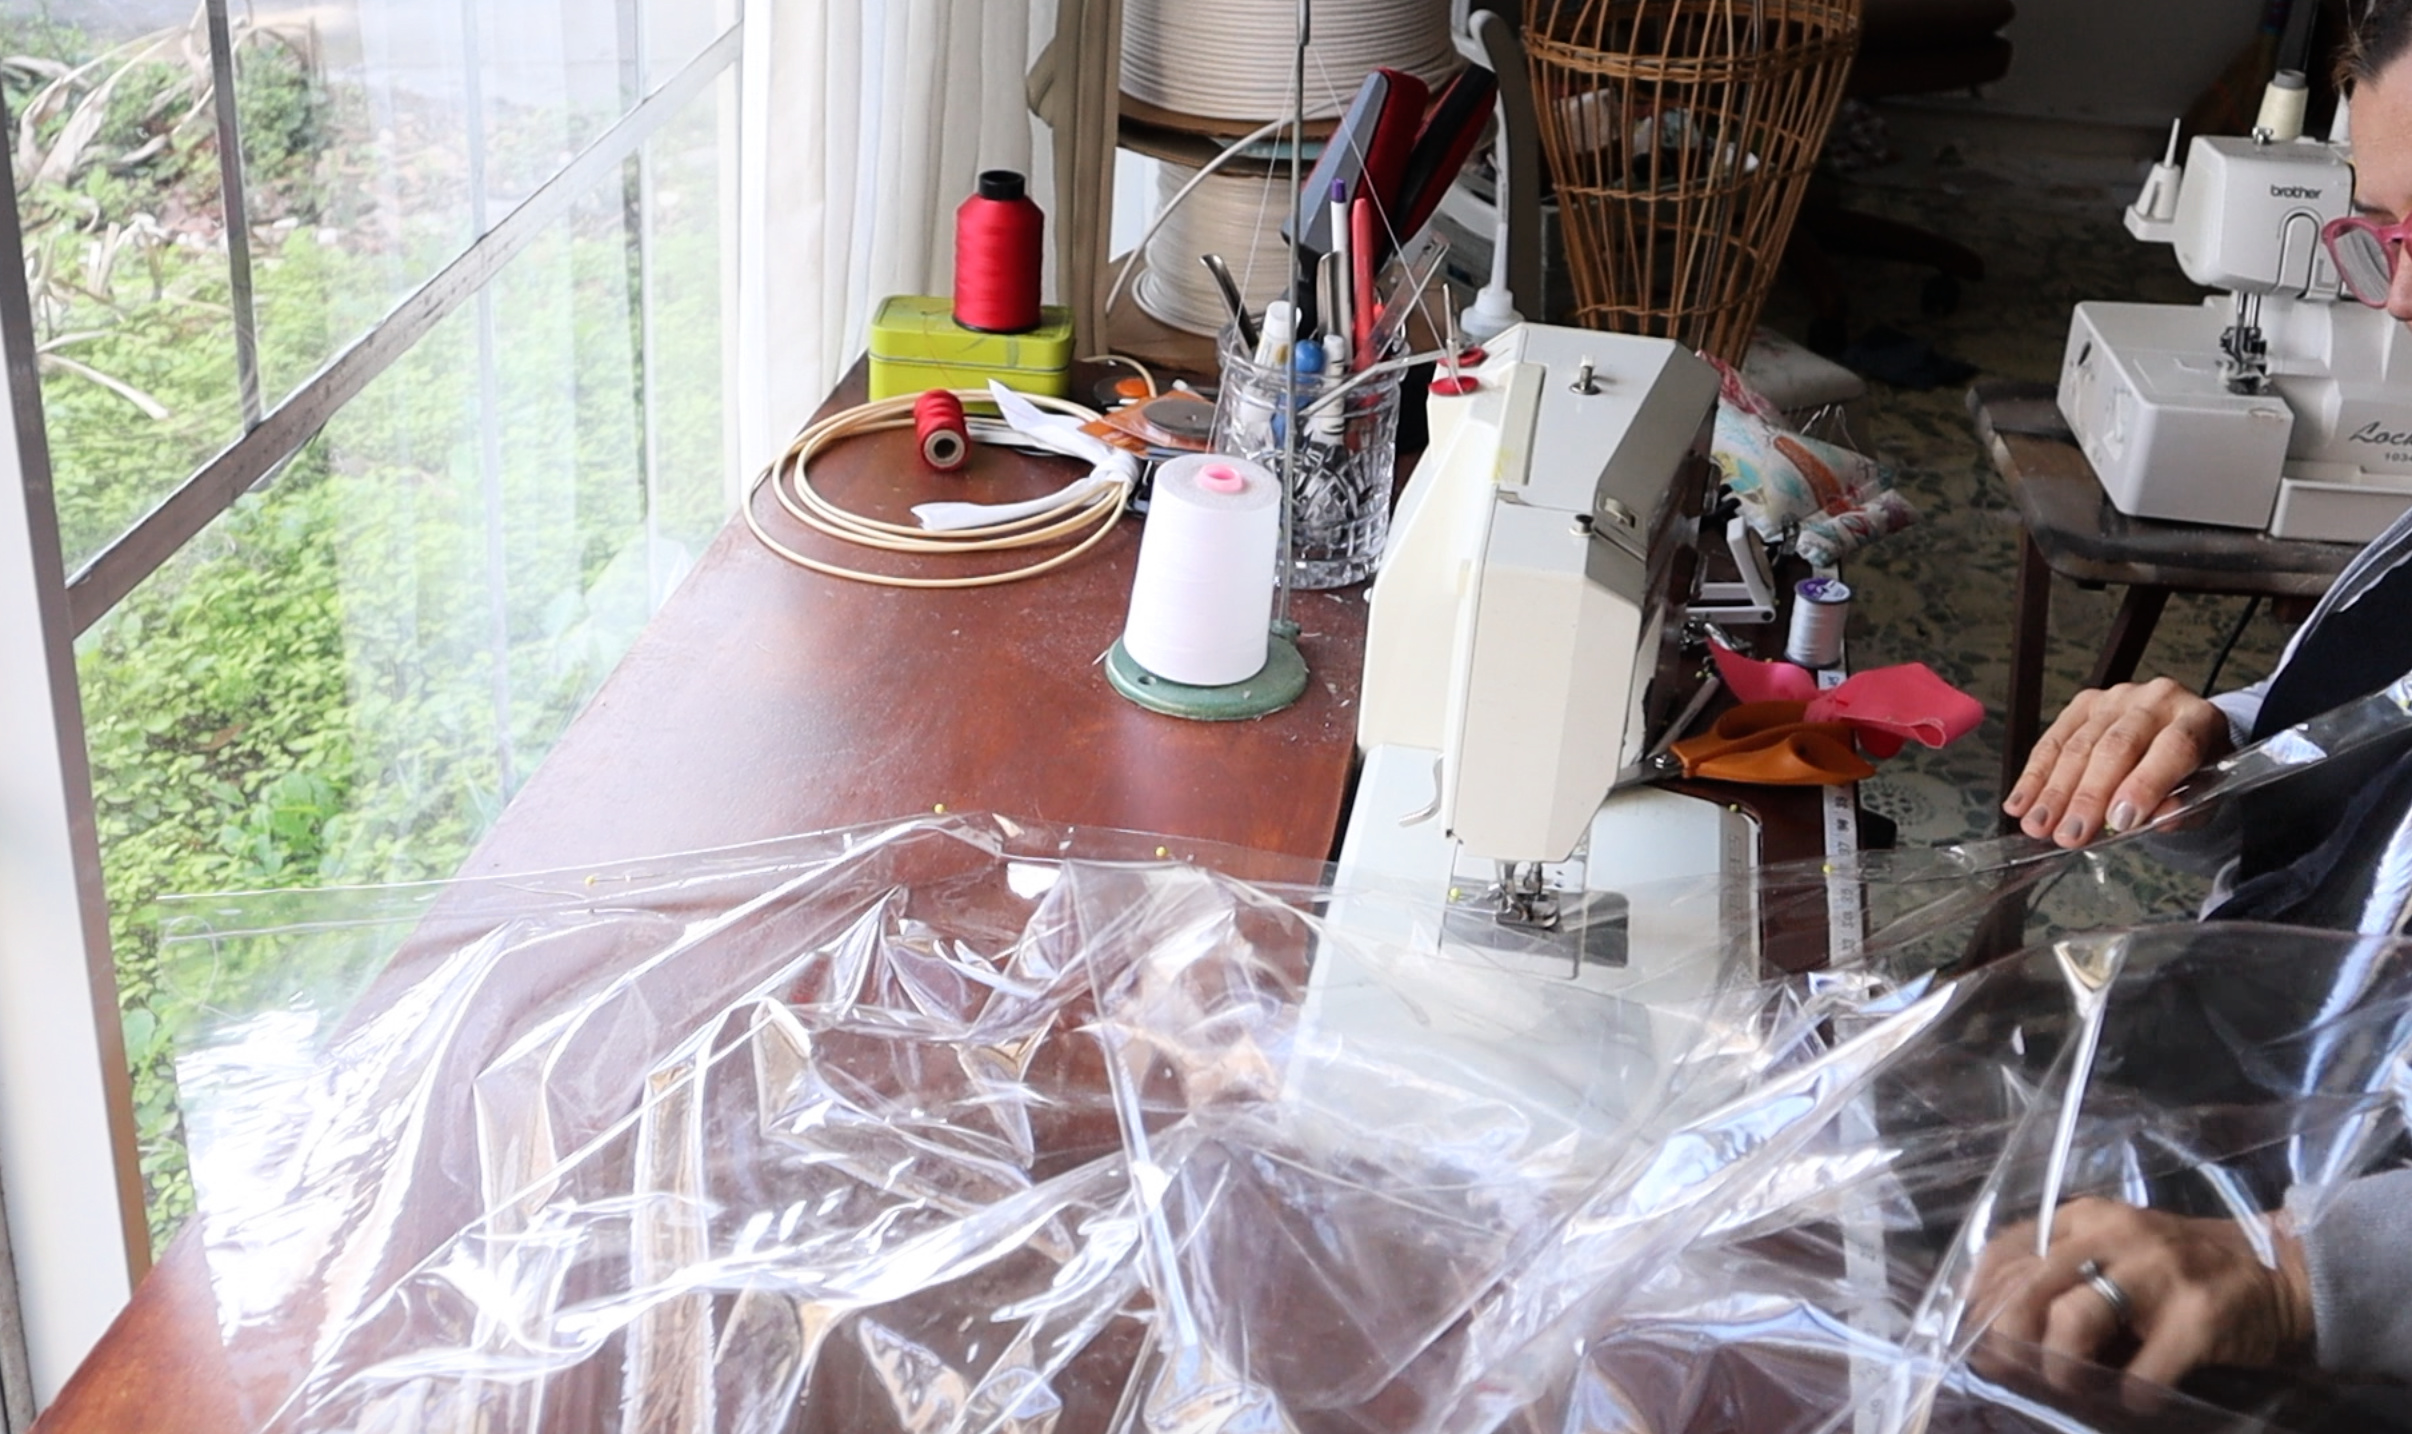 Like I said I sewed the first liner, but the second I didn’t. Vinyl can be a little tricky to sew. Sometimes it’ll stick under your presser foot and you may need to use tissue paper to assist the glide…another video.
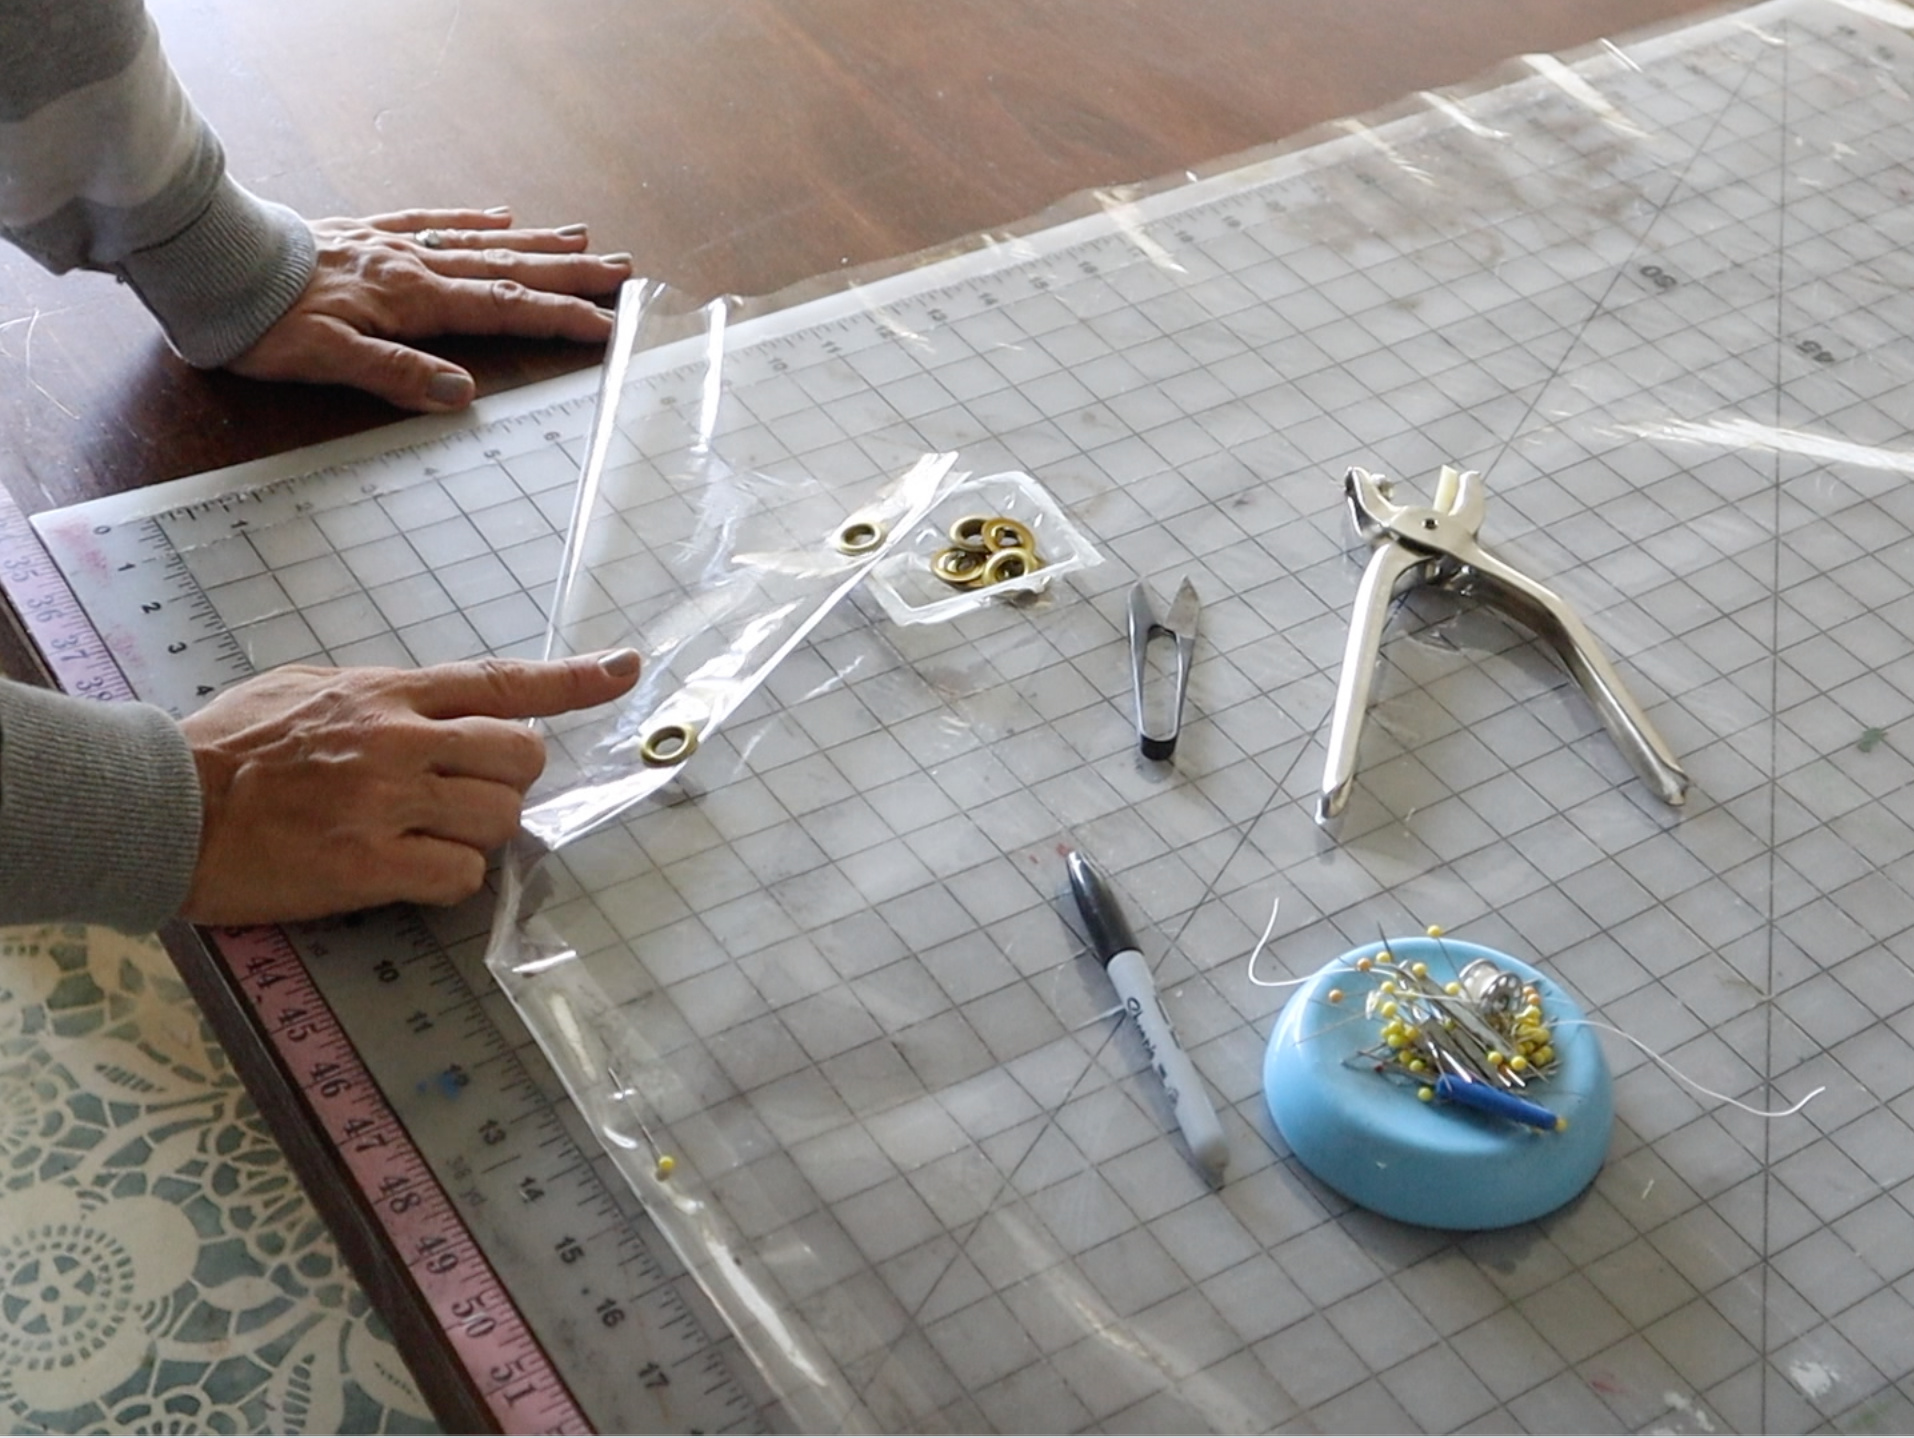
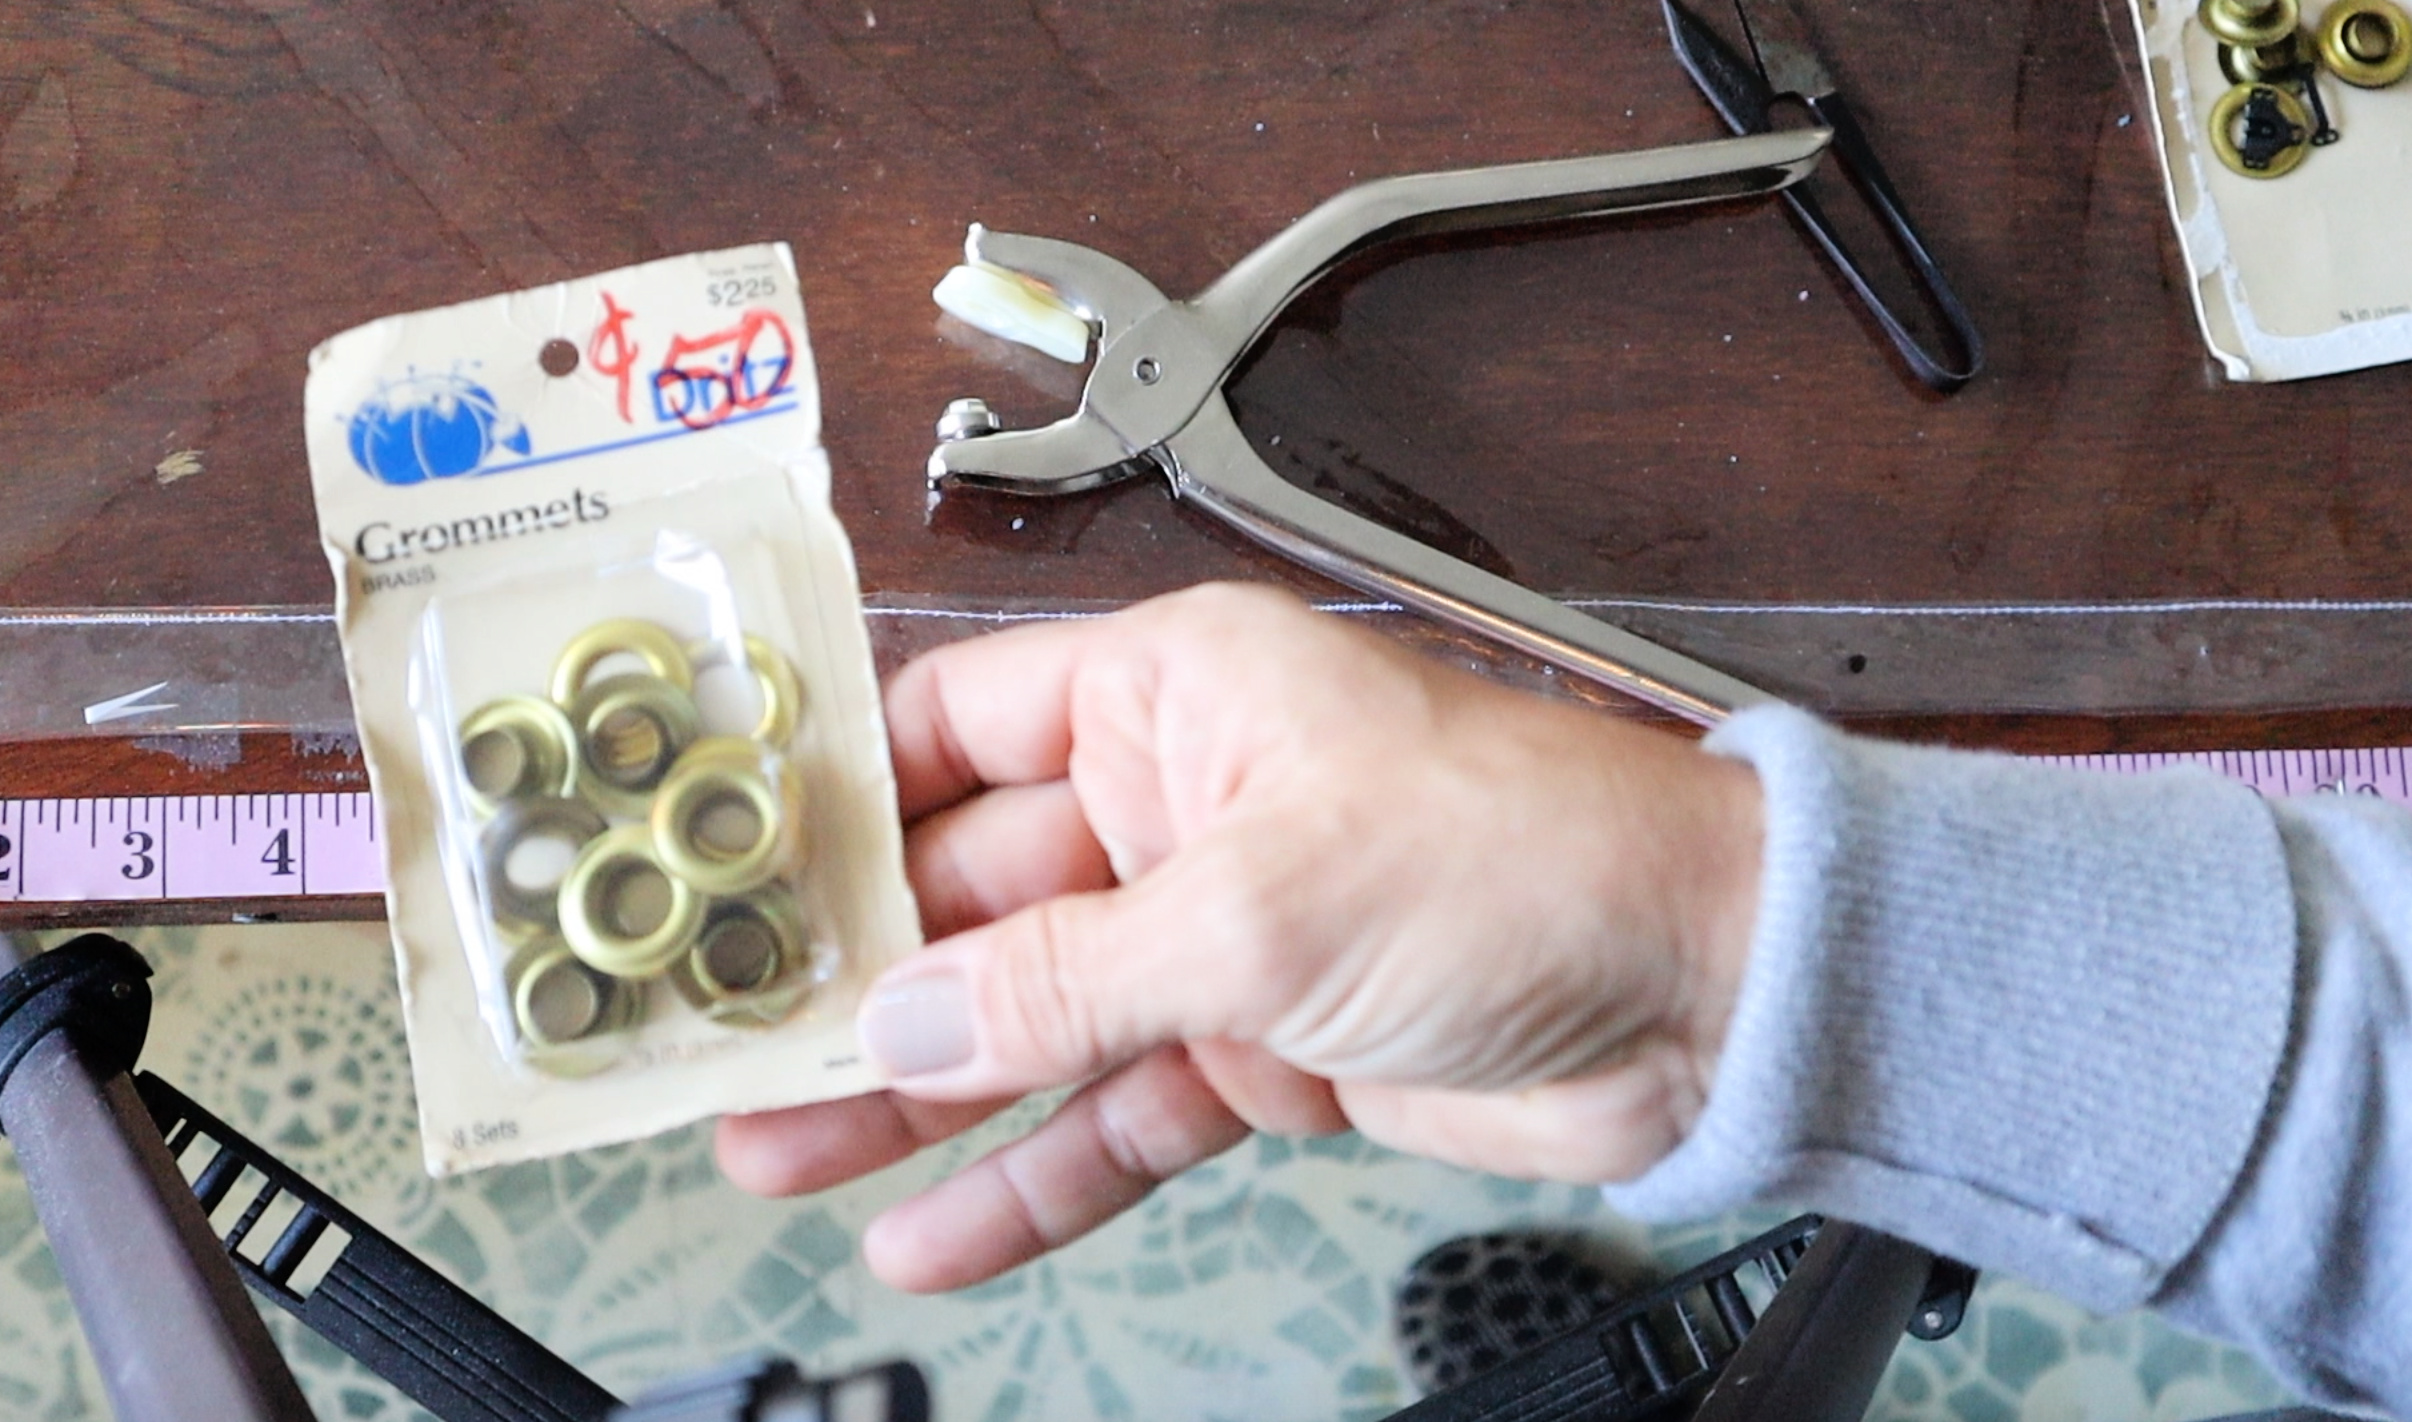 I used brass grommets for my liner header because I already had these grommets in my stash. As you can see by the price, these are really old. My mom bought them for $.50 at least 20 years ago, but notice the retail price is $2.25. ;0
 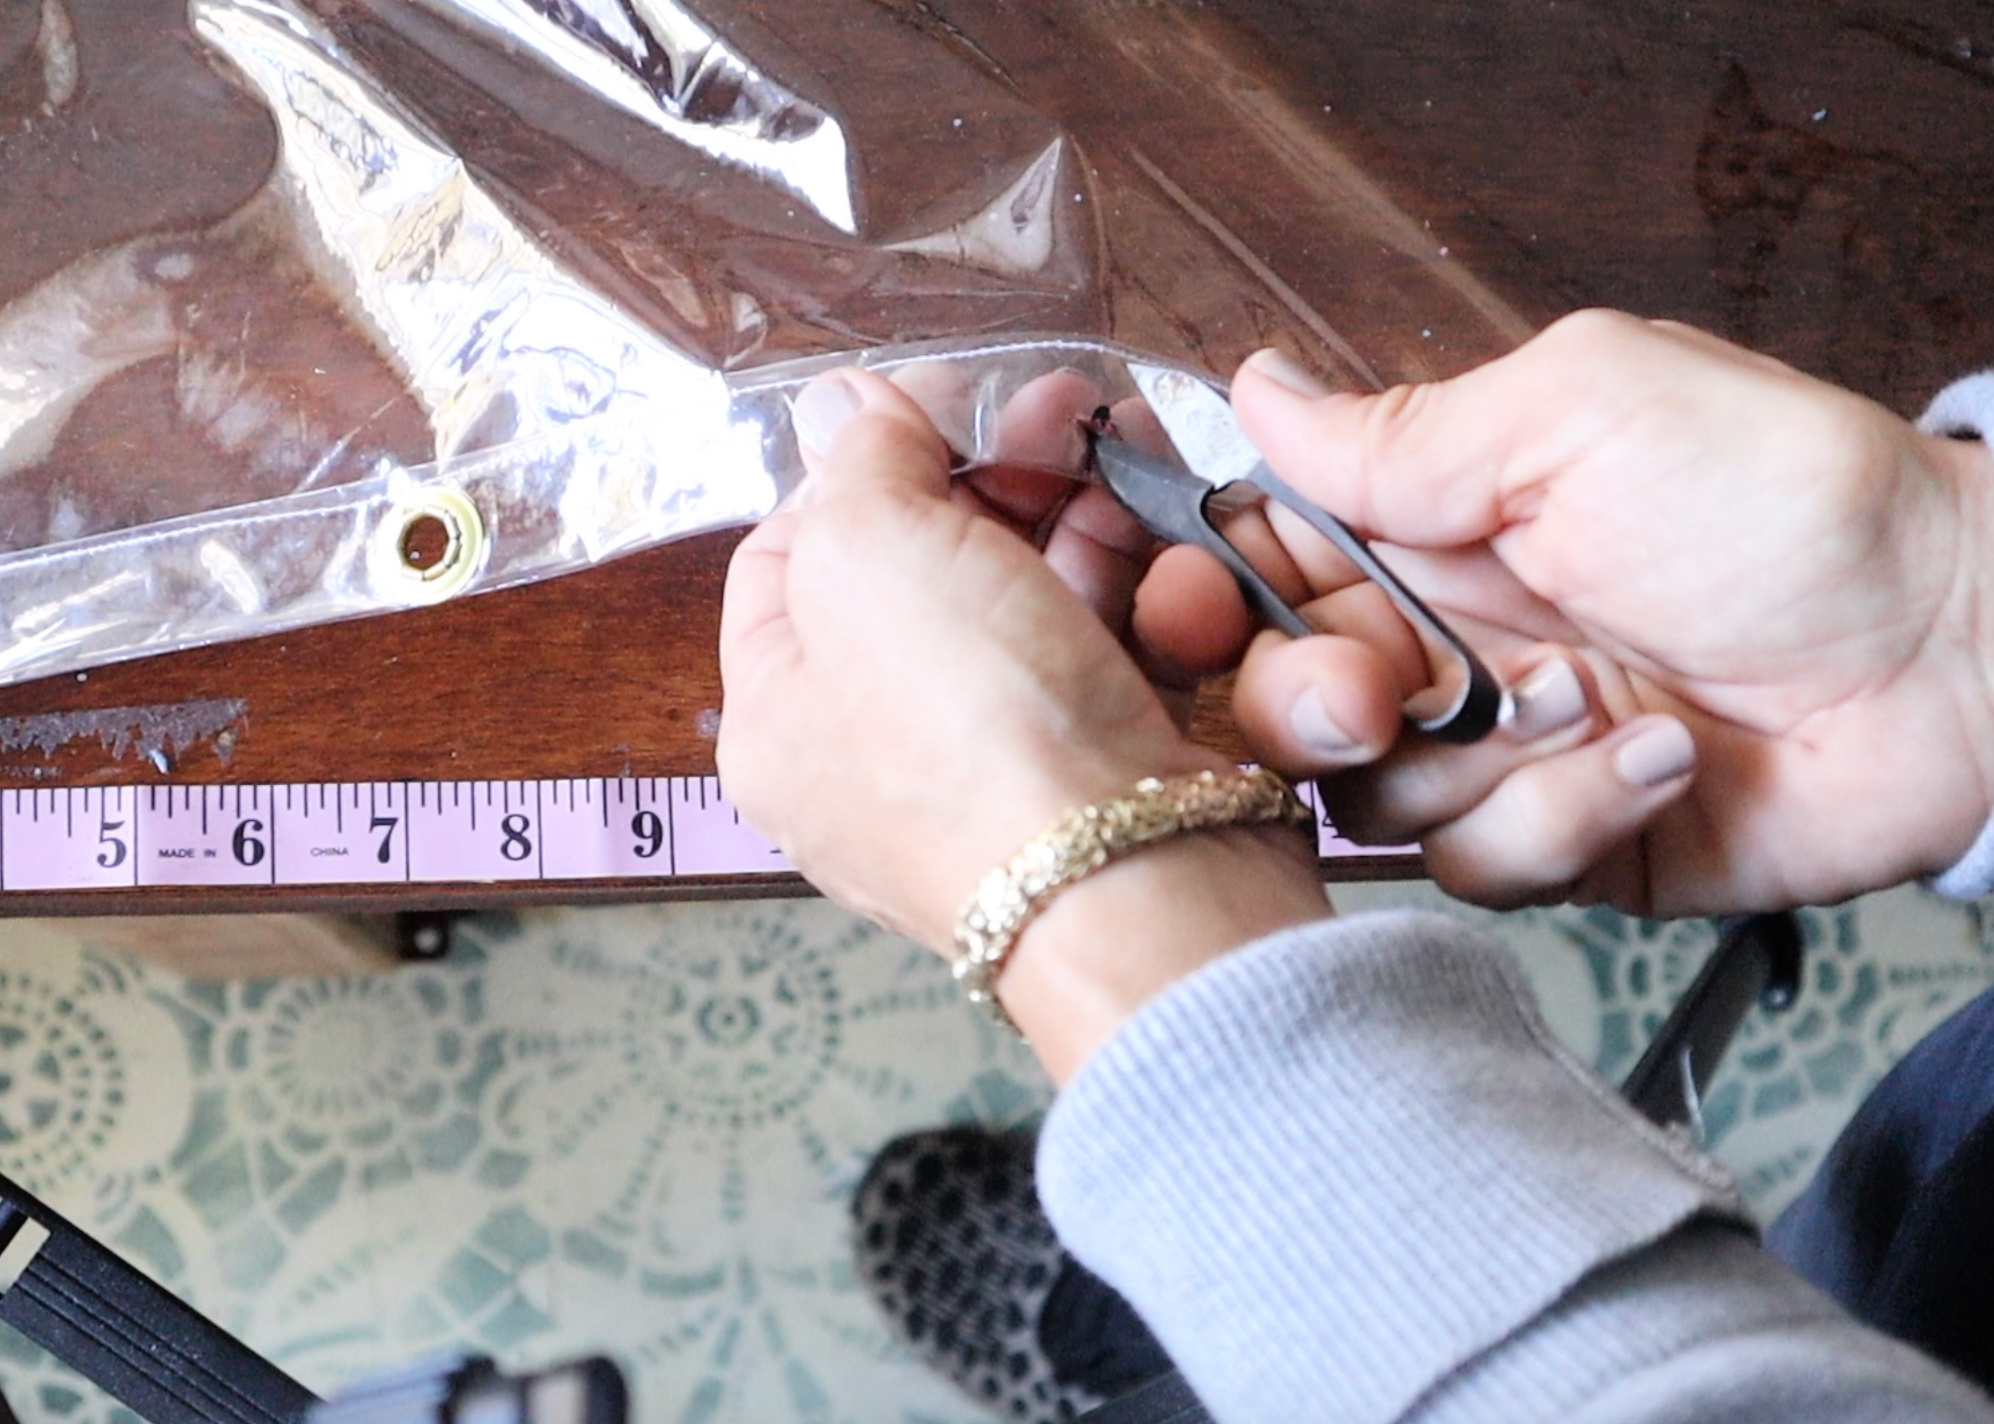 I pre cut the holes for my grommets because the vinyl is so thick, but the grommet pliers have a setting to cut fabric for you.
 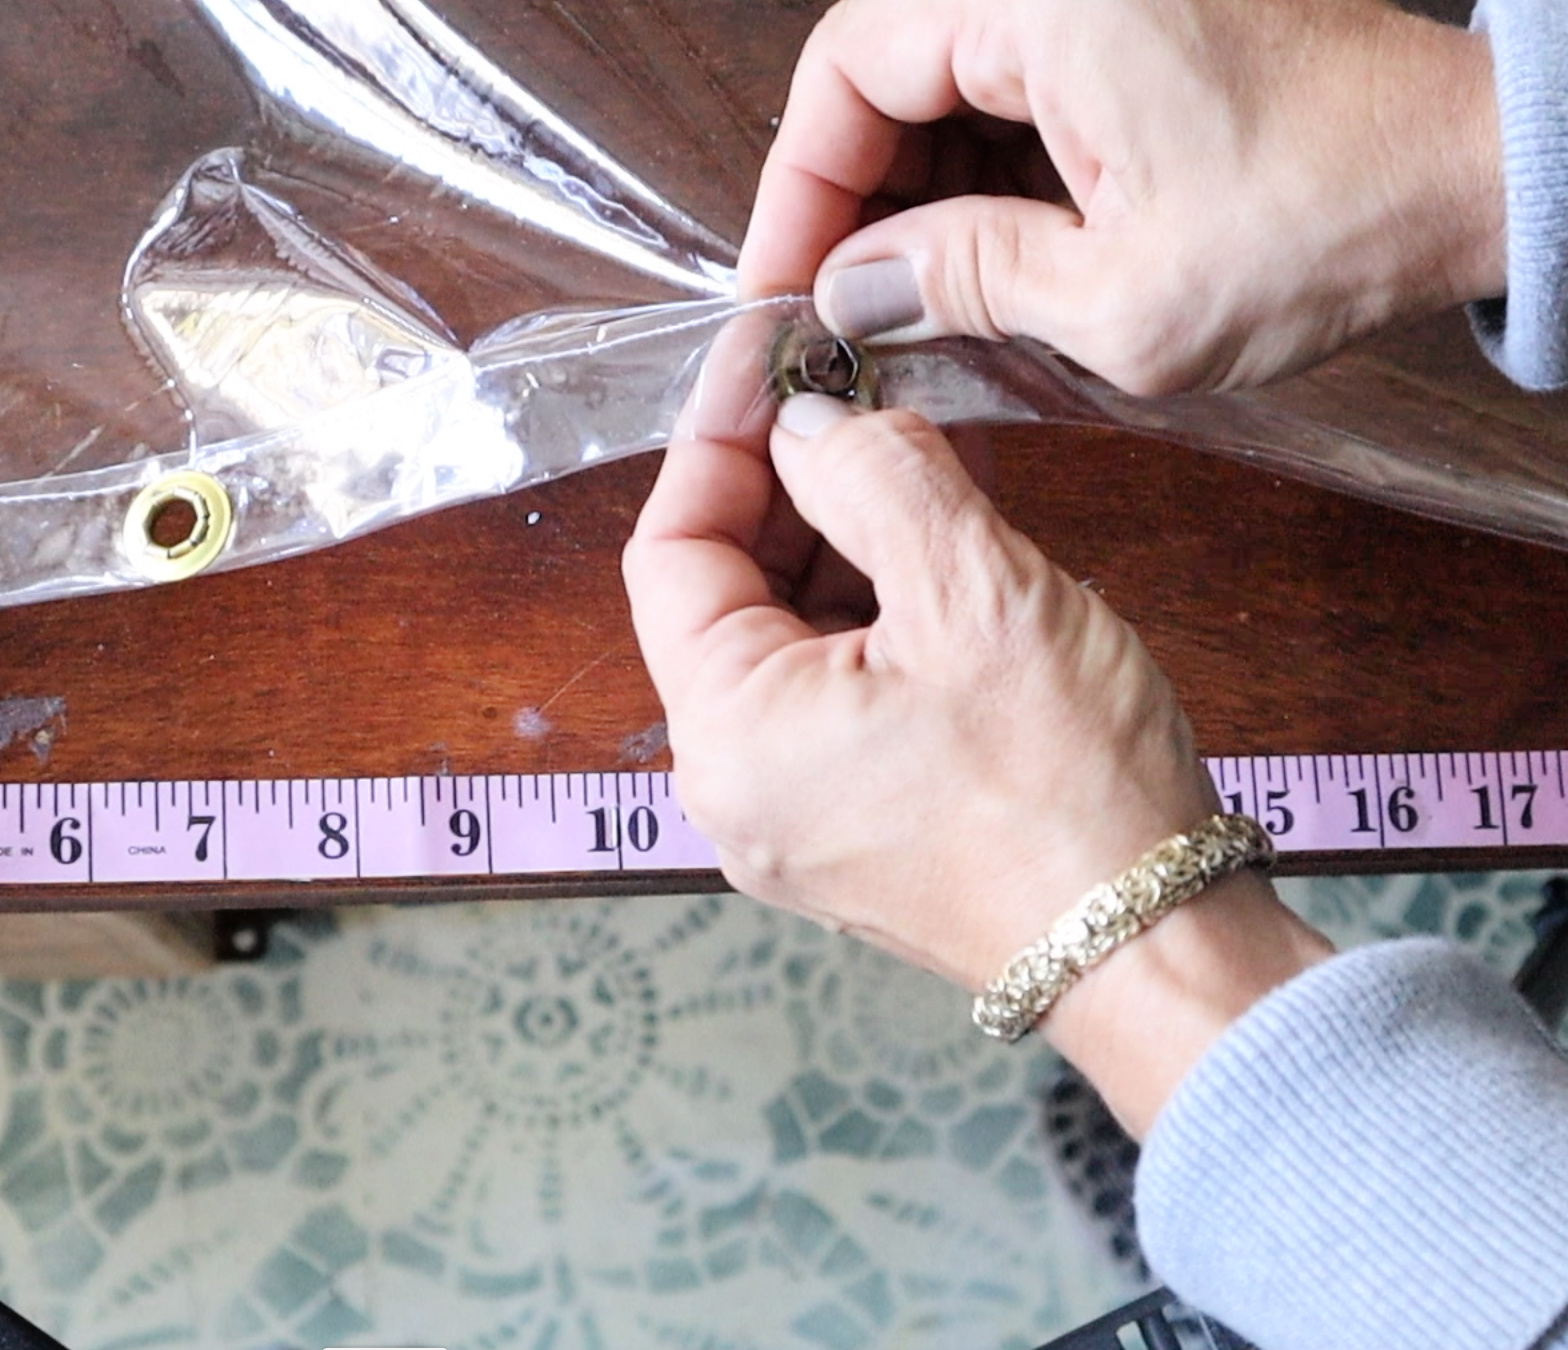 Set the bottom of the grommet into the liner.
 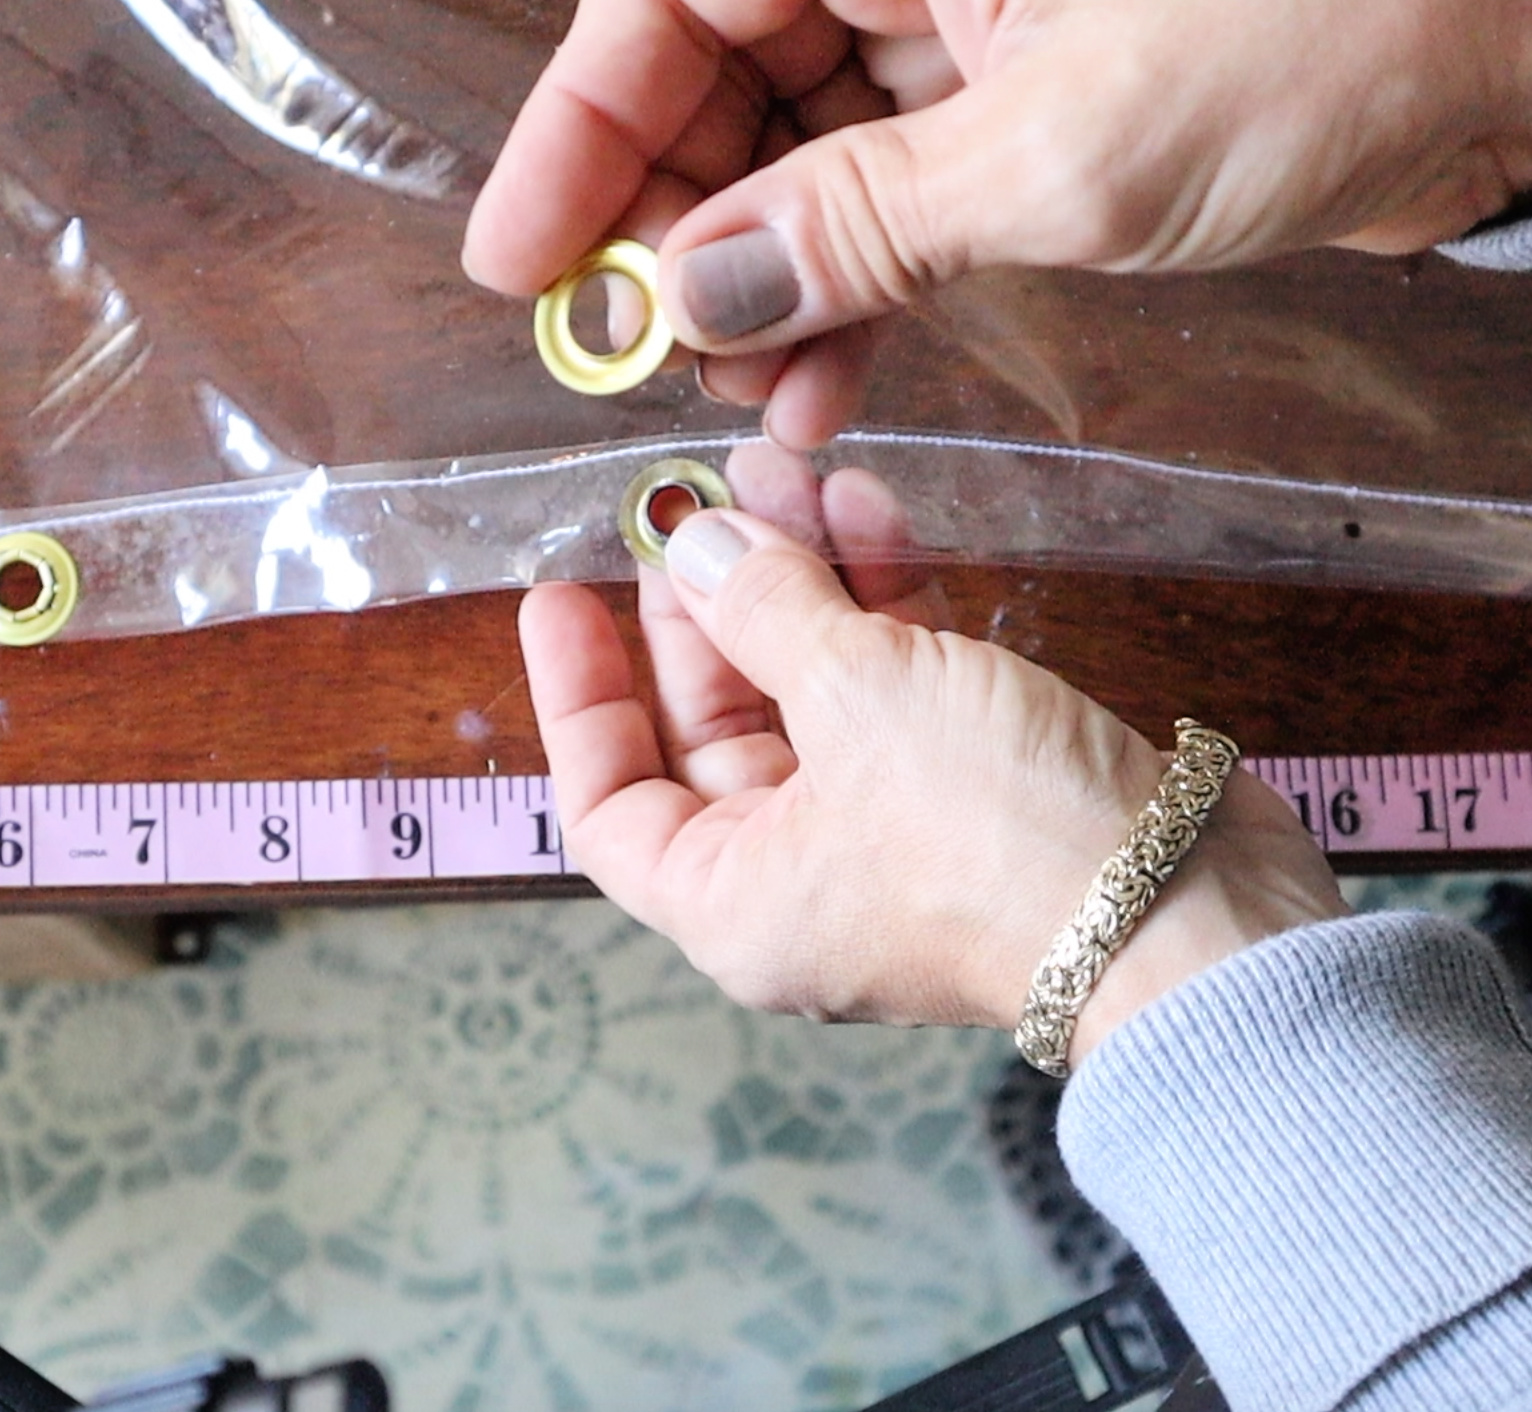 Set the washer on top of the grommet on the other side of the vinyl.
 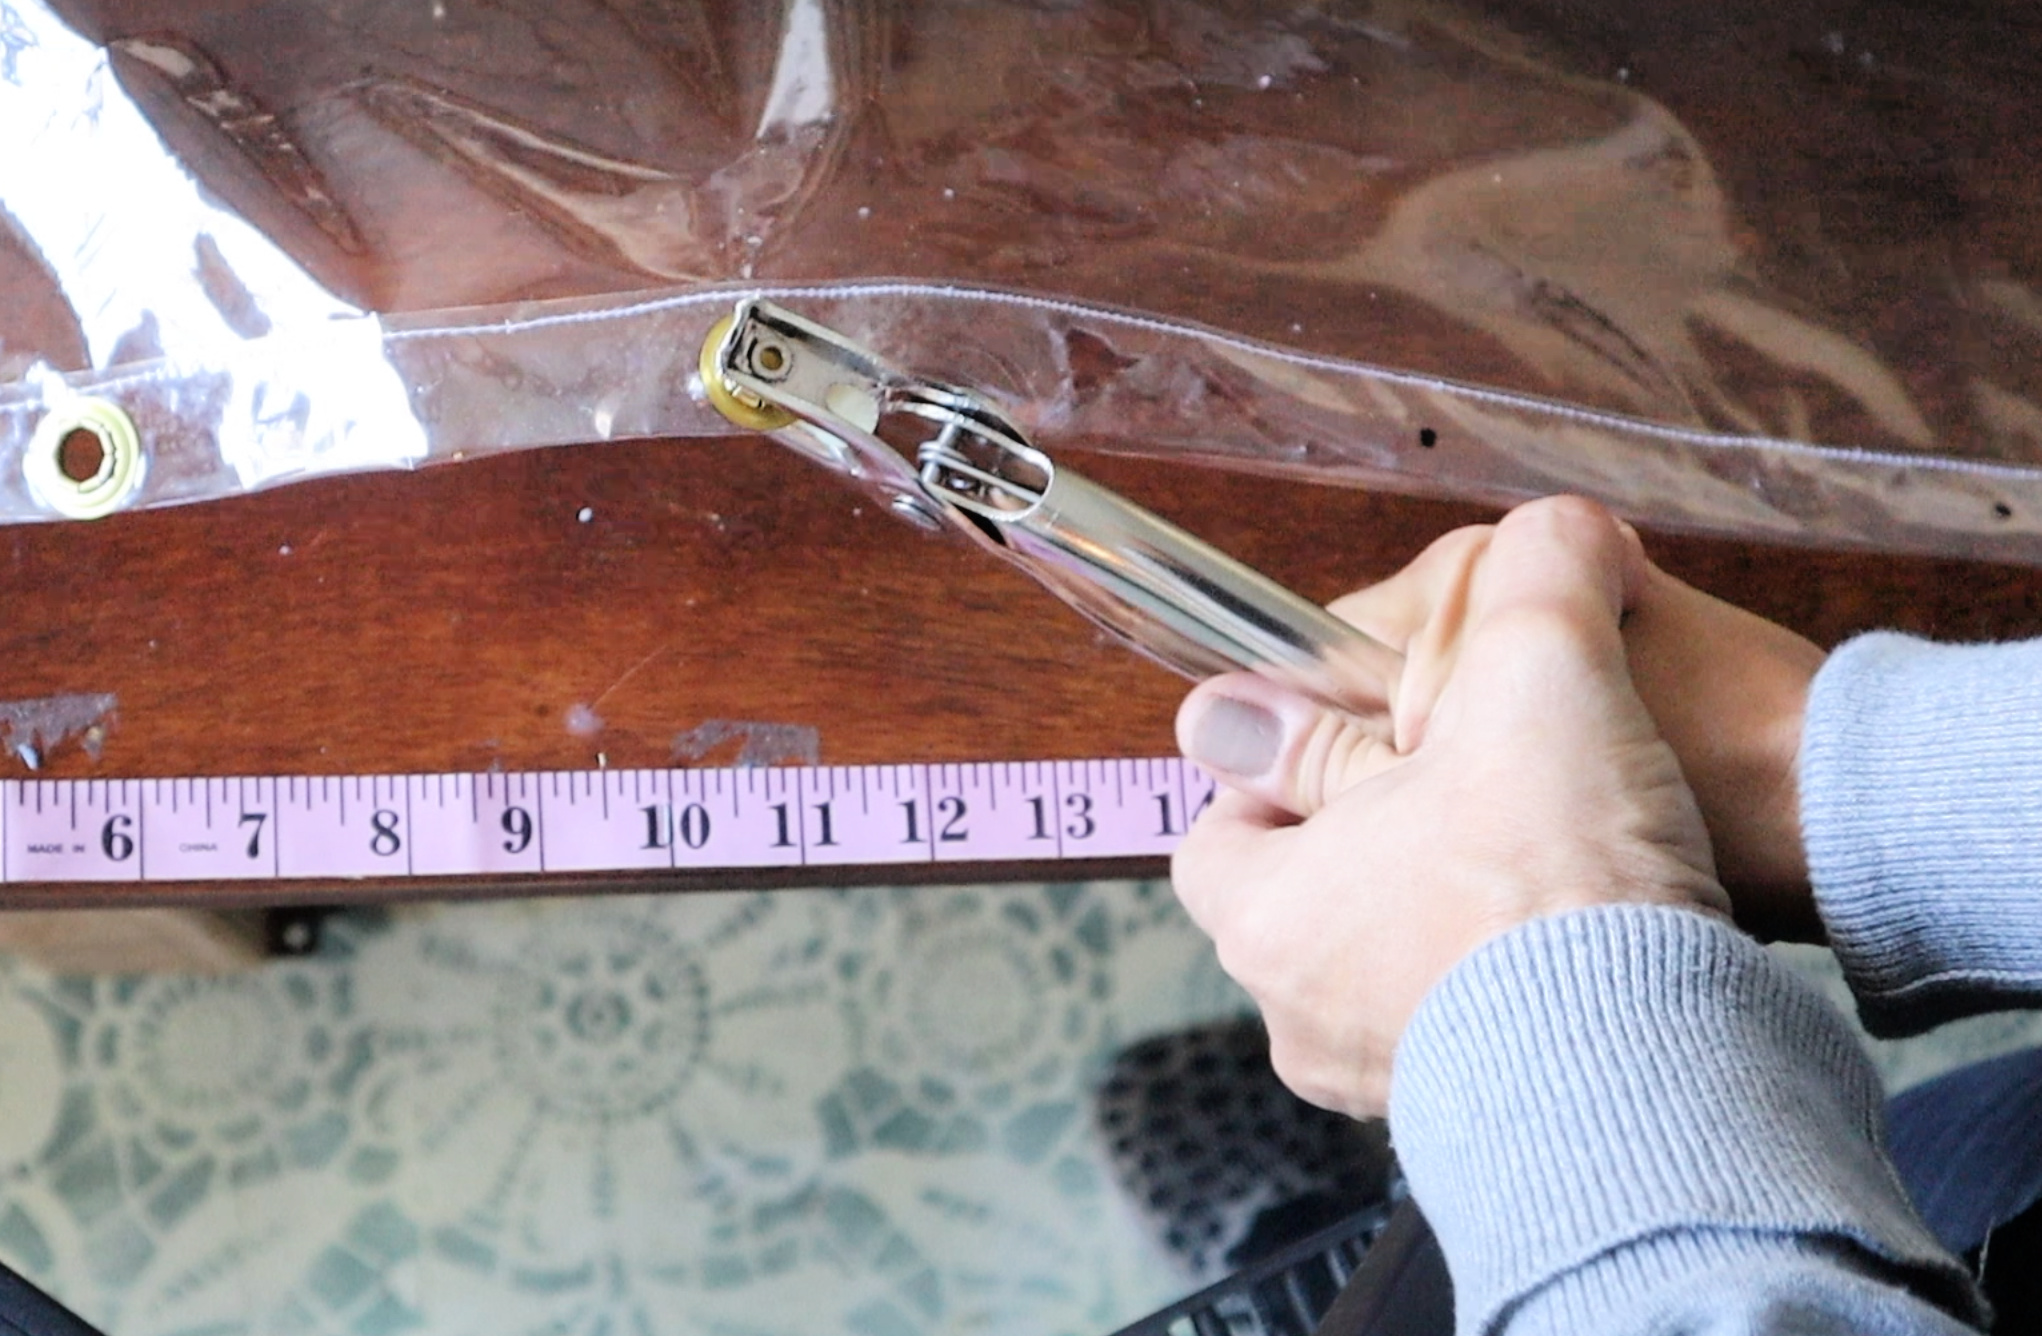 Use the grommet pliers to squish and secure the grommet. It works like magic…very satisfying.
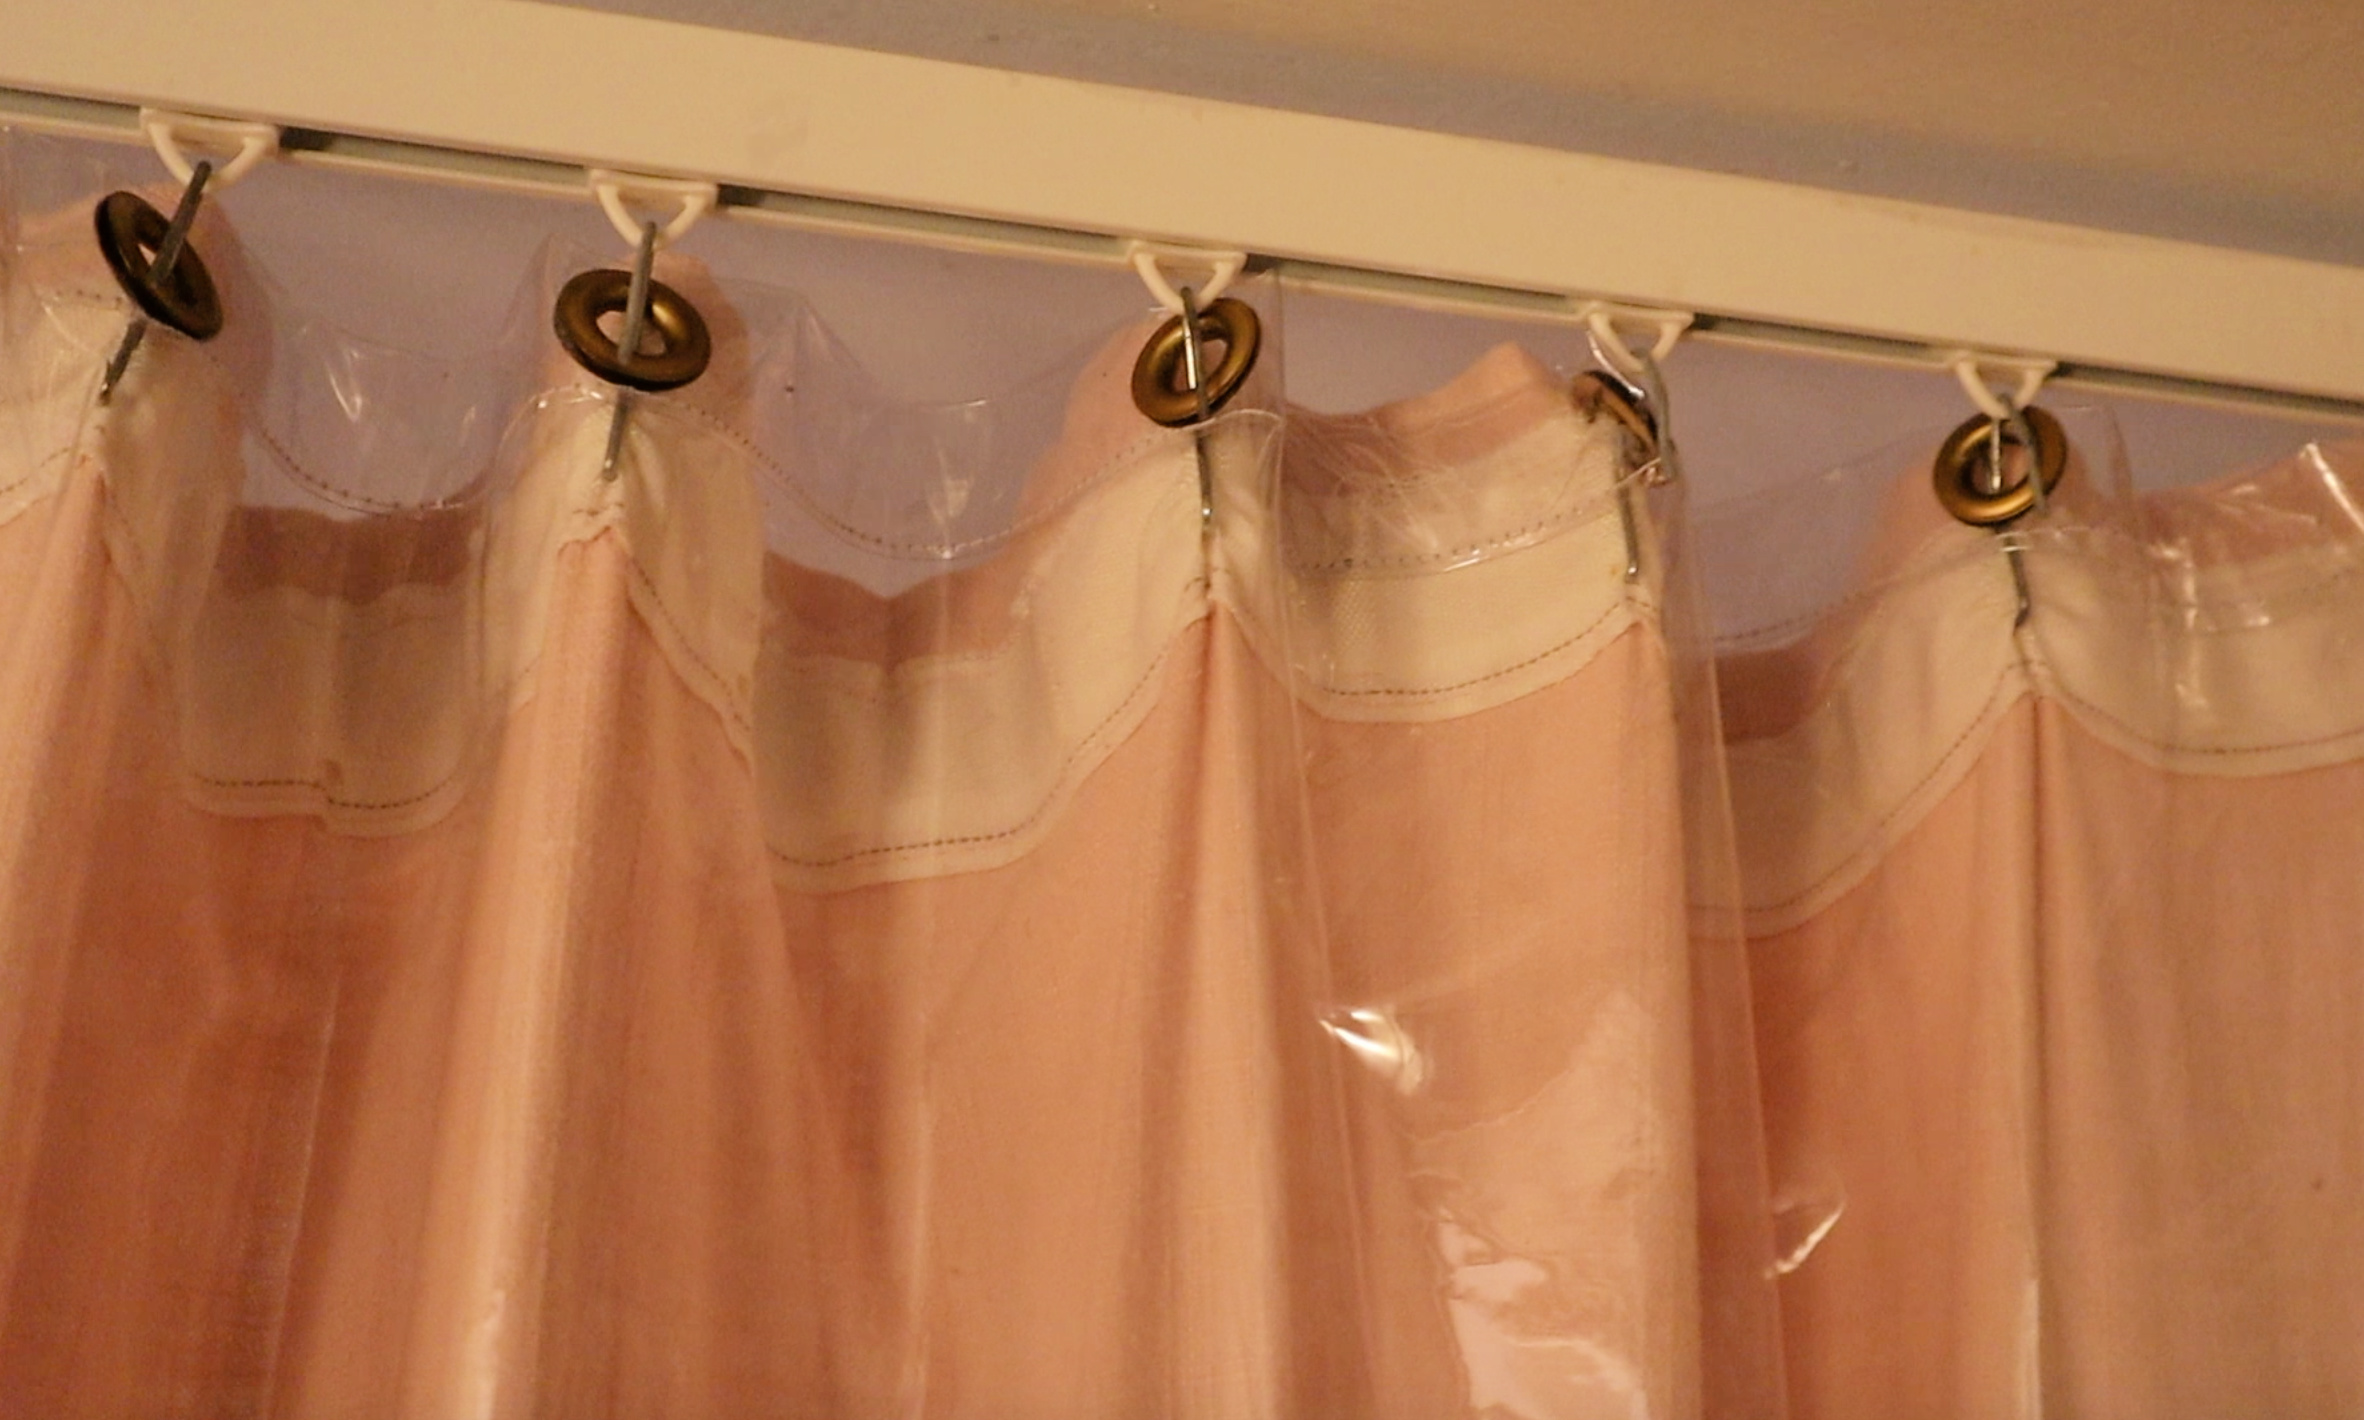 I have my decorative linen shower curtain hung on Ikea hospital track attached to the ceiling, using drapery hooks. So I just hung the grommets right on the drapery hooks. Easy peasy.
 This photo illustrates how I used the grommets to hold the top header on the second liner I made. (no sew version)
 So that’s that! Now I finally have shower curtain liners that reach the floor of my shower and don’t leave pools of water on the floor. PLUS they look sooooo much better than the goofy white fabric I had before. These clear liners just disappear when the curtains are open.
I’m so thrilled with this simple simple project. I was so bothered by those short ugly liners I had before. I wish I had thought of this sooner. It’s such a silly thing but it makes me so happy.
This is definitely a project anyone can tackle….so if you want a floor to ceiling shower curtain(very chic and custom) instead of the awkward high-water store bought versions, you can do this!
