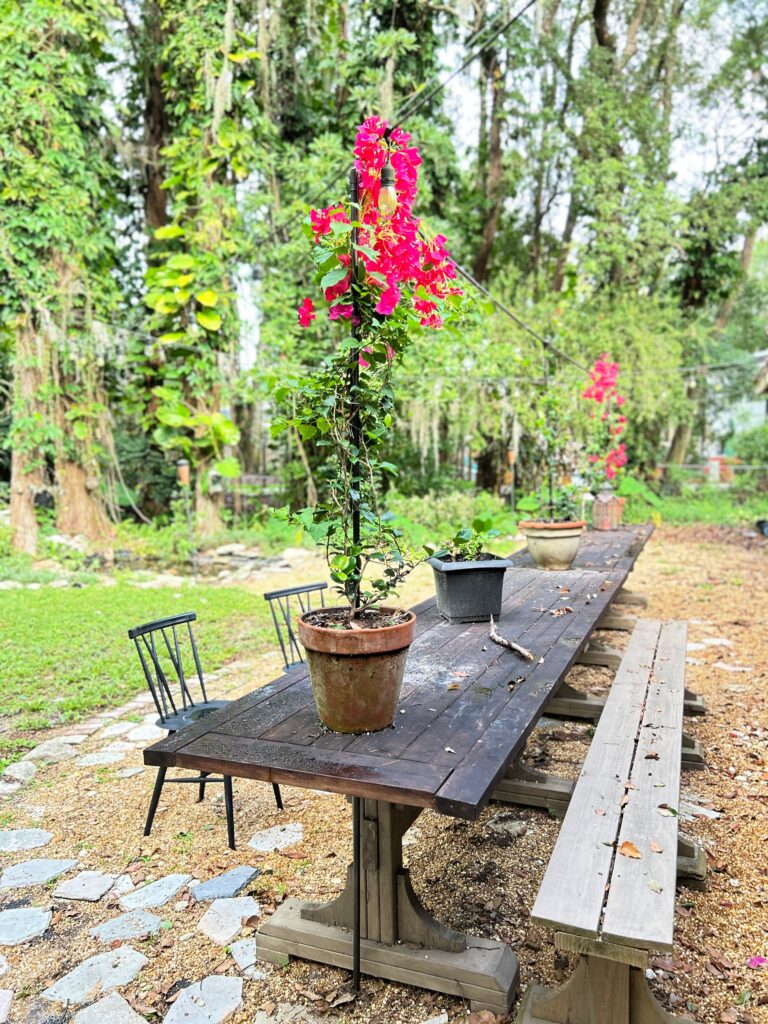
I created this tabletop trellis in February and finally posting(June) the project since my bougainvillea is blooming so beautifully!
Step 1: Buy product
I bought aluminum electrical conduit for this project rather than the typically used galvanized plumbers pipe. Mainly due to the cost of the galvanized pipe. Galvanized pipe and fittings are at least four times the price of aluminum. I’m all about saving money.
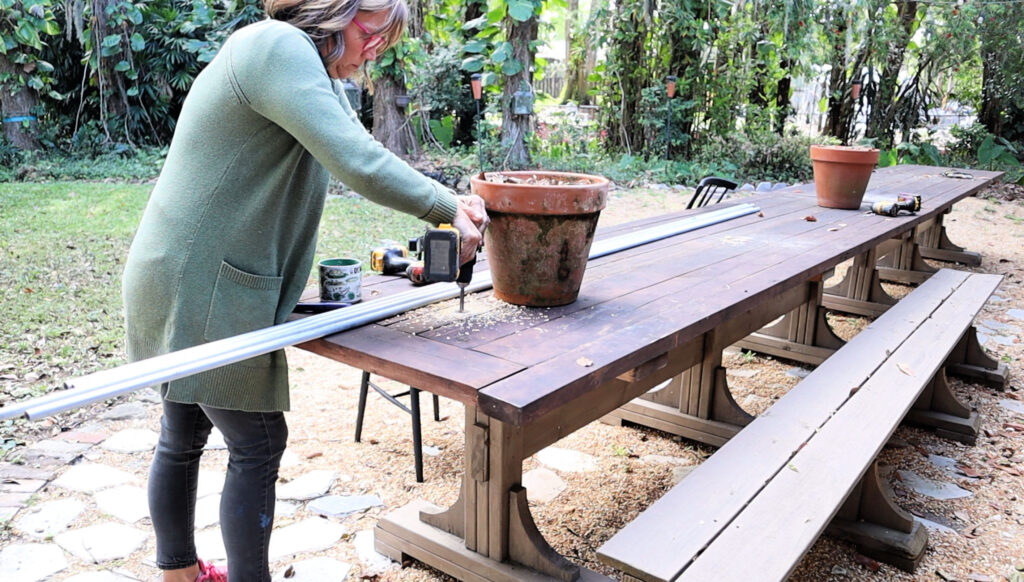
Step 2: Drill hole in tabletop
This part is probably very cringy, and for some, trauma inducing. But since I made these tables myself and they were less than $100 each, I didn’t have any qualms about drilling two holes in either end of my tables.
I used a forester bit the exact size of my pipe so the hole would be snug.
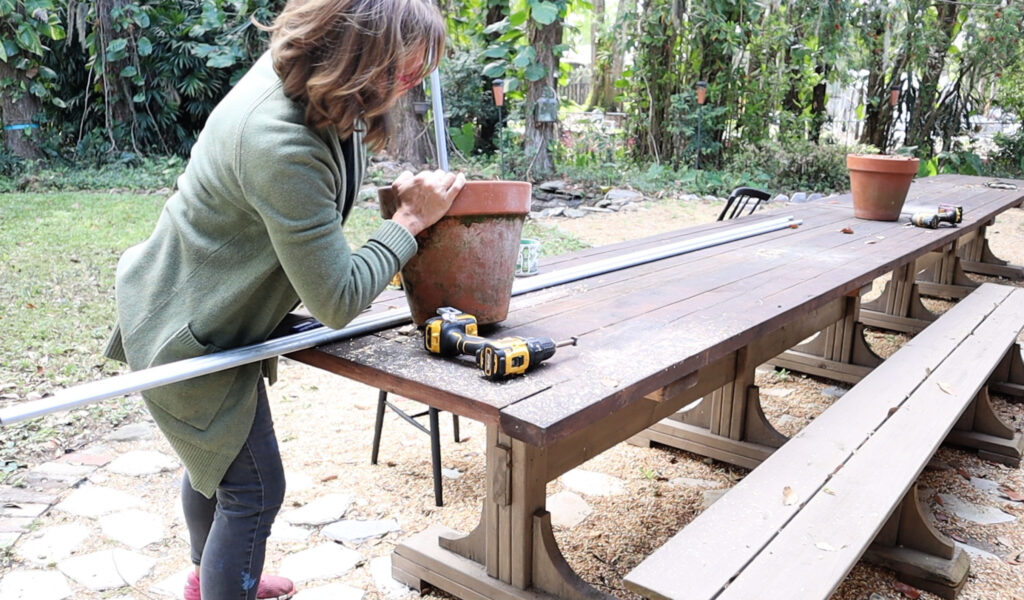
Step 3: Install first pipe
After drilling through my tabletop I threaded the pipe through the hole in the bottom of the clay pot, and through the hole in the table and to the ground.
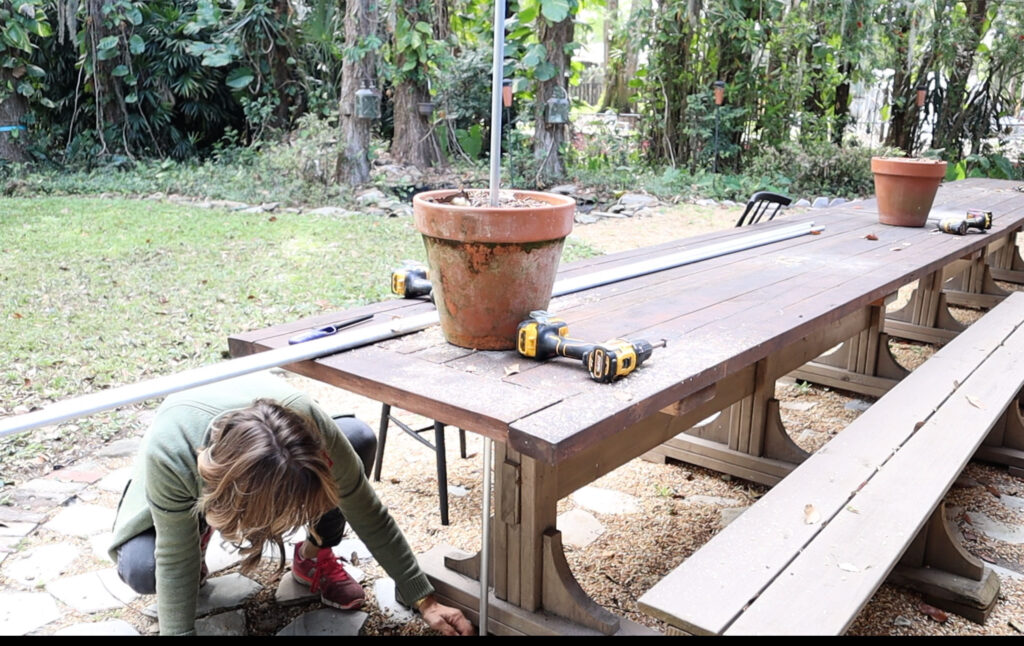
Step 4: make a hole in ground for pipe, making sure pipe is plumb.
I had to move pea gravel and put a hole in my weed fabric for the pipe to go through. Then check the pipe is plumb before moving to step 5.
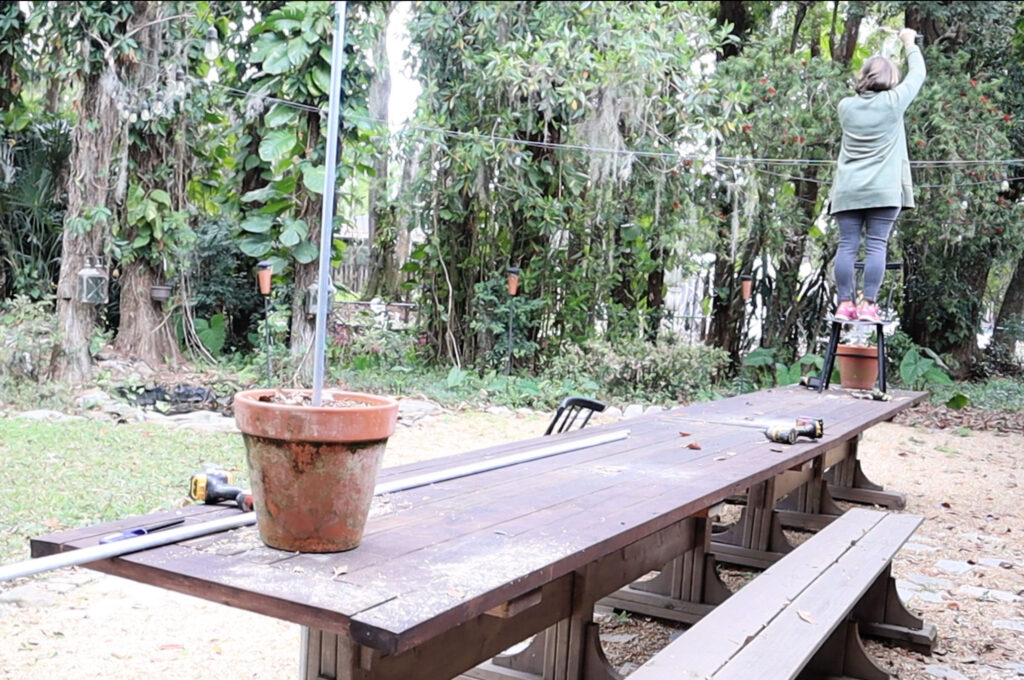
Step 5: Hammer the pipe into the ground.
This was very easy for me since I live in Florida. Our soil is very sandy and therefore I could just use a mallet and bang the pipe into the ground. It would be a good idea to call 411 to make sure you don’t have underground utility before this part.
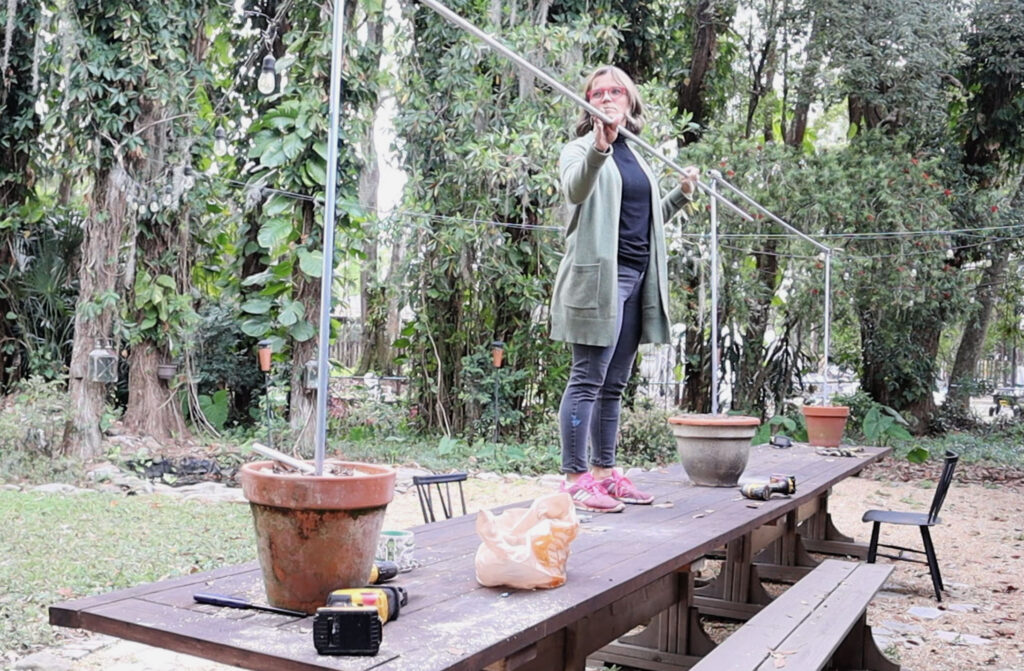
Step 6: Install the fittings and horizontal pipes.
I used electrical conduit L brackets on each side and a T fitting in the middle. They have small screw that clamp around the pipe to hold it in place. Close-up pics of these below.
Lastly, I spray painted the conduit with Rustoleum metal paint, and planted my plants.
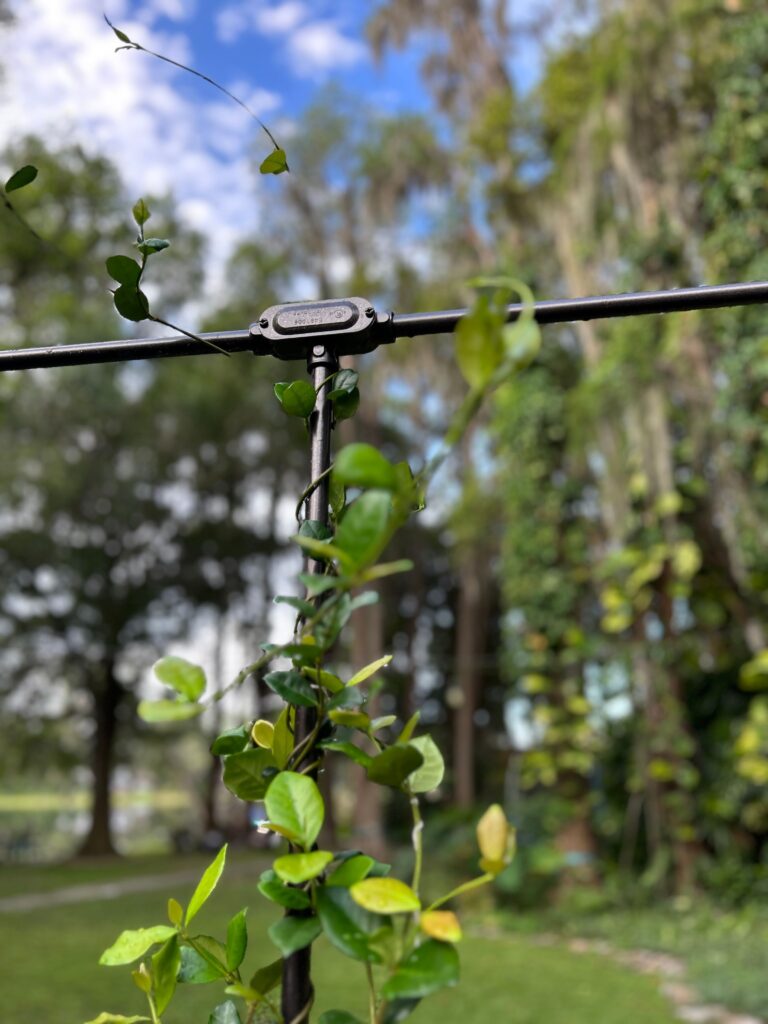
Closeup of the T conduit fitting in the center.
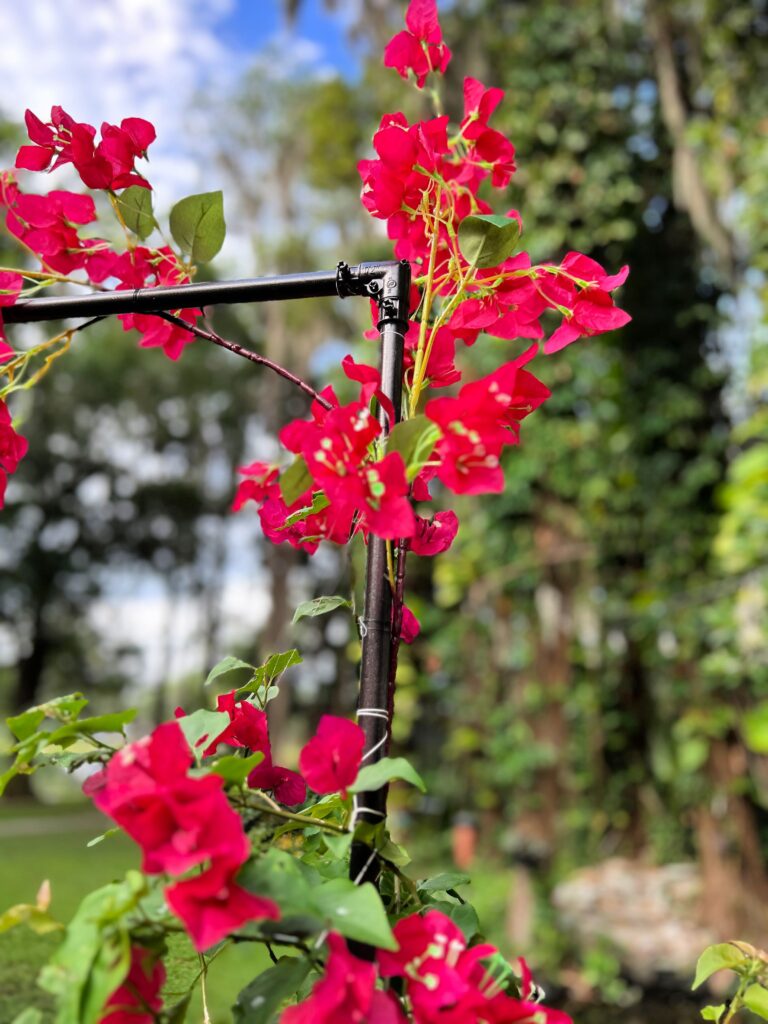
Closeup of the L fitting on each end.
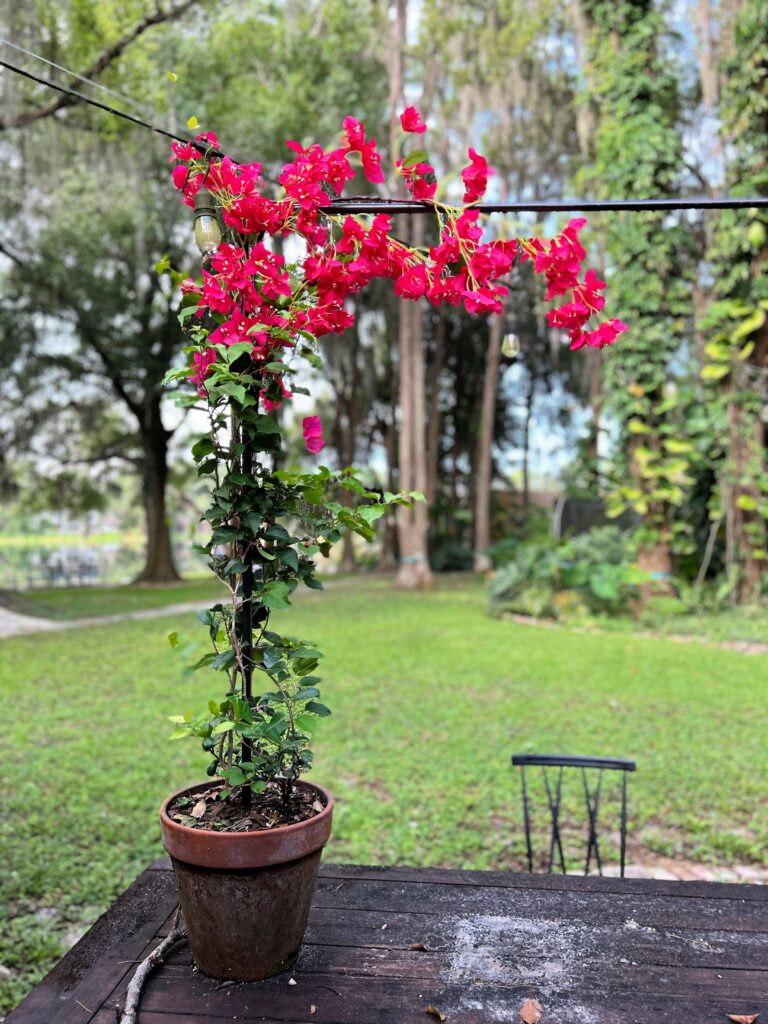
The bougainvillea has blossomed and I’m hoping that by next summer my trellis will be covered with foliage.
The video below will explain each step to this project in full detail…
