These DIY interior shutters are a sleeper. They are quick, cheap, and so effective. Which can’t be said about many DIY projects.
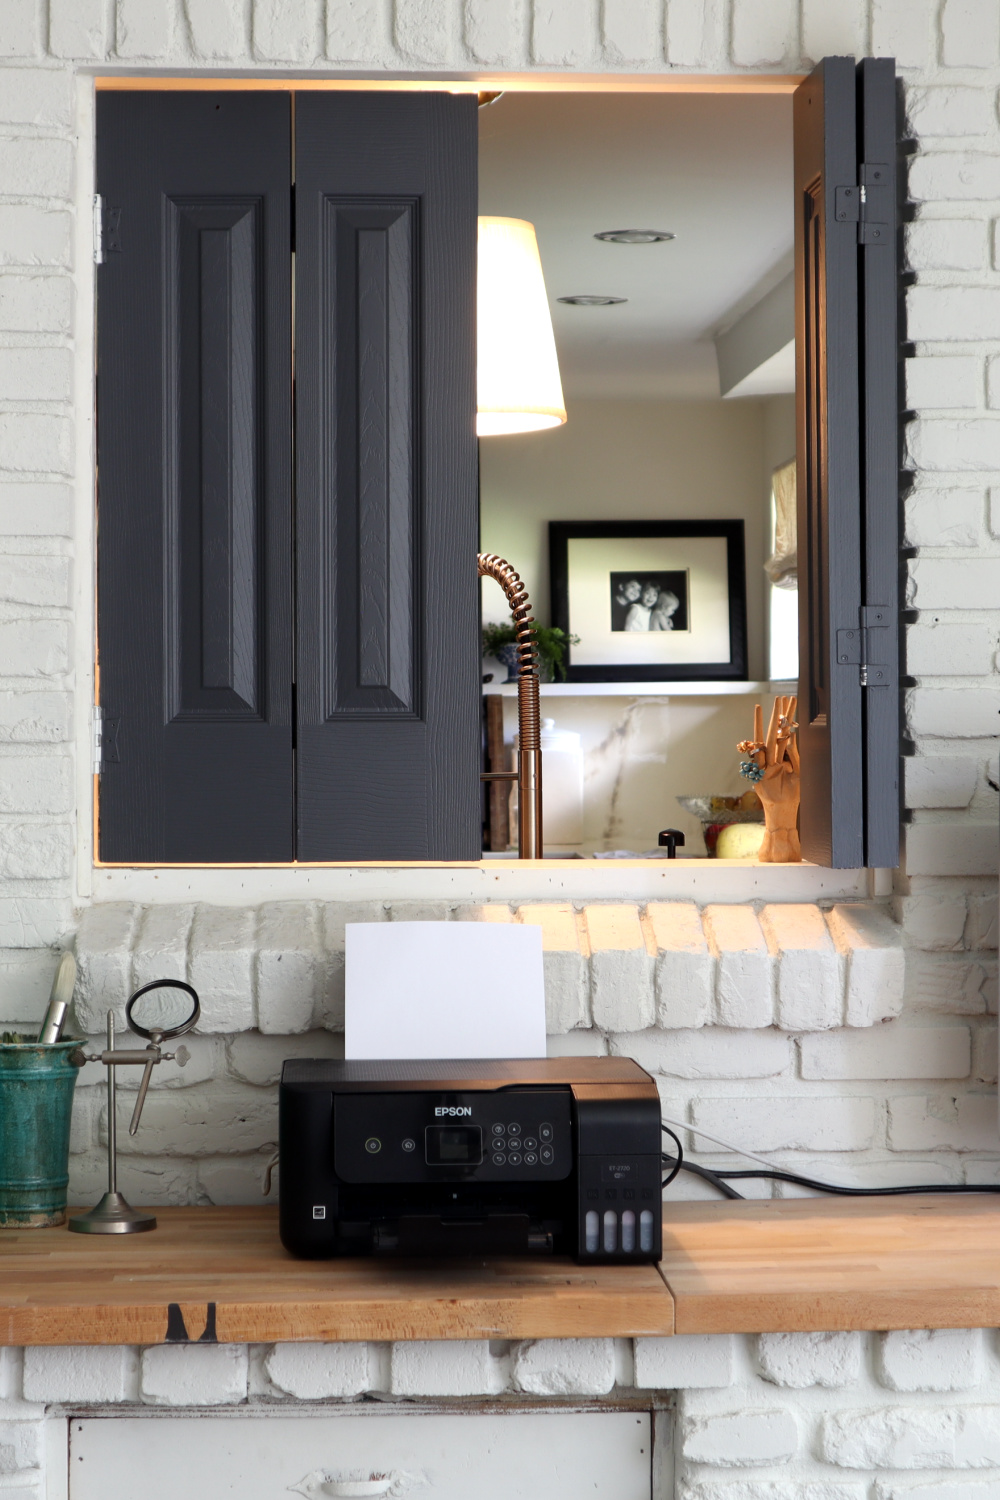 During quarantine, when my family was Zooming in every corner of my house, we needed a little privacy and separation at times, not to mention the quarantine kitty we took in that needed some separation of her own, so I had to get creative. As did most of you…
The window pictured above is between my kitchen and my sewing room. And my kitchen is open to the rest of my house(which I mostly love). My husband teaches piano, and during quarantine he taught all his lessons online, right from the piano in our living room. So, during lesson times, I had to find a way to keep things quiet for him. Initially, I stuffed a piece of foam insulation in the window to quiet my sewing machine. But the eyesore of the insulation quickly got old.
When I was browsing my local Habitat for humanity I spotted a set of bifold closet doors that looked to be the right size for my window opening. I took the measurement and auspiciously they were the right size. They were marked $22. I thought that meant $22 for the set, unfortunately it was each. So I ended up putting the doors back because I felt $44 was too much. Well, after looking into it further, I realized $44 was half retail price, so I went back for the doors.
The Habitat is fortuitously located only about a mile from my daughters cheer gym. So for one and a half glorious hours per week, I get the privilege of rummaging around the thrift uninterrupted. Highlight of my week!
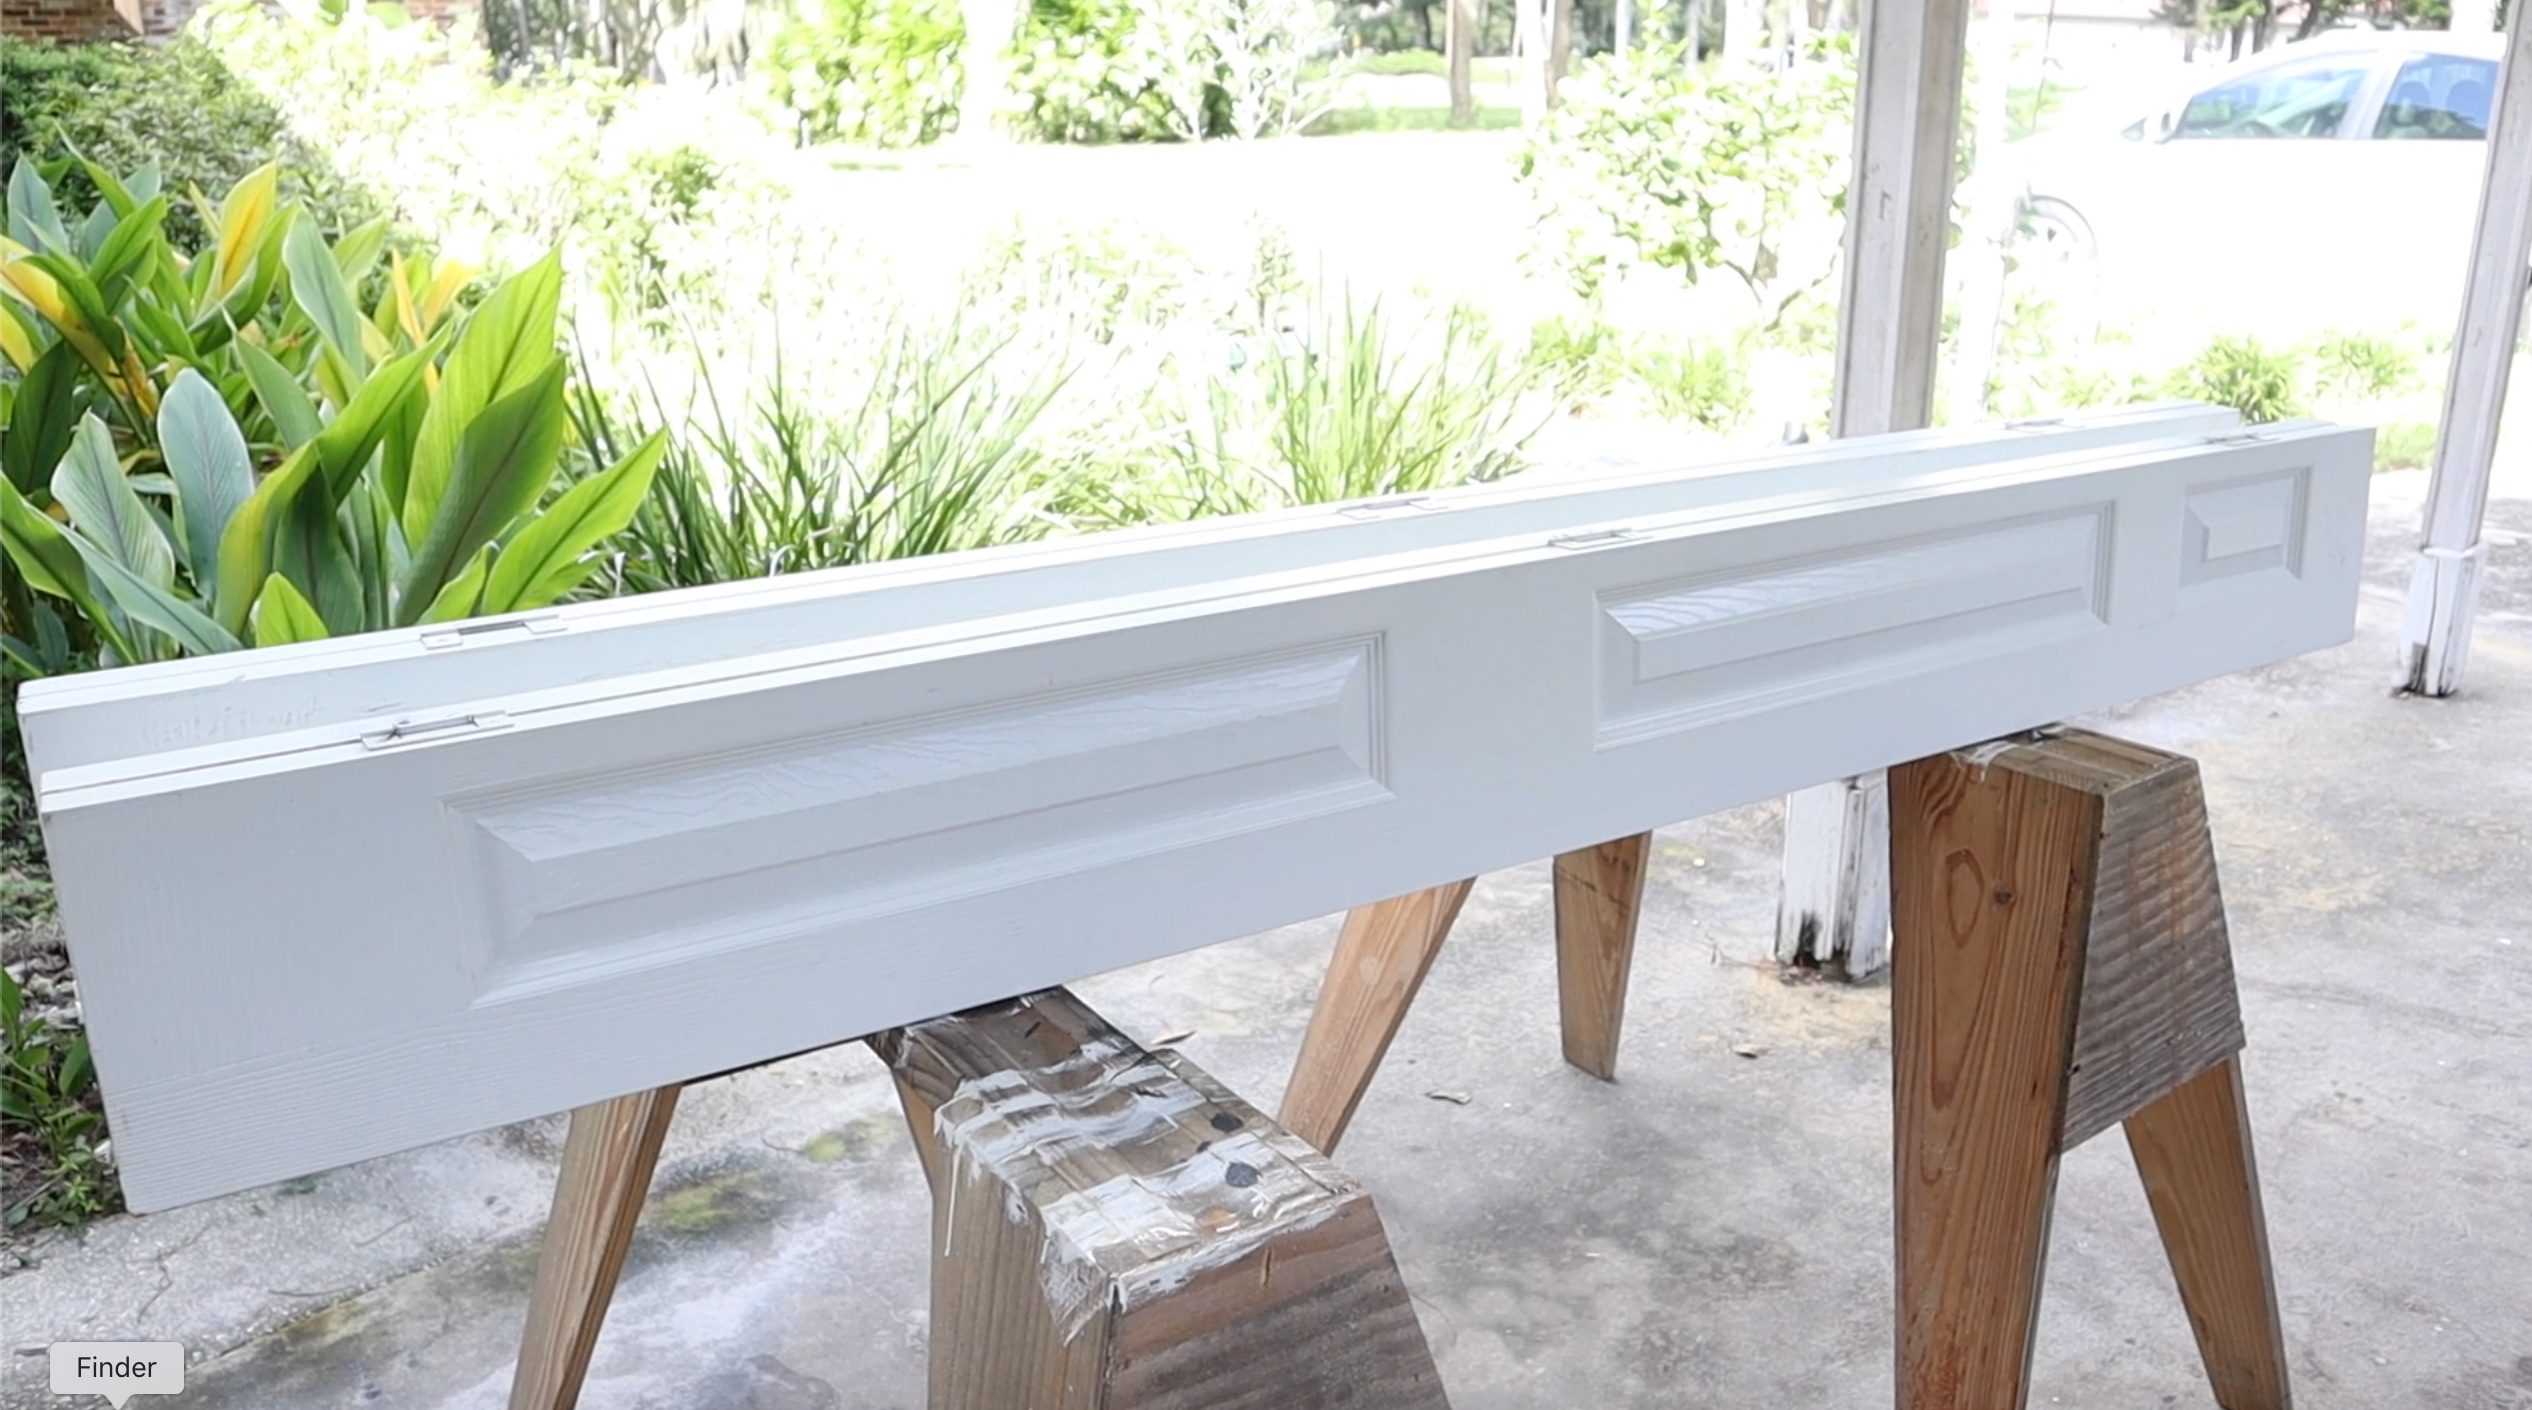 Since my window is 36″ wide, these 9″ doors are the perfect size for the opening. I just need to cut the length in half and cut the width slightly to account for the hinge dimension.
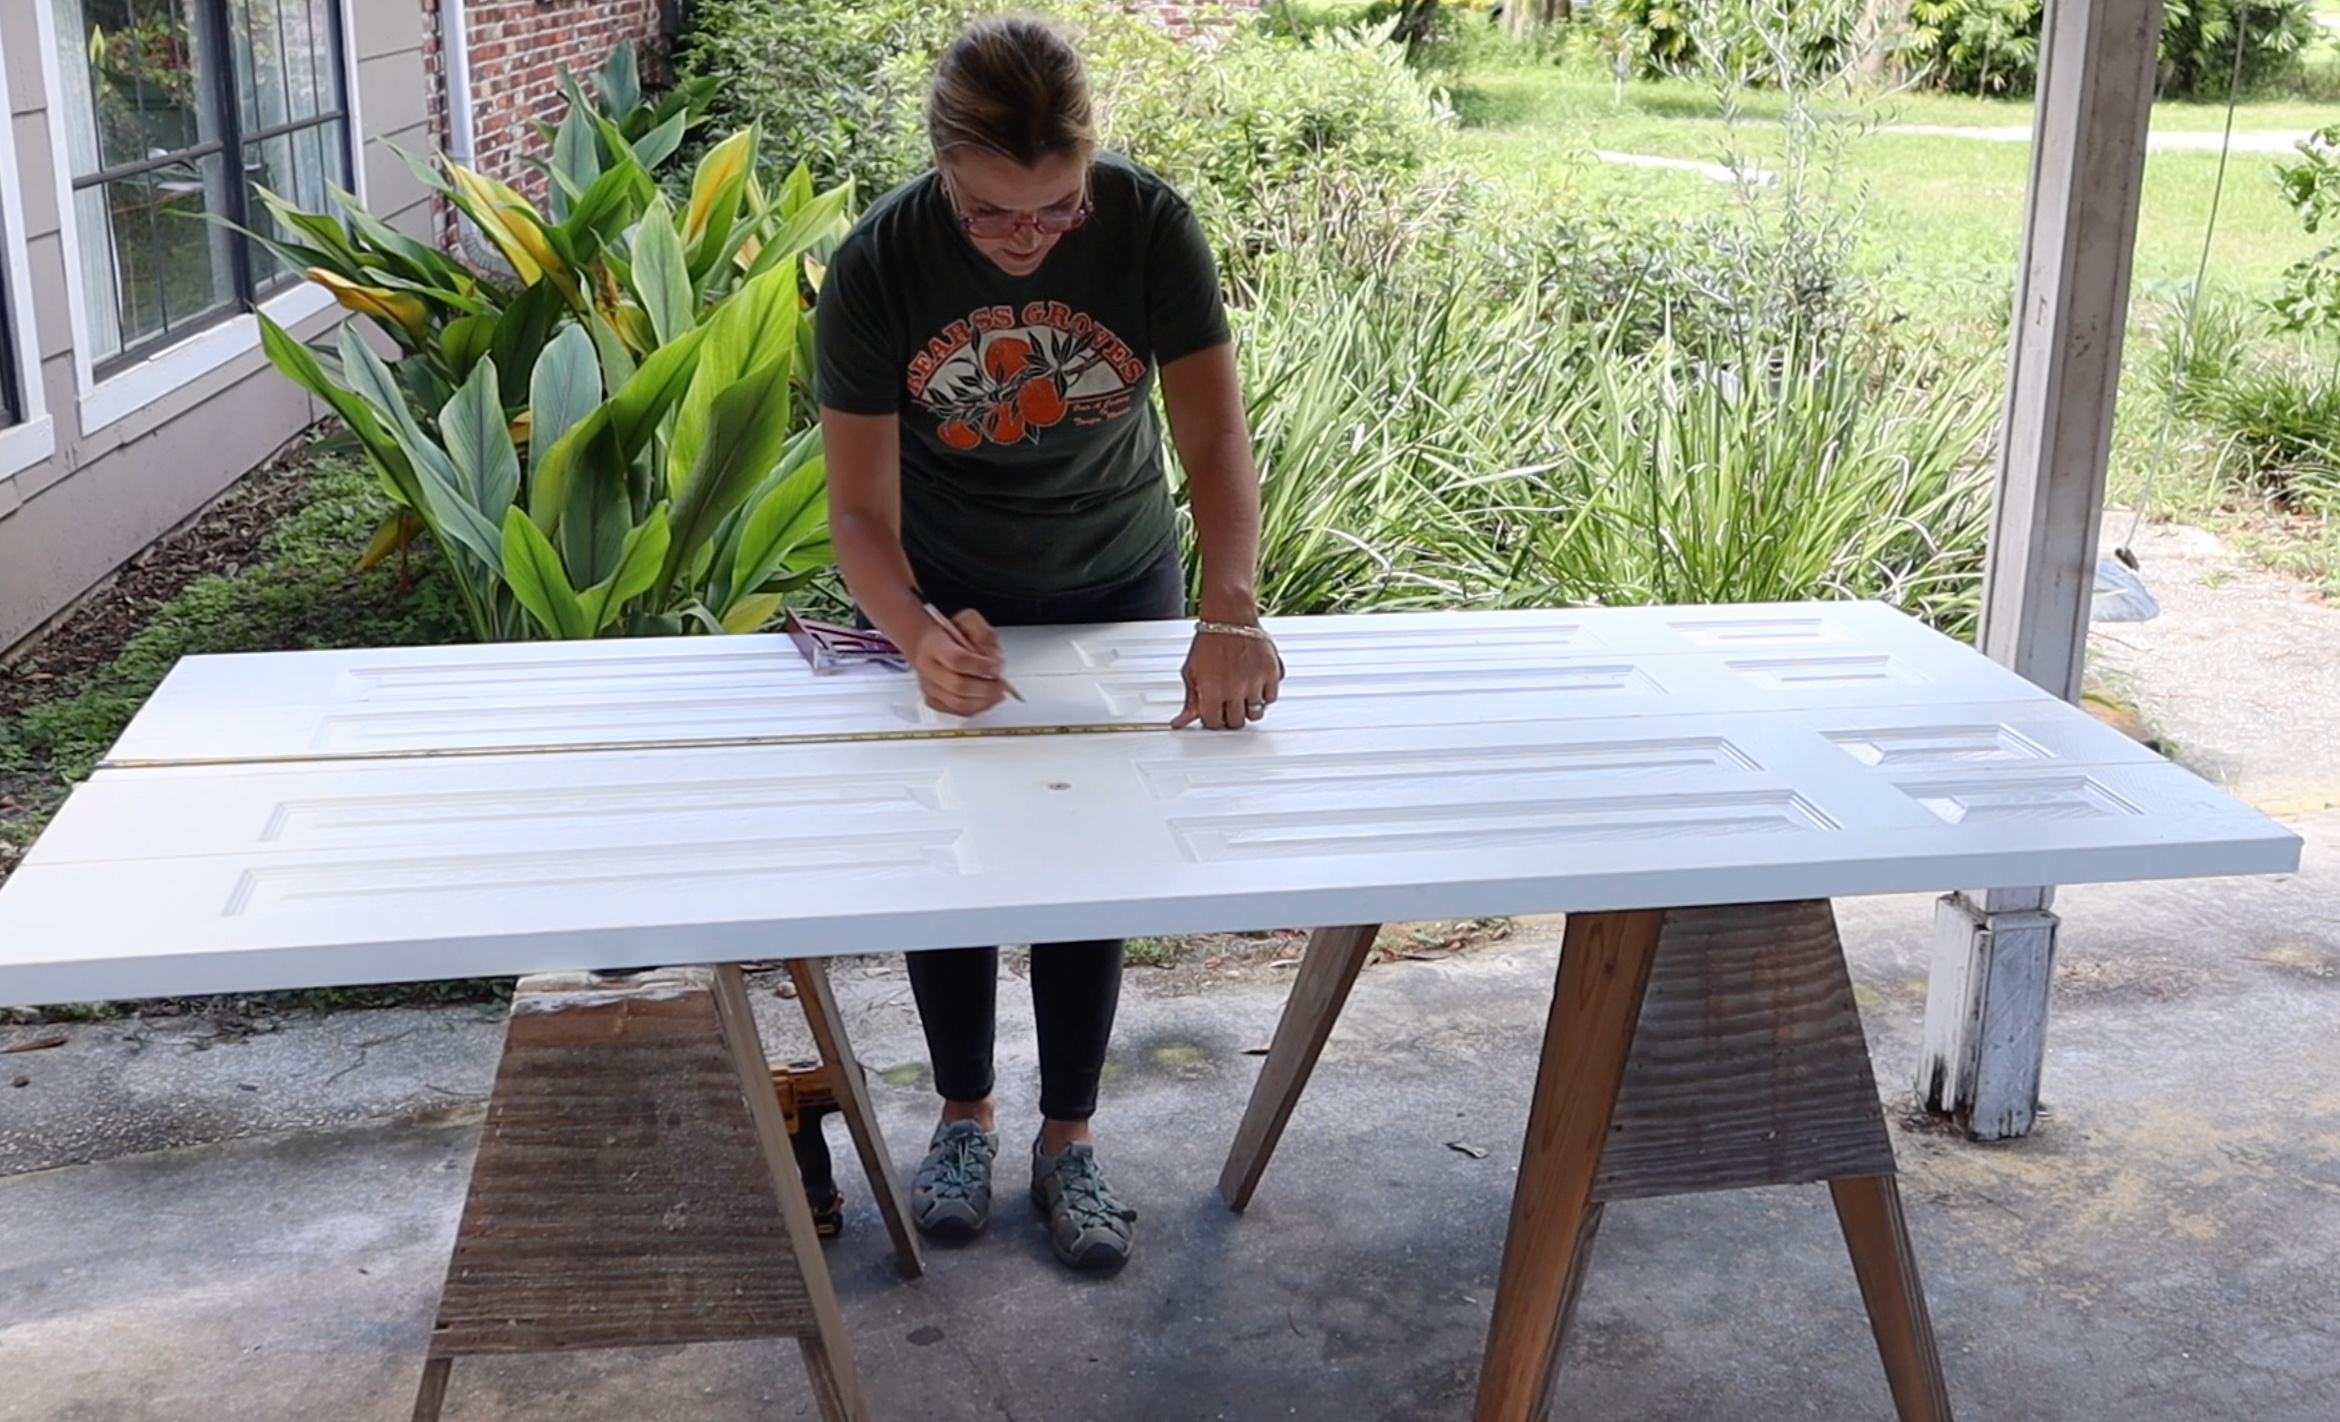 Cutting the doors in between the panel insets is the key to success of this project. So the first thing you want to measure is the top to bottom dimension of your window opening and make sure your cut won’t land in the middle of one of the panel insets. Mine ended up right between the insets, thankfully.
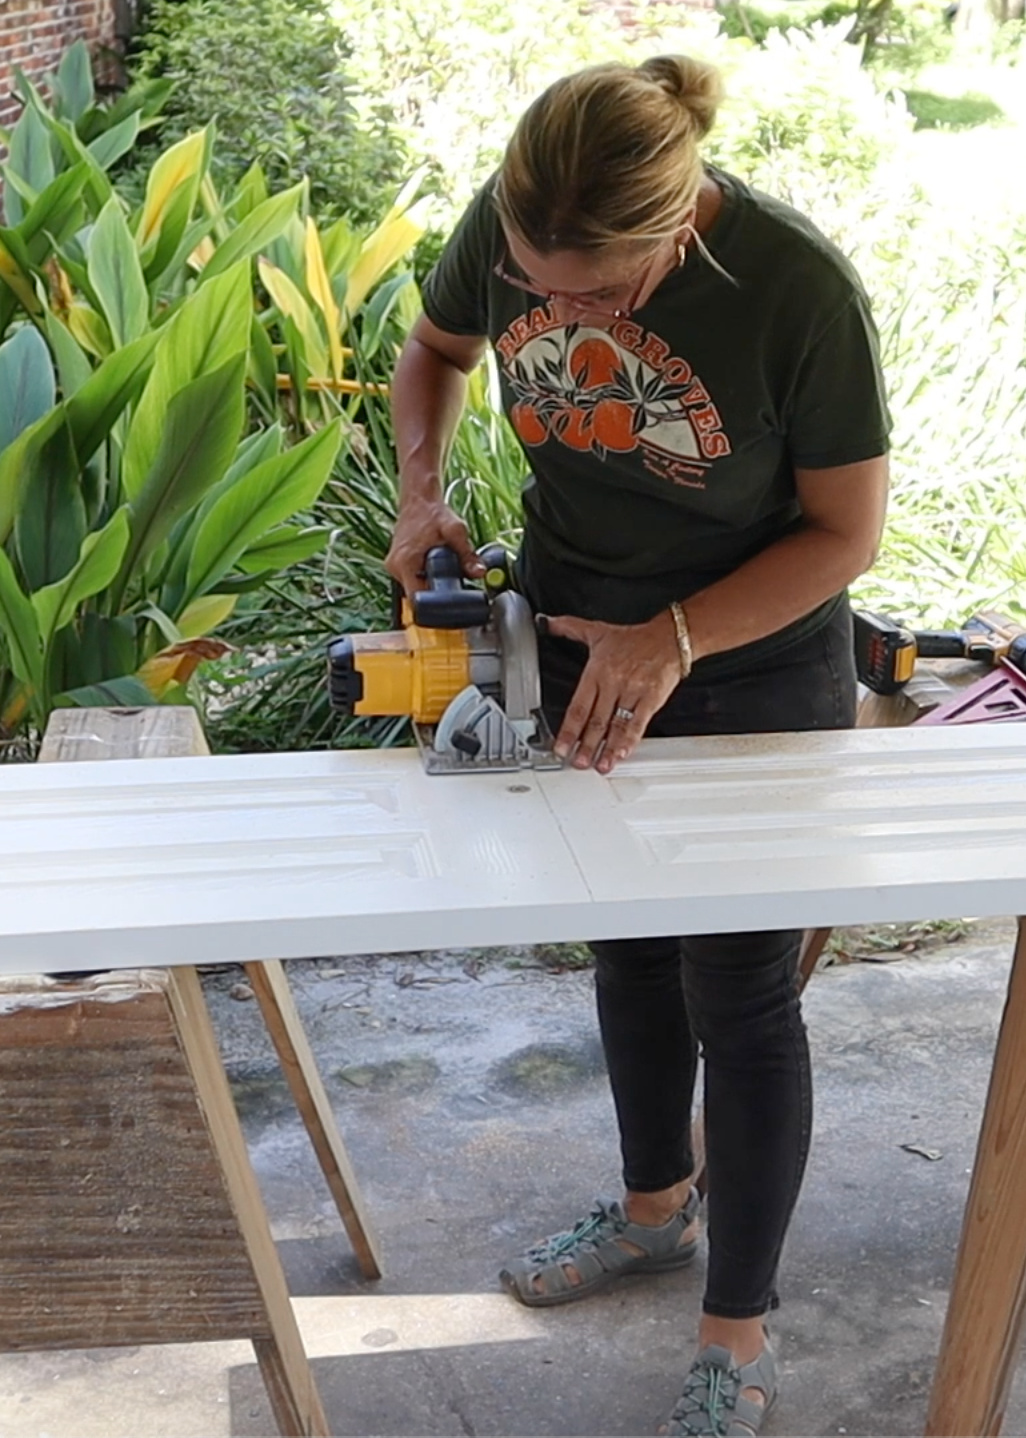 The cut is really easy because the doors are hollow core. The edges are the only place where there’s solid wood, so you can use any kind of saw for this project. A circular saw is certainly the easiest, but you can also use a jigsaw or even a manual hand saw.
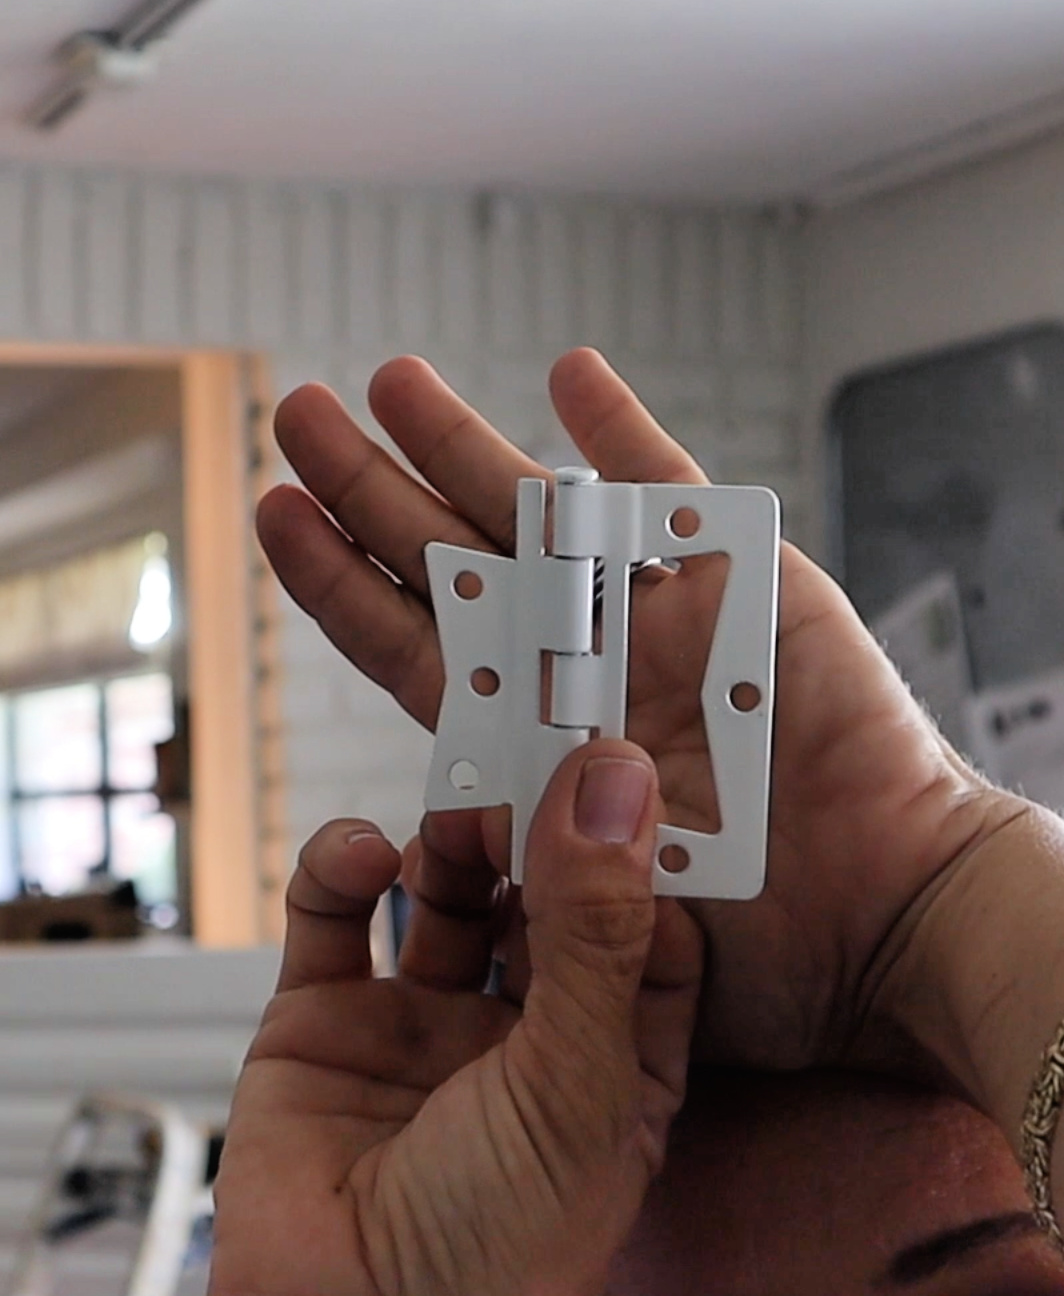 The hinges are important also. They need to be able to open completely flat so the shutters can accordion style fold to each side of the window.
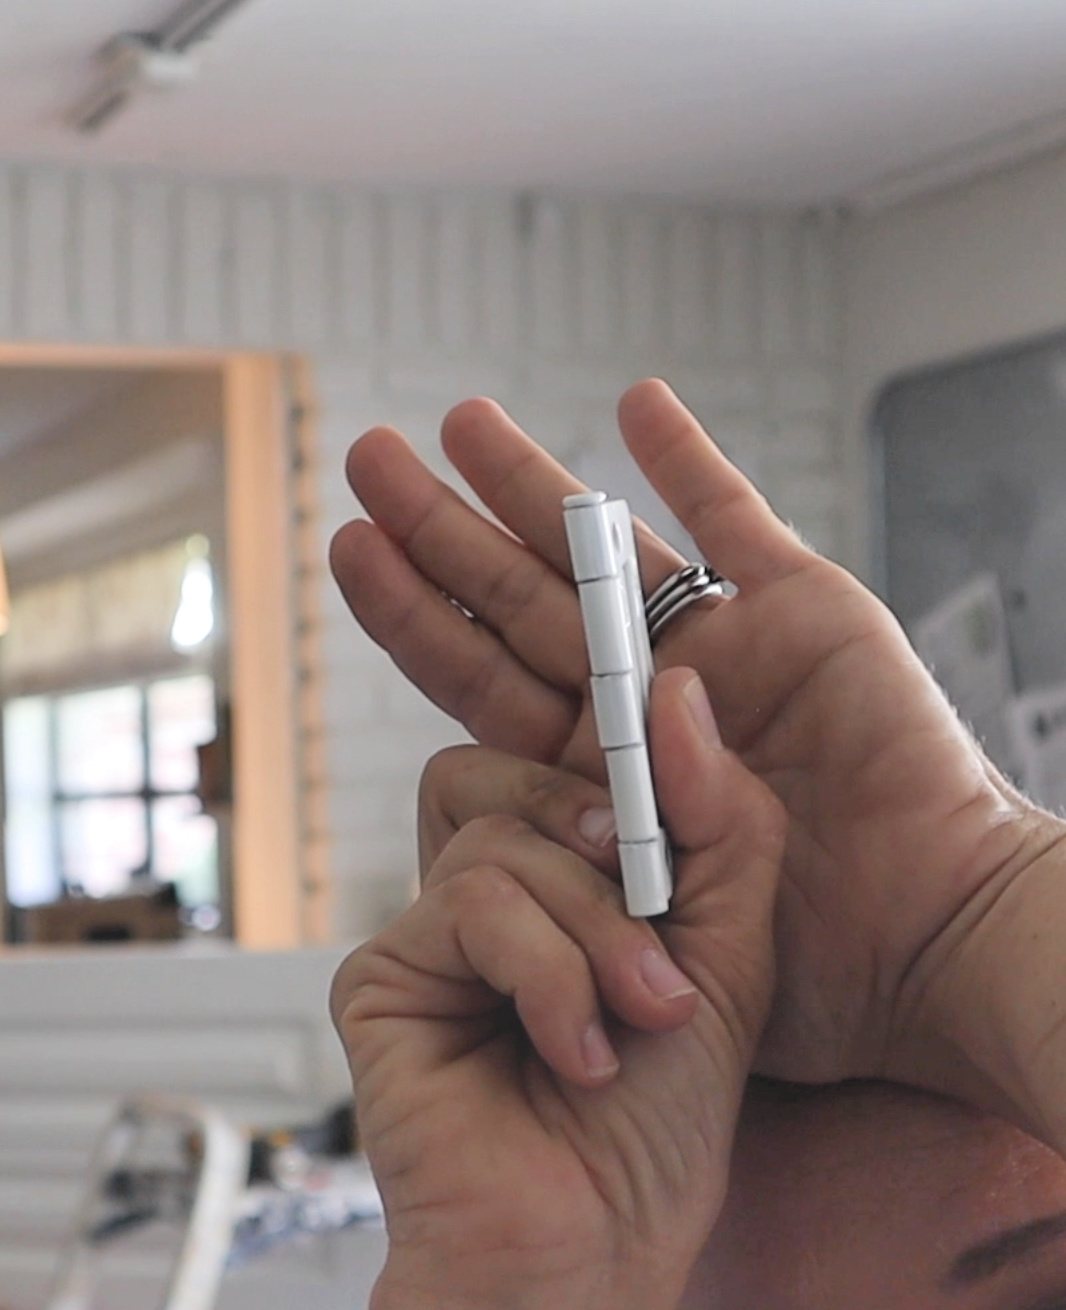 Like so…
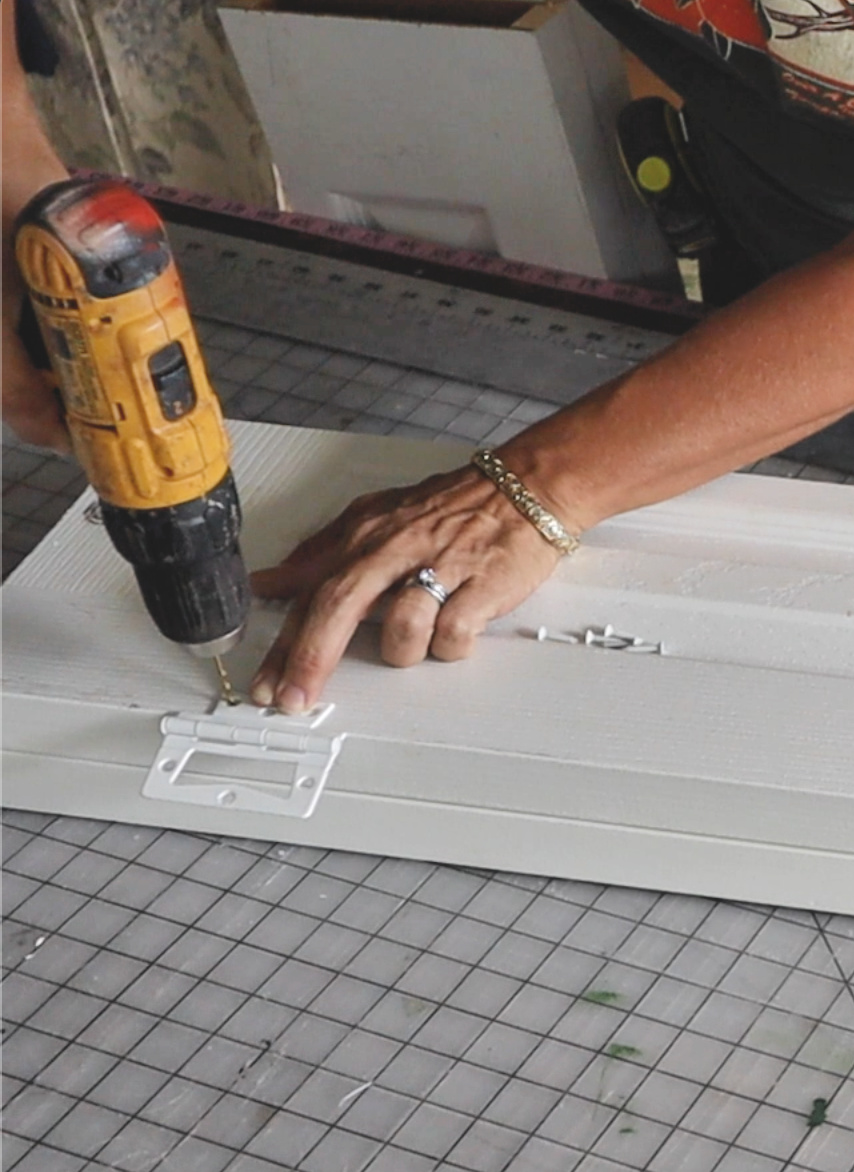 This style of hinge has to be installed on the face of the shutter(bifold door) so that it’ll open completely. I wasn’t happy about this at first, because I wanted the hinges to completely disappear. However, when I painted the shutters I painted the part of the hinge on the face of the door and it pretty much disappeared.
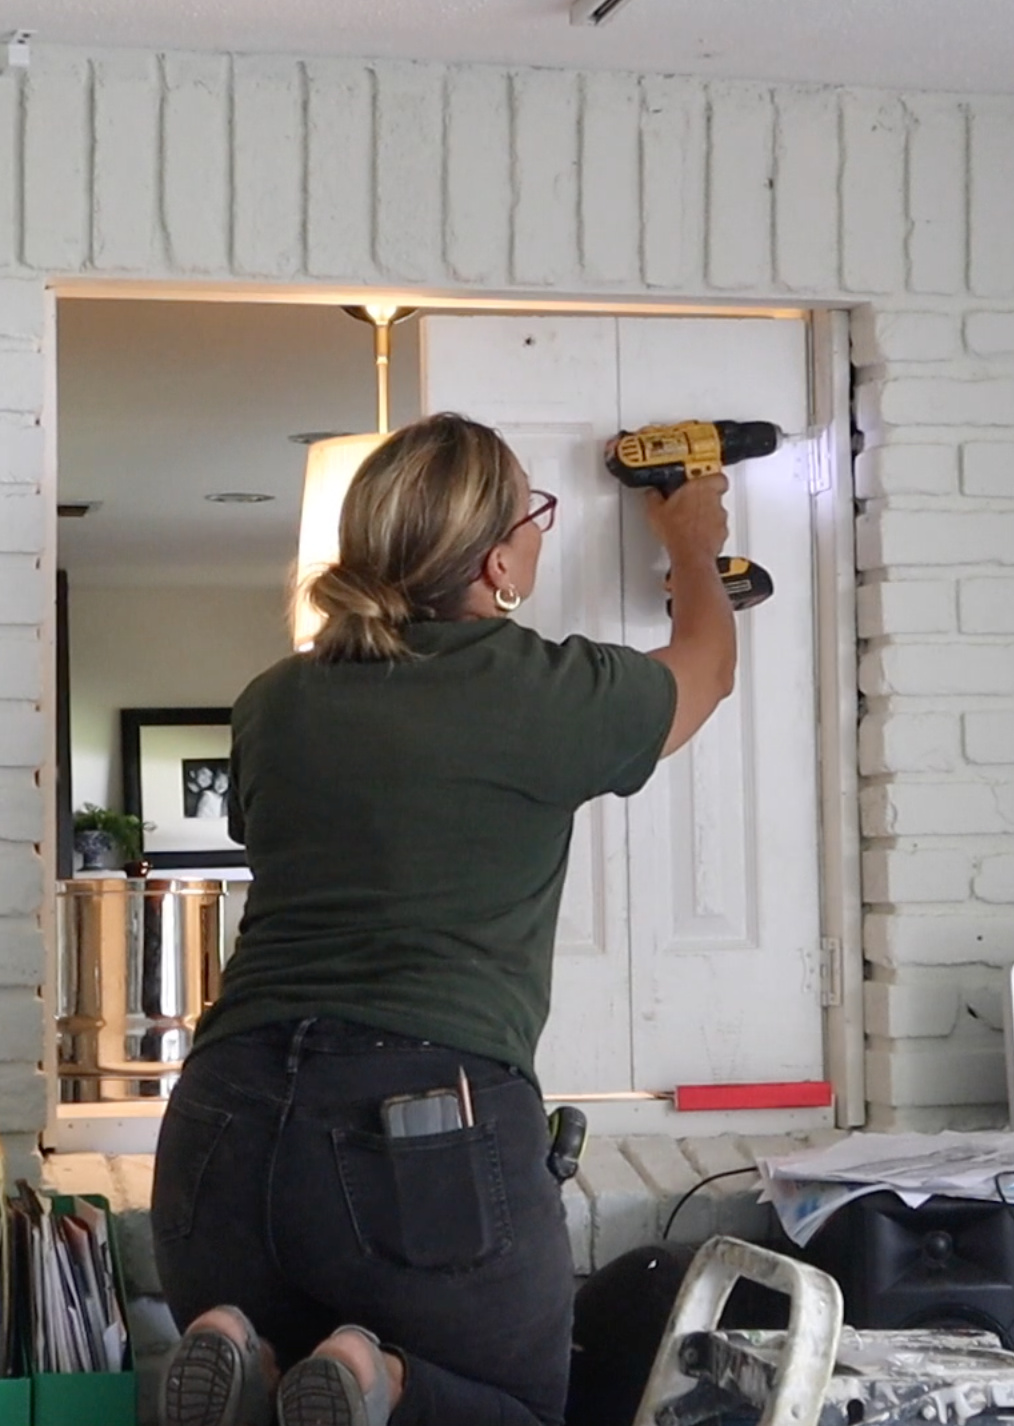 I hung my doors, and low and behold, they would NOT close completely flat. The hinges took up a little more space than I anticipated, and they overlapped in the center. bummer…
I marked the overlap with a pencil, took the shutters down, and cut off 1/2″ on the center of each of the doors.
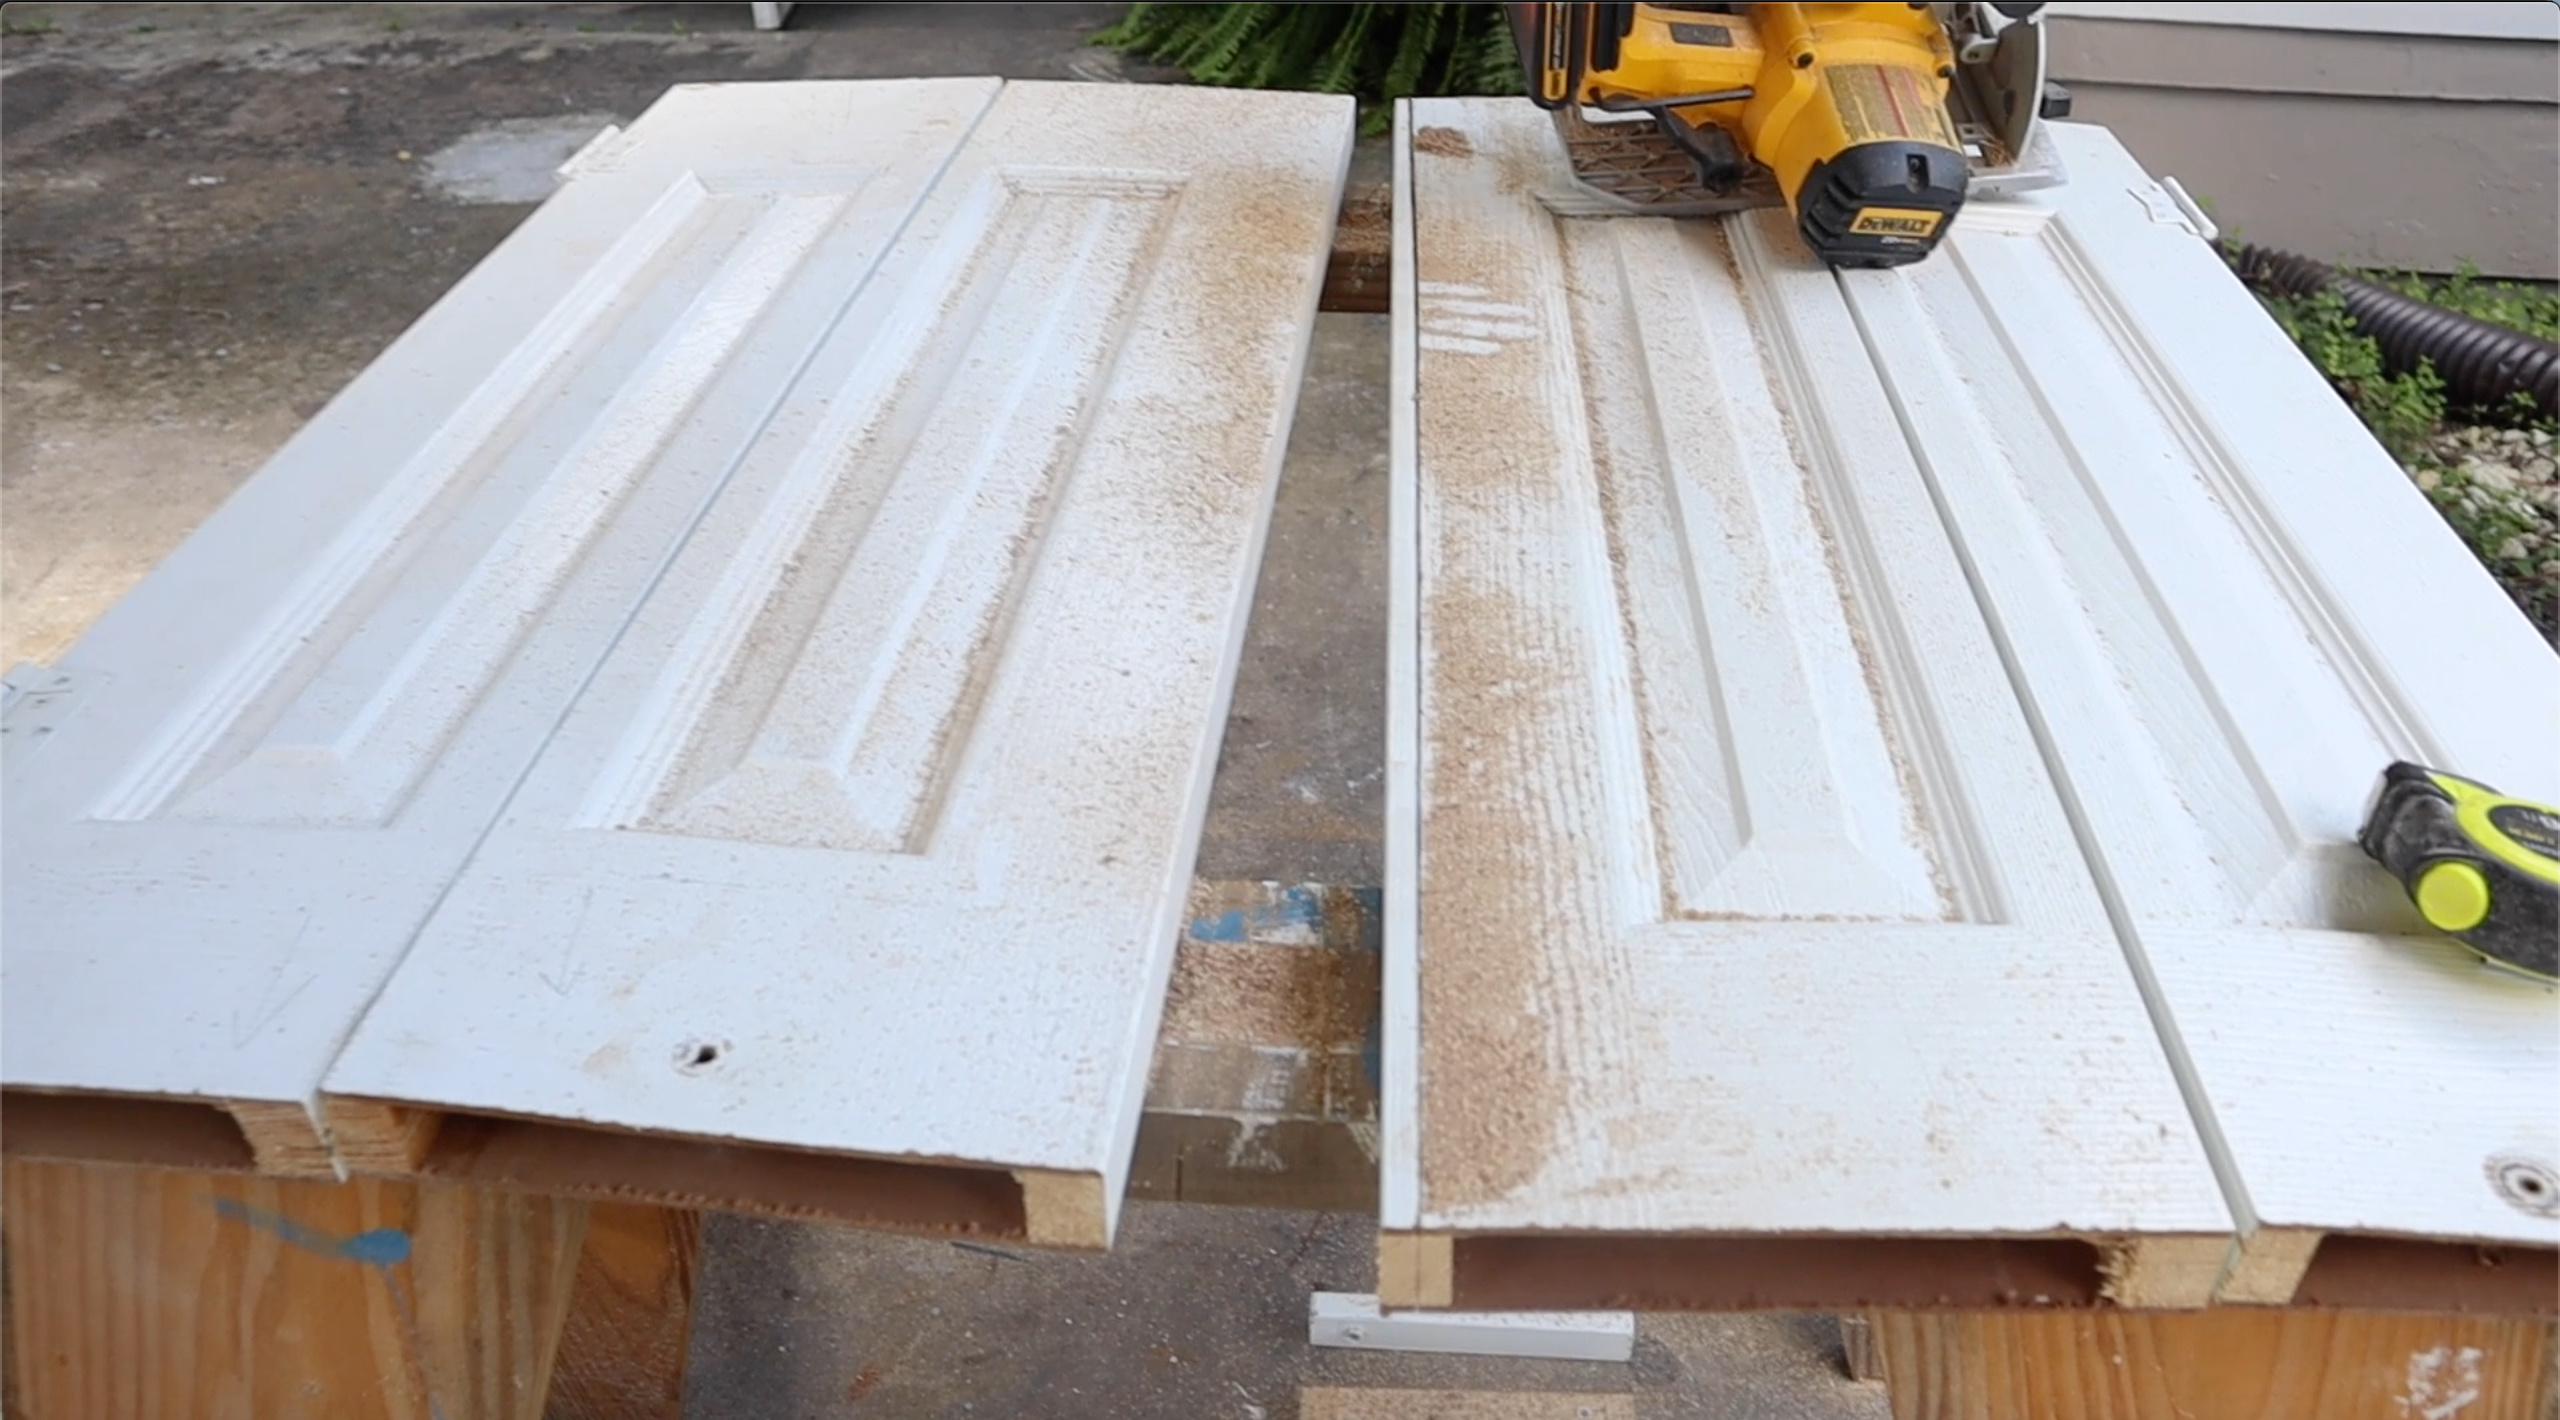 Fortunately I only had to remove 1/2″ because the piece of wood inside the door is only about one inch thick and anymore would have left my edge hollow. Then I would’ve had to replace that piece of wood.
I re-hung my doors and voila, they fit like a glove.
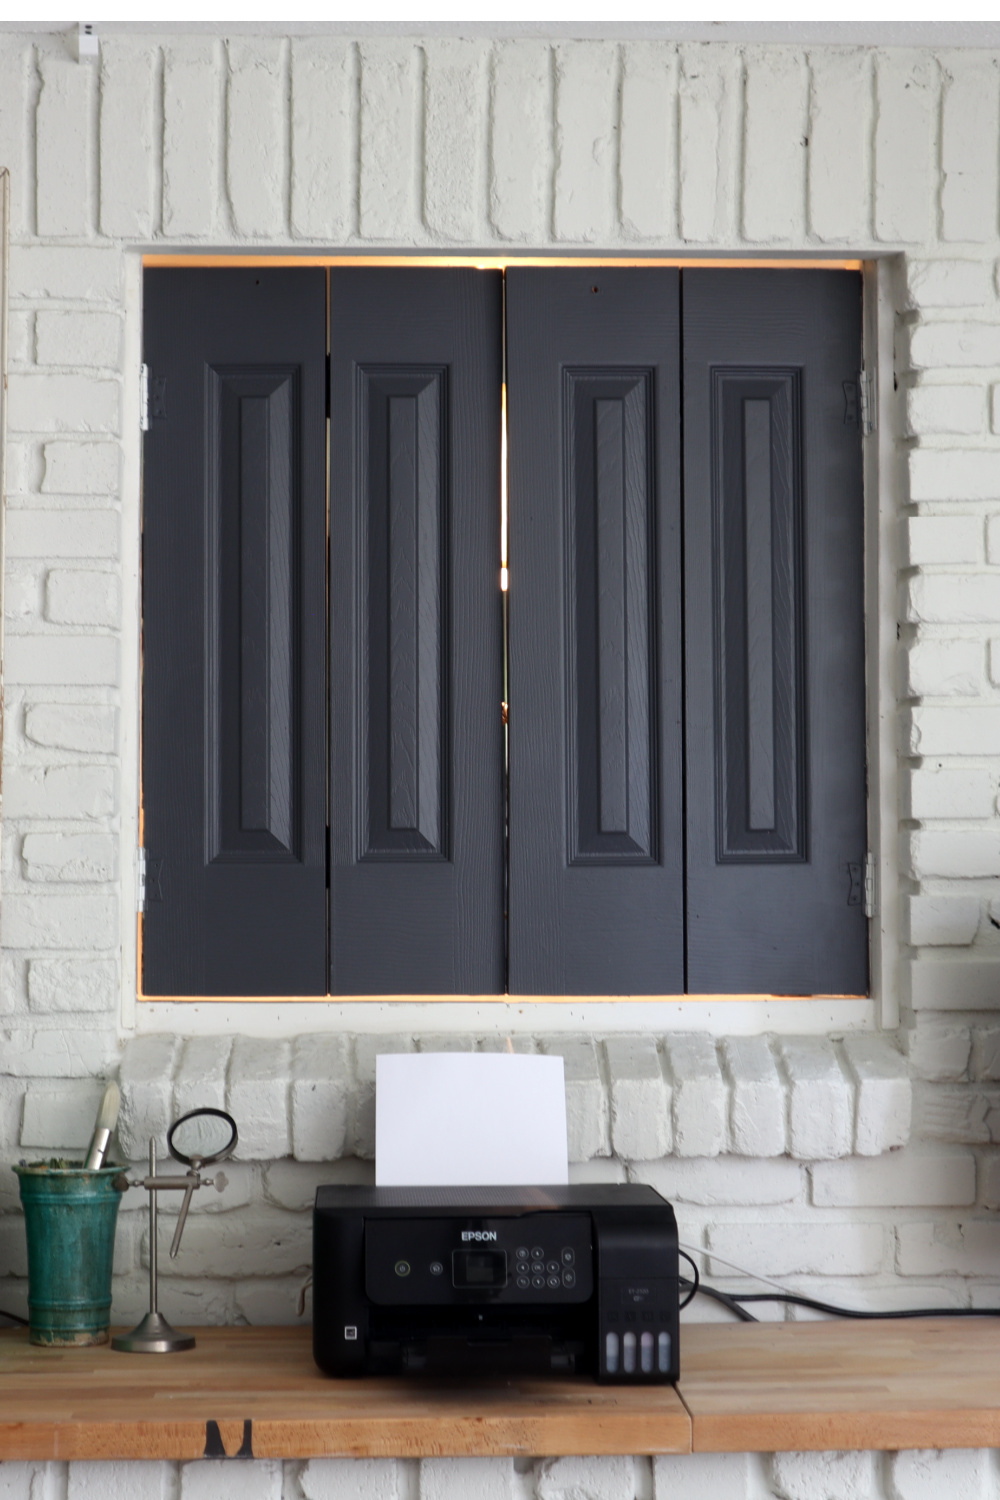 I then sanded and painted the shutters. I painted the shutters same color as my kitchen cabinets, and the shutters look lovely from both sides.
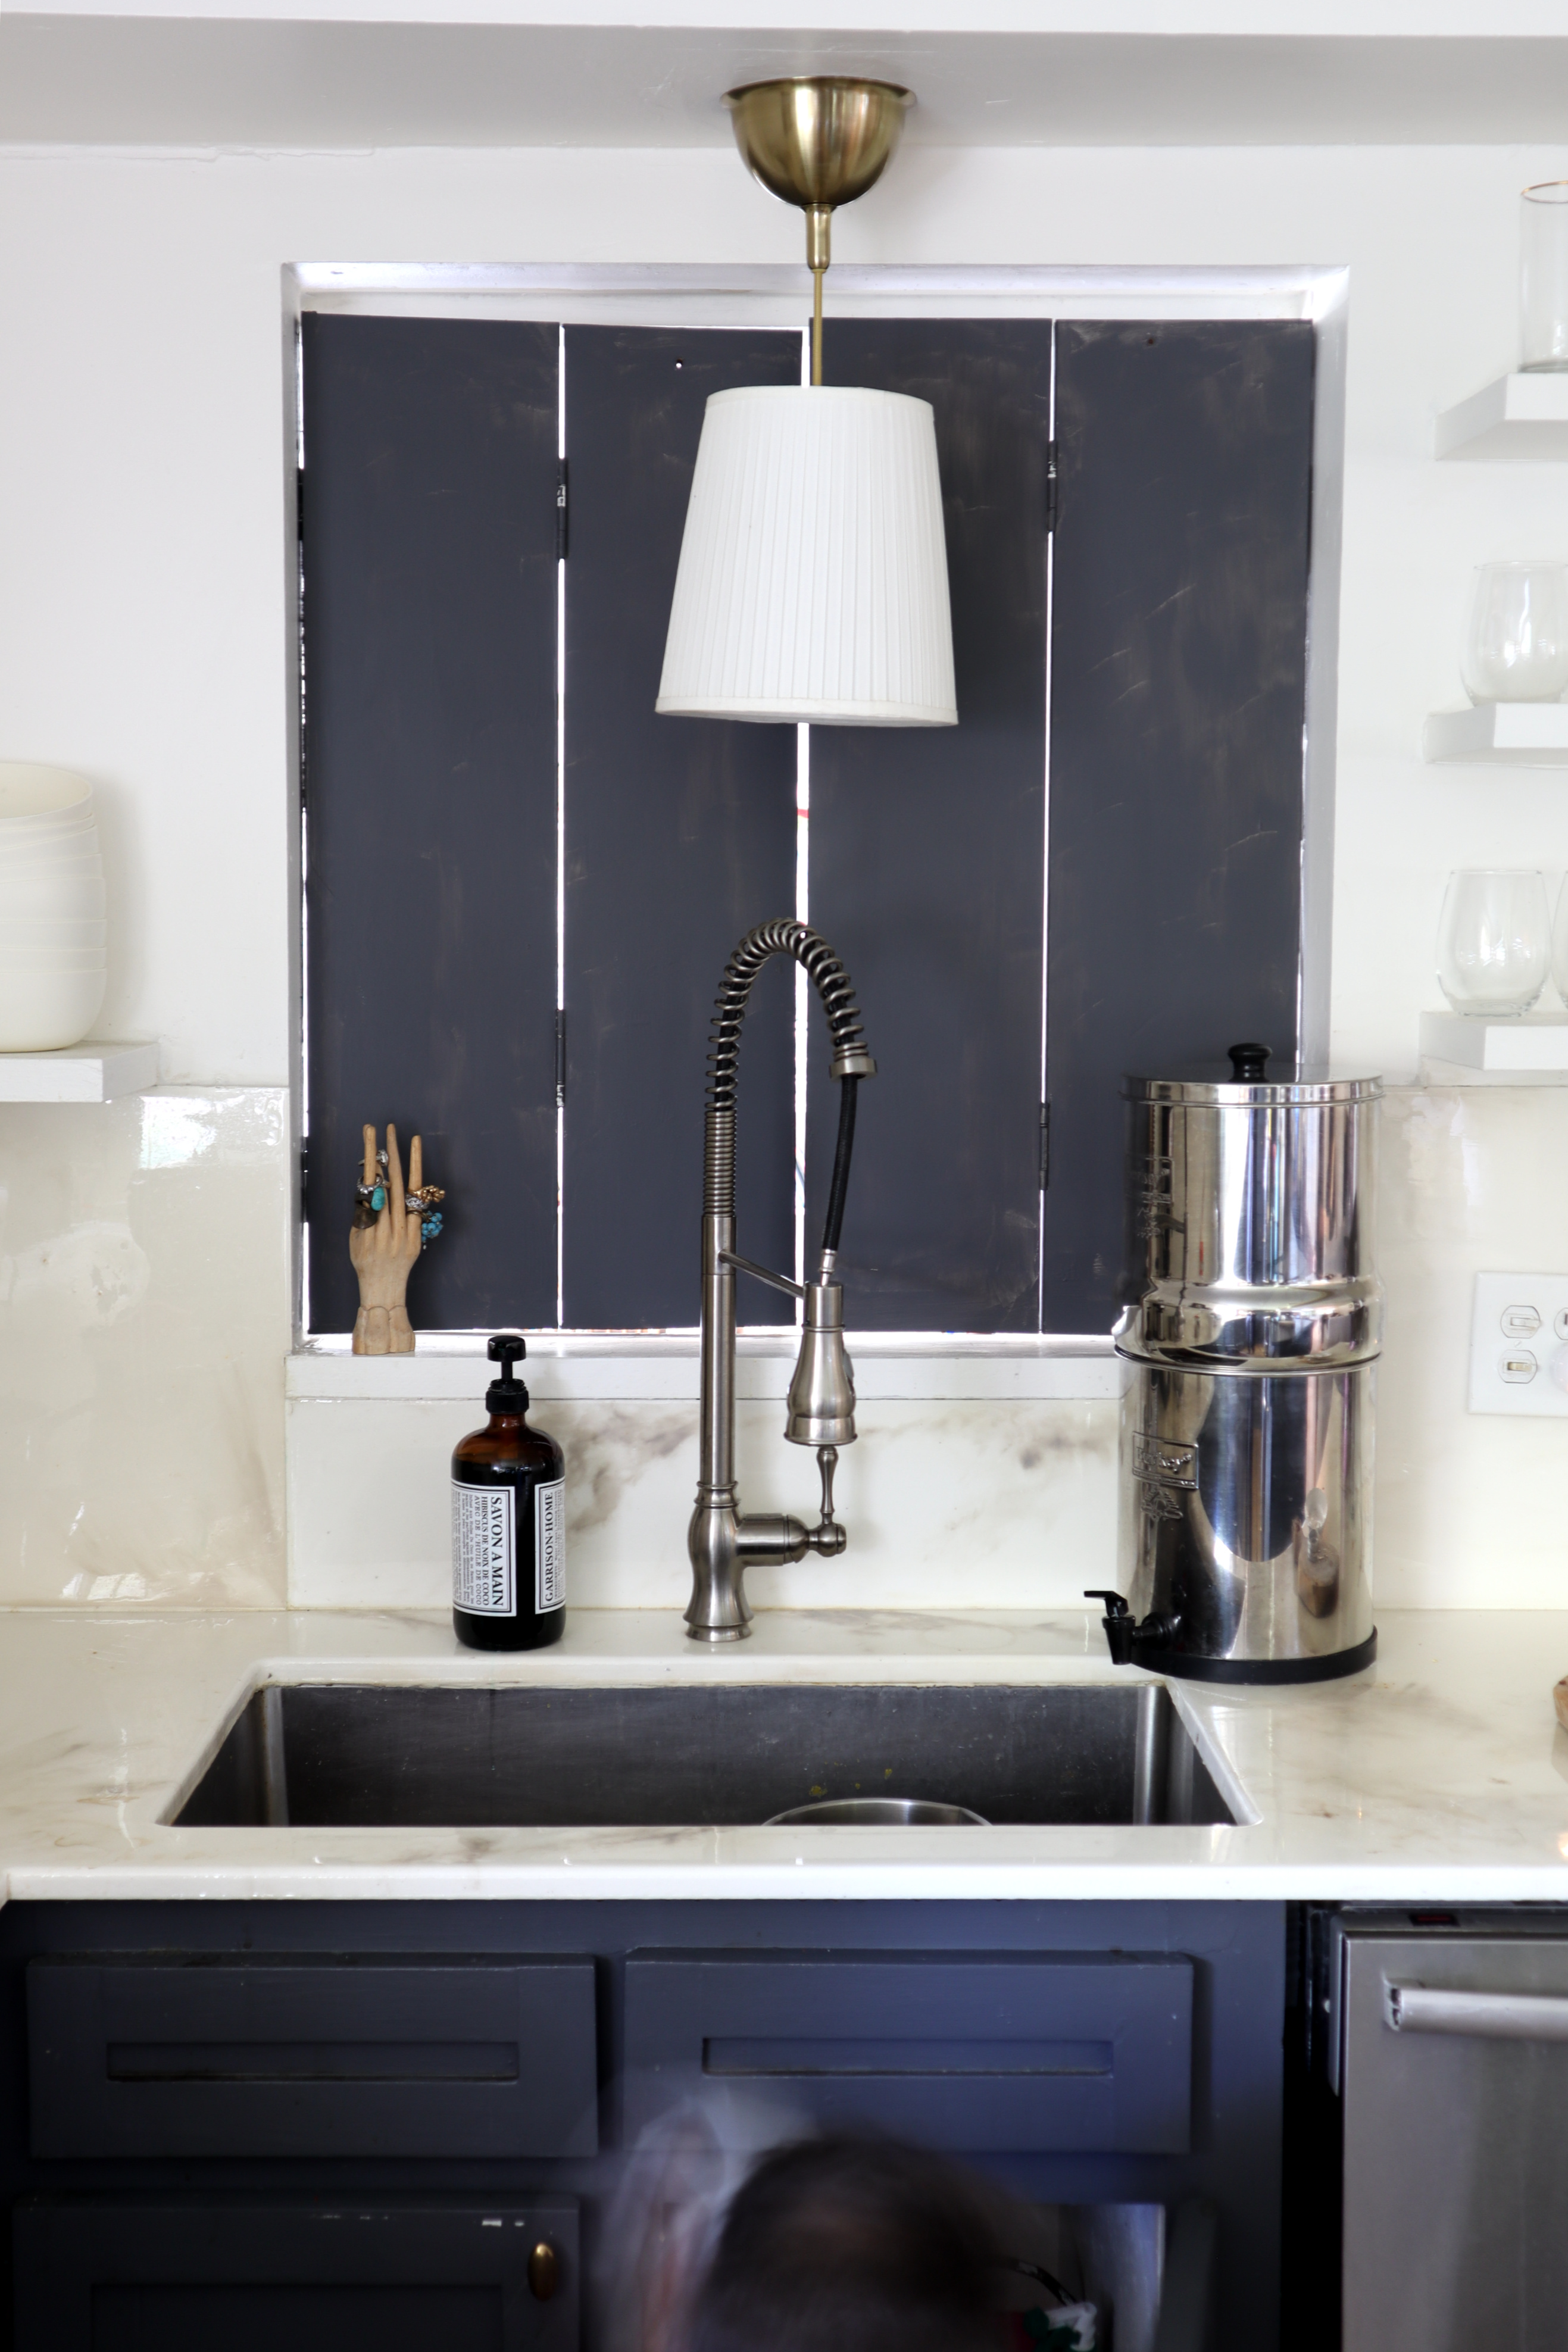 The kitchen side still needs another coat of paint. And I need to figure out a way to lock the shutters or possibly put a magnet on the inside edge to keep our quarantine cat from pushing them open. They’re great for muffling sounds between the rooms and they look soooooo much better than the piece of insulation I had stuck in there.
I’m in love with my new interior shutters. I made a video tutorial that shows this process in more detail below.
