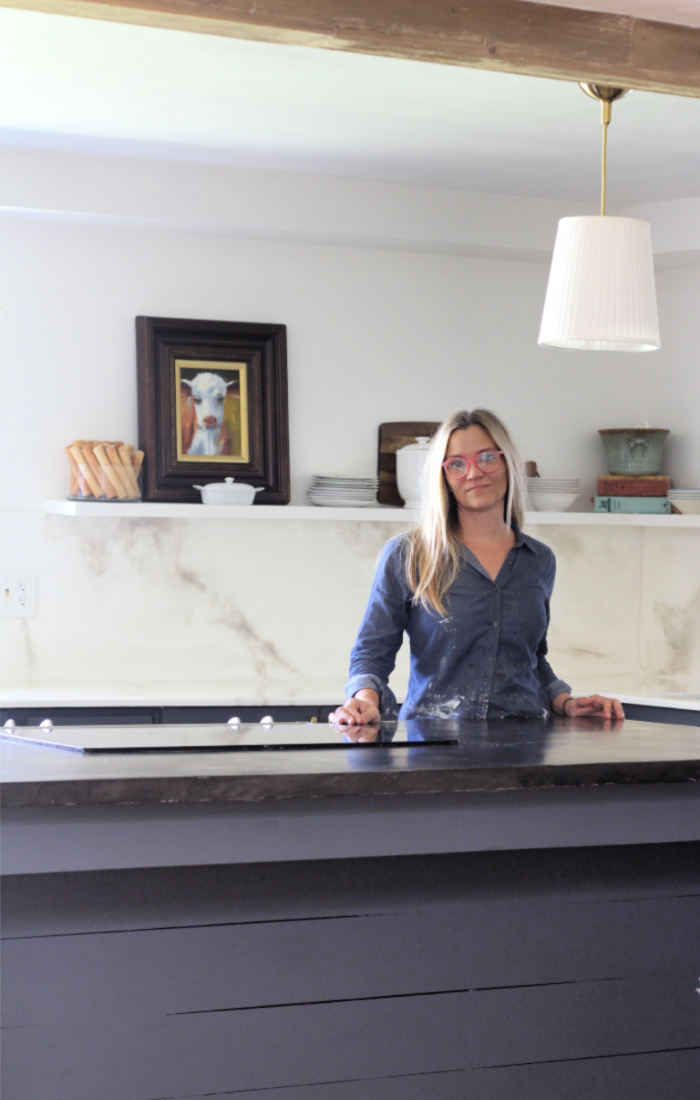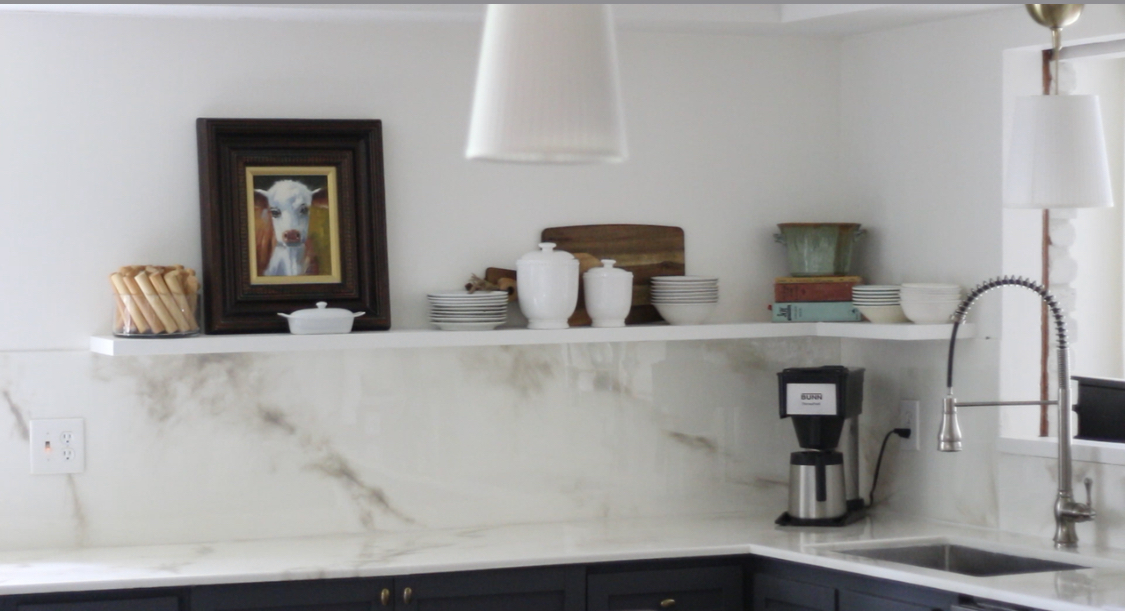
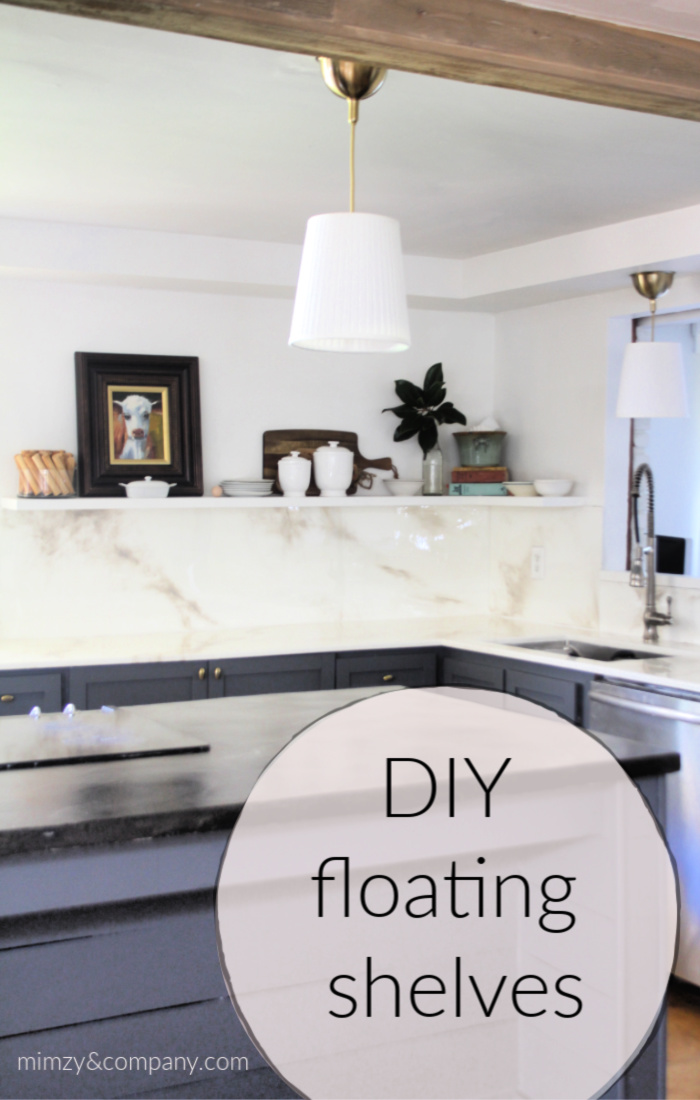
This floating shelf method is so easy, cheap and sturdy you won’t believe it! I first installed these floating shelves in my kitchen 10 years ago right after we bought this house. And boy Oh boy have we put them to the test. I have to admit, when I first installed the shelves I wasn’t confident they would hold all the weight I wanted to load on them. But over the years we’ve really put these things to the test, and they have proven doggedly sturdy. So sturdy, that when I attempted to take them down during this most recent kitchen refresh, I had to cut the shelf off the wall with my reciprocating saw.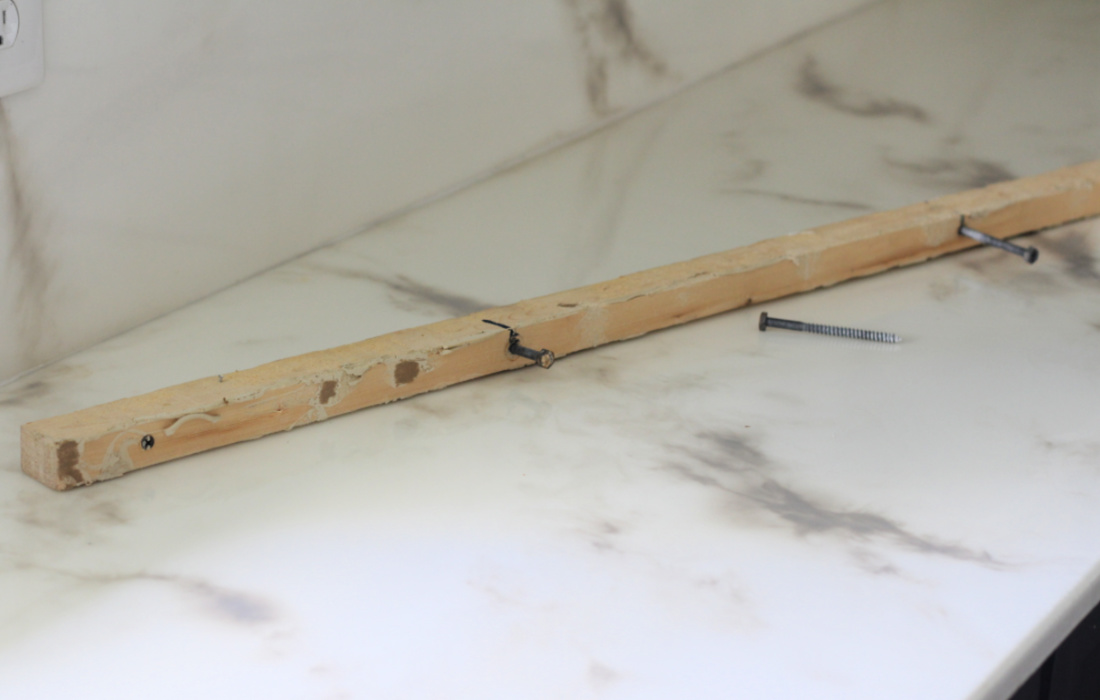 1. The first step to this method is cut a 2×4 into a 1×2. I used my jigsaw for this because I didn’t have a circular saw at the time. So it obviously doesn’t need to be perfect, but it does need to be a true 1 inch by 2 inch board. You CANNOT buy a 1×2 off the shelf at Home Depot because those are actually 3/4 inch by 1 1/2 inch. That won’t fit snugly inside the hollow core door.
2. Locate and mark your studs…you MUST secure this 1×2 cleat to the studs. Then transfer the markings from the wall to your 1×2 and drill holes big enough to accommodate your lag screws.
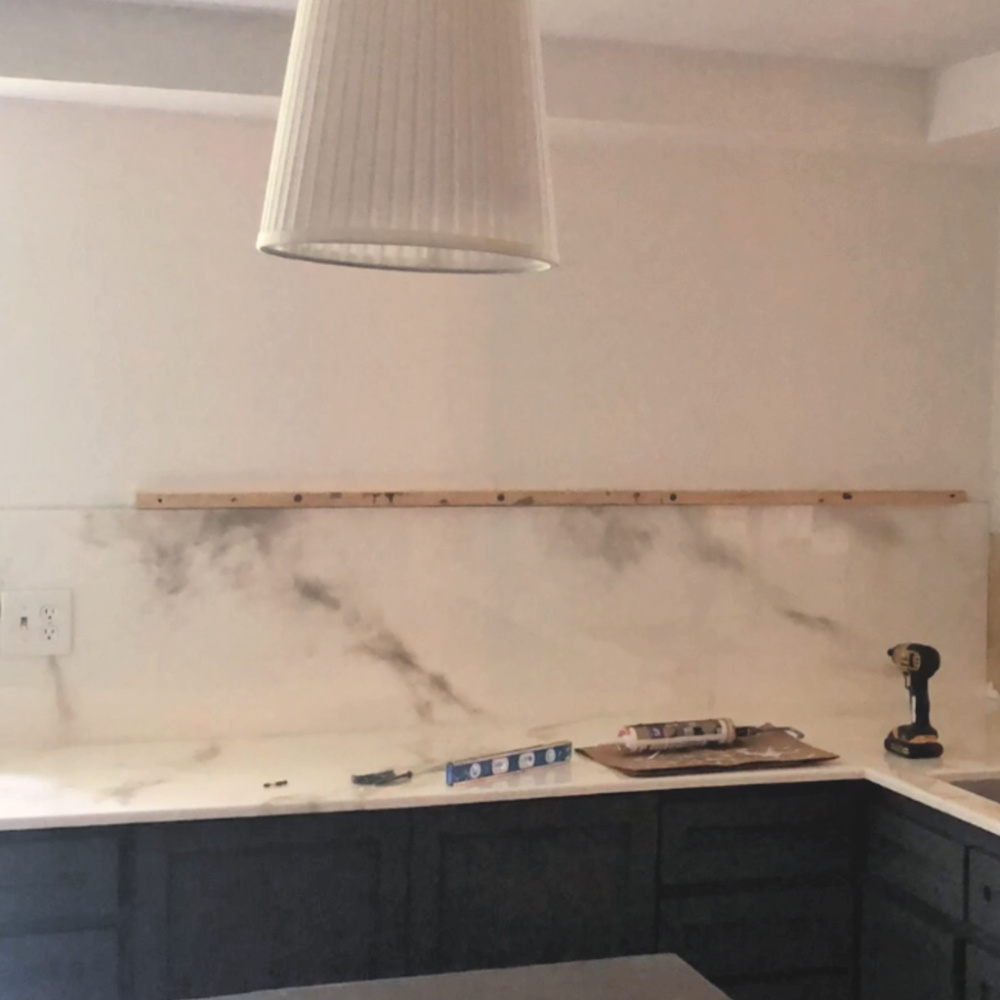 3. Fasten the 1×2 to the wall with the lag screws using your electric drill with a nut driver attachment. You could also use a wrench for this part it’ll just take a lot longer and require more elbow grease. I think this is the way I did it the first time…now I own a few more tools…thank God.
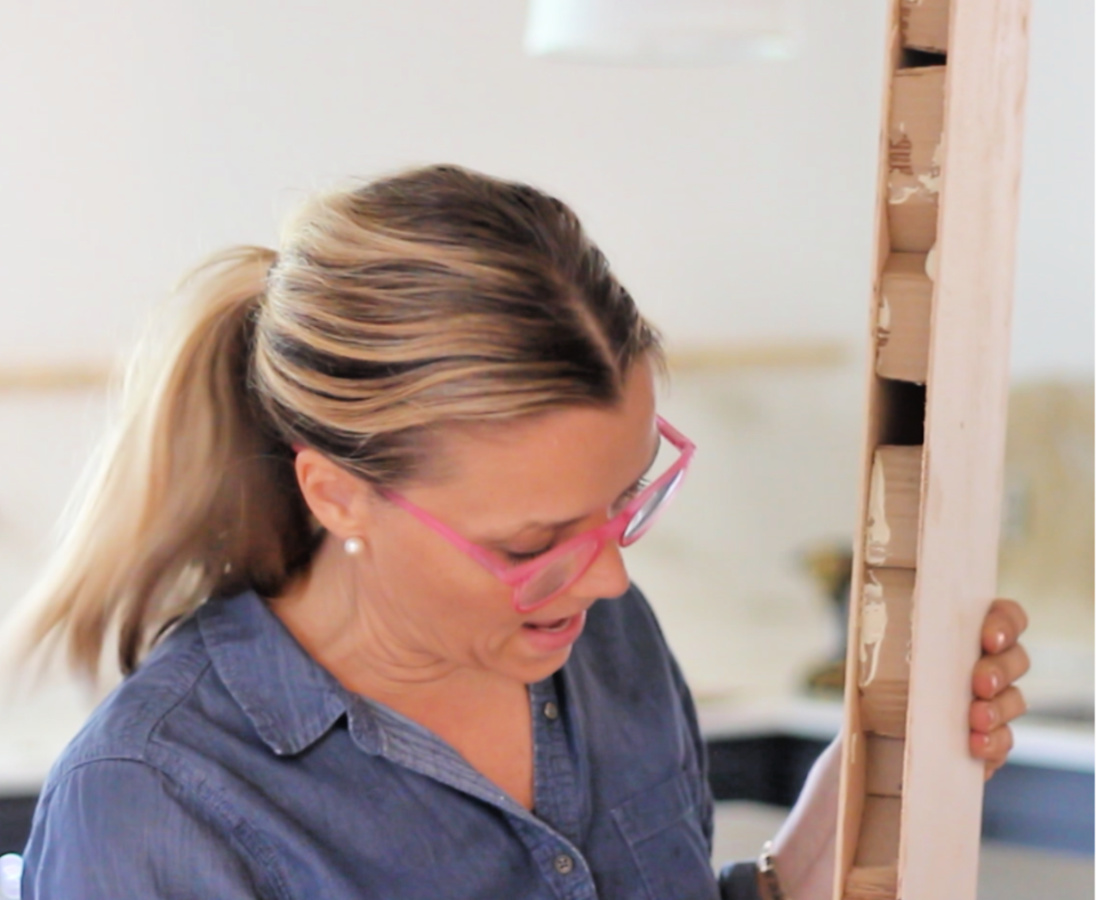 4. Next cut your door to your desired depth. Originally my shelves were 9″ deep, but this time they’re just under 8″ deep because I used the same shelves I had to cut off the walls. VERY IMPORTANT…floating shelves installed using this method CANNOT be deeper than 9″. Any deeper than 9″ will not be properly supported. So check to make sure the items you want to place on the shelves will fit on a 9″ or smaller shelf.
After you cut the door, push the cardboard deeper into the door so the 1×2 will fit inside the door. Then dry fit the door onto the 1×2 cleat to make sure everything fits(this is all much more clear in the video).
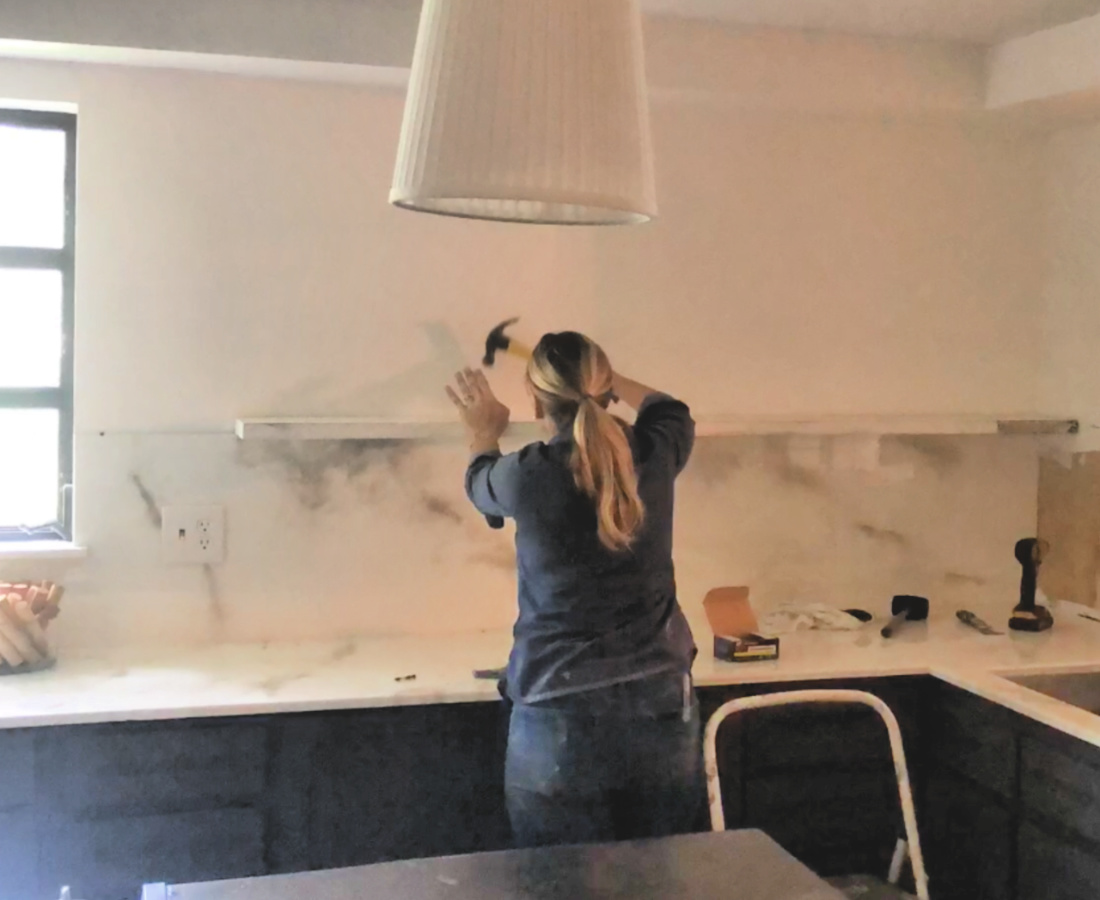
5. The next step might be the most important…wood glue. I used gorilla glue on mine and it works like nothing else. Make sure to spread the glue on BOTH the top AND the bottom of the 1×2 cleat. Put your shelf back onto the cleat and snug it up flush with the wall.
6. Last…install finish nails all the way down the top and bottom of the shelf about every 6 inches or so through the door and into the 1×2 cleat. Allow the wood glue to dry for about 24 hours, caulk and paint your shelf. Then style it to your hearts content. 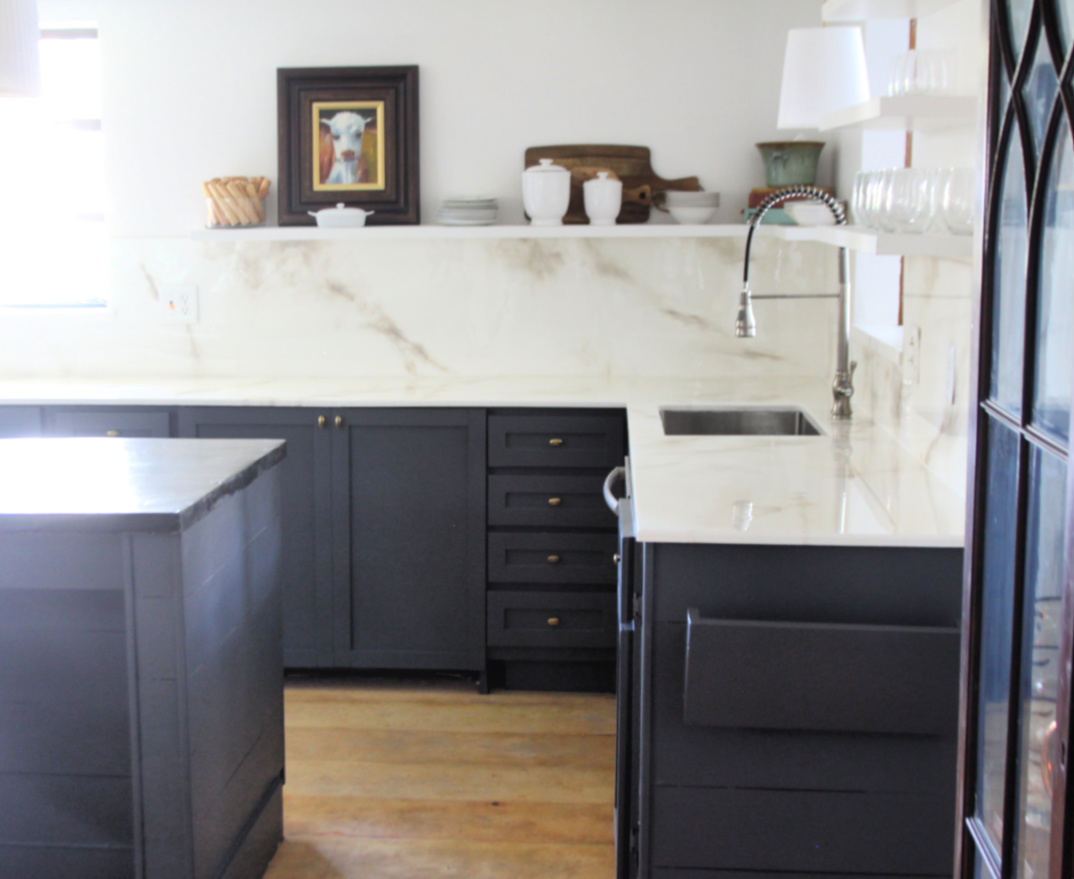 This floating shelf method is super easy and cheap. I got my doors for free, but you can buy an 18″ bifold door at Habitat for Humanity for $5 and if you cut it in half you can have two 8′ long floating shelves for displaying art or glasses in your kitchen.

Materials List…
- 2×4 pine …Home Depot
- hollow core bifold door…Home Depot or habitat for humanity.
- 4″ lag screws ..Home Depot
- gorilla wood glue…Home Depot
- Caulk…Home Depot
- level…Home Depot
- Socket/nut driver for lag screw… Home Depot
- 1 1/4″ finish nails
- paint

