I’ve used this method of making hollow core bi-fold doors for numerous shelf projects. They’re cheap, easy and effective.
*This post may contain affiliate links…see my disclosure.
After two months, I finally put something into my closets other than tools. I put off all progress because of a perfectionist tendency to do all or nothing. I haven’t had the time or money to buy more plywood to make drawers so I just procrastinated the whole darn thing. However I was so tired of getting dressed from piles of clothes on the floor or going into the guest room to get clothes out of my relocated dresser that I finally hung a couple closet poles and put in some shelves. Slow goin’ , aye?
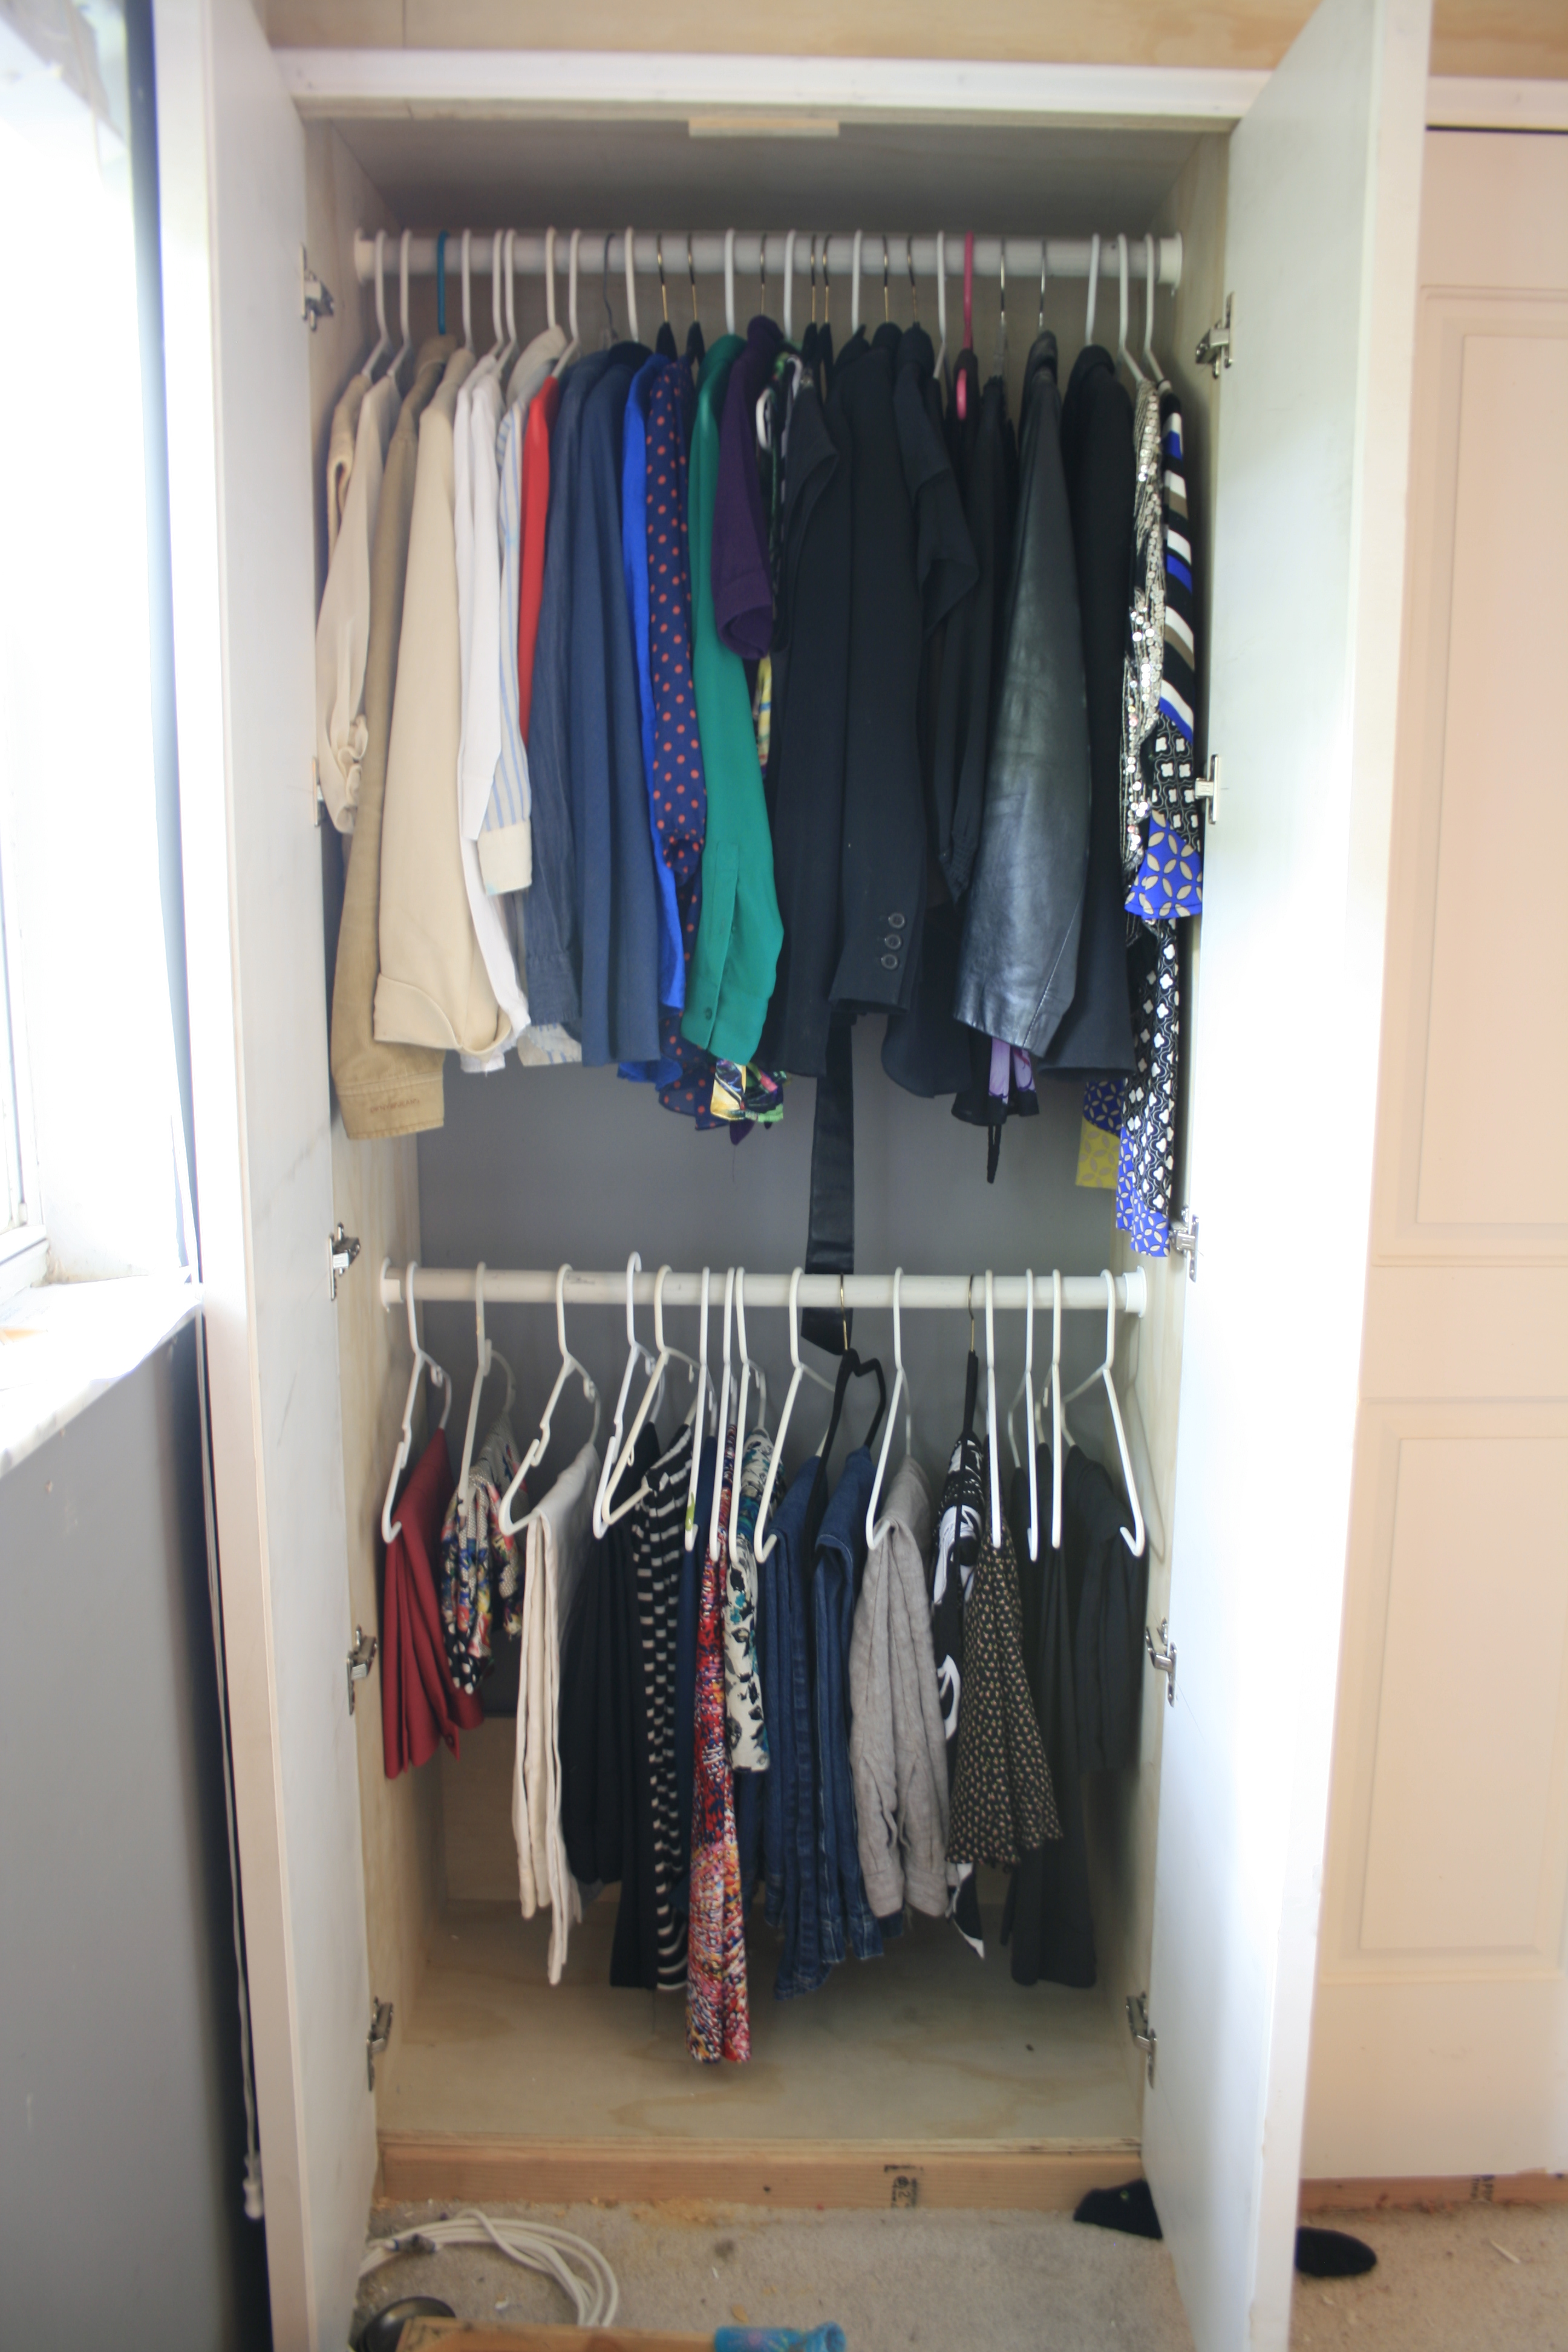
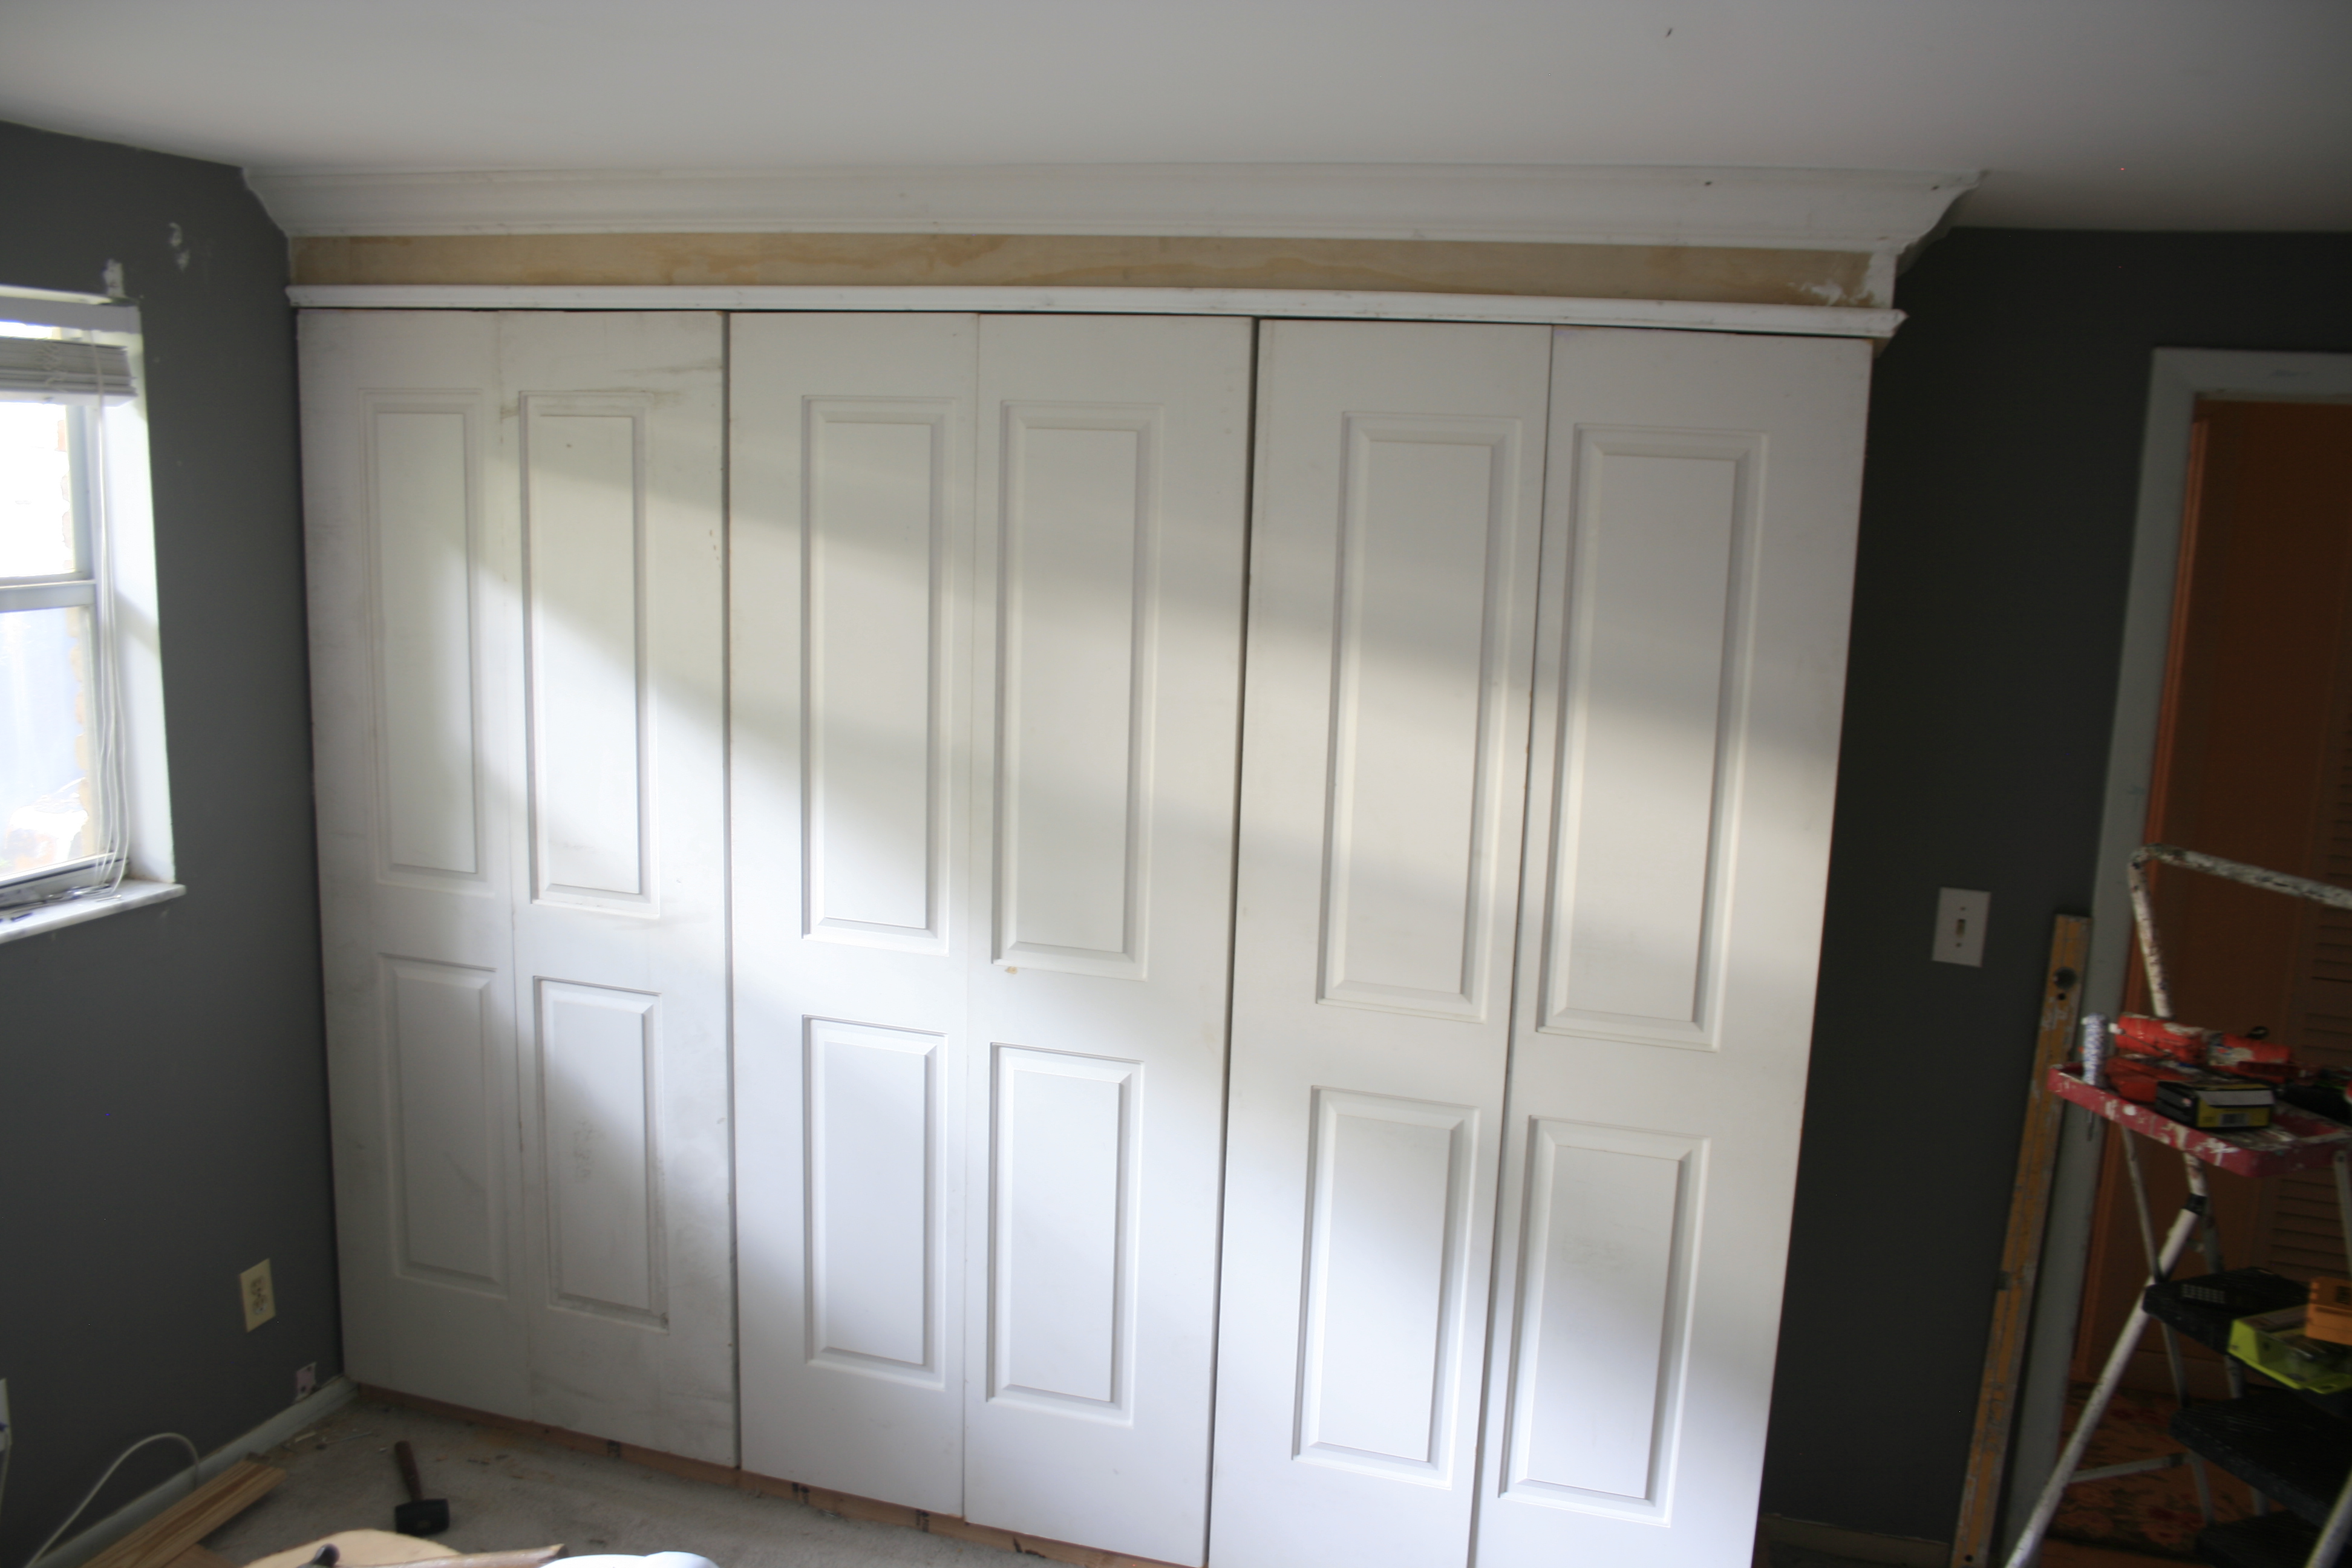
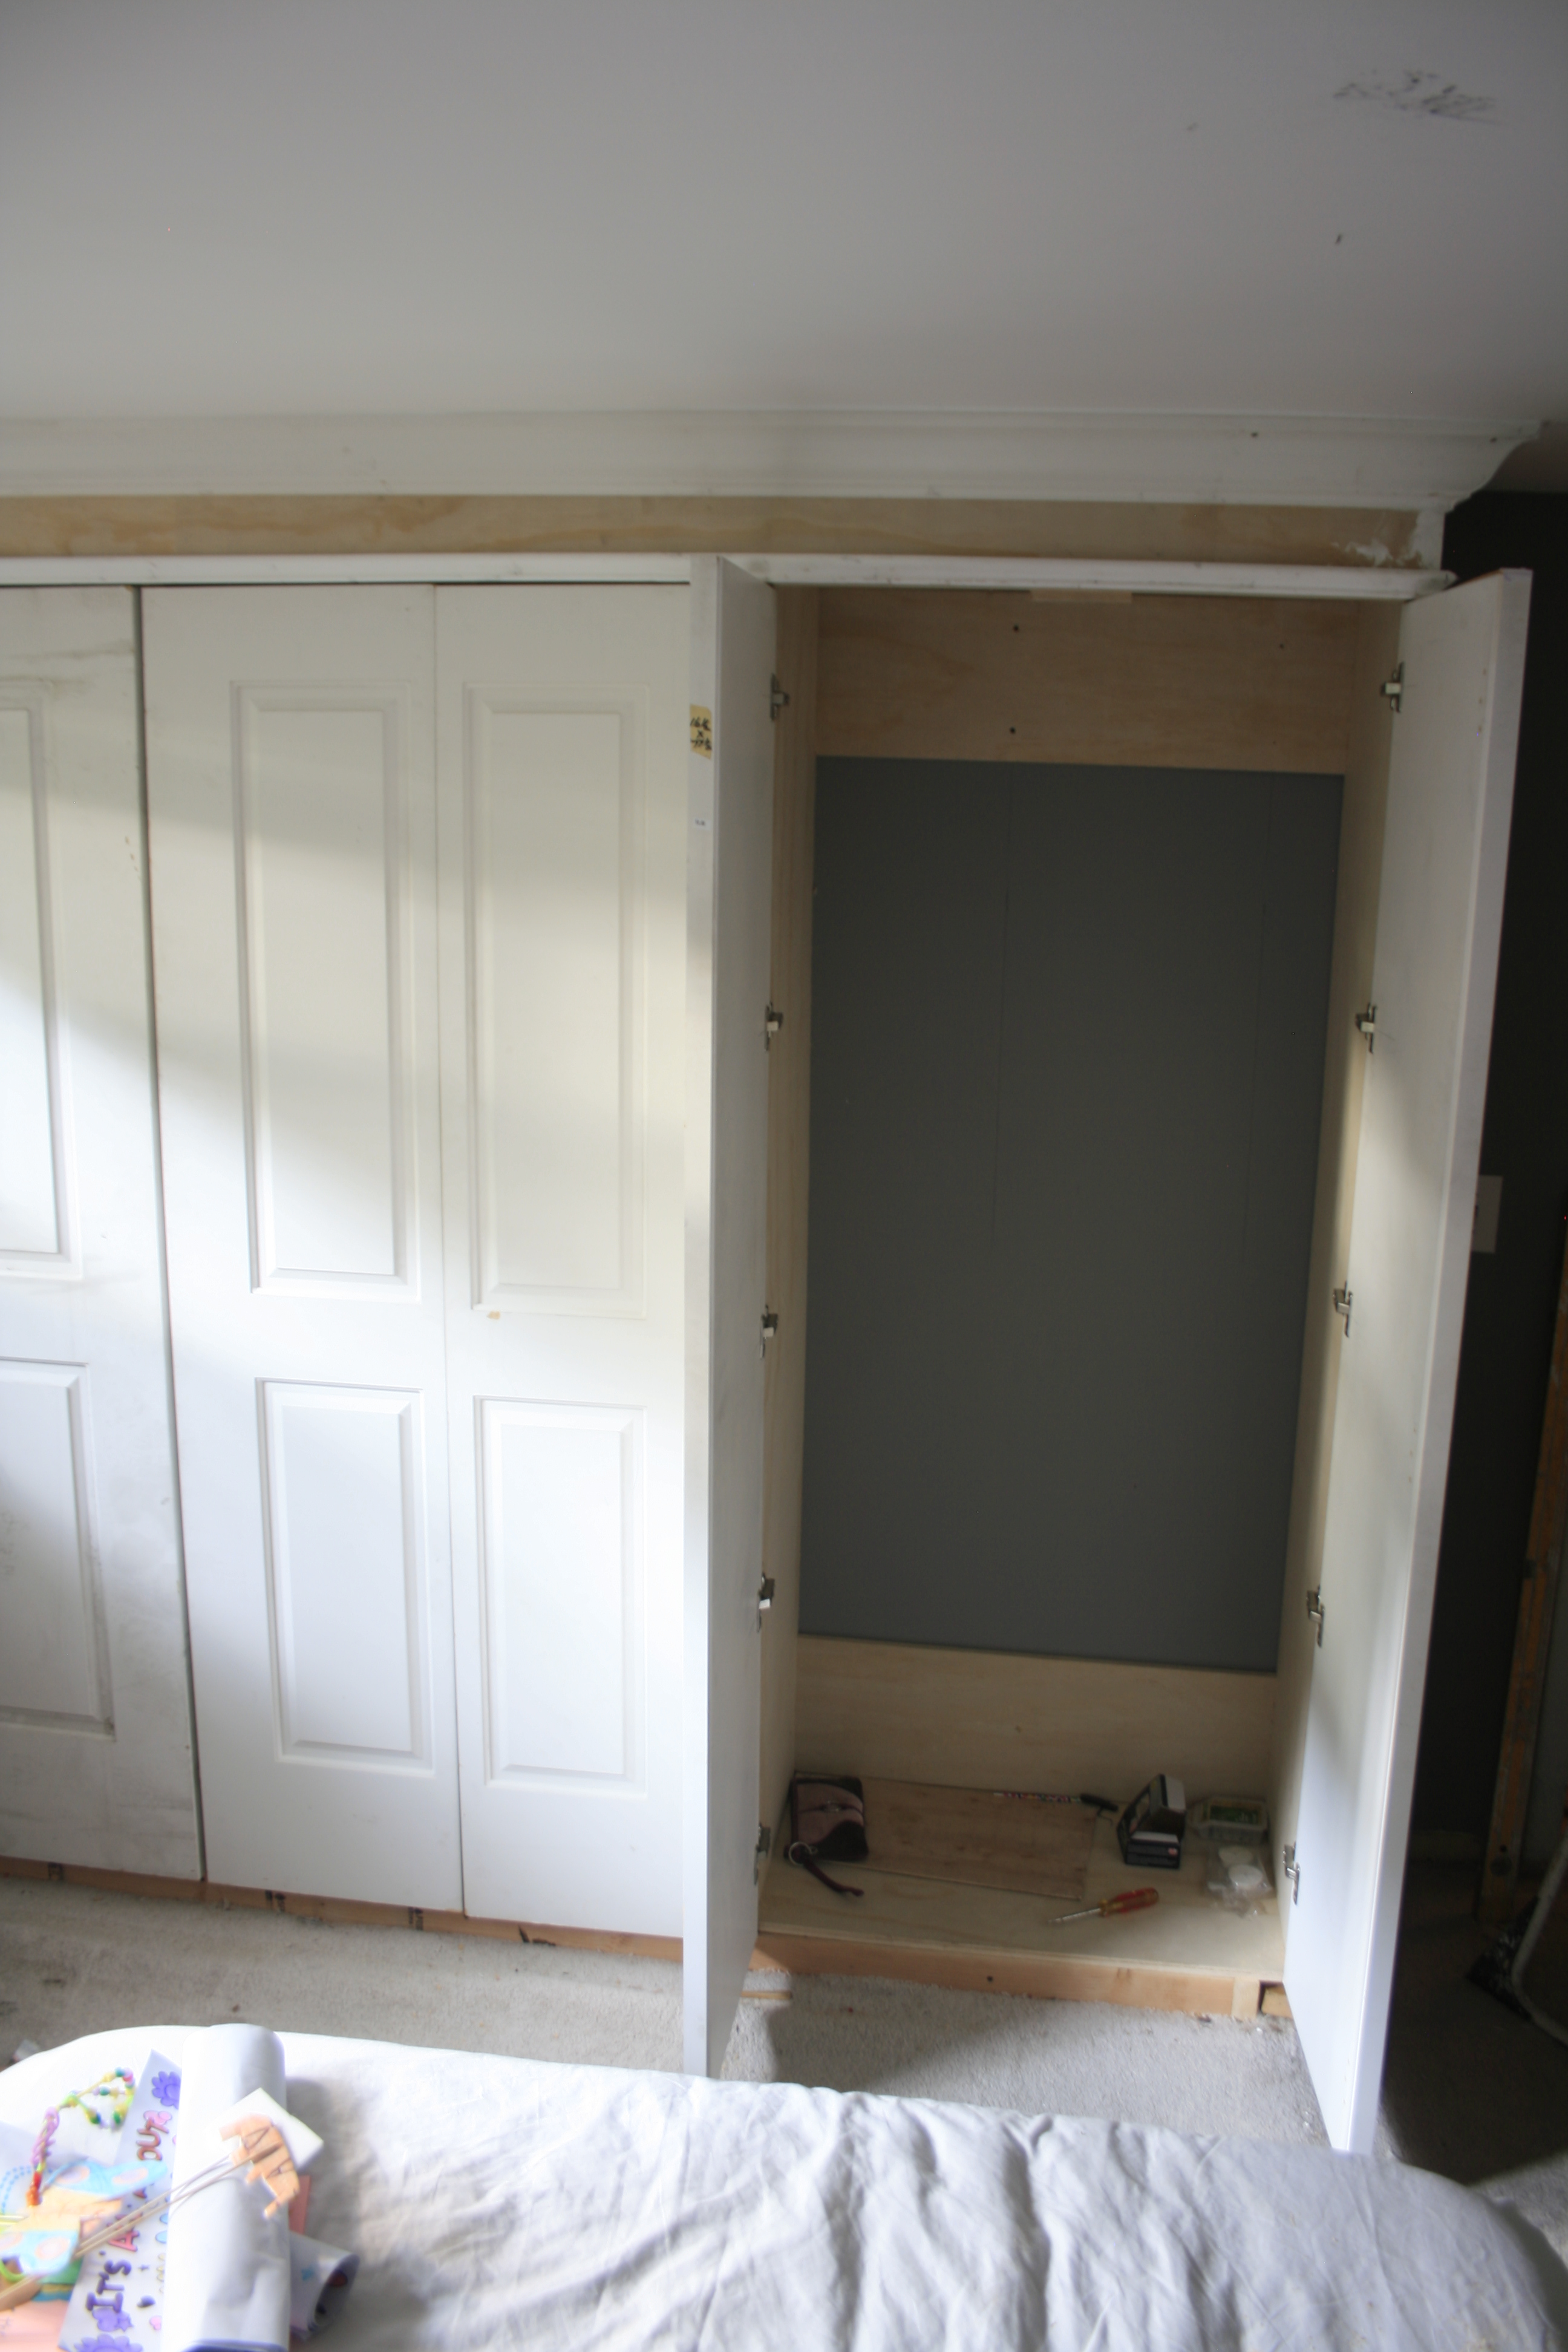
Hollow-core bifold closet doors are my “go-to” for cheap and easy shelves. They’re super sturdy, they look substantial as shelves, and are really cheap. I bought mine for $10 a pair at Habitat for Humanity. Habitat has tons of doors. My closet is 19″ deep so I bought doors that measure 18″ x 77″ more or less. Since my closet width is 31 1/2″ wide I cut two shelves out of one door.
Hollow core doors are not completely hollow. They have solid wood in the front and the back of each panel so there’s something to screw the hinges into. I bought two sets of doors and they’re not created equal. One set had a much wider wood frame at the front and back, and the thin center supports are real wood instead of frequently used cardboard.  Real wood makes the shelves more sturdy but also much heavier. Which doesn’t make a difference for this application. However, if your making floating shelves the lighter cardboard shelves are really an advantage because of the weight and because they’re easier to sandwich around the cleat used to support floating shelves. Like these floaters in my kitchen…a whole other post.
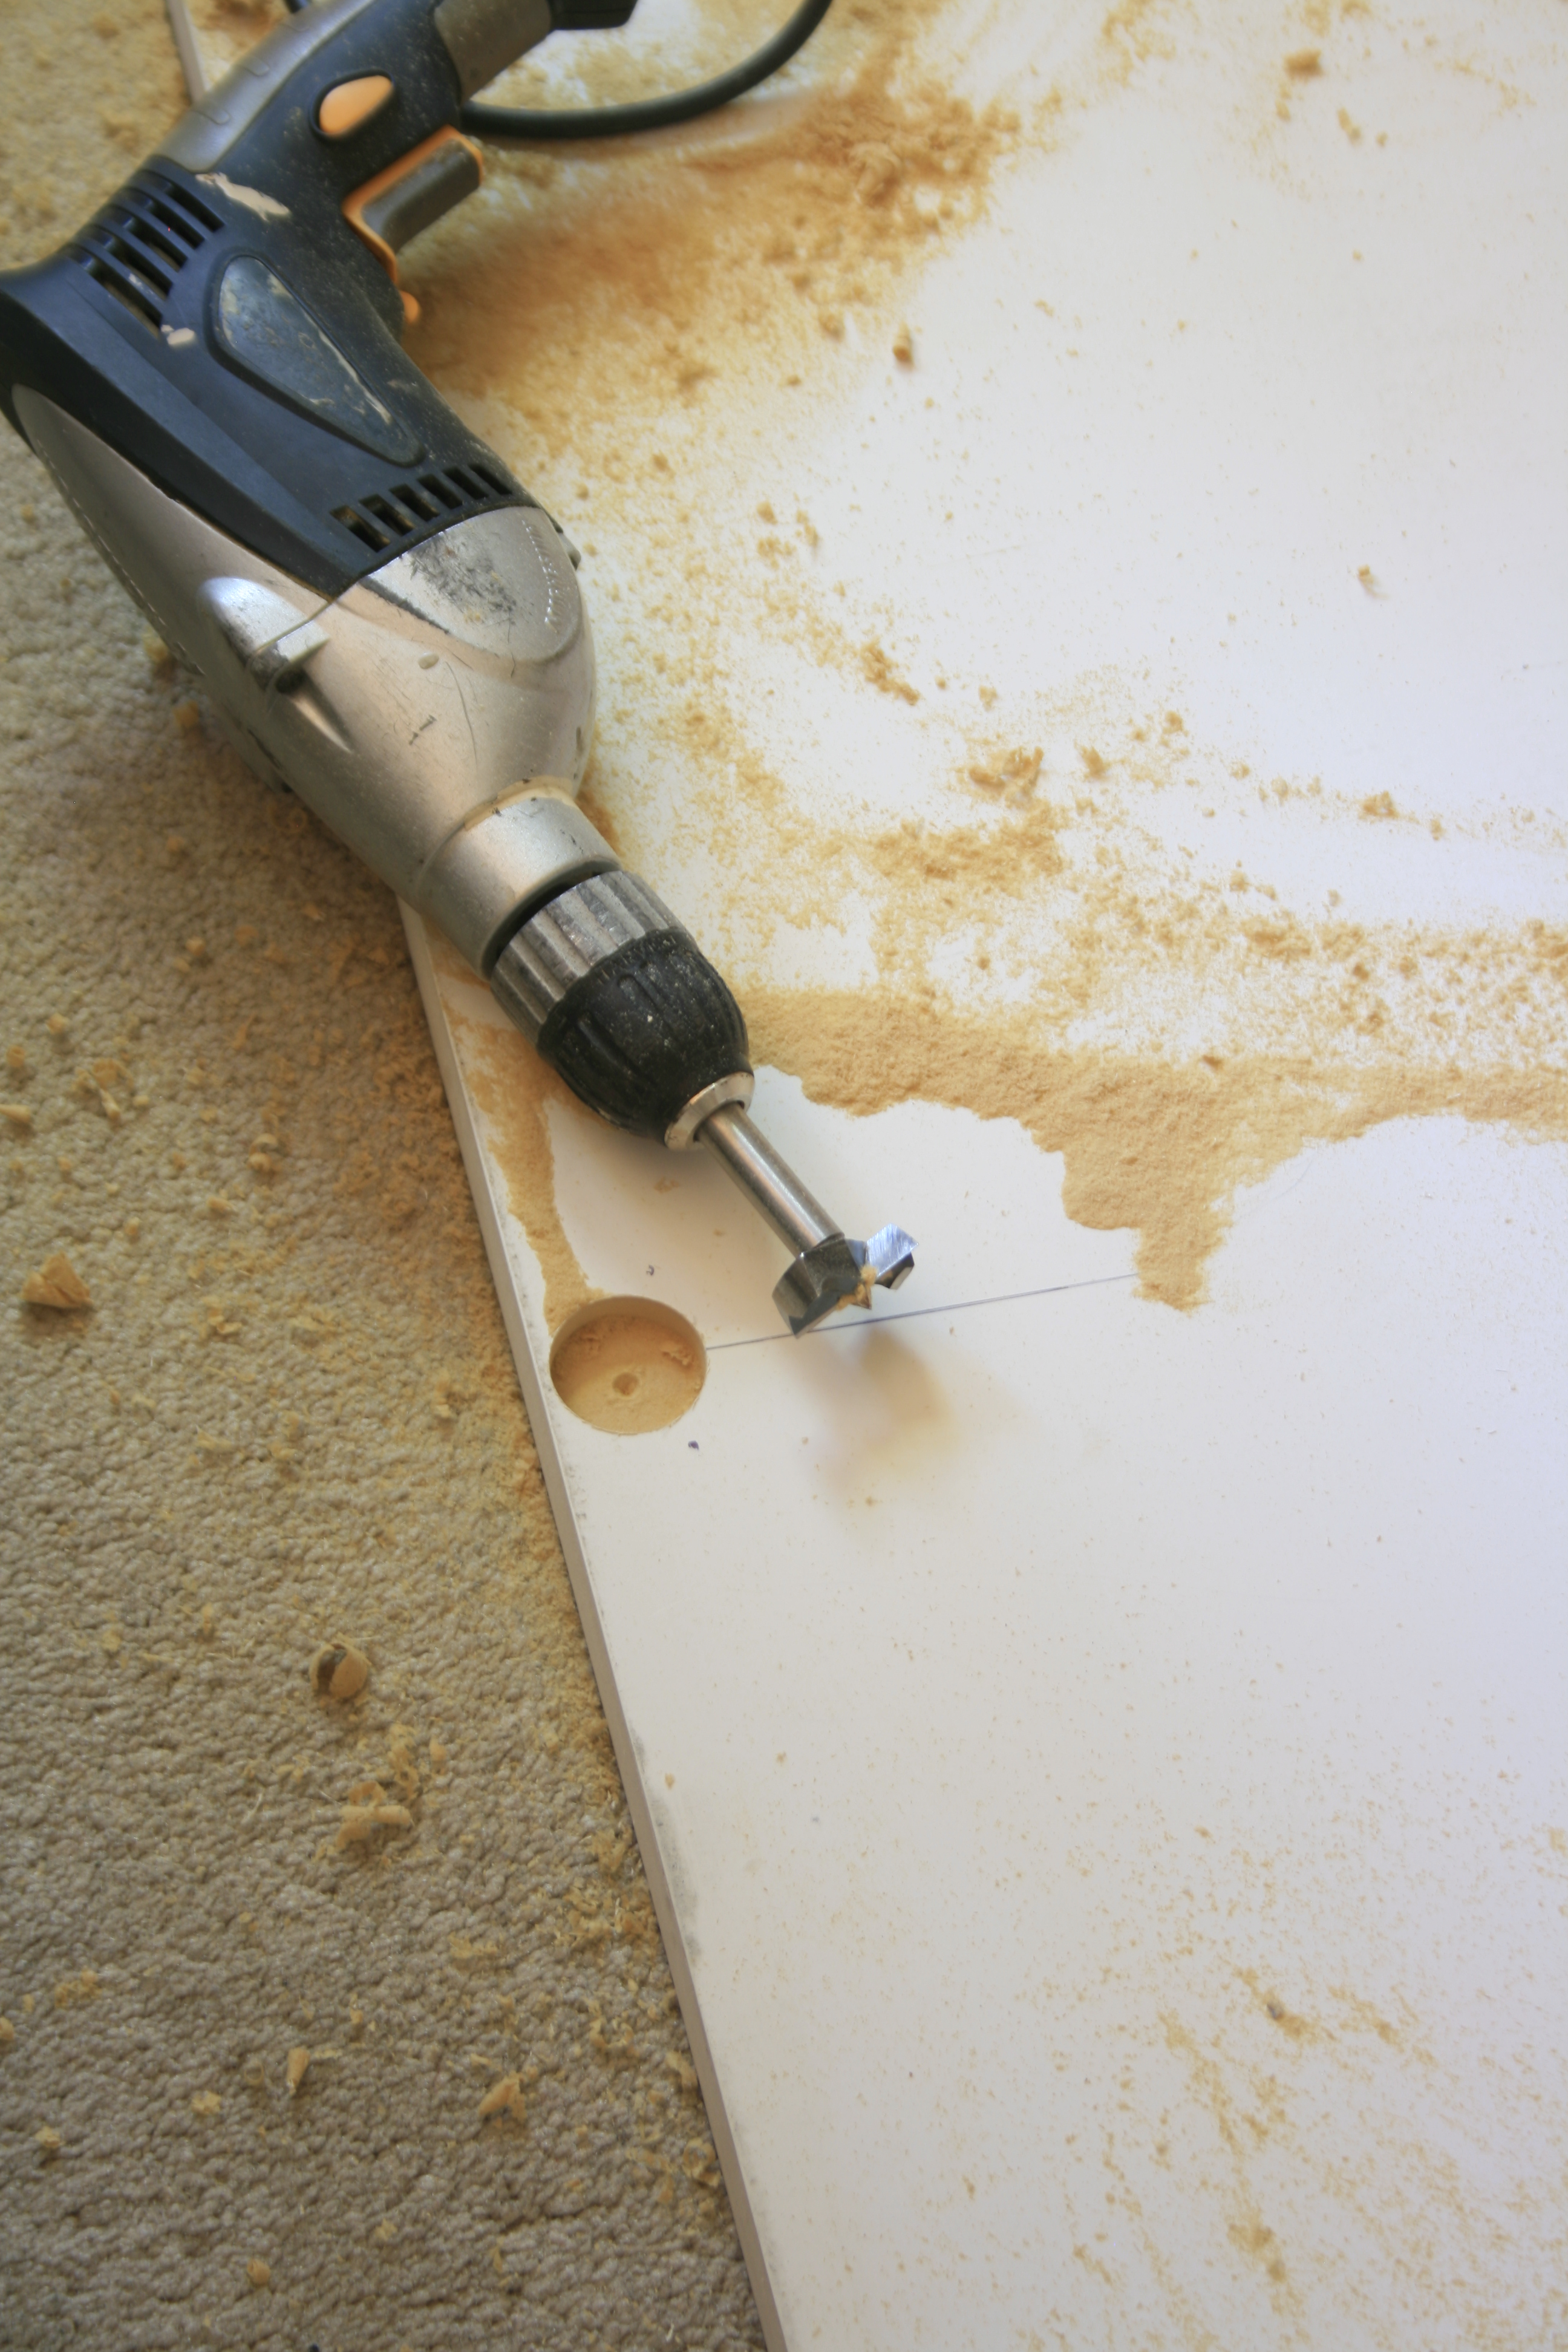
 I determined I wanted the shelves to be adjustable so I could change the arrangement to accommodate larger or smaller items if needed in the future. I purchased a 2′ x 4′ piece of pegboard to use as my jig, screwed it to the inside of my cabinet and drilled into every other hole to hold my shelf pegs.
Remove the pegboard of course and you have perfectly spaced holes for the pegs. Voila! I used pegs I had in my tool cabinet and fortuitously had the exact size drill bit to make the holes precisely the right size. 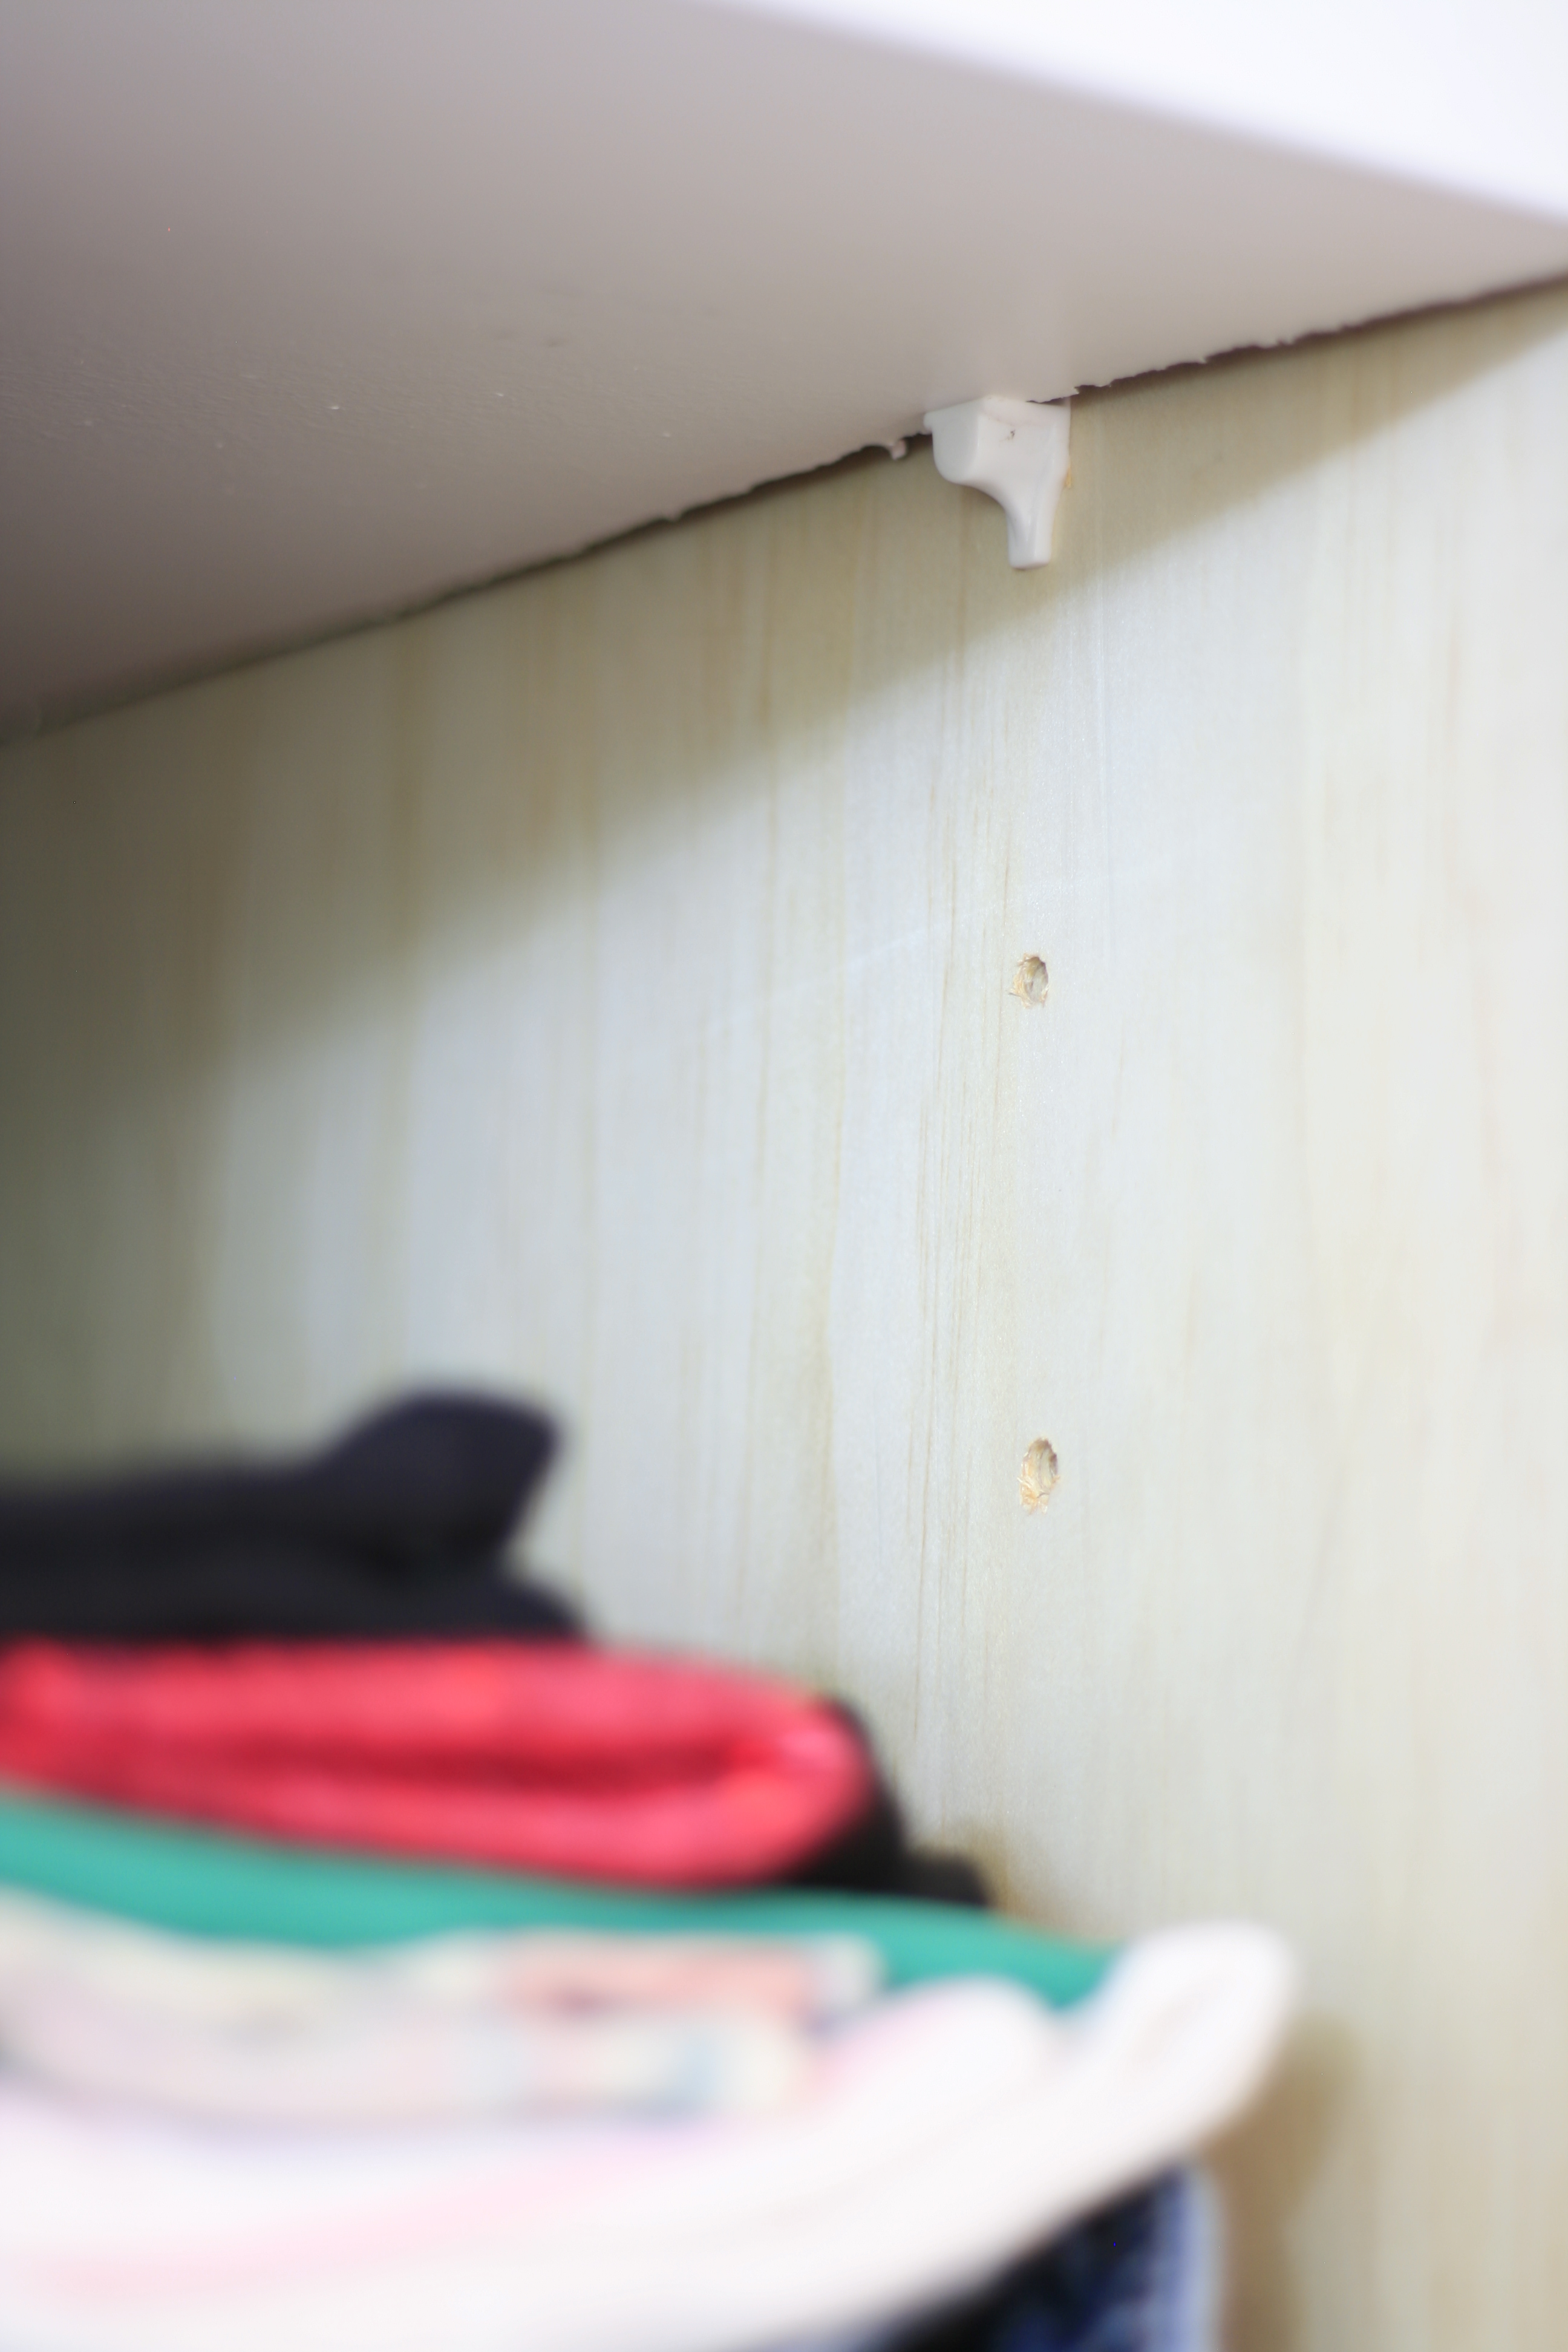
My shelves have one unfinished or cut side, which in this case doesn’t show and doesn’t bother me because it’s not evident. However if you’re making floating shelves and need to have both ends finished you can sandwich a piece of plywood between the top and bottom of the hollow core door to fill the gap. Then, if you are painting the shelf you can just use some wood filler for the cracks, then sand and paint.
In my kitchen I used some iron-on wood veneer I had left over from another project to finish the edge and it is virtually imperceptible. The veneer is the way to go if you’re gonna stain the shelves rather than paint. 
This veneer is available at Home Depot.
I’m one small step closer to having my closet finished. Still need to …
- paint the outside of the cabinets
- paint the inside
- make and install the drawers in the third section
- move electricity so I have an outlet inside the cabinets for lights and TV
- trim the bottom edge(kinda waiting til I replace the carpet with wood)
- and install door pulls or handles.
It feels like it will never be complete but at least I have my clothes back into my bedroom. 

I’m totally stoked about how my closet is coming along. It’s very small by most standards, but from sharing a closet this size, to having this all to myself is pretty thrilling for me. It’s the small things y’all.
If you’d like to check out the process of how I built these shelves, click here.














![IMG_1360[1]](https://mimzyandcompany.files.wordpress.com/2015/05/img_13601.jpg)