 My front porch is very neglected. We always use the garage door to come and go, so I pretty much ignore the front entrance to our house unless I know someone’s coming over. Then I shew our two cats and give it a sweep, but that’s about it.
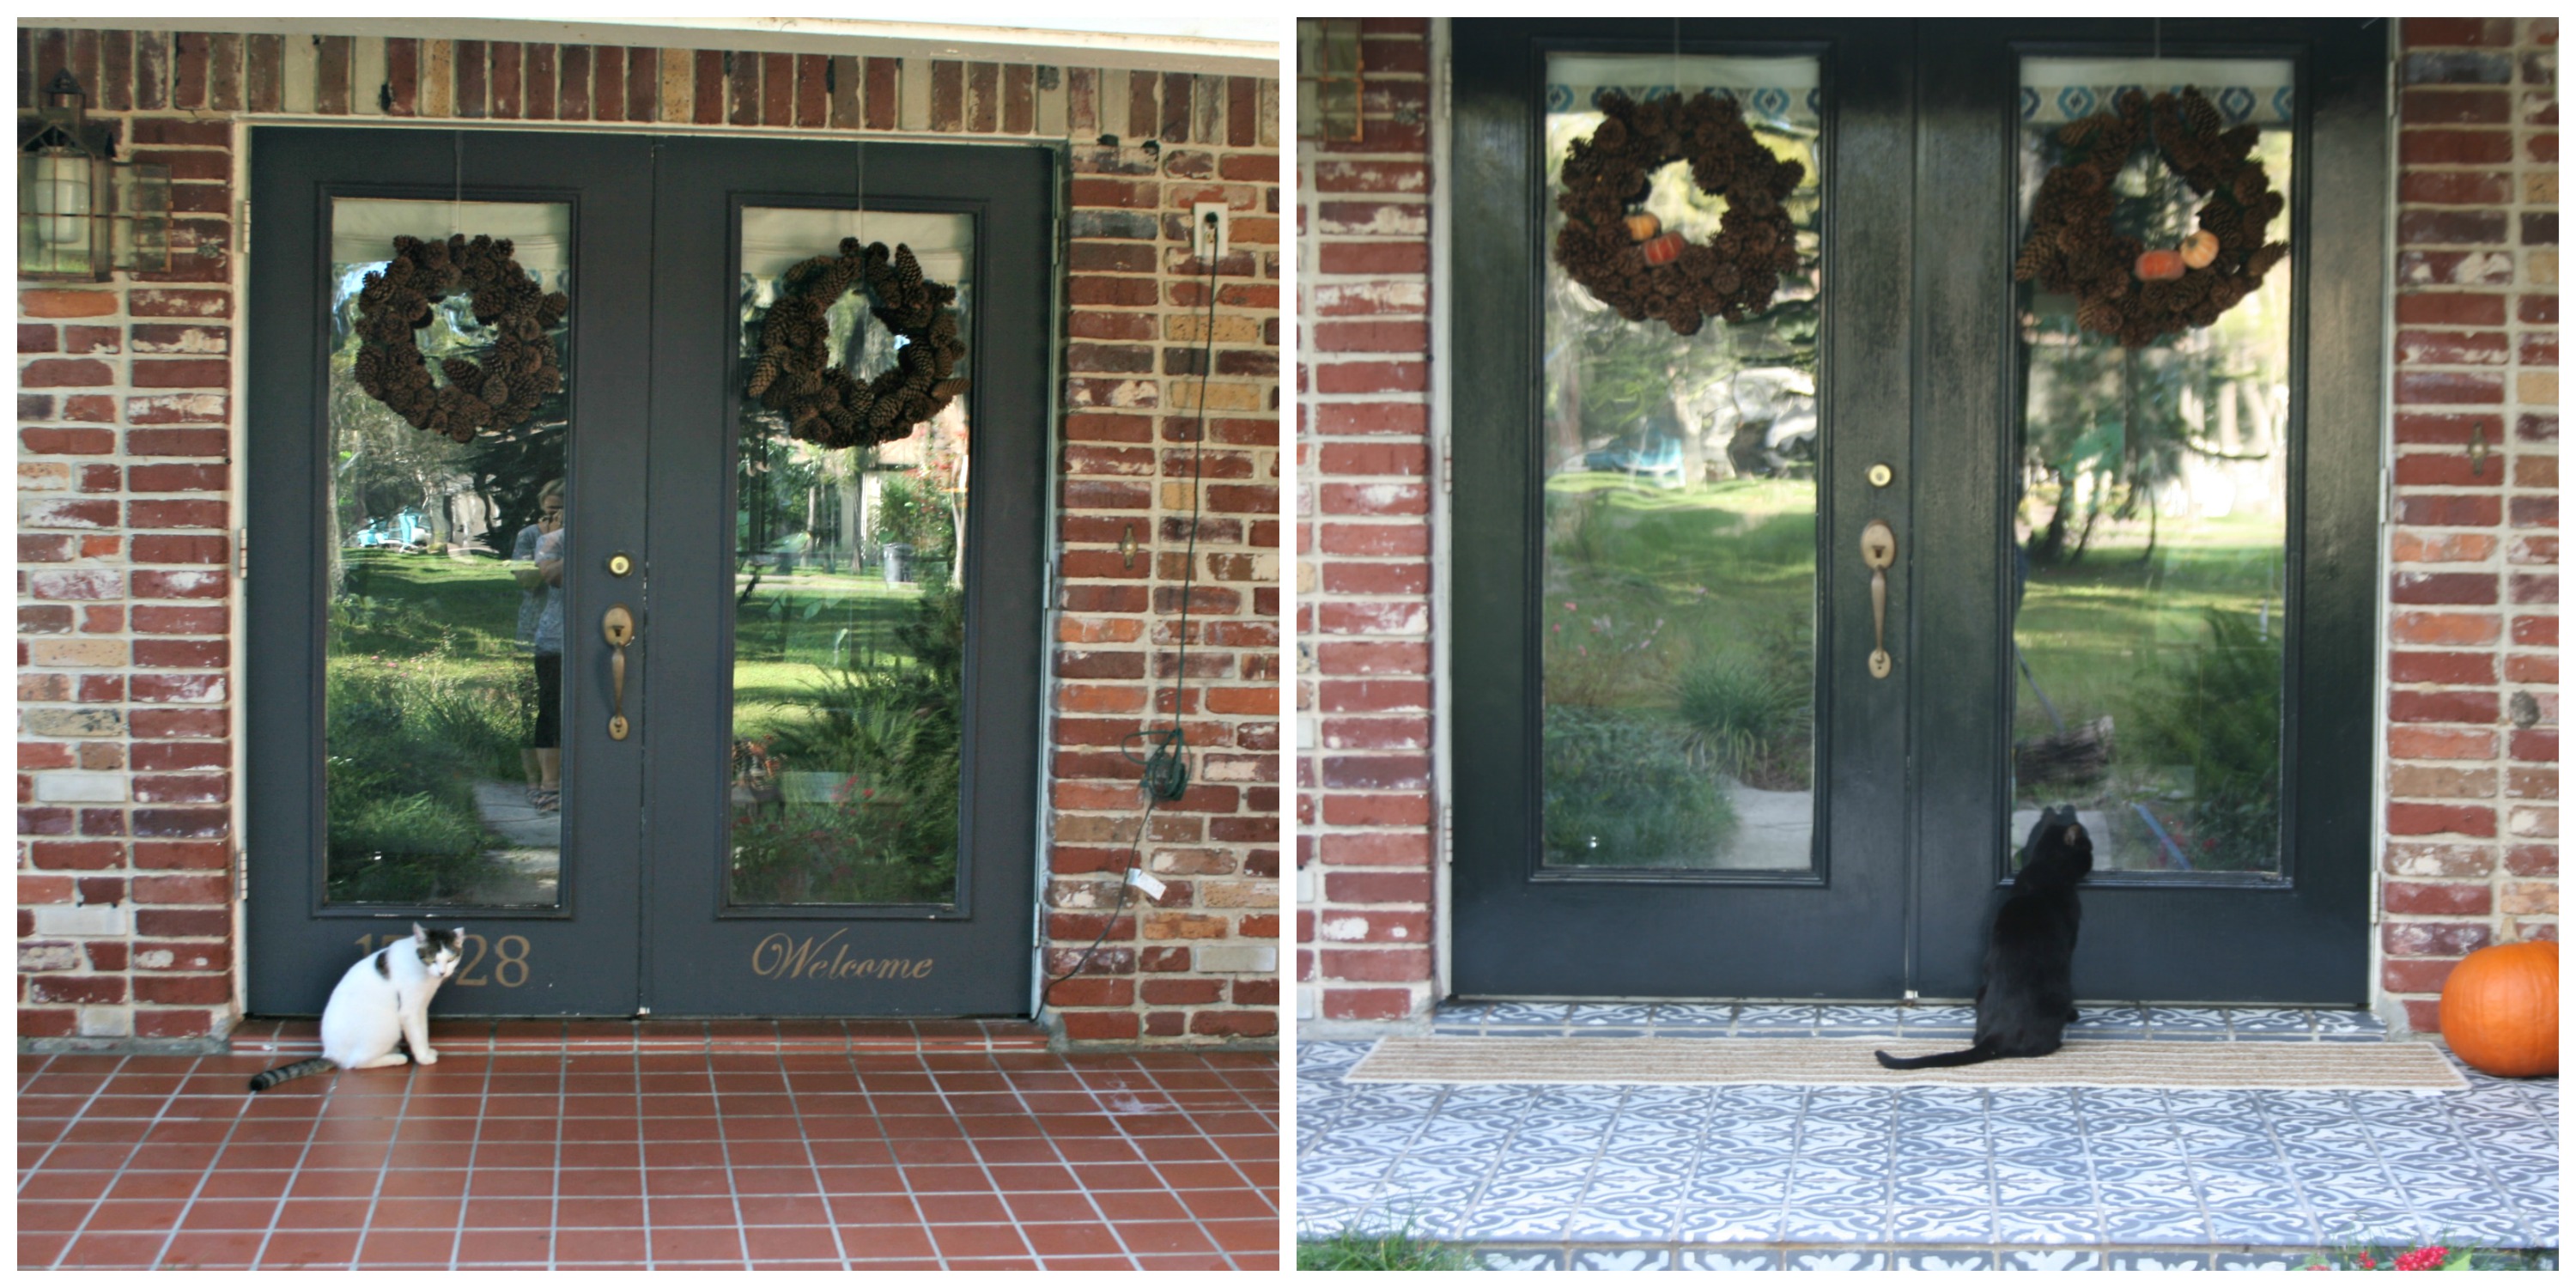
It had orange 6″ x 6″ tile that looked like standard restaurant kitchen tile. Not pretty. I’ve debated about what to do with the ugly tile since we bought the house 8 years ago. I even started collecting some nice tumbled travertine because my neighbor had leftovers from a project. But after glimpsing all the lovely cement tile all over the web and in stores I decided to DIY a faux version. It cost practically nothing and the transformation was quick.
I started by priming the whole thing with a shellac based primer(the only primer that works for Ikea melamine furniture, btw). I know because I’ve painted tons of IKEA furniture with this, and with other primers and shellac is the only primer that sticks. 
I’ve also used this shellac primer to paint the tile surrounding the bath tub in my kids’ bathroom and it has stood the test of three kids for eight years now. It’s hard to believe it’s been that long and I still haven’t changed it. That was supposed to be a temporary fix. Oh well….
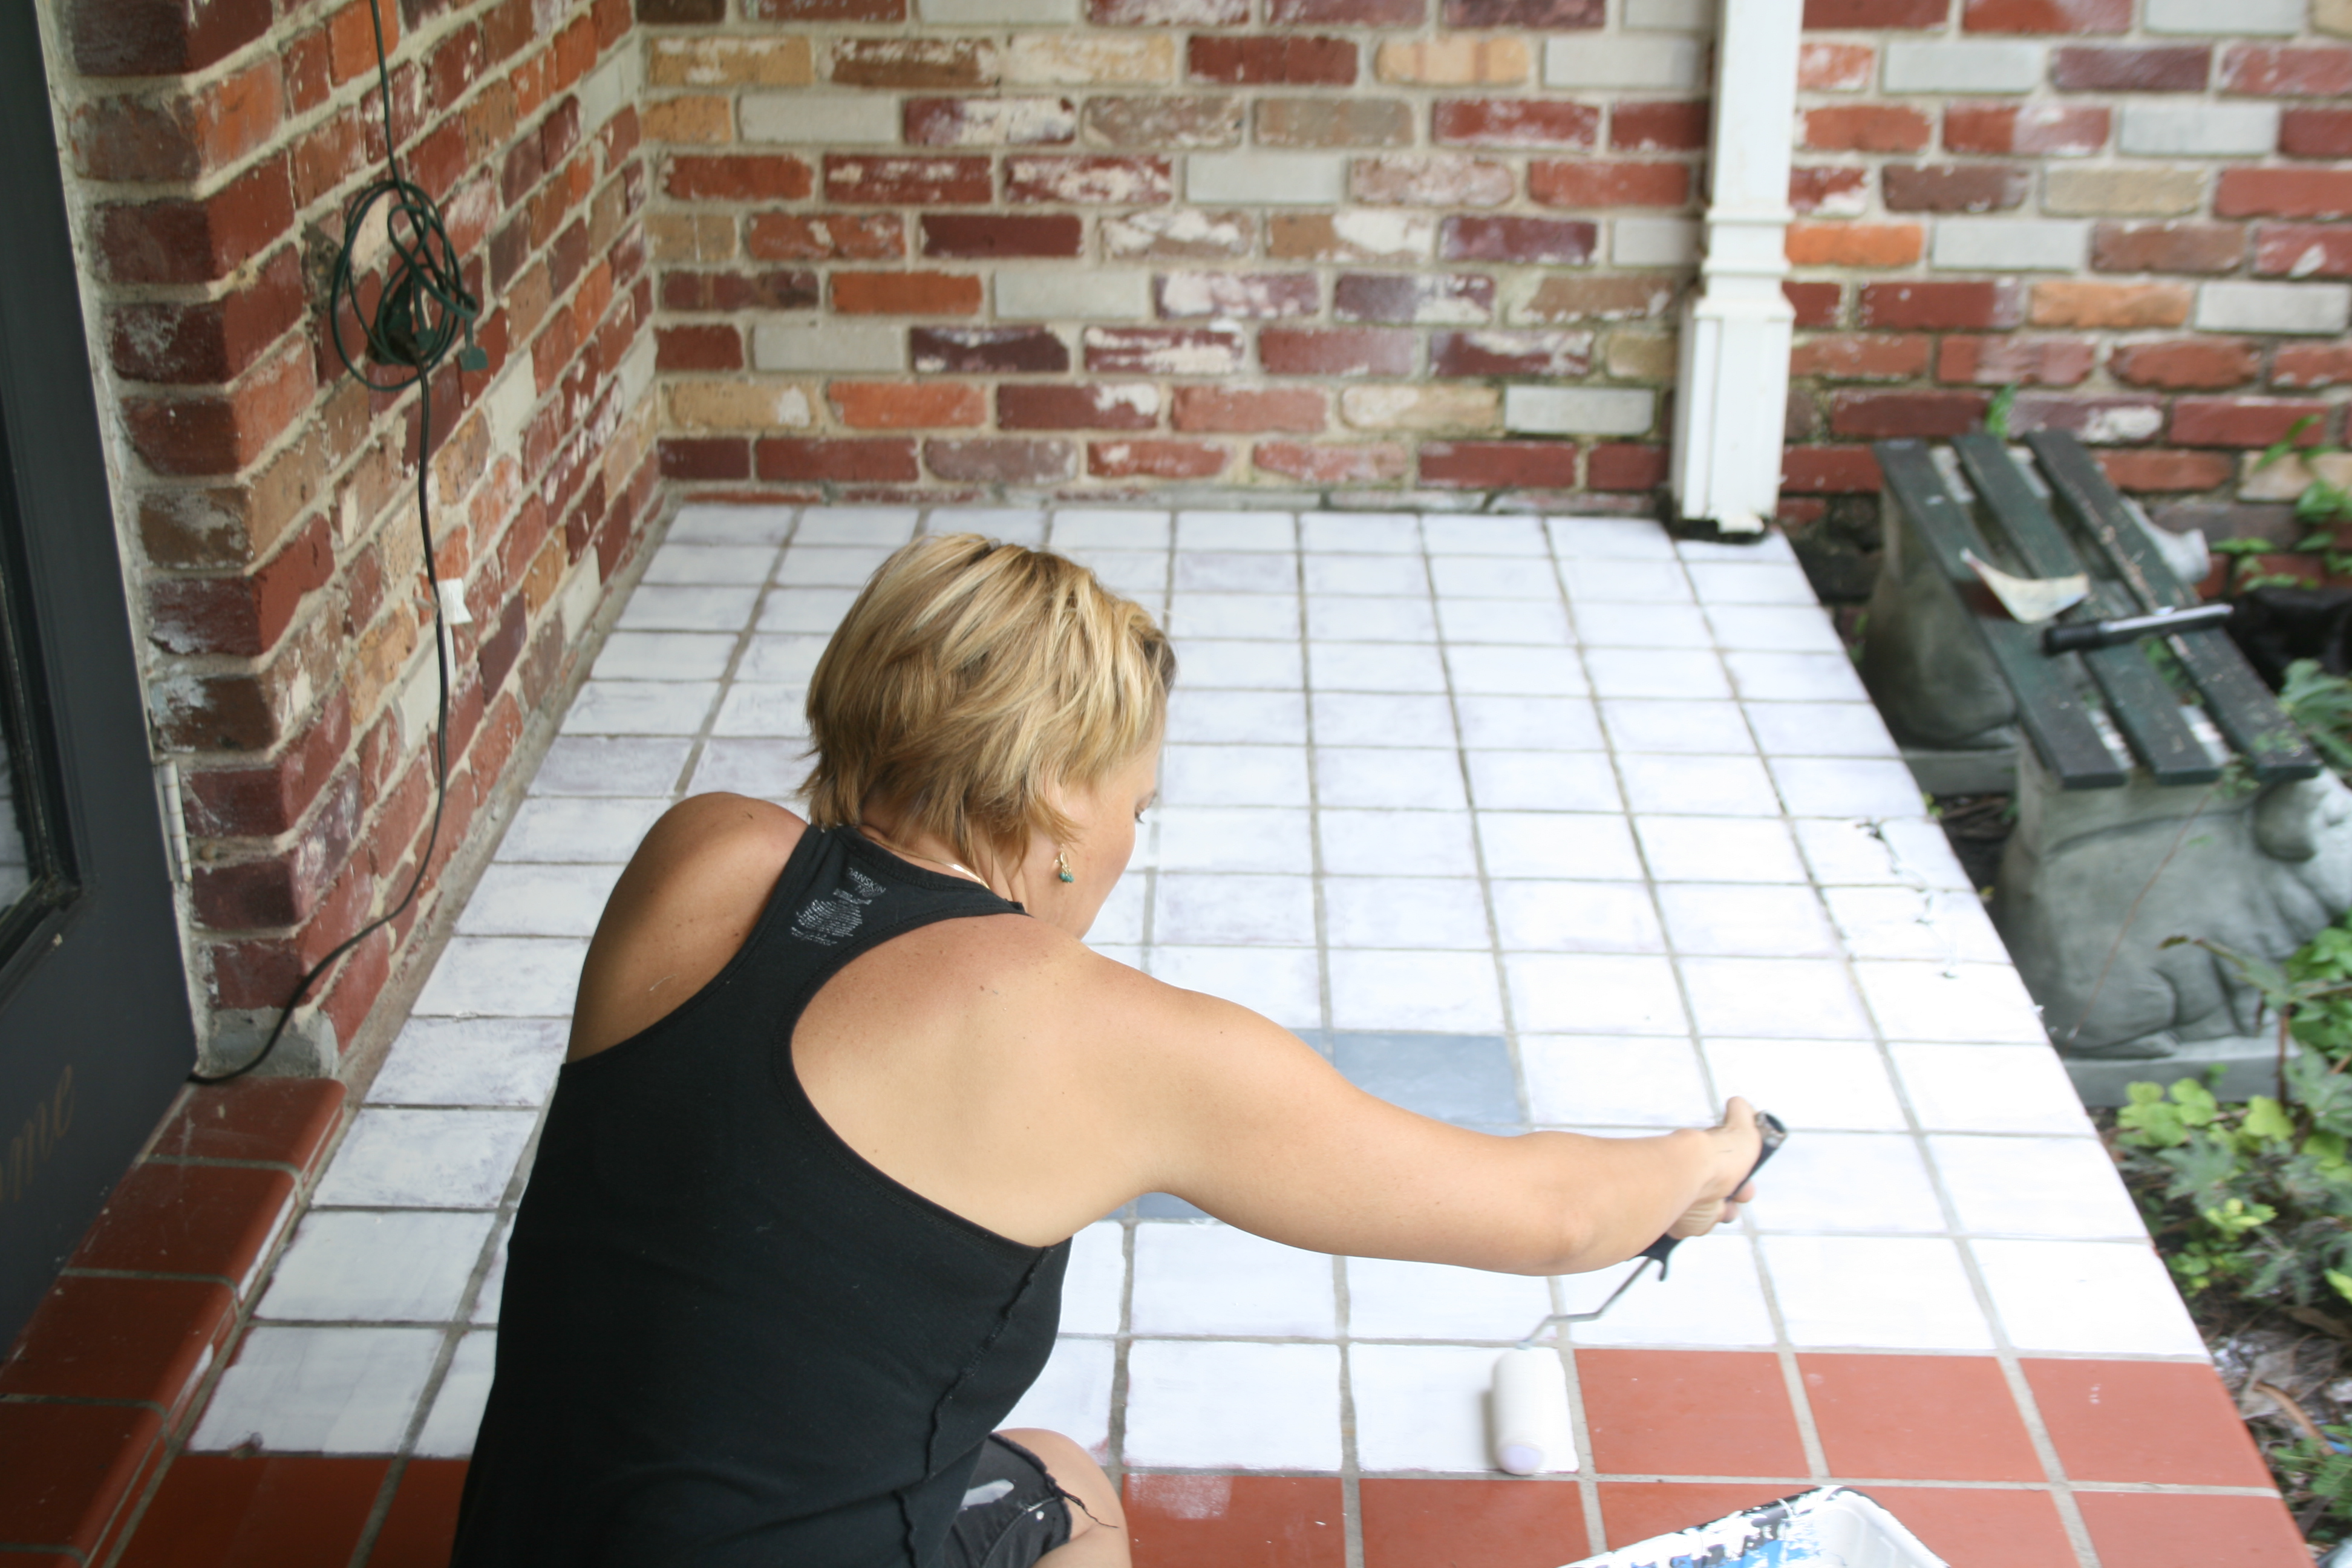
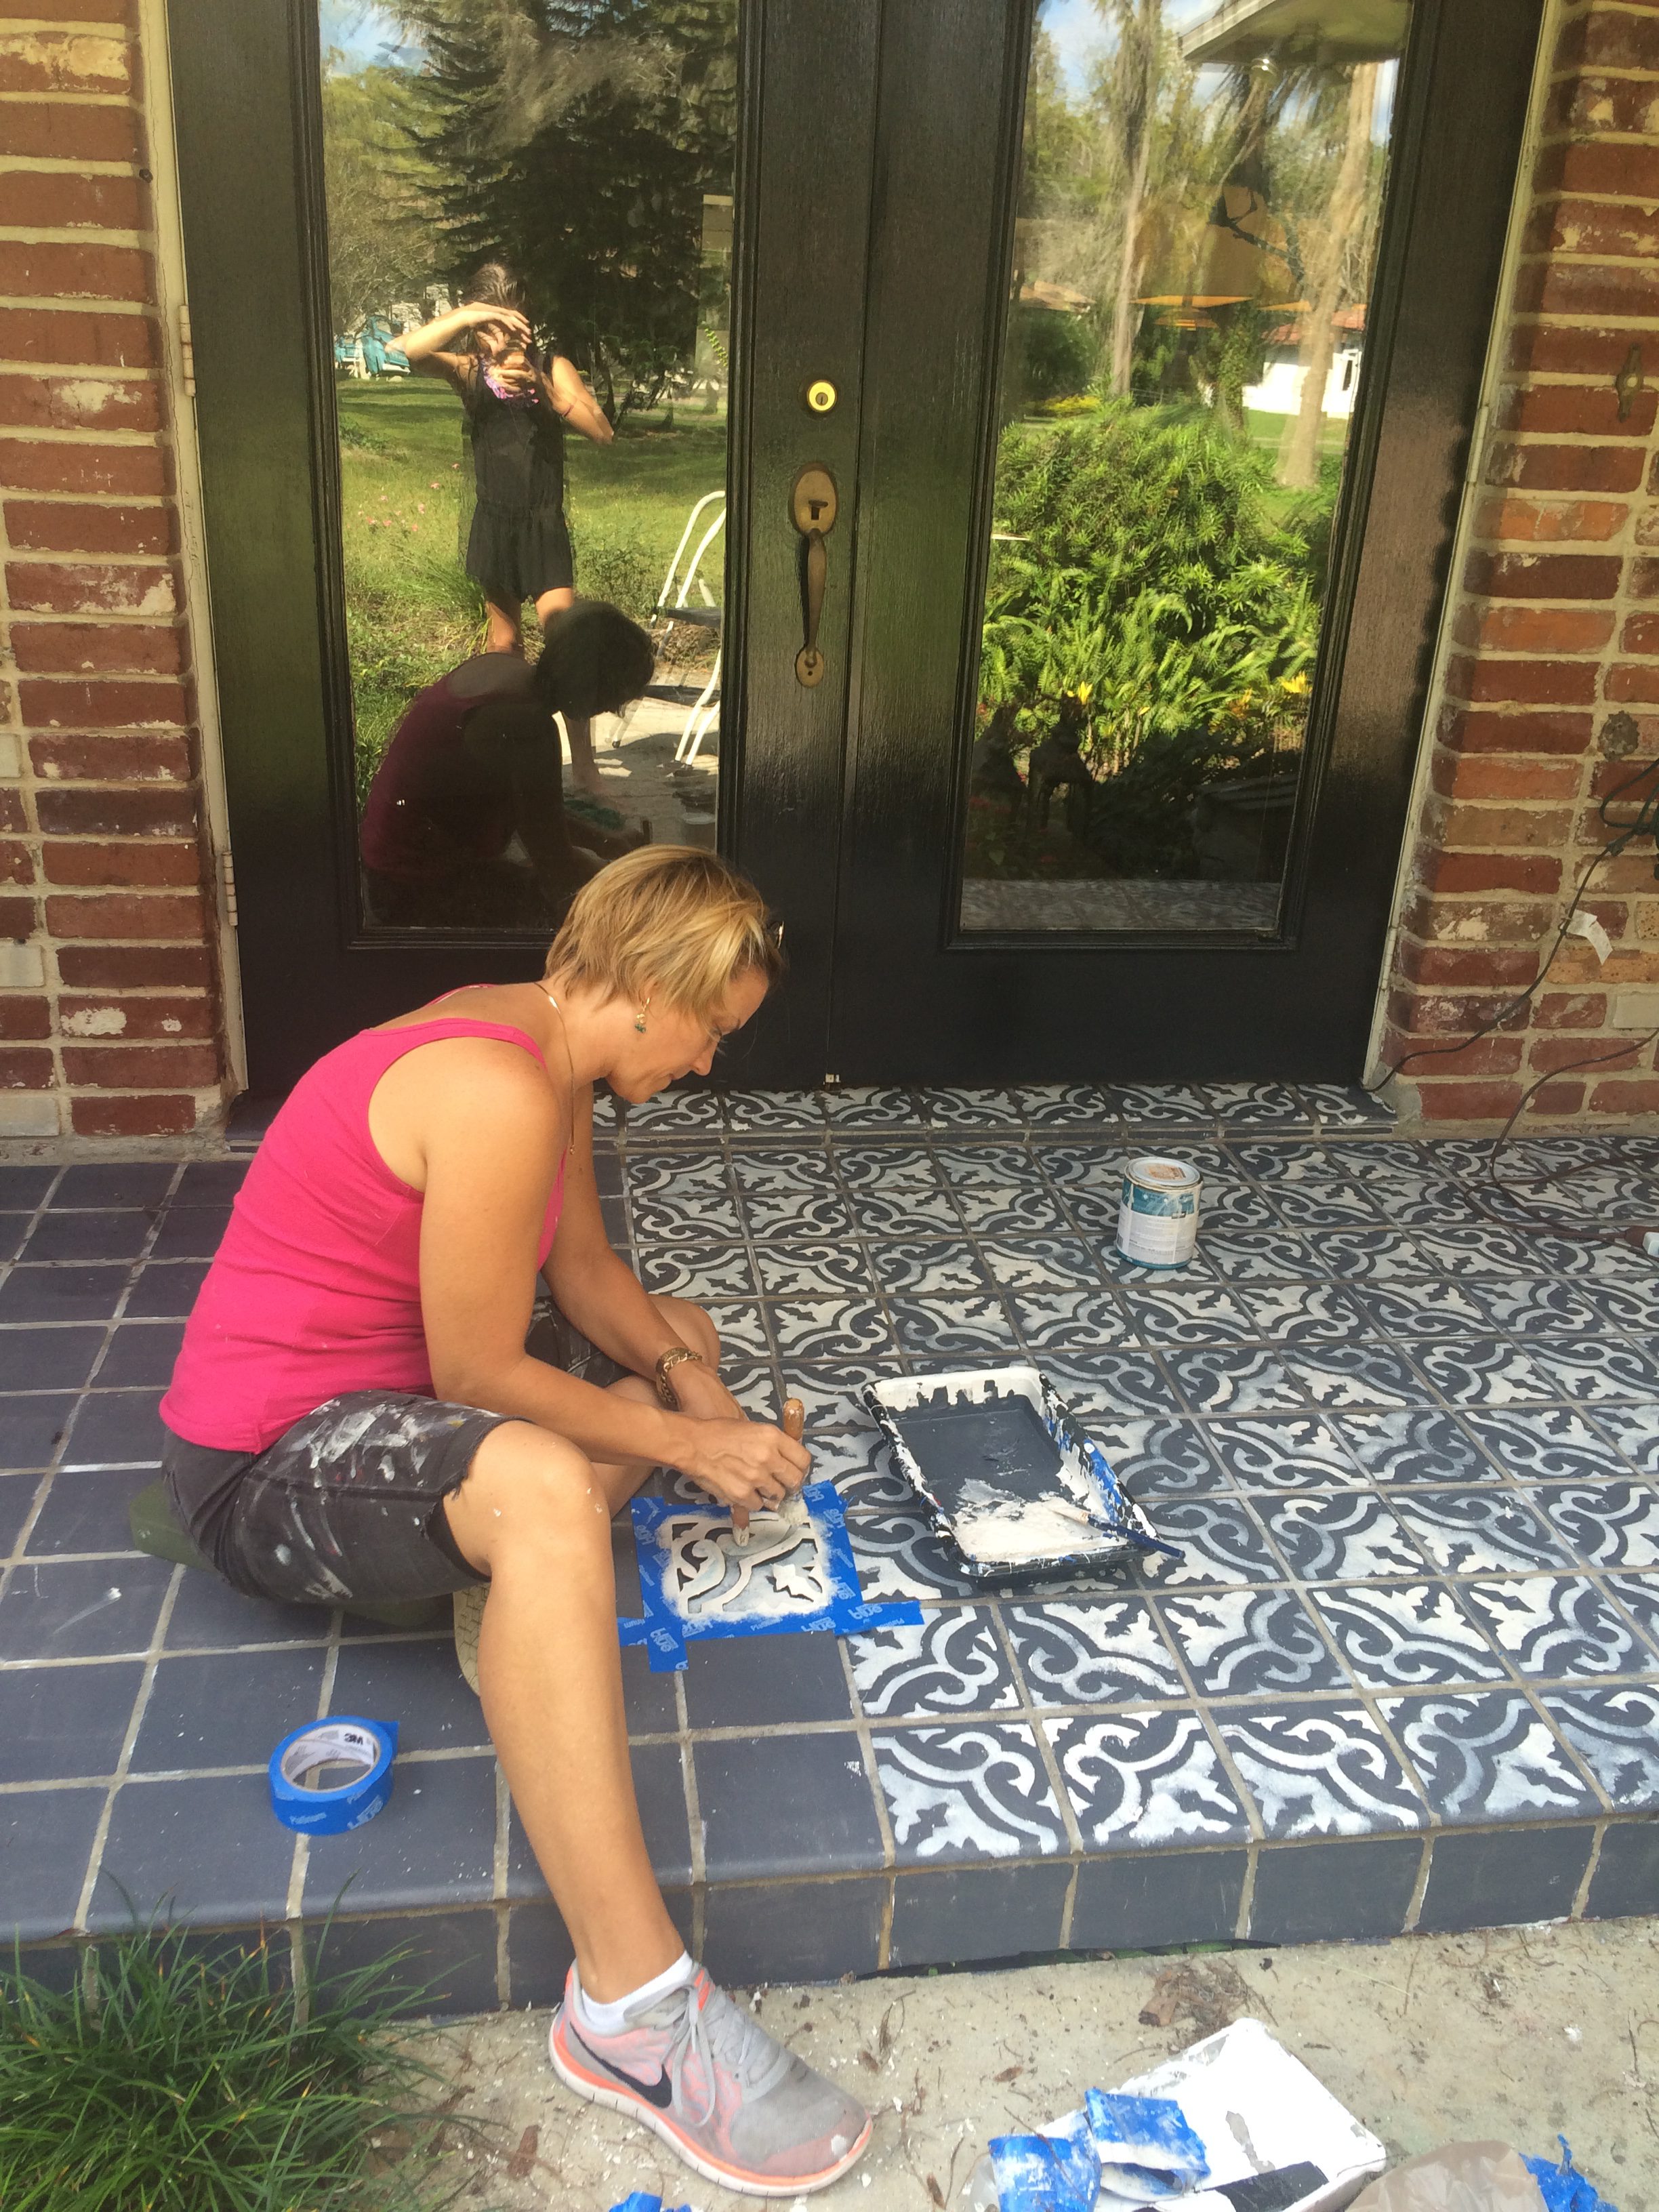
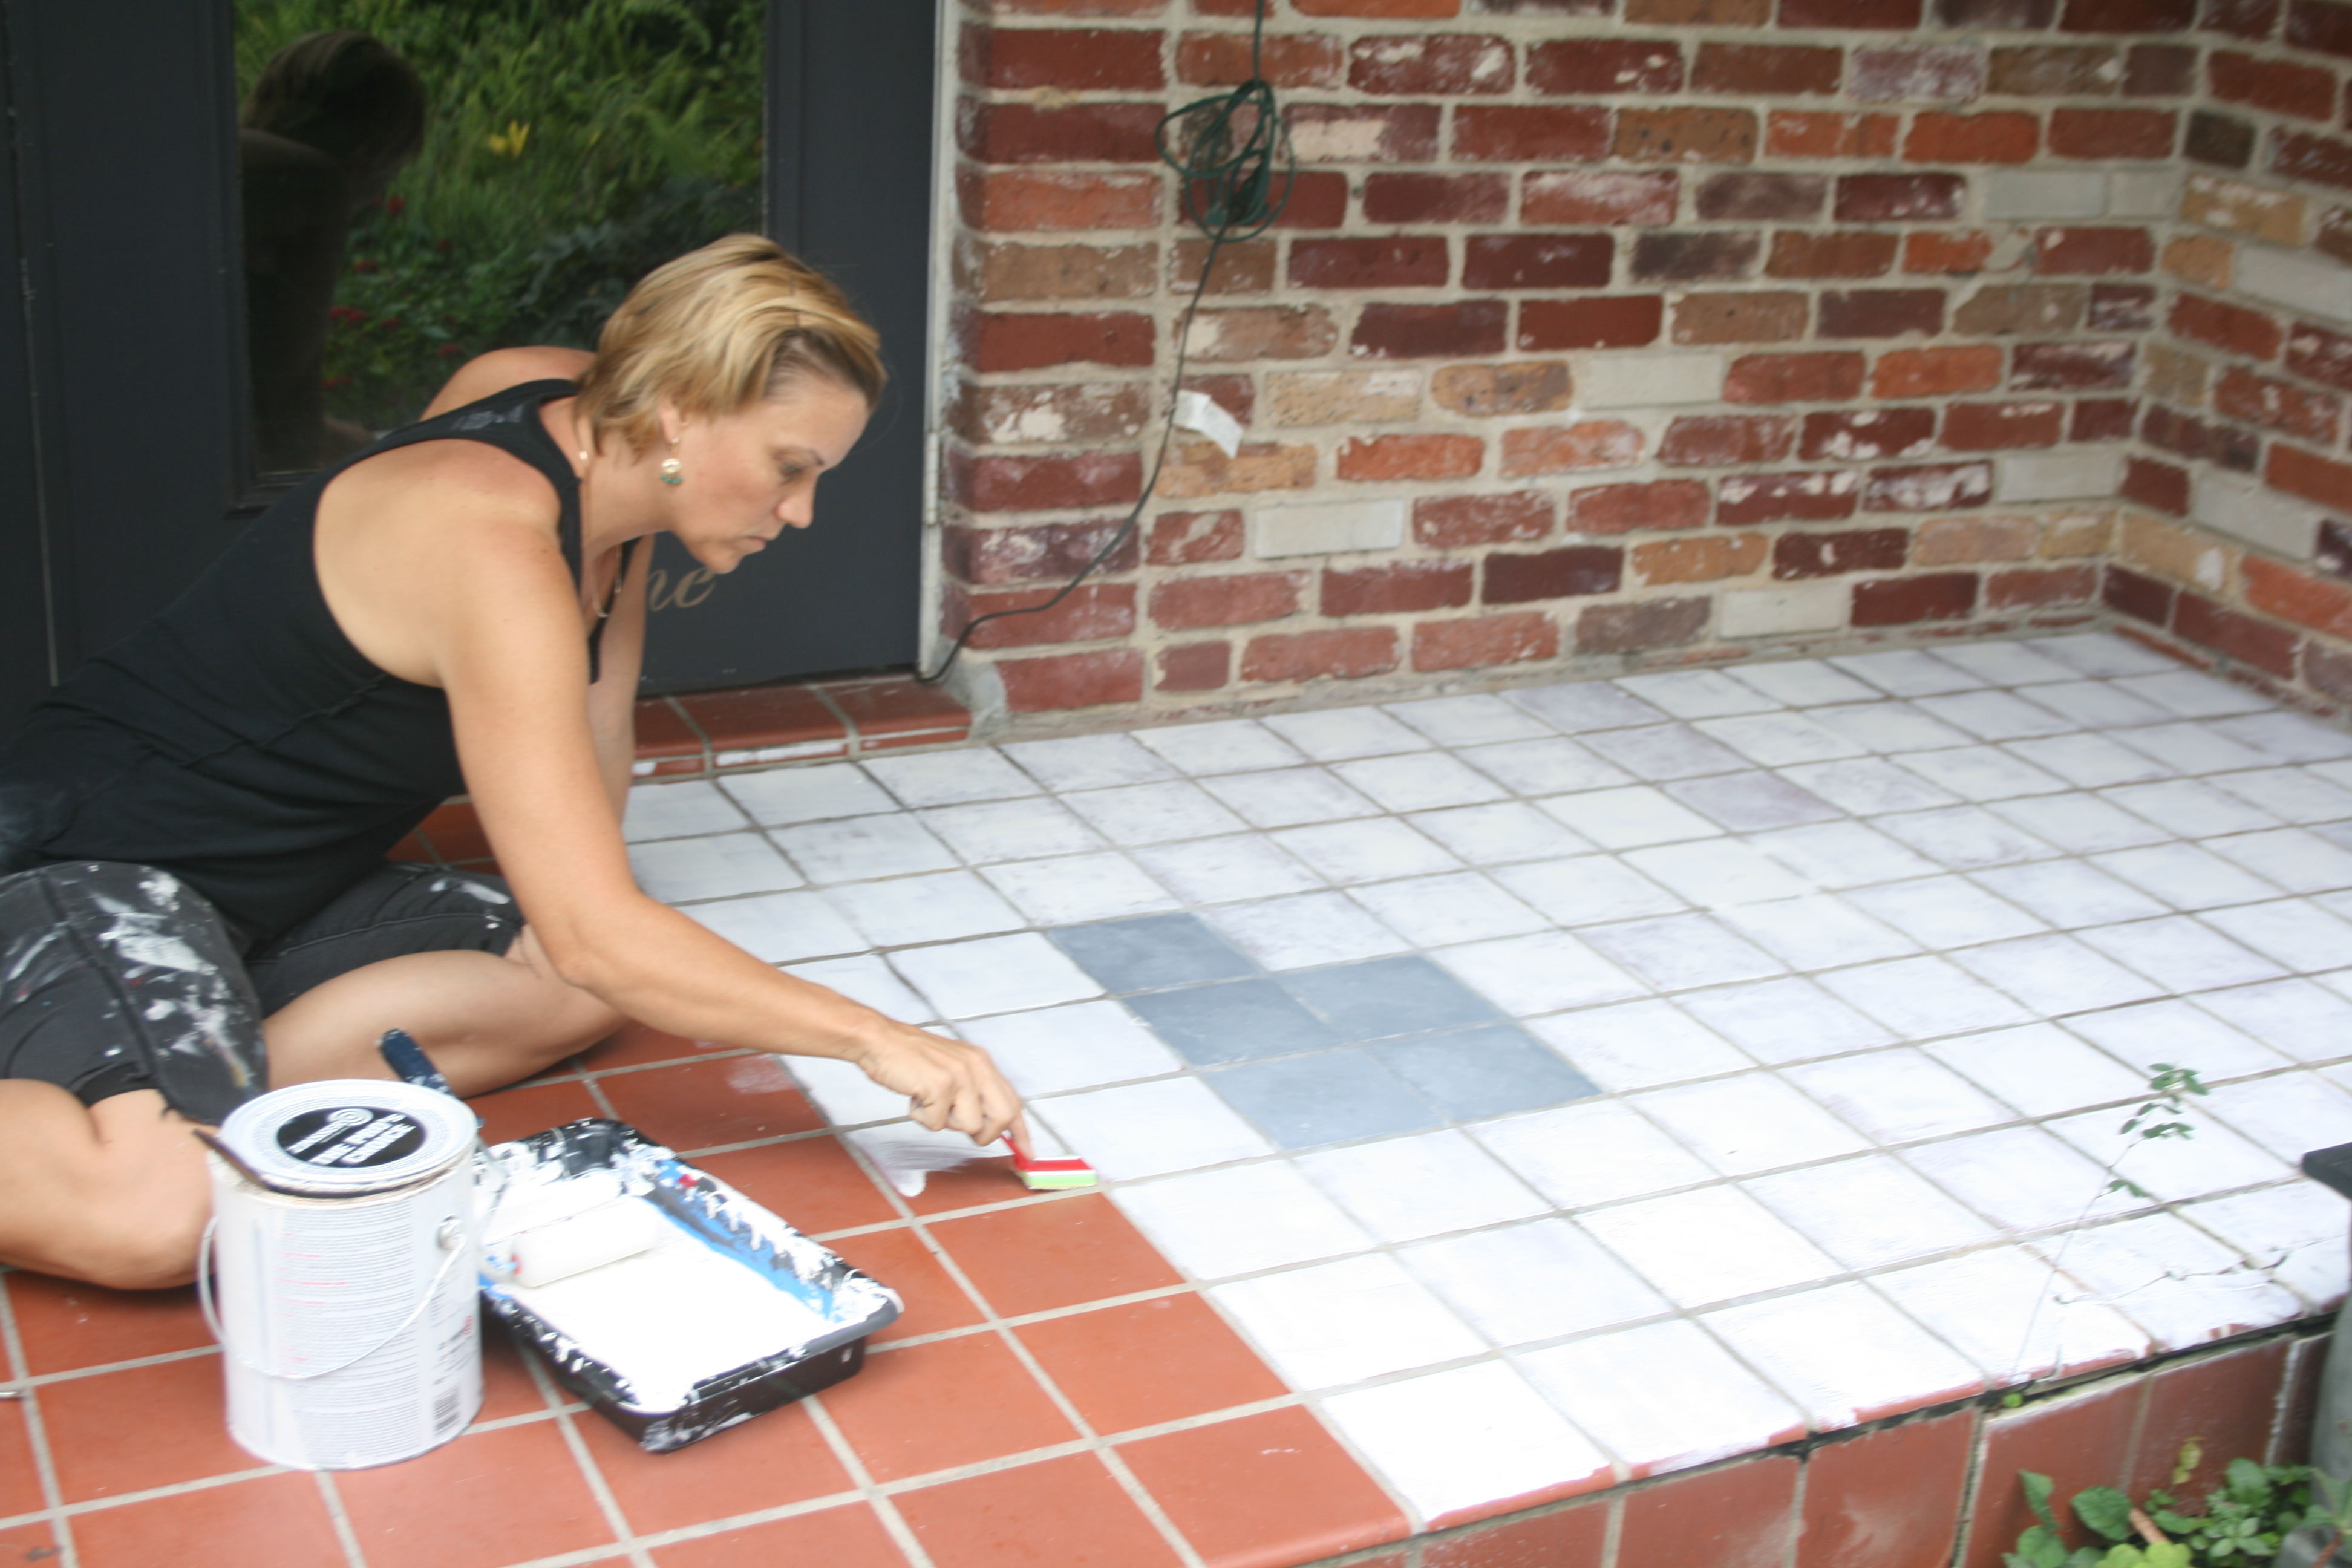 I painted each tile individually because I wanted the grout to remain grey and semi-aged. More authentic looking. It was a little tedious. I tried a few different tools and the 4″ sponge roller was by far the fastest and easiest method. With the roller fairly dry I was able to roll each tile without having to cut-in around the edge of each one. I rolled fairly lightly.
 Then I did the same process with Behr Ultra(paint and primer in one). It was left over from my master bedroom walls. The color is called Graphite Pencil.
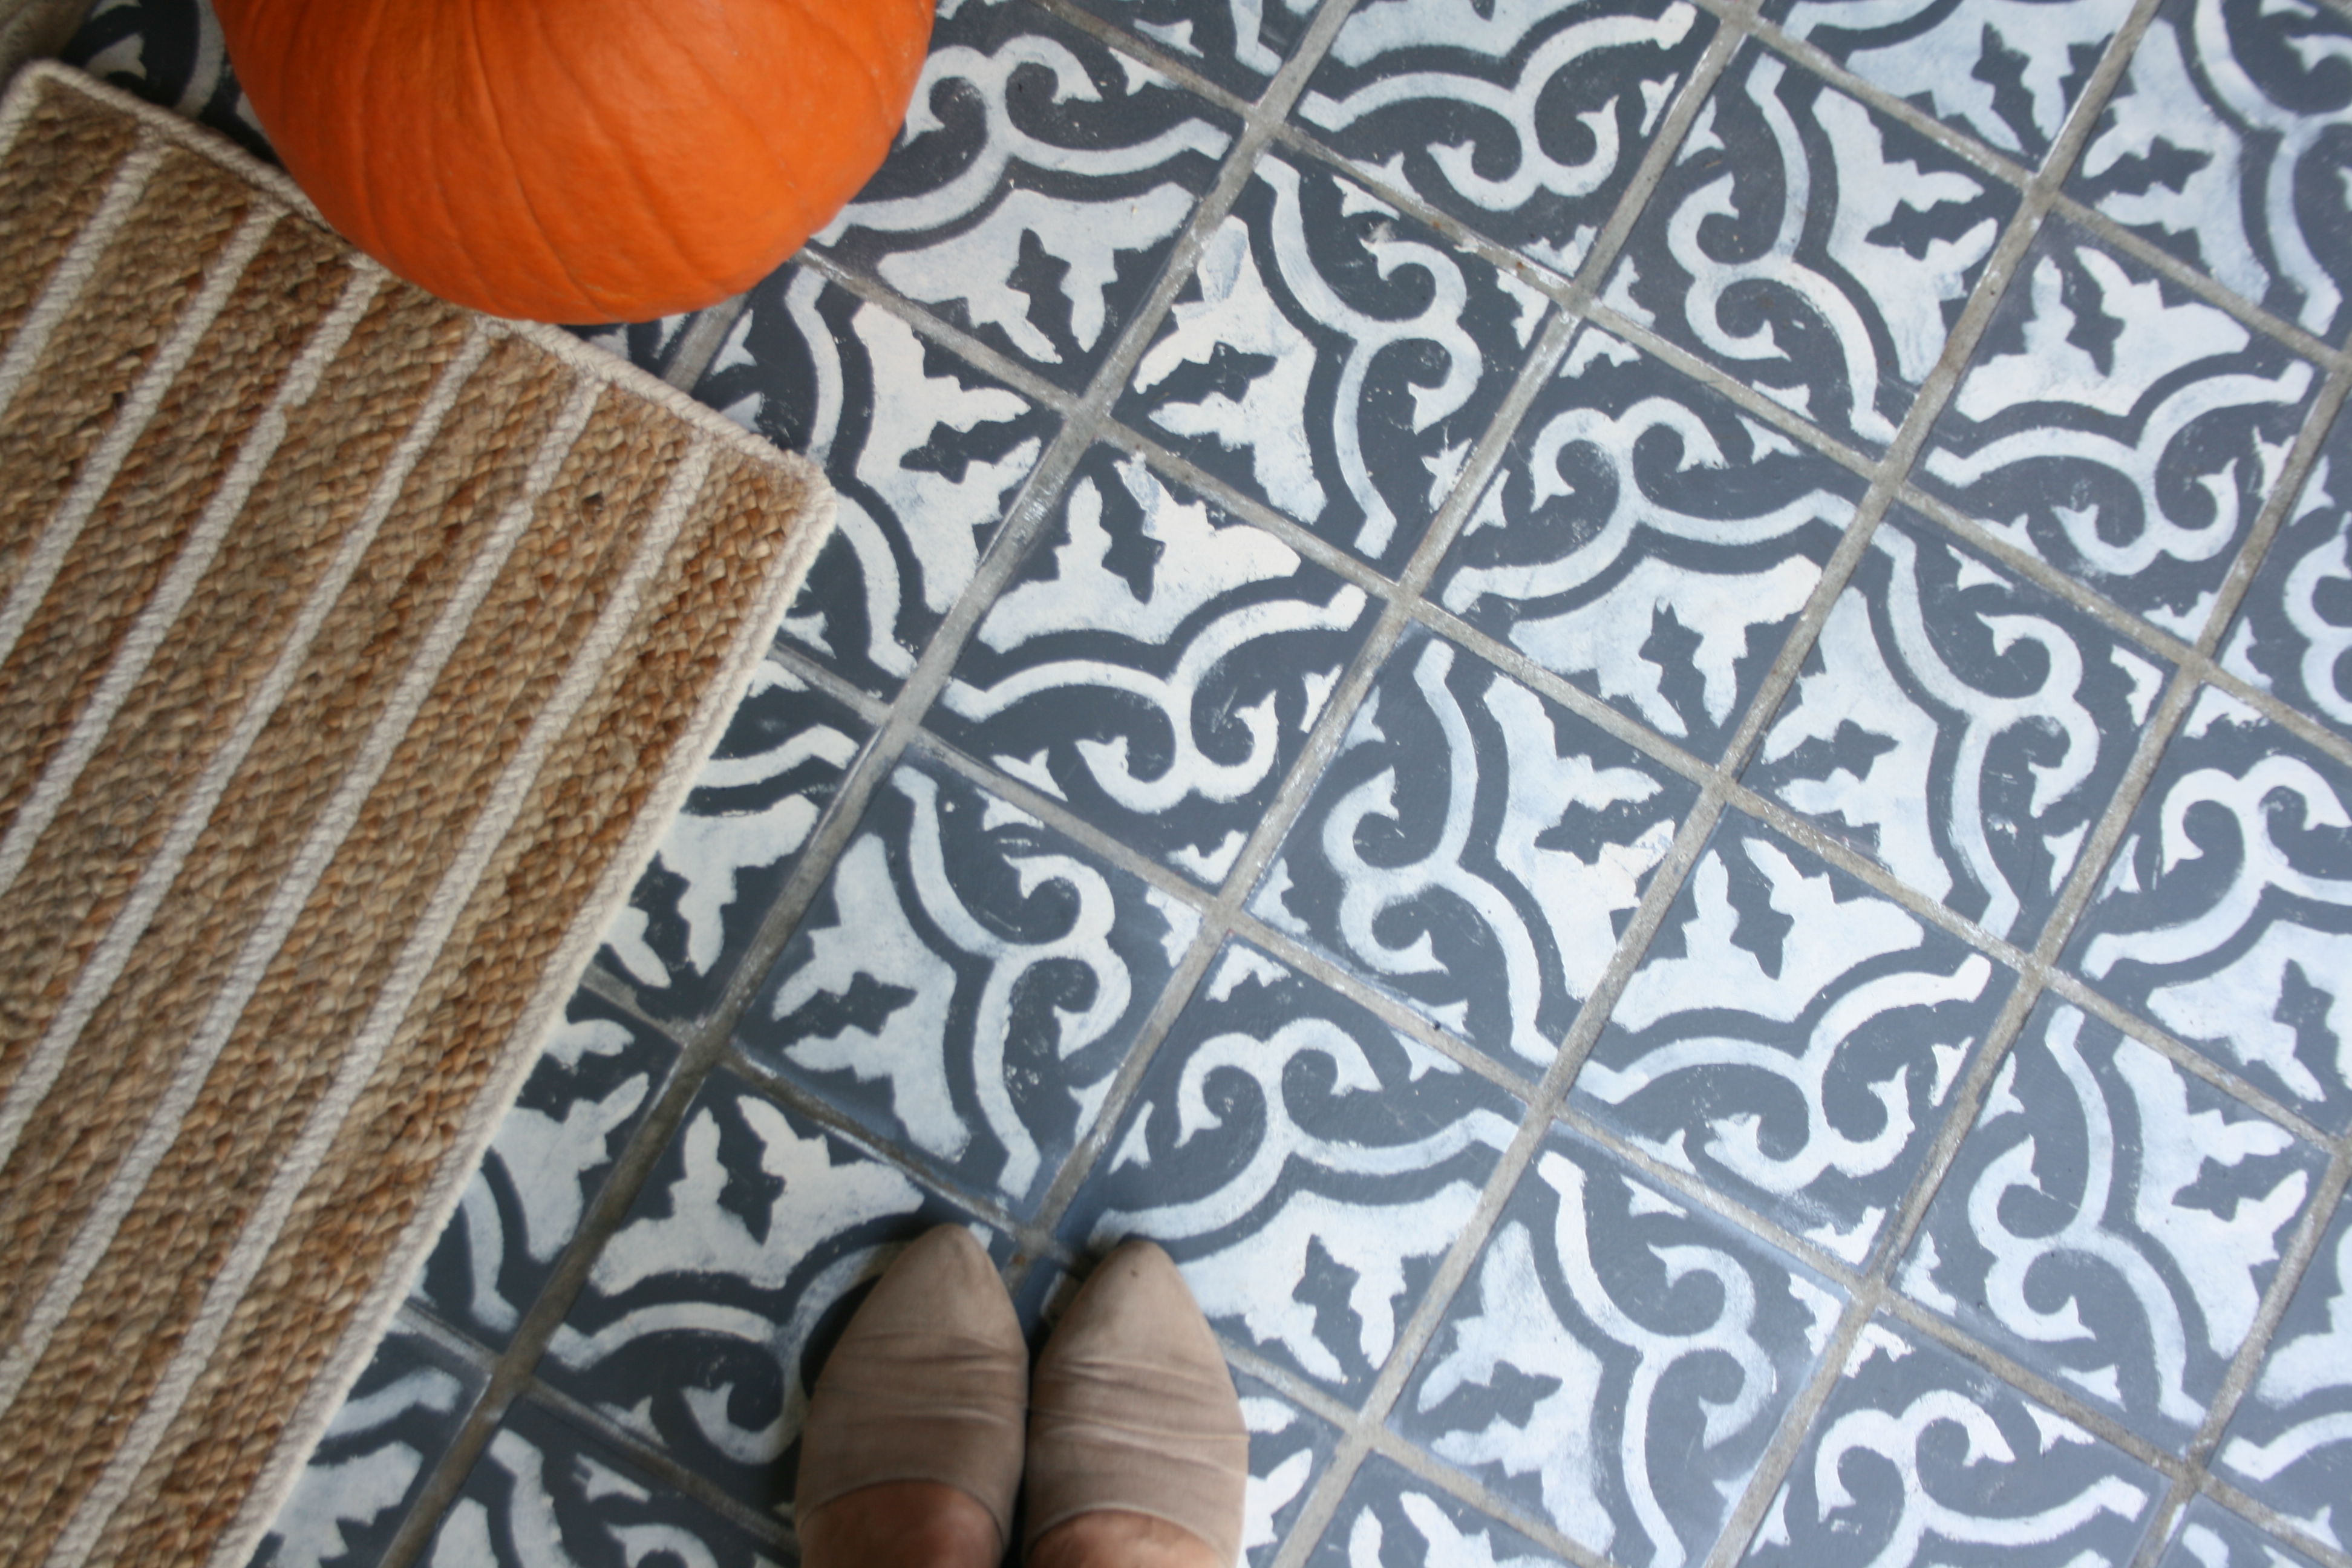
 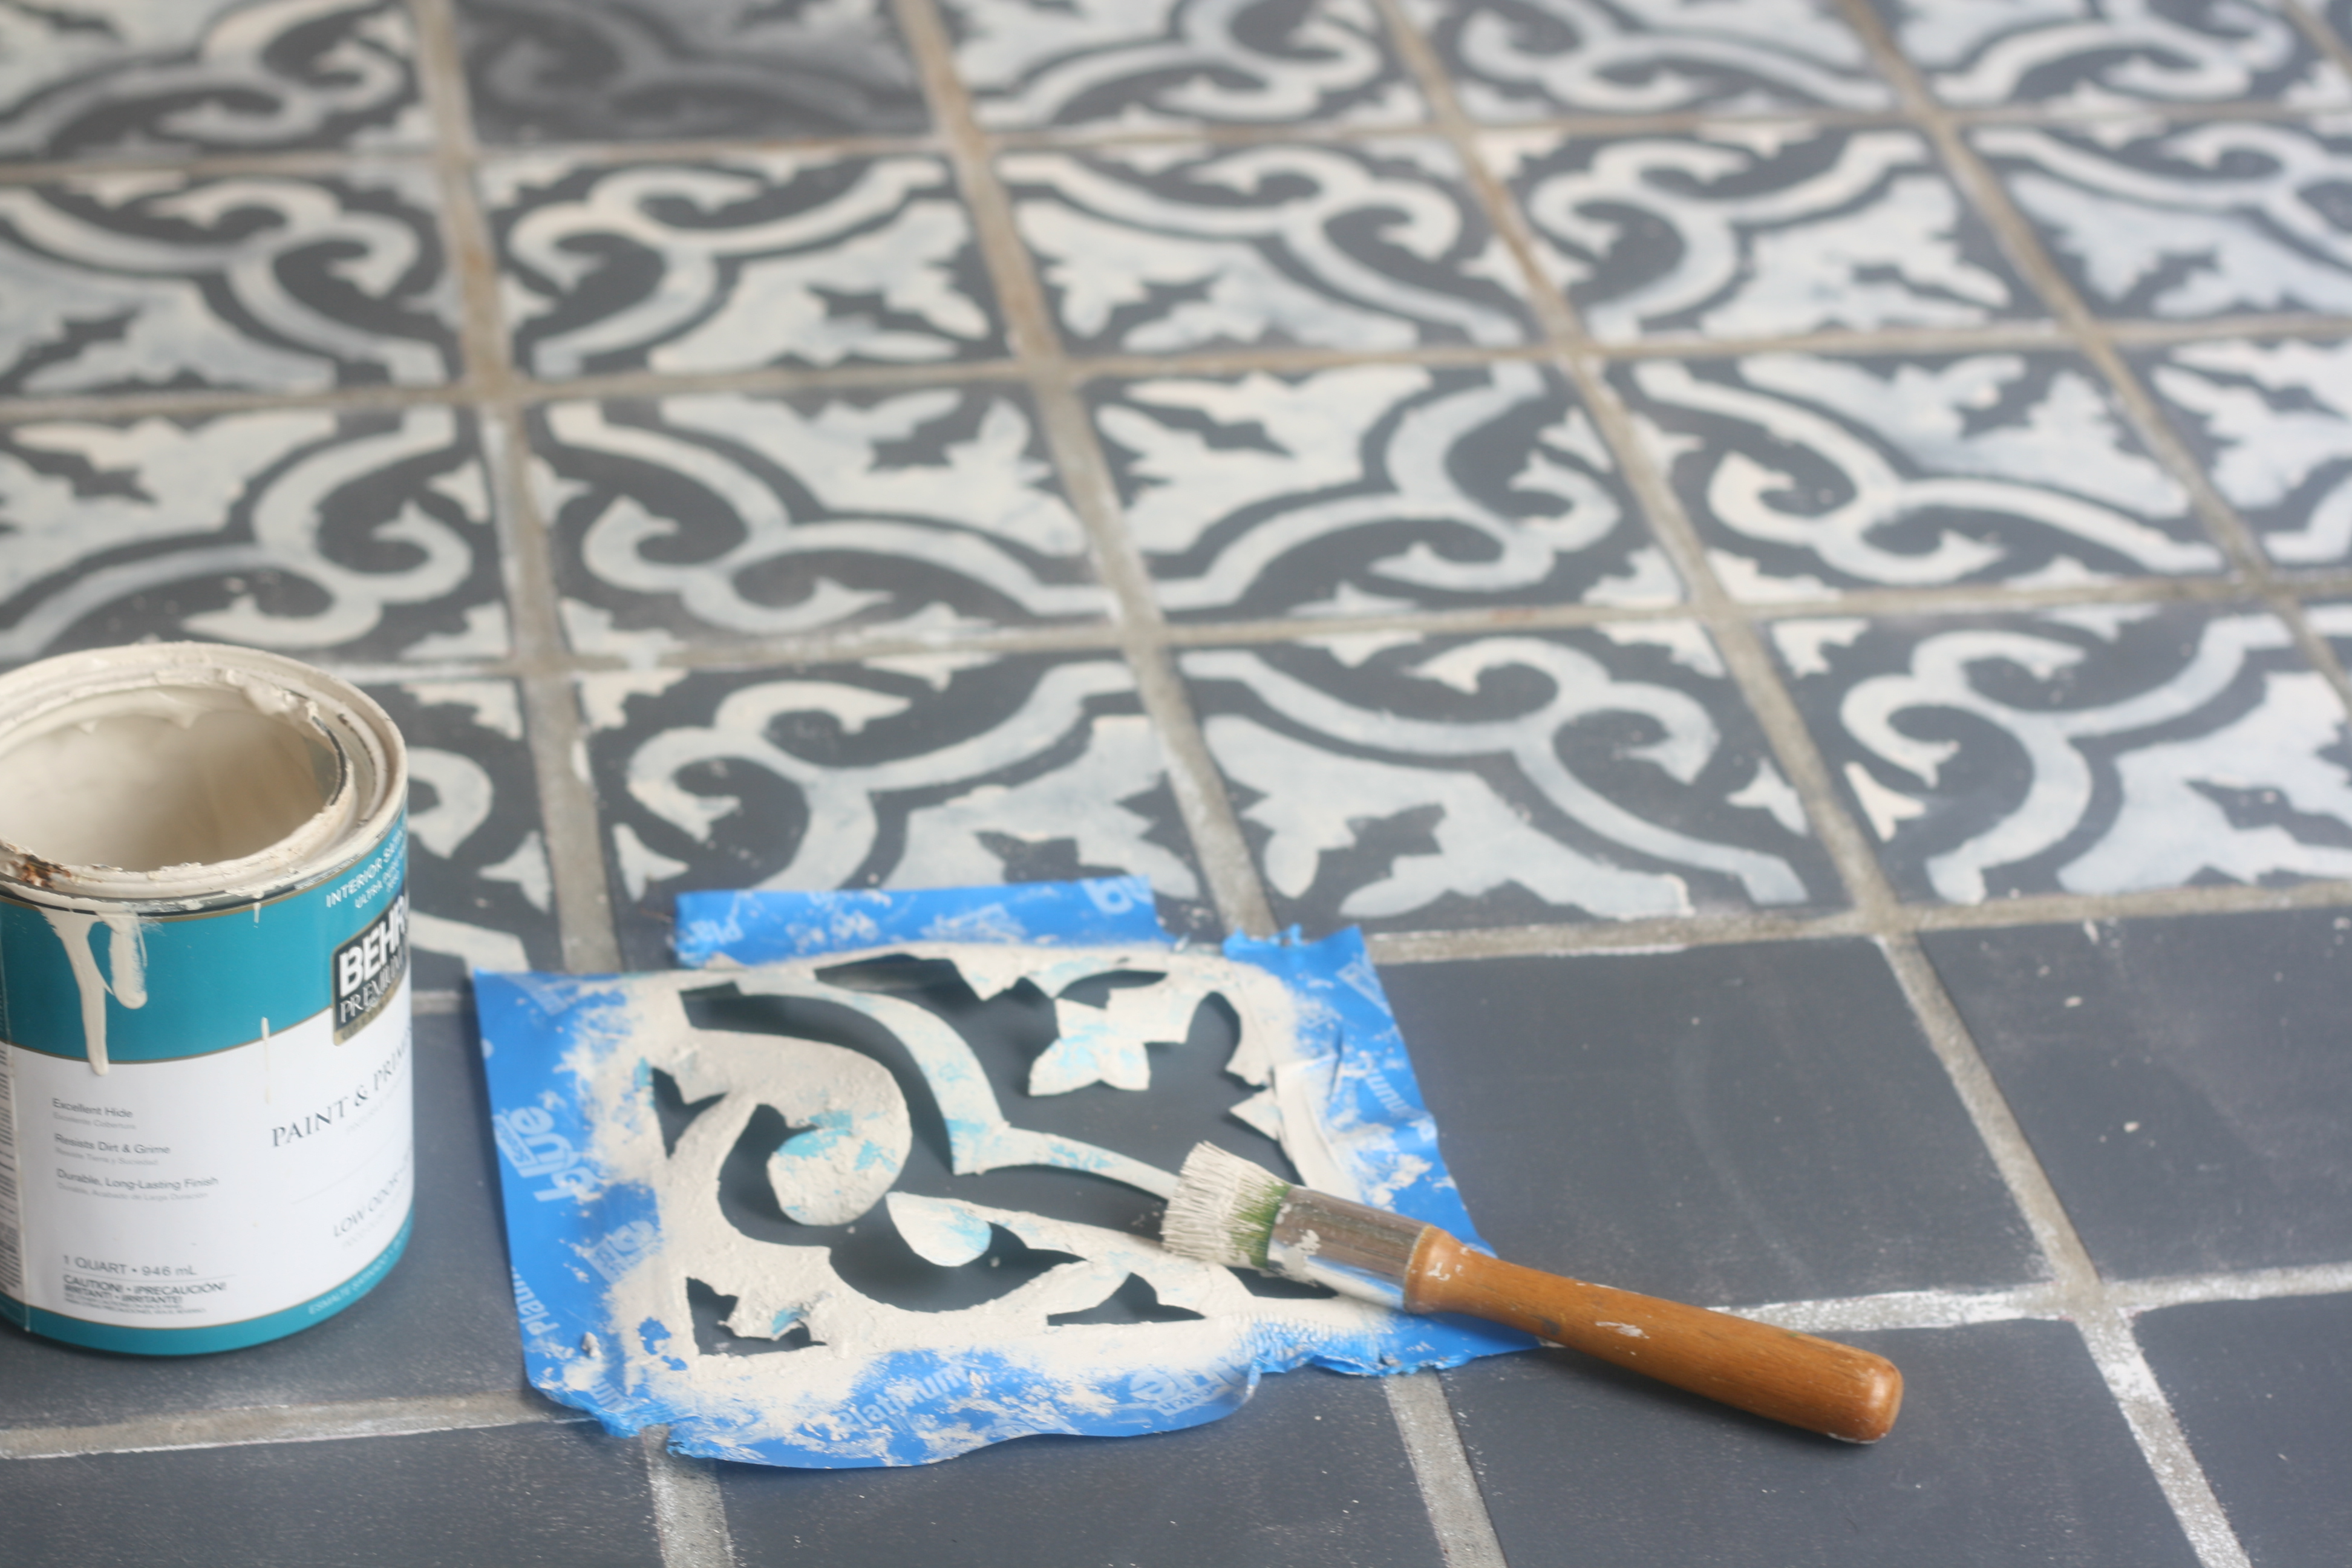 I taped the stencil down on each square and used a flat stencil brush to dry brush the paint on. Next time I would definitely cut my stencil to cover four or more tiles at once so I could stencil multiple tiles without moving the stencil. Like my mom always said…you live and learn, and sometimes you just live.
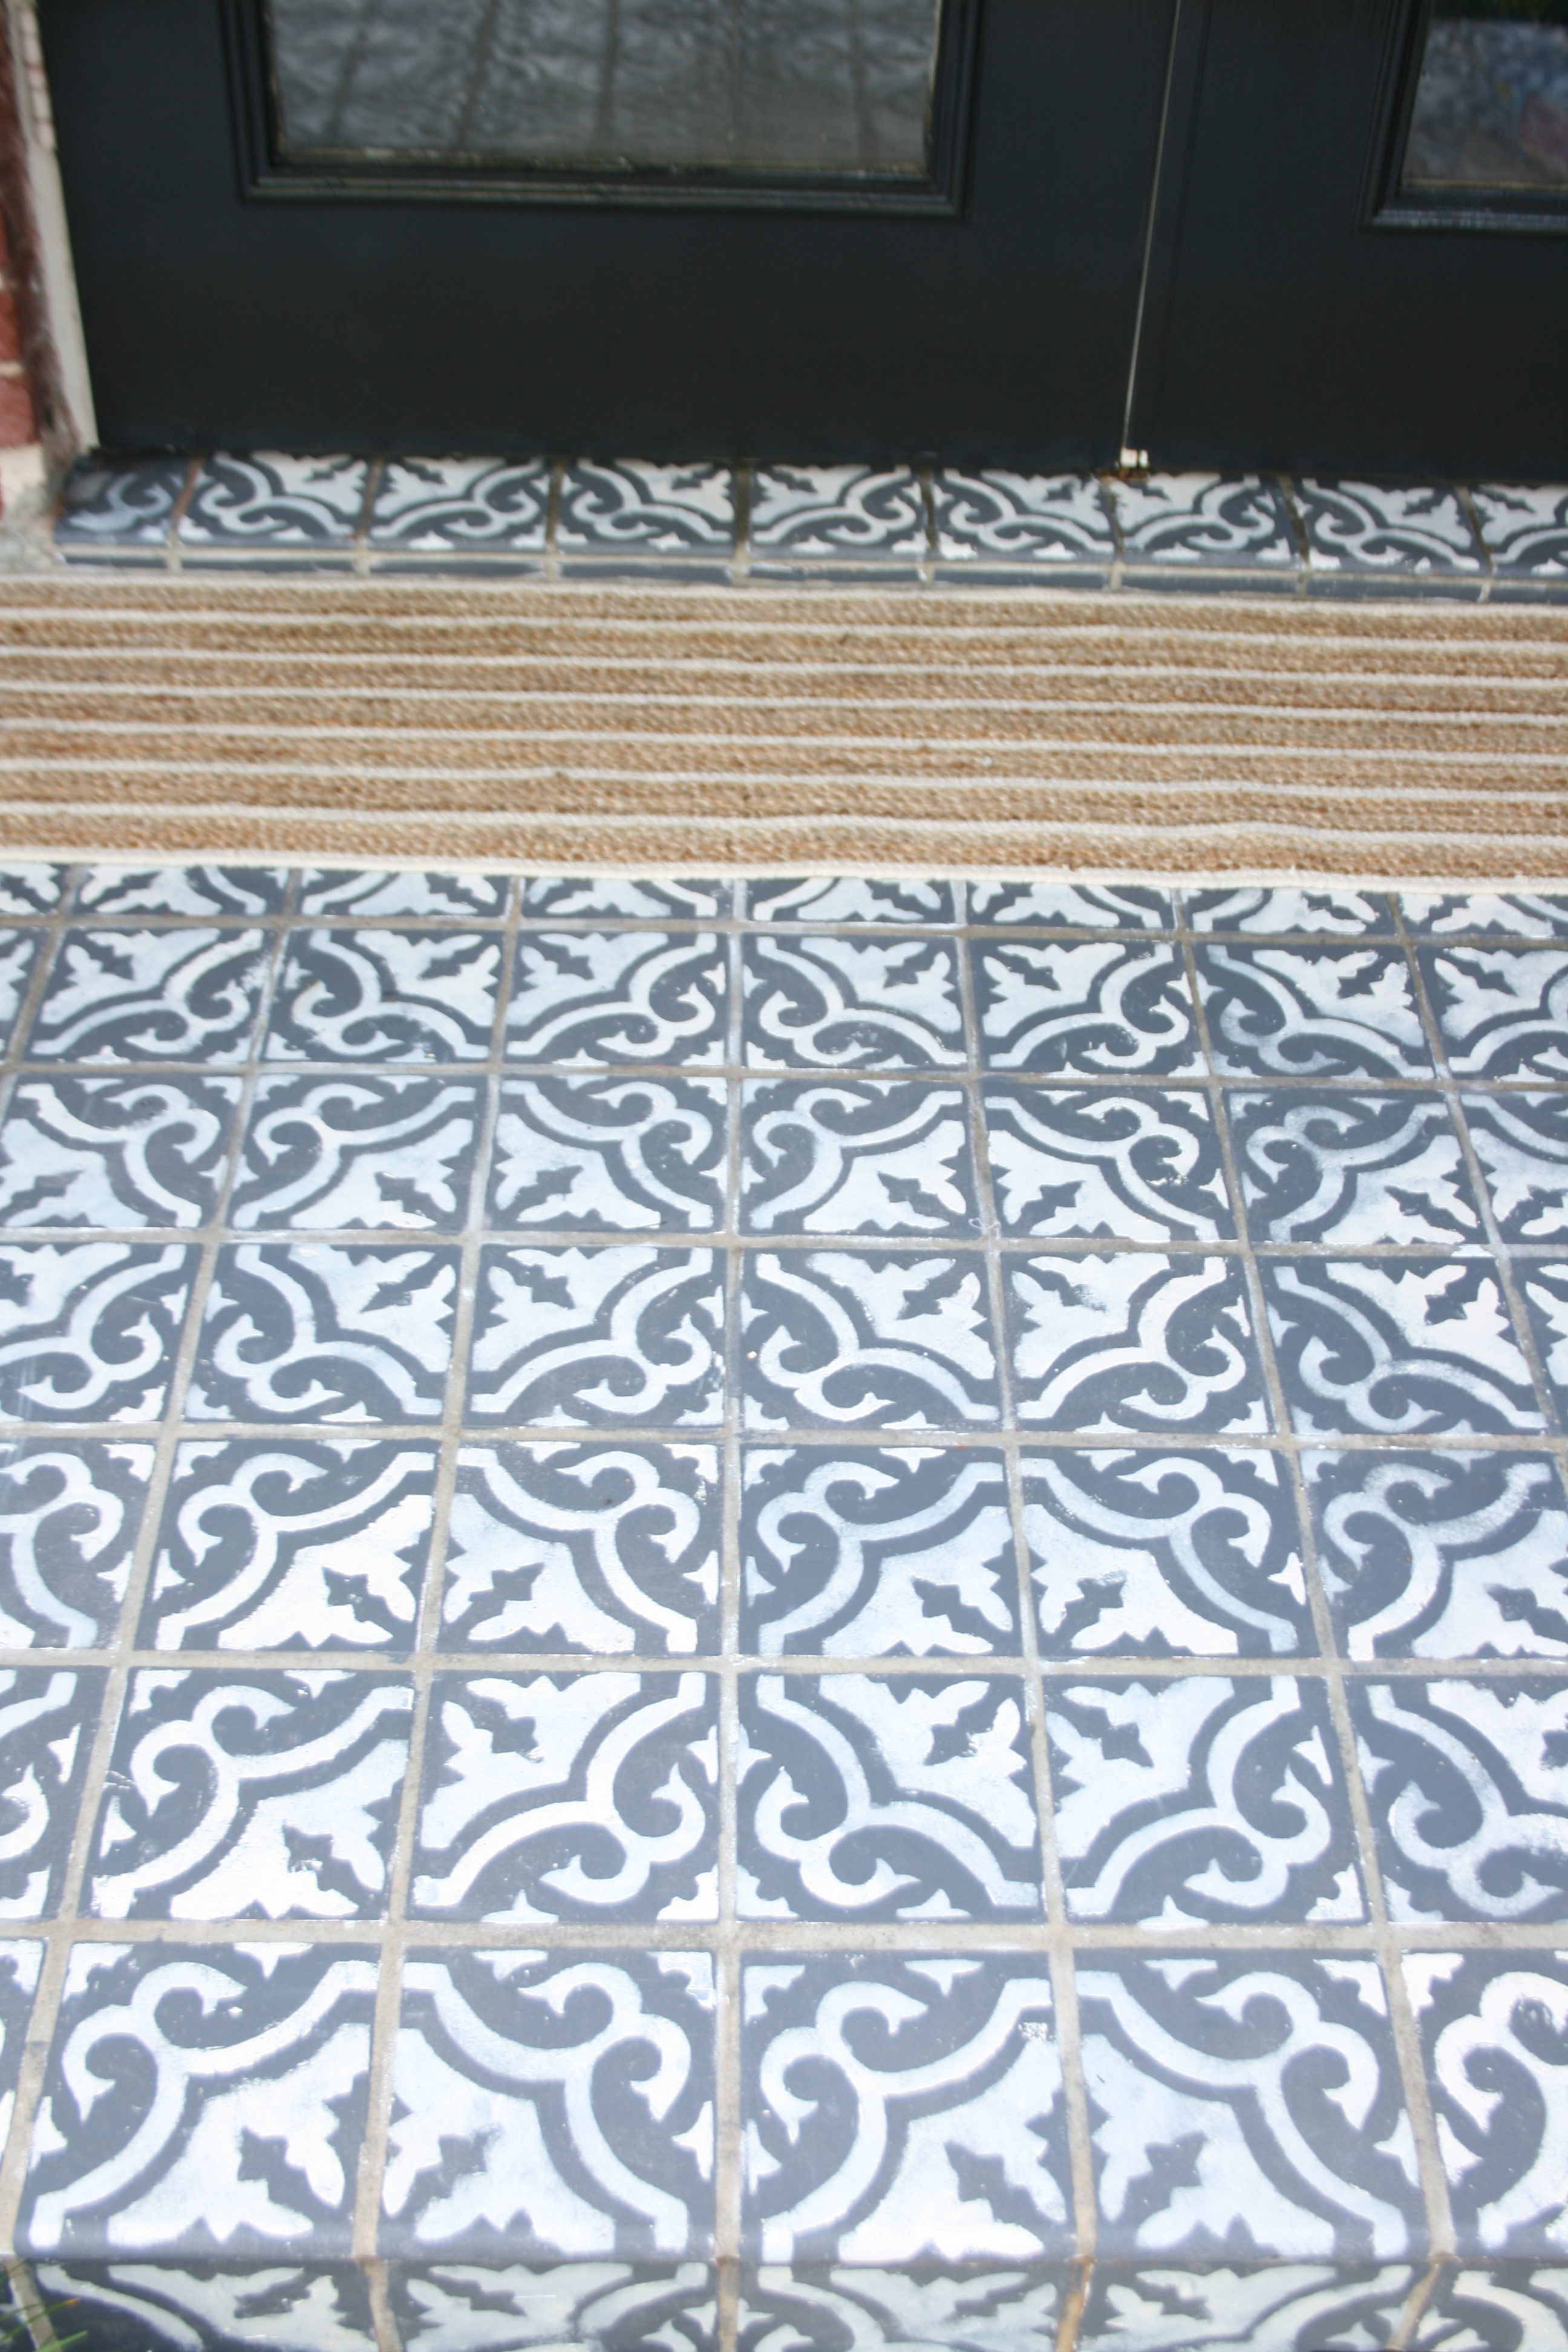
 I love the way it turned out! I just hope the shellac primer does its job and sticks. We’ll see how long it lasts. Now I need to paint my house. I intended to paint the brick after I replace the front windows and so far I’ve only replaced my two workroom windows. So it’s about time I just go ahead and paint.
Next up,
- New lights
- New greeting…either painted on like the previous “welcome” , or possibly purchase a sticker from etsy.
- landscape tweeking leading to the front door(at least some new mulch).
What do you think? I think it actually looks authentic.

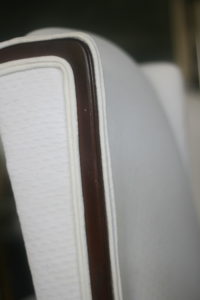
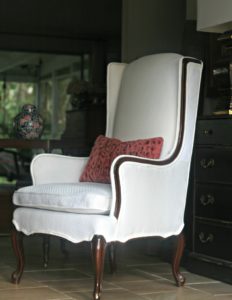 I scored this chair at thrift store for next to nothing. Like $5 or something, and it’s perfectly solid and doesn’t smell! Even though I have a garage full of projects, I just couldn’t pass on the deal because it’s such an easy style to reupholster.
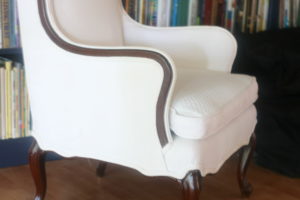
 I have a tutorial
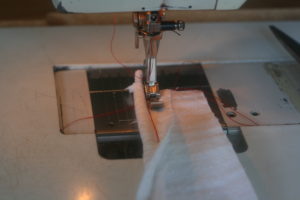
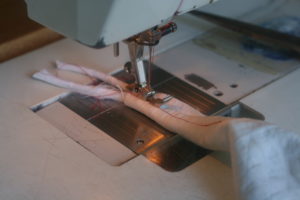
 The absolute easiest way is to make a pattern out of a semi-transparent or sheer fabric. I used drapery lining, but you could use muslin, voile, cotton, or any fabric that you can see the print of your fabric through. I lay the drapery lining on top of the chair seat and cut around the seat making sure to leave enough to go around the underside of the seat. Essentially making a pattern or “stencil” (I’ll refer to this as a “stencil” from here on, to eliminate pattern confusion).
 With my fabric all laid out on my cutting table(could be laid on the floor or on a bed) I place my “stencil” on the printed fabric in the position I want. For this project my client wanted three harlequin shapes lined up in the center of the seat and the back. So I place the “stencil” with the three harlequins in the center of the patterned fabric and trace all the harlequin shapes onto my “stencil”.
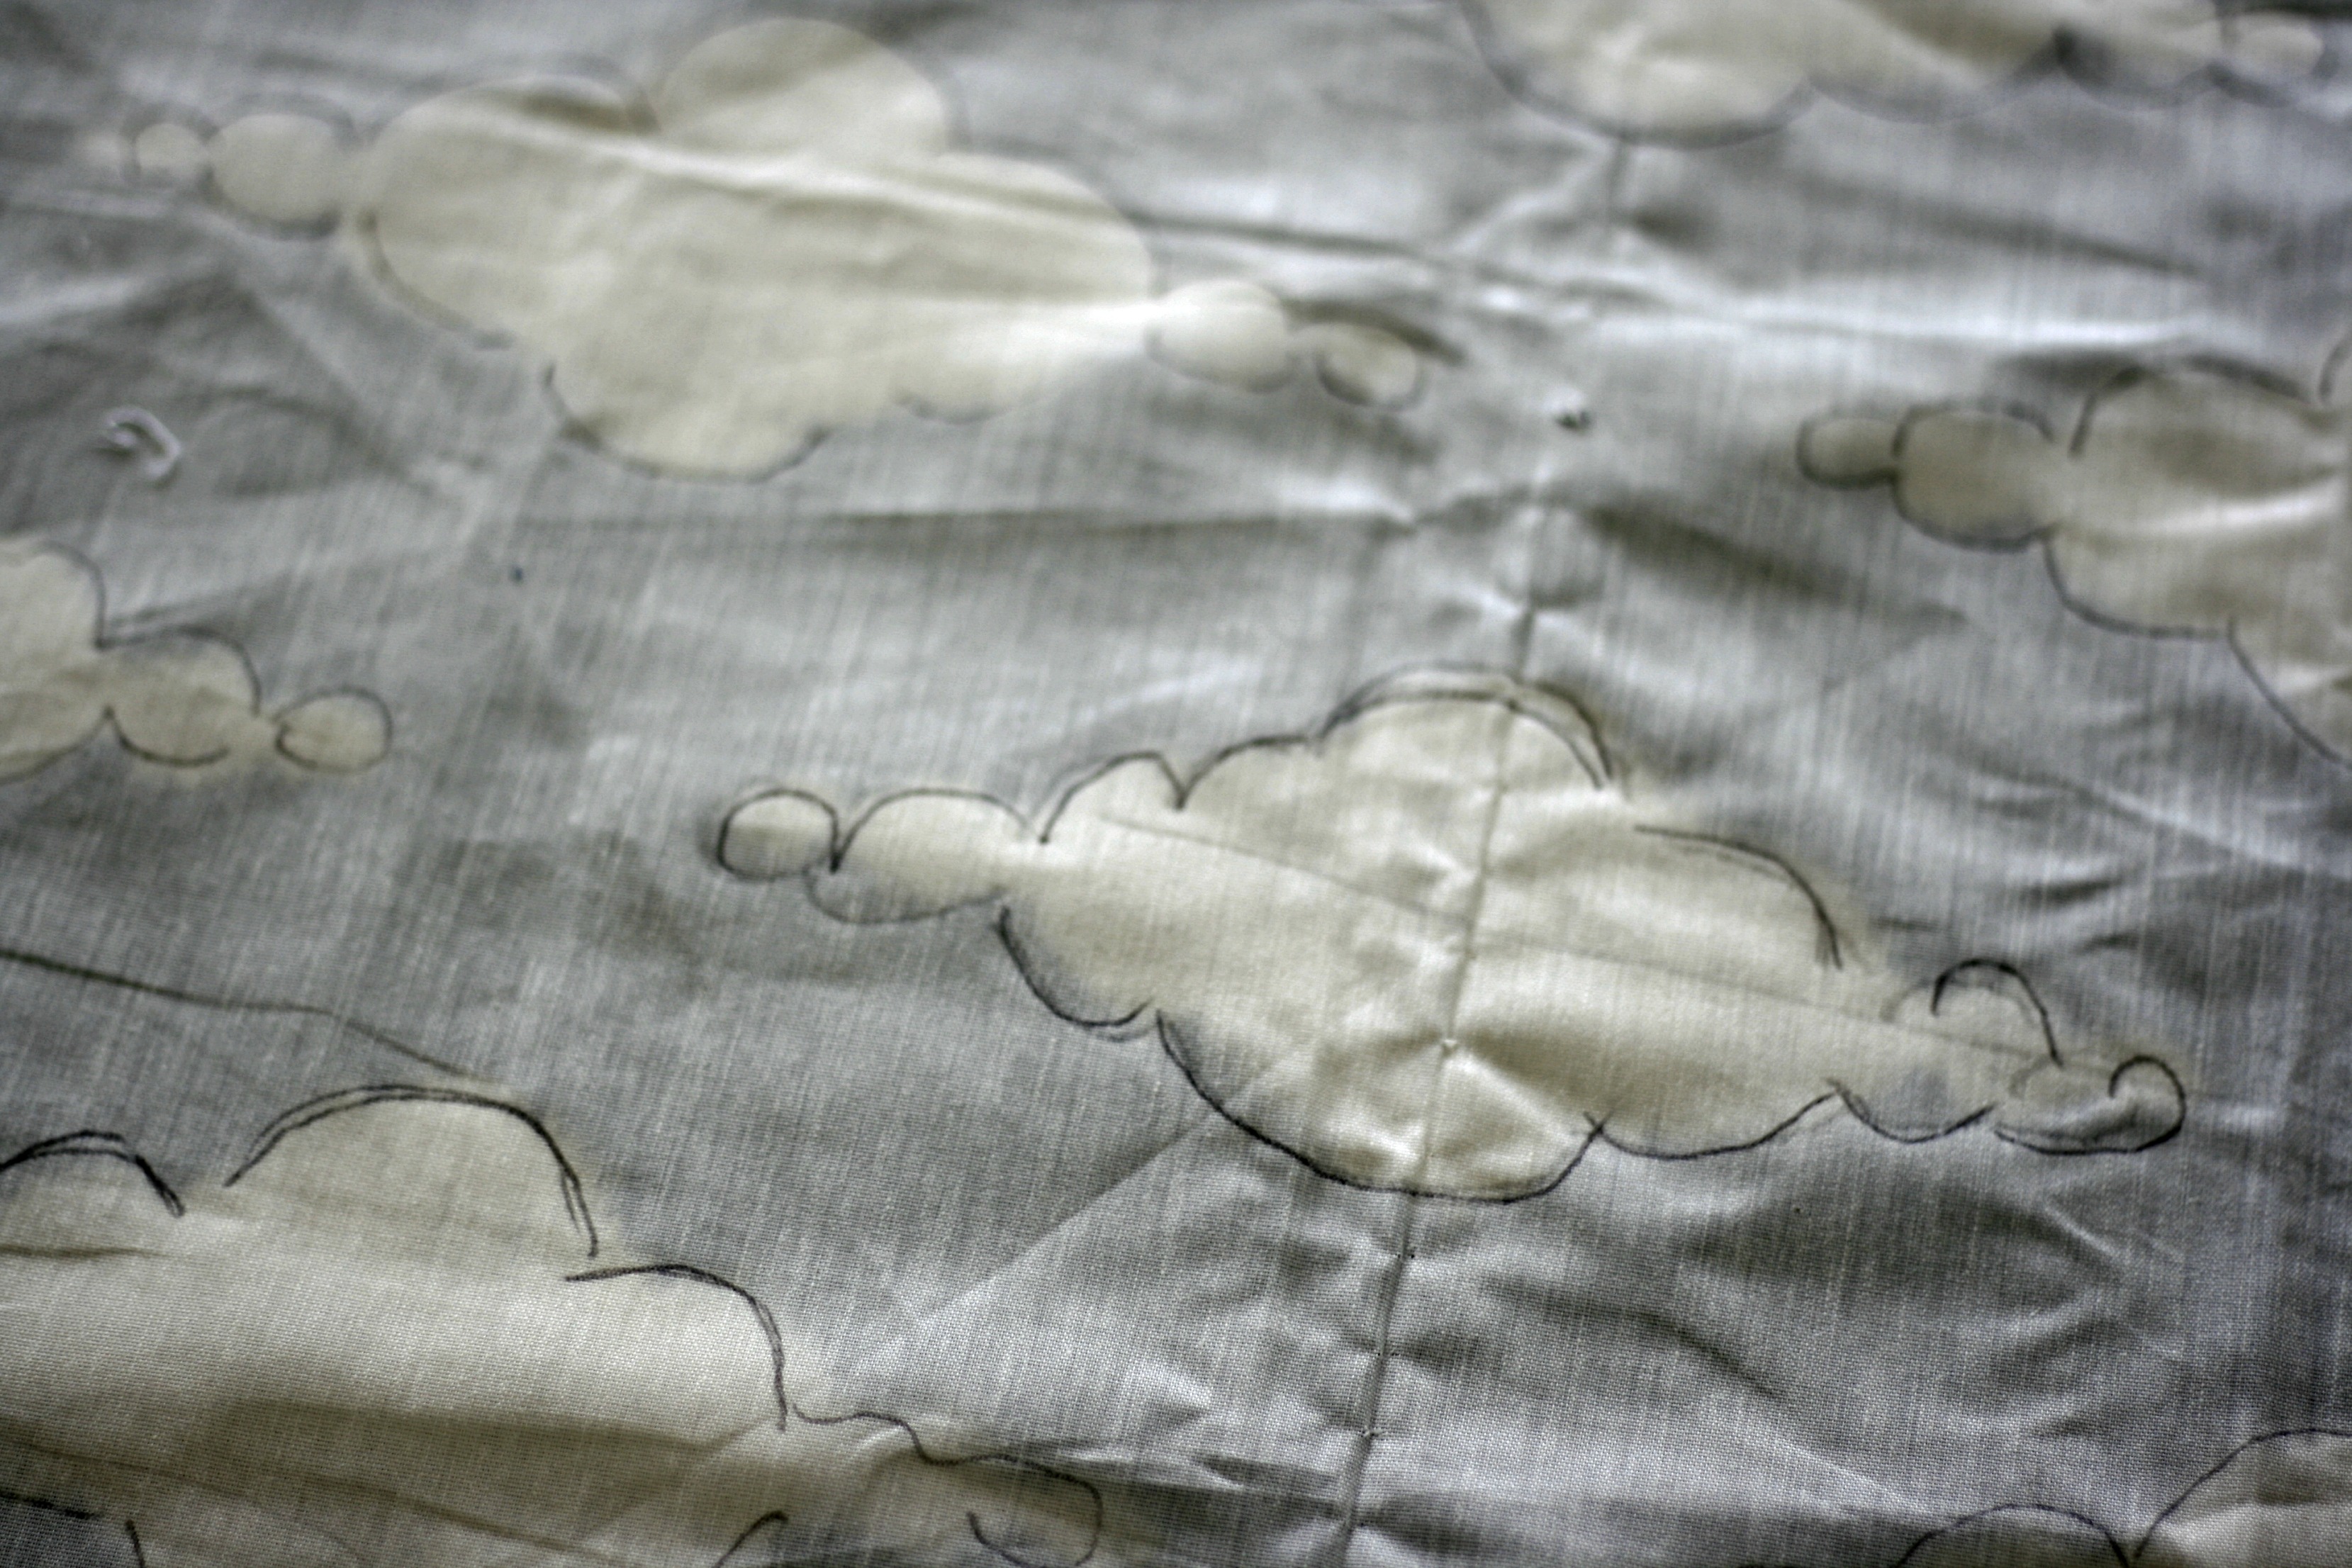
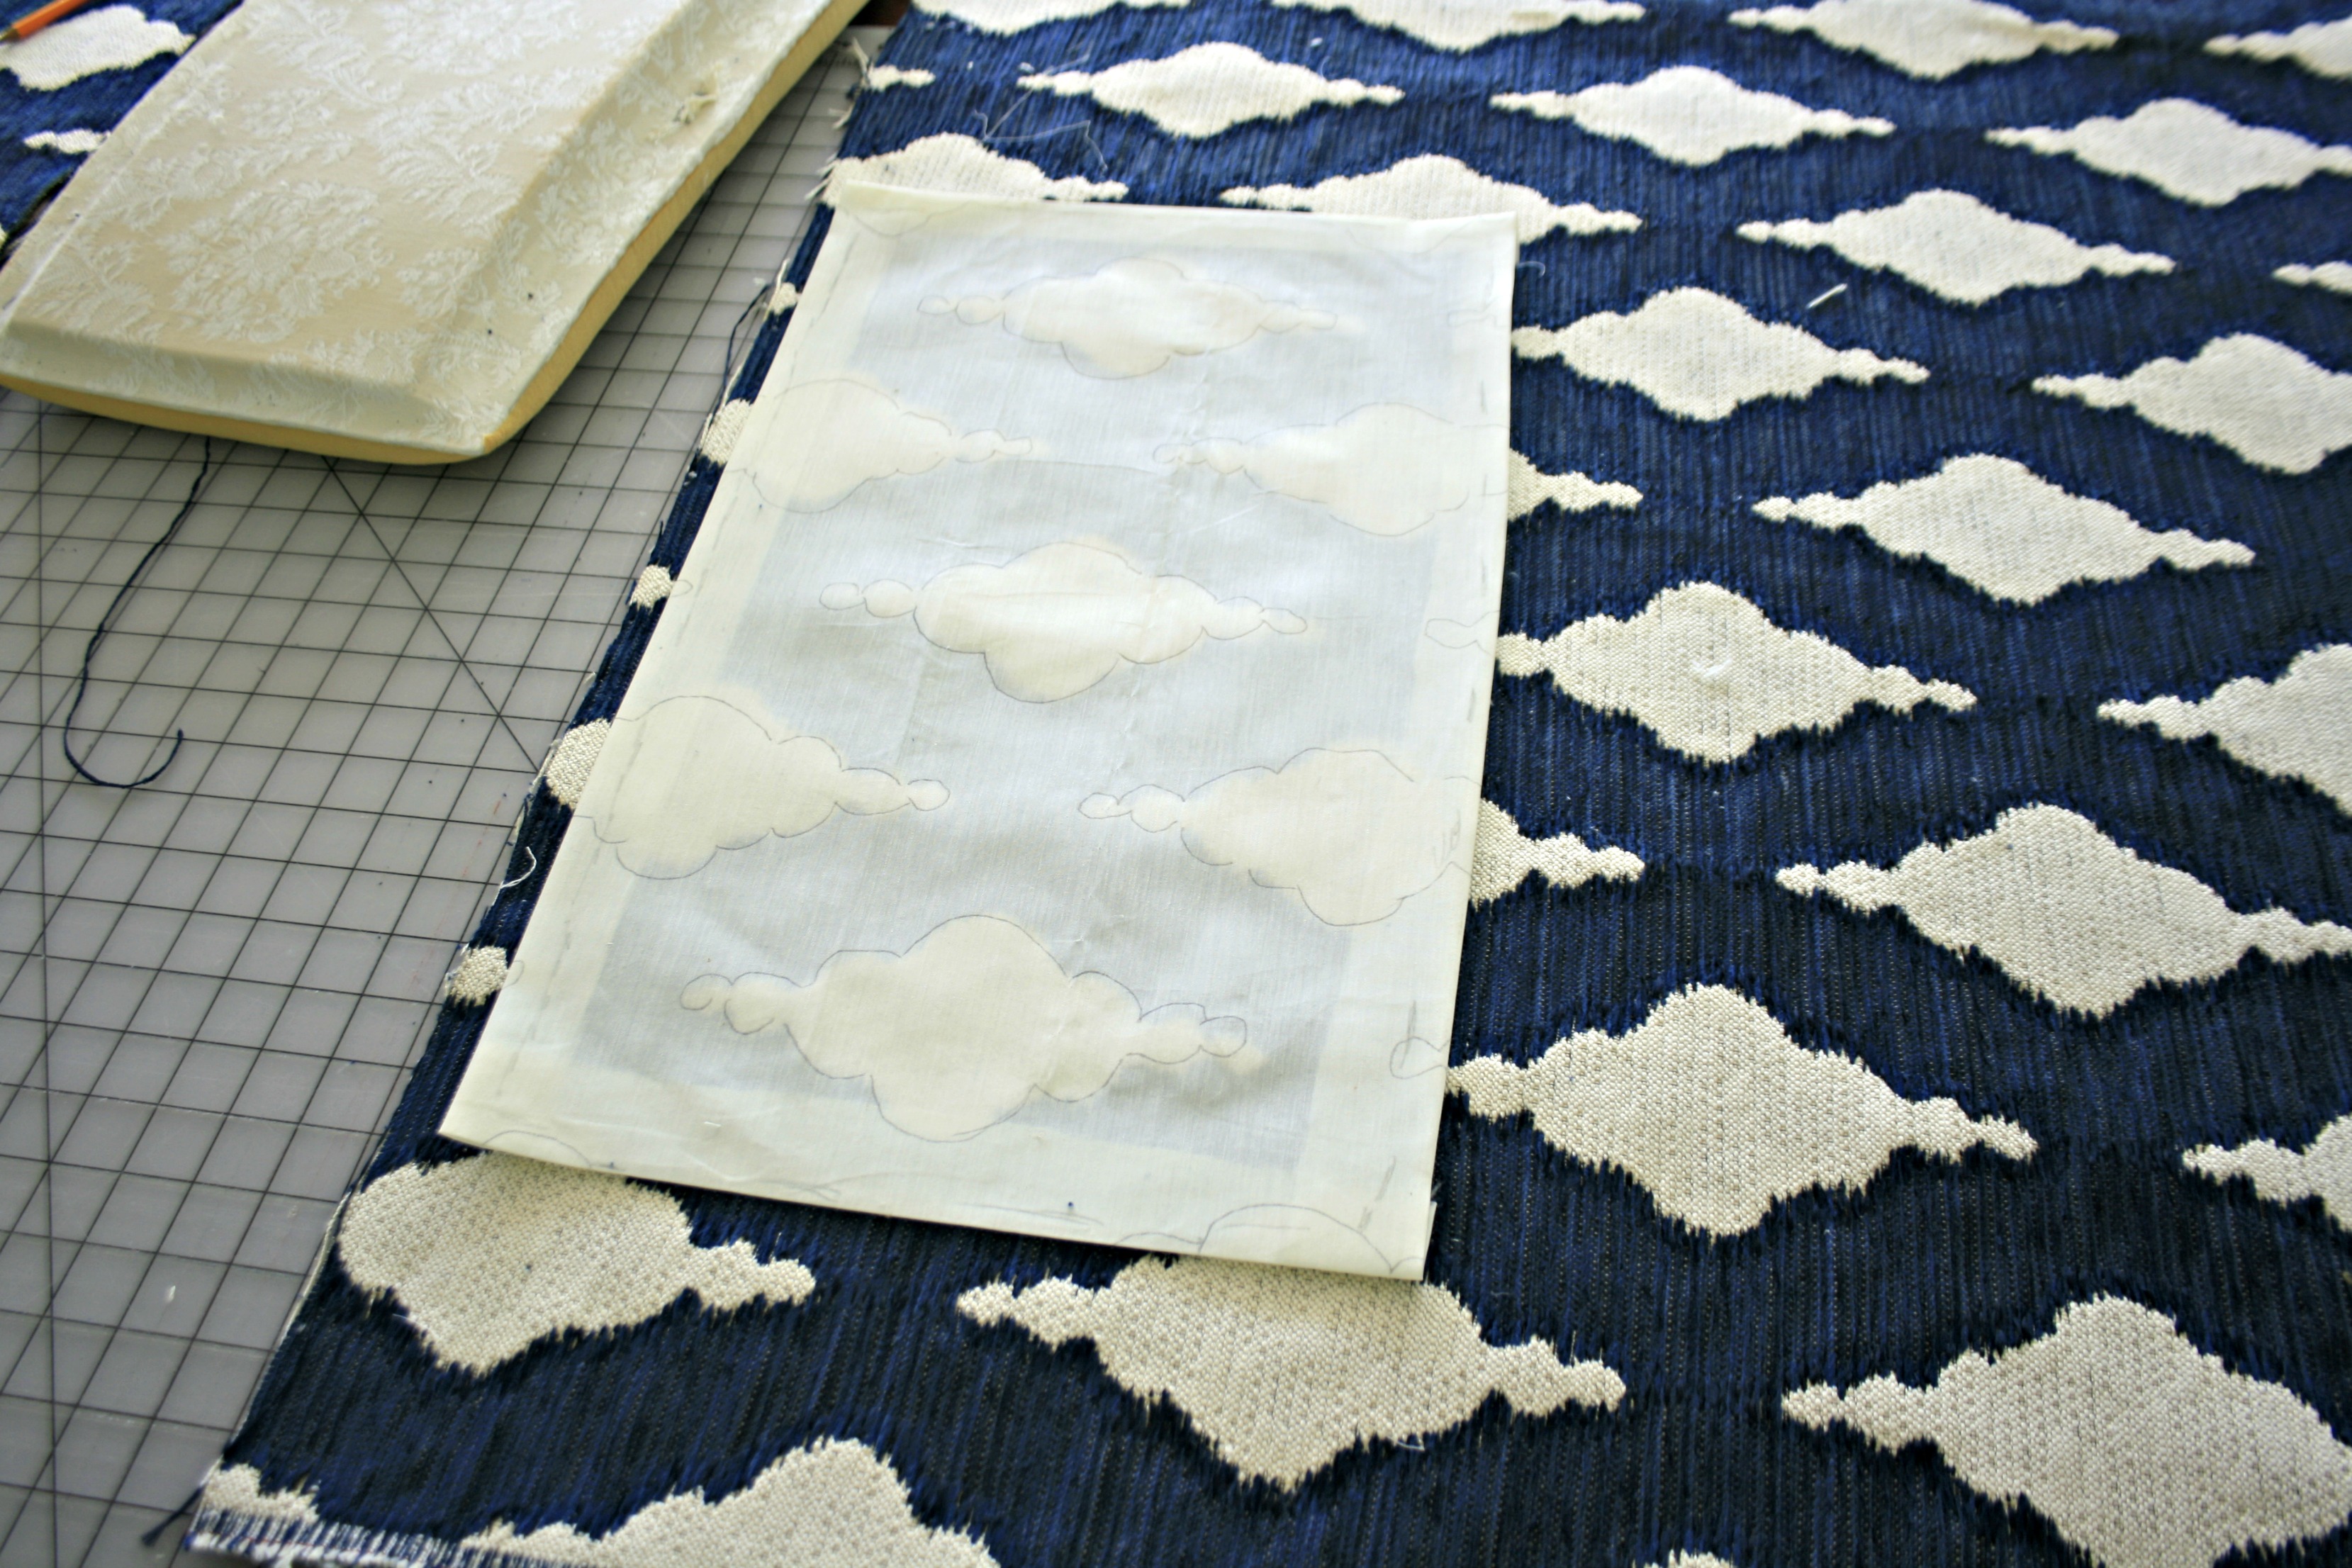 This way I can move my “stencil” around the printed fabric, lining up the hand drawn harlequins to the printed fabric and cut out my pieces which will later be stapled to my chair seats.
  This method ensures that every seat will have the exact same pattern in the exact same position. It also allows me to move the “stencil” around on the fabric before cutting anything to determine if I’ll have enough fabric for all my chairs.
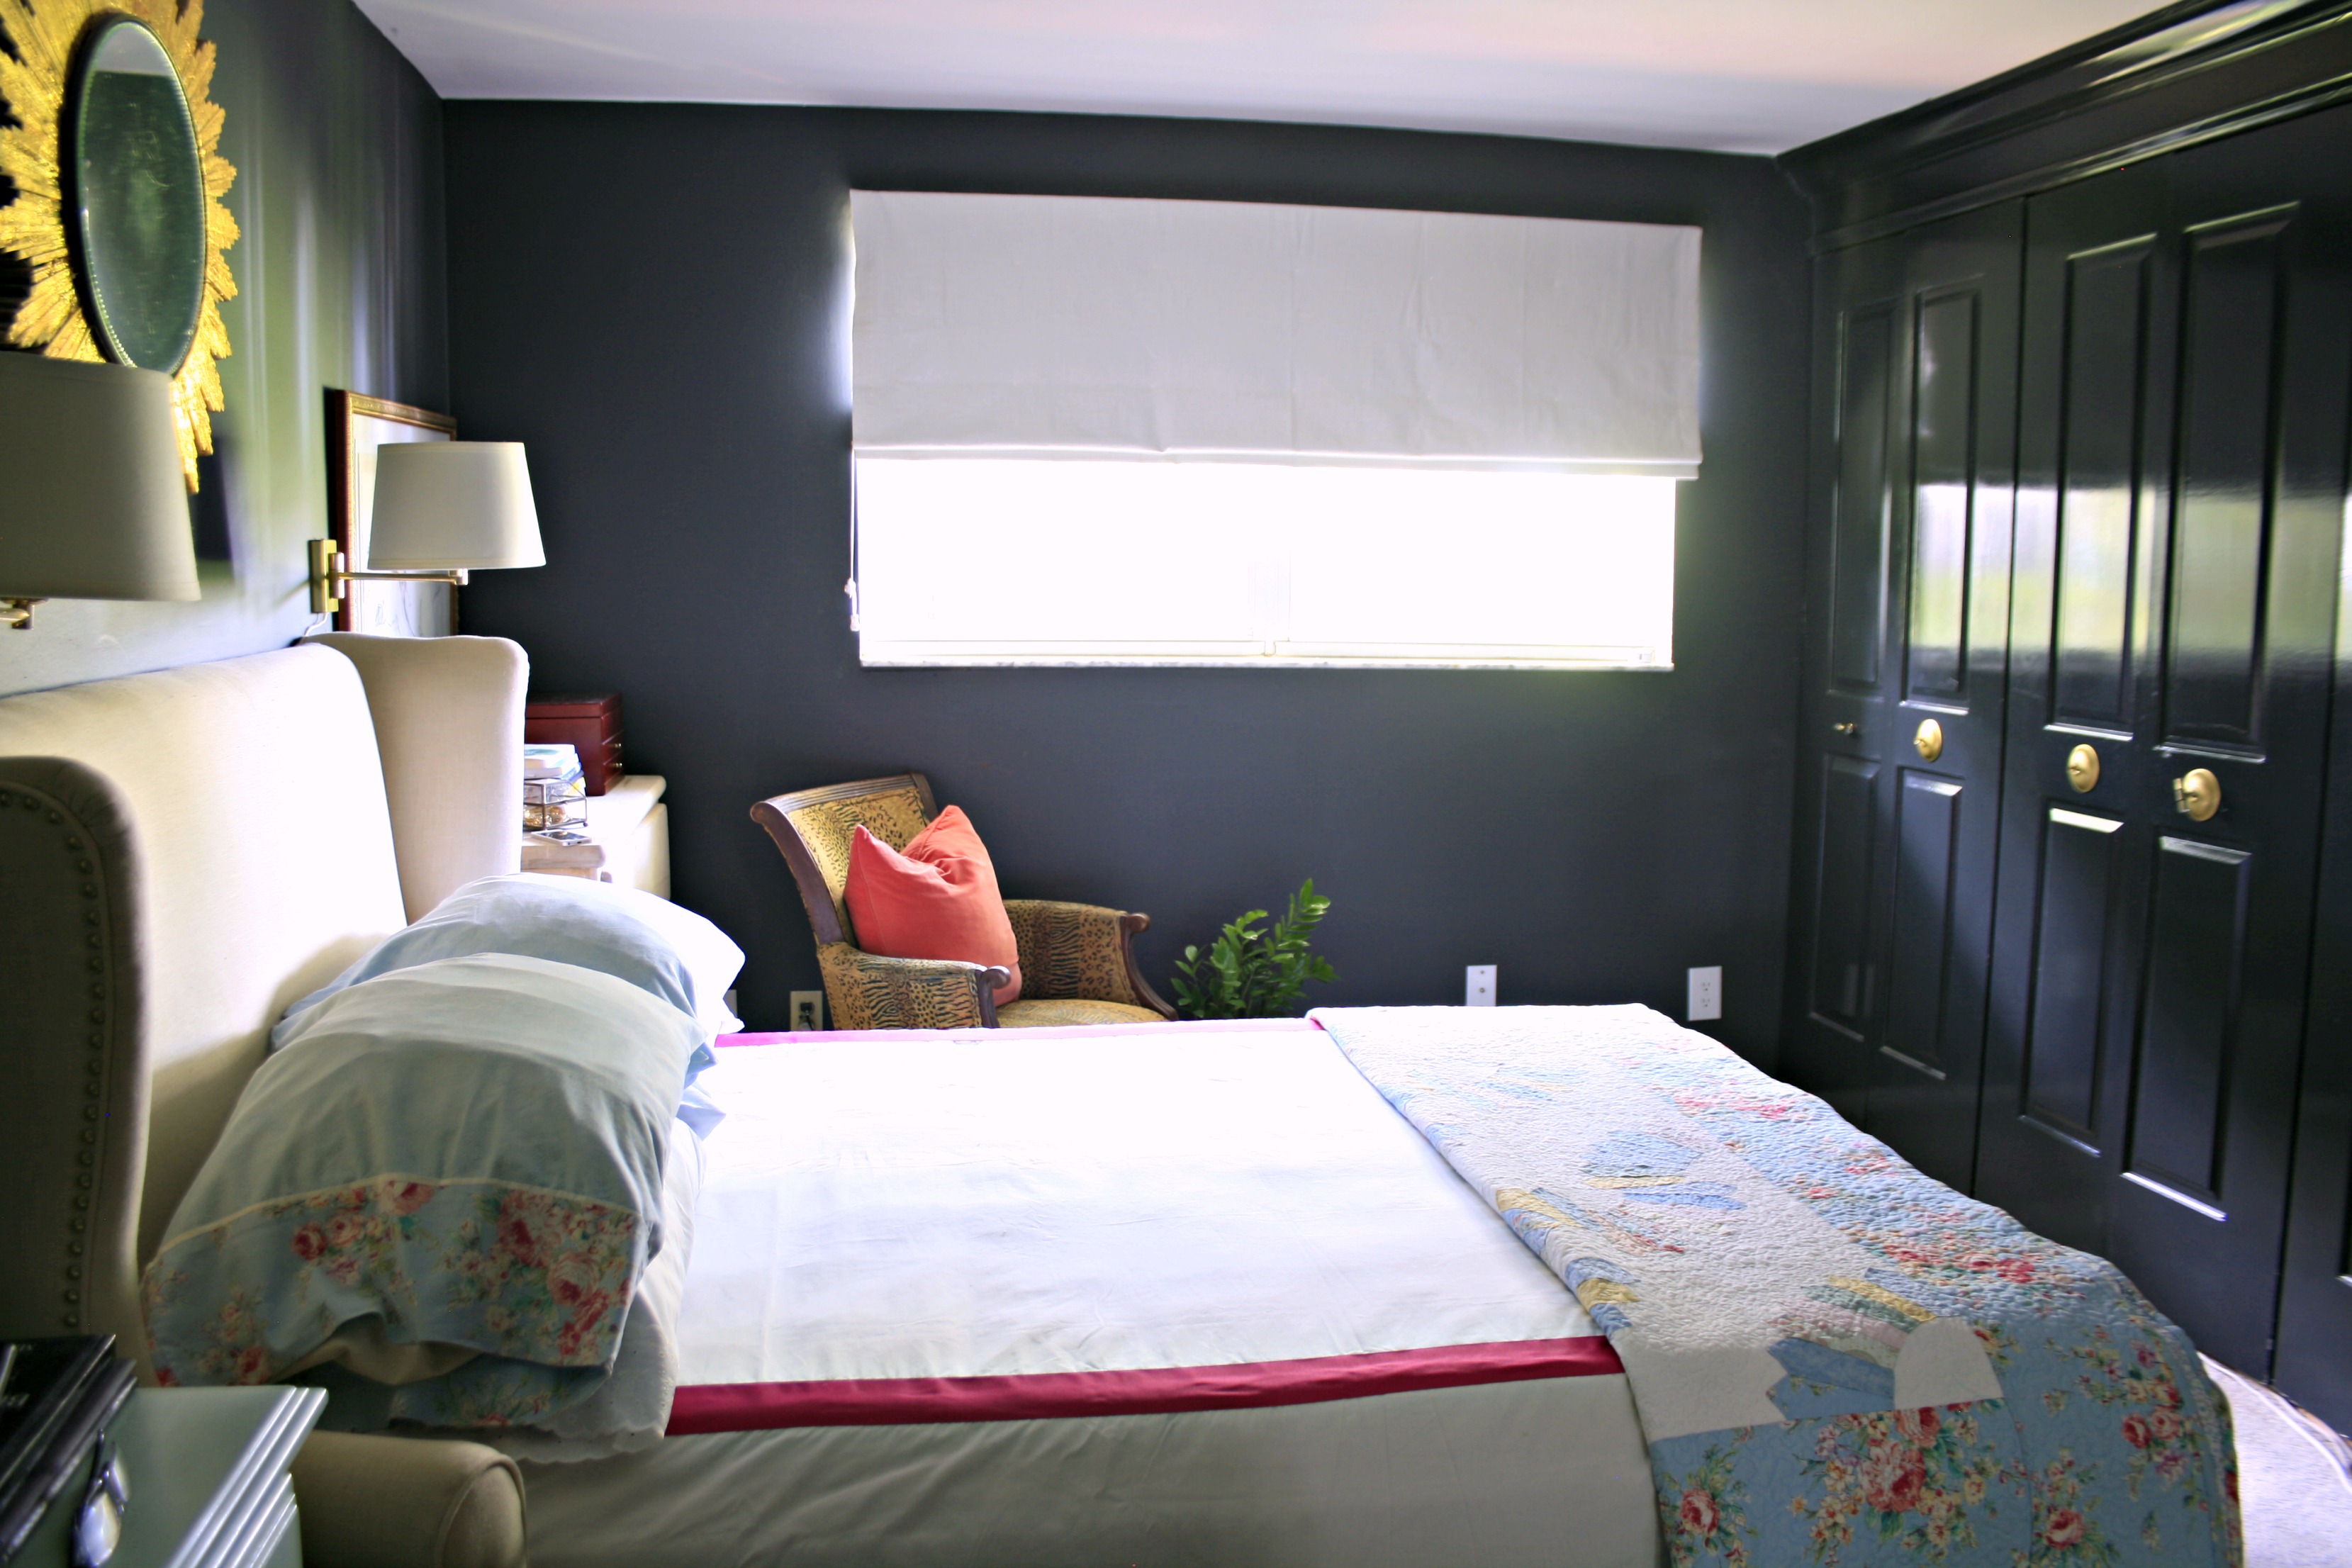
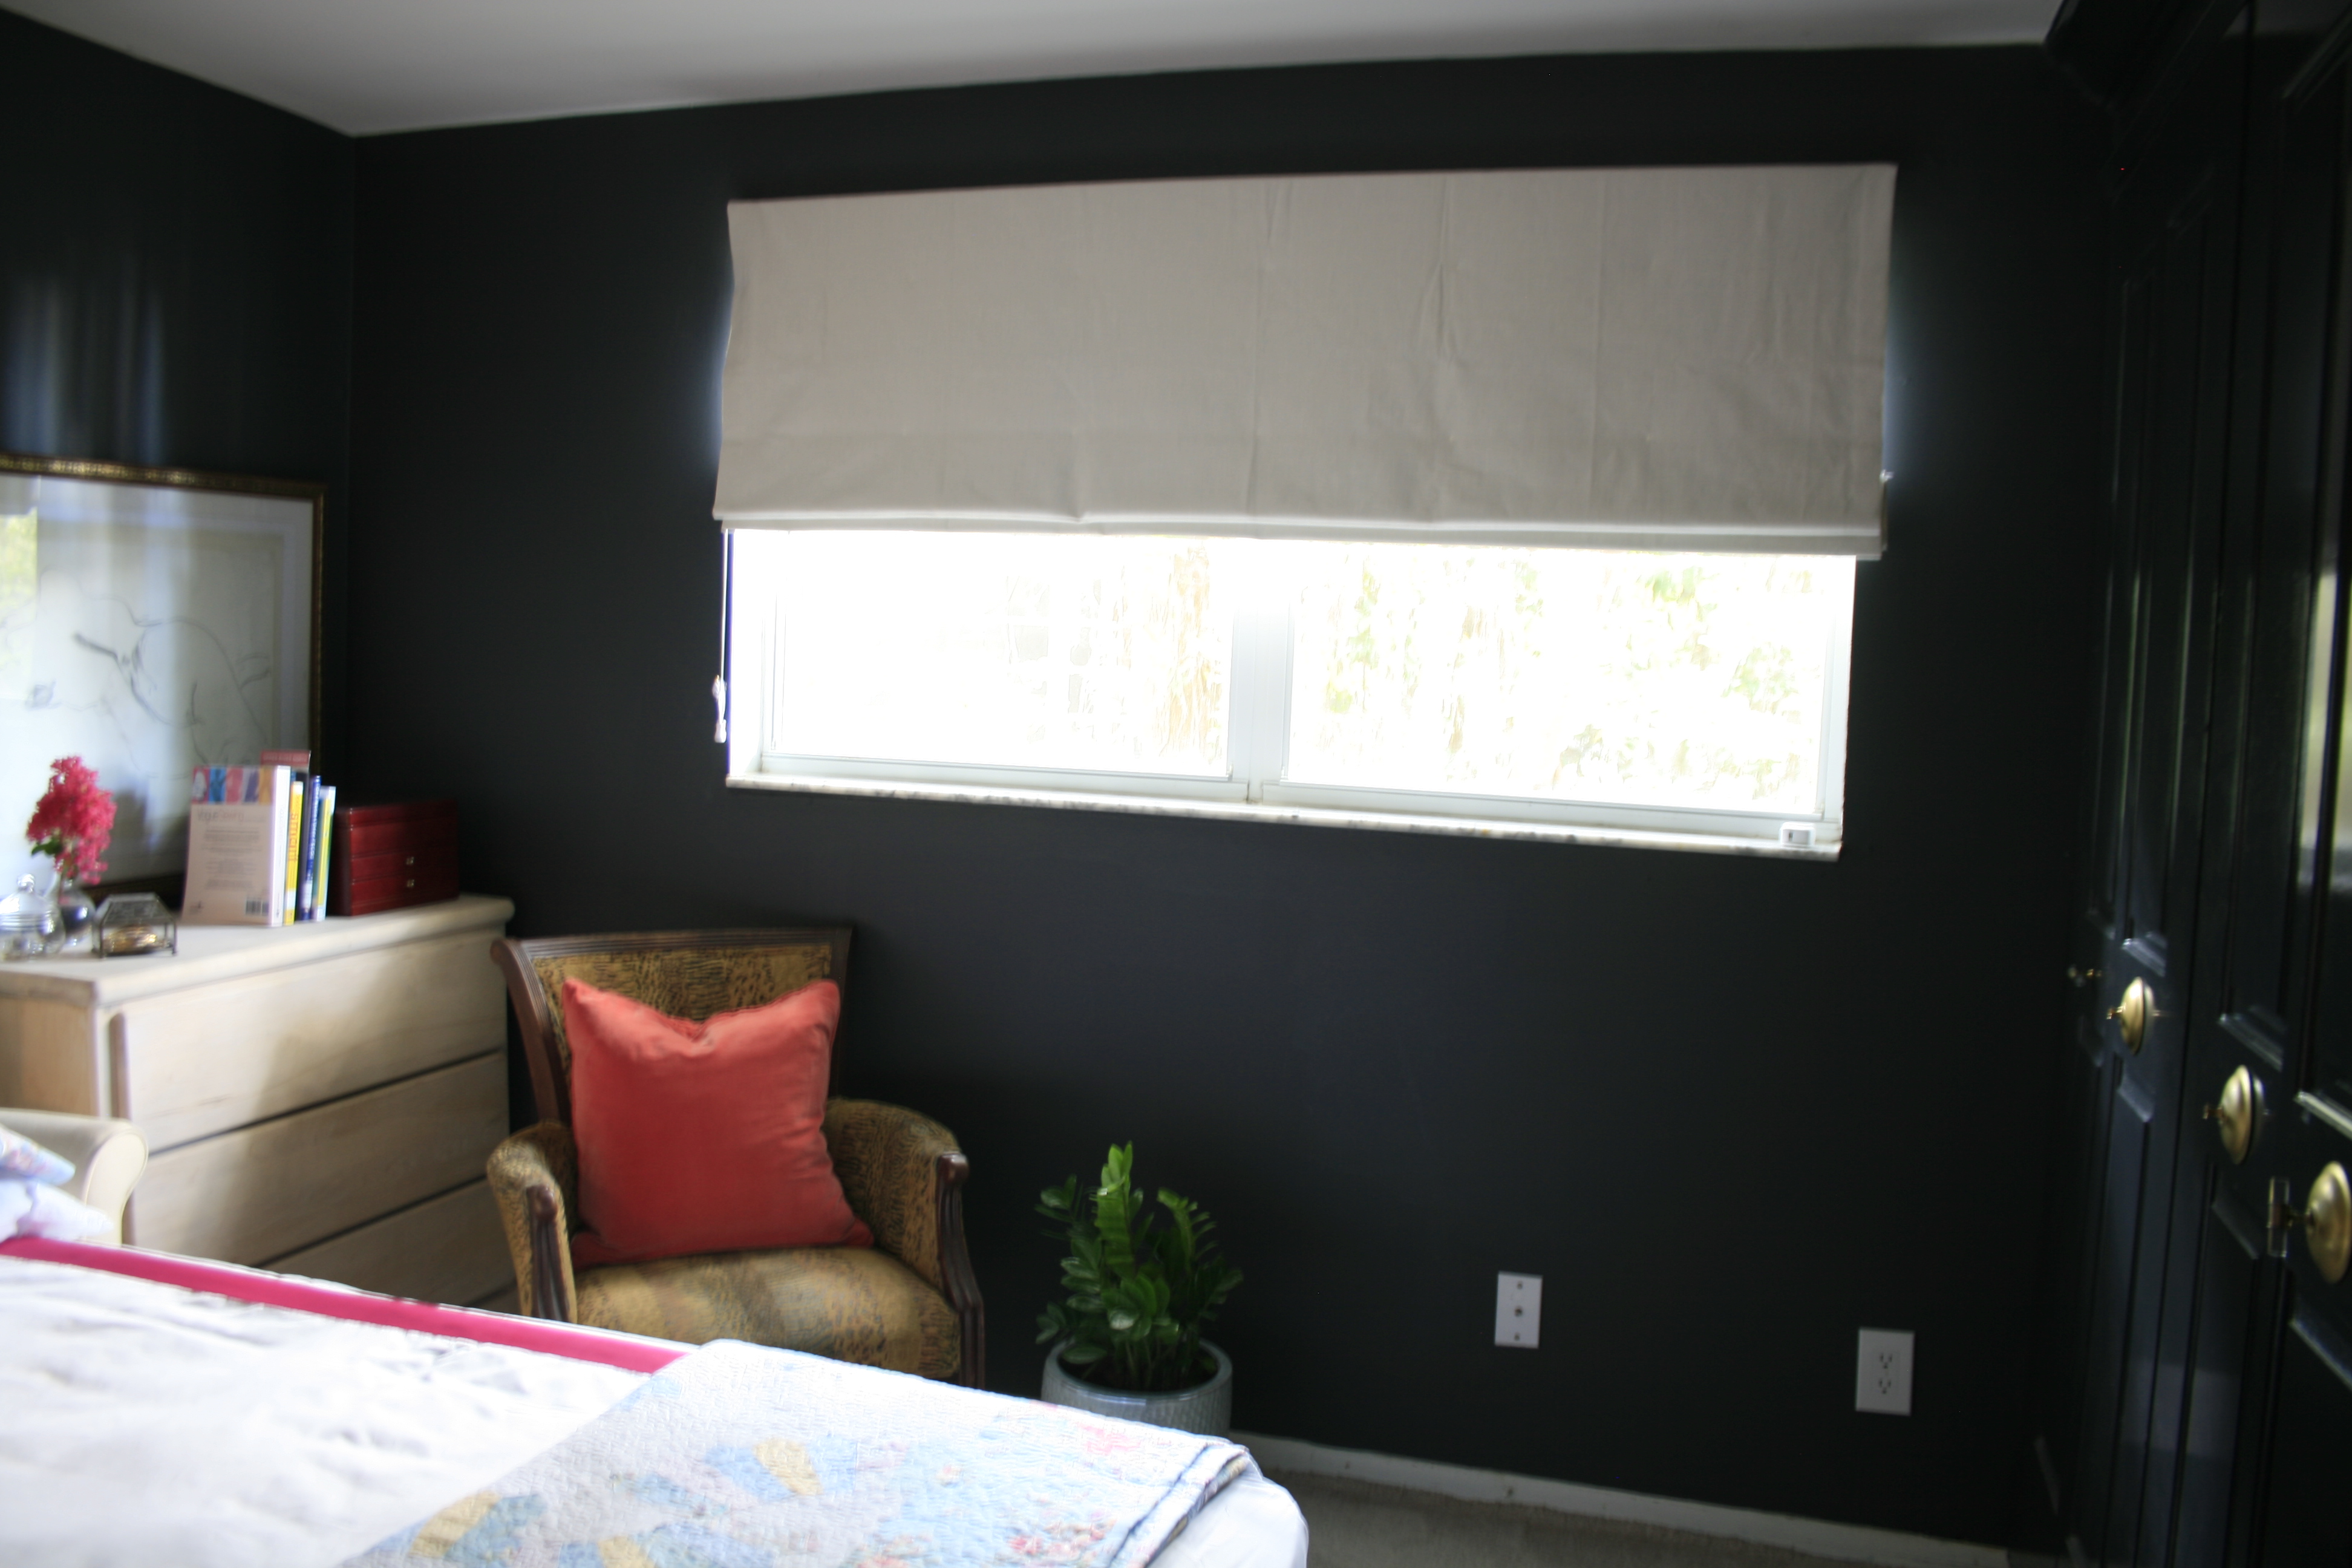 I made the roman shade the other day and wish I had thought it through a little more and made it come all the way to the ceiling, I’ll just have to put a valance(pelmut box) over the top and possibly add trim similar to the picture below. It’s pretty boring now but still waaaay better than the blinds I had previously. Plus, I used blackout lining, so they make my room super duper dark, which we love!
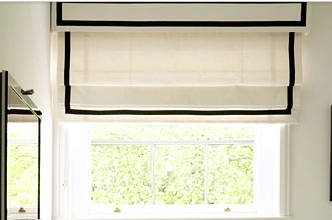
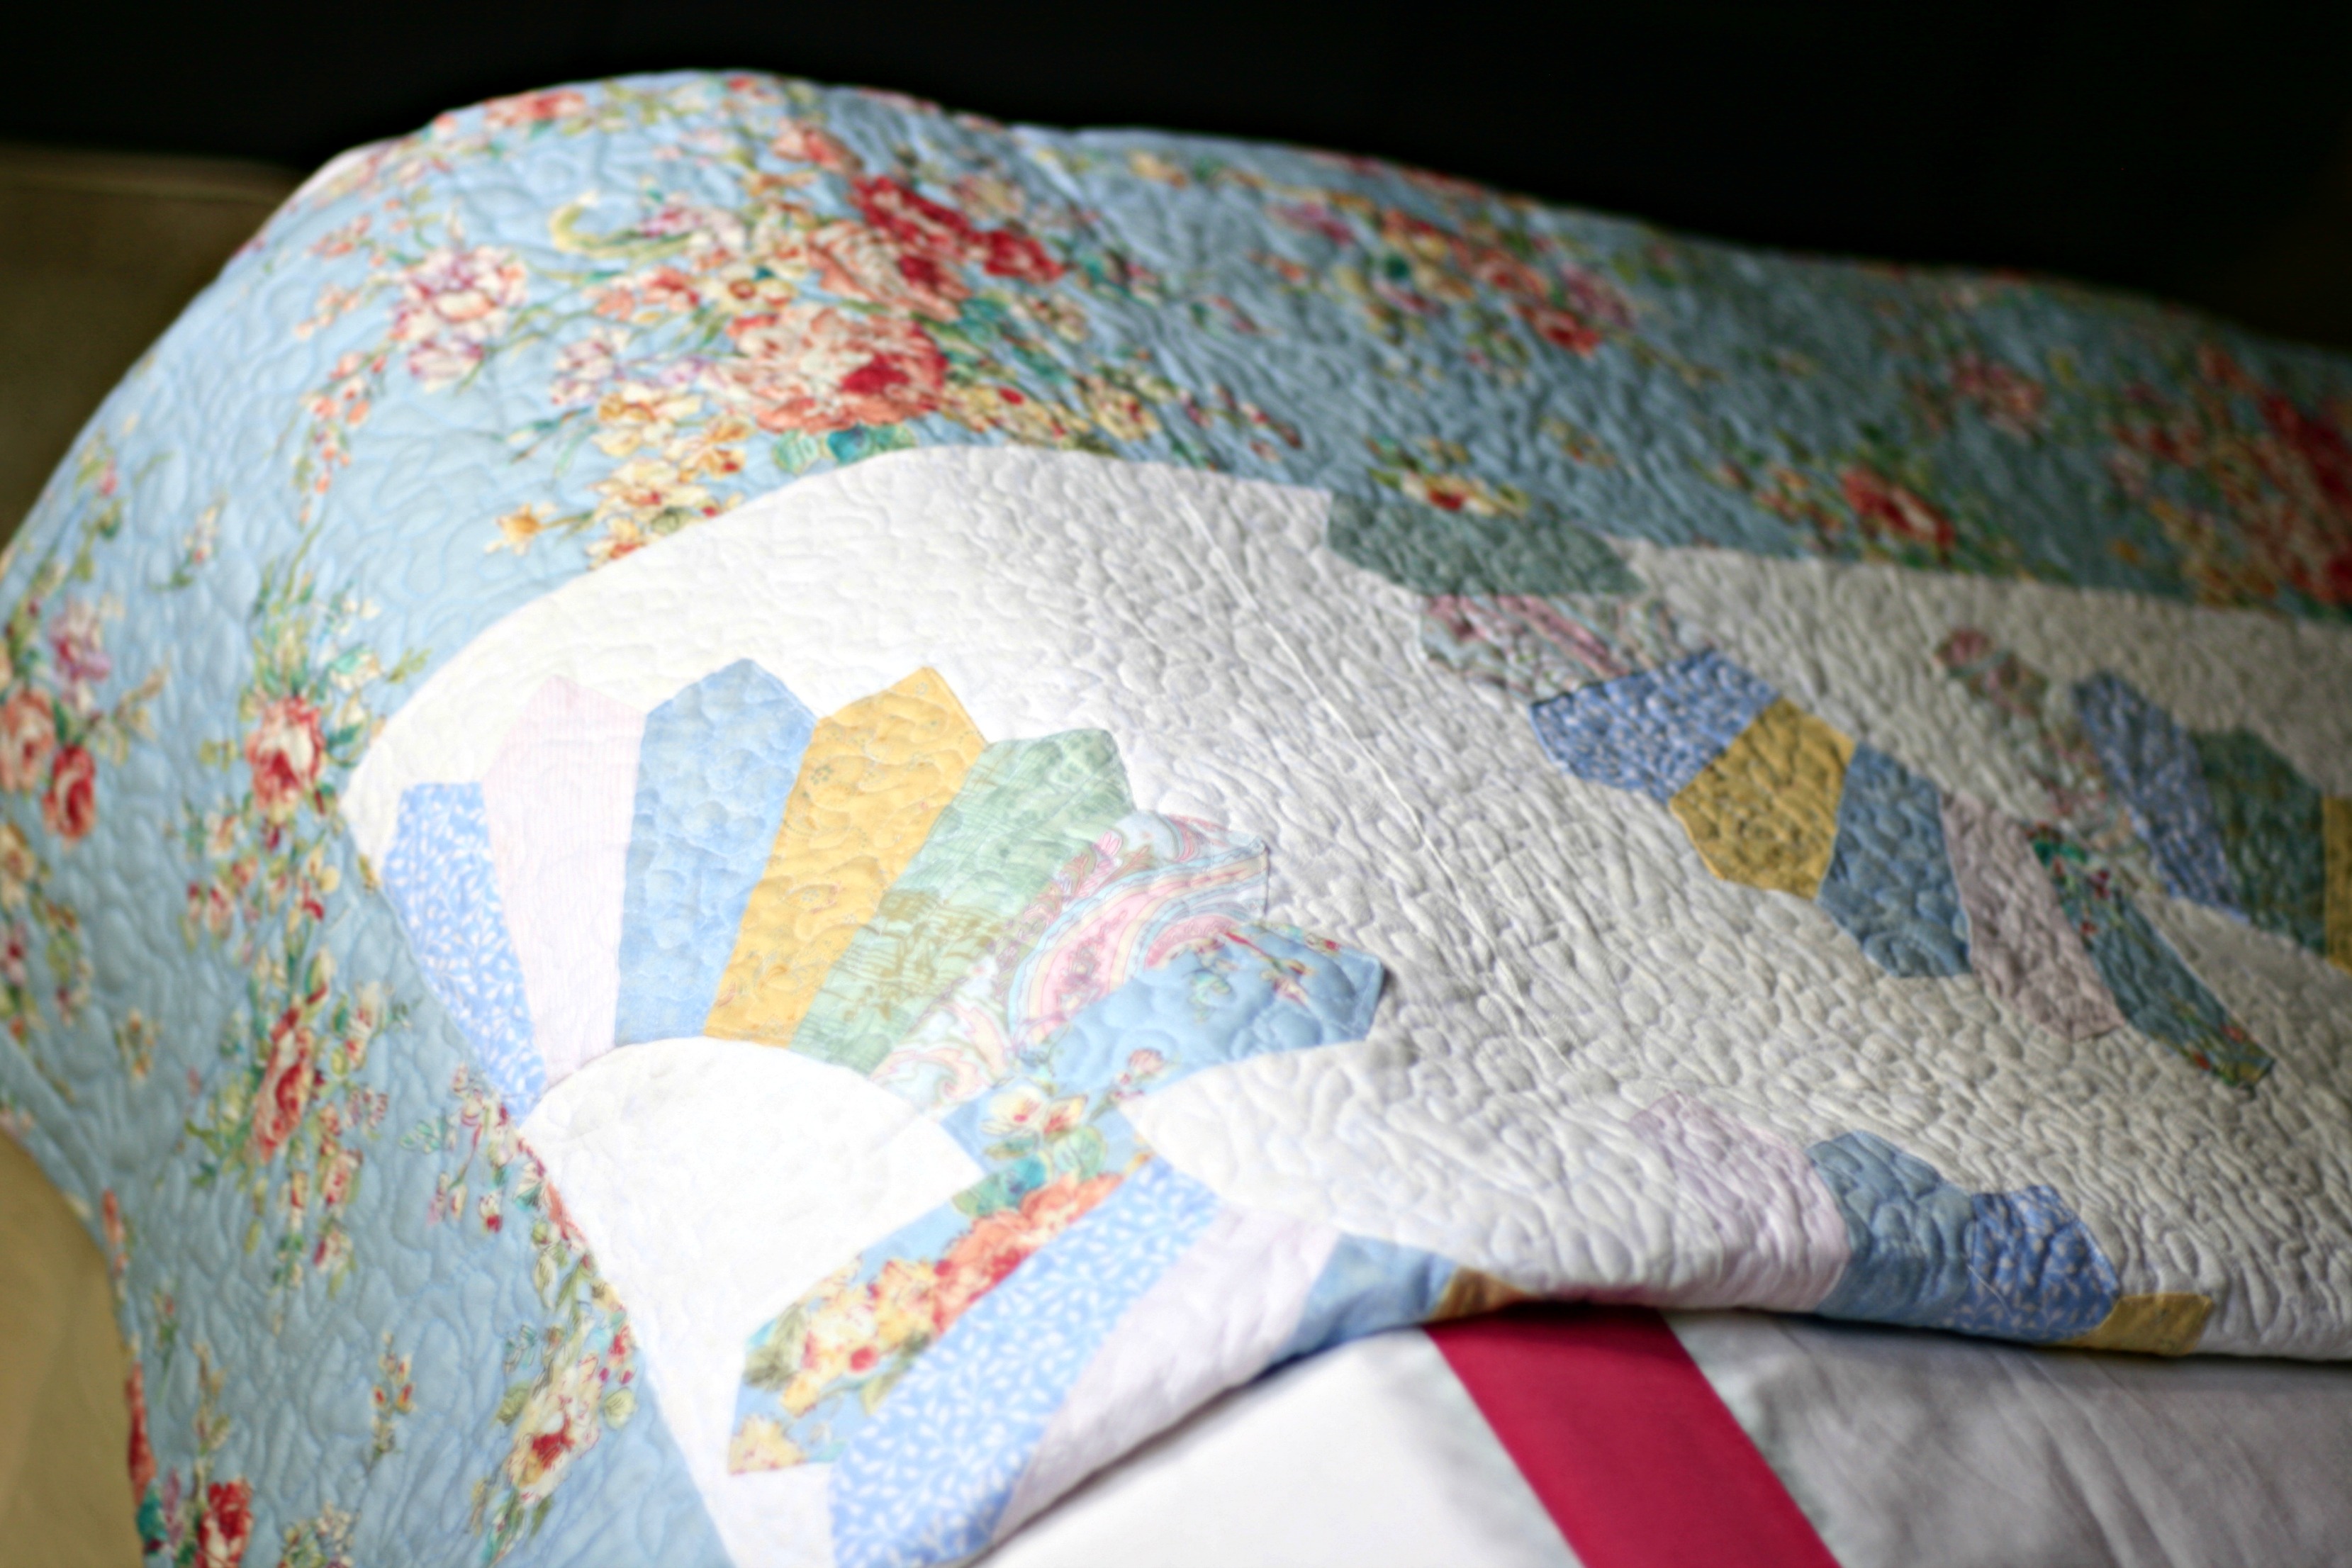
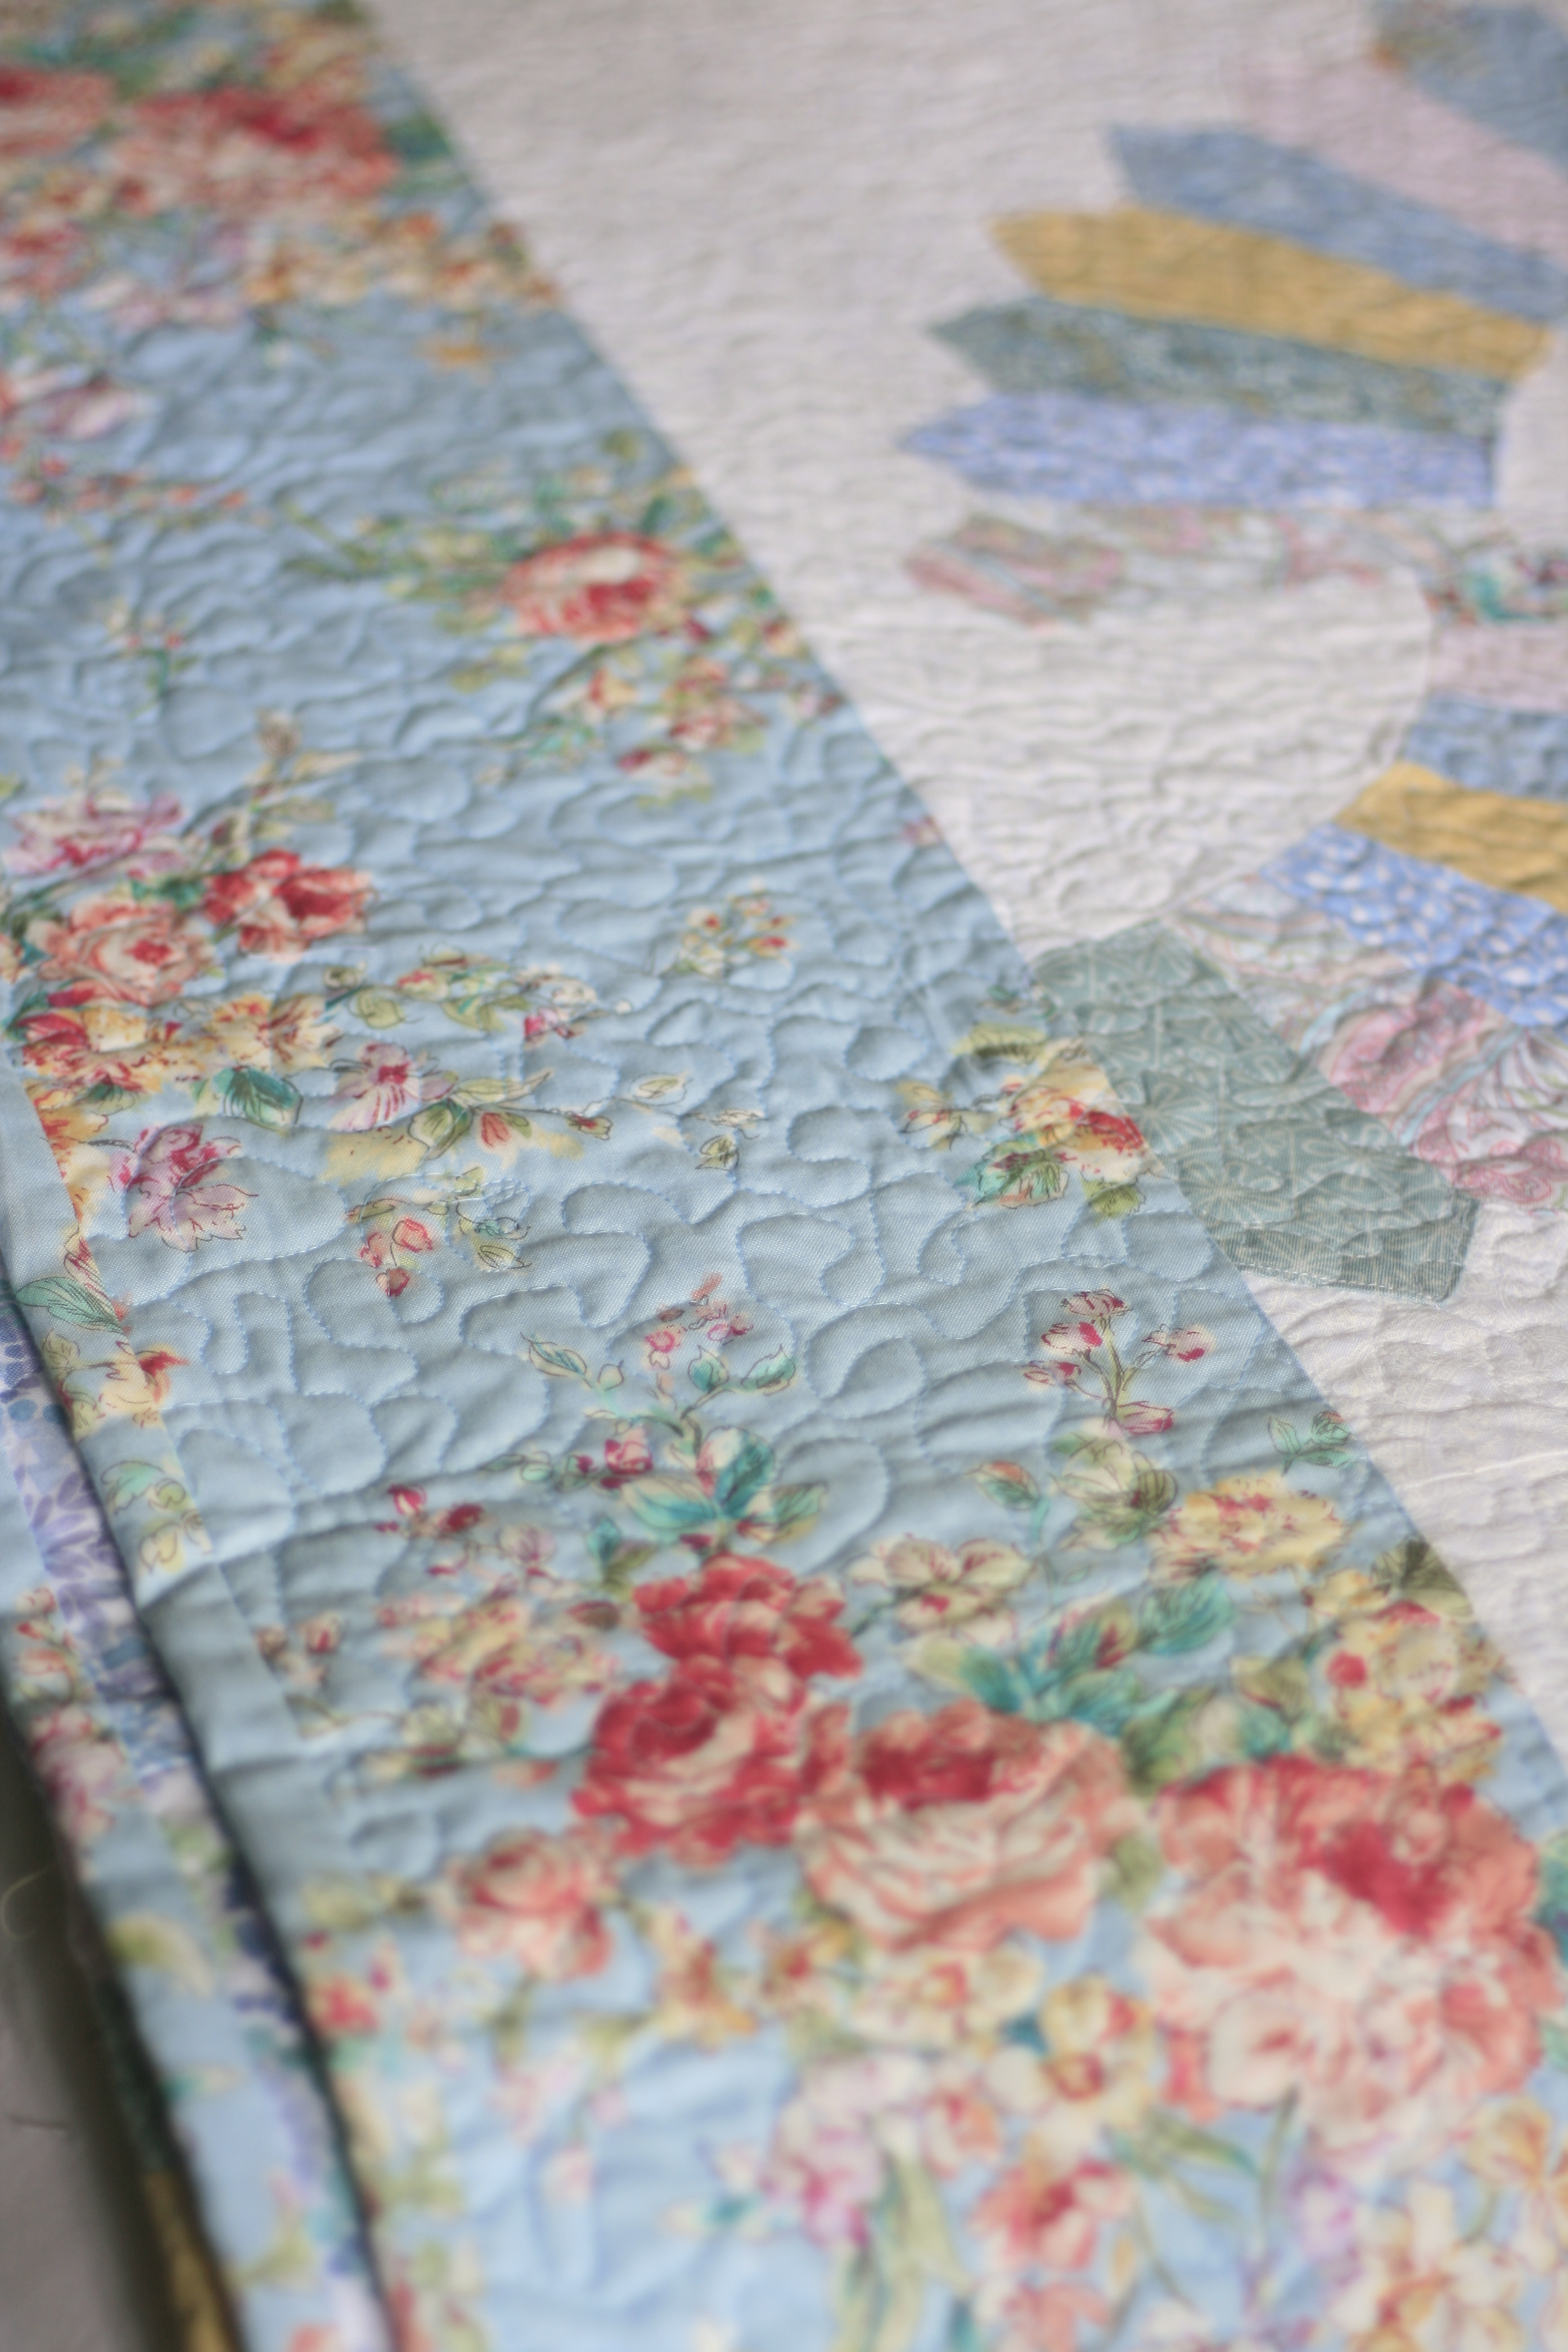 The duvet cover with the pink/fuschia ribbon trim I recently made.
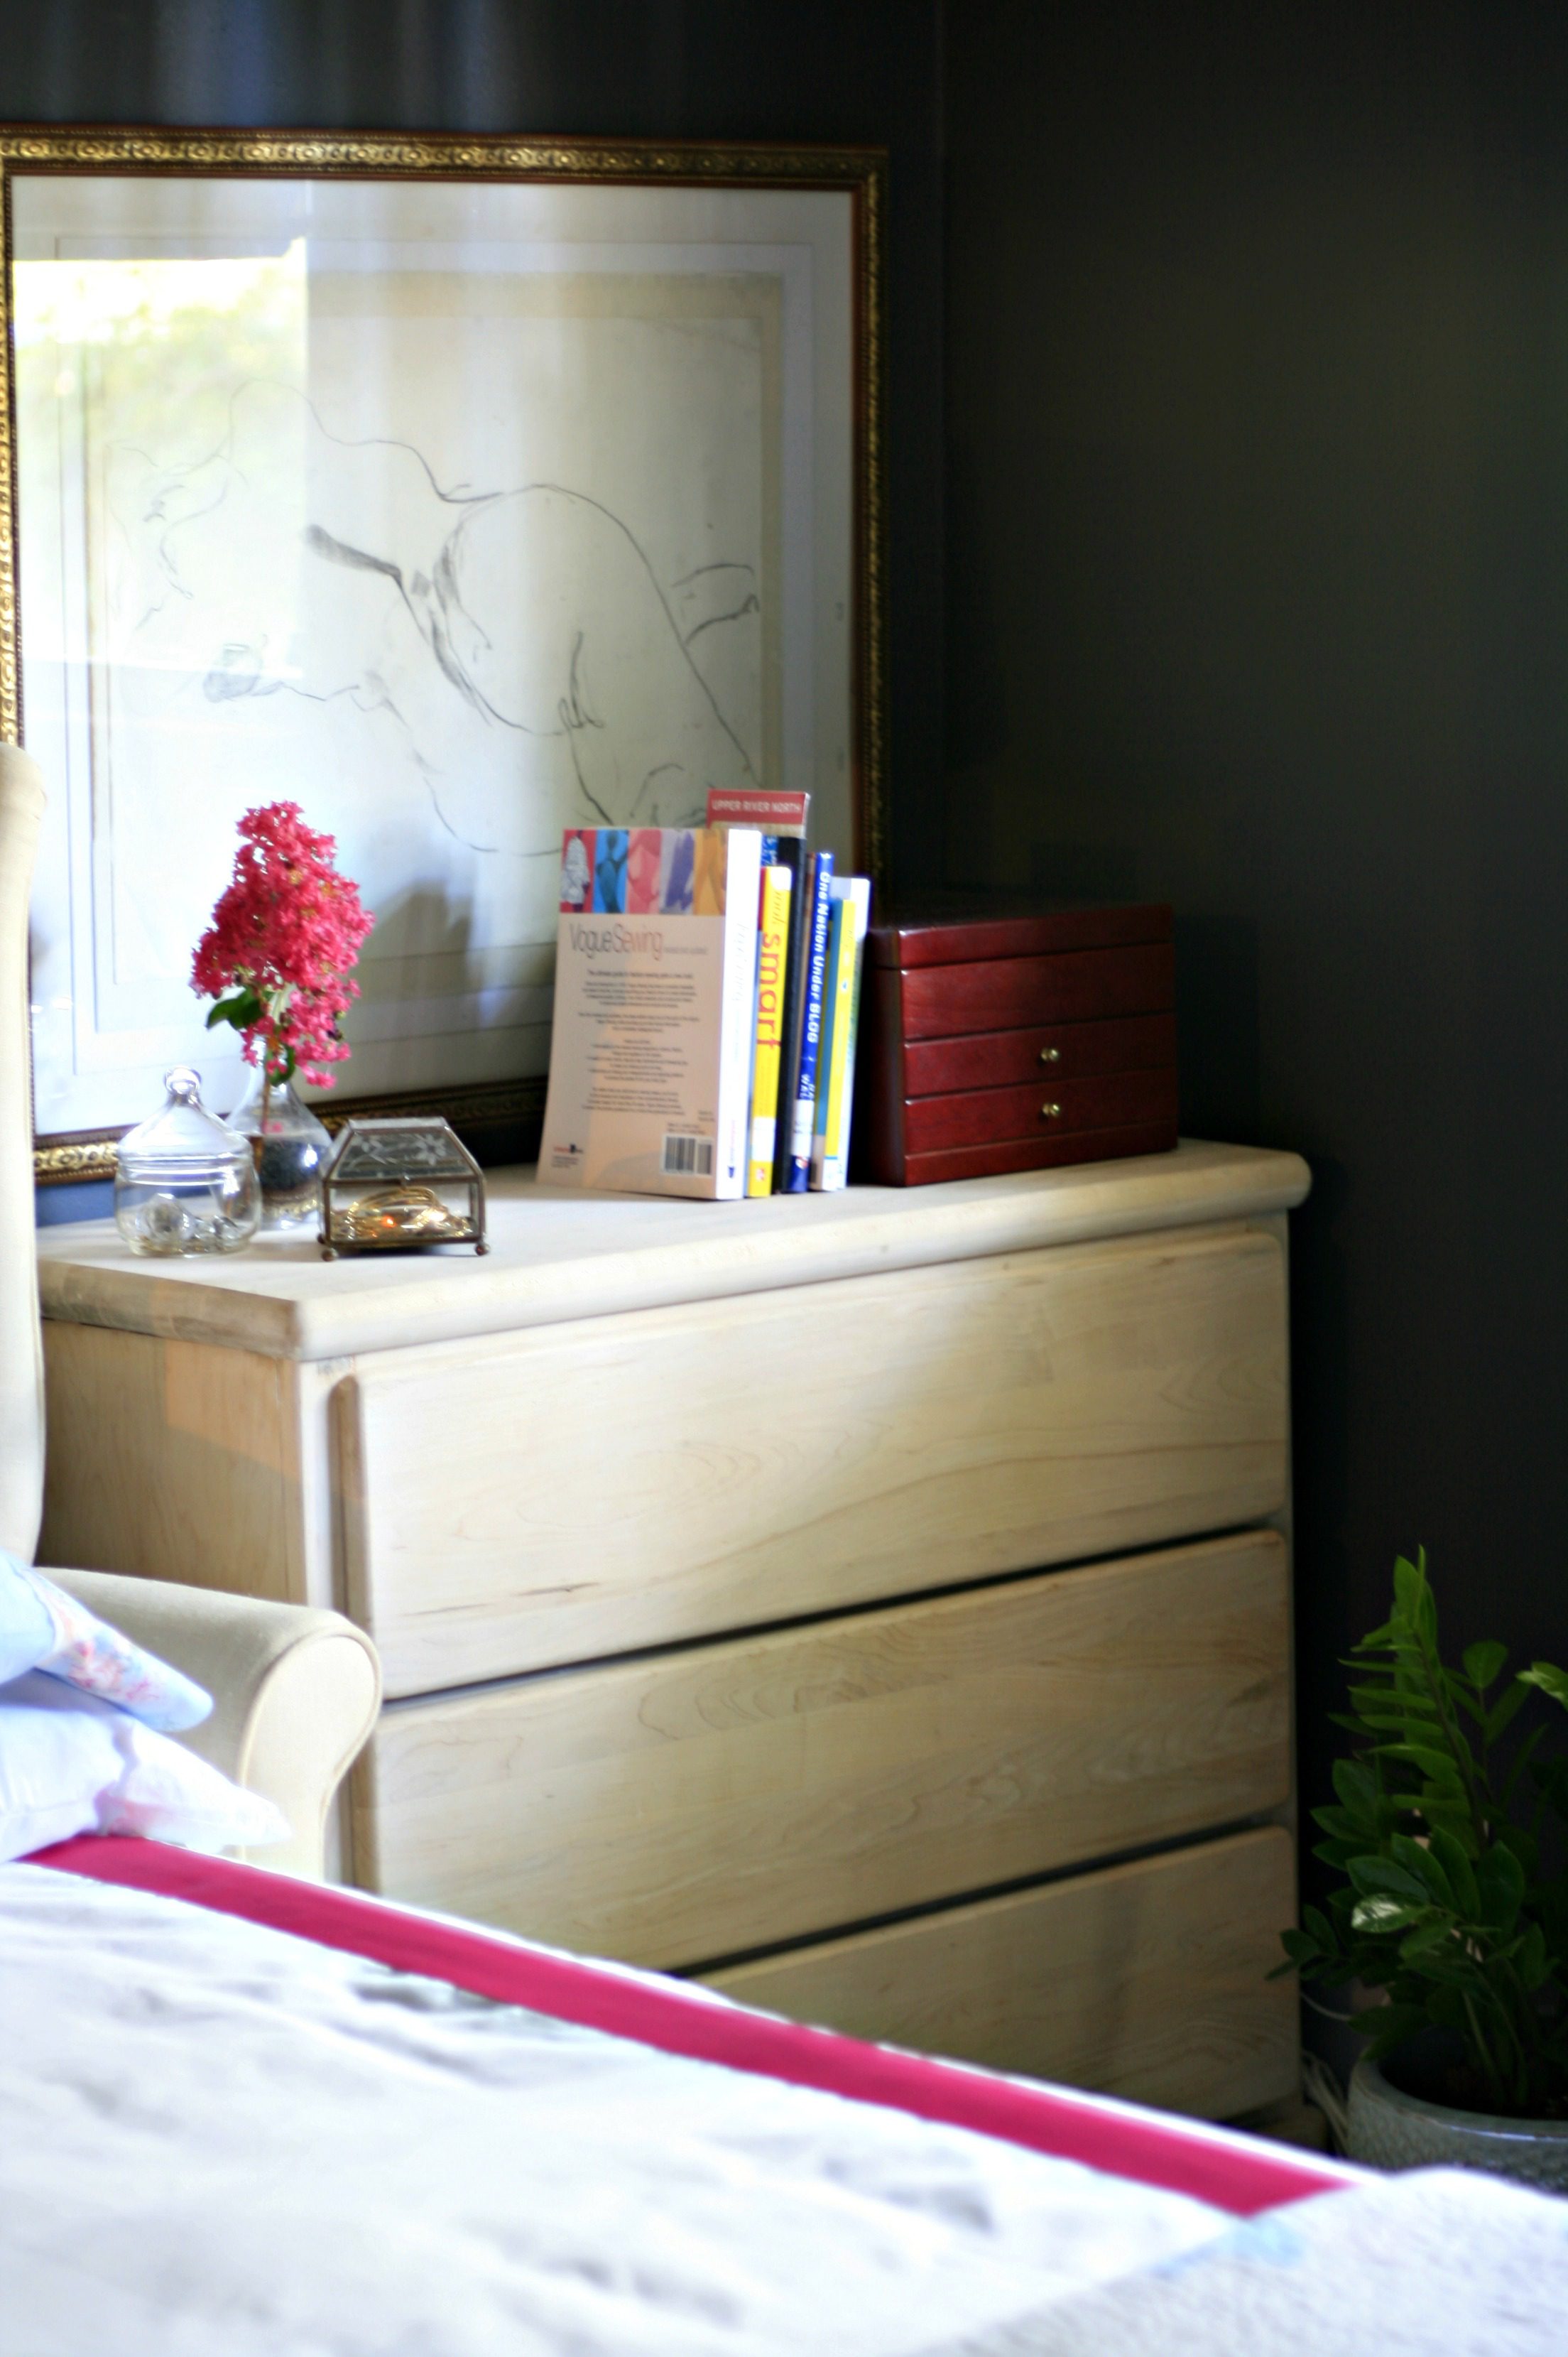
 Fool-proof mirror cleaning anyone?
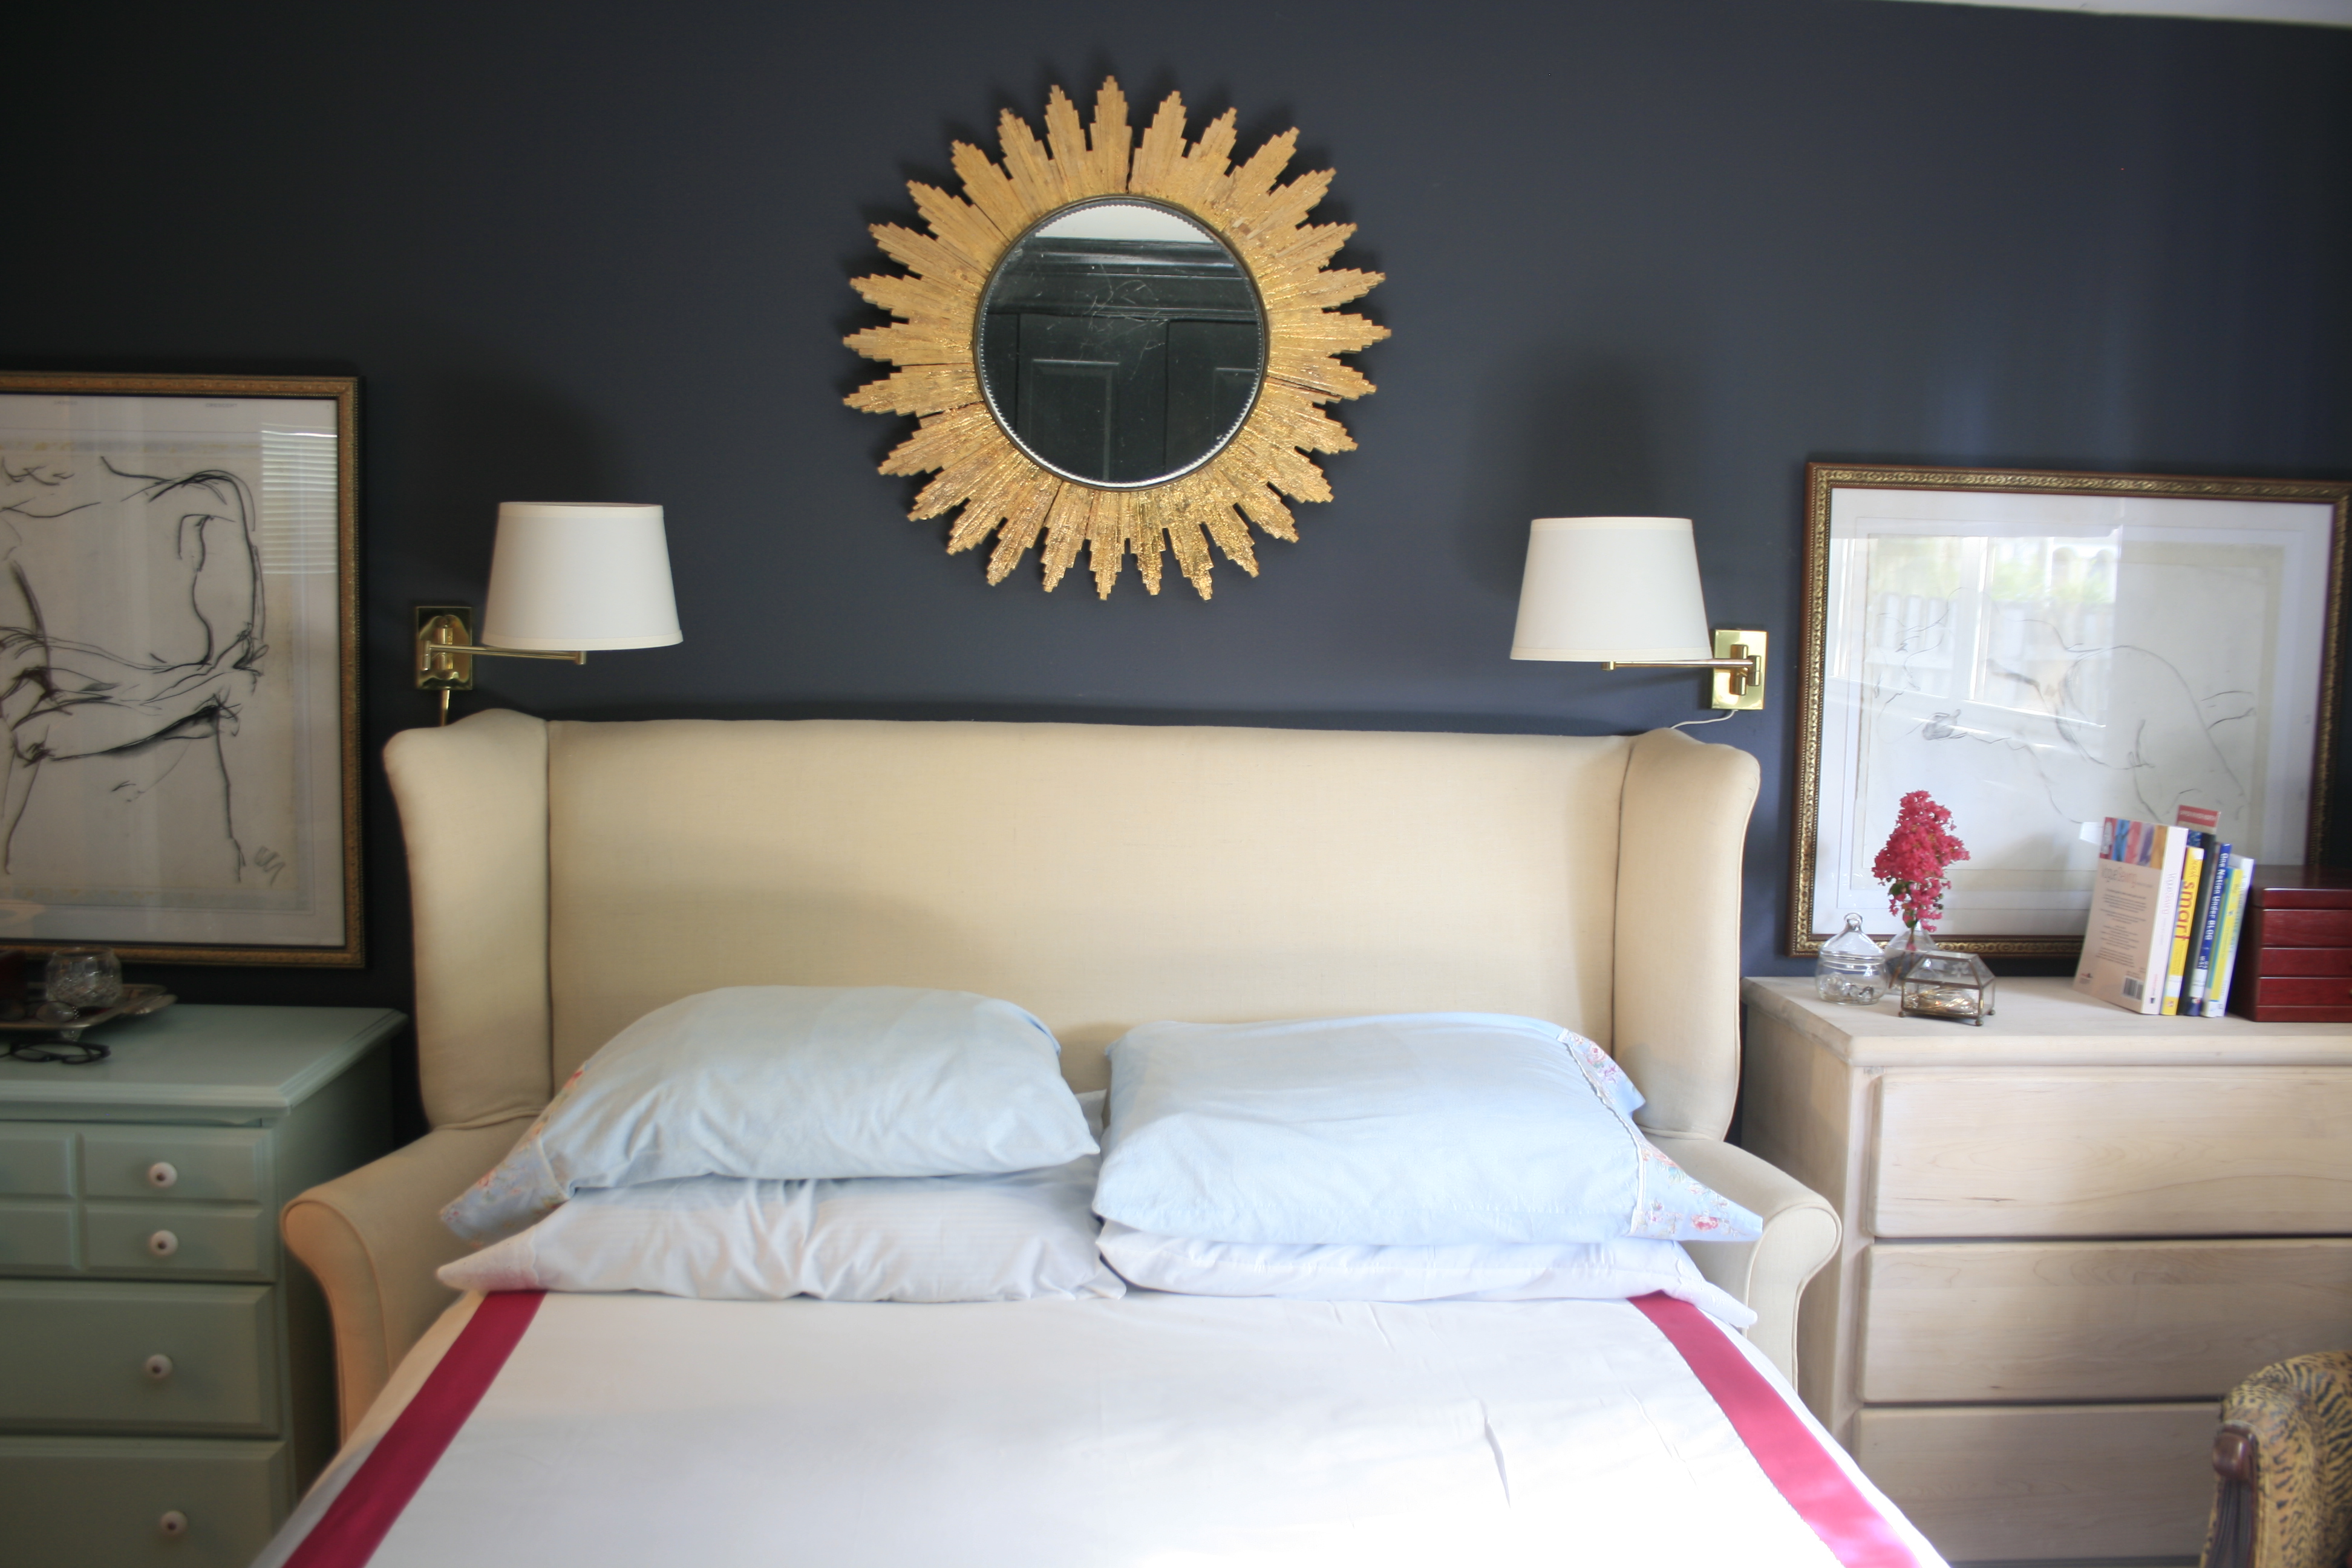
 https://www.mimzyandcompany.com/wp-admin/media-upload.php?post_id=1073&type=image&TB_iframe=1
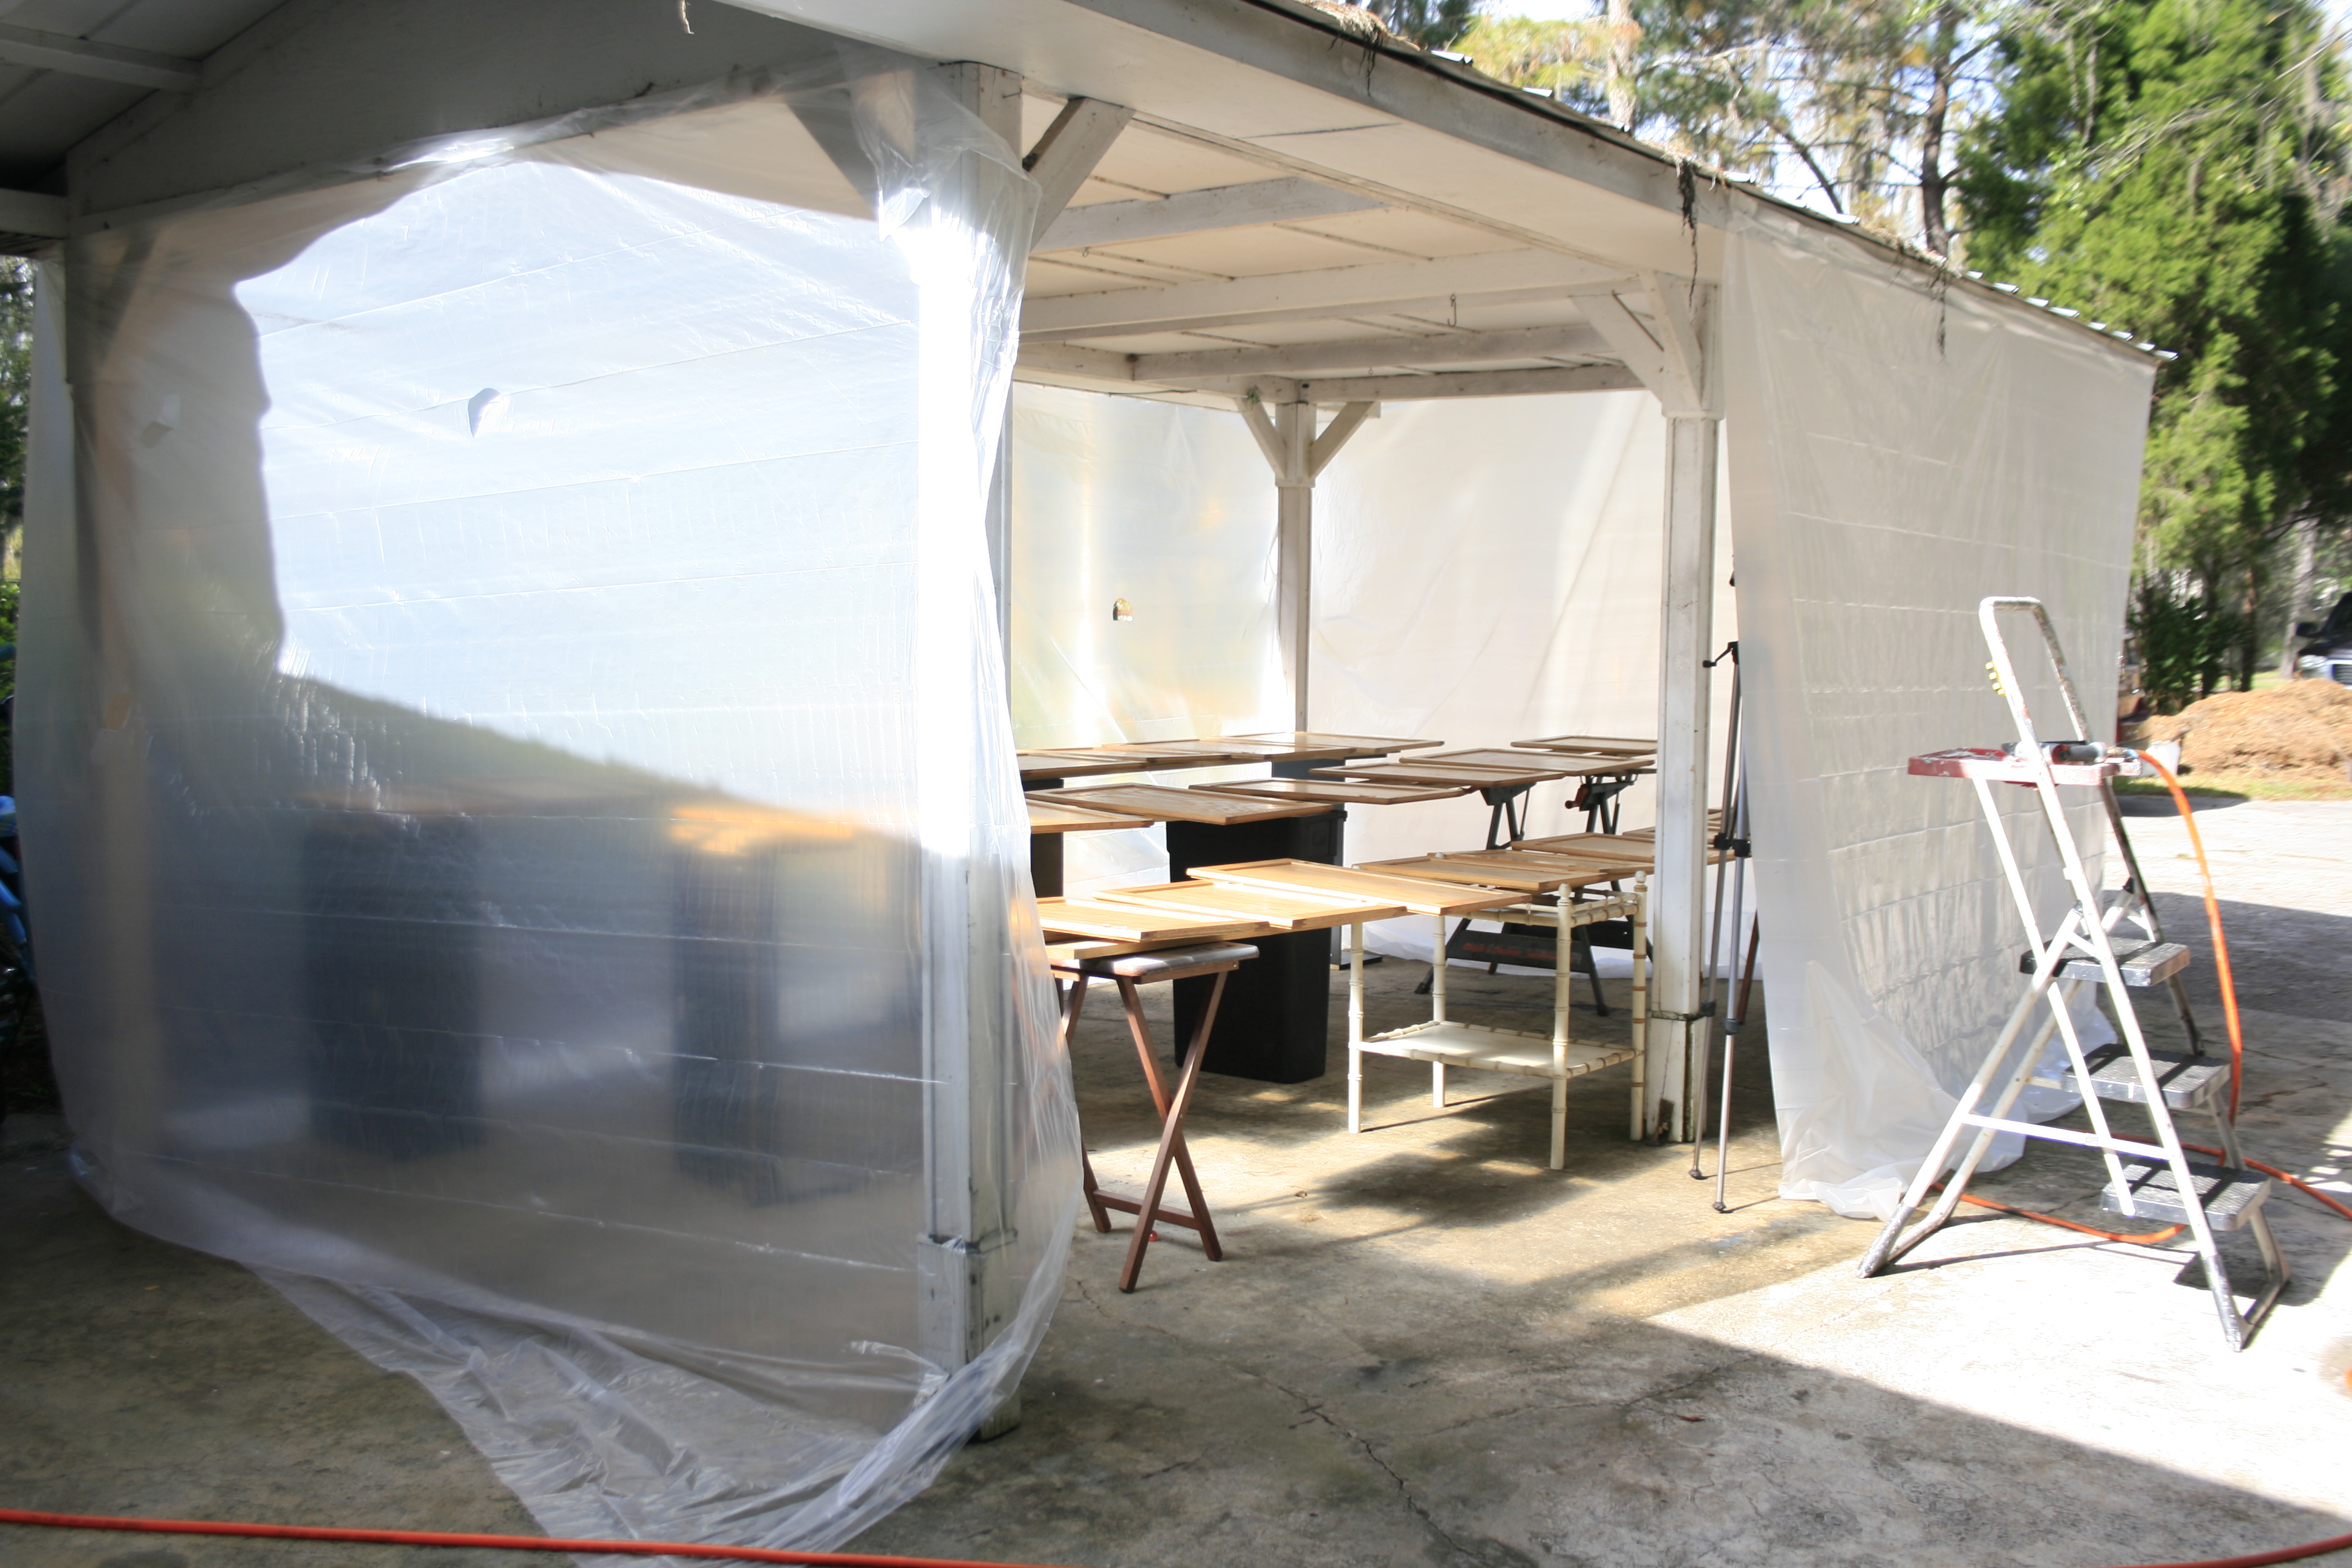
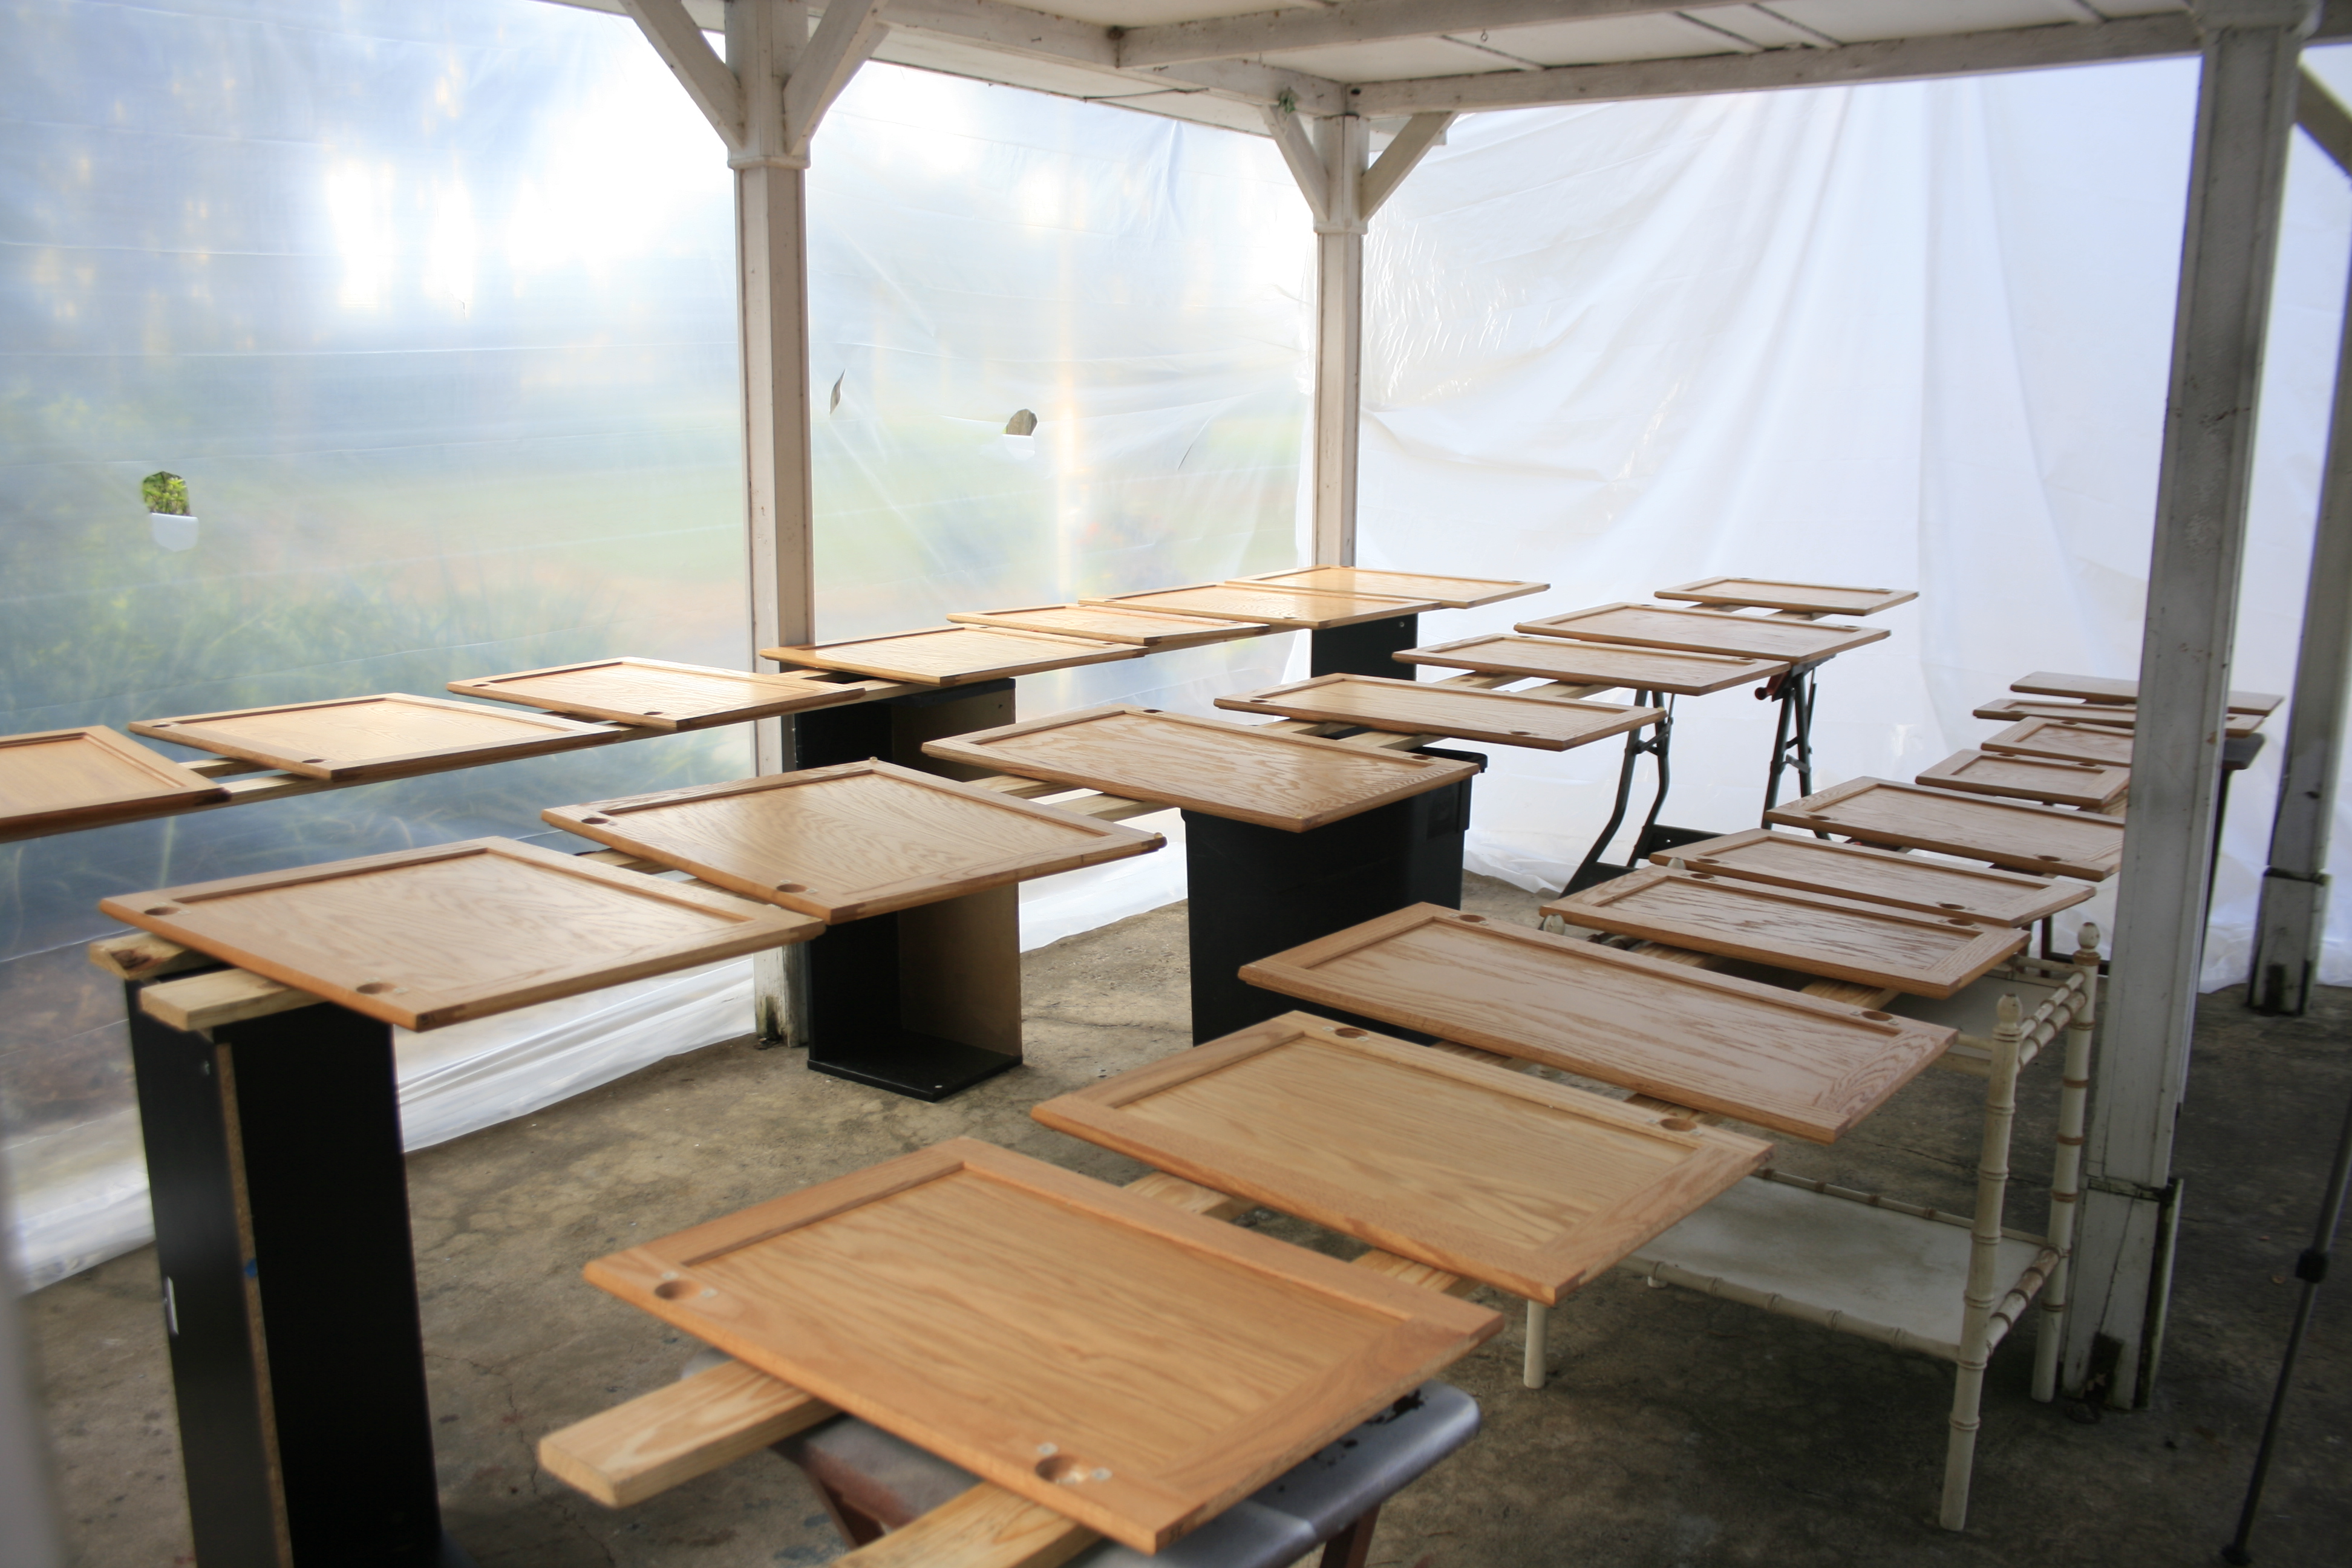 It’s a lot easier on your back if the cabinets are set at counter height.
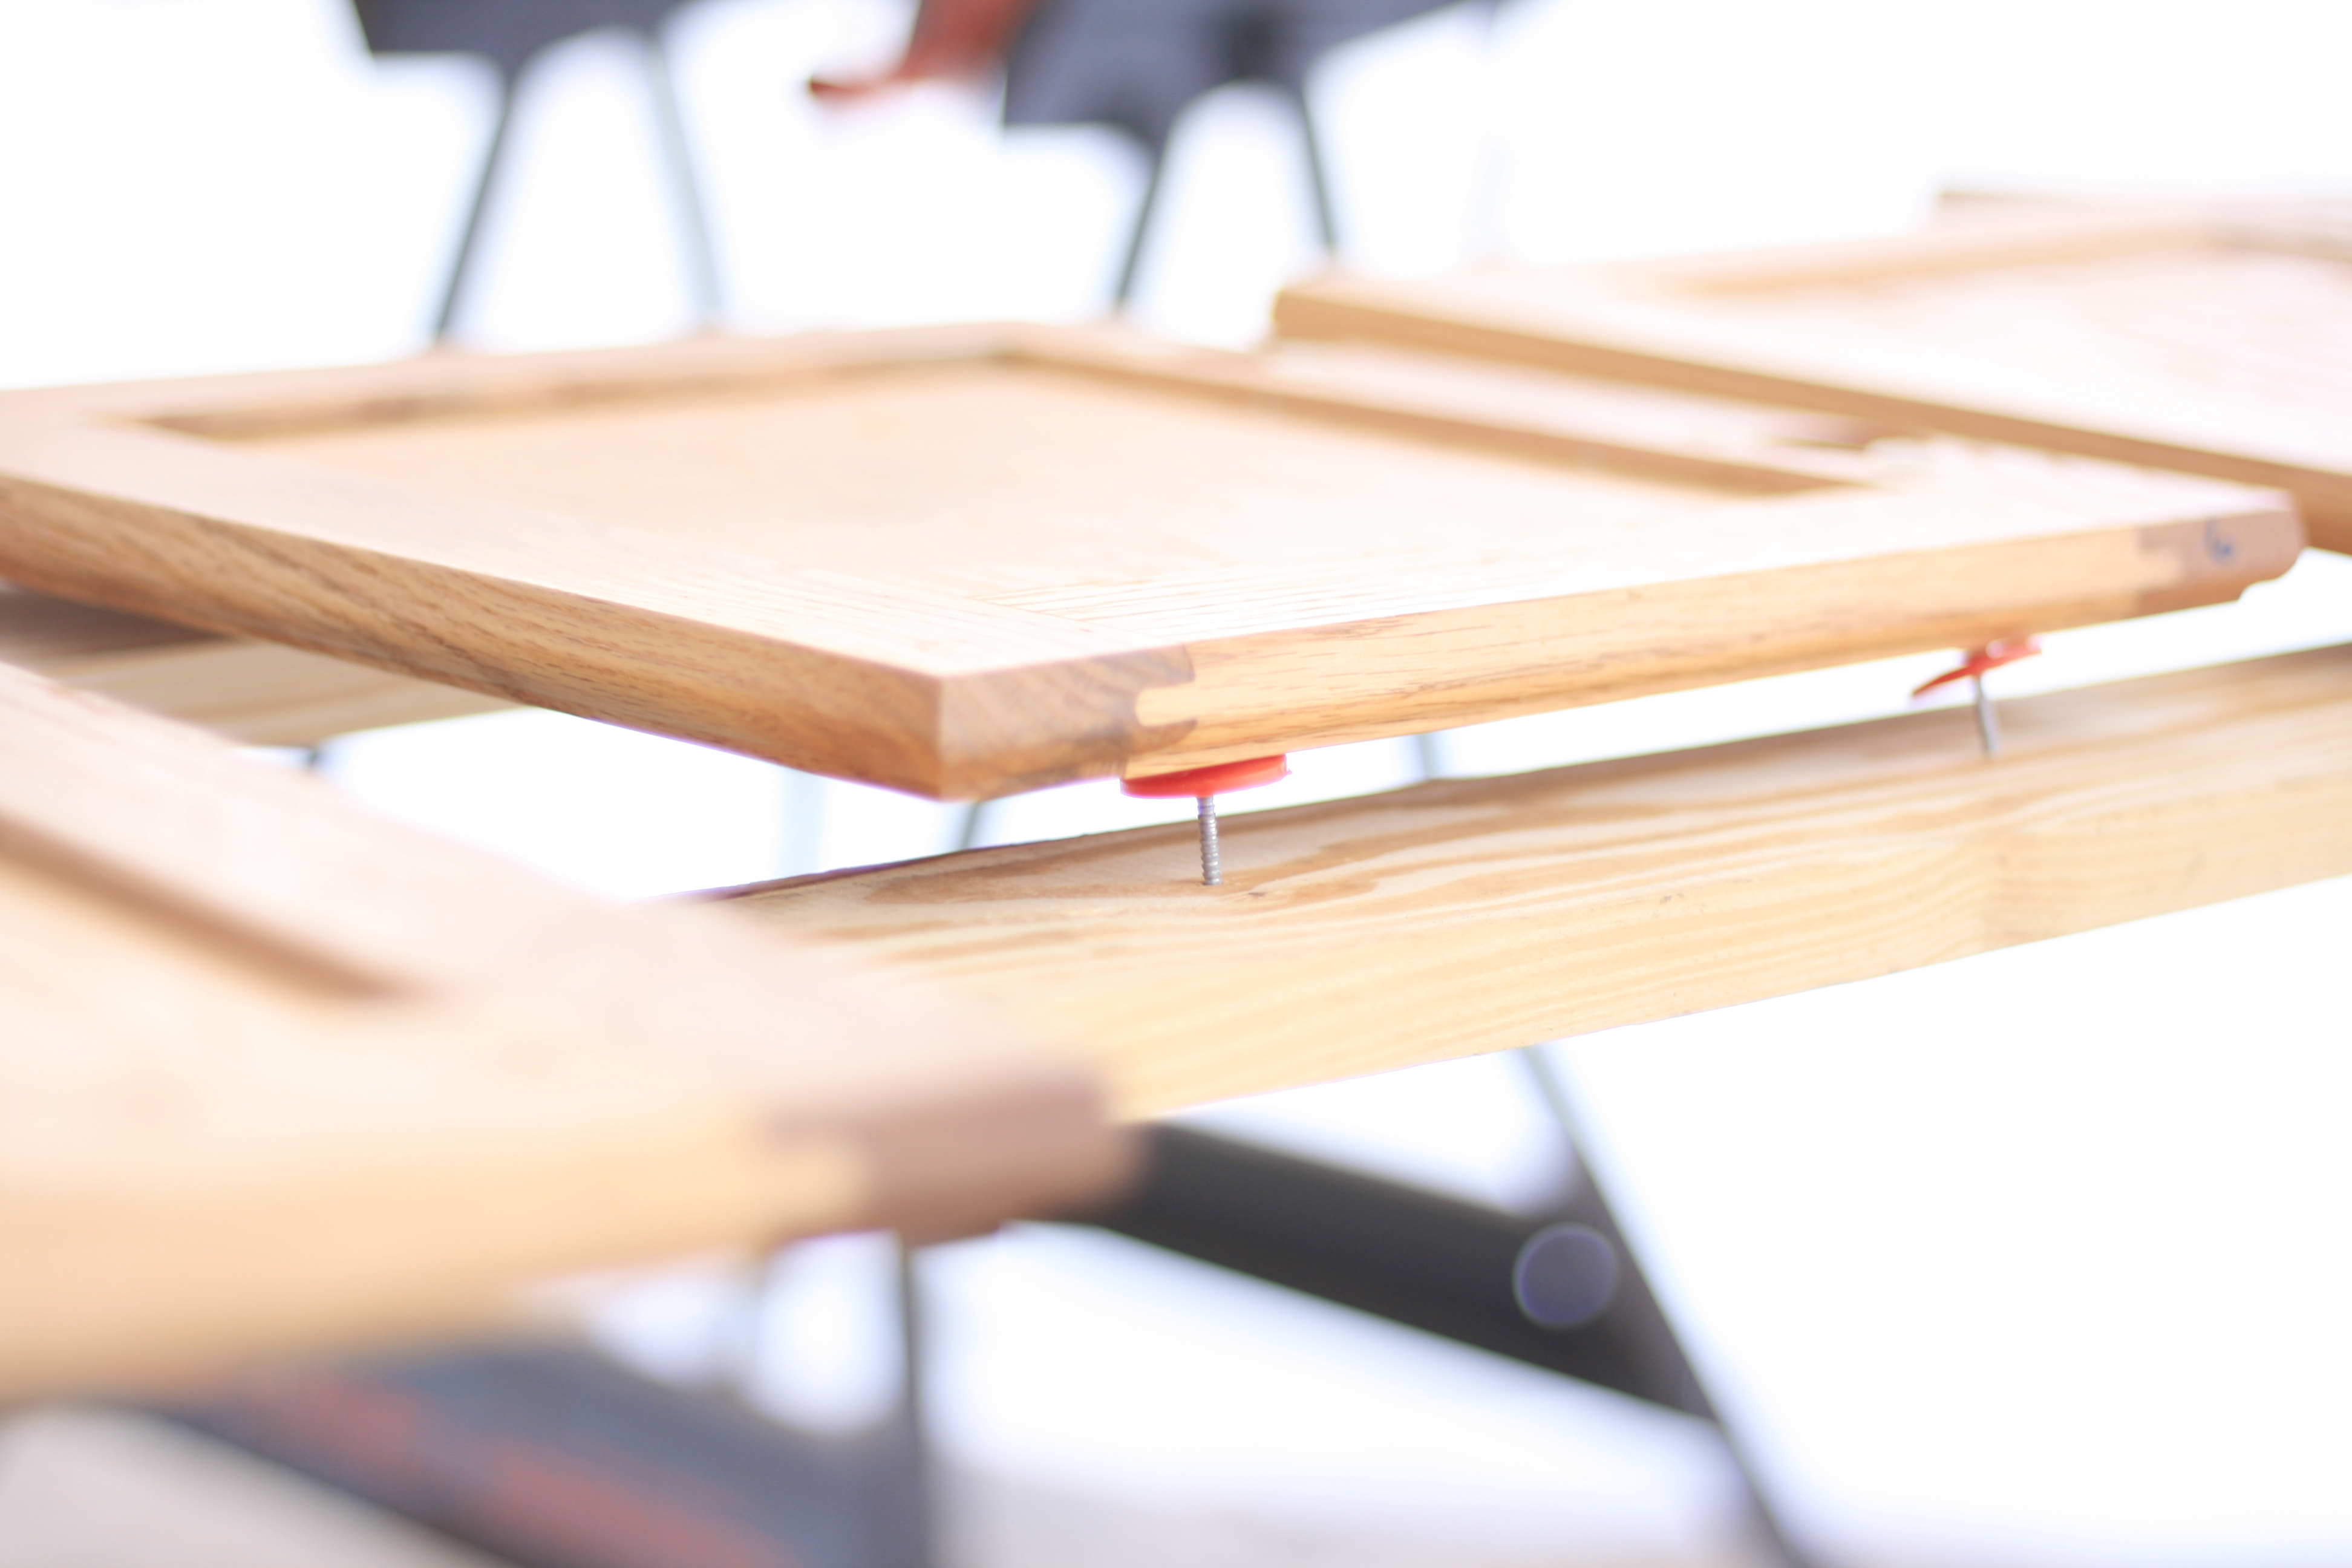 I raise my doors off the 1 x 4’s with roofing nails …seen above, to keep the paint from pooling up on the edges. The hardware stores carry paint pyramids made for this purpose but that would have been very costly for this many doors.
 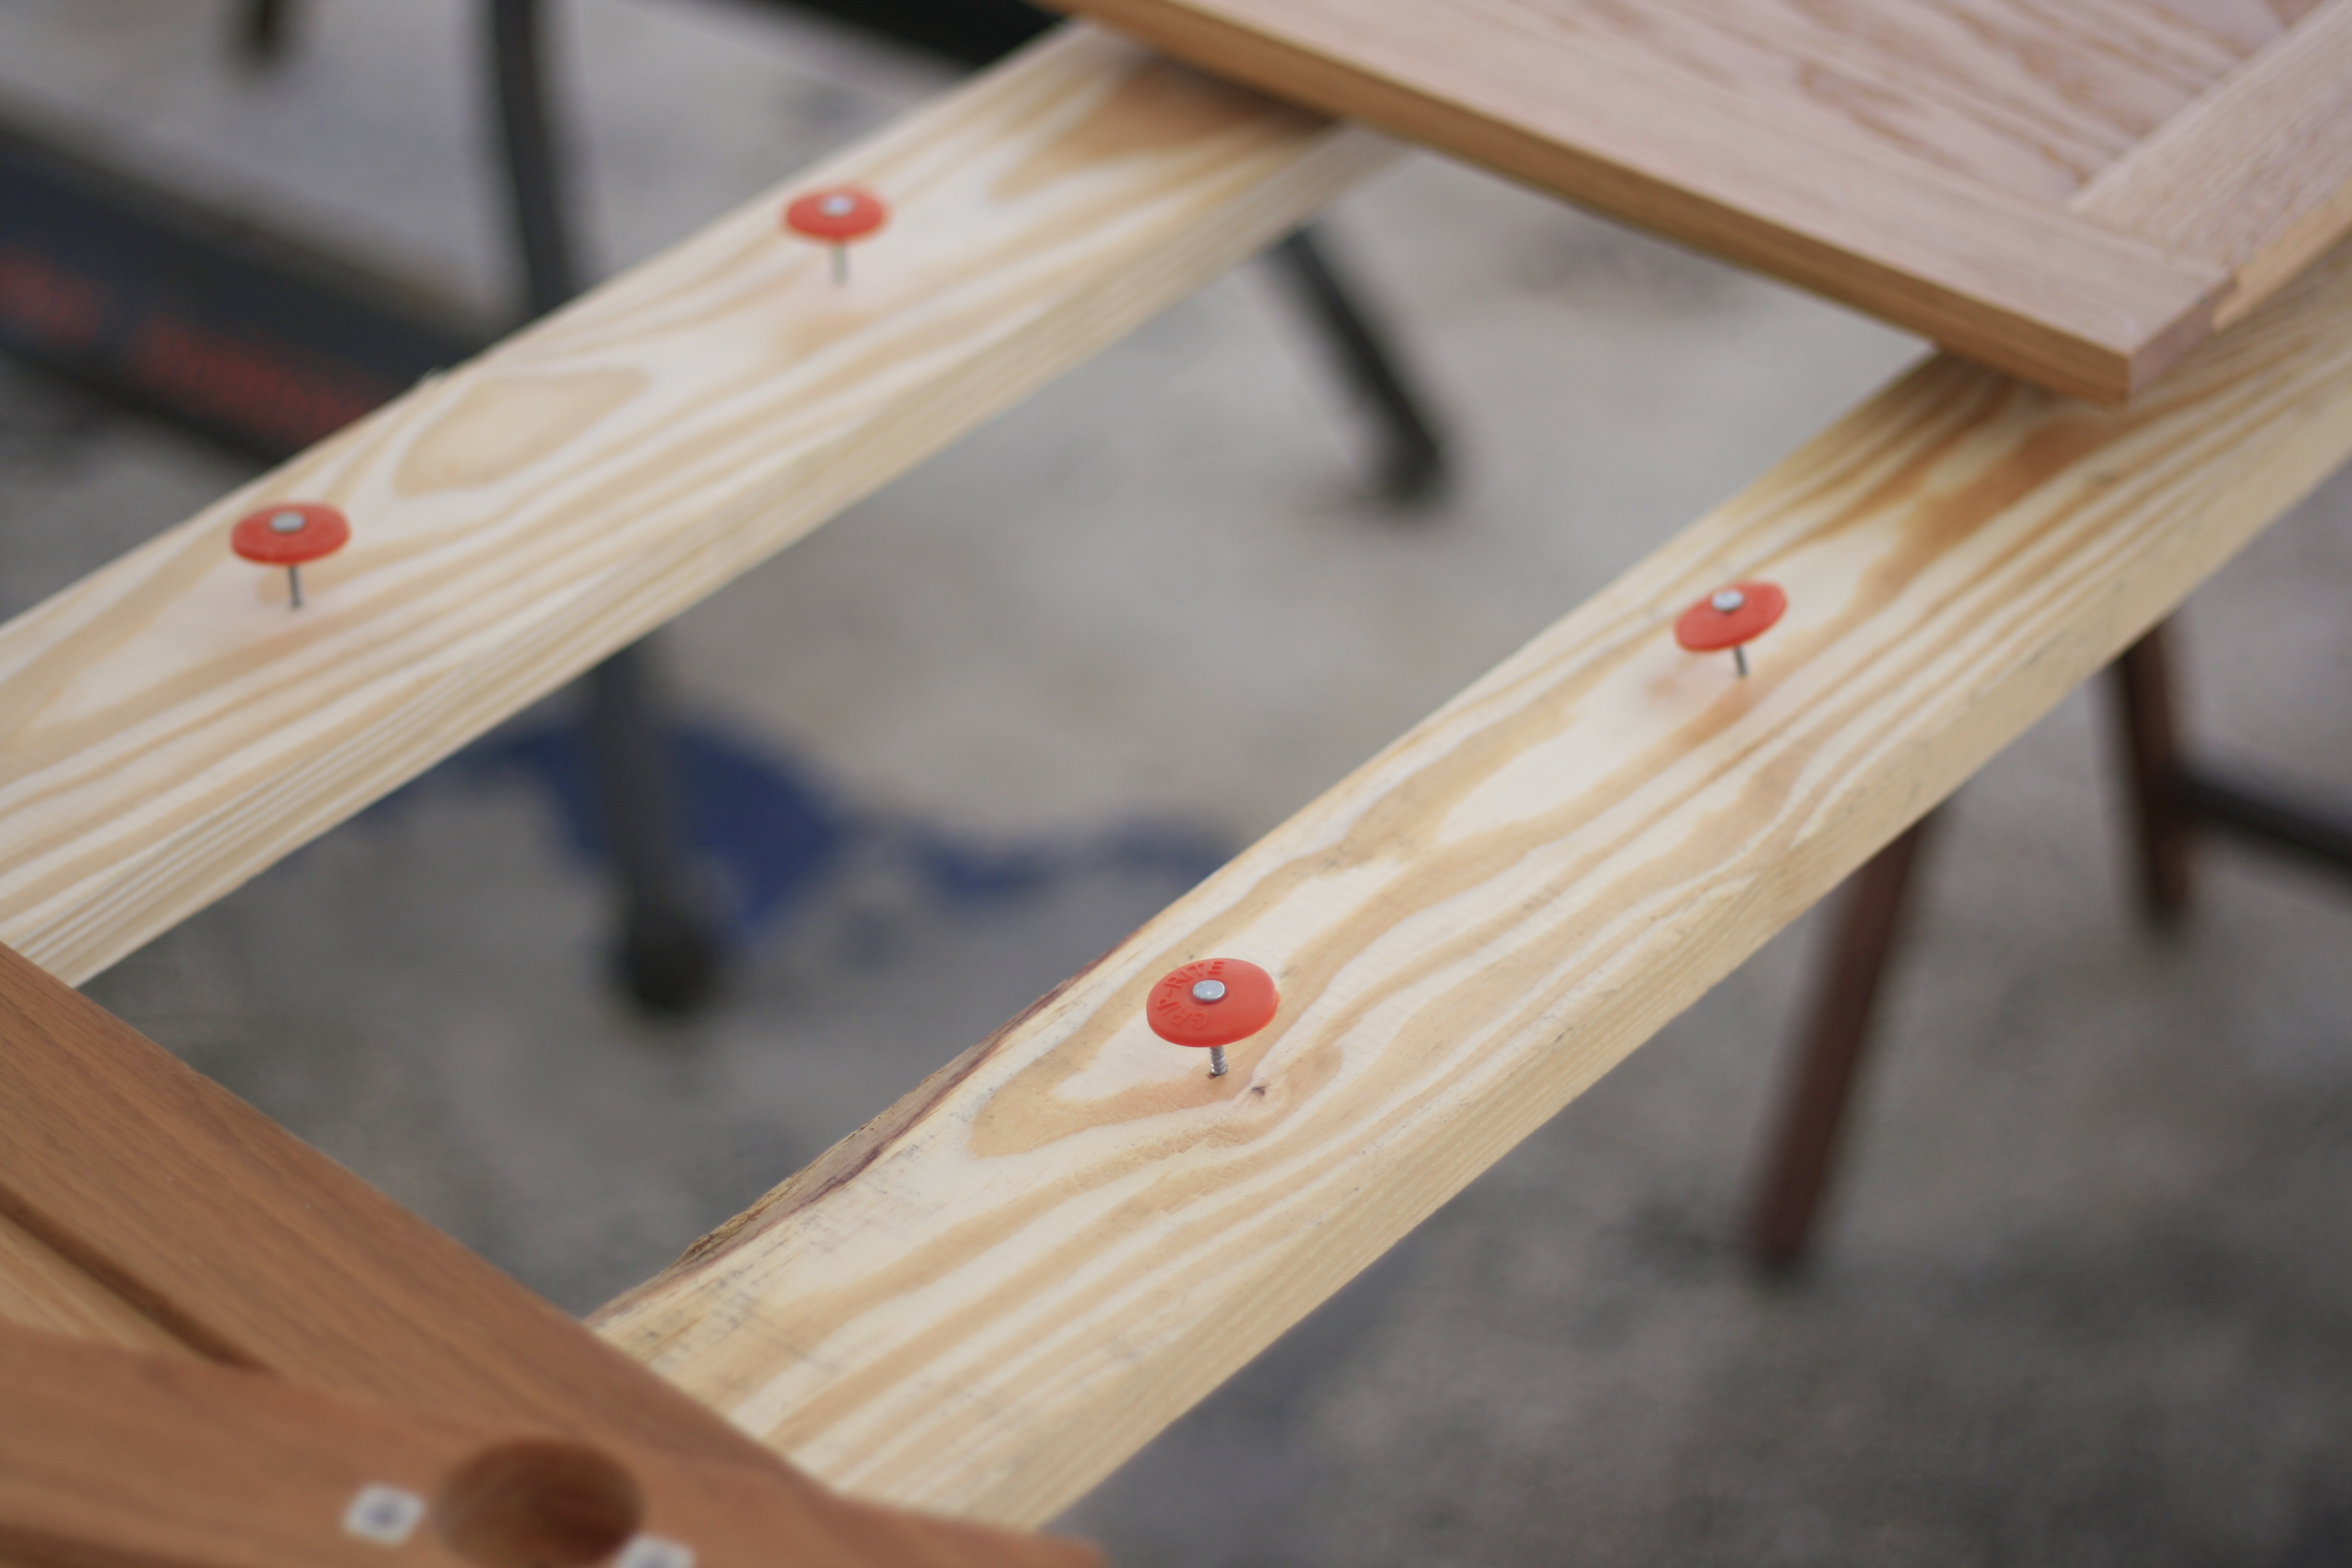 I use painters tape over the tops of the orange caps to keep the nails from scratching my doors and it works like a charm.
  I used this critter sprayer along with my compressor. It’s super simple to operate and clean and the best part is that it uses standard mason jars which can be purchased at the grocery store. Which means I can have several mason jars loaded with different product(paint, poly, primer) and all I have to clean to switch between products is the nozzle. Love that!
 woo-hoo!!!!! I finally finished my library wall. Just in time for Thanksgiving! I’m just getting around to posting about it because it’s been very dreary here and haven’t had good light for pictures. I’m over the moon with the results.
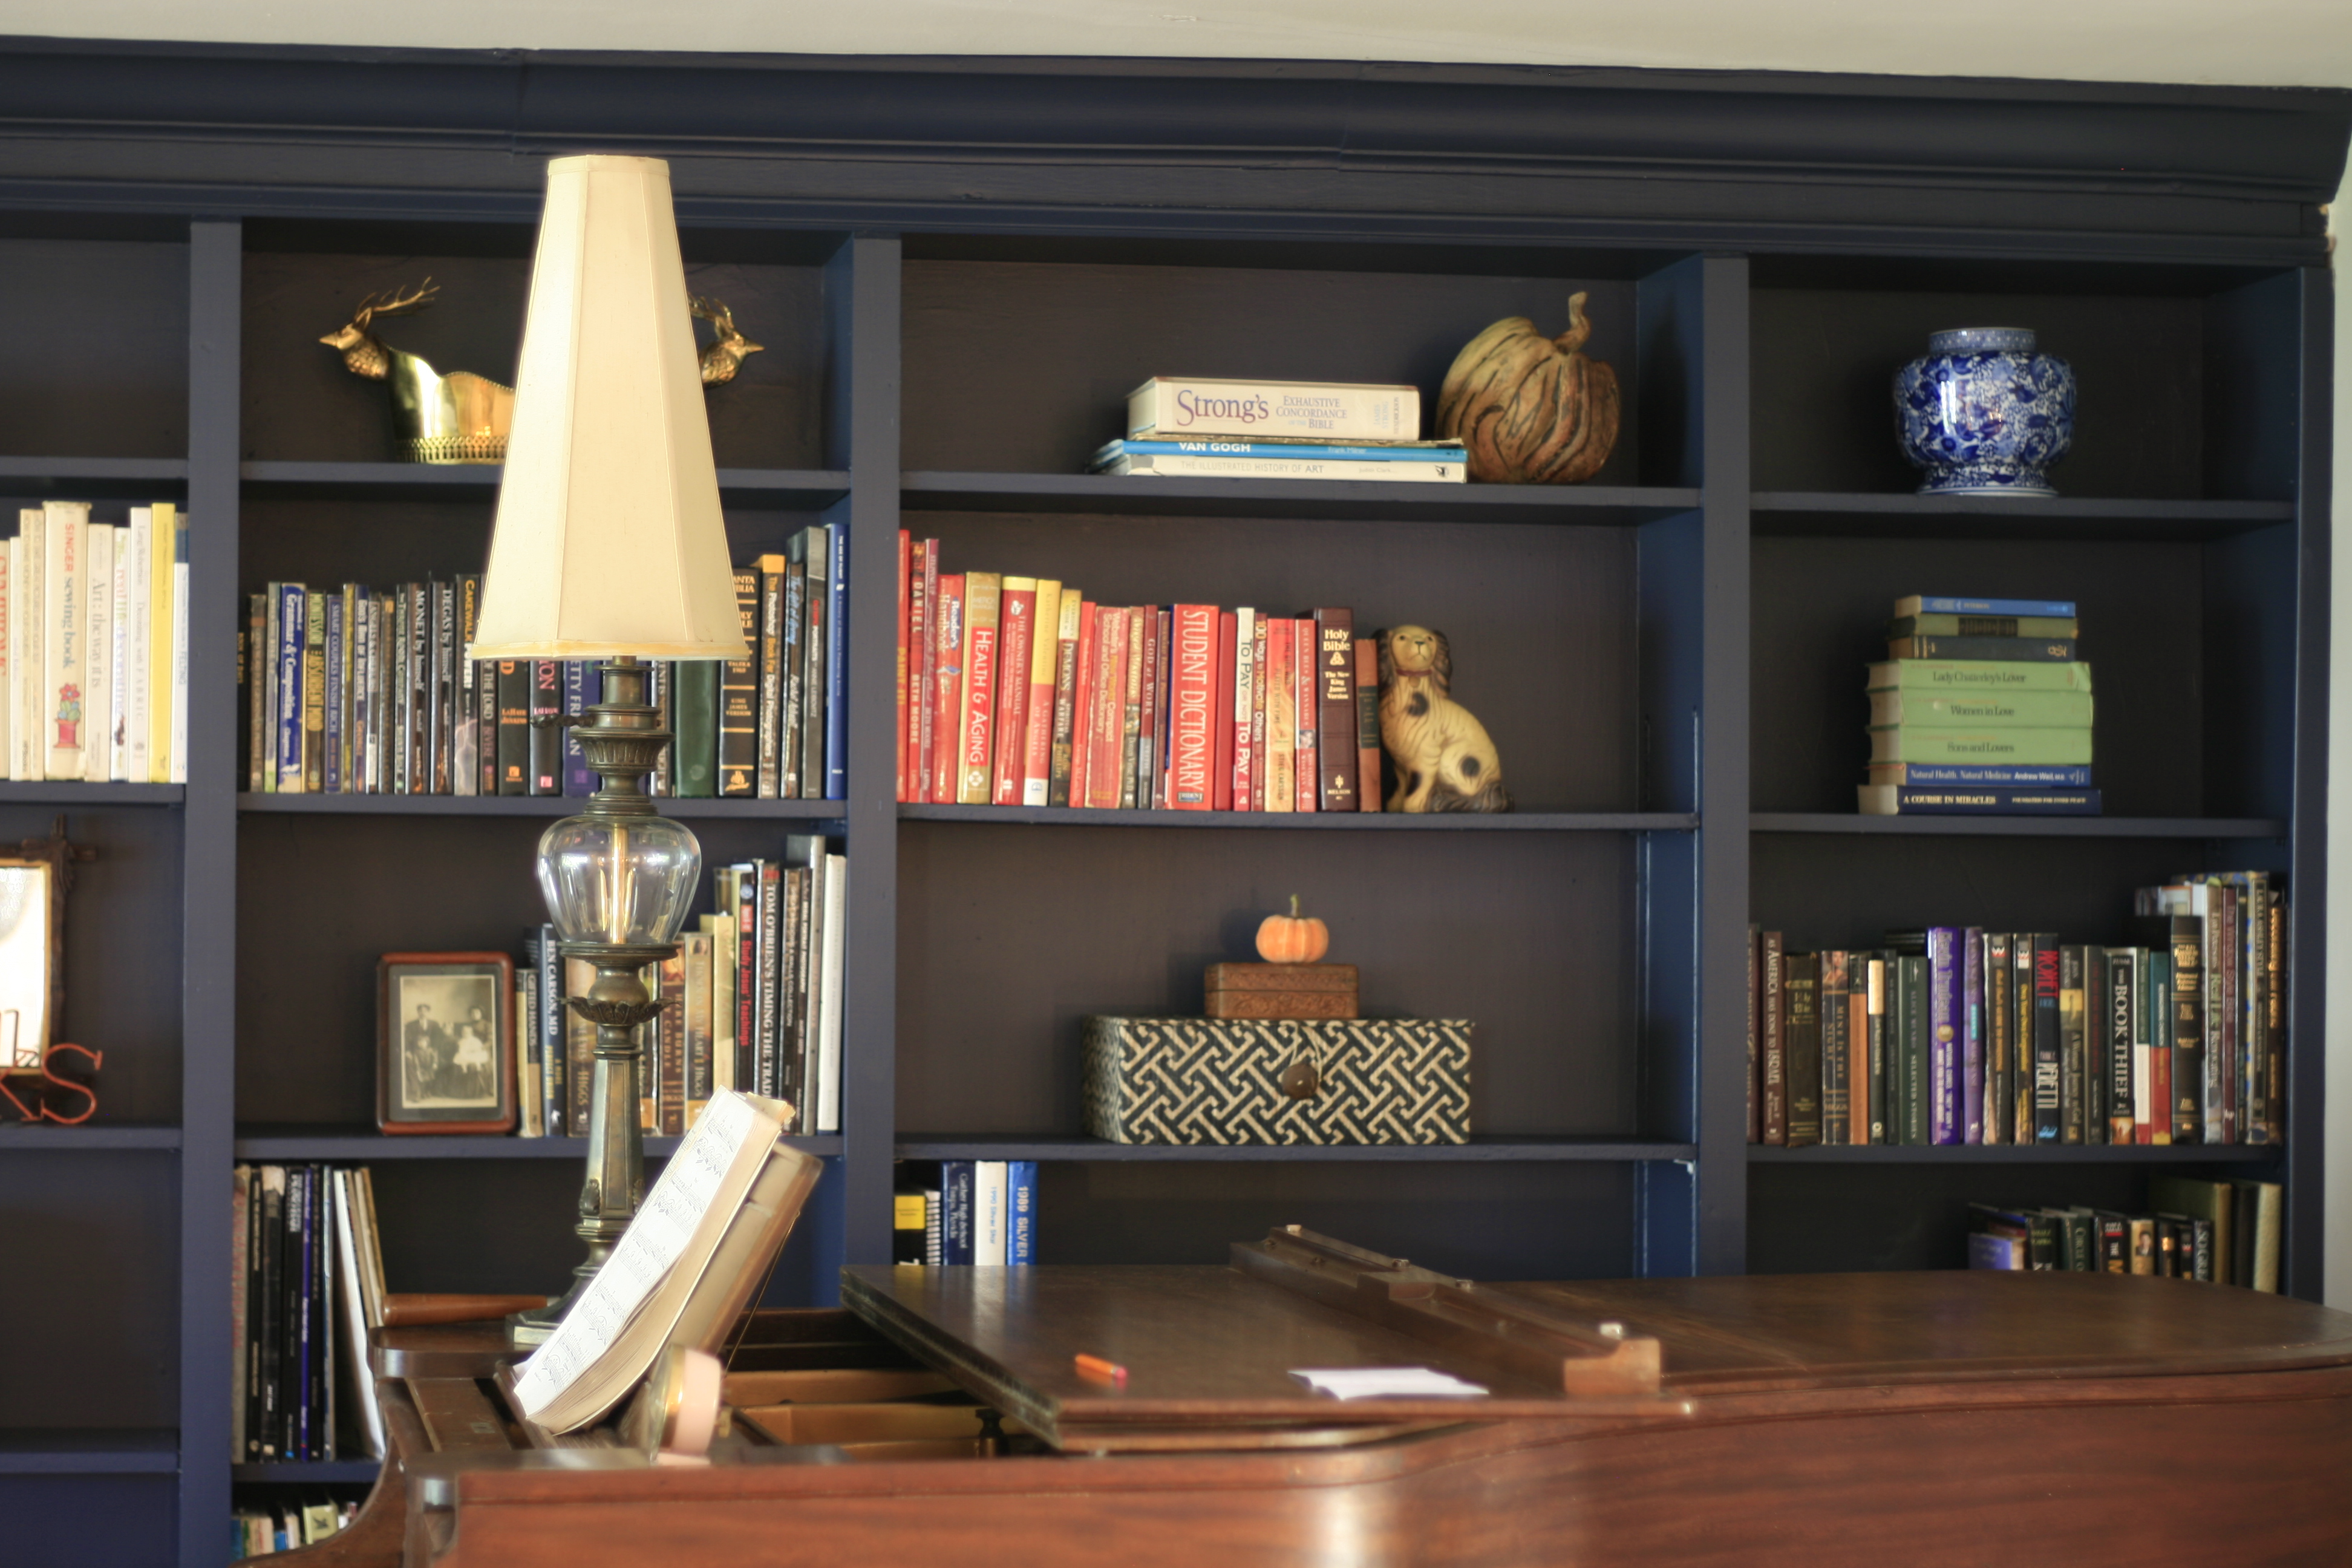


 This is the view looking inside from the back patio.
  before and after
 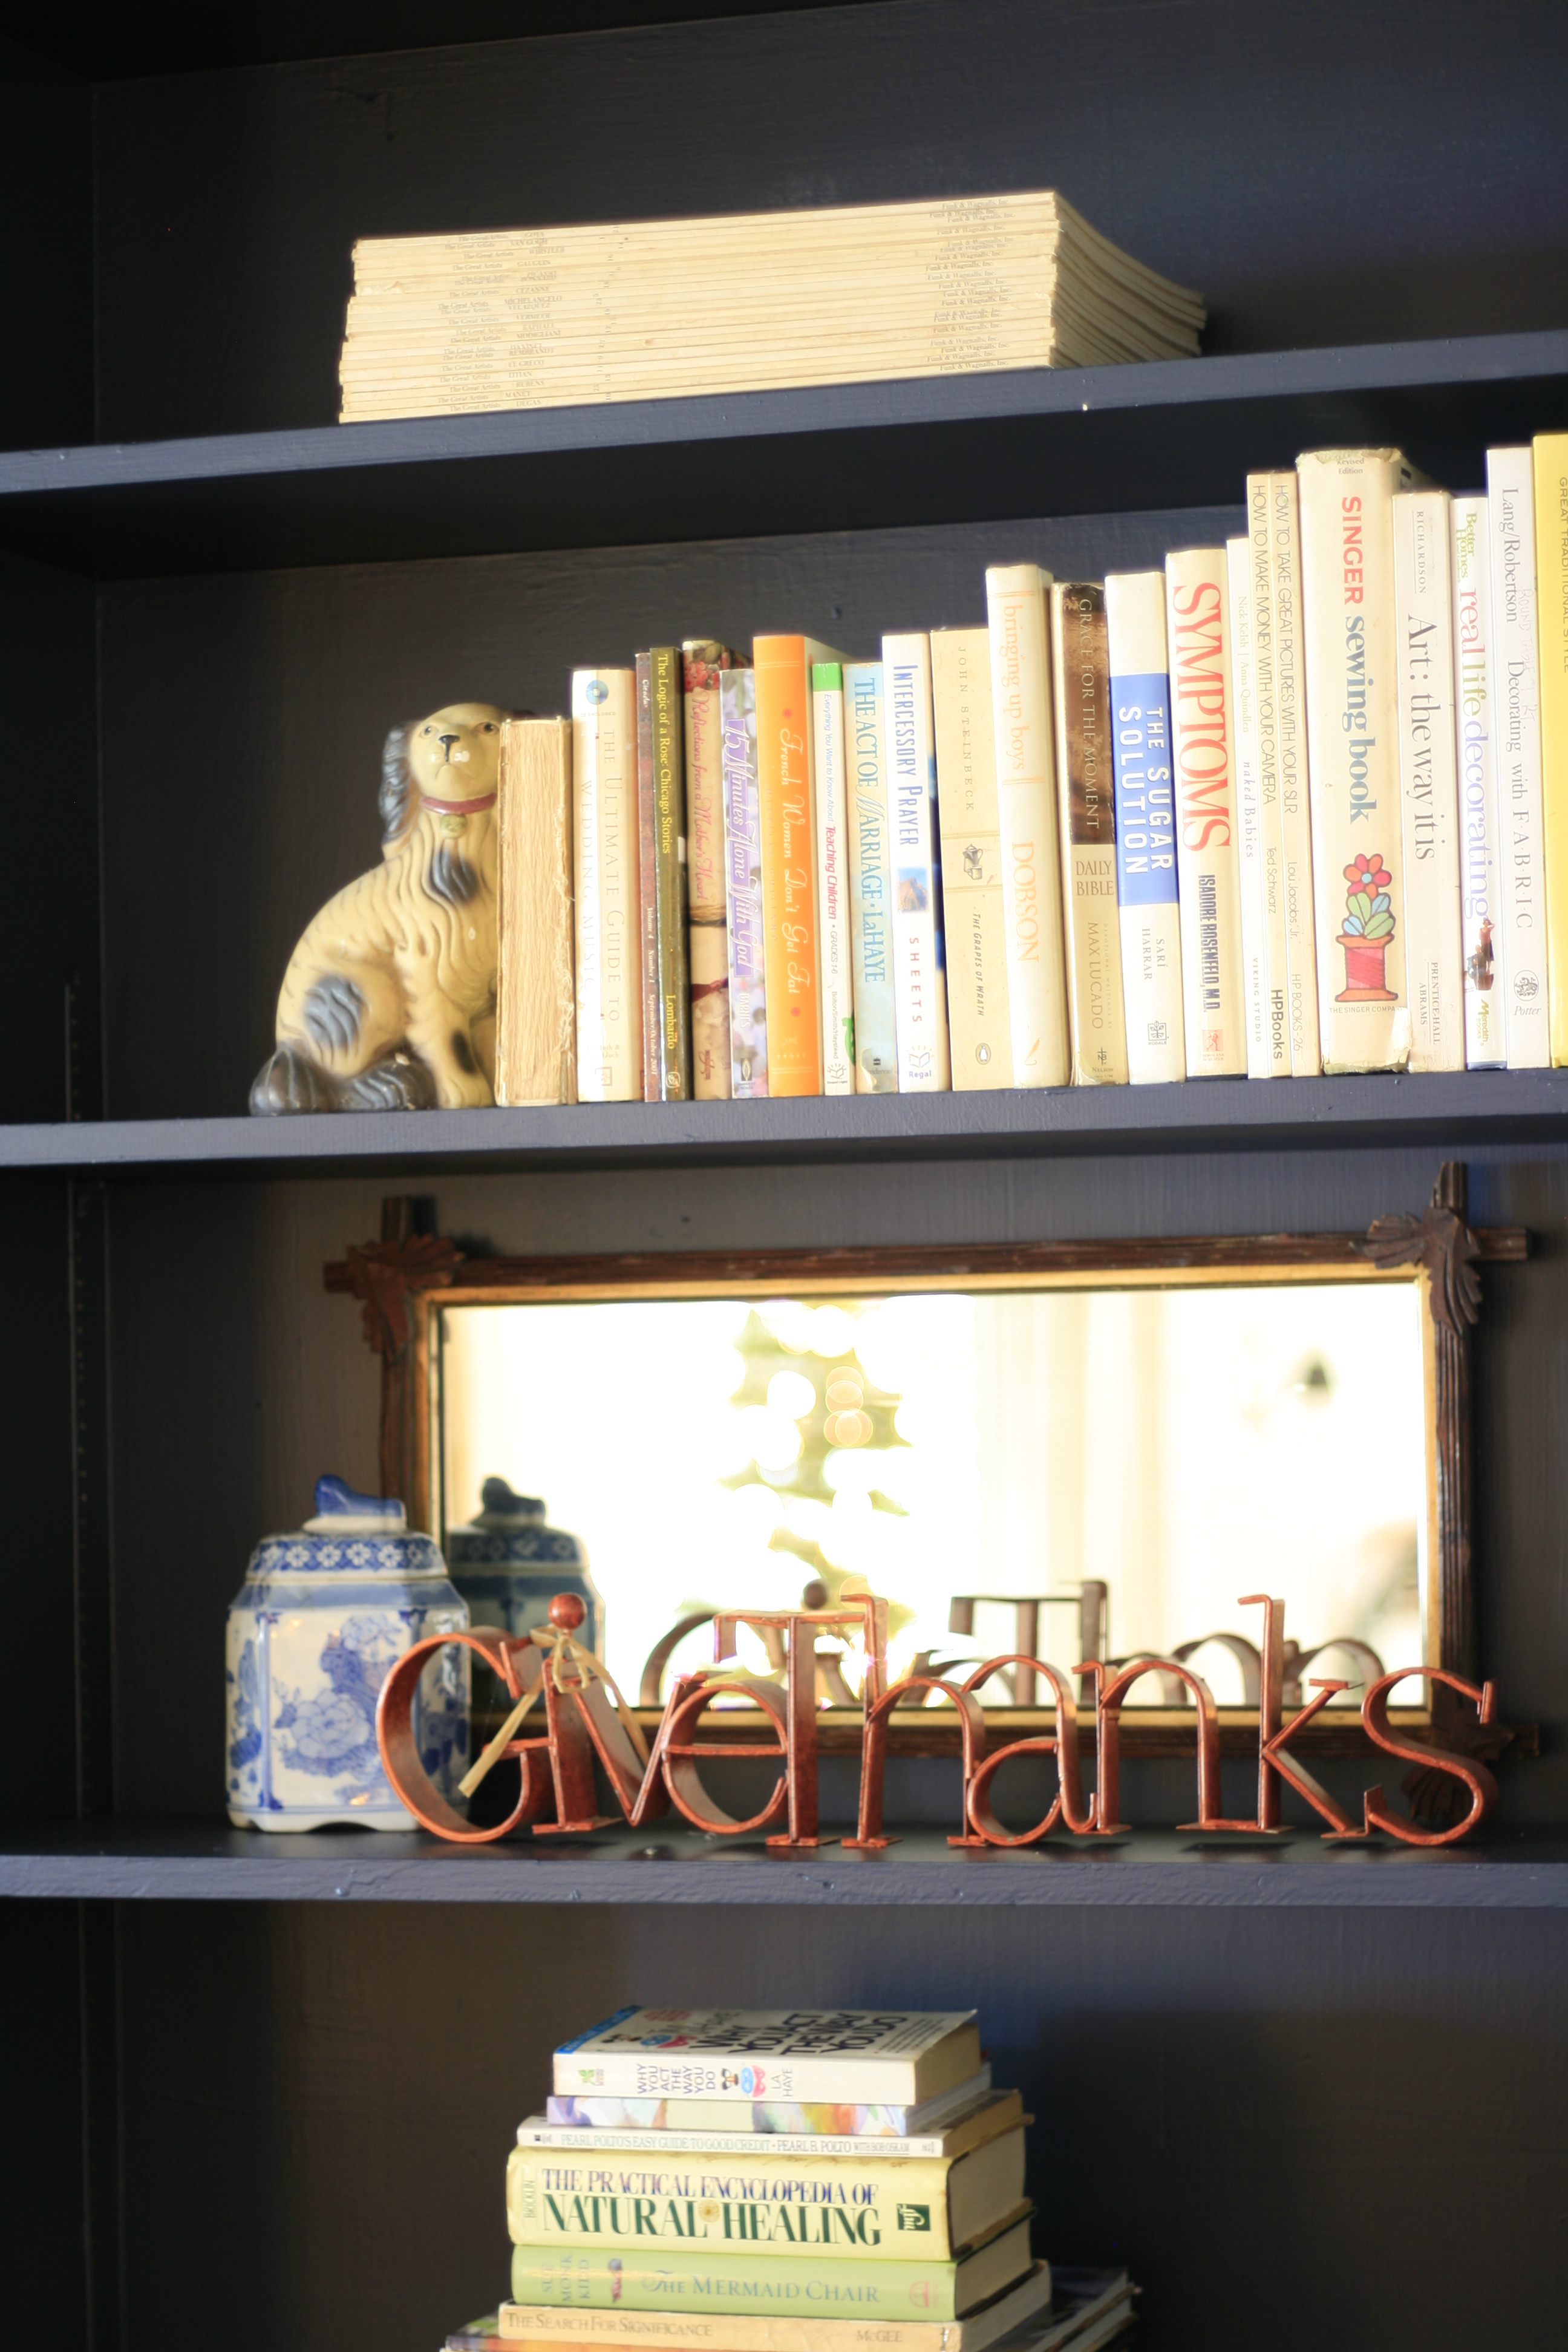 I hope everyone had a lovely Thanksgiving! There’s much to be thankful for!