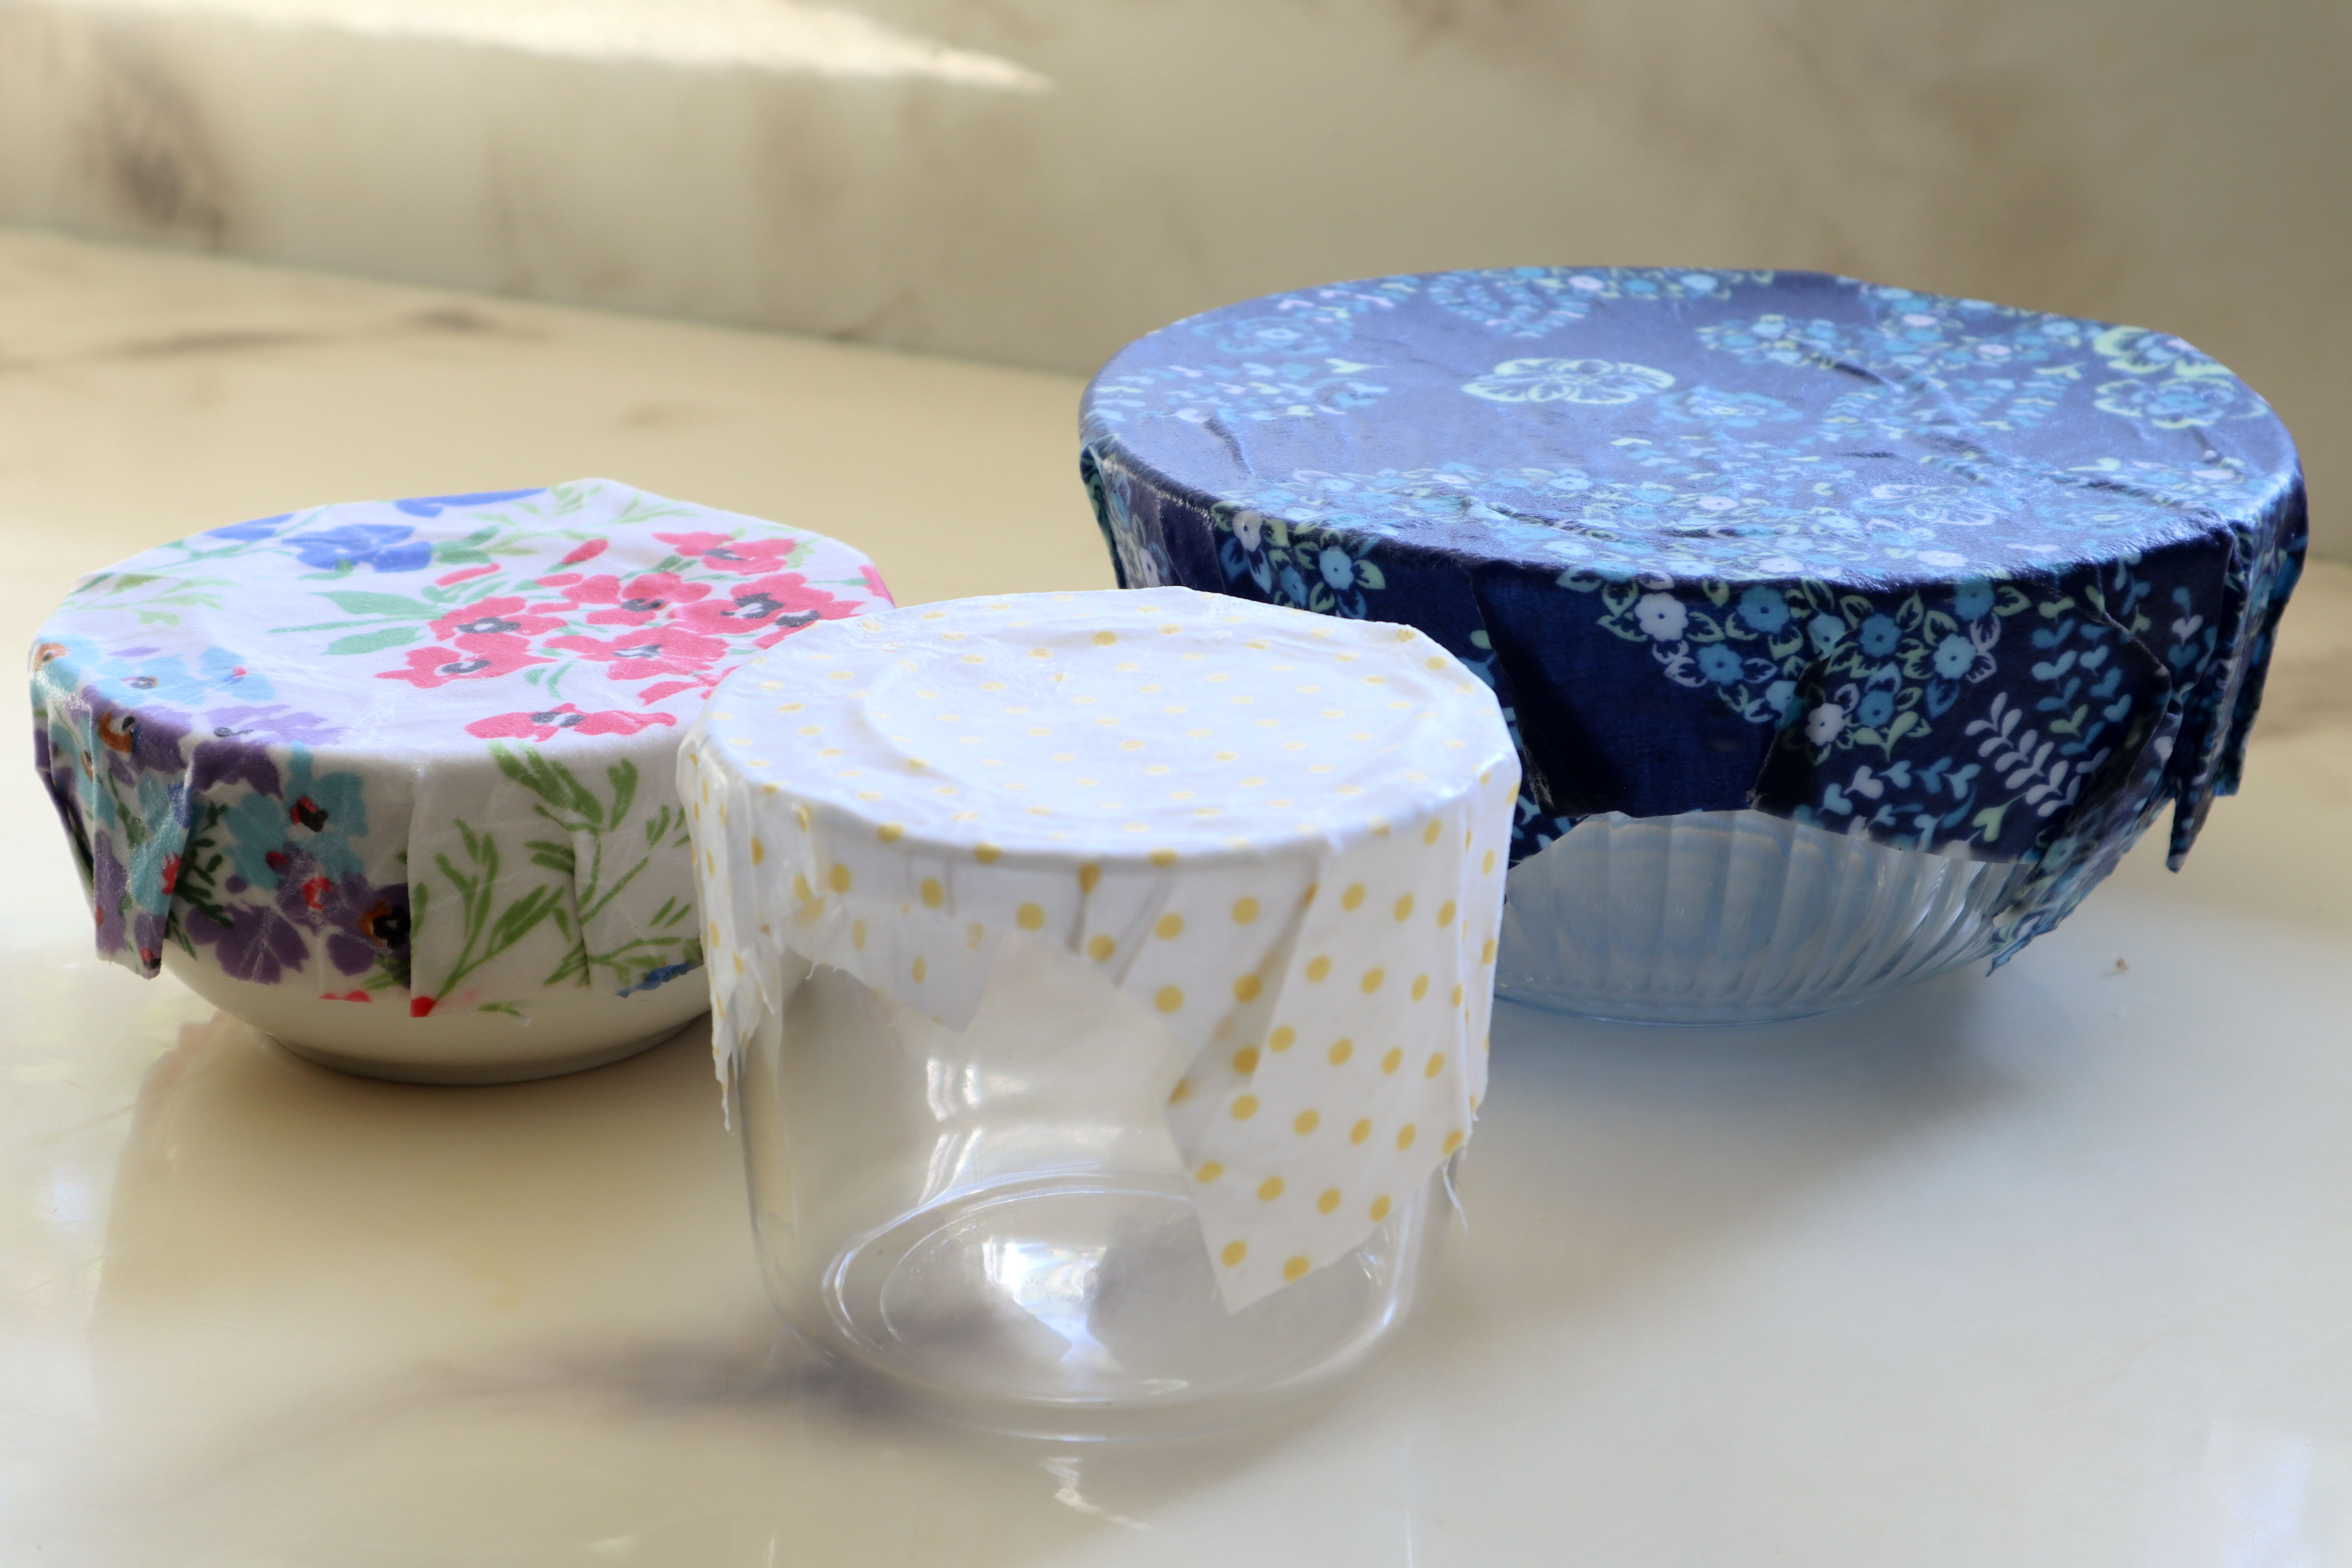
 Waste hurts my heart. Disposable equals more money and more waste so I’m not a fan. So if you’re like me, then these beeswax food wraps are right up your alley. AND the homemade beeswax wraps are far superior to the store bought.
 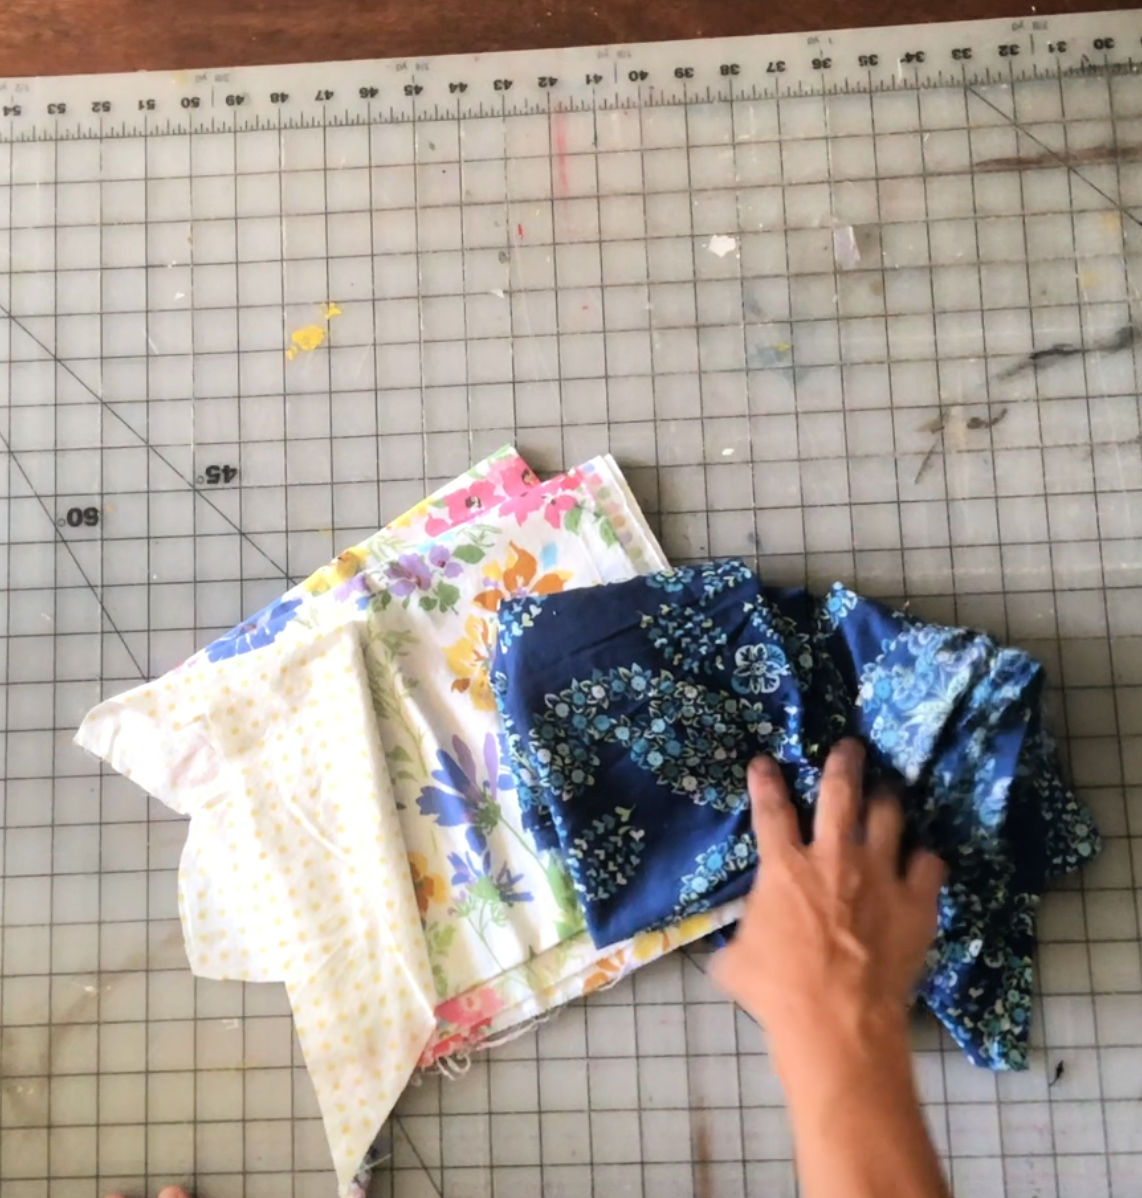 First select your favorite 100% cotton fabric. You can use quilters cotton or just a cotton shirt or (in my case) a dress, that would otherwise be destined for the donate pile or trash. It’s important that the fabric is 100% cotton. Don’t use anything synthetic or it could burn and/or melt. If you’re unsure if the fabric is 100% cotton you can test it…I have THIS video to show you just how to do that. Also, your fabric should be lightweight, like quilters cotton. Anything heavier won’t work.
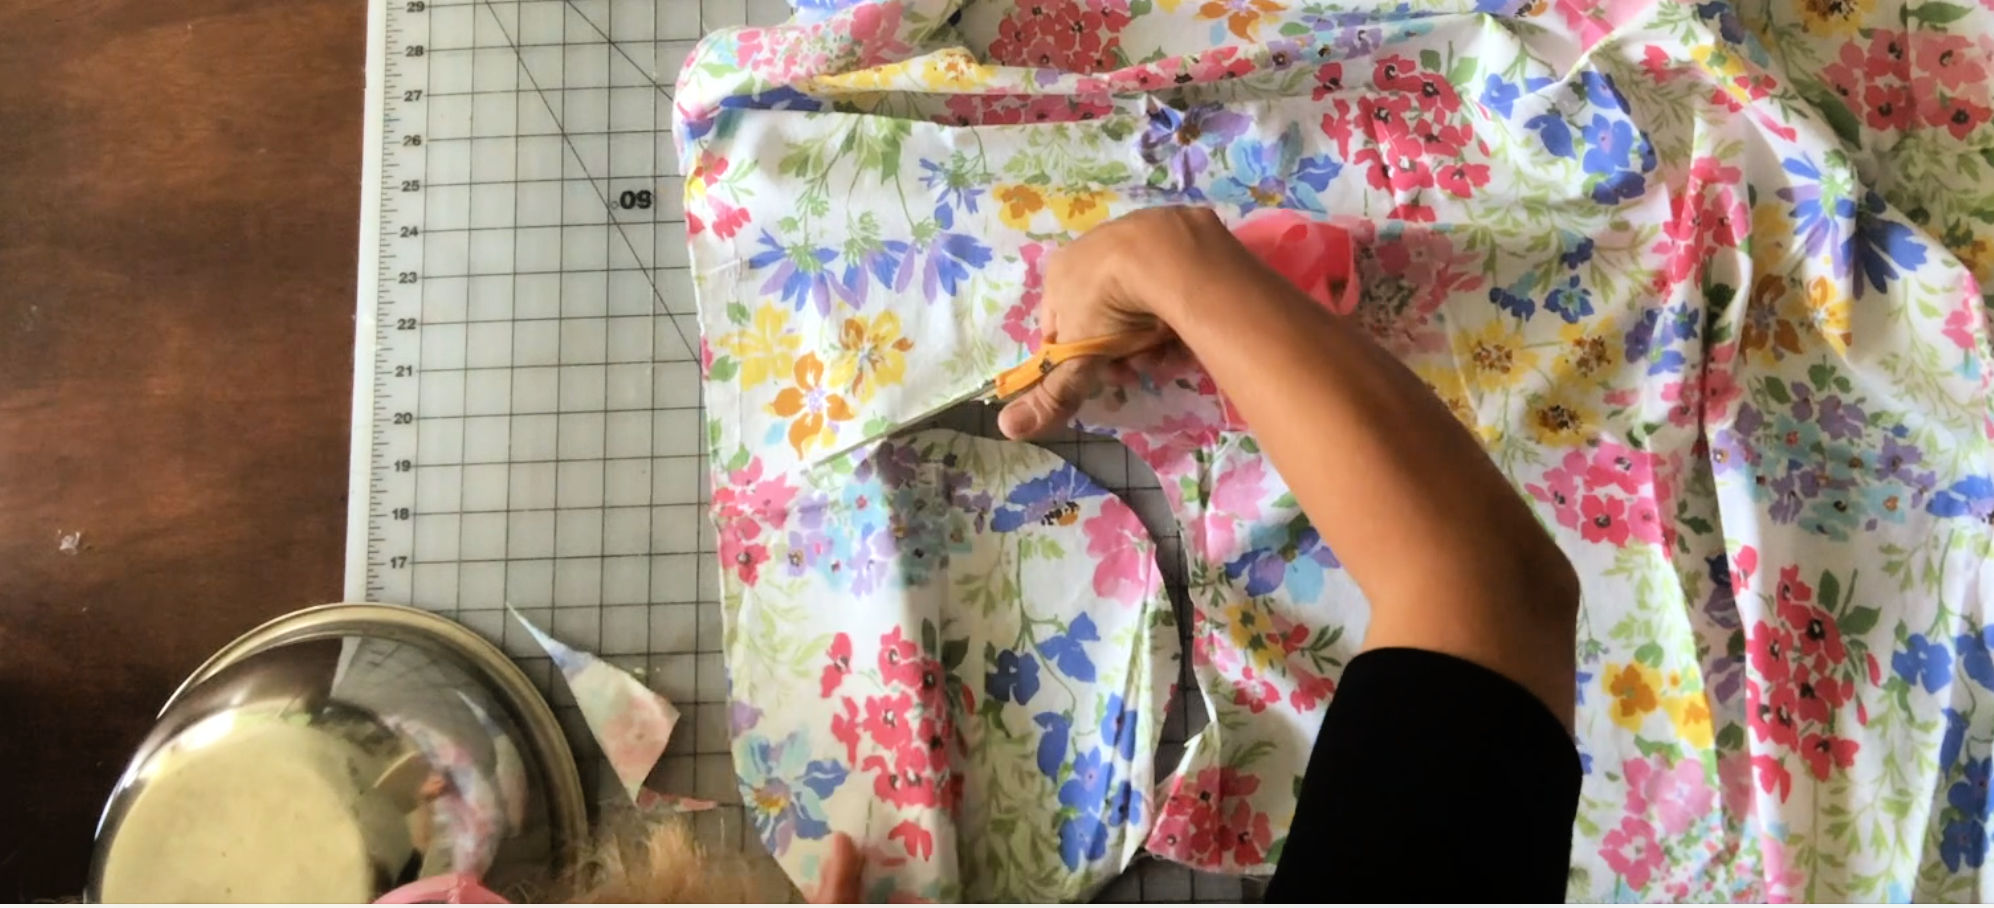 Then cut your fabric to your desired shapes and sizes. I used a large round bowl to trace the shape. Just make sure to cut your fabric at least 2 inches larger(all the way around) than the bowl you intend to cover. It’s better to have more fabric over the edges than less.
You can cut rectangles for wrapping sandwiches, cheese, and mason jar tops too.
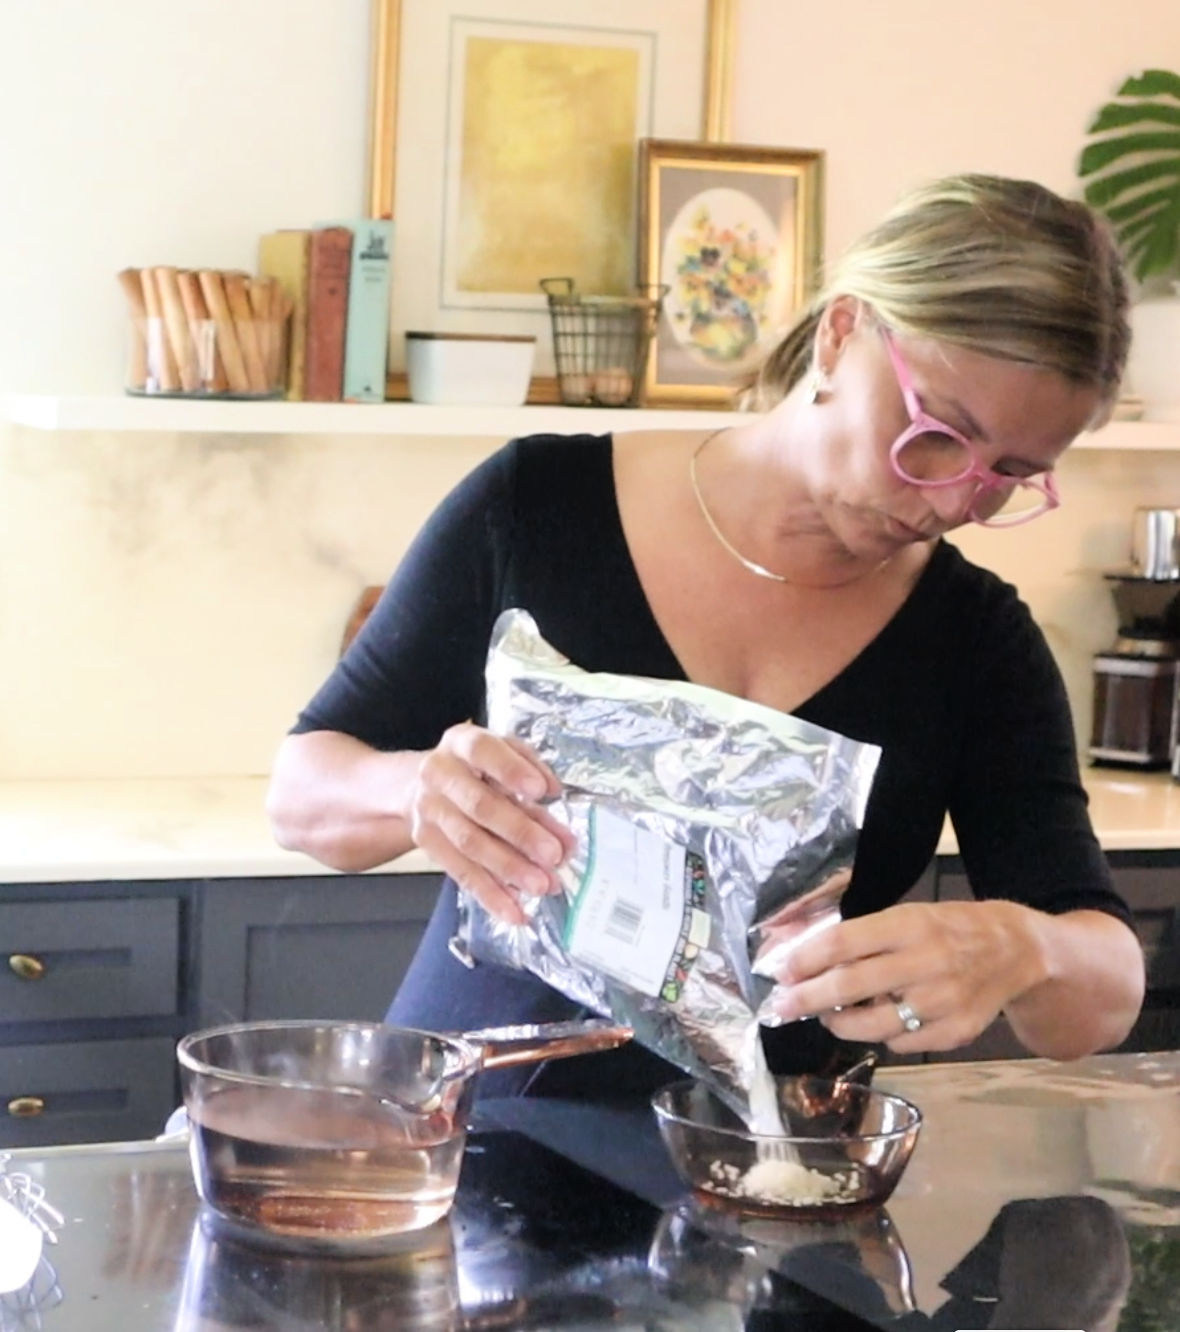 Now that the fabric is prepped, it’s time to melt the beeswax. I used beeswax beads from my local health food store, but you can use any form of beeswax. I used about 1 1/2 cups of beads to make 4 bowl covers.
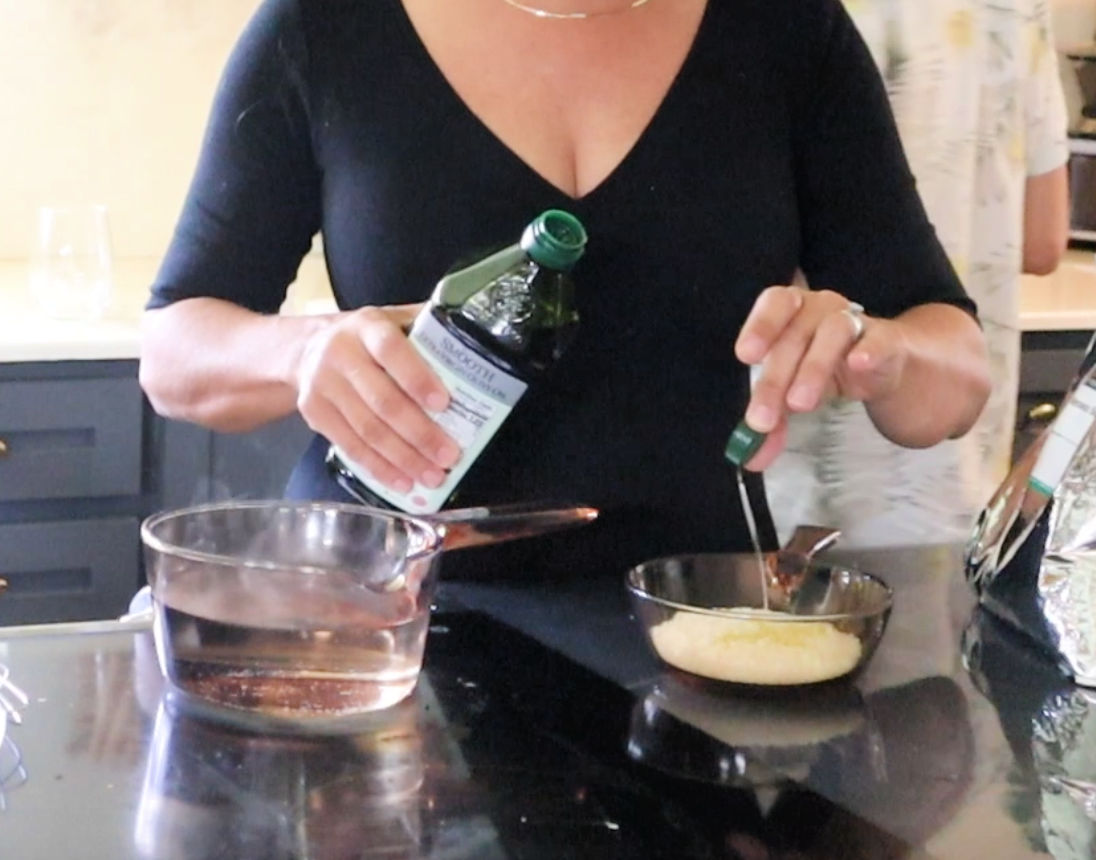 Then add oil. The oil keeps the beeswax wrap pliable. So use an oil that stays liquid at room temperature. I used olive oil because I had it on hand, but you can use any kind of food grade oil. I’ve seen a lot of people use Jojoba oil, maybe because it’s naturally anti-bacterial.
Some beeswax wraps have added pine resin to make the wrap more sticky, so you could also add pine resin, but it’s not necessary.
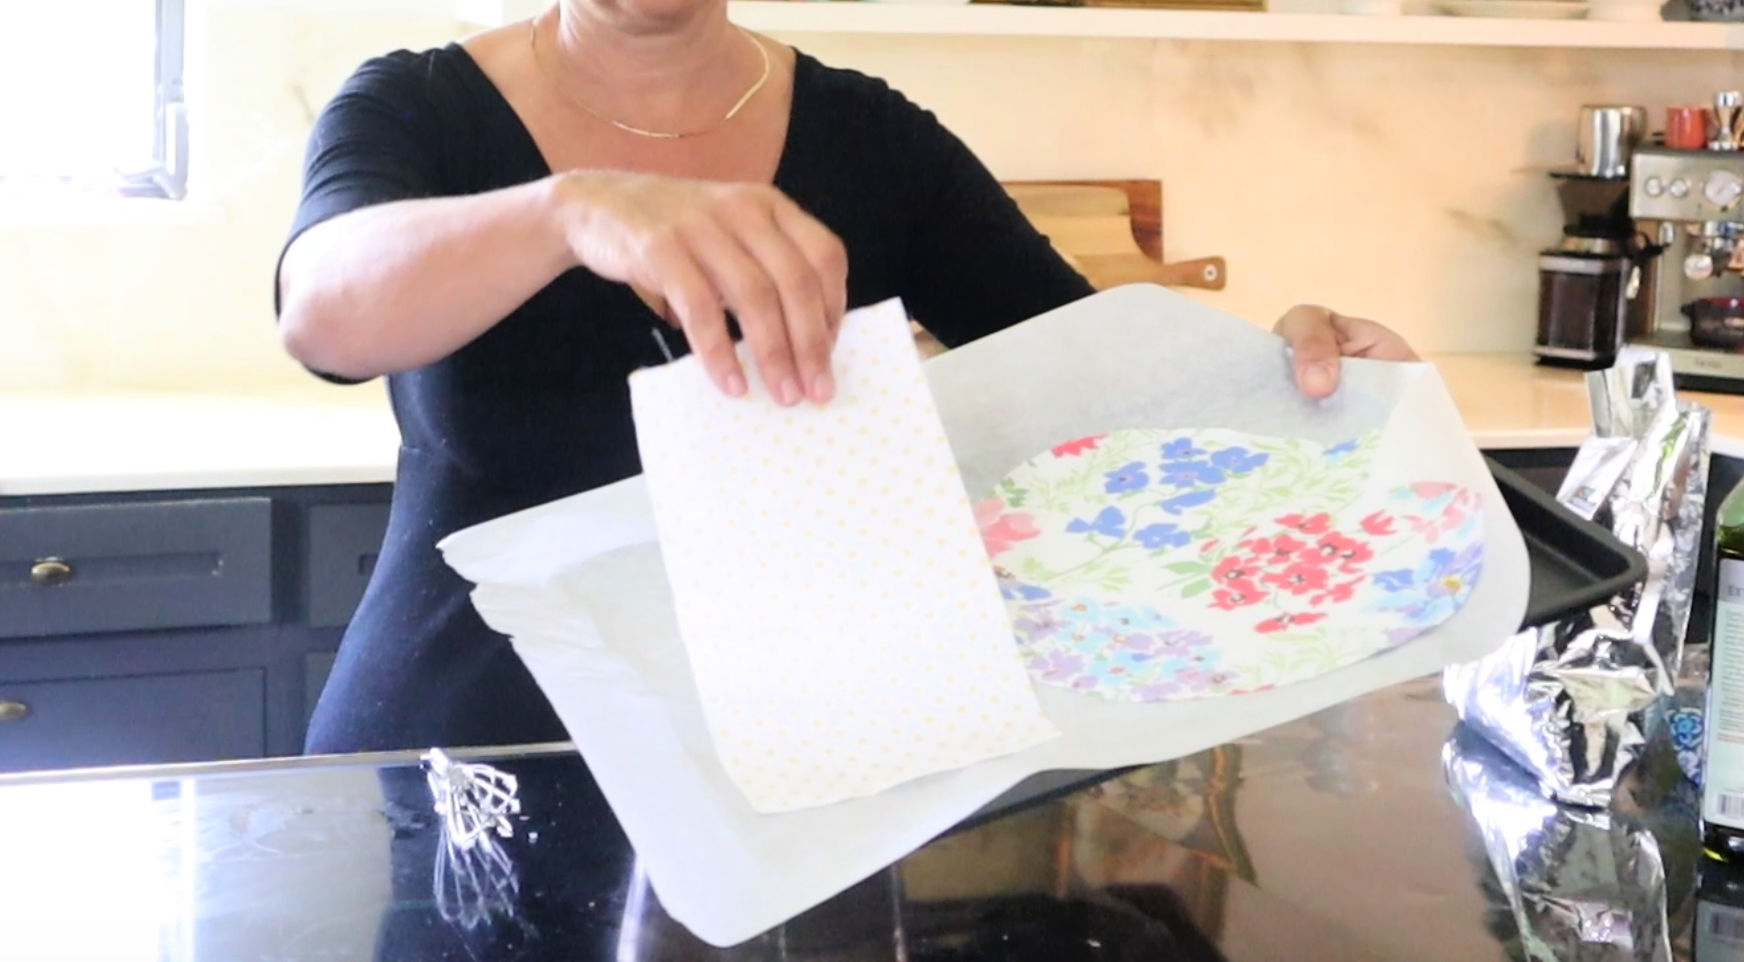 I placed my fabric on a parchment paper lined cookie sheet.
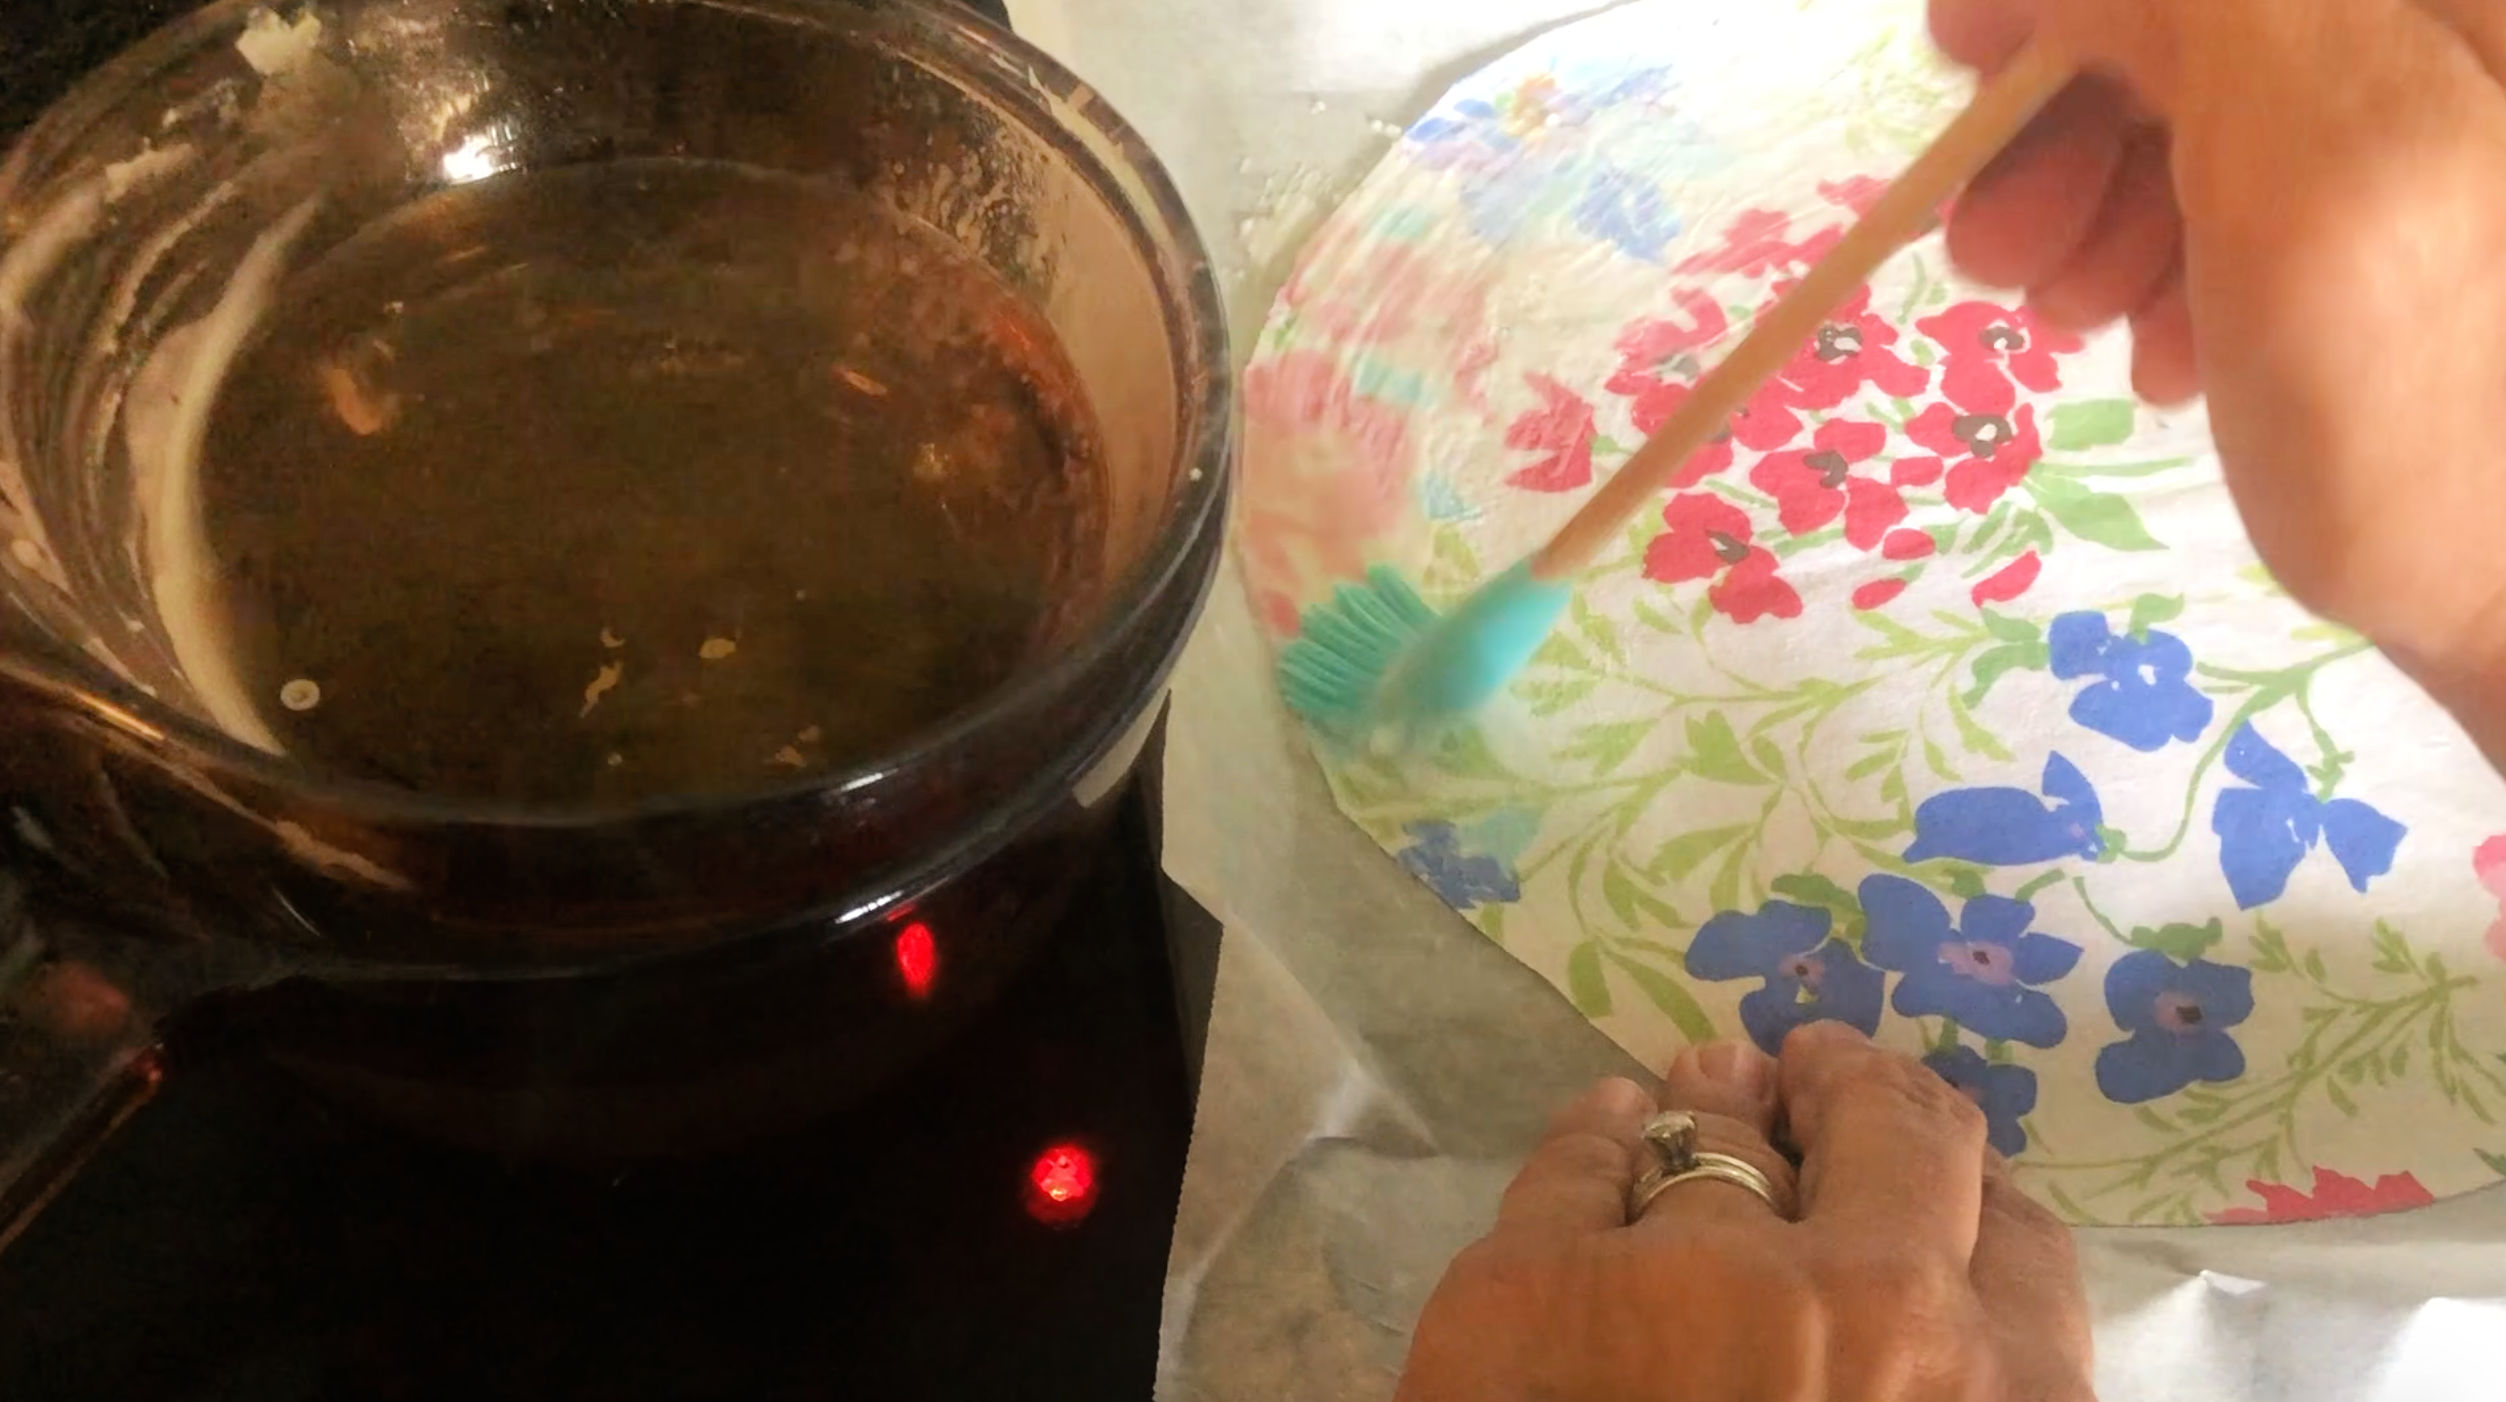 Once the beeswax is completely melted I used a silicone brush to spread the beeswax onto the fabric. The beeswax hardens almost instantly.
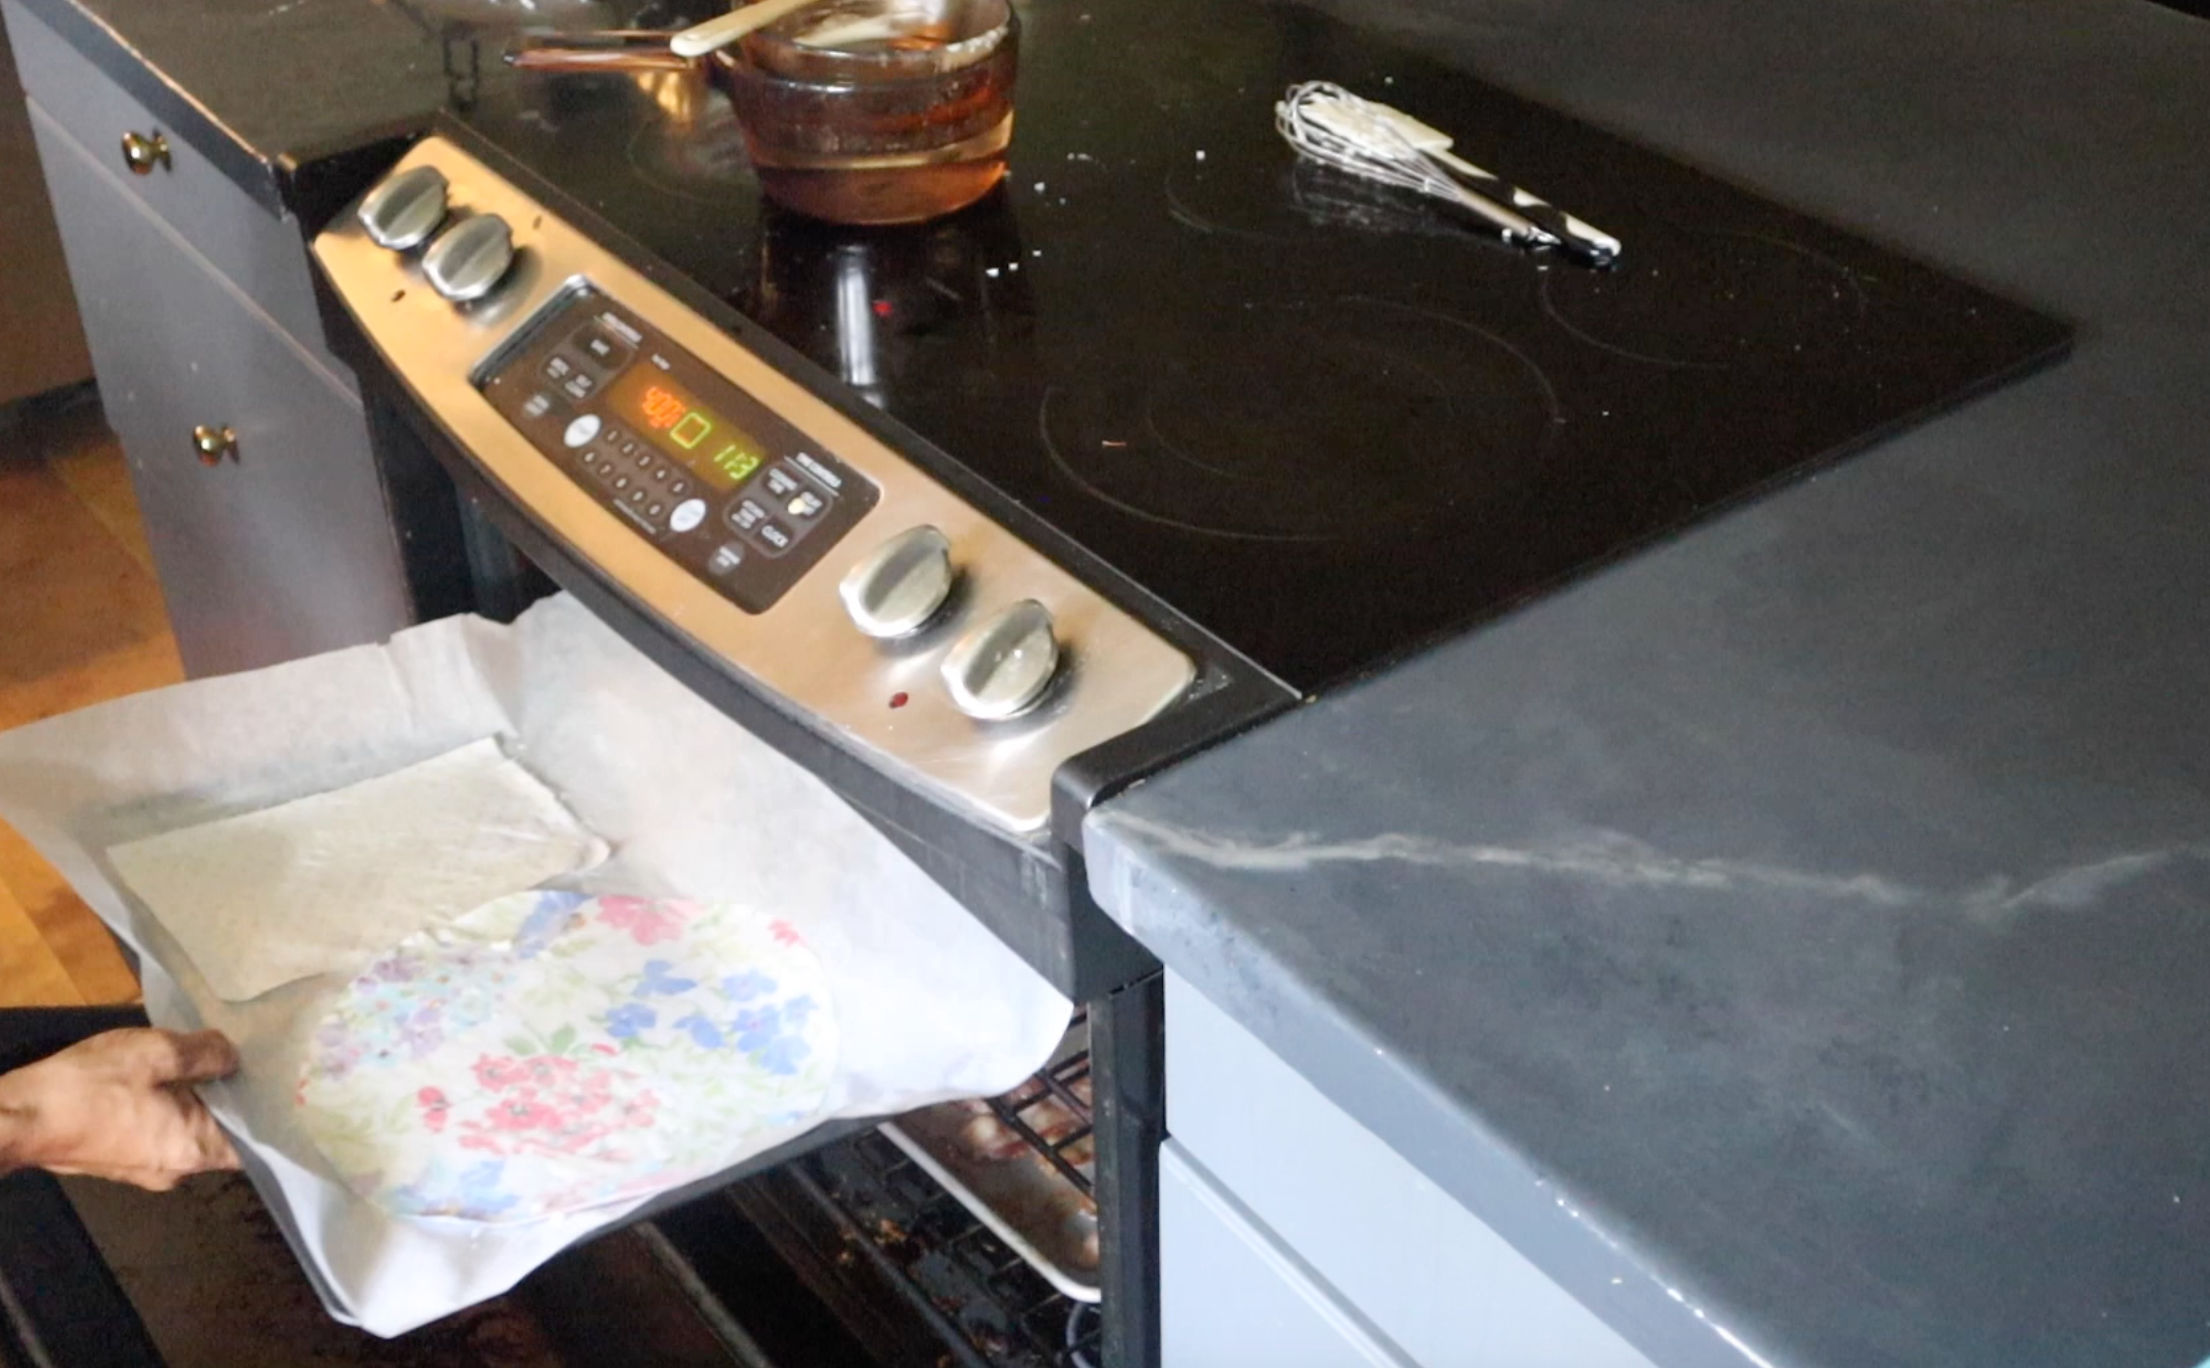 So once the fabric was completely covered in wax I popped the fabric in the oven for about 30 seconds to make it liquid again. This ensures that the beeswax soaks through to the other side of the fabric and completely soaks all the fabric.
I had my oven set to 400 degrees because I was also cooking bacon so I stood at the oven and opened the door every few seconds to see if the wax was completely melted.
*It’s very important to stay at the oven when the beeswax fabric is in there, because if you get distracted and forget about it there could be trouble. So set and alarm on your phone, or just do like it did and stand at the oven with your hand on the door.
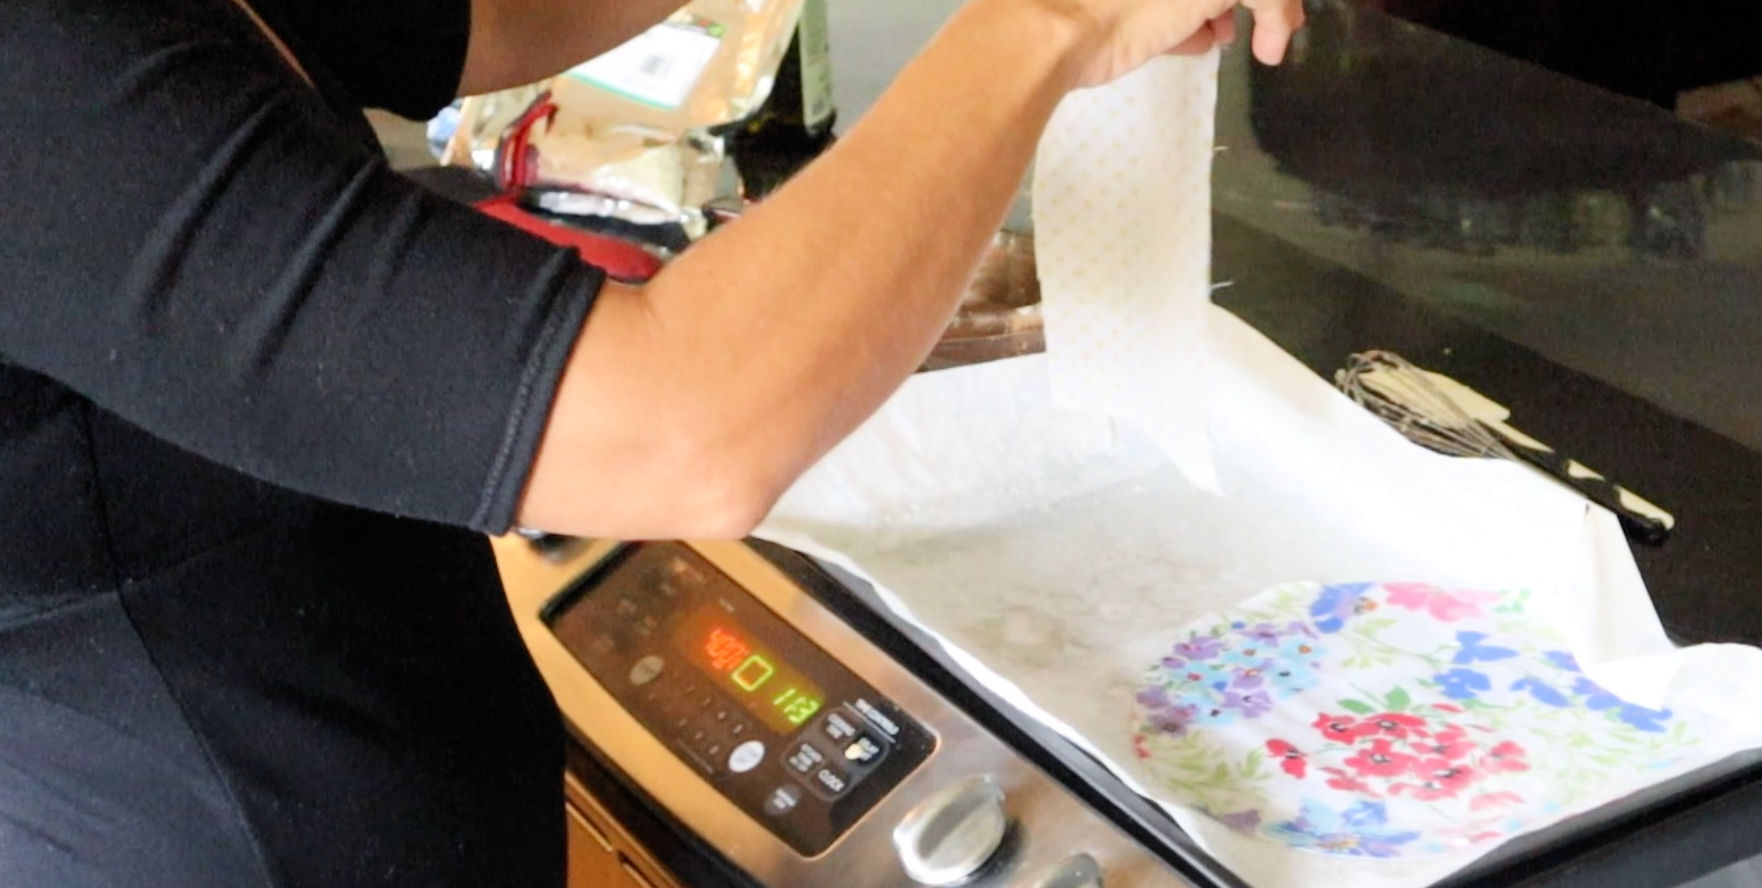 After the wax was shiny and fully melted again, I removed it from the oven and used the silicone brush to re-spread any pooling wax. Then I used tongs to lift the freshly waxed fabric off the parchment paper to dry. It only takes about 15 seconds for the wax to cool off and firm up.
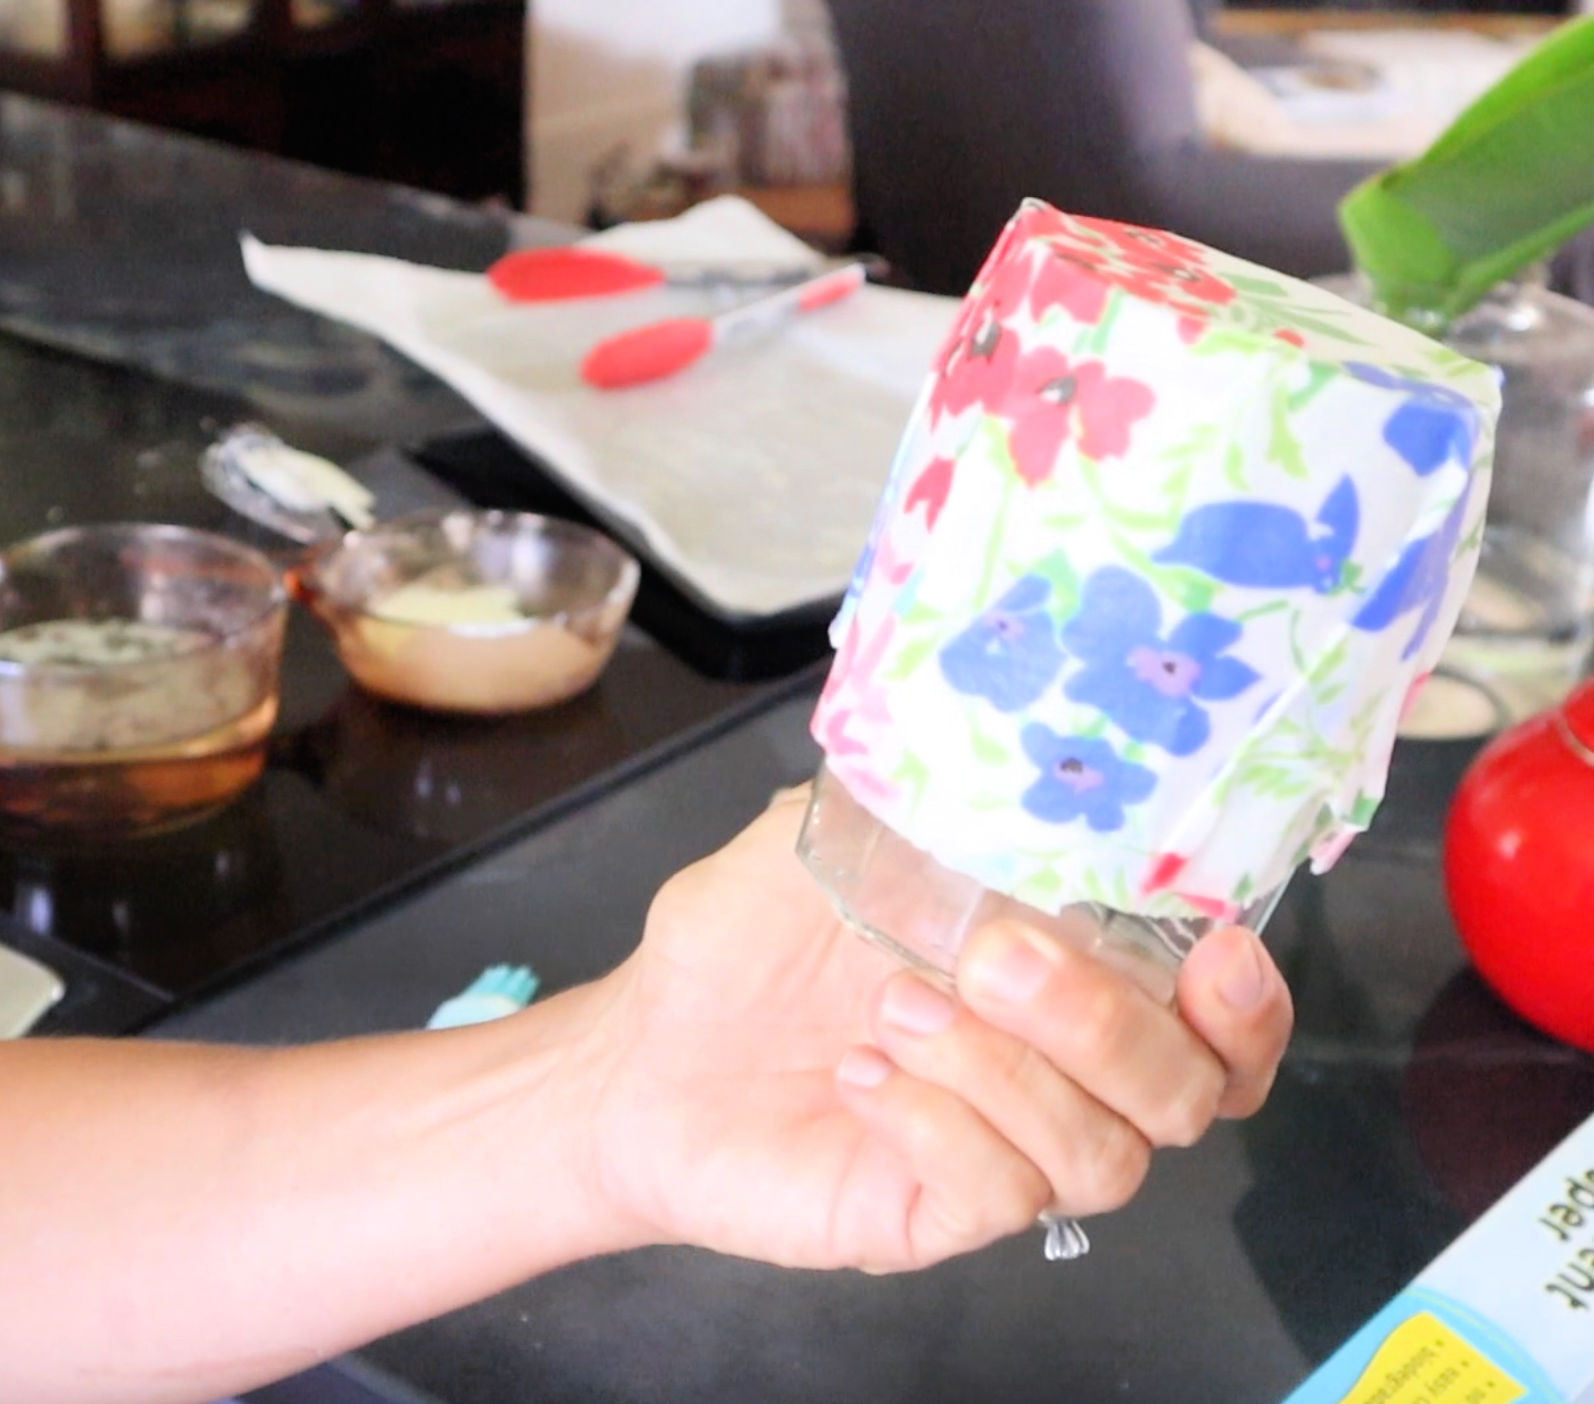
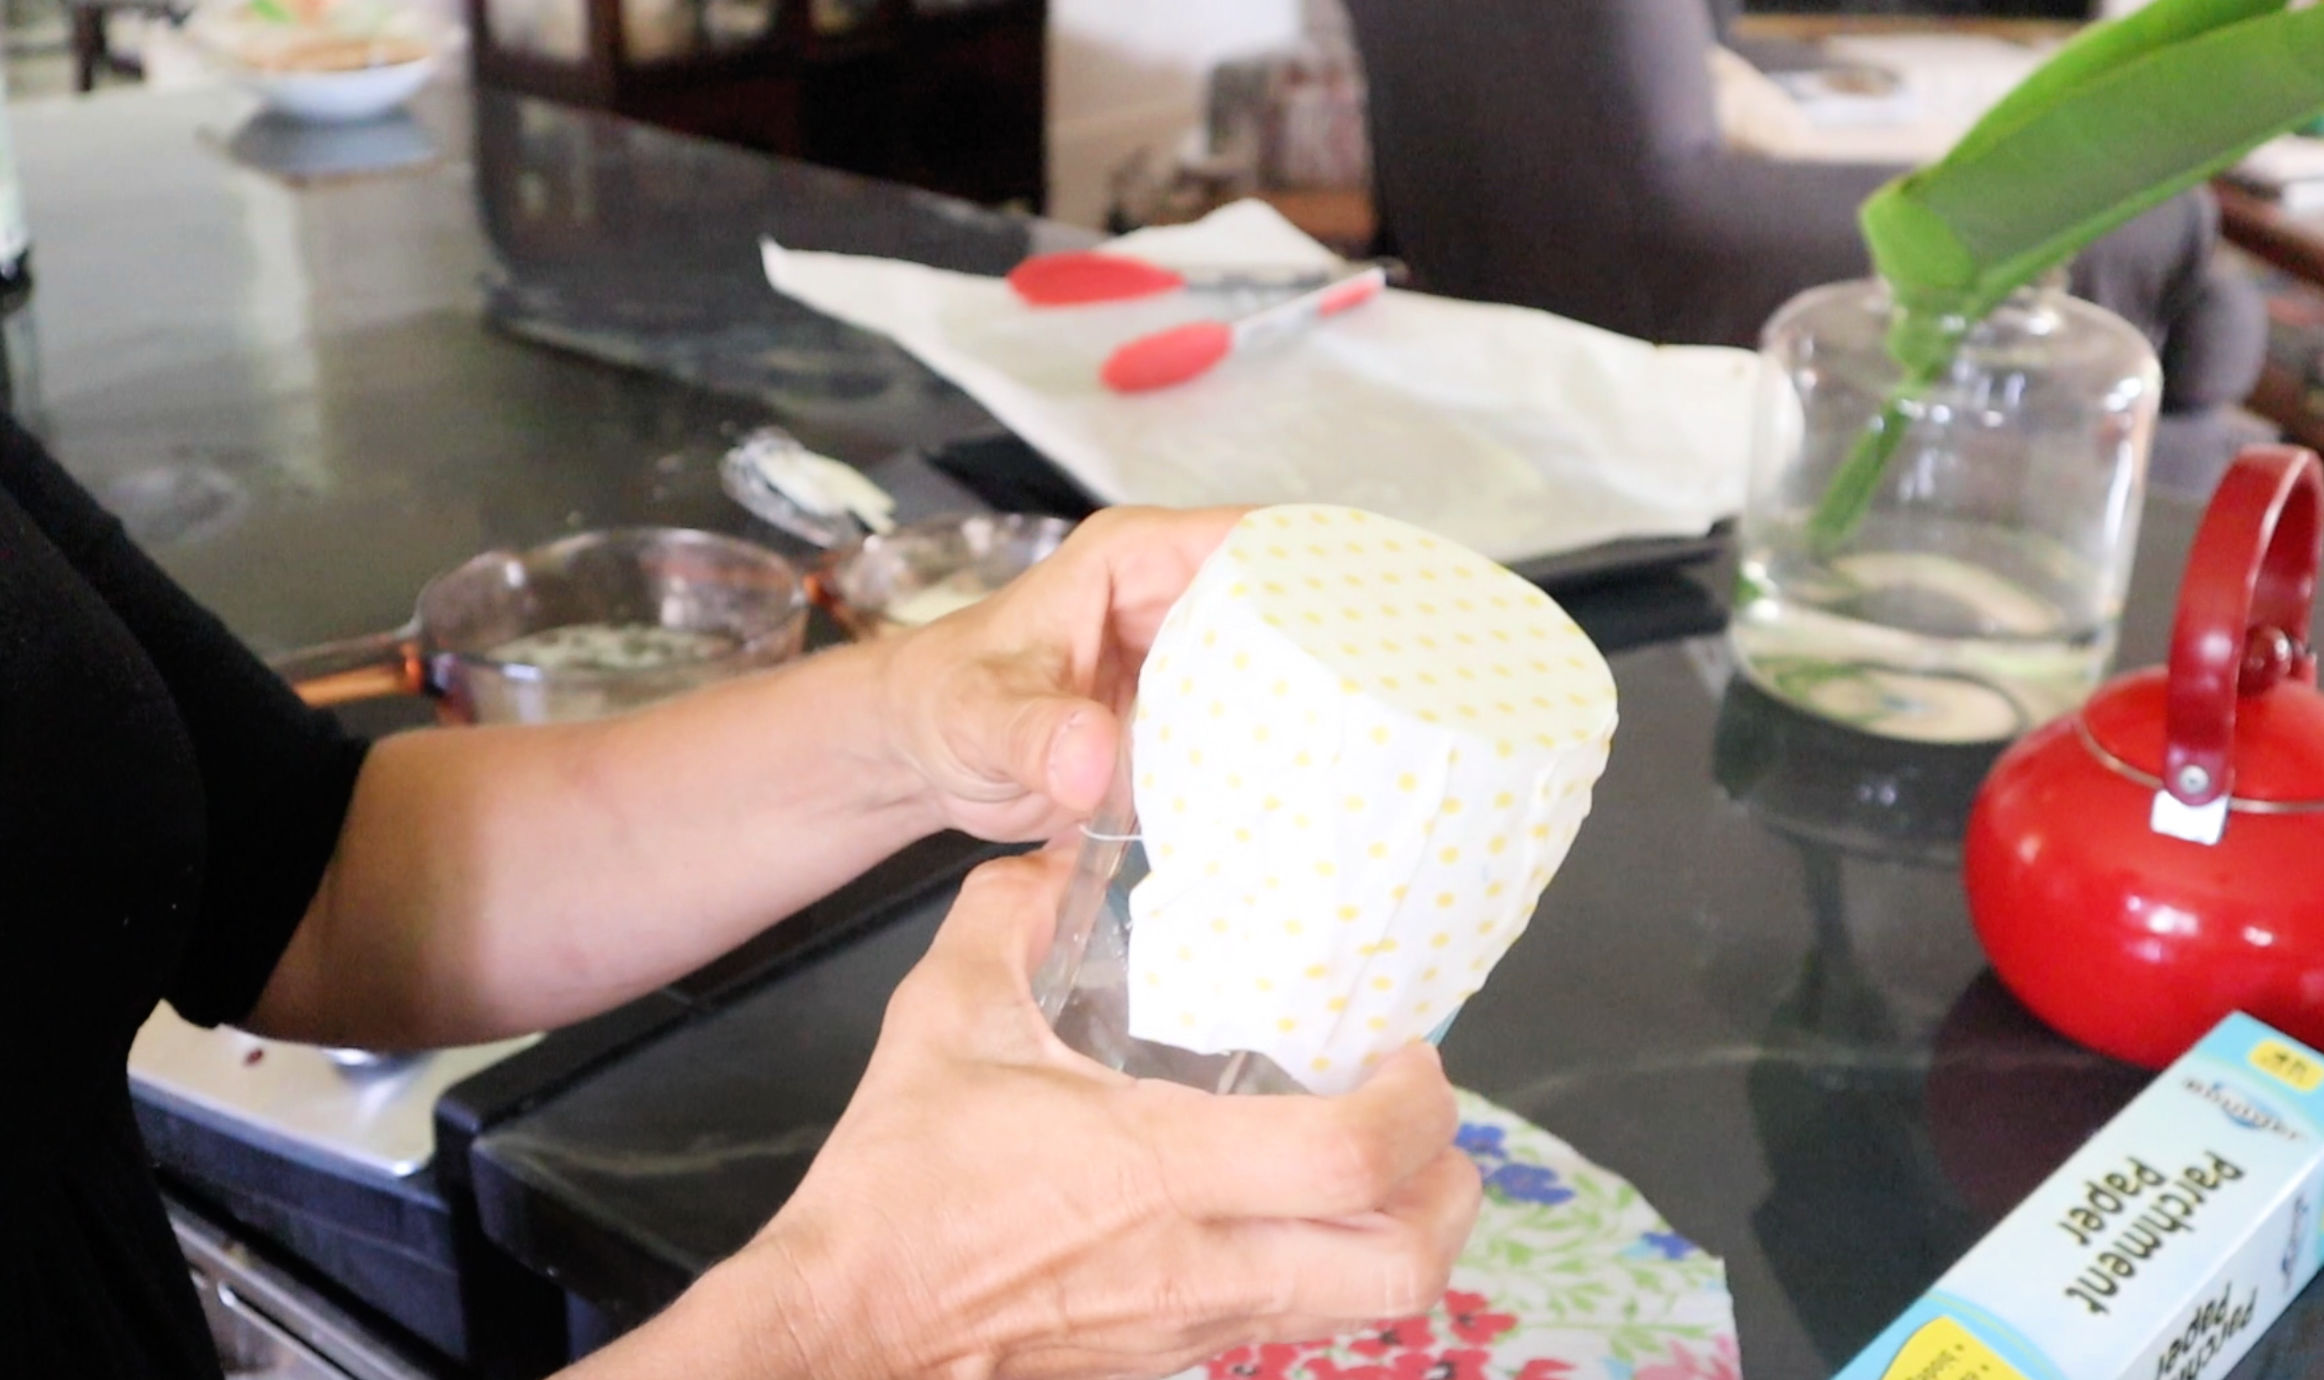 As soon as the wax is cooled off it can be used to wrap any bowl or mason jar.
 These reusable beeswax wraps are so efficient, easy to clean and the best part, cute!
Once the wraps lose their stick, you can easily melt new wax onto the fabric to refresh them, or toss them into your compost bin and make new beeswax wraps. It’s so easy I made these in 20 minutes.
You can take this a step further and use pinking sheers to cut the edges of the fabric to make them even better looking, but again its not necessary. The wax alone will keep the edges from fraying. 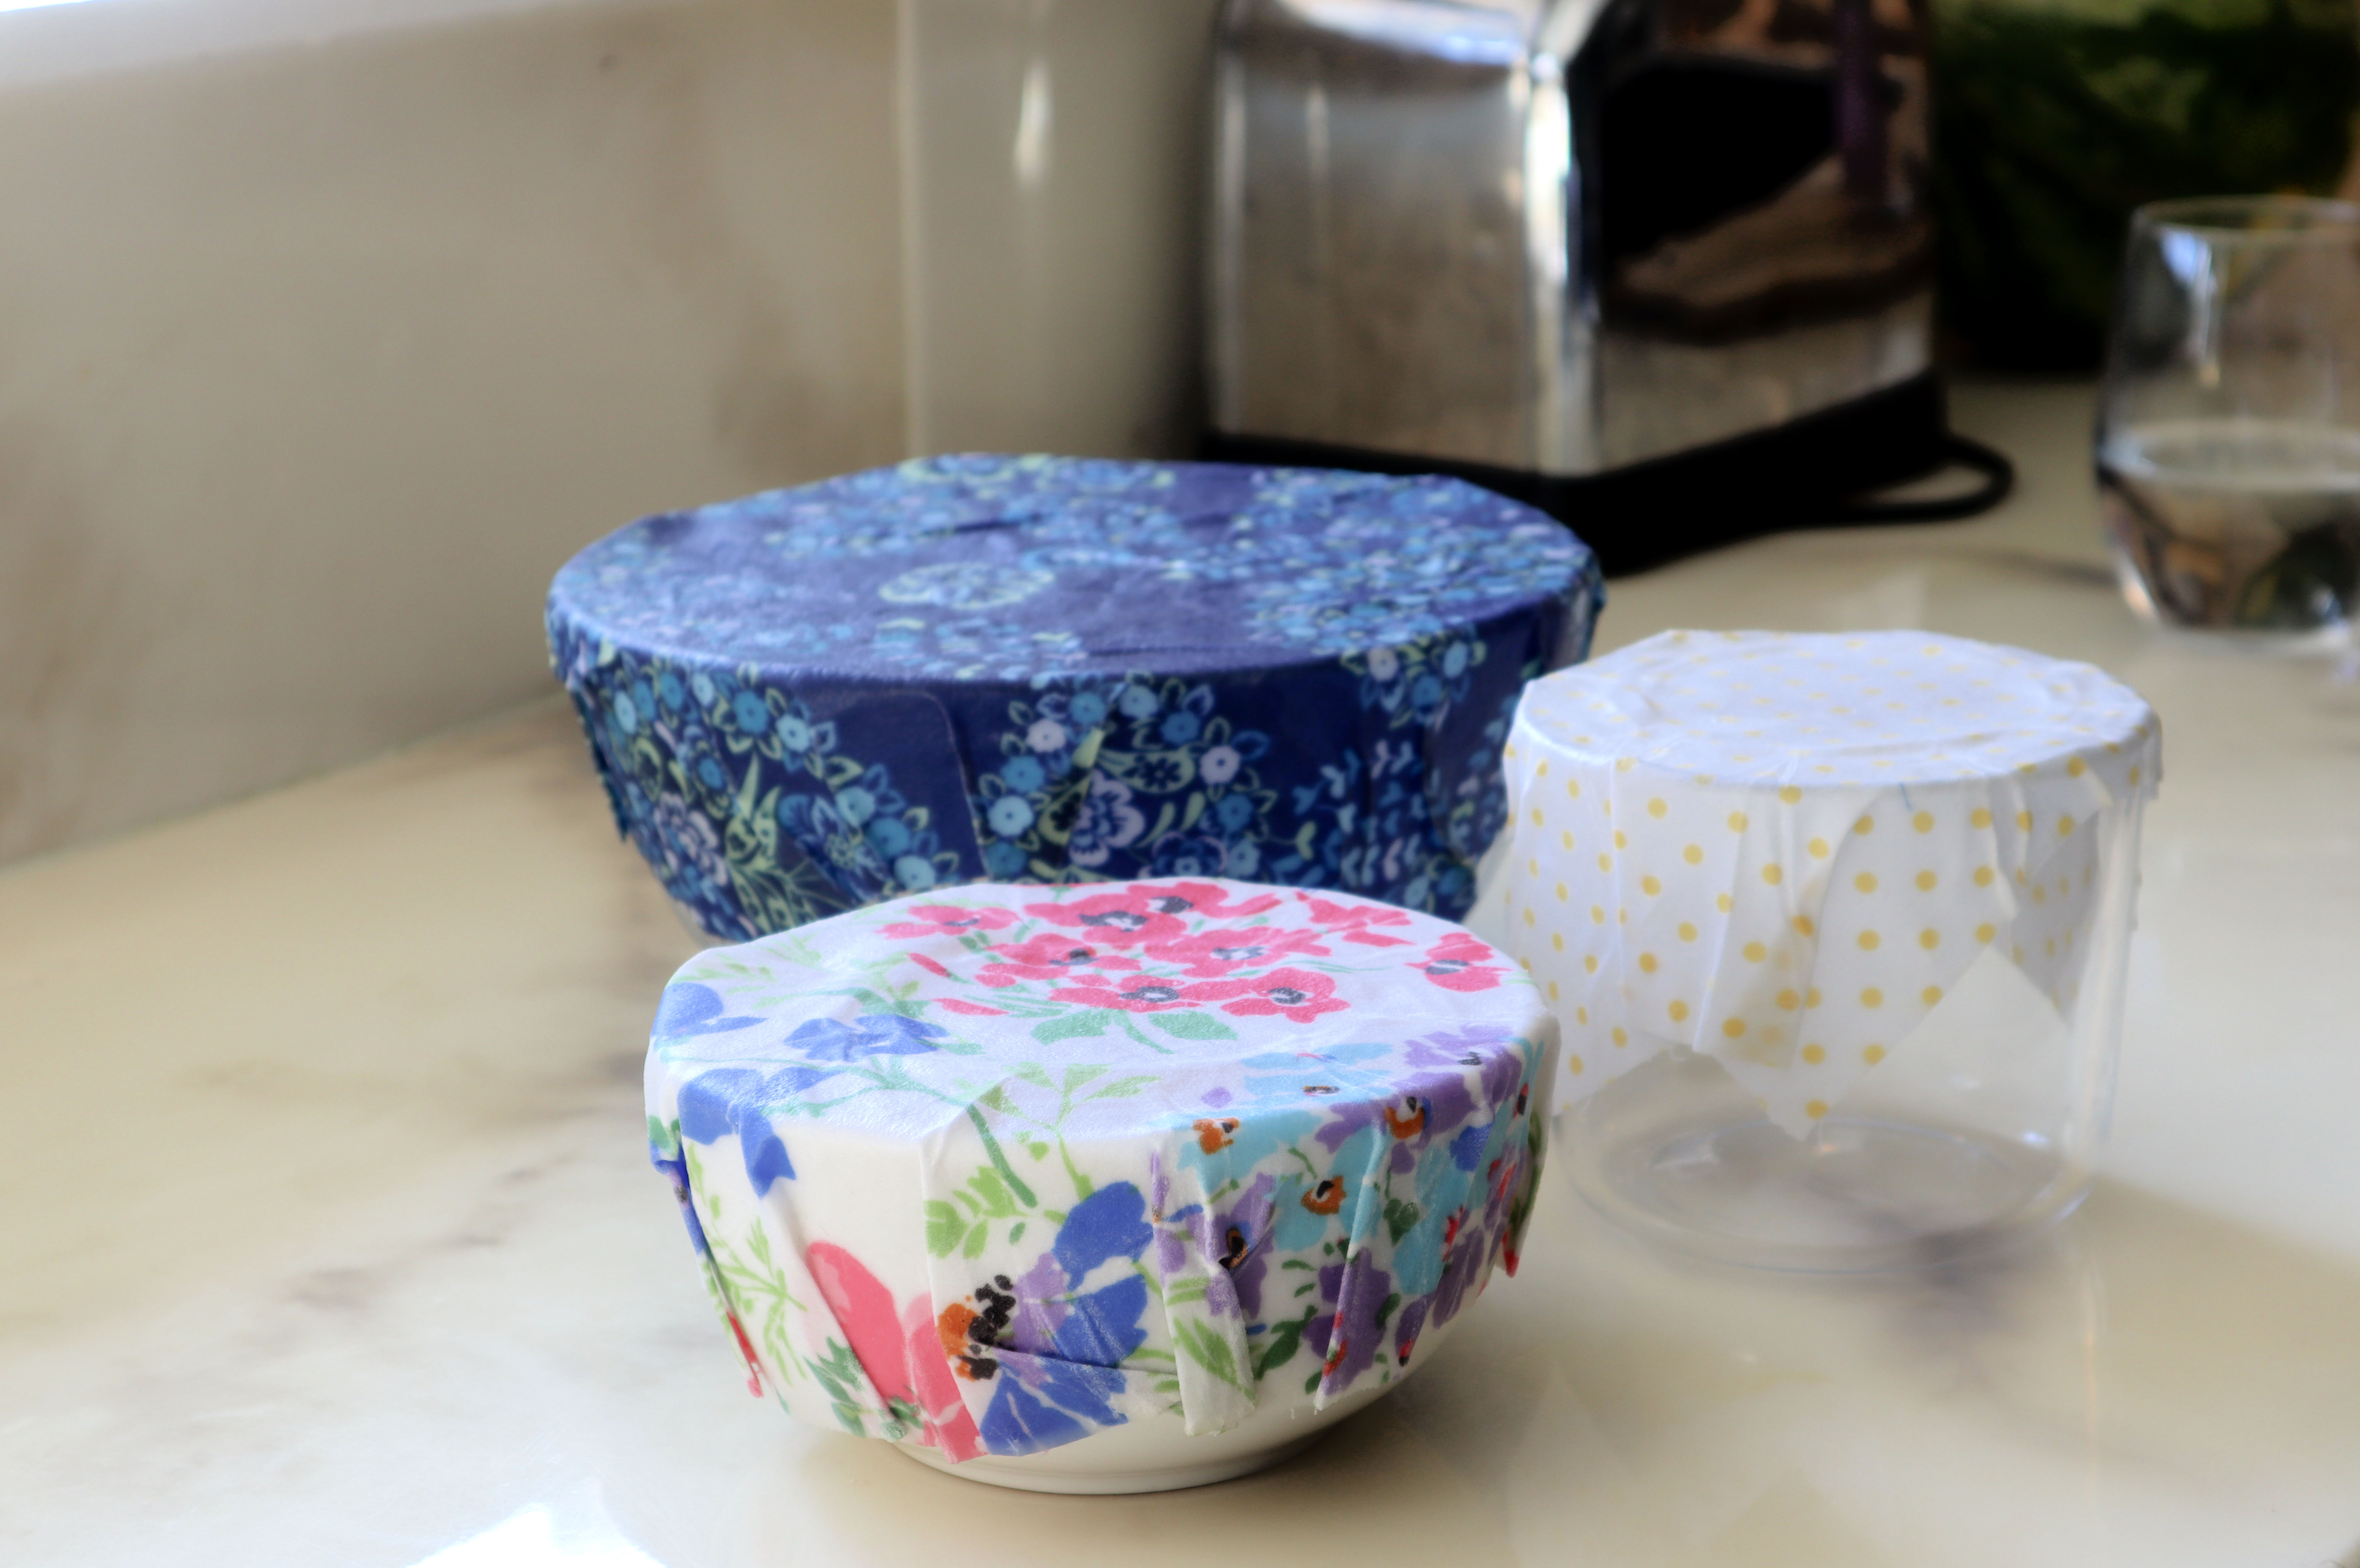

 Velecia Chance says
August 29, 2021 at 3:19 amHow much oil for 1 1/2 cups of beeswax ?