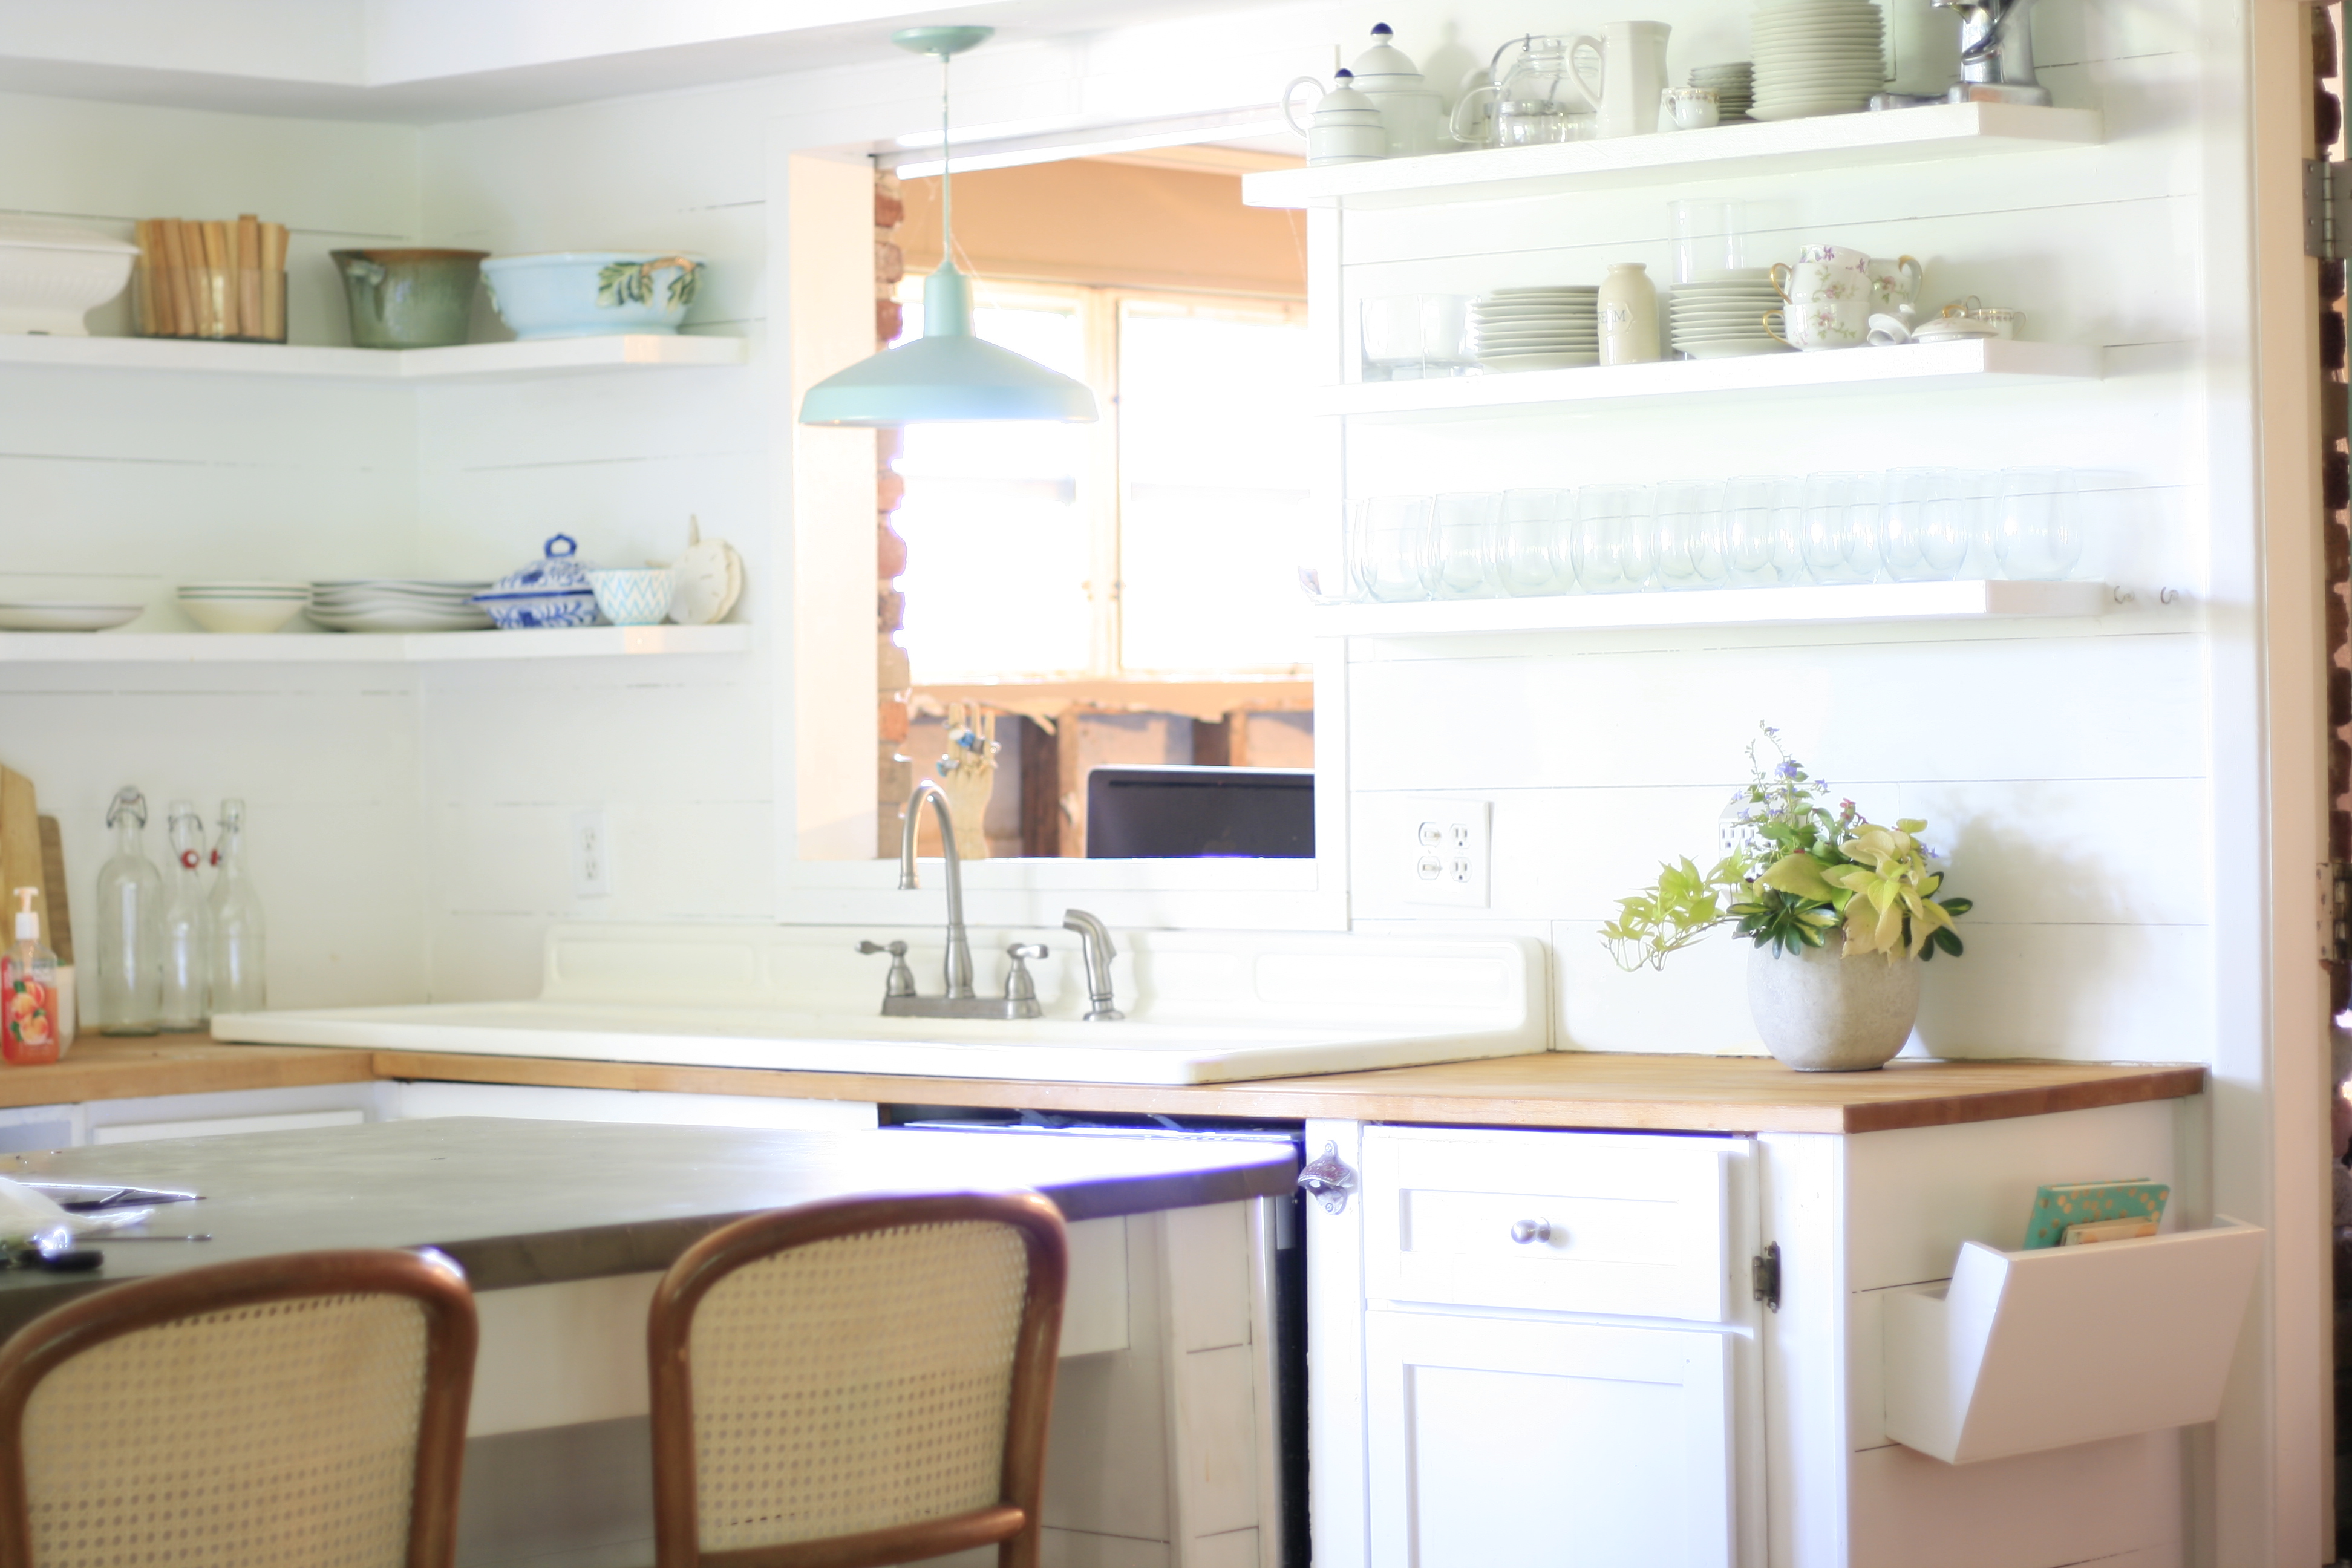
I’ve needed an organizational solution in my kitchen for years. Since we bought the house in fact. This corner of my counter has been the landing spot for everything from mail, to tools that don’t quite make it to the garage, to school paperwork and everything else. I’ve been just leaning paperwork against the wall and generally making neat stacks of stuff for too long.  This is the usual state of the things. When I clean up the kitchen daily, everything just ends up here. Most of it has a proper place, but the paperwork, mail, and calendar(which I like to have handy at all times) really never had a place to call home. For a while I had a little caddy type thing on the counter top and a coffee cup for pens, pencils, glasses, paint can openers, seam rippers, drill bits, paint brushes, rubber bands, etc., etc.(I know you know what I mean) but I really hate the clutter on my counter tops. That’s when I realized I could hang a wall pocket in this space. duh?!
Of course I went straight Home Goods to see what was available. Twice I left Home Goods empty handed! Unheard of right?! Nothing fit the bill. All I found were scroll-y wire and basket types. Blah.
While at the Hospice thrift store I found this…
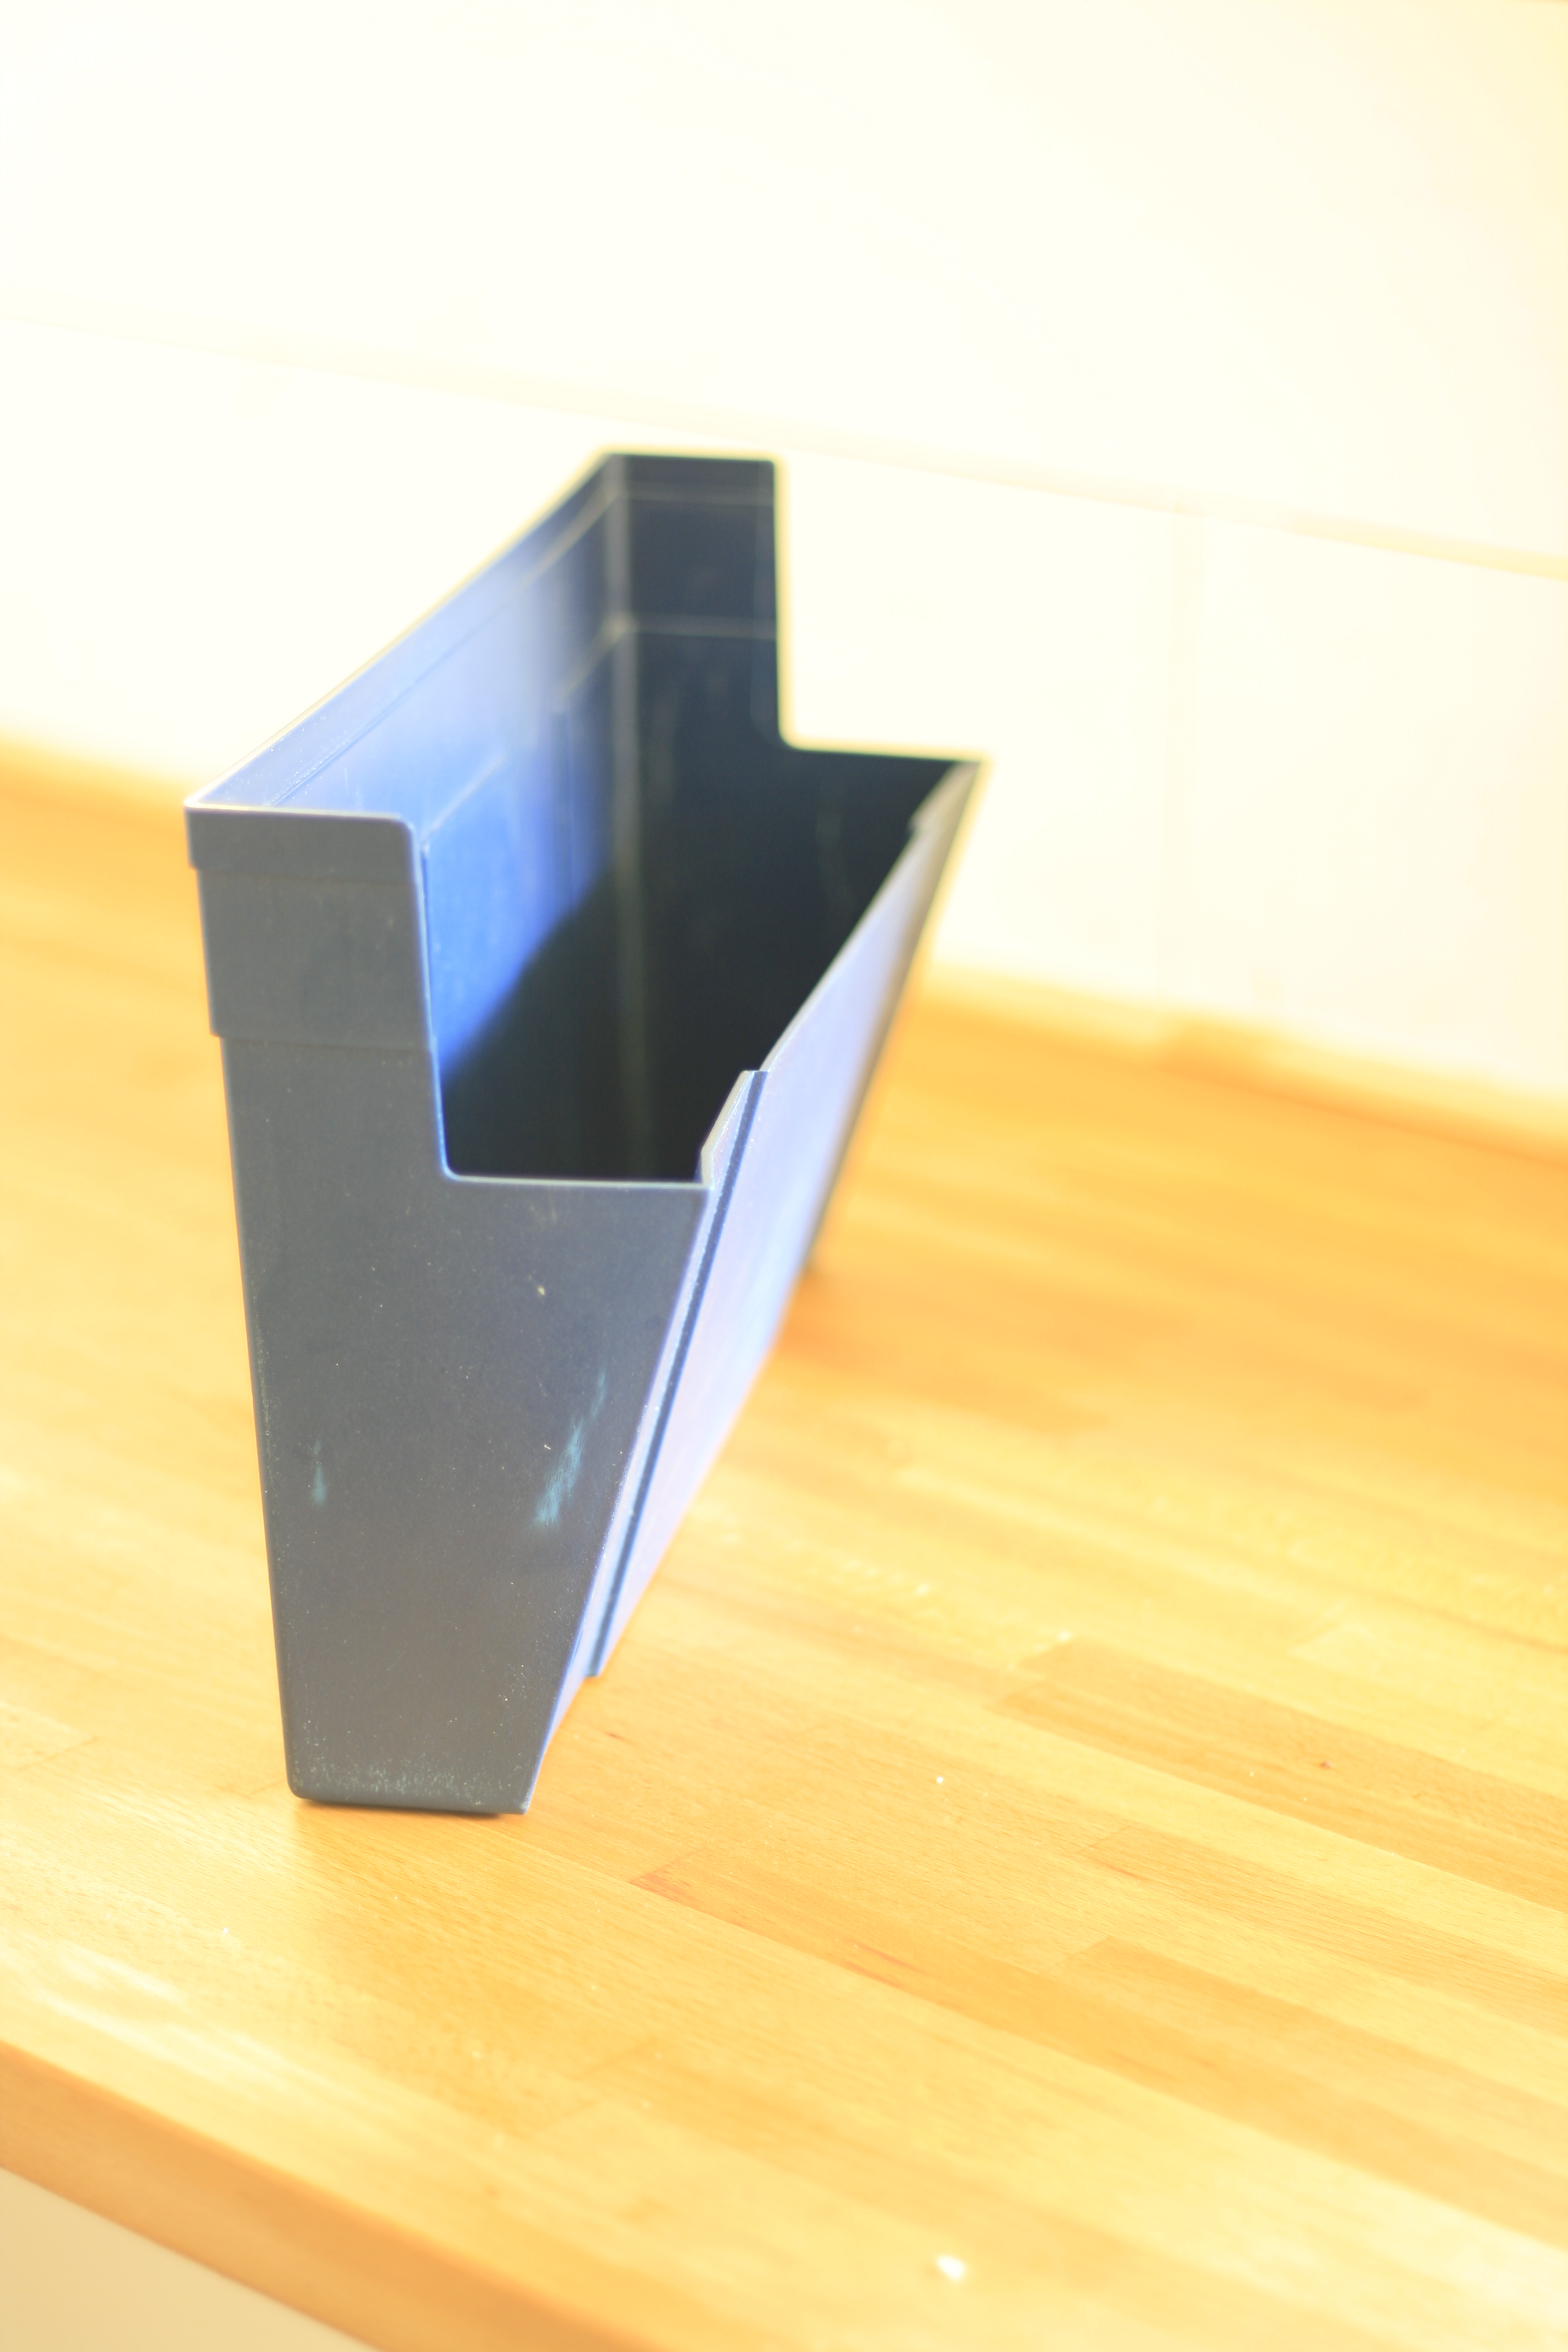 It was less than $1, so my first thought was spray paint it white and be done. It sat in the stack of stuff on my counter for a few days and the more I looked at it the more I knew I wouldn’t be happy with it for long. So yesterday I decided to just make one. I had plywood left over from my closet cabinets so I used the plastic wall pocket as a template and made my own for free in a matter of a couple hours.
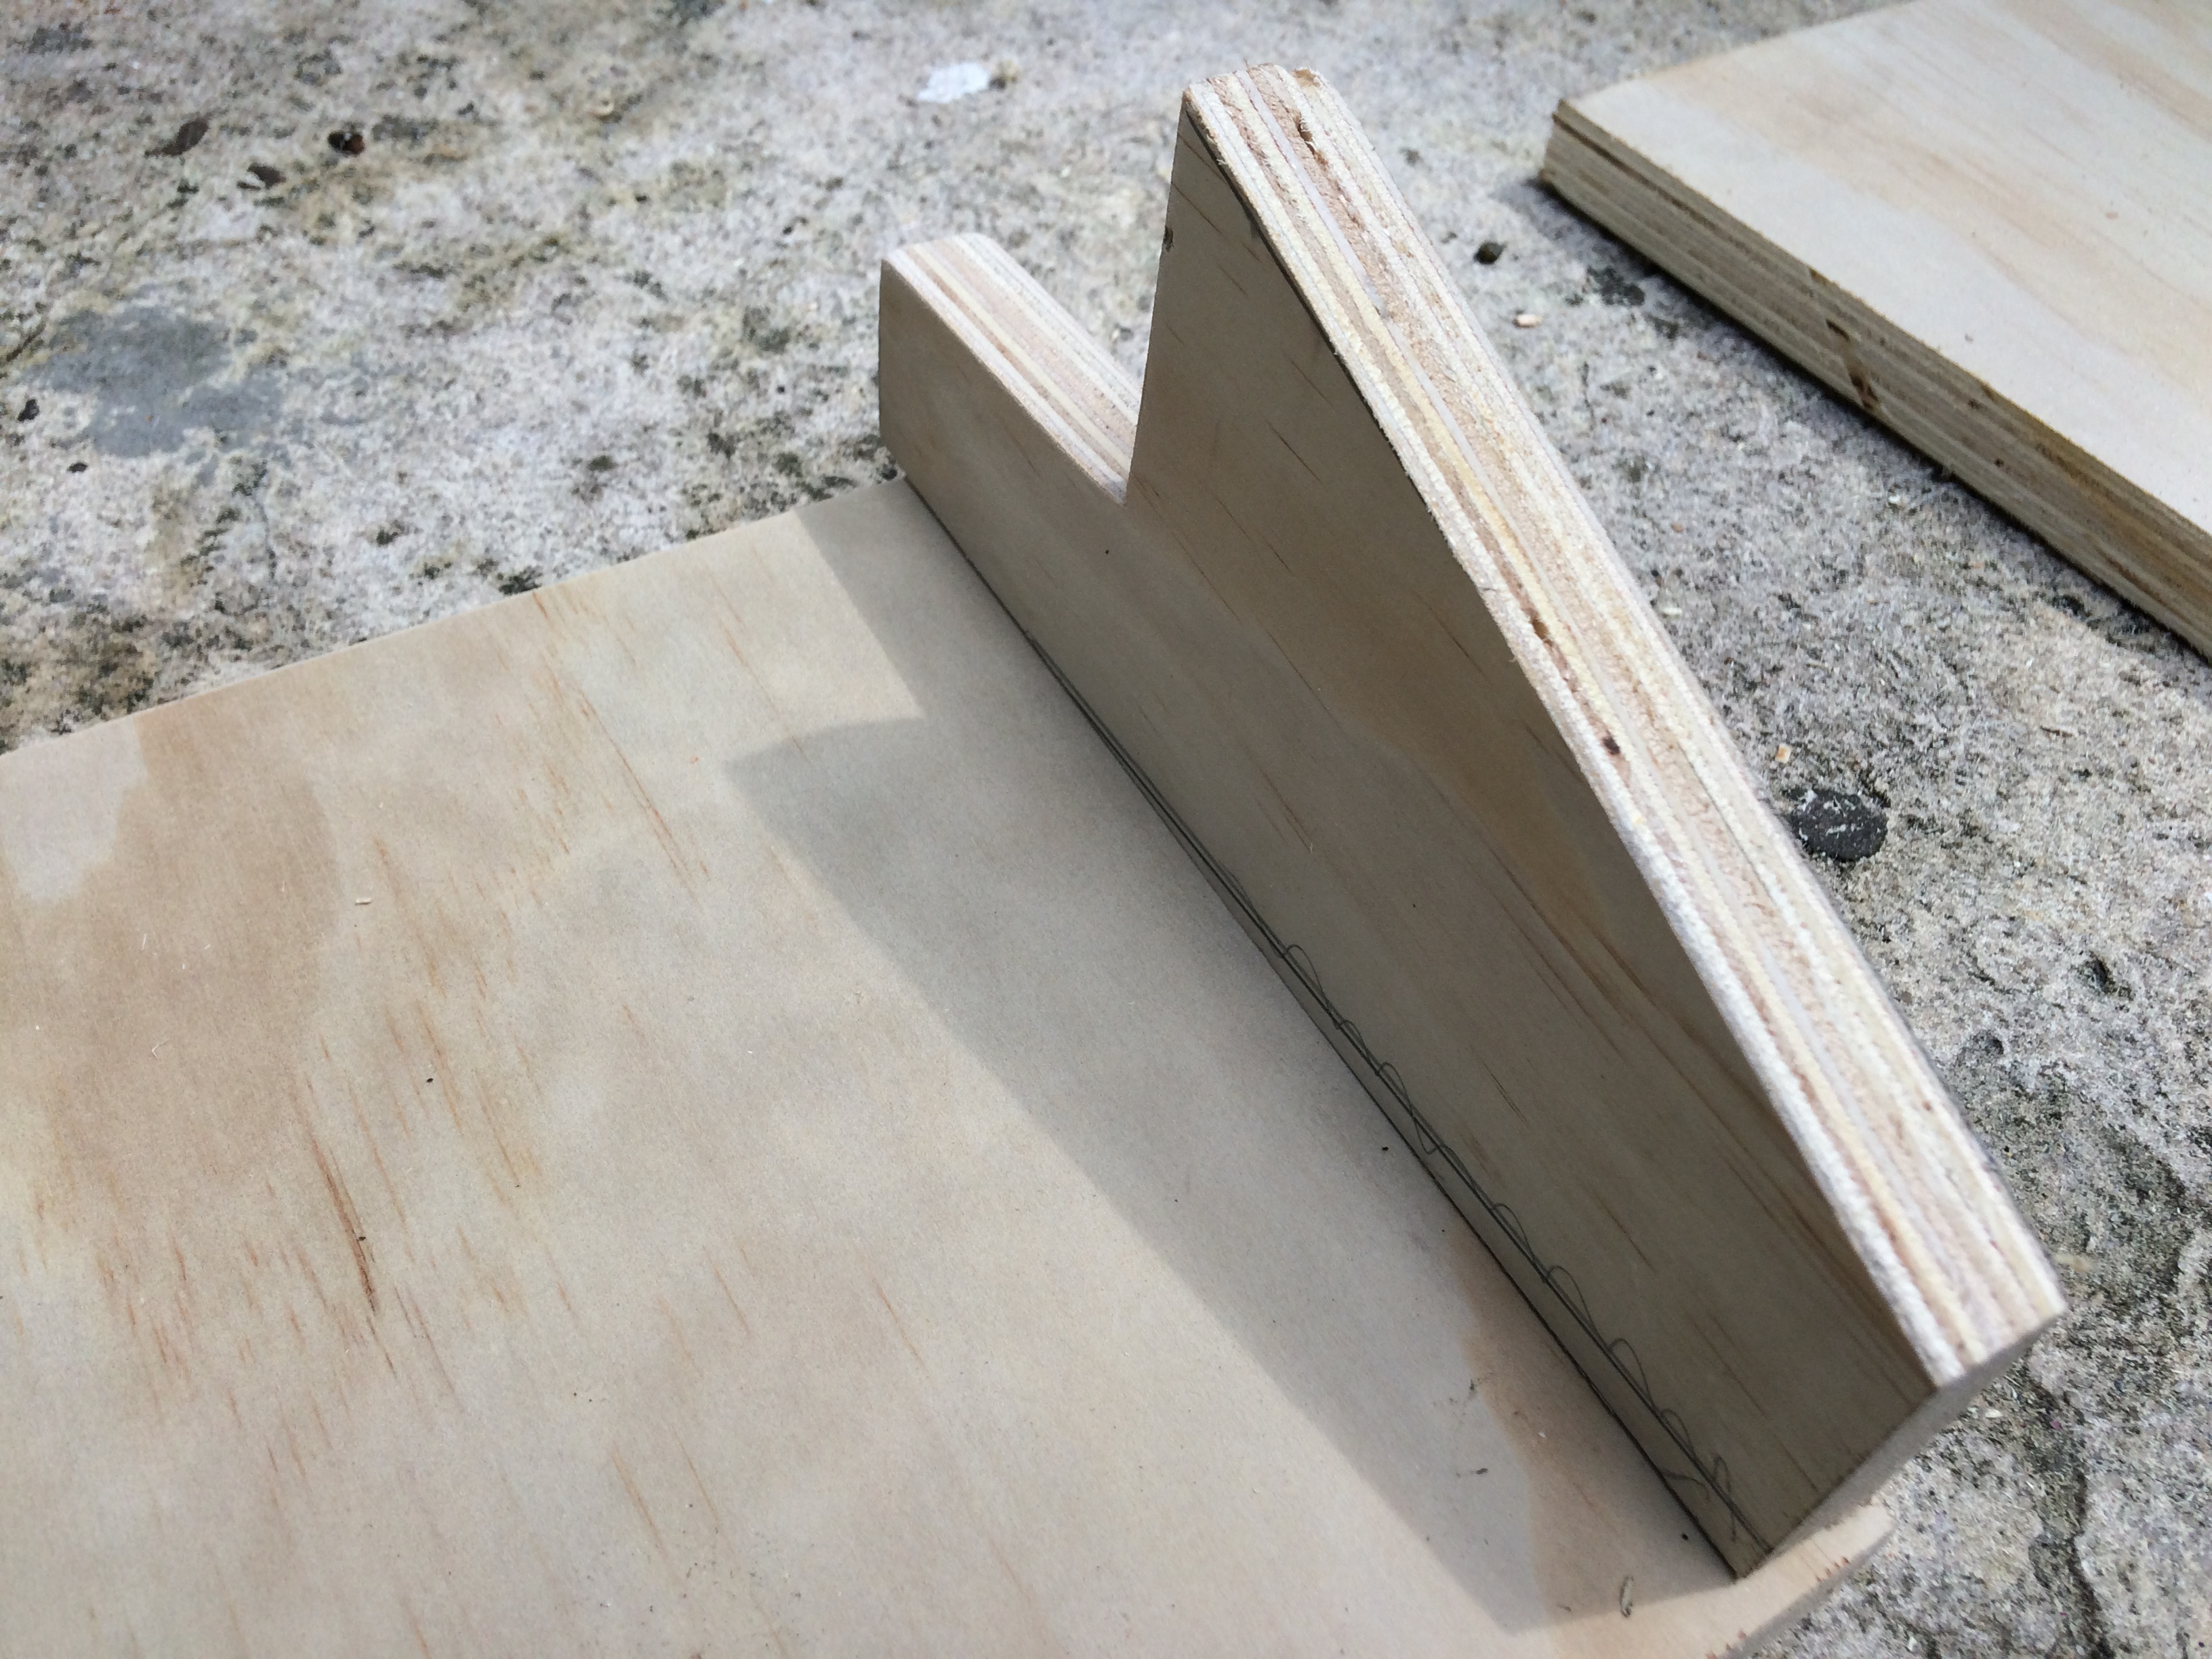
I traced the pieces and cut them out using my jigsaw and my chop saw. I simply joined them with wood glue and nails. My cuts were not exactly perfect but I knew it would be painted, so no matter.
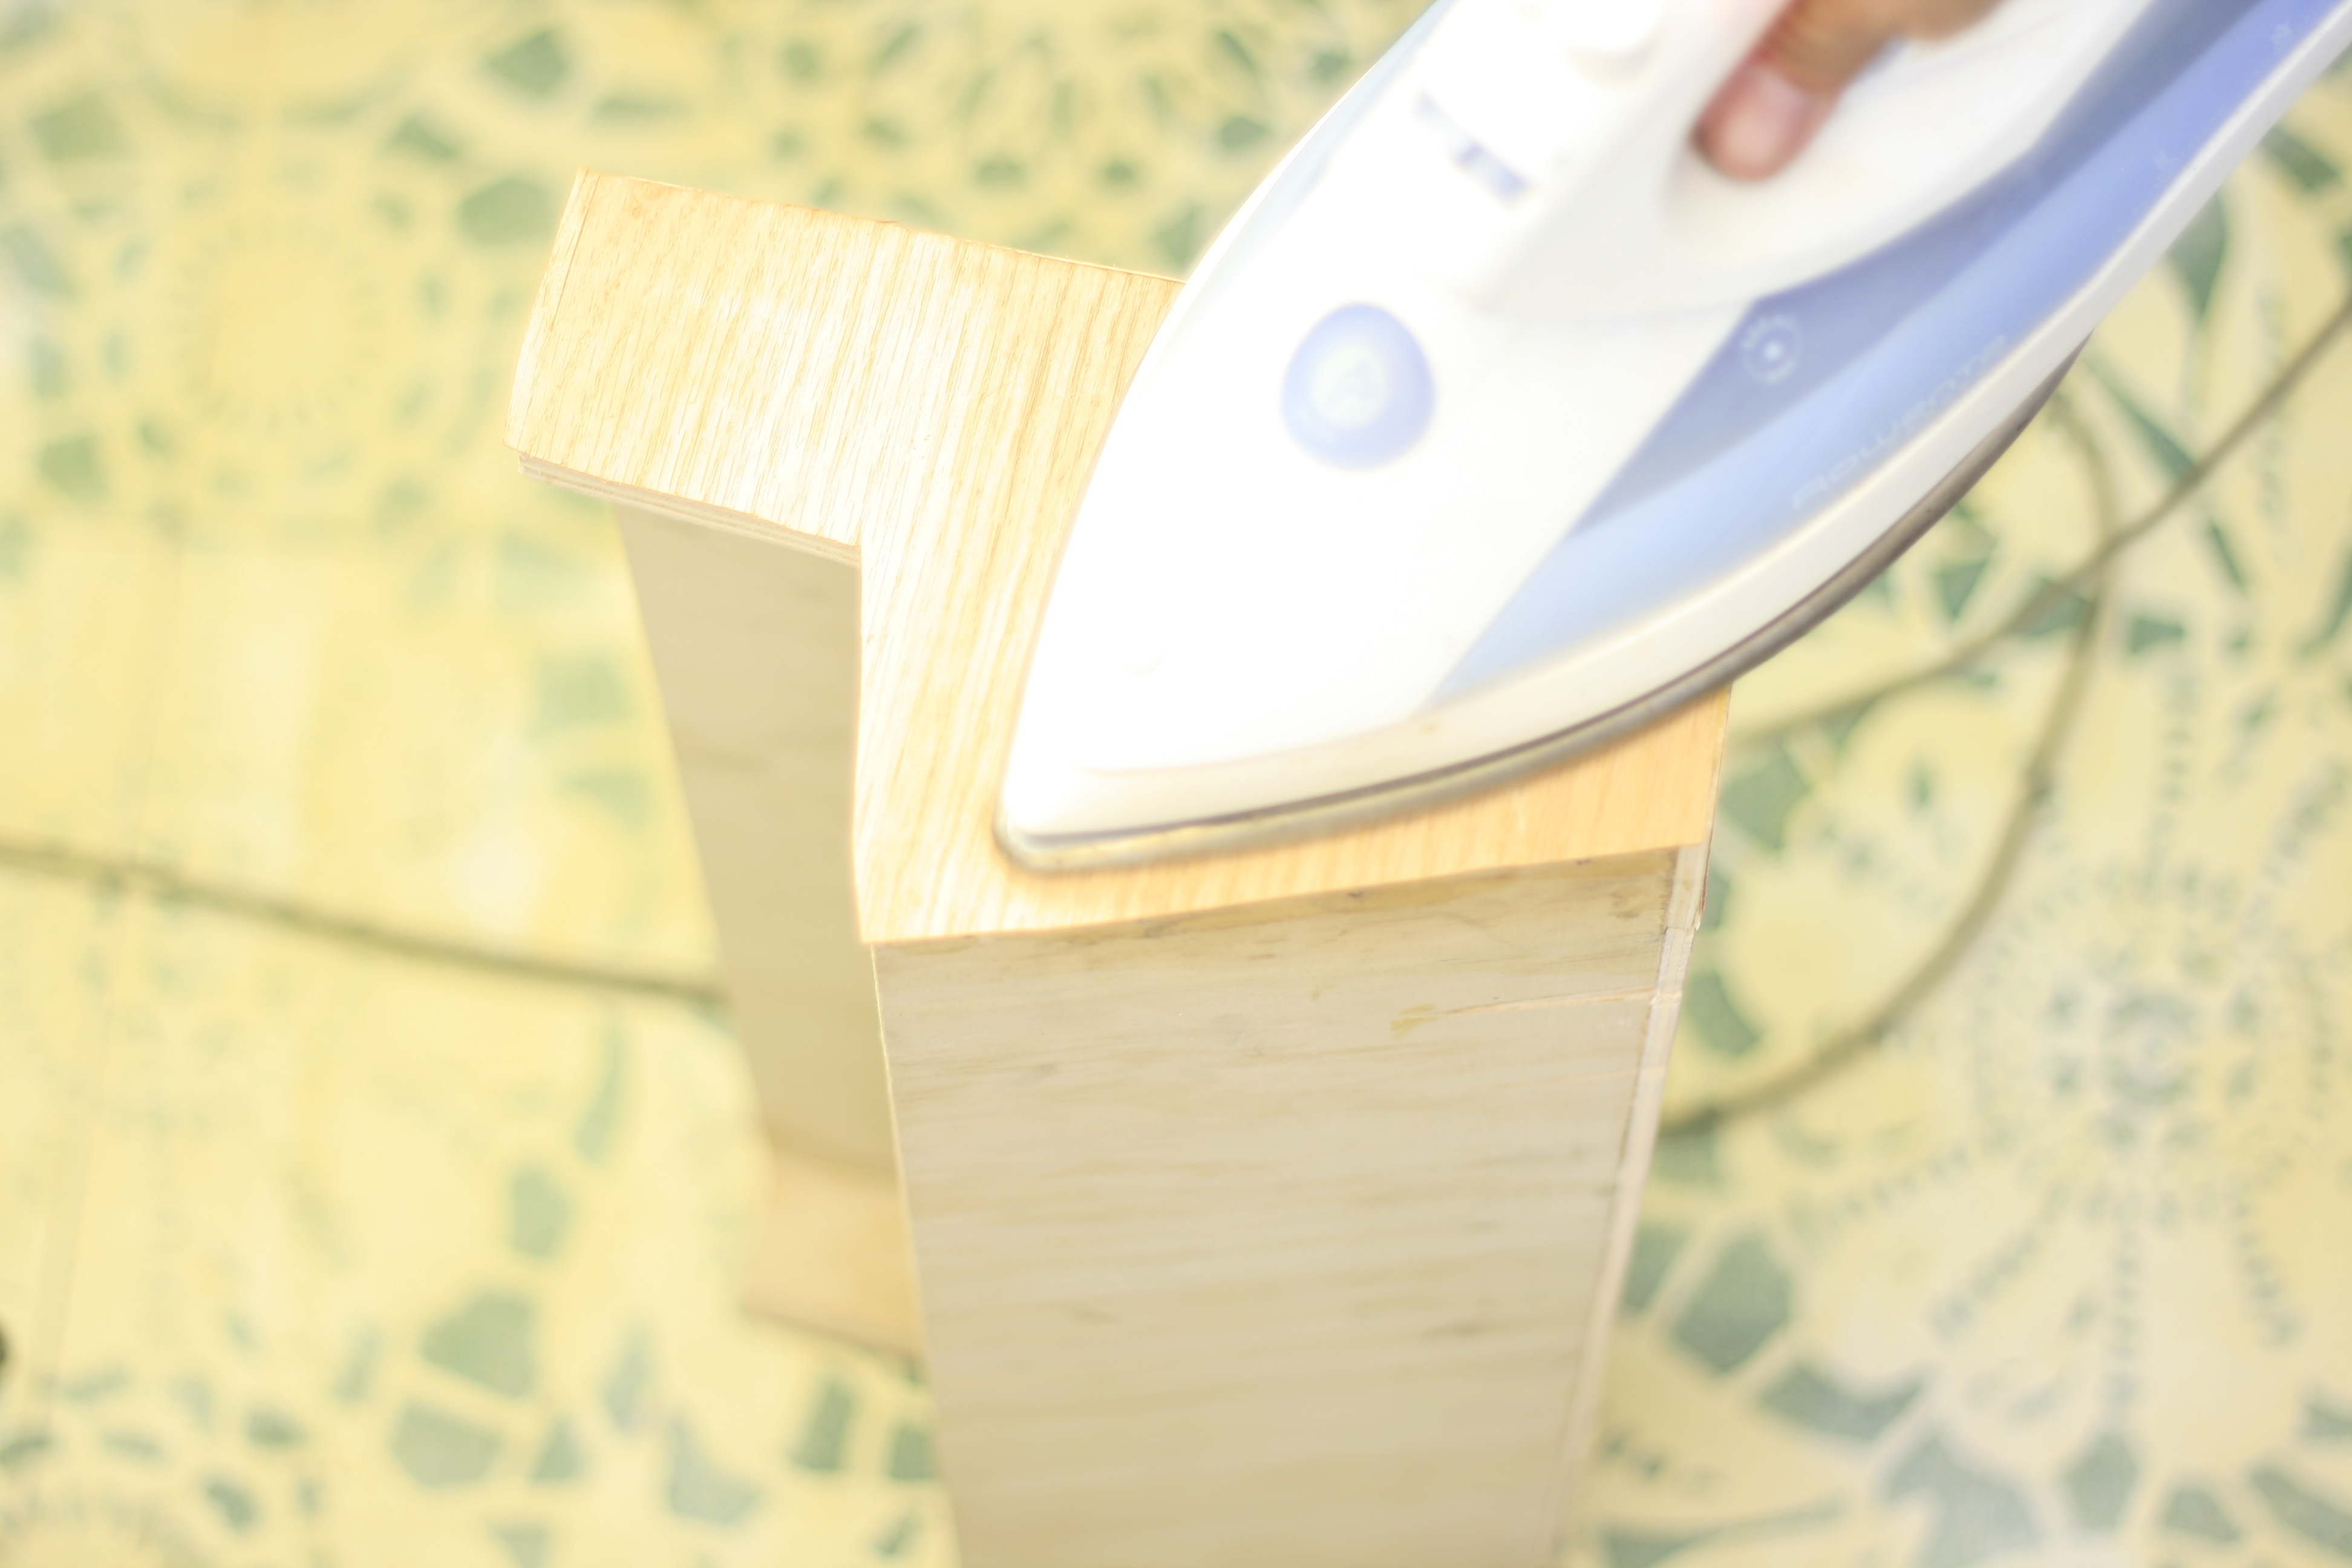
The piece of resistance(as we like to say) of the project, which I think really makes it look professional is the iron on wood veneer I used on the ends to cover the cut end of the plywood. 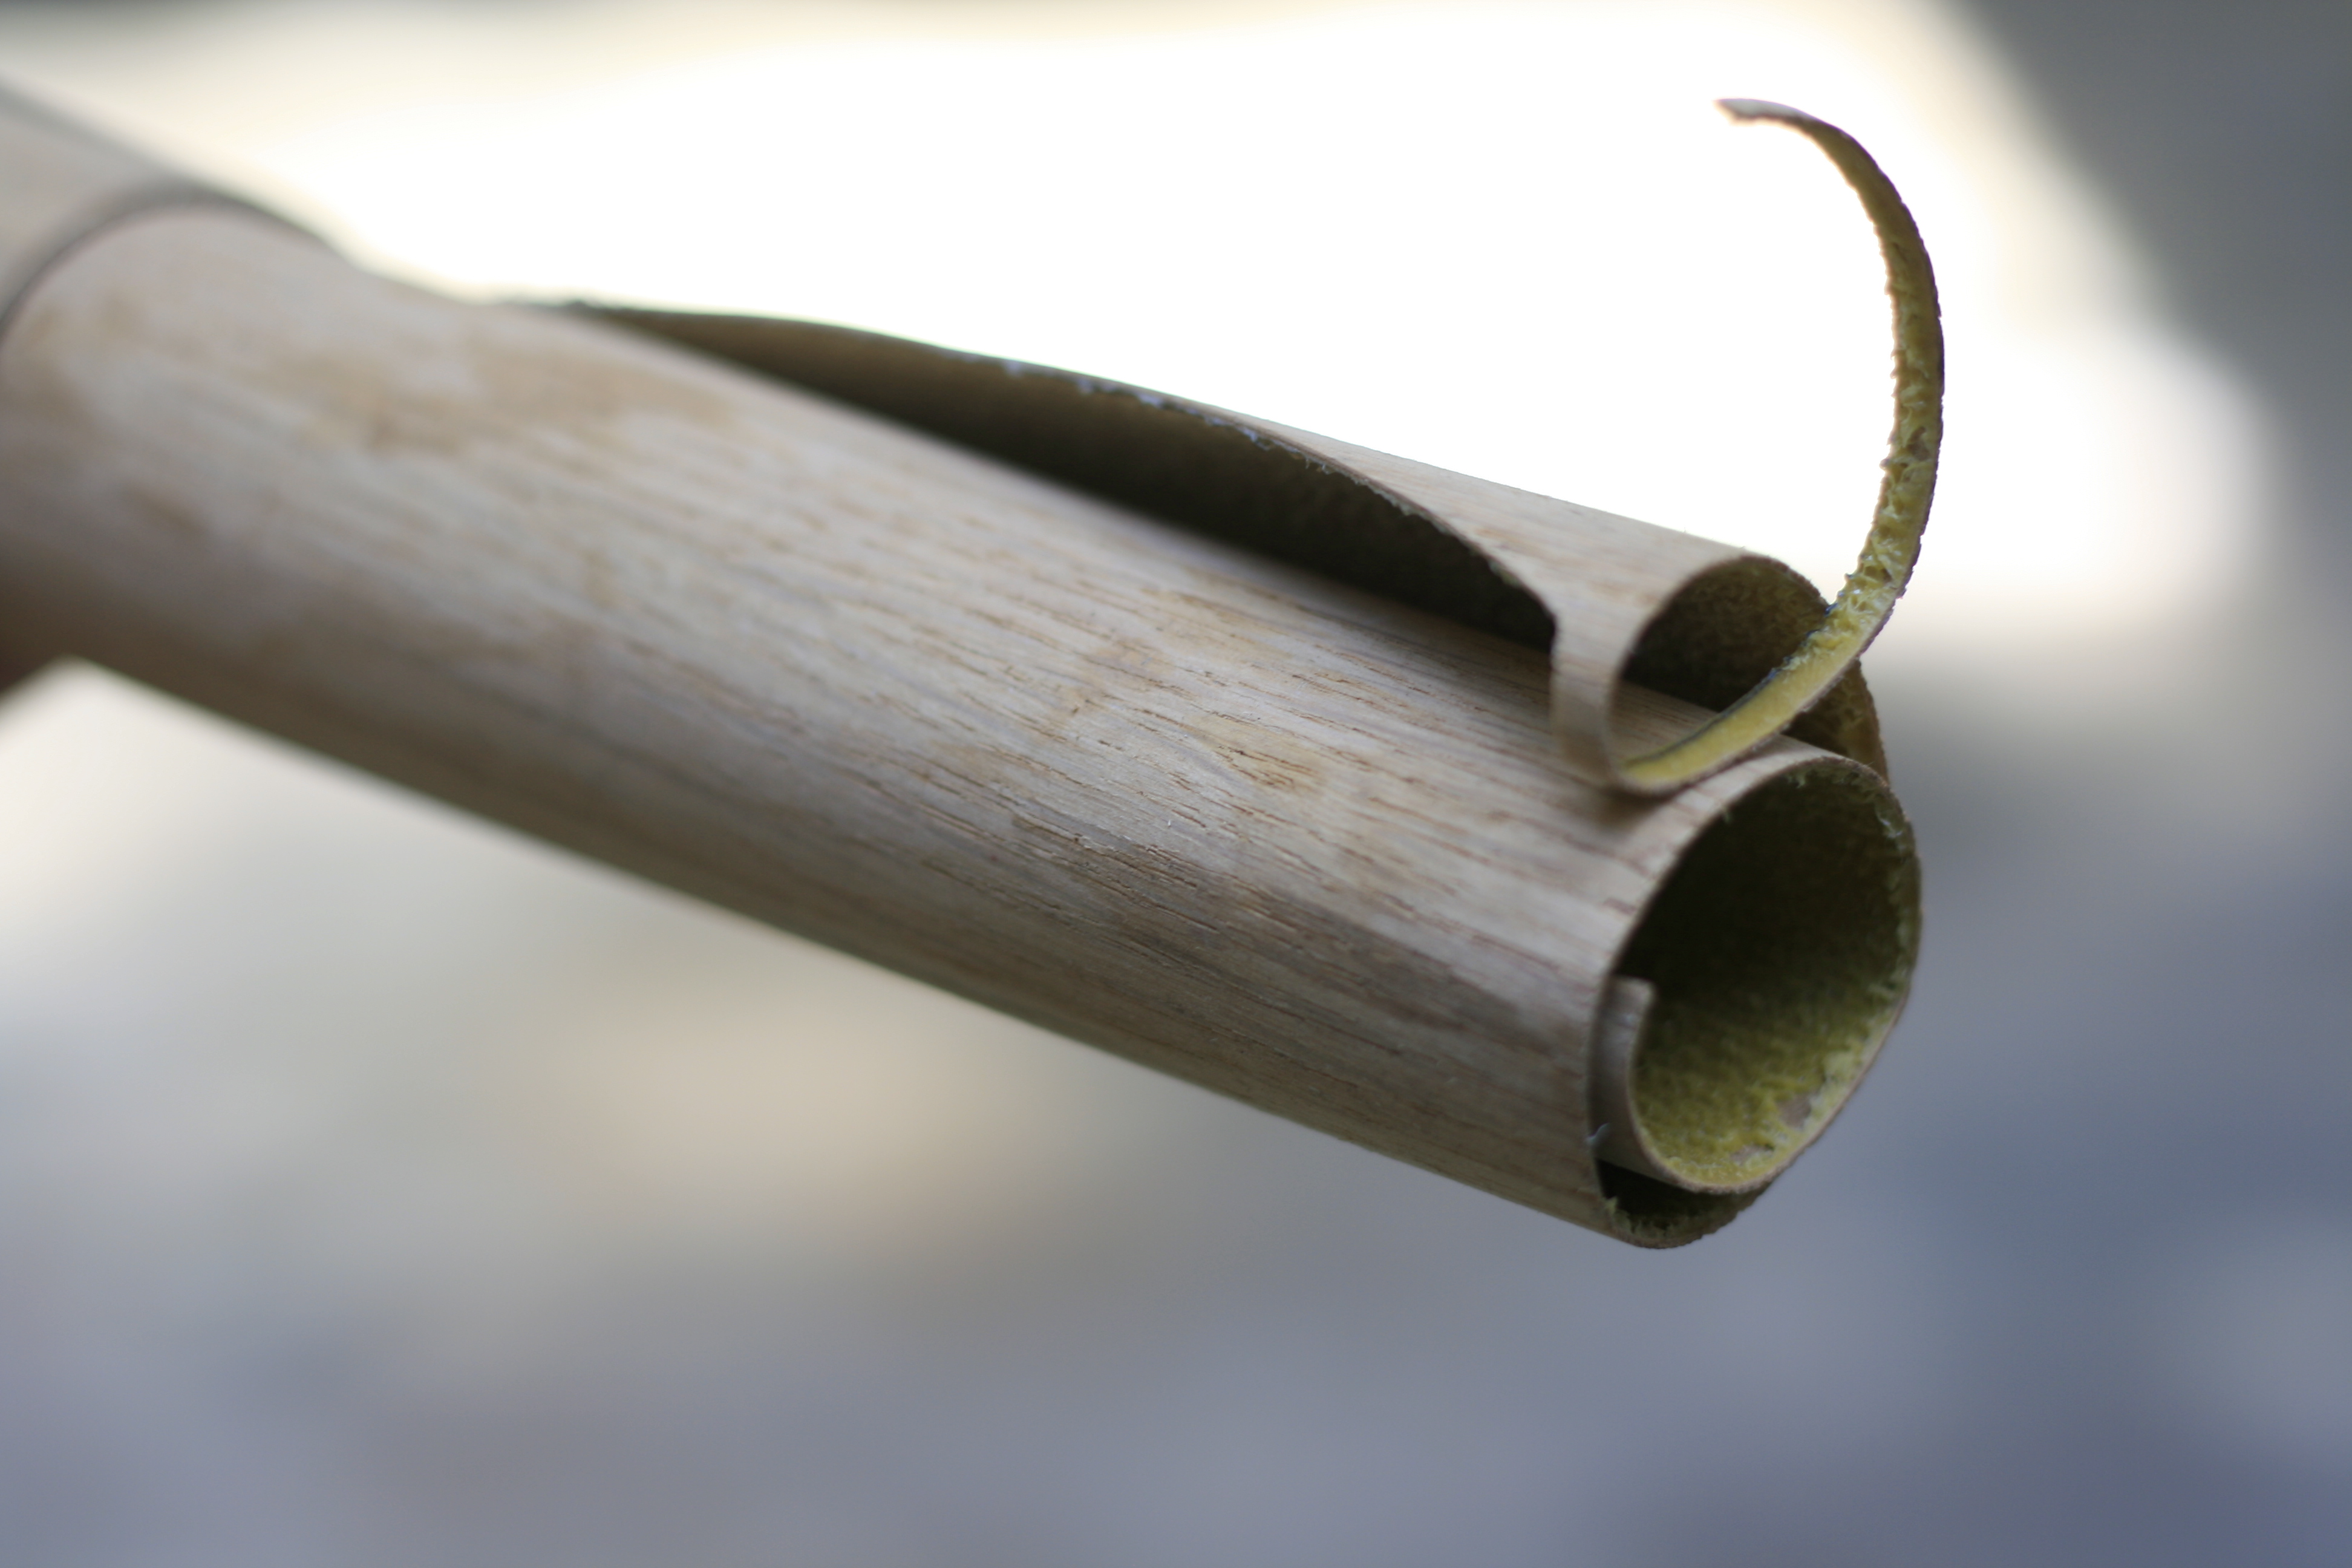 I had this leftover from my kitchen renovation. (available at Home Depot btw) I traced the outline onto the veneer and cut it out with kitchen scissors. easy!
 Just make sure that the wood grain is going in the same direction as the rest of the piece…not like I did and cut it with the grain horizontally(below). Oh well, again paint saved the day.
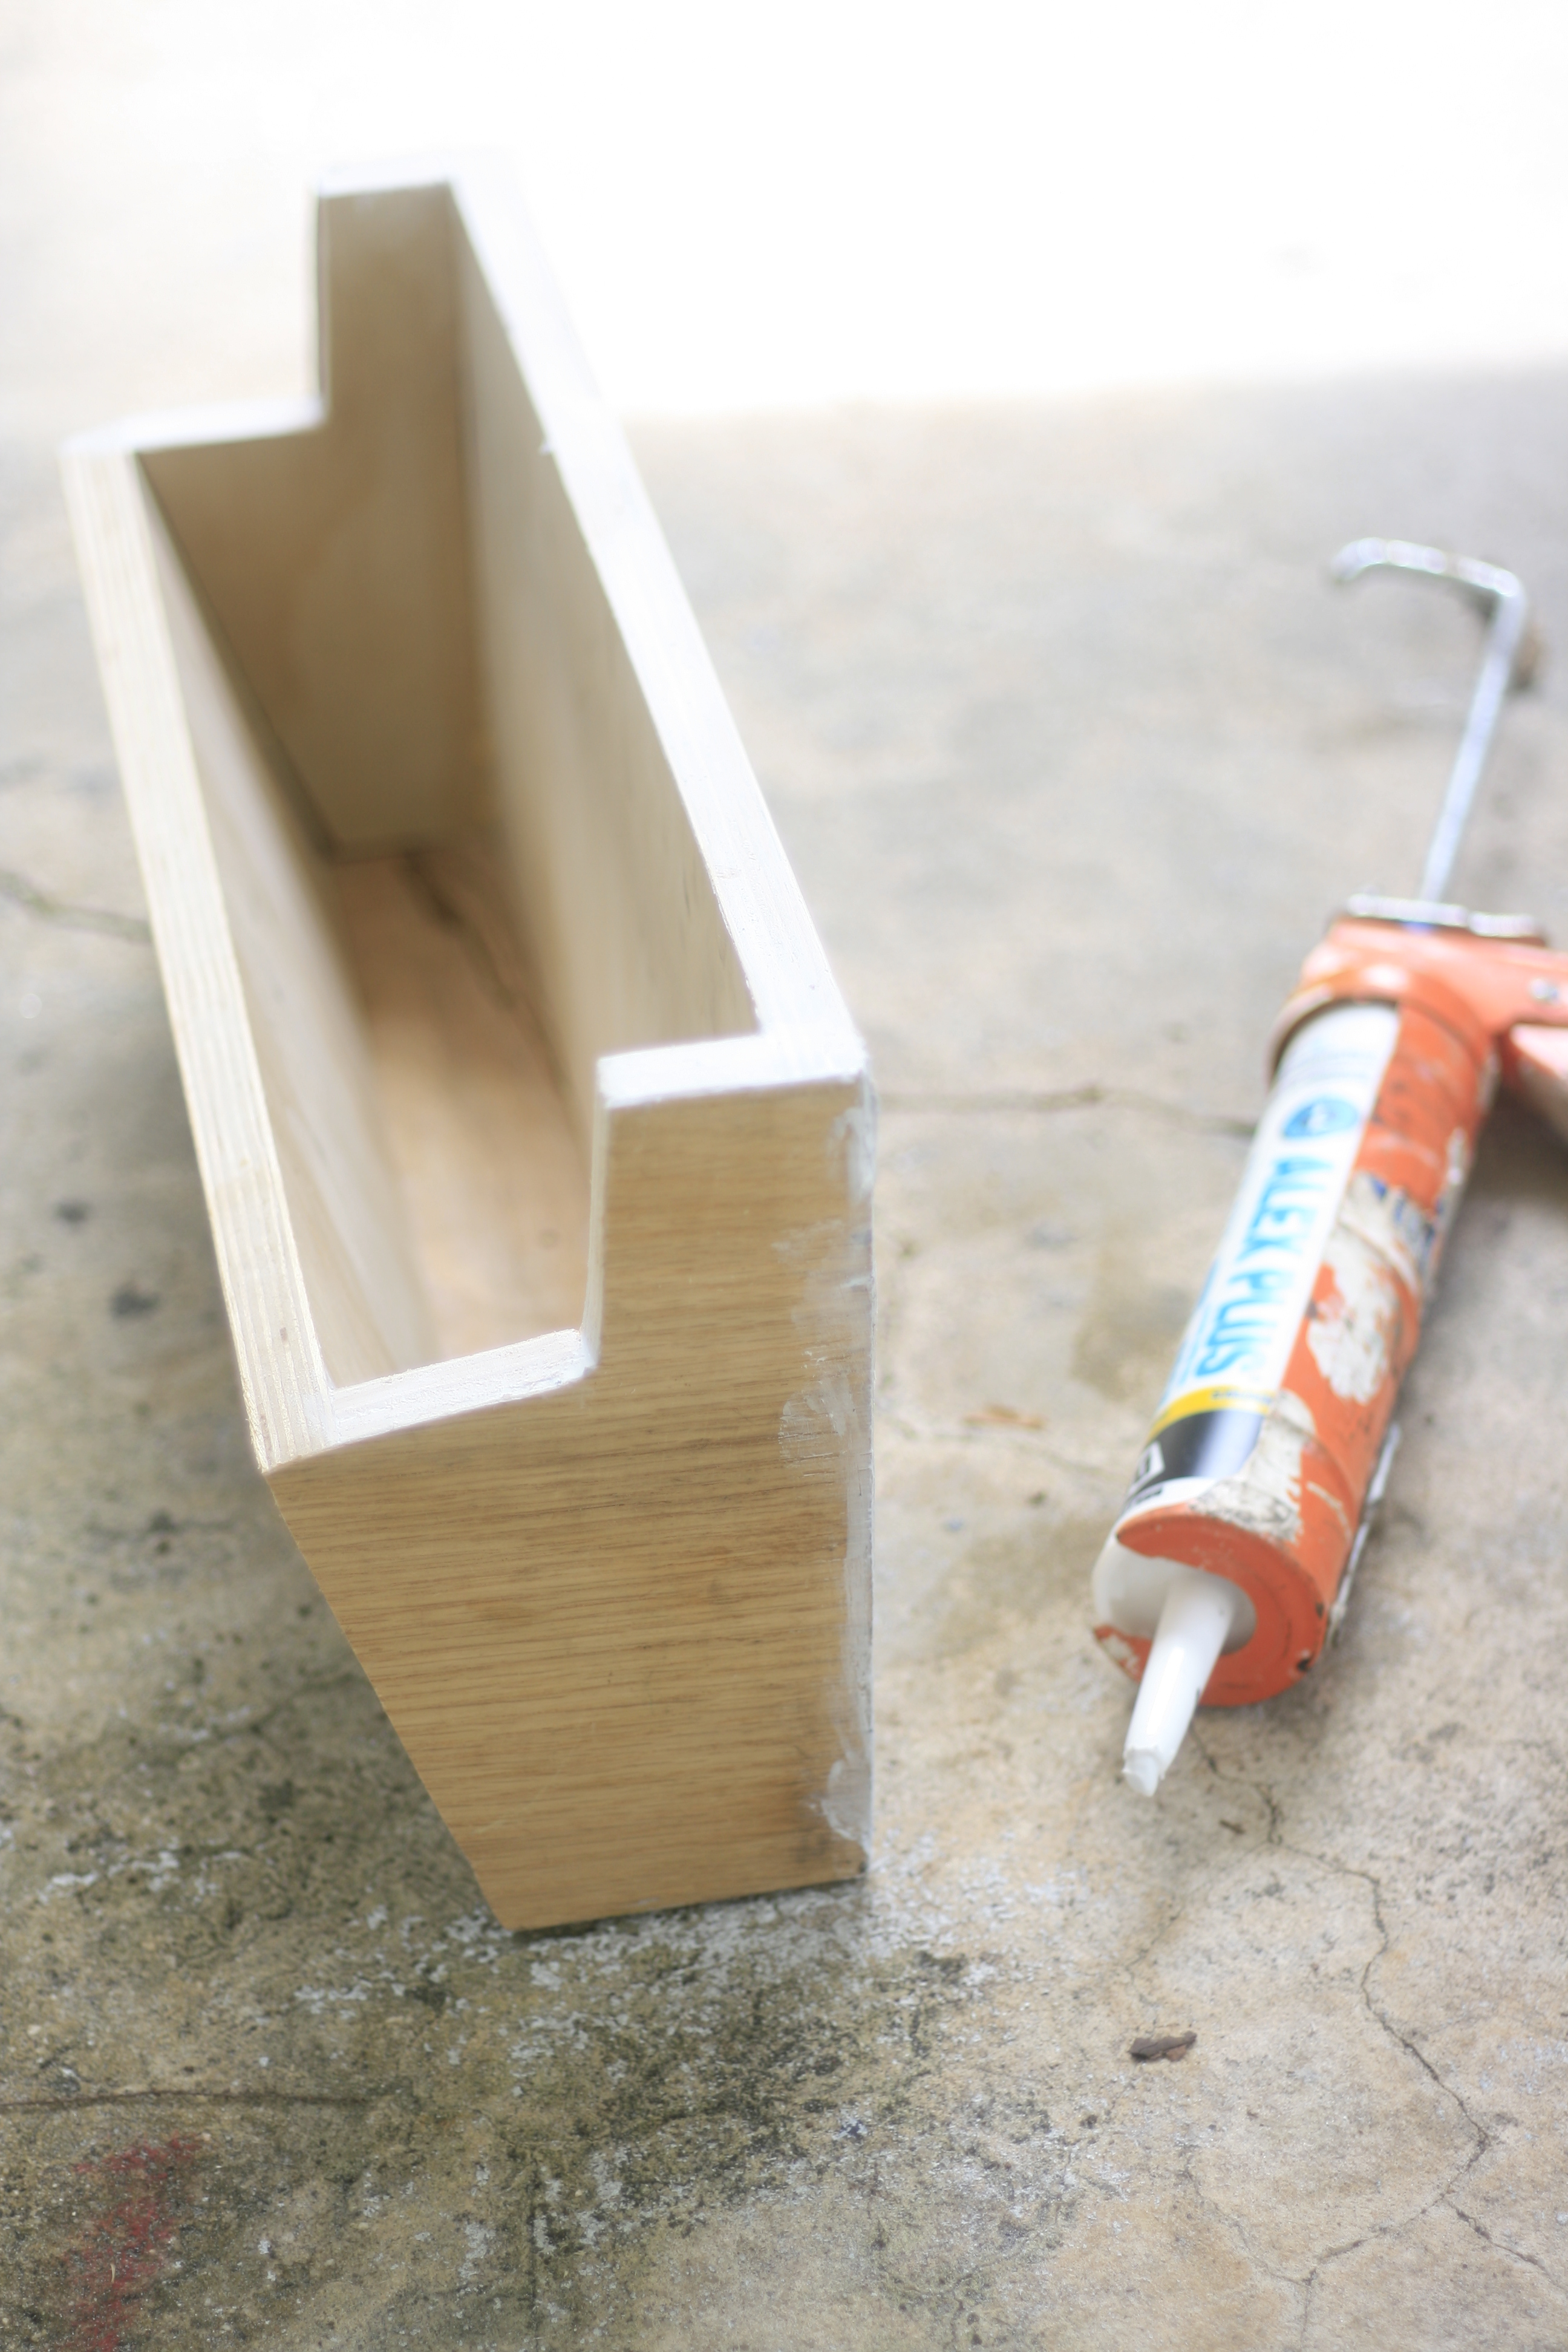
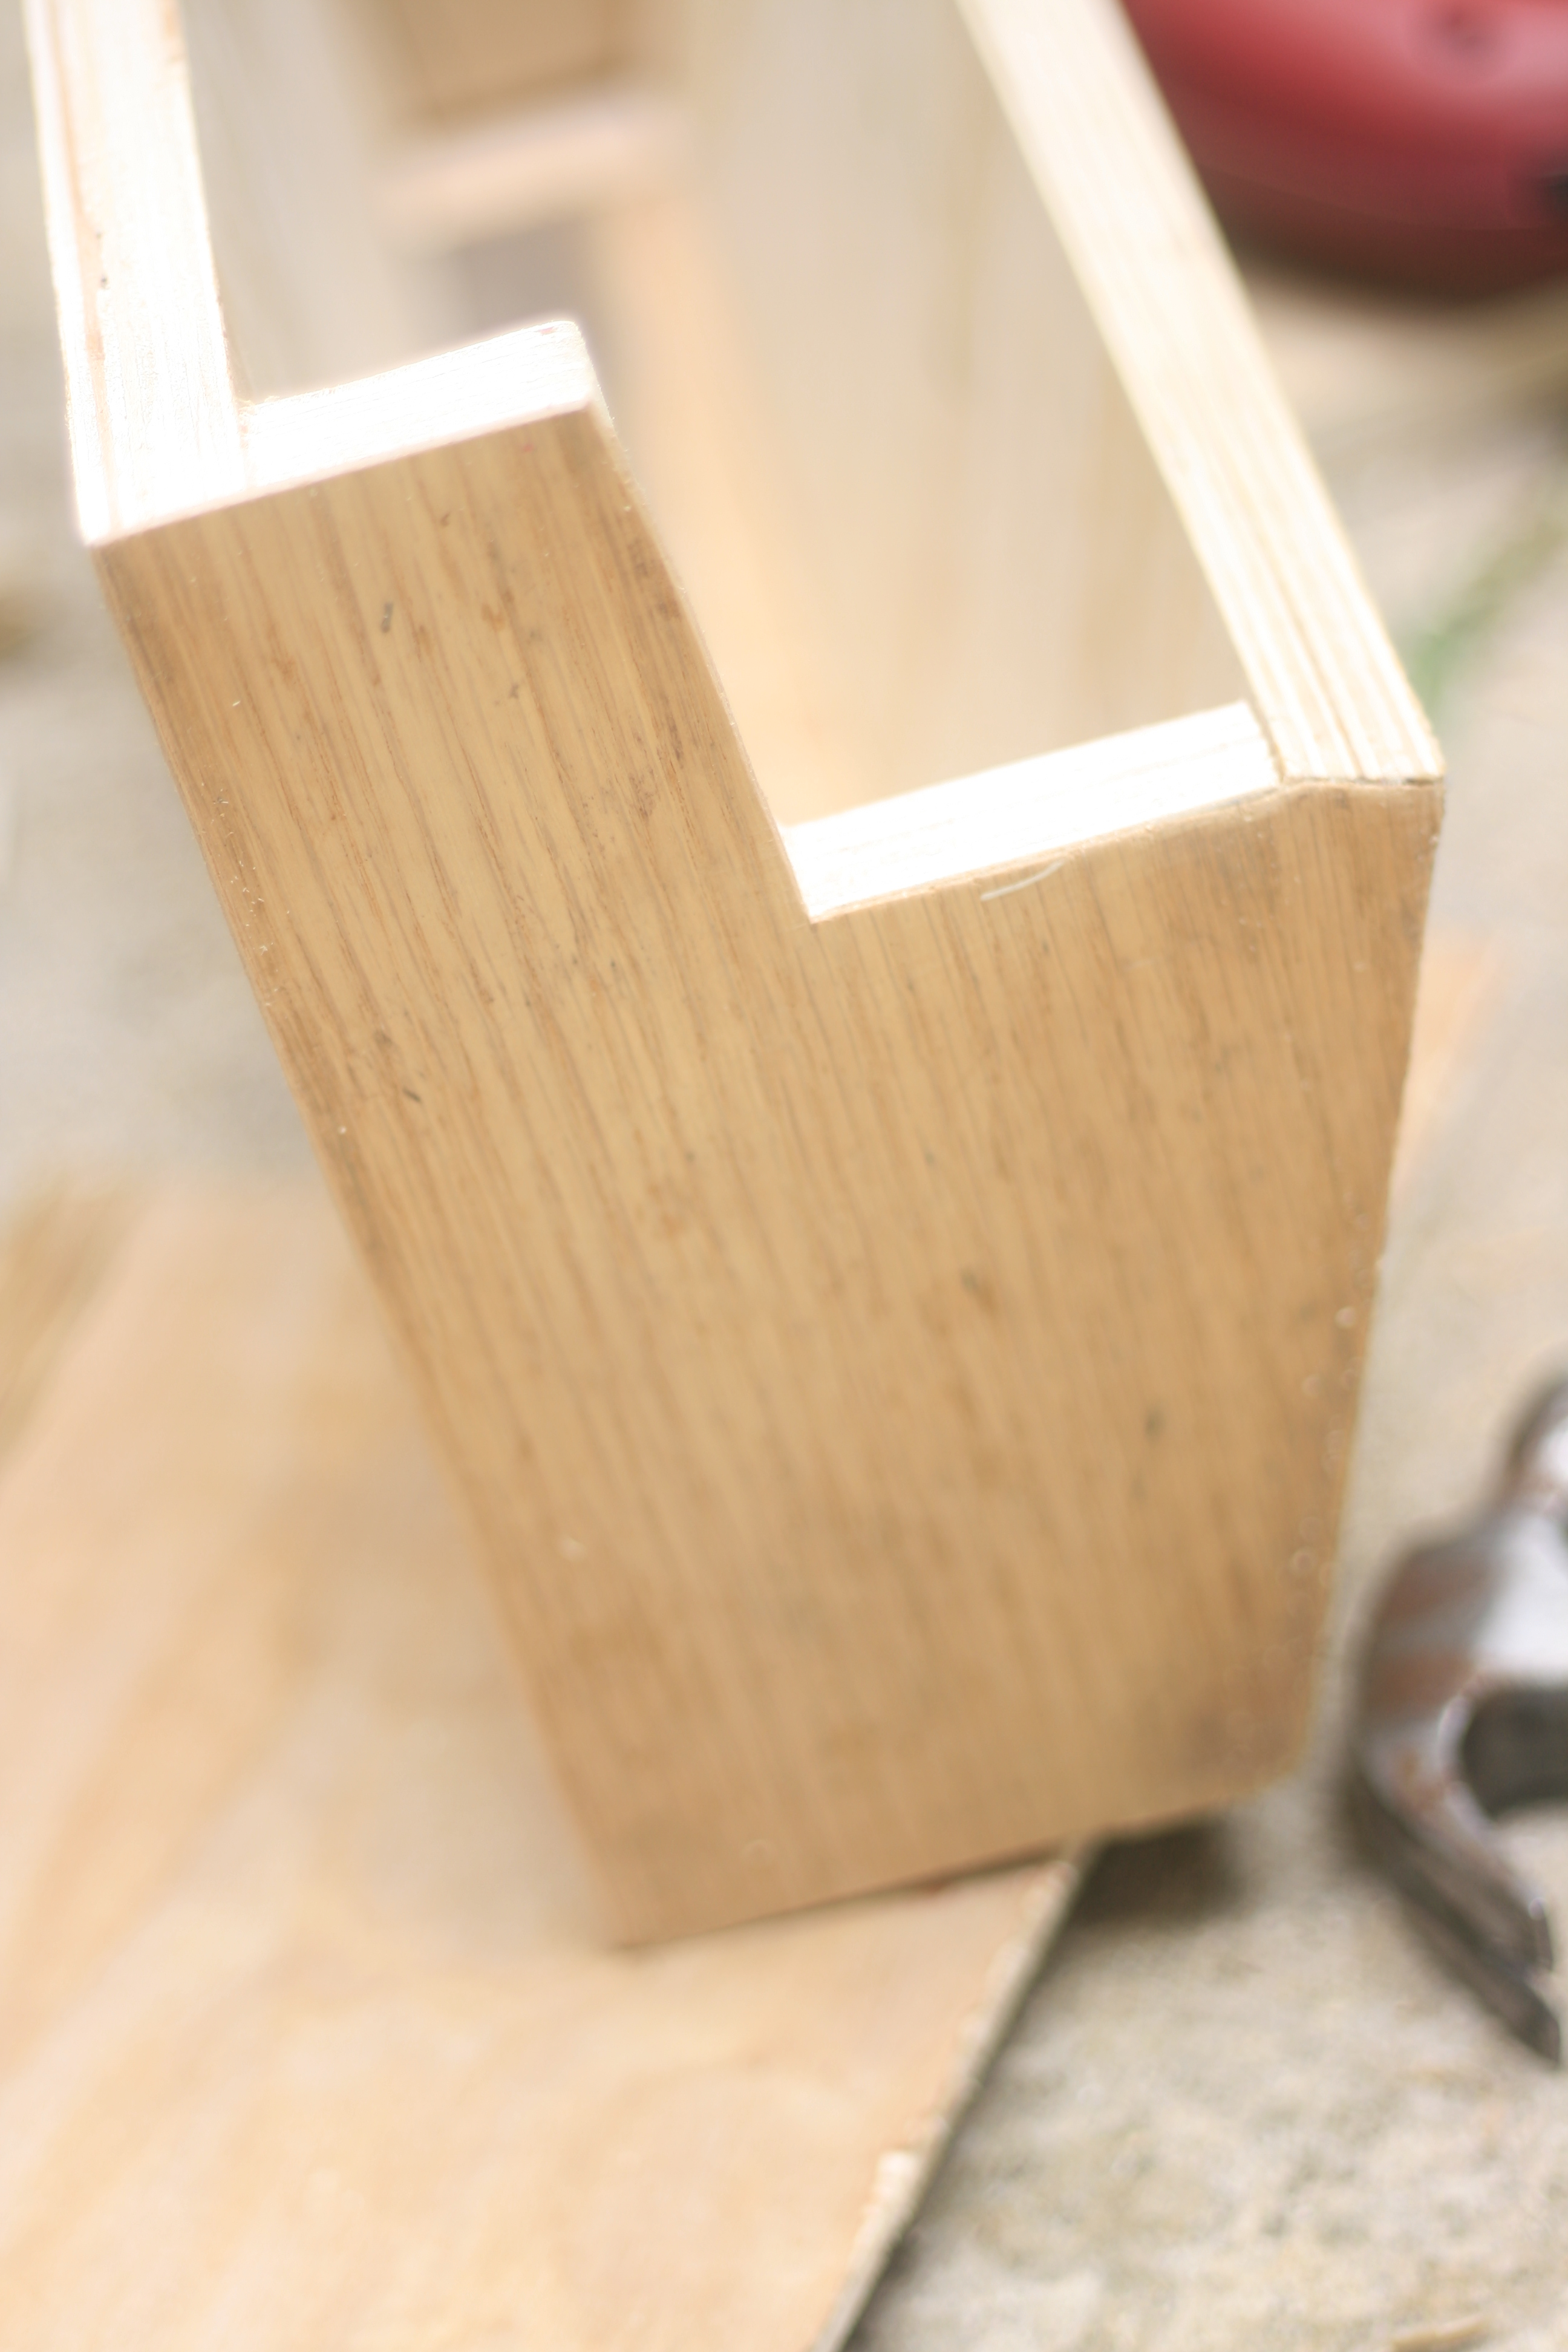 The only thing I didn’t have on hand was edge banding or wood filler, so I used caulk to fill gaps and seal the cut edges of the plywood. It works just fine in a pinch, and there was no way I was gonna stop in the middle of this short project to run to Home Depot.
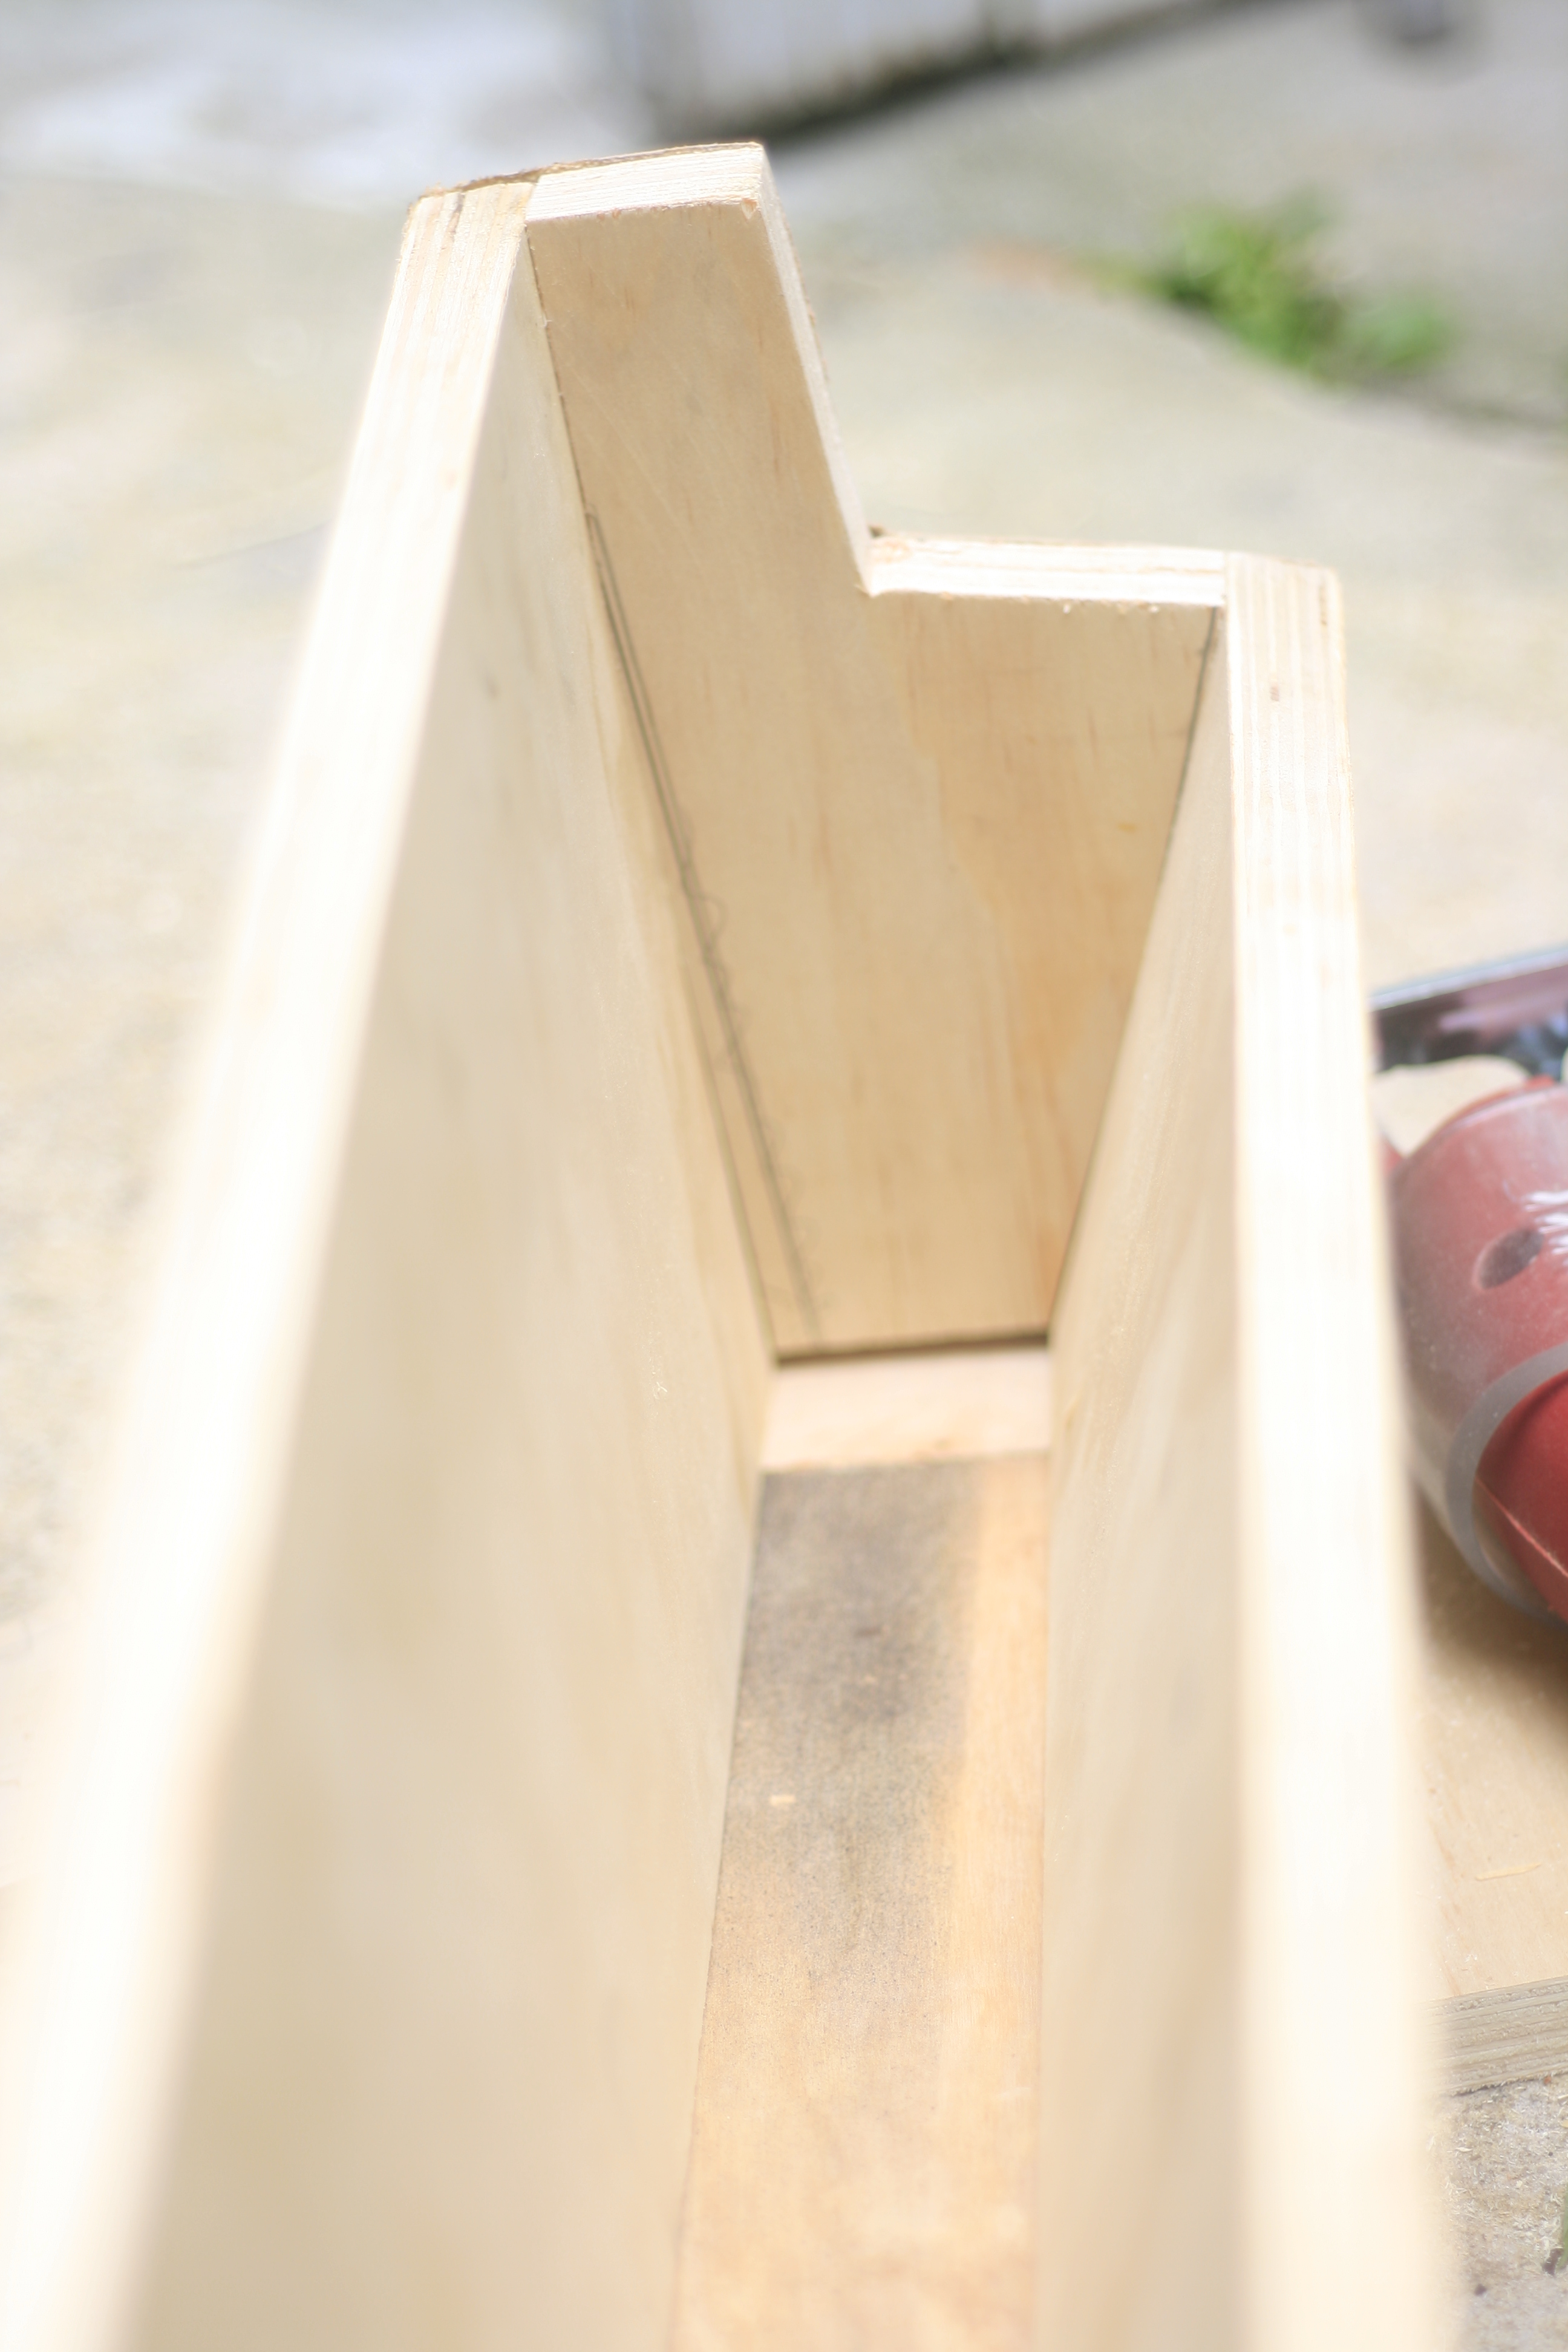
The other tip I have for this project… is to use luan or some other 1/4″ plywood or hardboard for the bottom. Since I don’t have a table saw I couldn’t bevel the bottom edge of the box so the plywood is at a slight angle at the bottom and the thin bottom is more flexible and unnoticed. You can see a tiny gap in the corner of the picture above, due to the angle of the front and back plywood. Nothing a little caulk can’t handle.
Boom…there it is. I couldn’t be more thrilled with this little addition to my kitchen! It sounds ludicrous but this guy’s gonna change my life. It’s almost as good as when I made that cabinet for my garbage can.
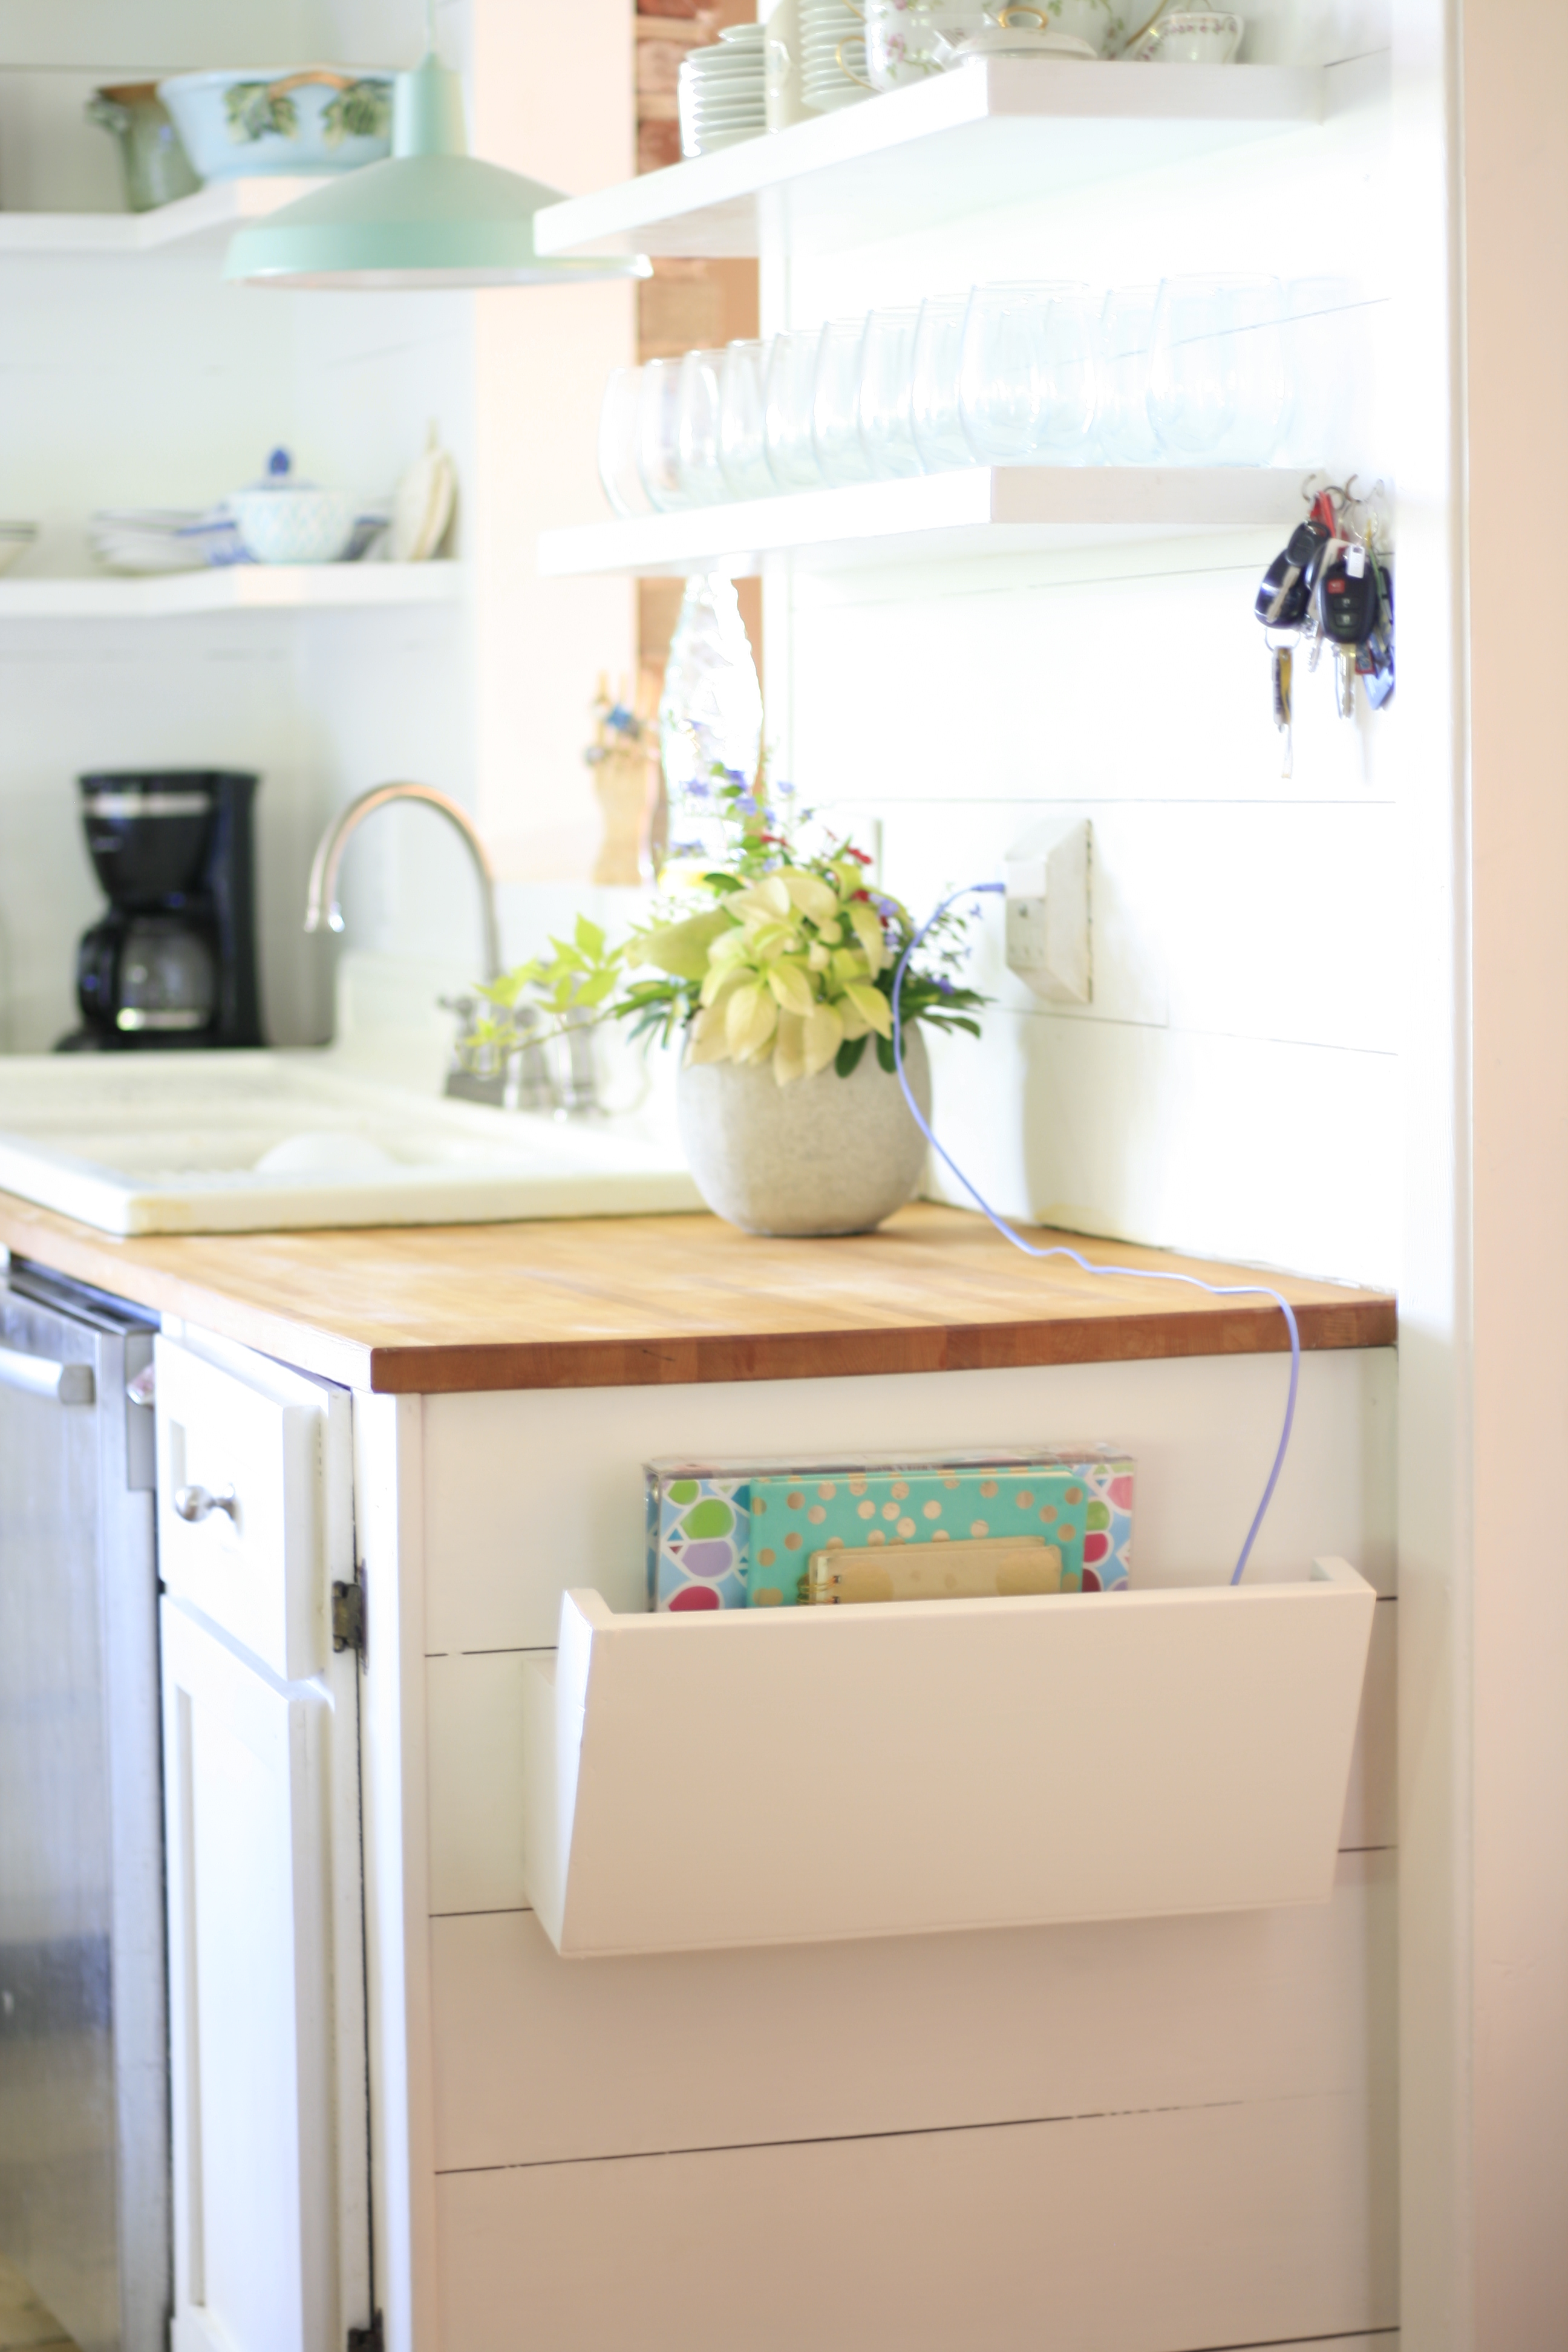 This picture is real life…keys, coffee pot, and I-phone charging. I love it! Simple but oh so good.
If you want any clarification on any part of the post just comment. I know it’s kinda vague but my camera battery was dead when I started the project.
xoxo, Mimz

