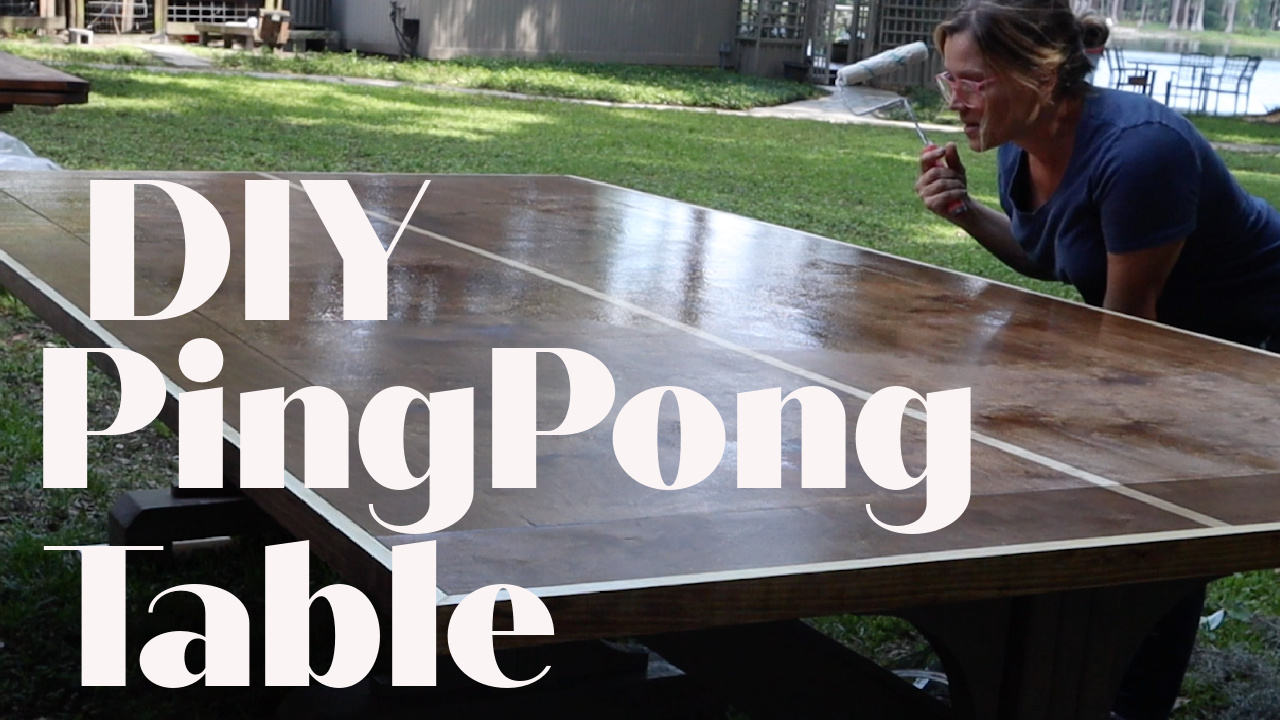
An exterior ping pong table has been on my to-do list for years. We’ve had a cheap ugly ping pong table on our back patio for a long time and it just barely fits. We can’t back up from the table very far, so my boys can’t really get a good game going. Plus, we had a cozy swinging bed in the place where the ping pong table currently sits, and I really miss that swinging bed, so …out you go ping pong table. 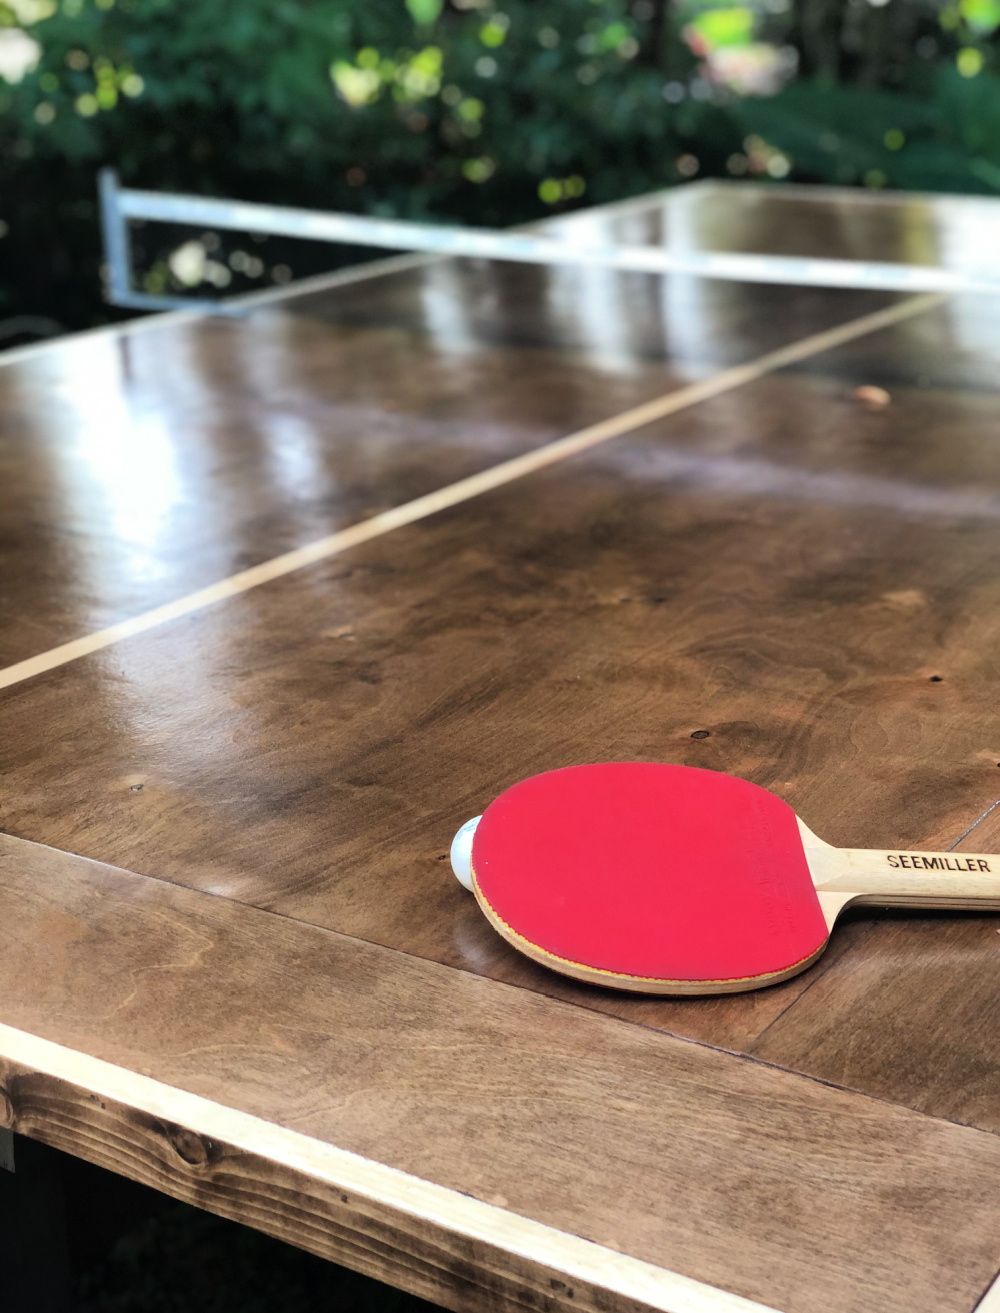
This beautiful new ping pong table will sit outside. Pretty much right where I’m building it.
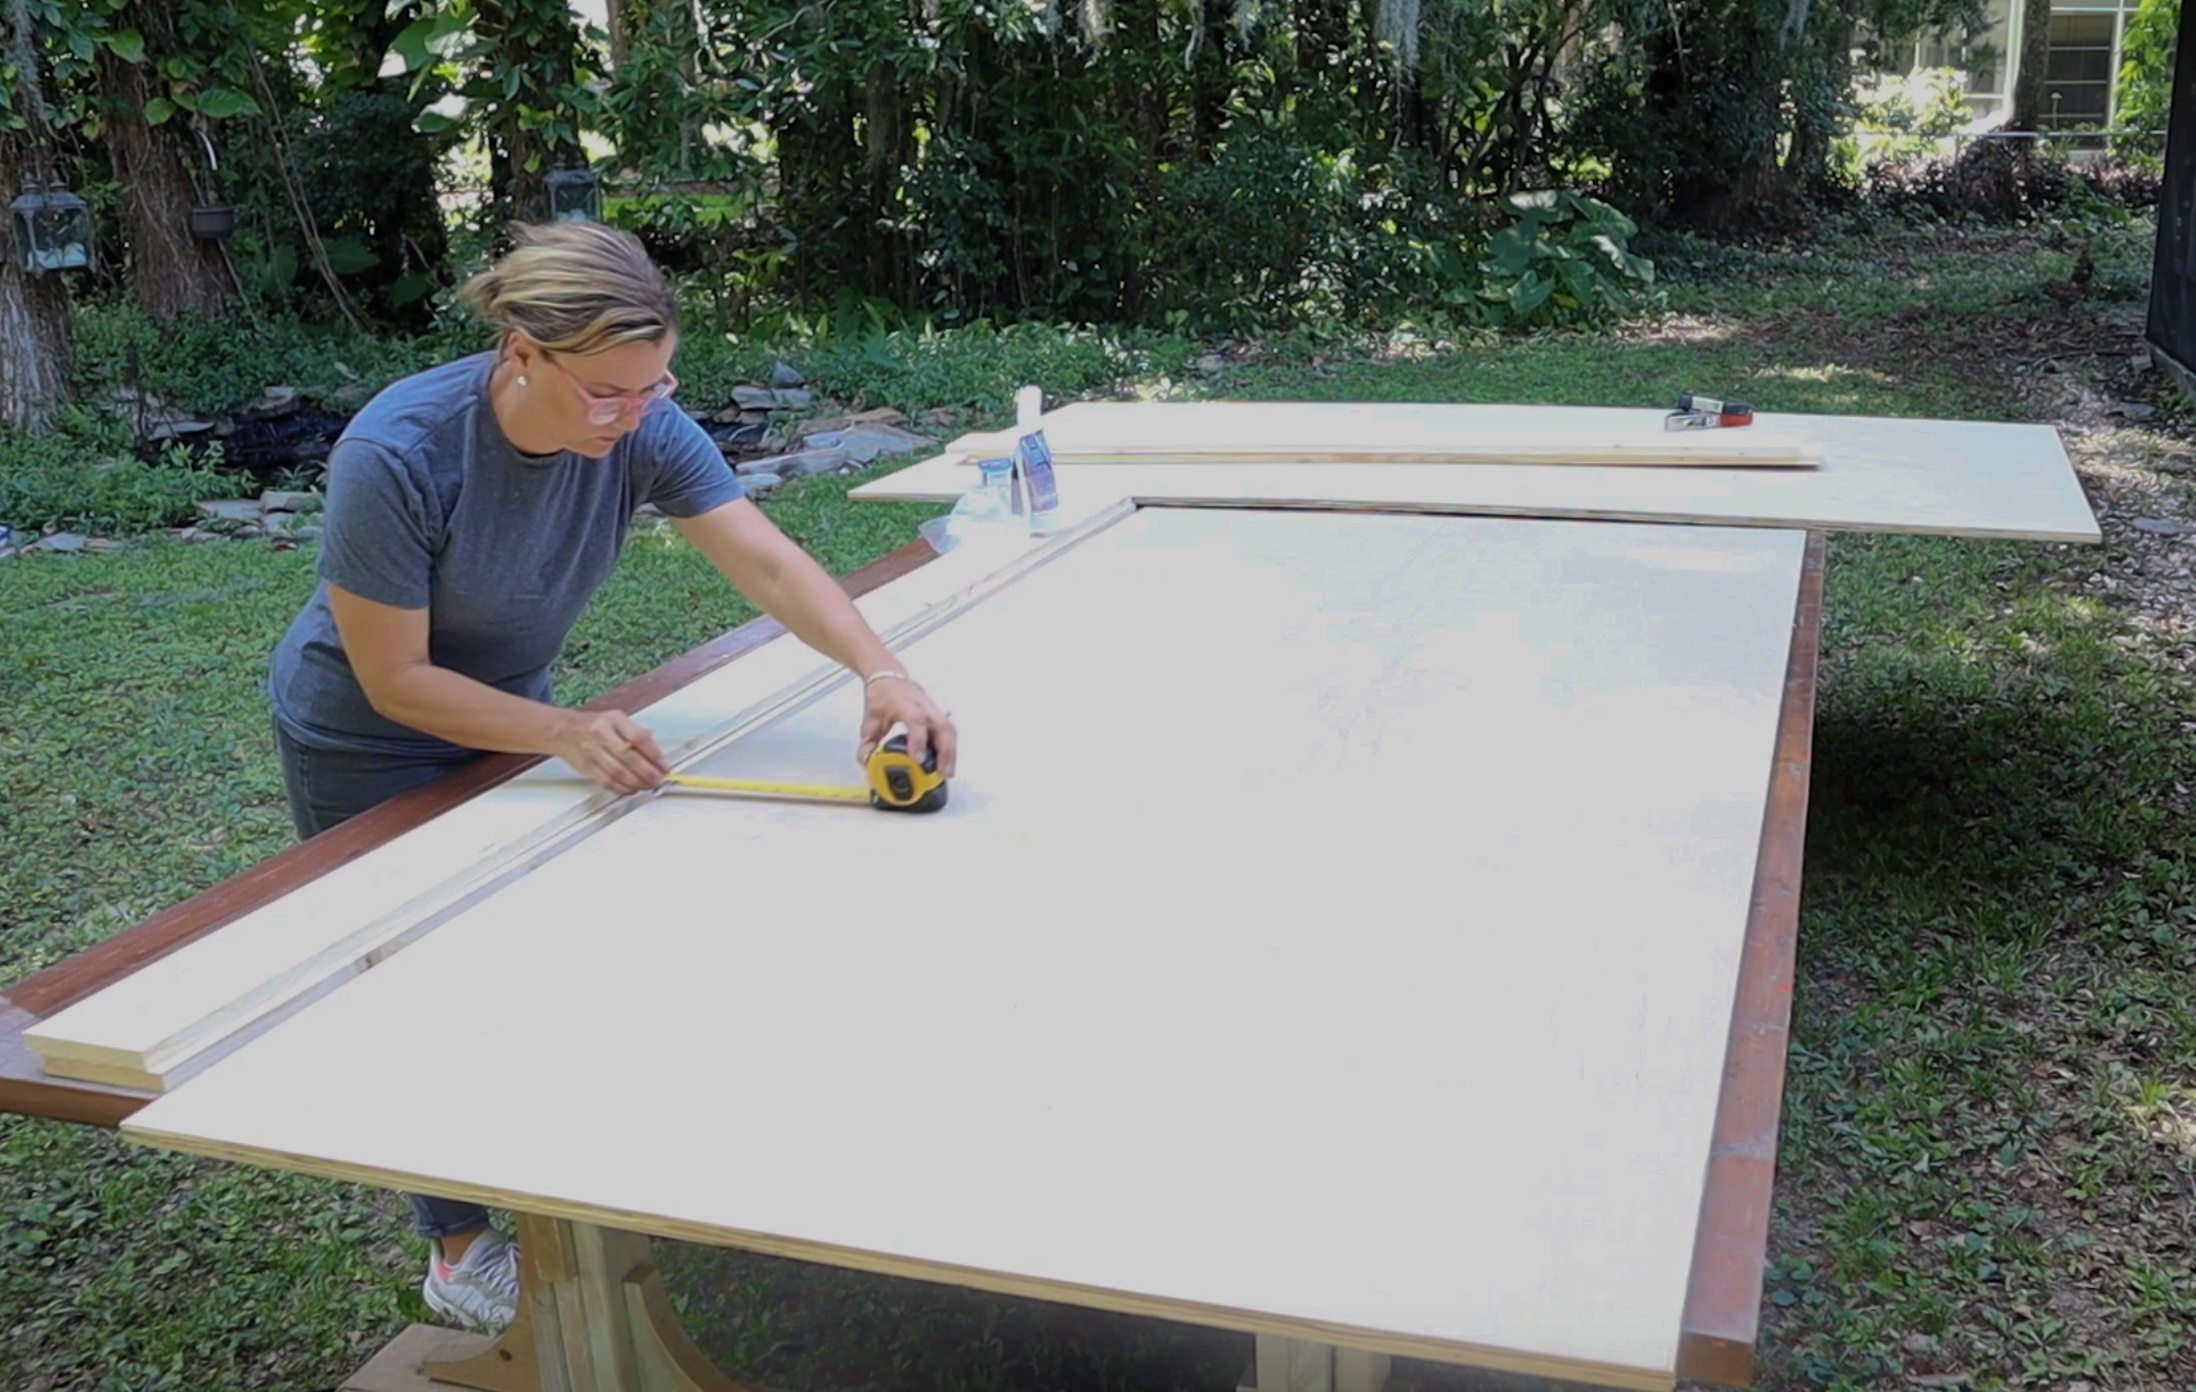 Ping Pong tables are standard 5′ x 9′. After much deliberation I decided to use plywood to make my table rather dimensional lumber.
I’m using a full 4′ x 8′ sheet of plywood for the center, and ripped down another sheet of plywood to 5 1/2″ strips to go around the outside edge to bring it to the proper finished dimensions. I’m also adding a 1″ X 2″ piece of trim the outside edge to close the raw plywood edge.
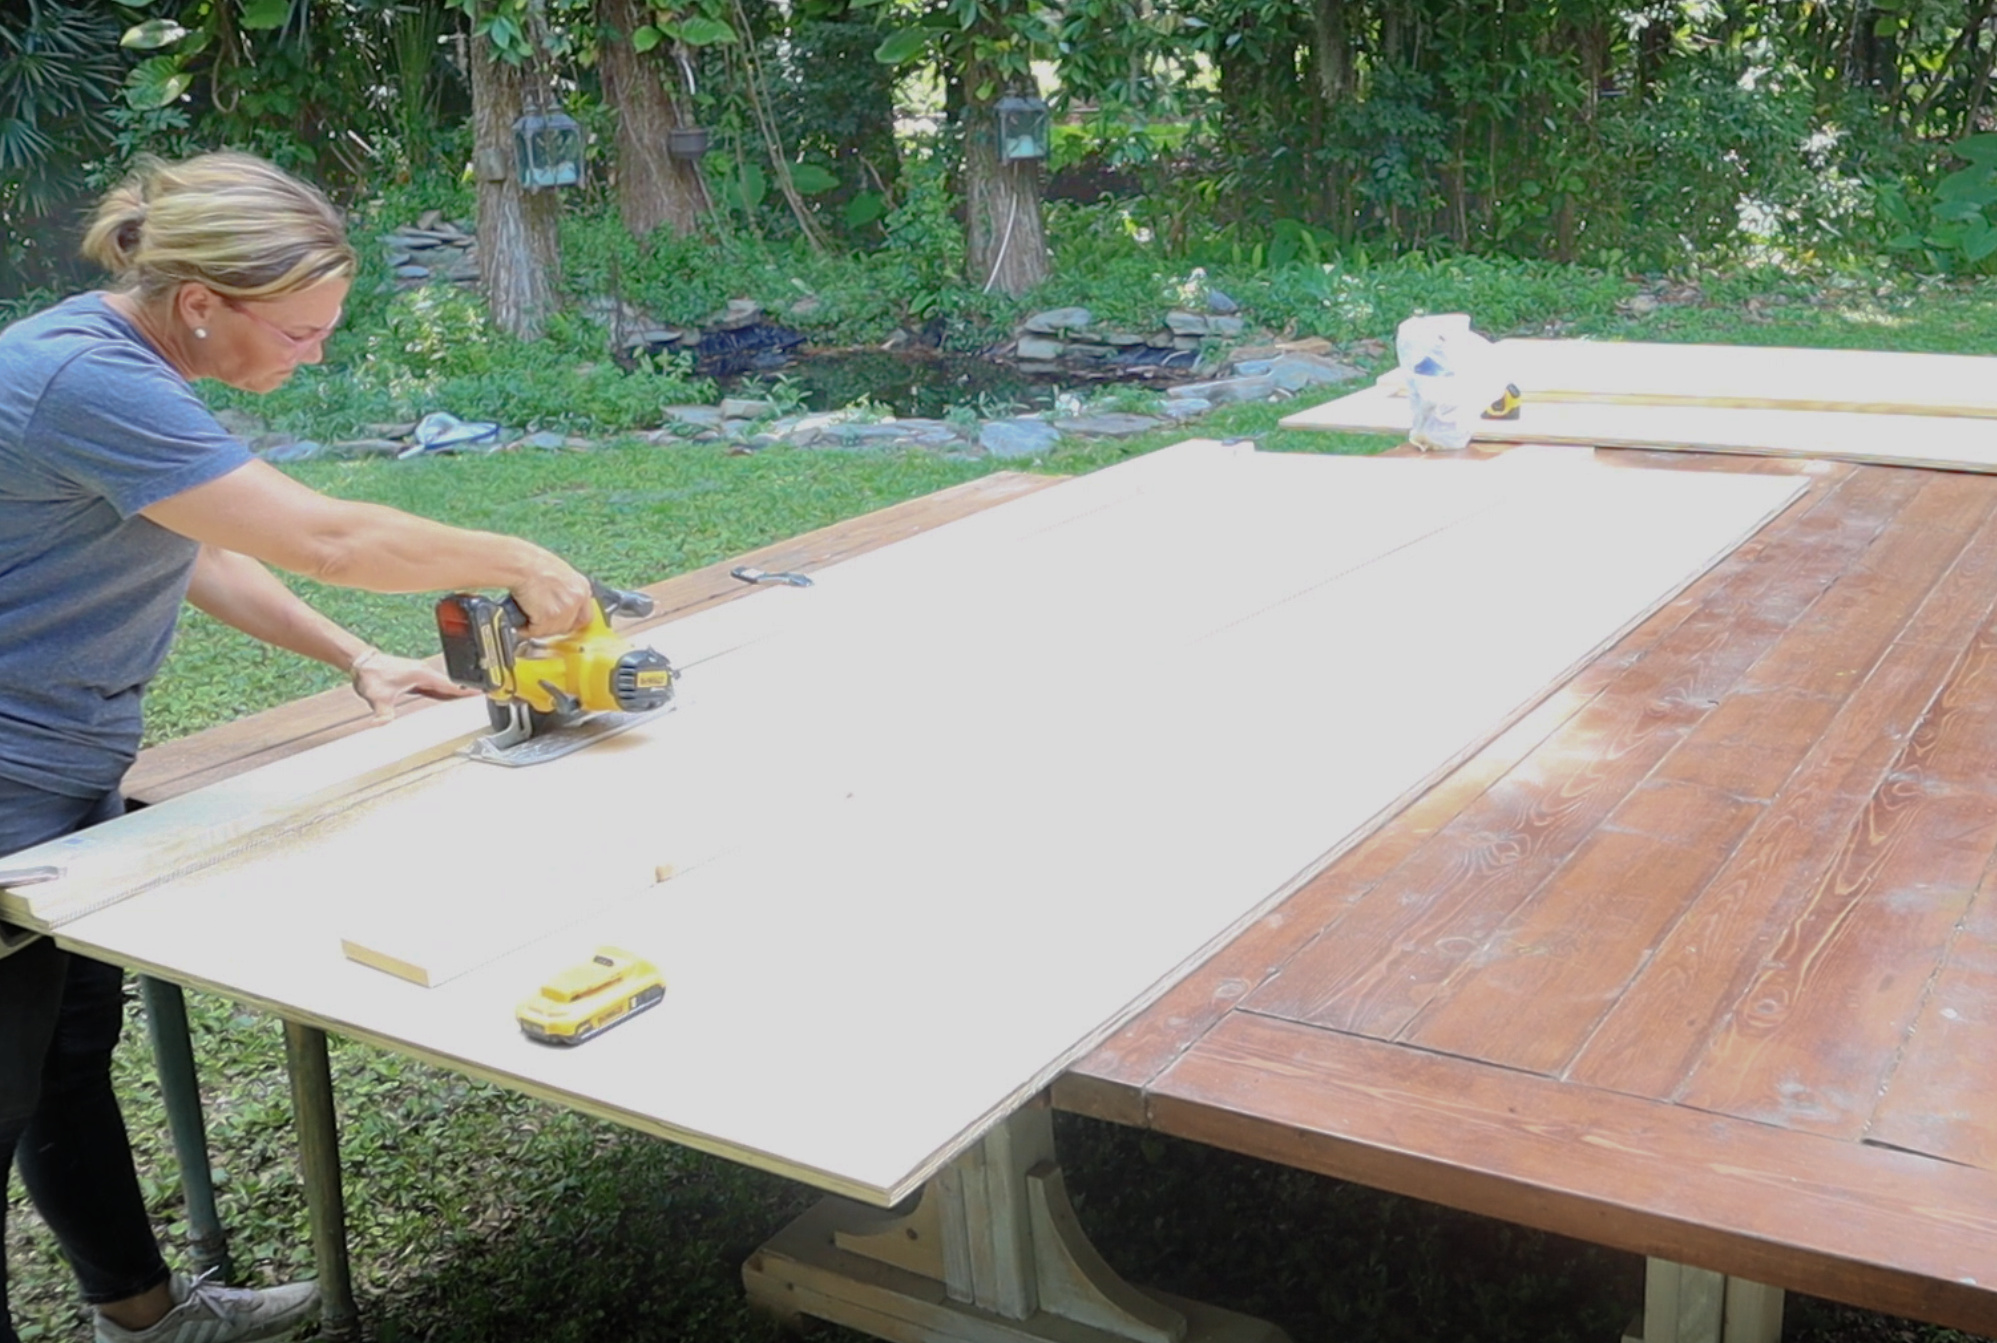 I used my circular saw to rip the plywood down to 51/2″ strips. I used 1″ x 6″ pine lumber as my jig. I clamped the 1″ x 6″ to the plywood and ran the fence of my circular saw along the edge of the lumber to get a perfectly straight cut.
No table saw necessary. Yay.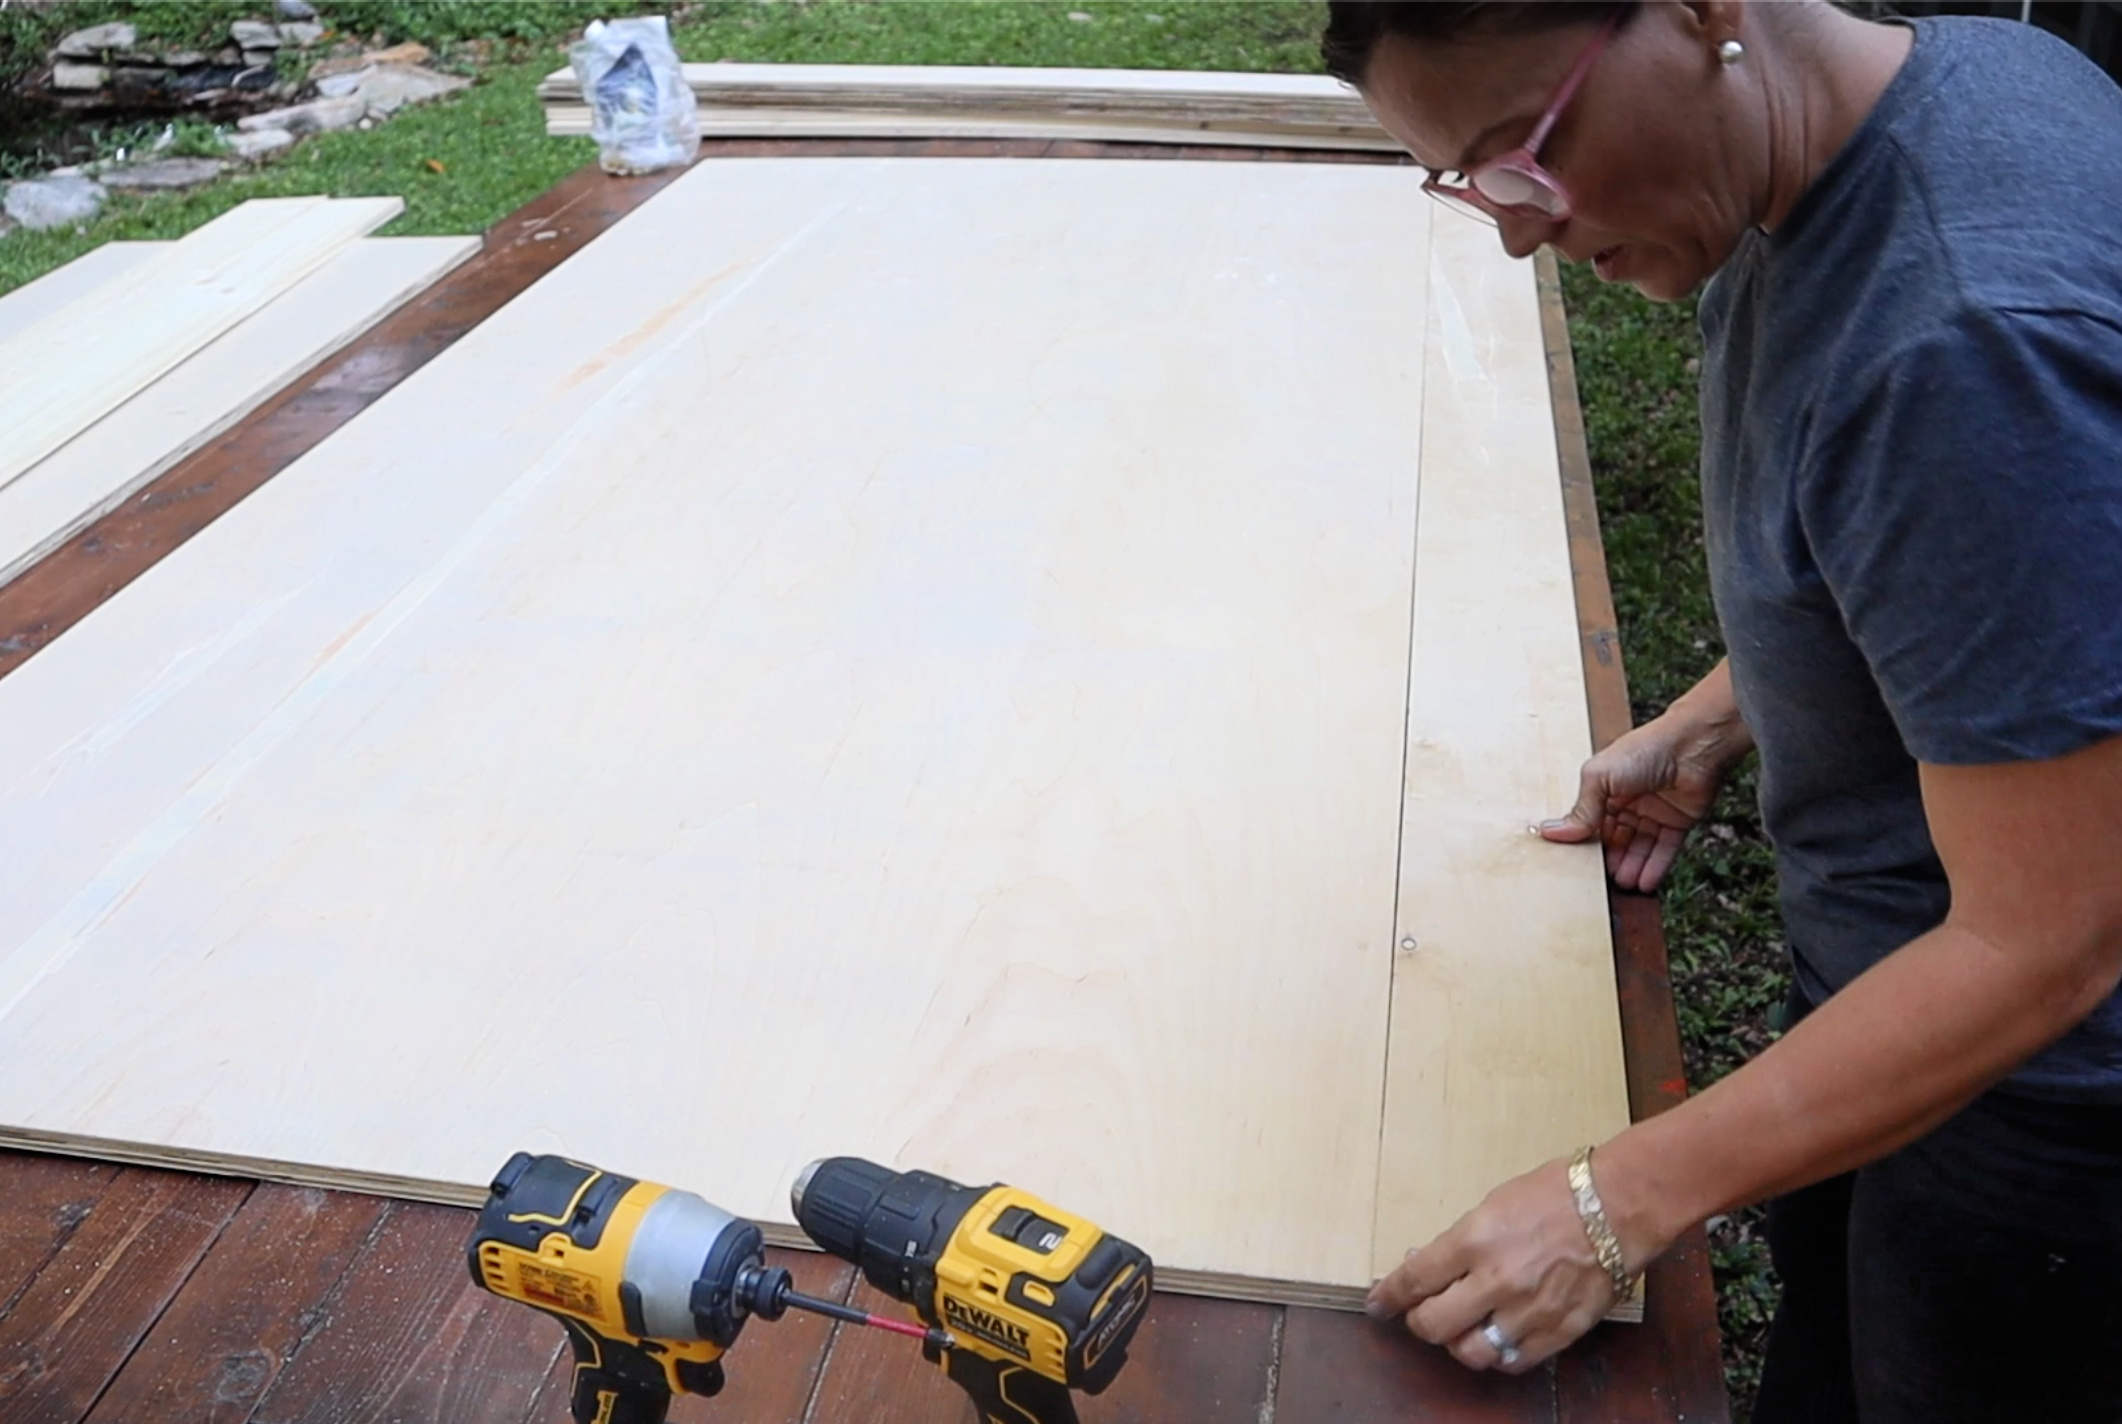 Then I fastened the 5 1/2″ strips to the outside edge of the table top.
 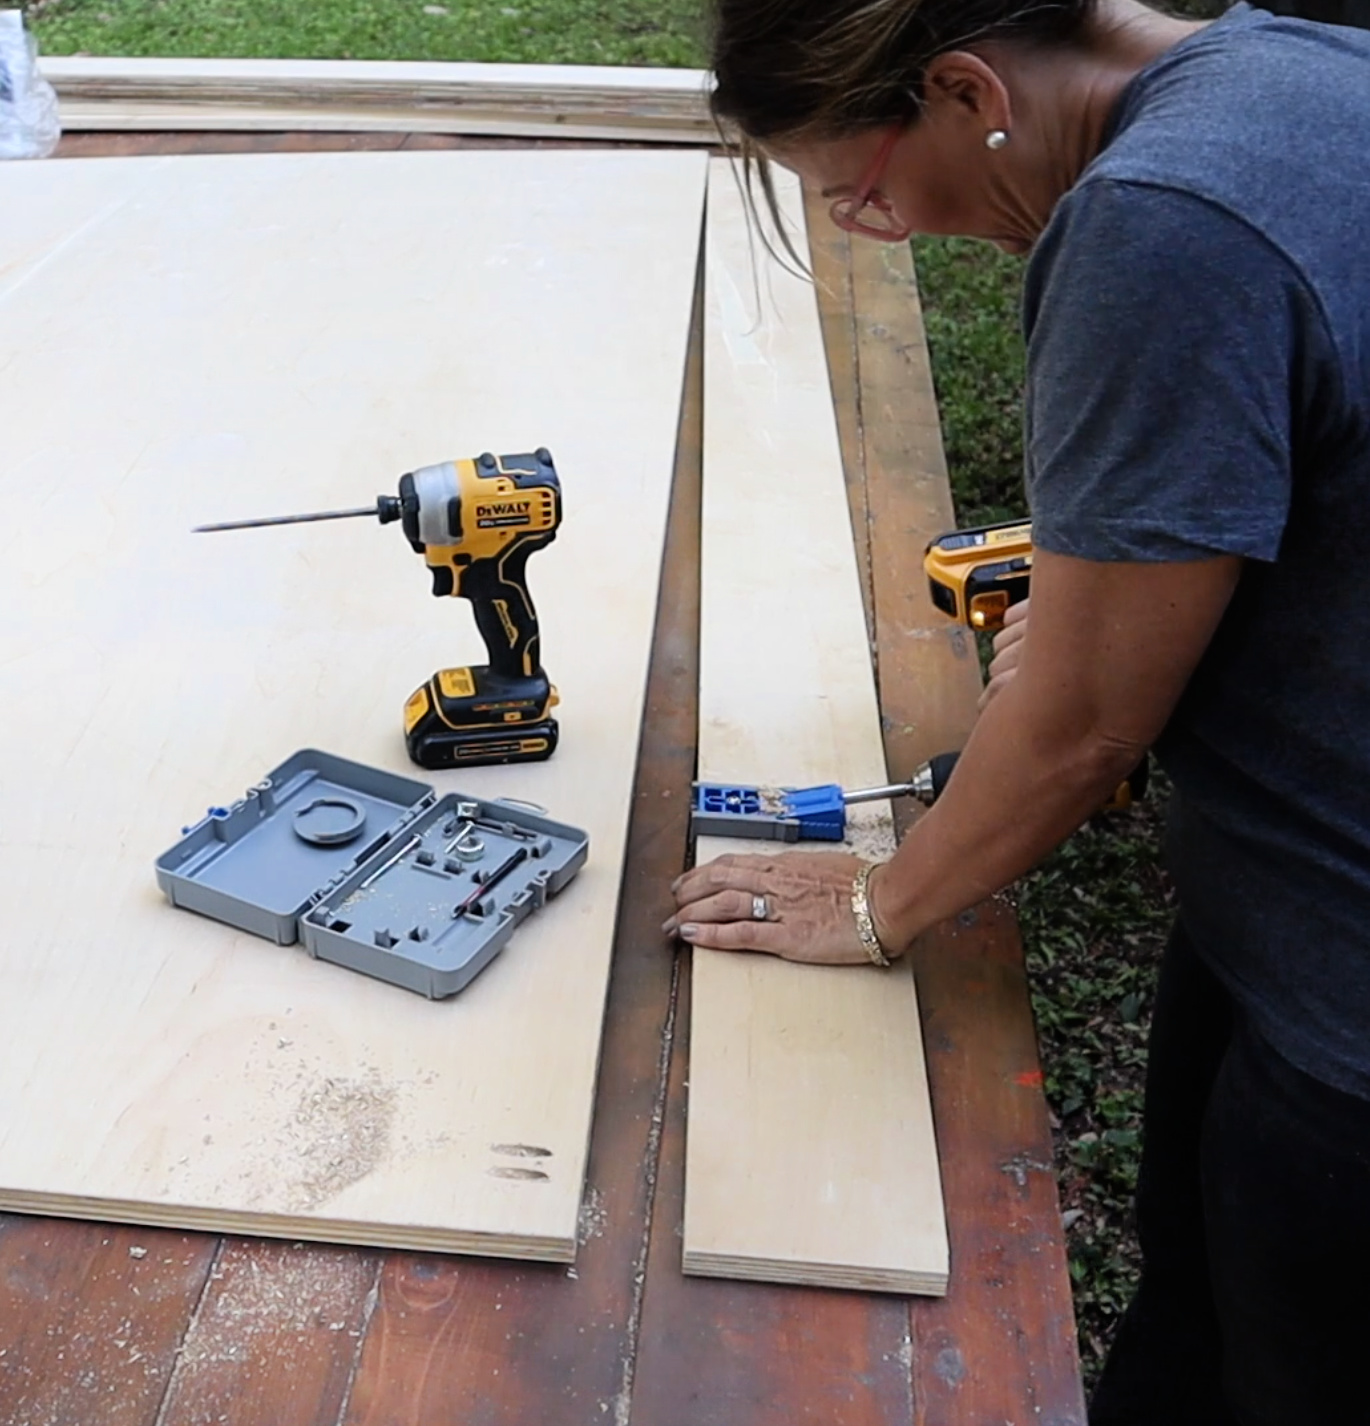 I used my Kreg Jig to create pocket hole joinery.
 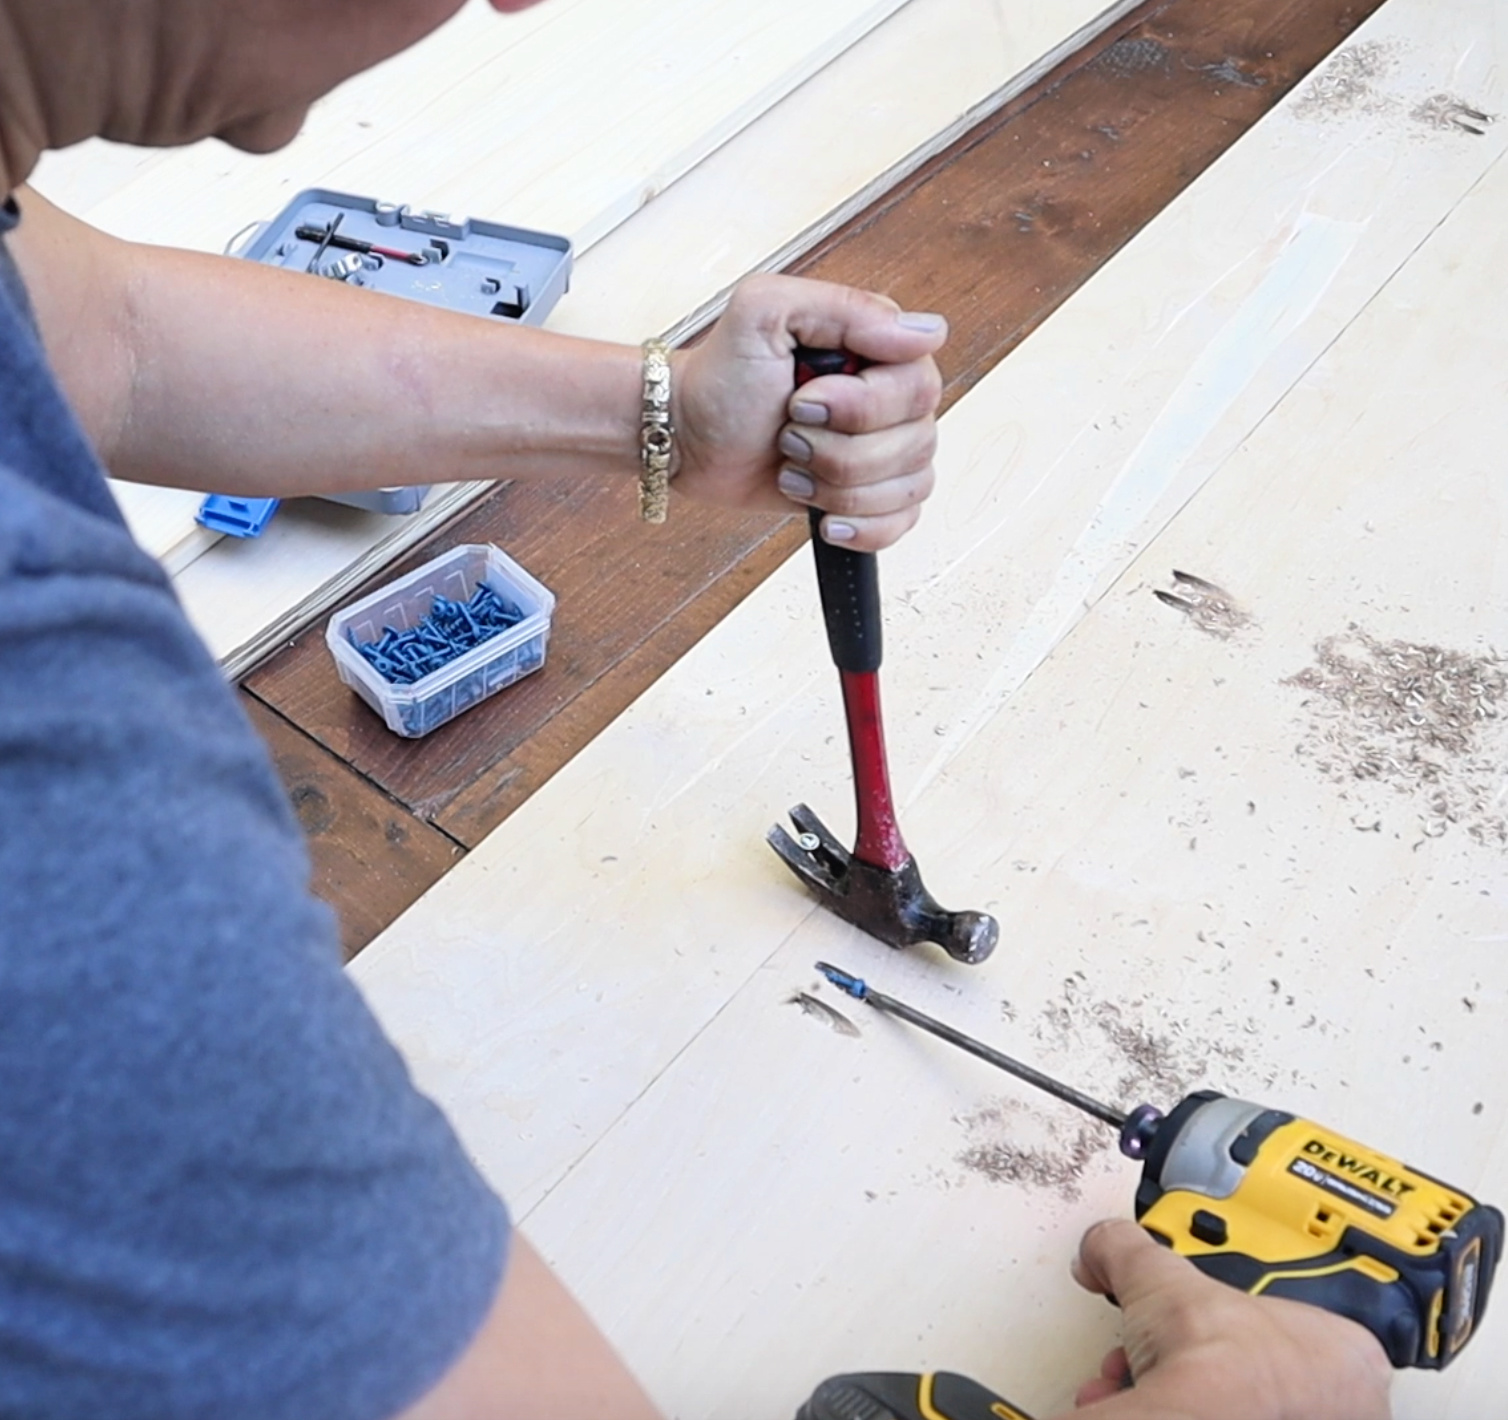 I have a super simple and extremely effective way to make sure the table top is flush…the video explains this part really well. Check the video below.
 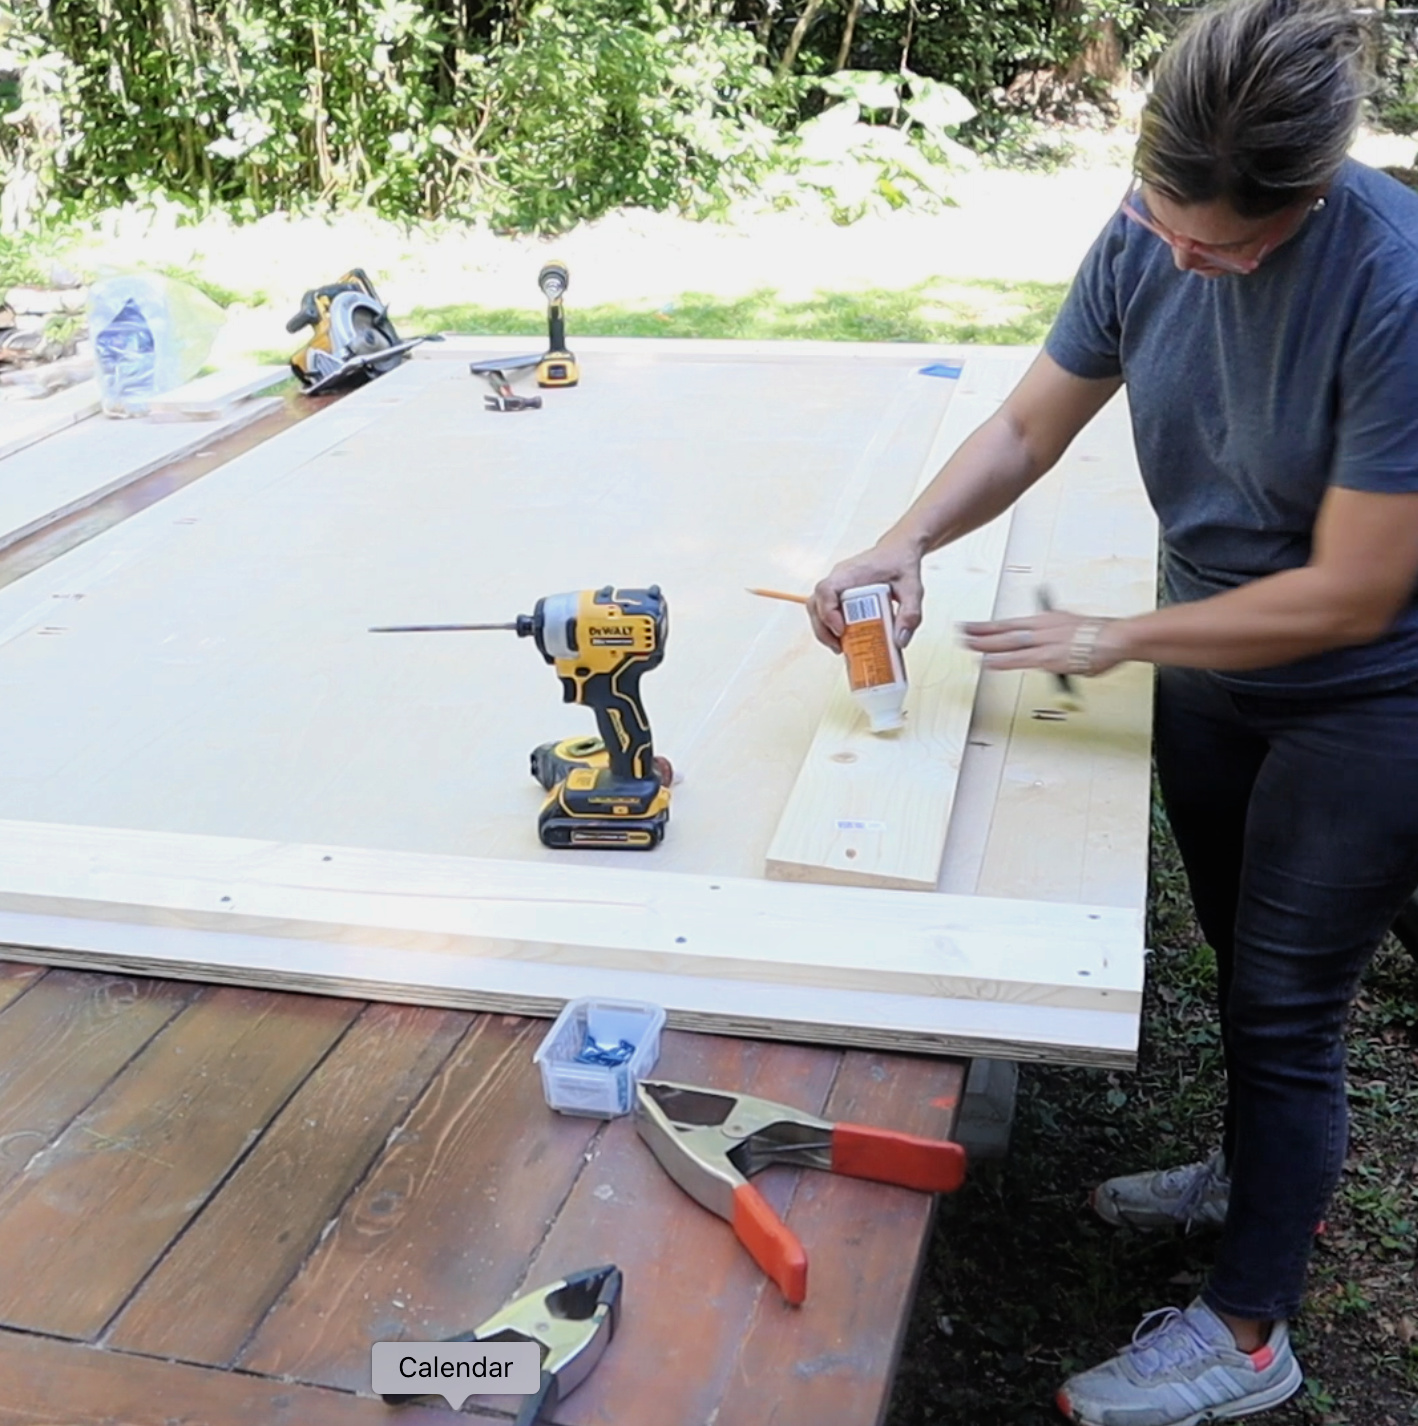 After all the edge pieces were attached to bring the table top to the proper dimensions, I attached the 1″ x 6″ pine boards to the underside of the ping pong table top to shore-up the seams and cover the pocket holes. This makes the seams stronger, covers the pocket holes thereby making the wood less vulnerable to the elements, and keeps the table from warping and cupping.
 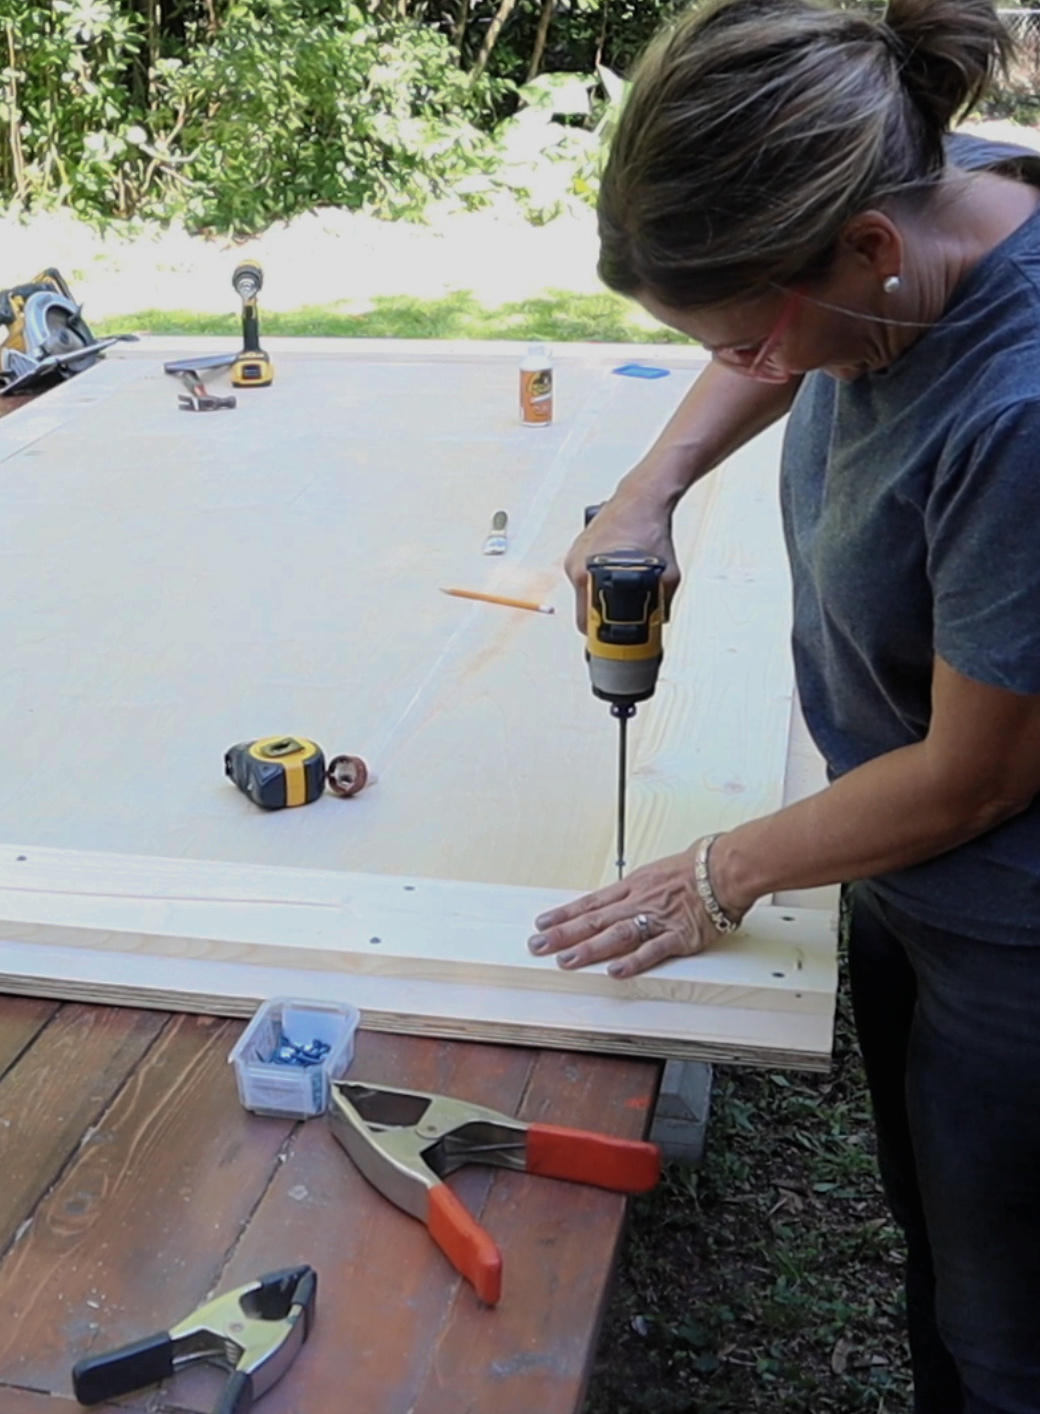 I attached all the 1″ x 6″ ‘s with glue and exterior screws.
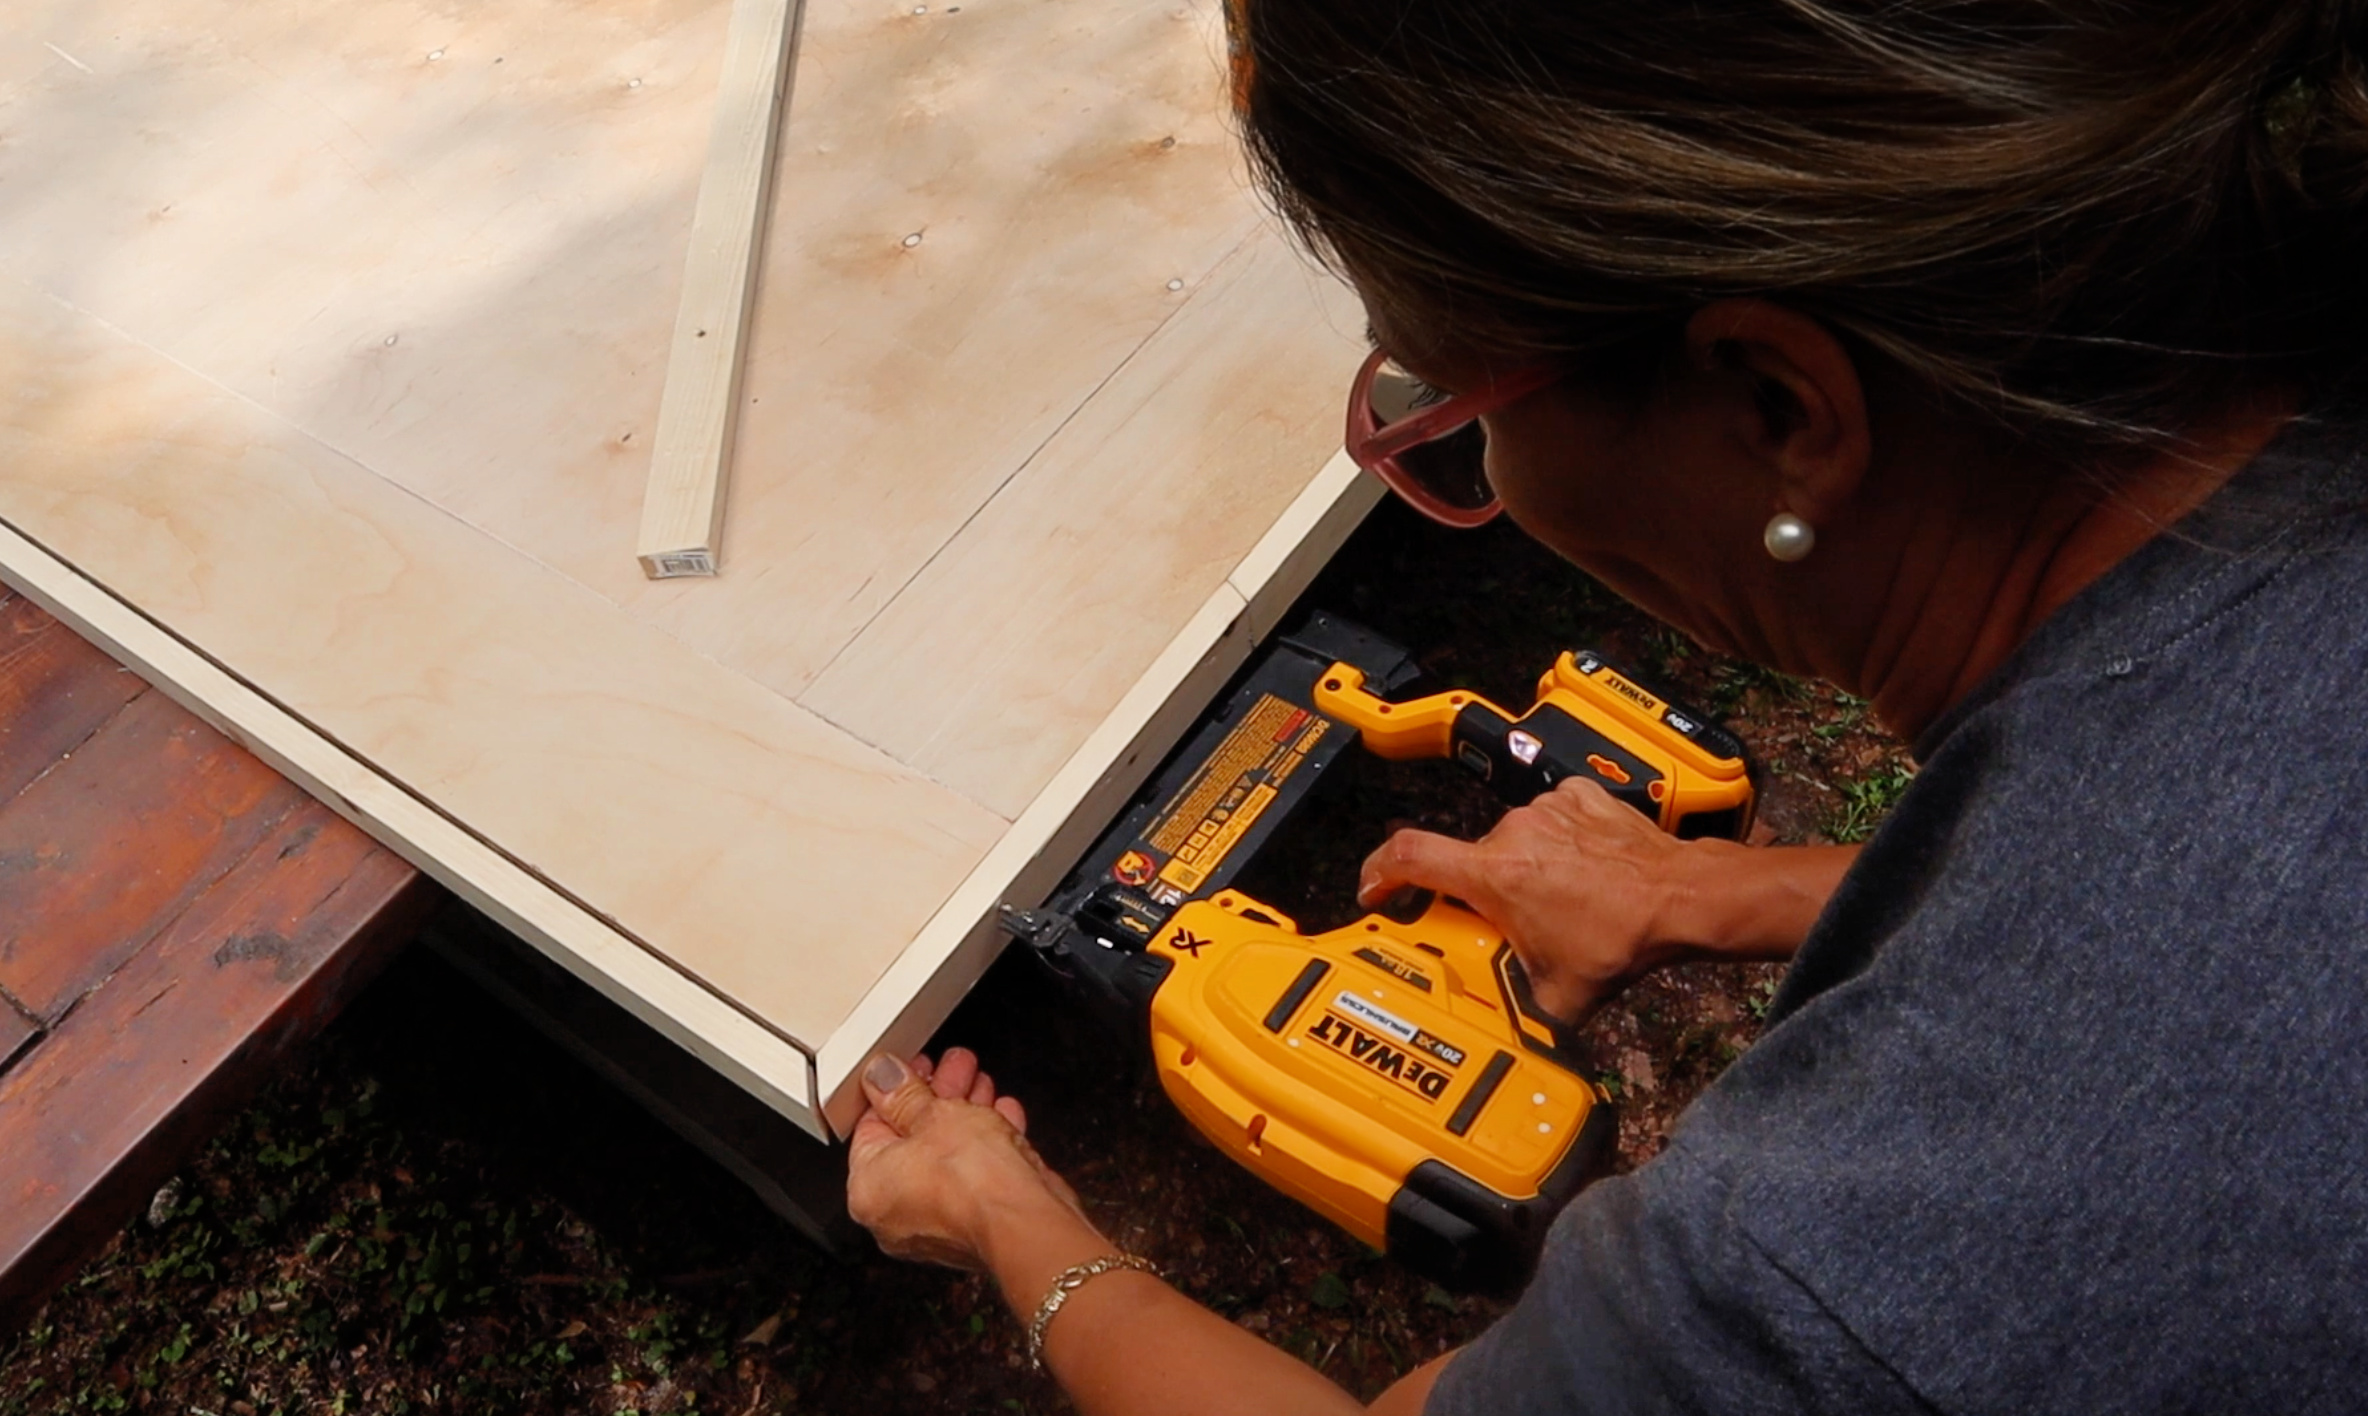 And finally I attached 1″ x 2″ pine to the raw plywood edges. I mitered the corners, glued the edges, and fastened the pine with pin nails.
After the ping pong tabletop was complete I used wood filler to fill all the seams. I then sanded the entire tabletop in preparation for the stain and sealer.
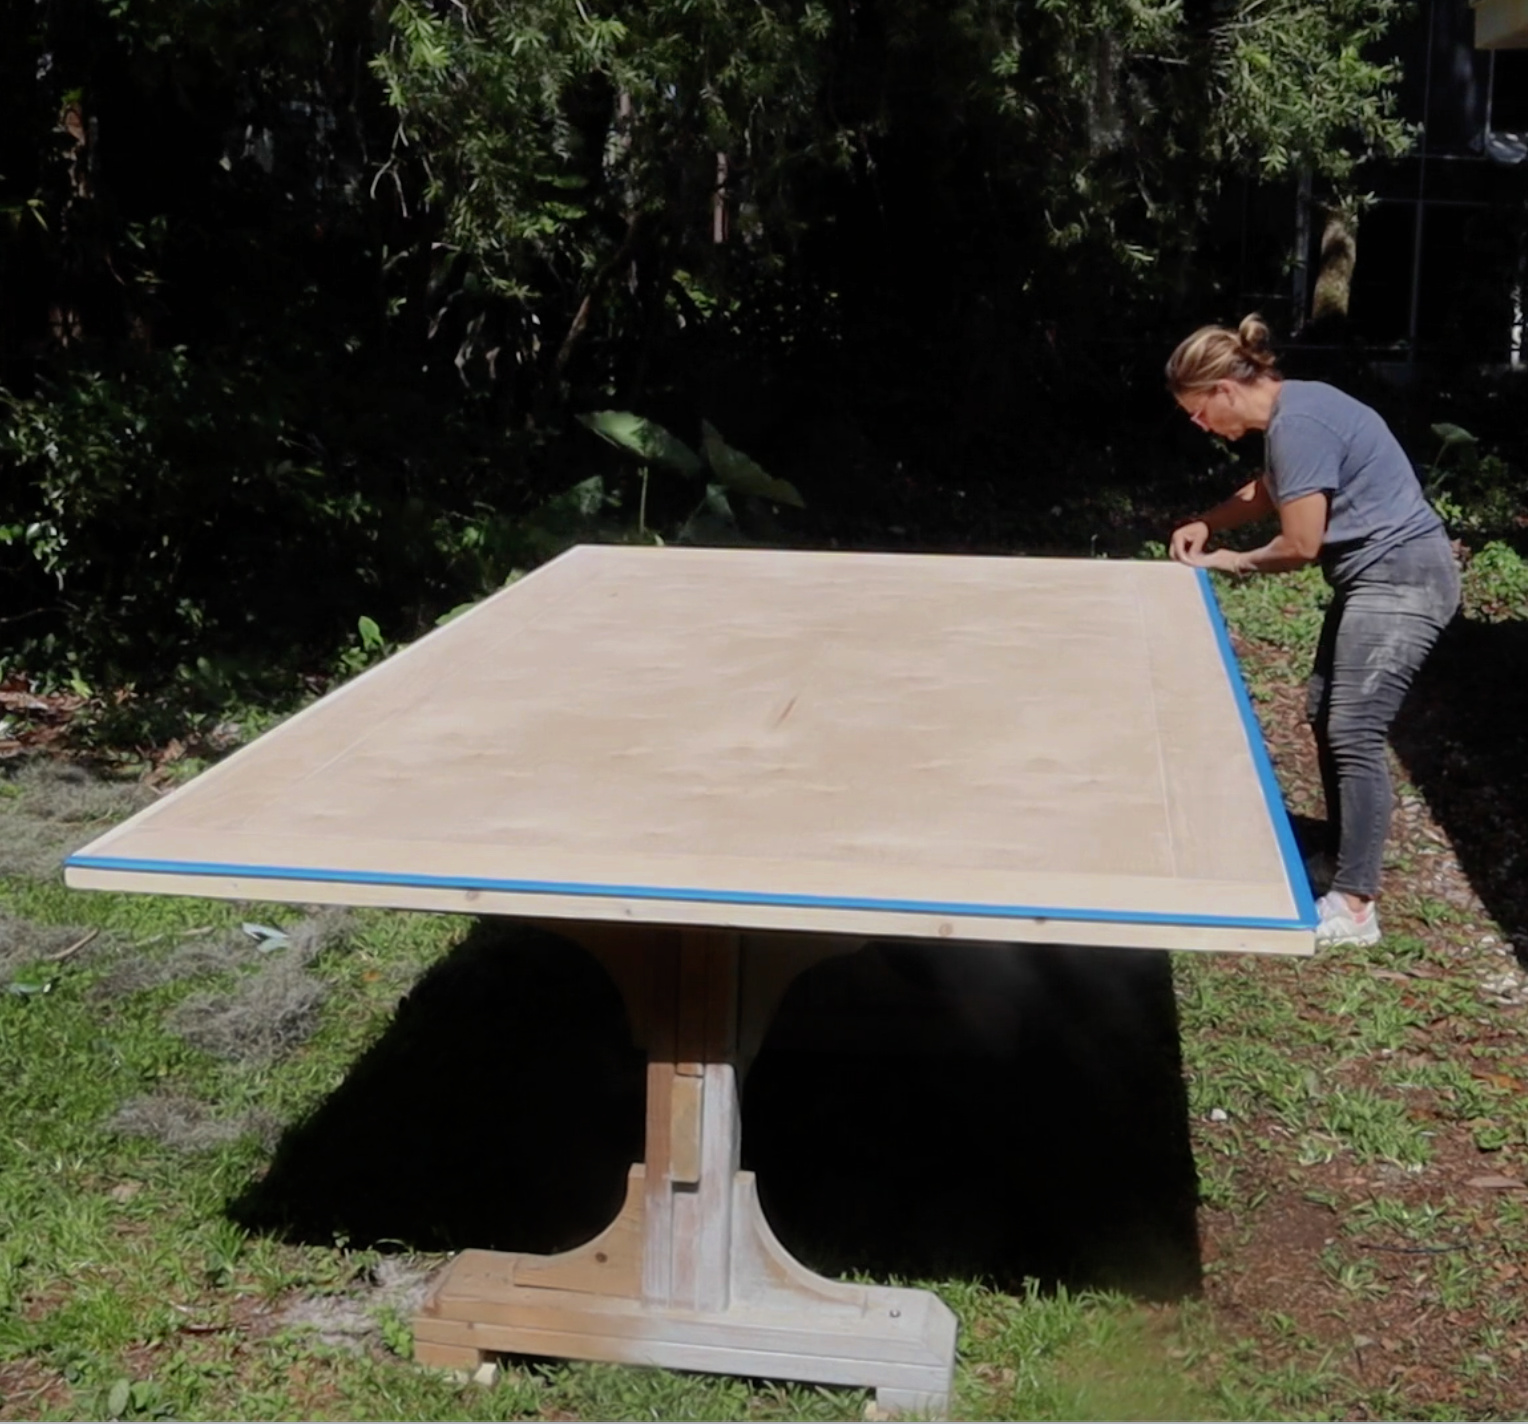 Prior to staining the table I used Scotch brand blue painters tape to tape off the regulation lines. It worked like a charm…I was concerned that the stain may seep under the tape, but delightfully it didn’t, and the lines are crisp and clean.
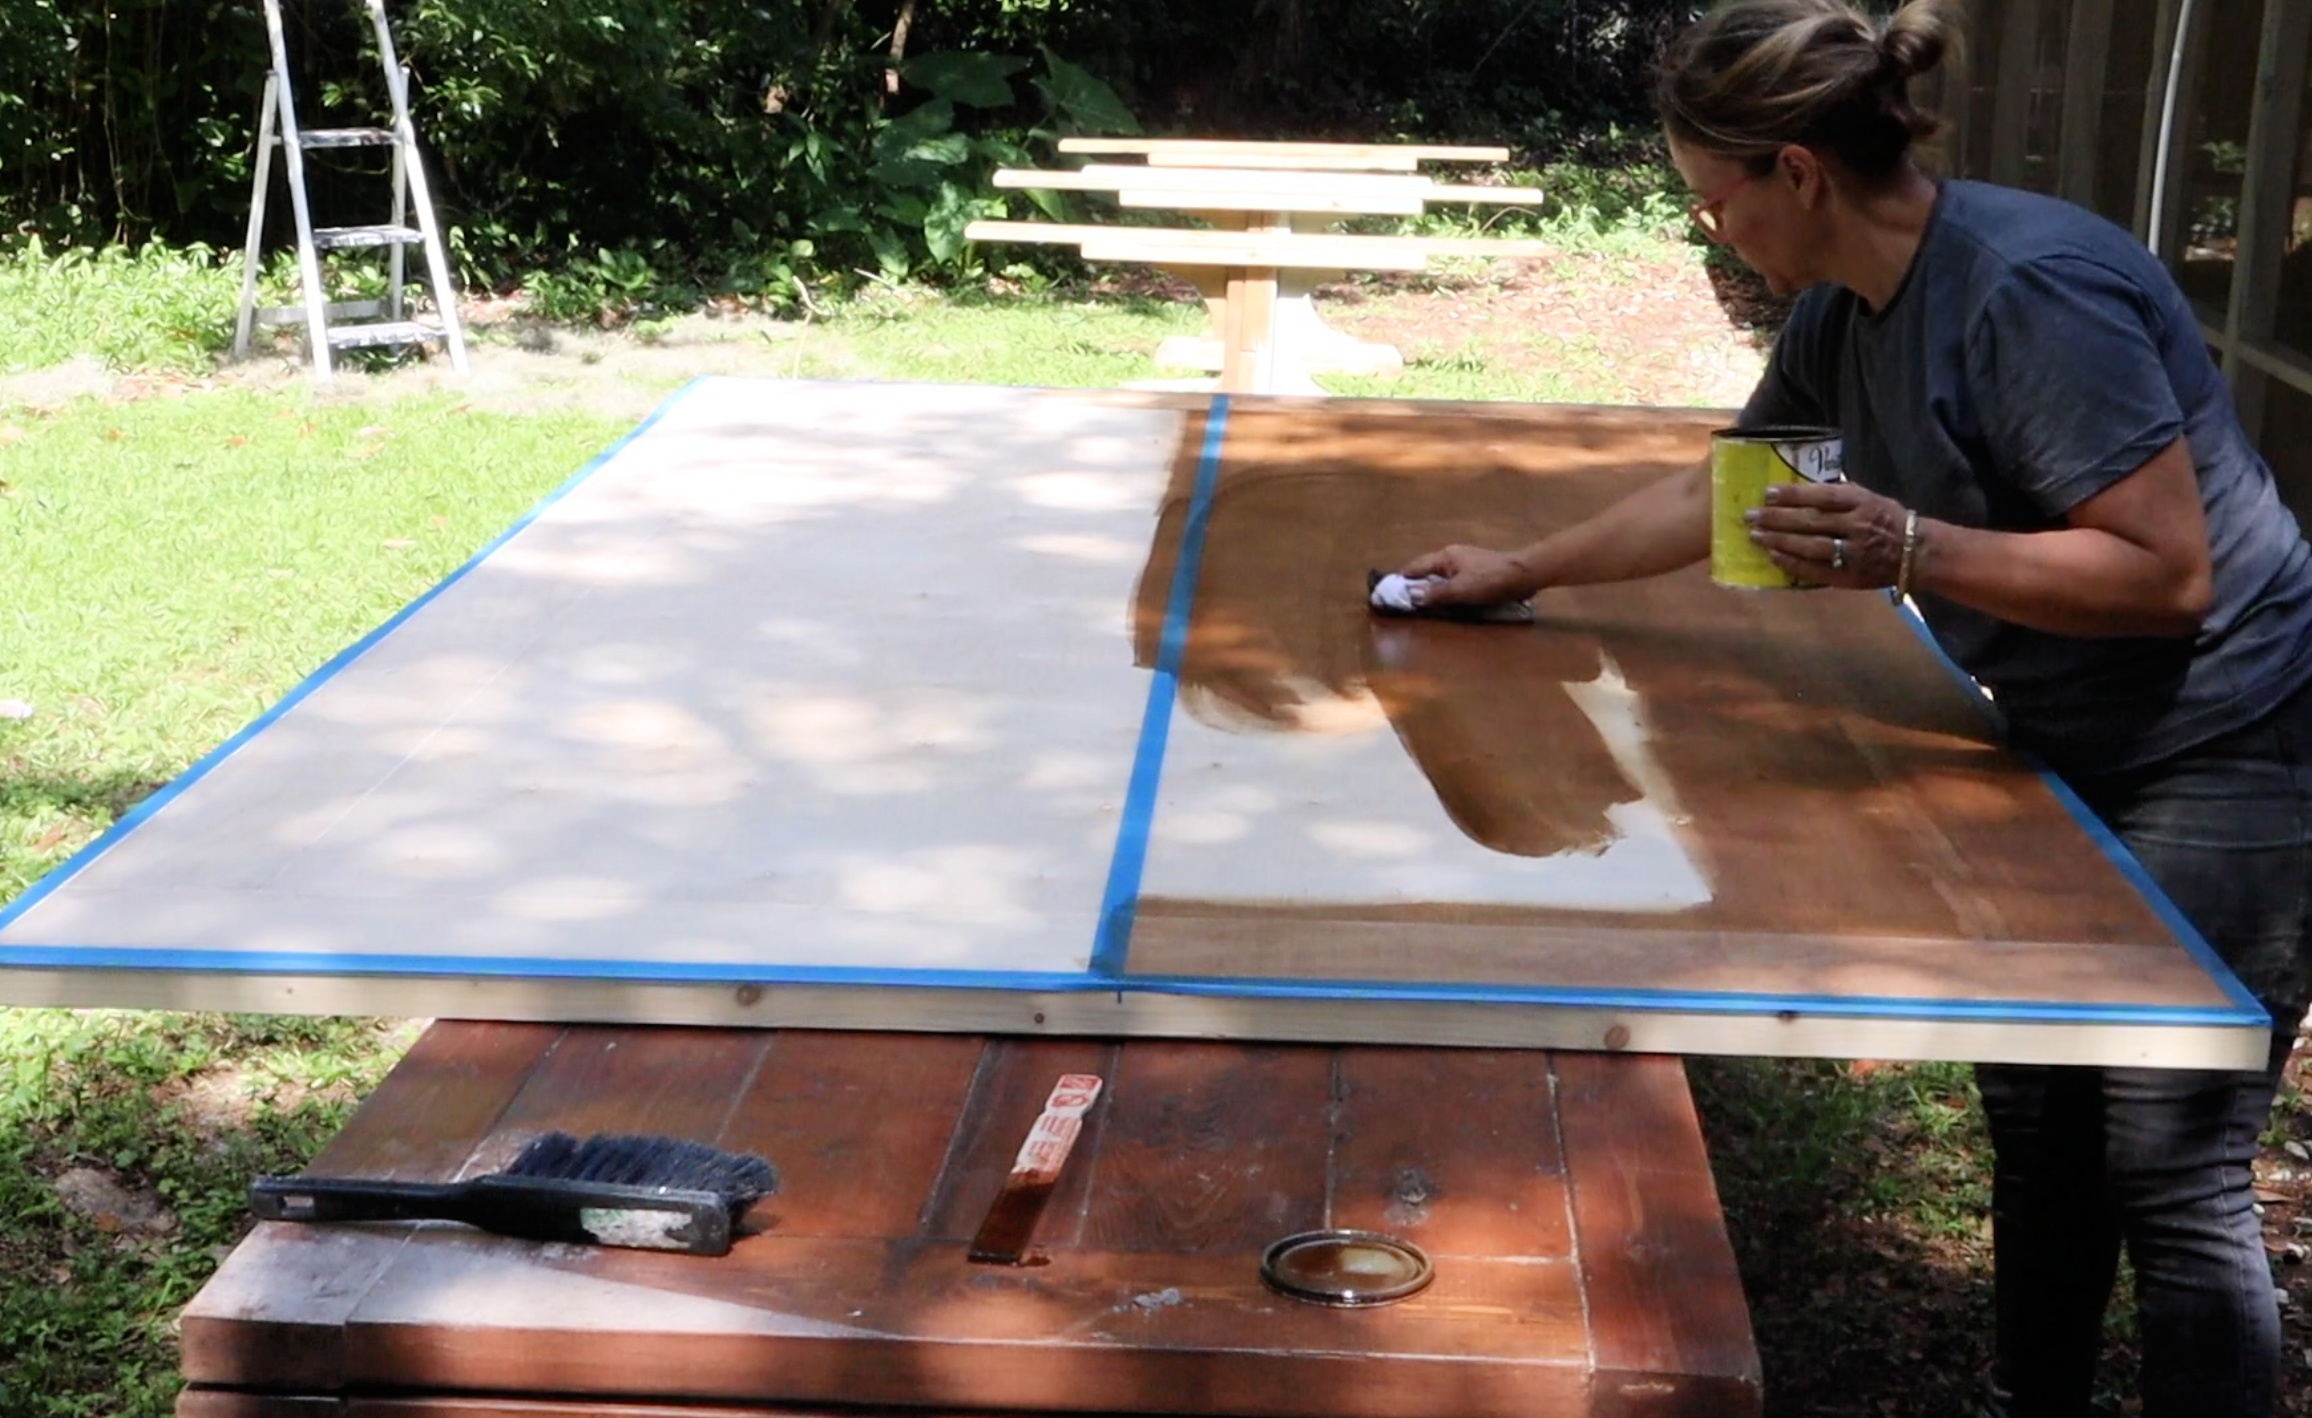 I applied two coats of stain to the tabletop using a soft cloth. Easy, Easy.
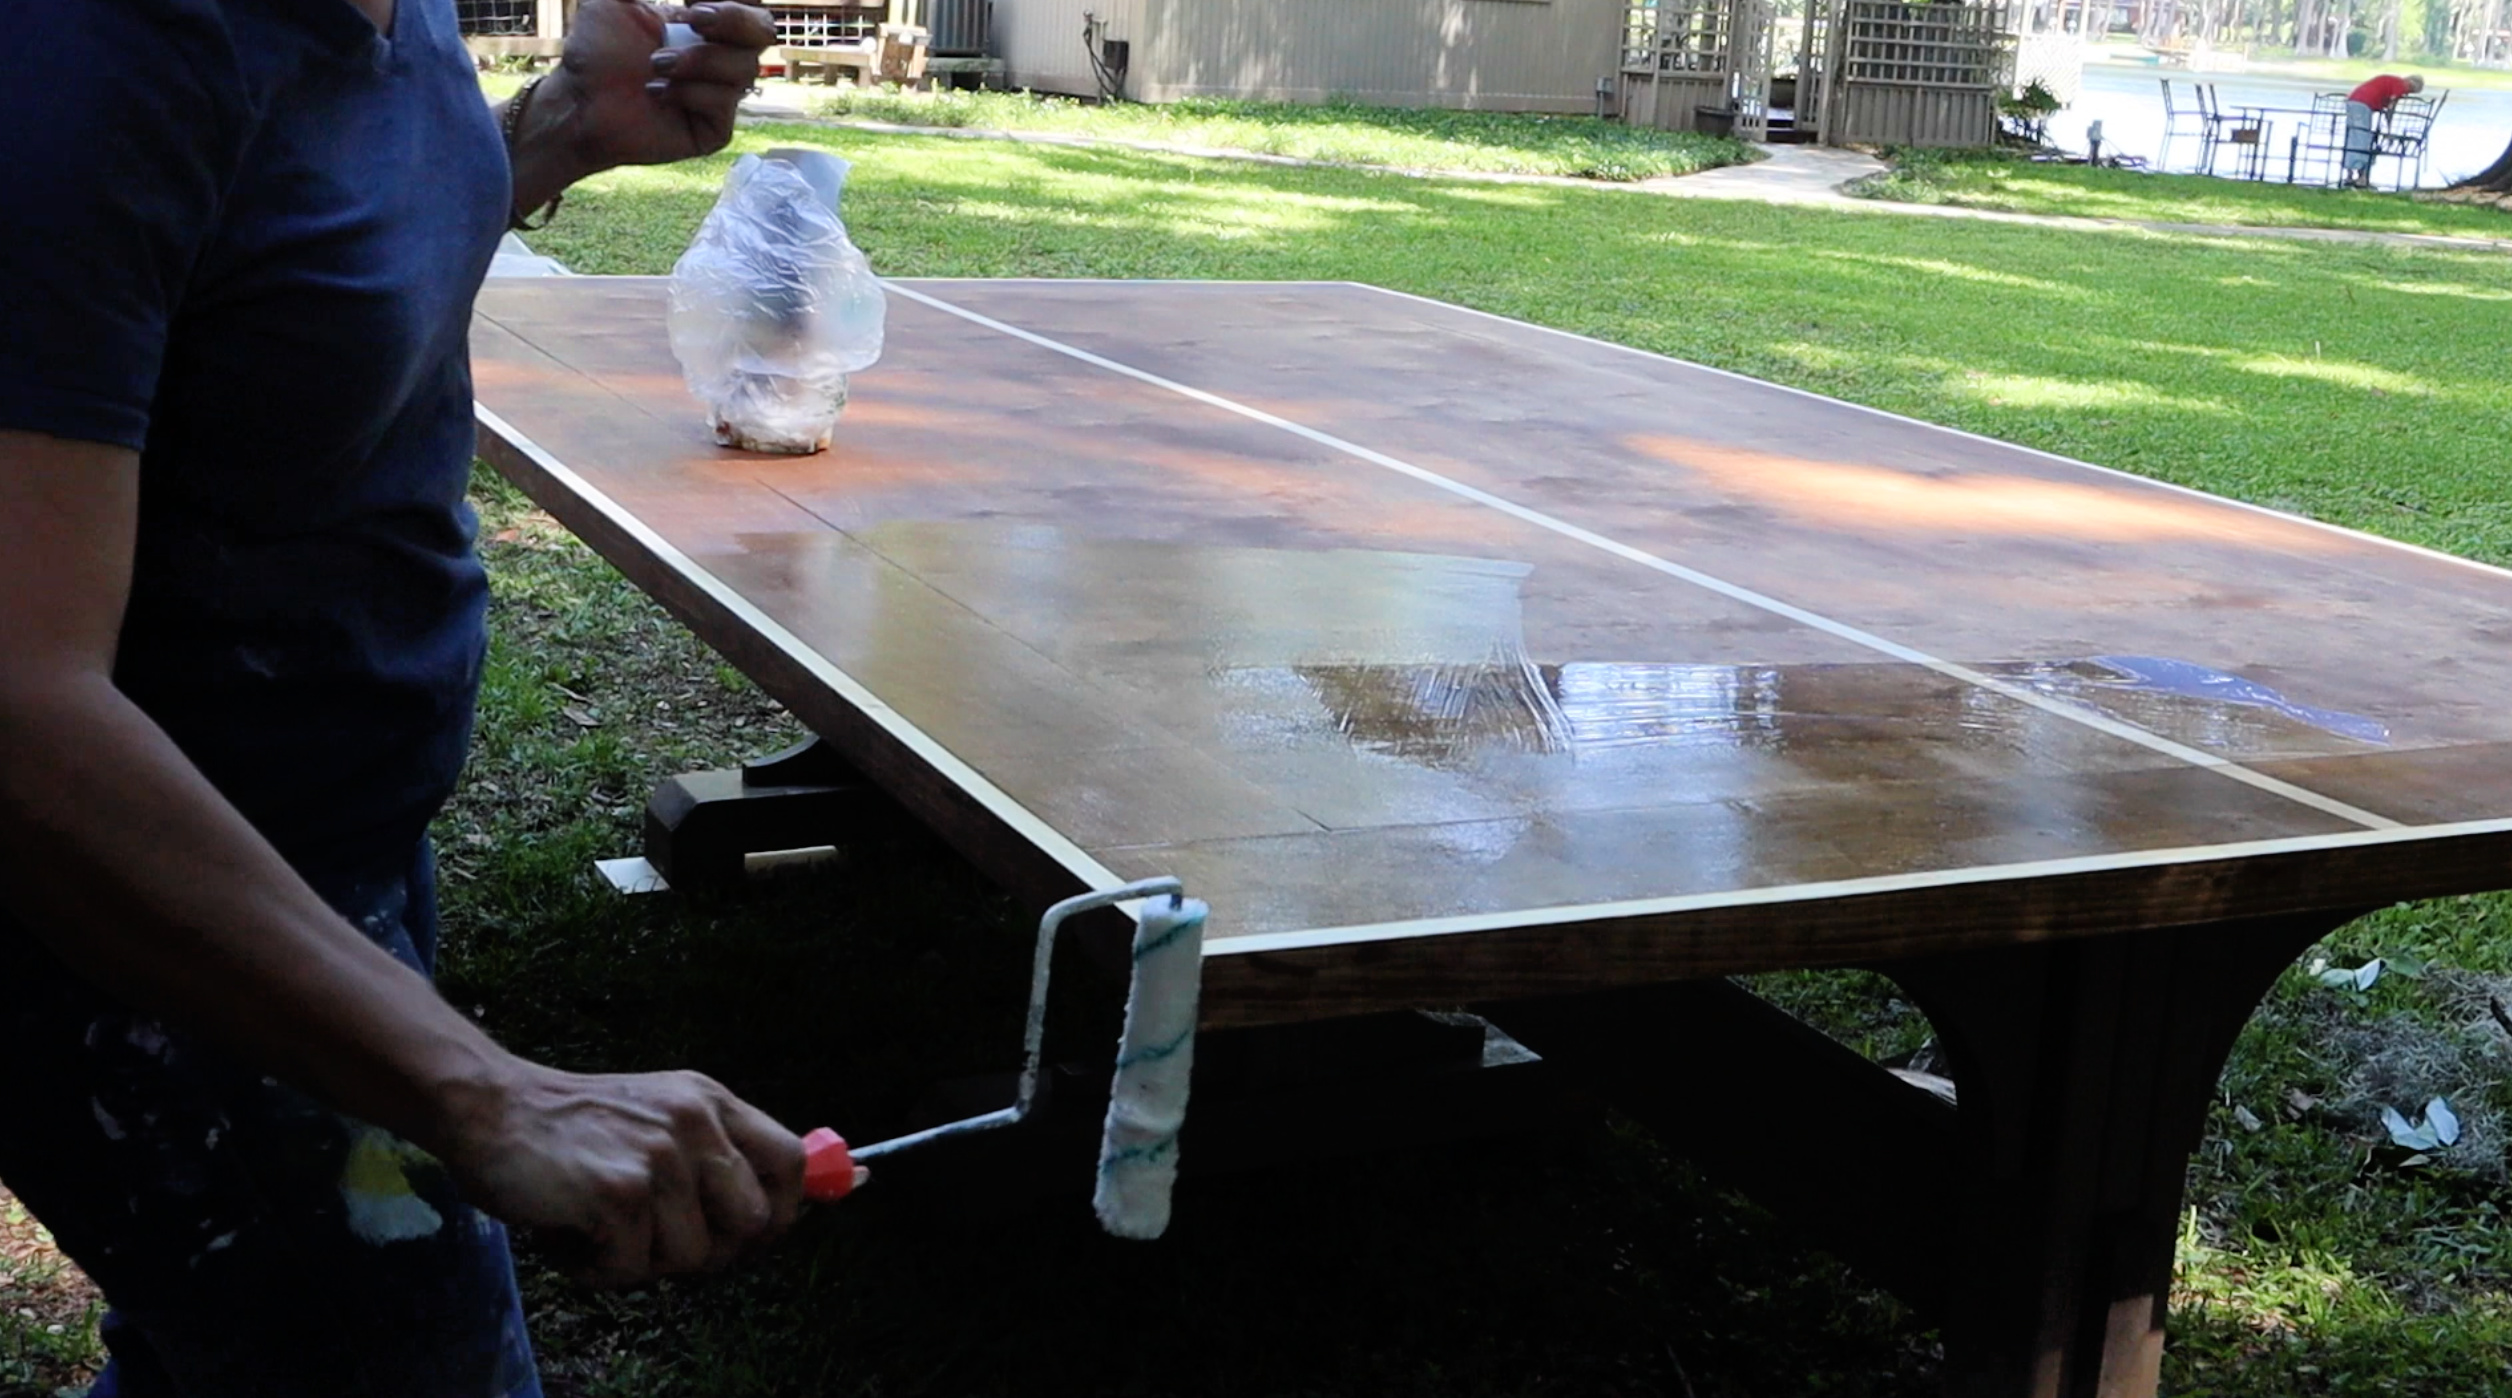 And Finally…I used @totalboat brand water-based varnish to seal the tabletop. I applied 4 coats of the varnish. I think I will even apply a few more. The beauty of water-based varnish is that its quick drying and you can re-apply in an hour.
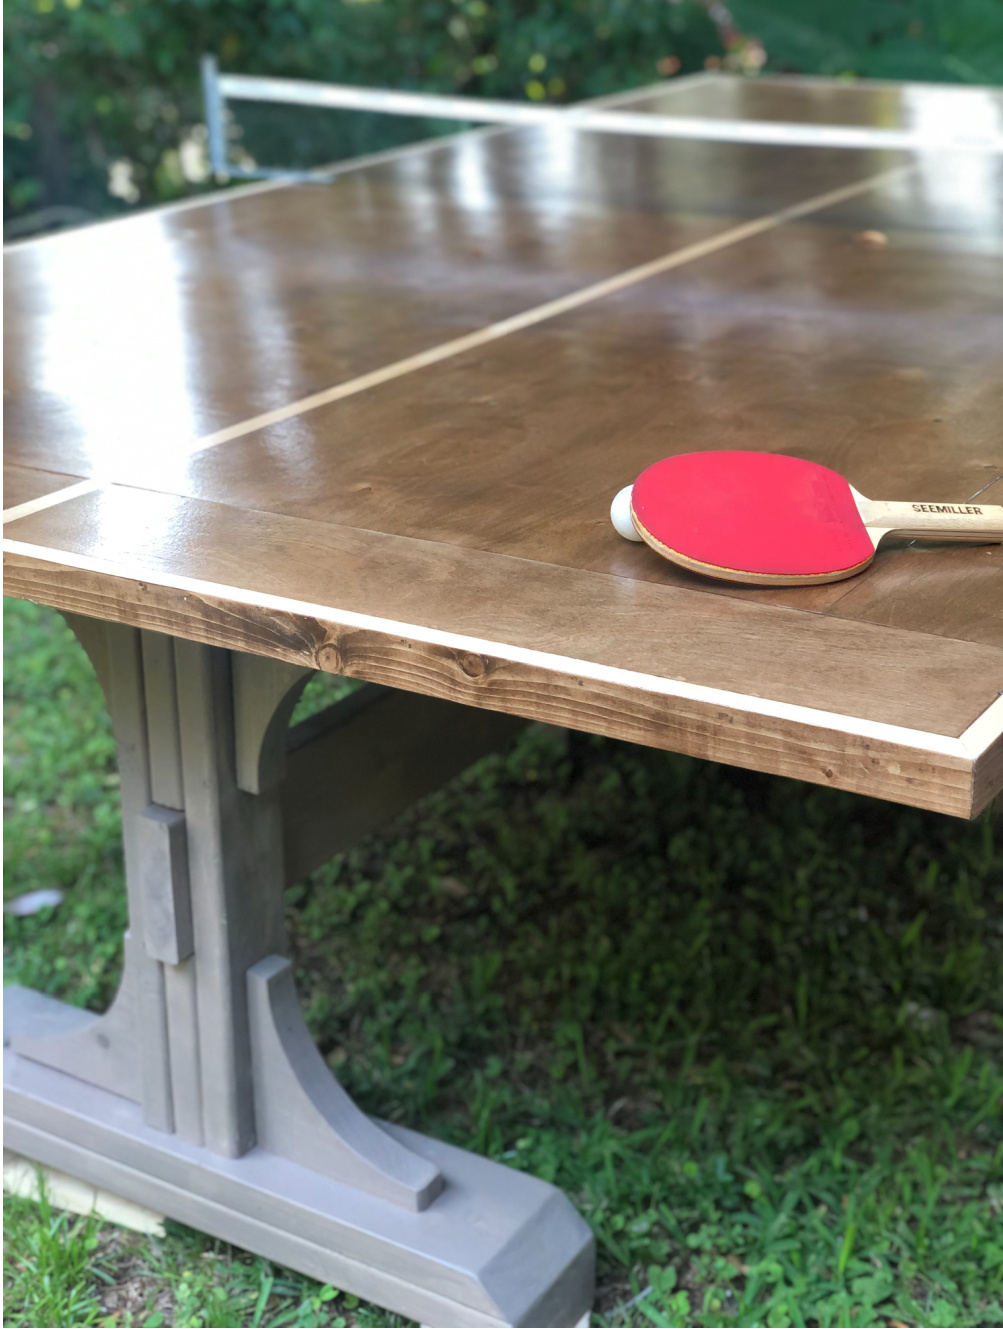 The @totalboat varnish has a velvety soft satin finish.
The base for this ping pong table I made years ago just before Thanksgiving. I made a blog post but didn’t include a step by step tutorial because I literally finished the table only days before Thanksgiving. As a matter of fact, they were never really finished. I ran out of wood stain so they were only half stained all this time. Anyhow…the link to the Anna White plans for the table base are <here>

