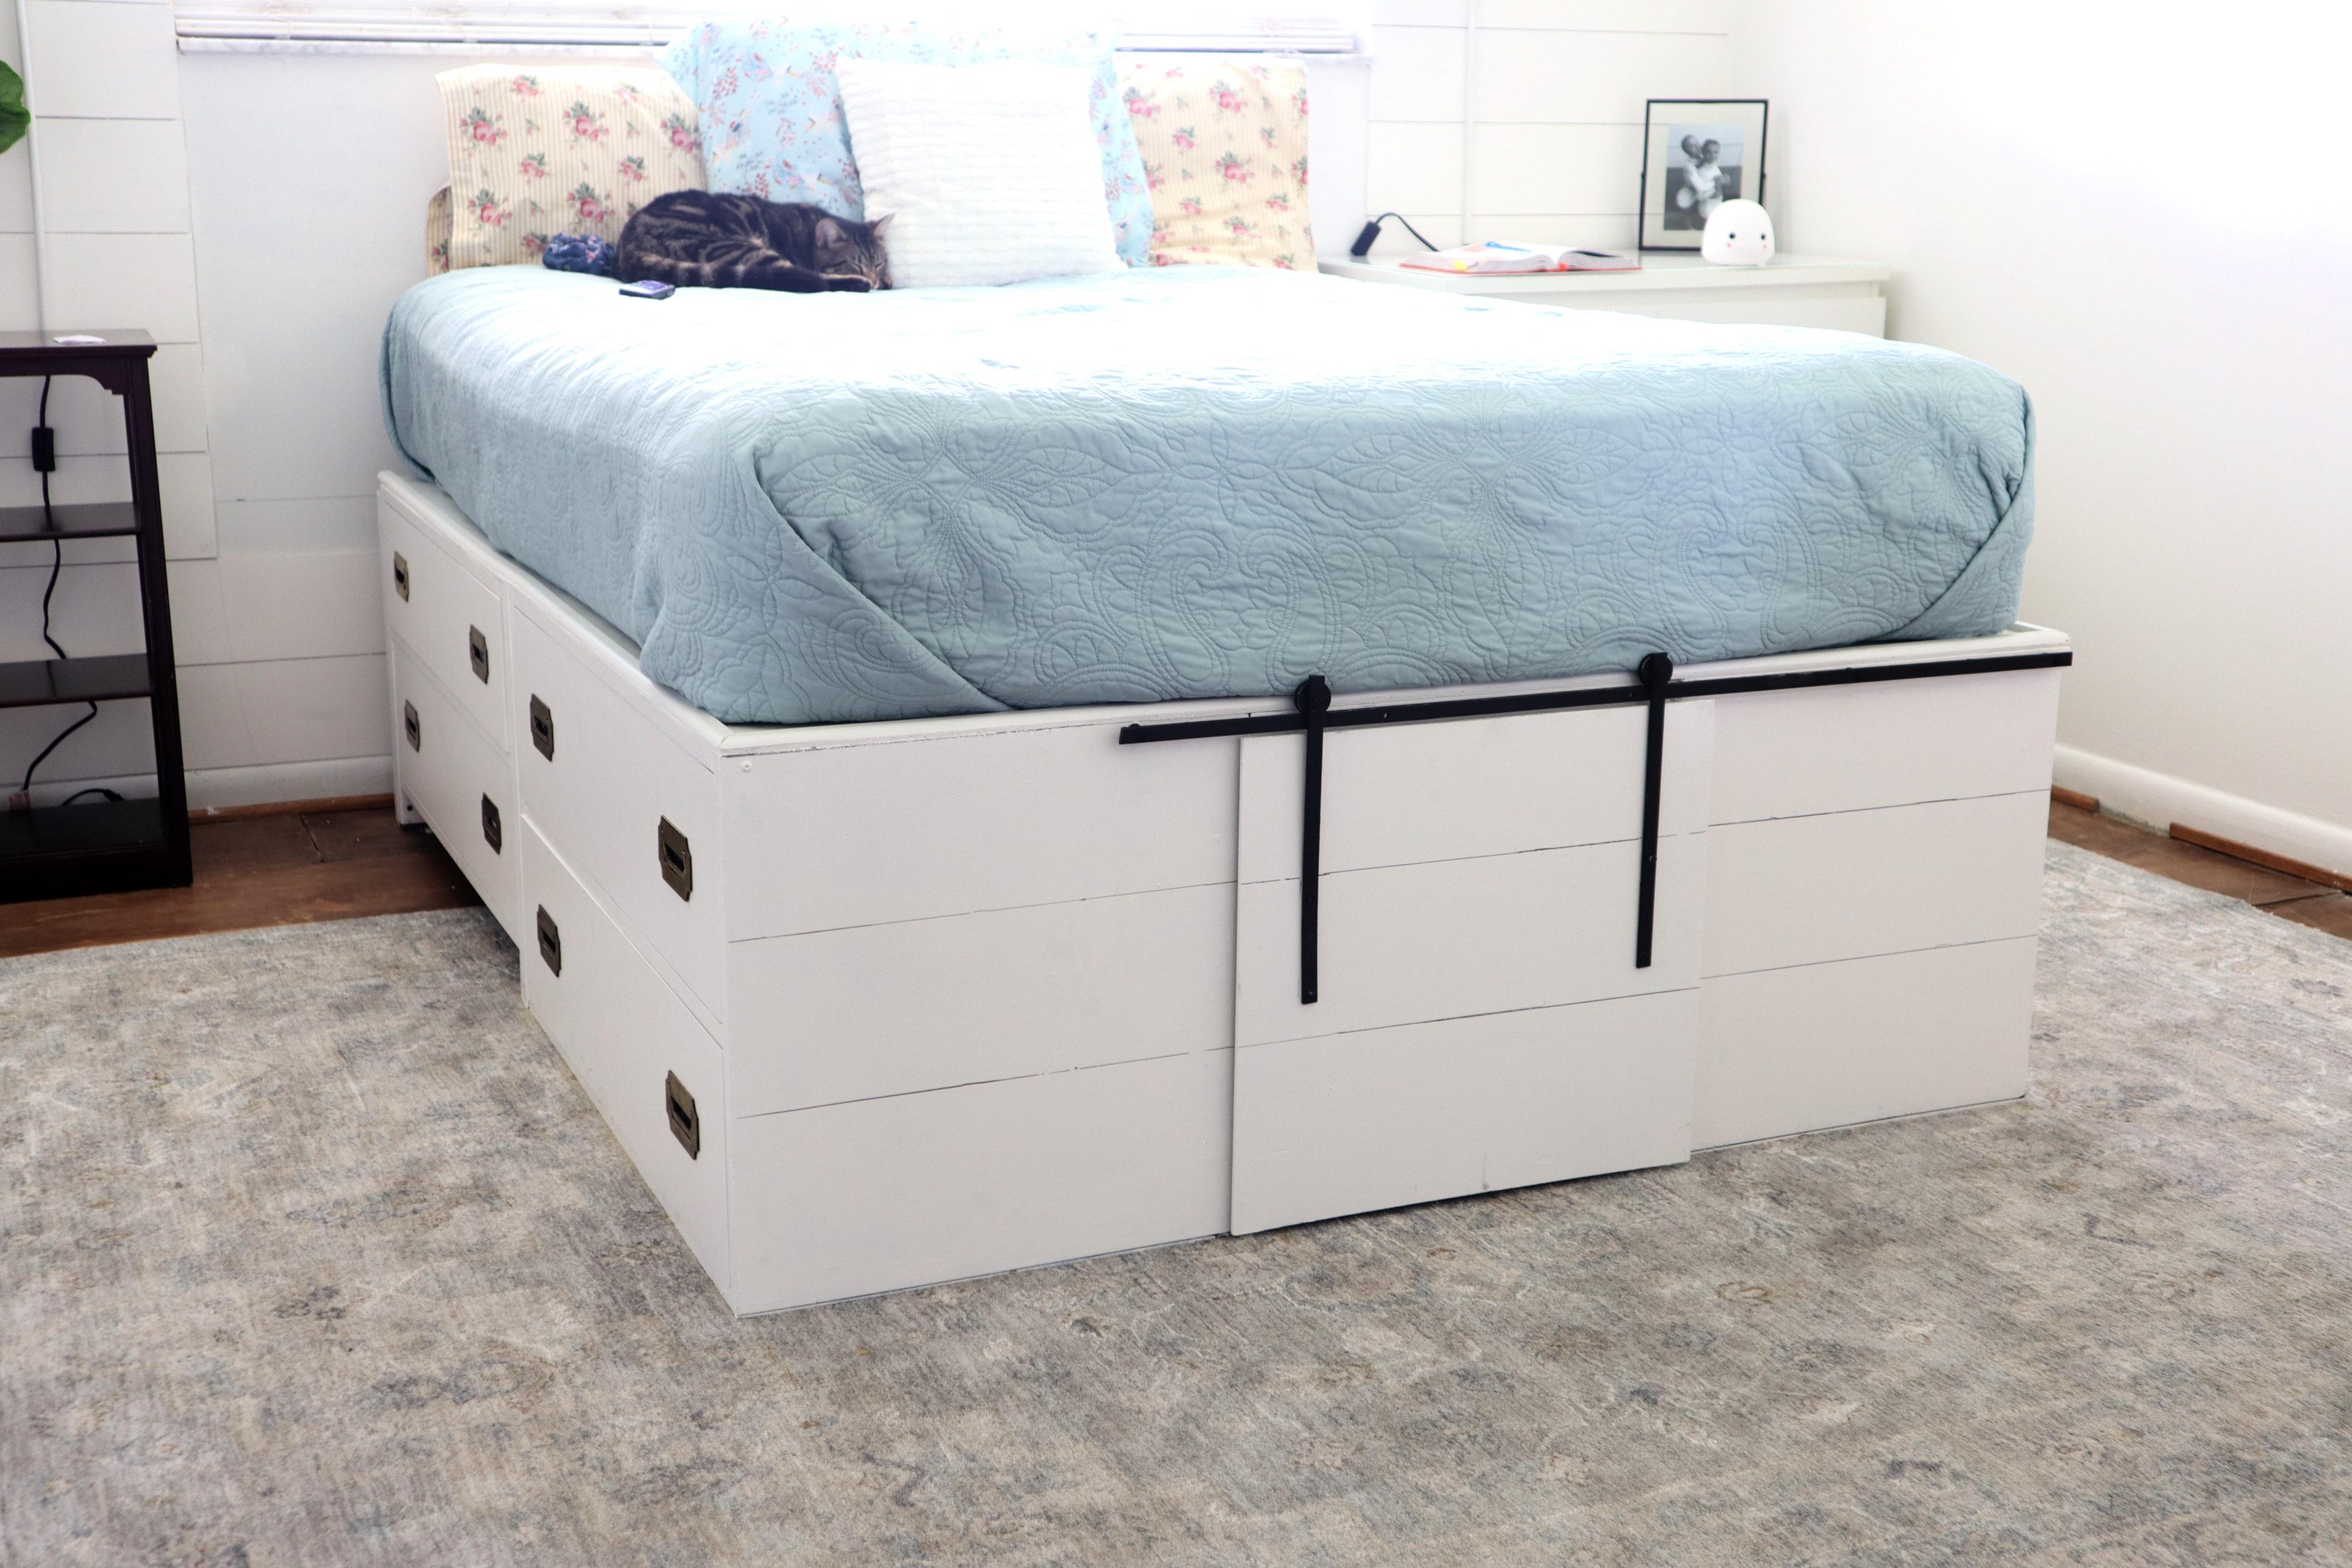
 This tiny barn door is the finishing touch to this DIY storage bed I made, using two dressers for my daughters new bedroom.
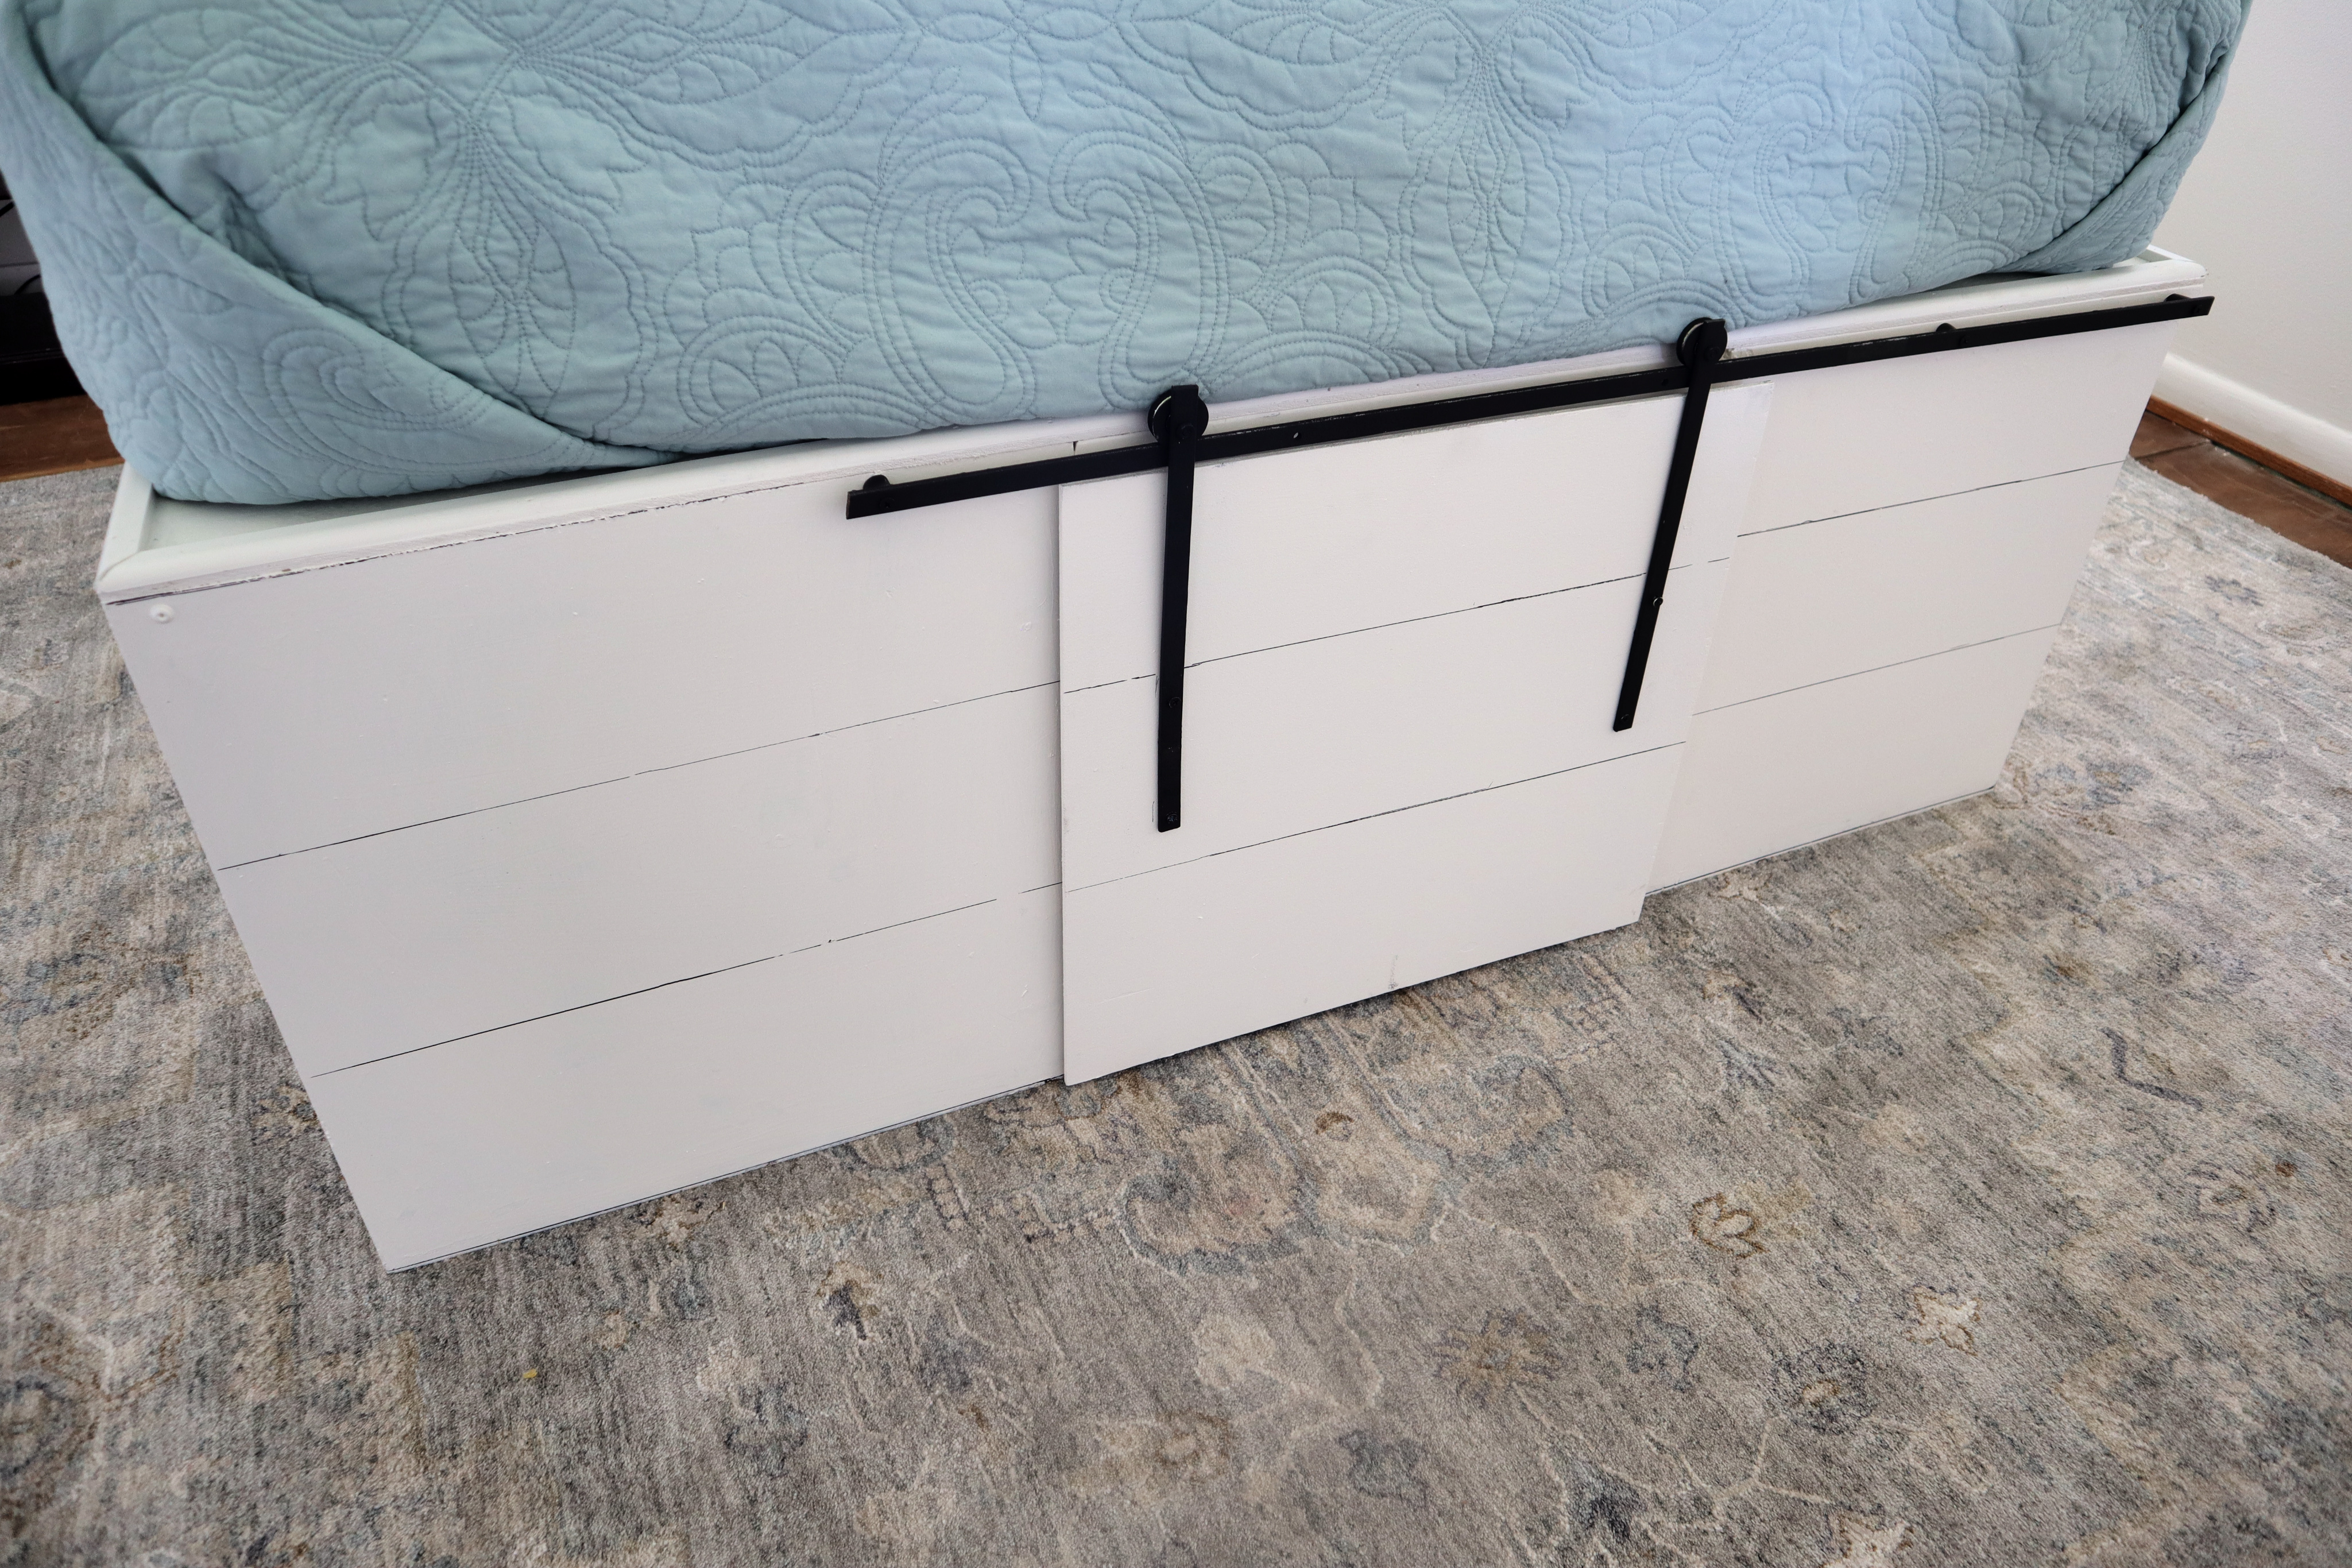 When we were building this storage bed she had the genius idea to cover the opening at the end of the bed with a barn door. Fortunately we had the flat bar on hand, which made this project super cheap.
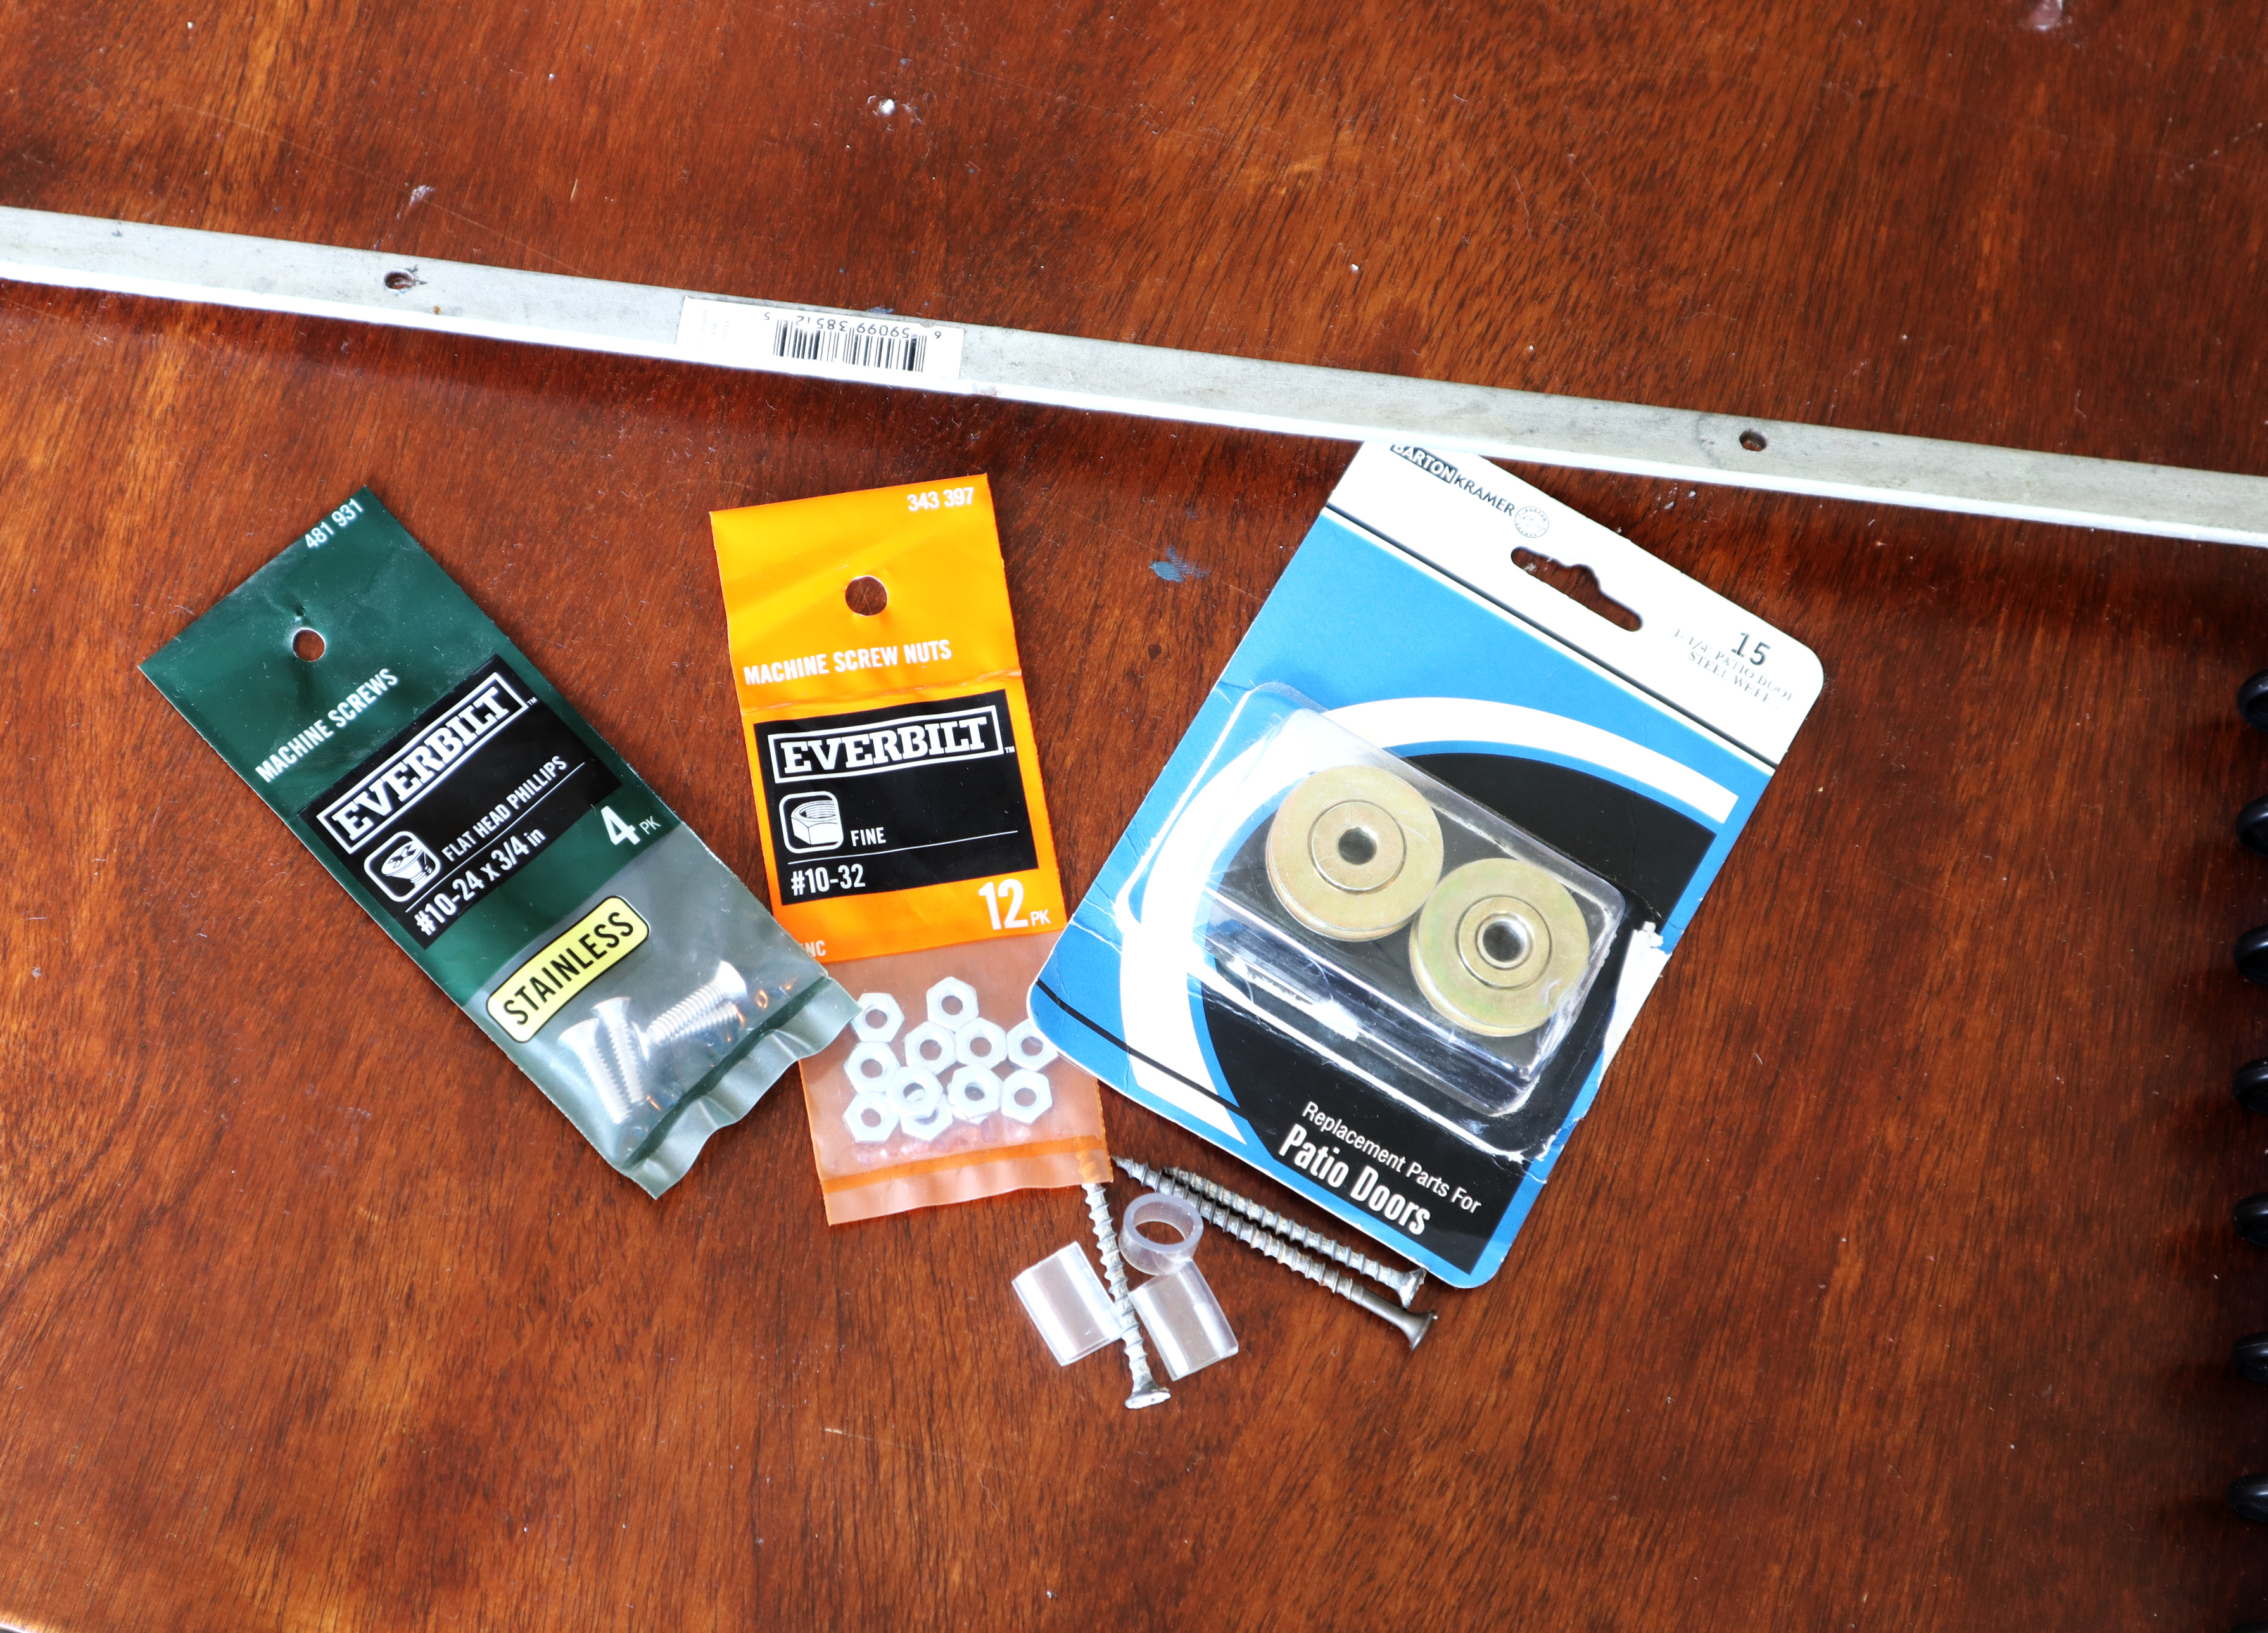 These are the items needed for this tiny barn door:
- Flat bar
- machine screws
- machine nuts
- replacement patio door wheels
- some sort of tube…I used flexible plastic hose since I had it already.
- 2″ wood screws
- door…I used thin plywood I already had from the bed build but you could use any door.
Home Depot sells everything you need. The flat bars come in all different lengths, sizes and metals. I used what I had, which fortuitously was the perfect size and length. You’ll need one long bar for the support over the opening to hold the door, and two short pieces to attach the door to the wheels for hanging the door.
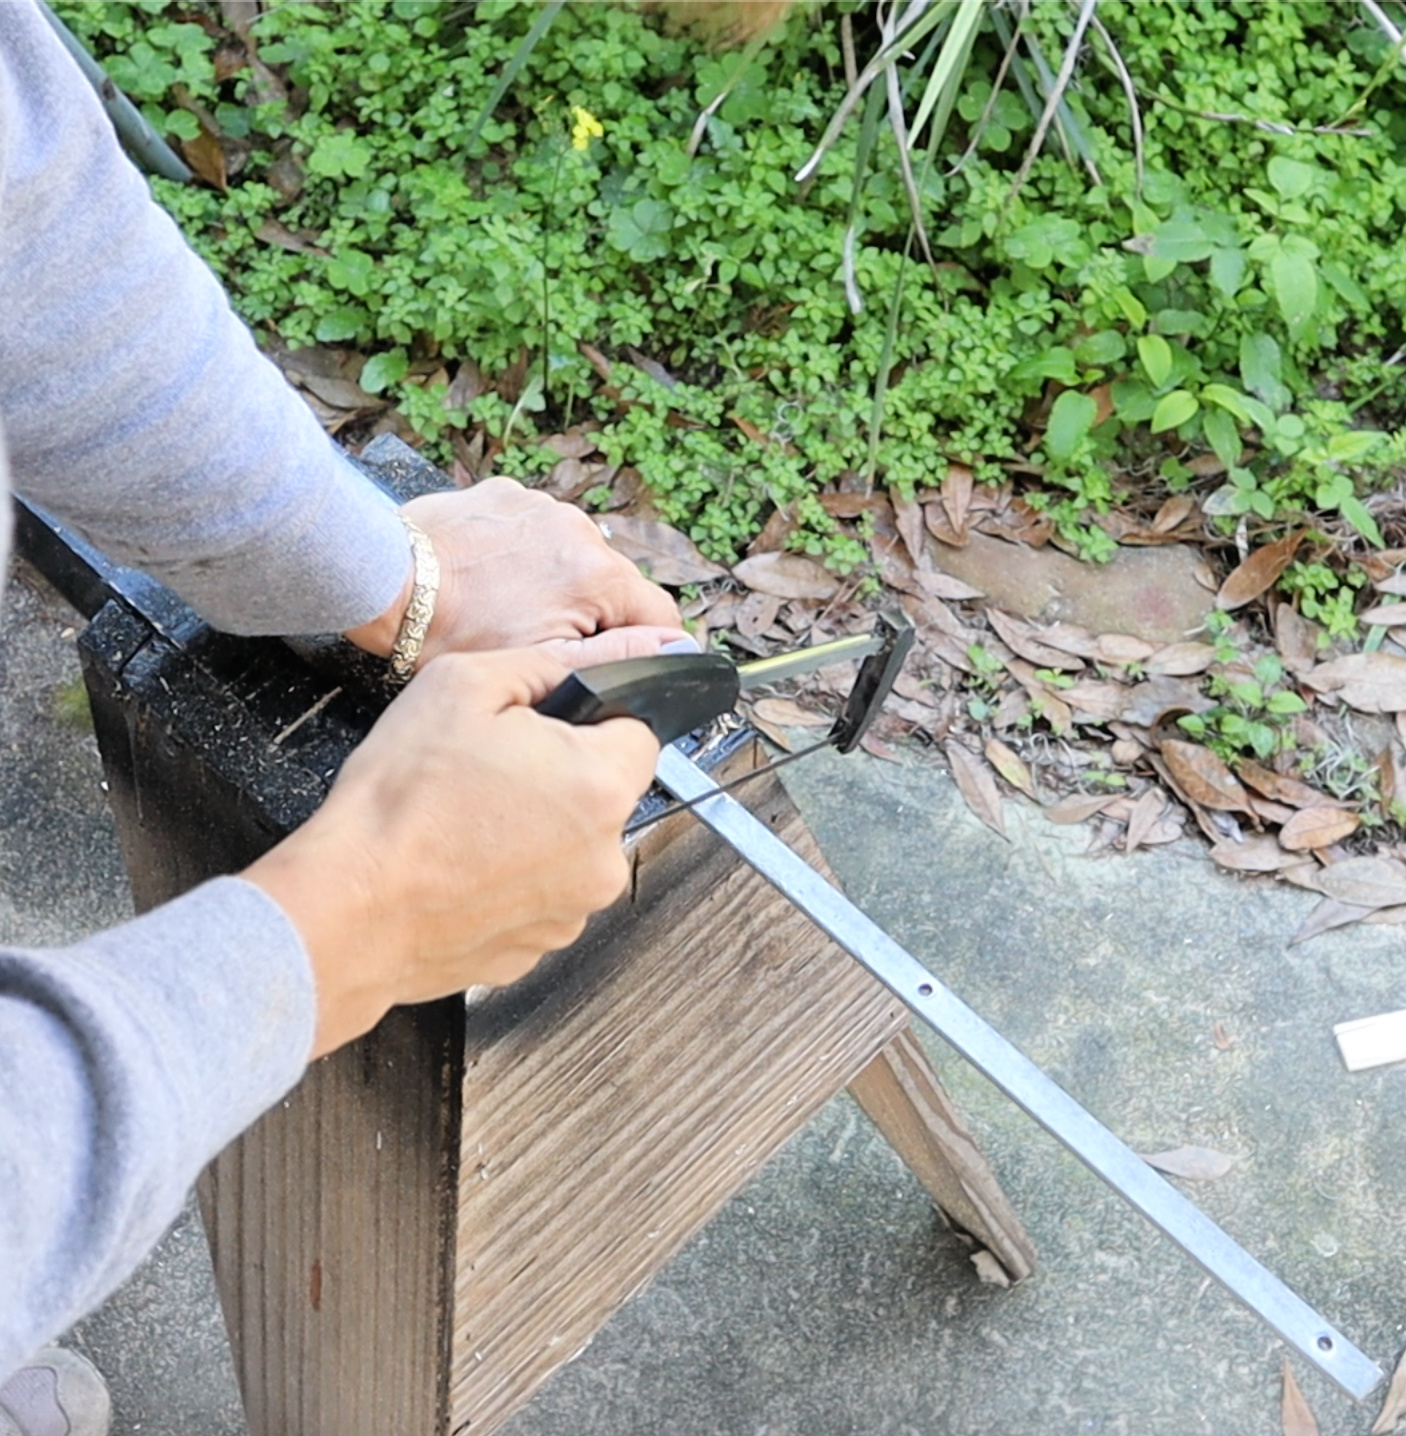 I cut one of my flat bars about 11″ long for the door supports. My flat bars already had holes drilled because these were used previously in another capacity(deets in the video). But you’ll need to drill one hole for the wheel and two holes for holding the door.
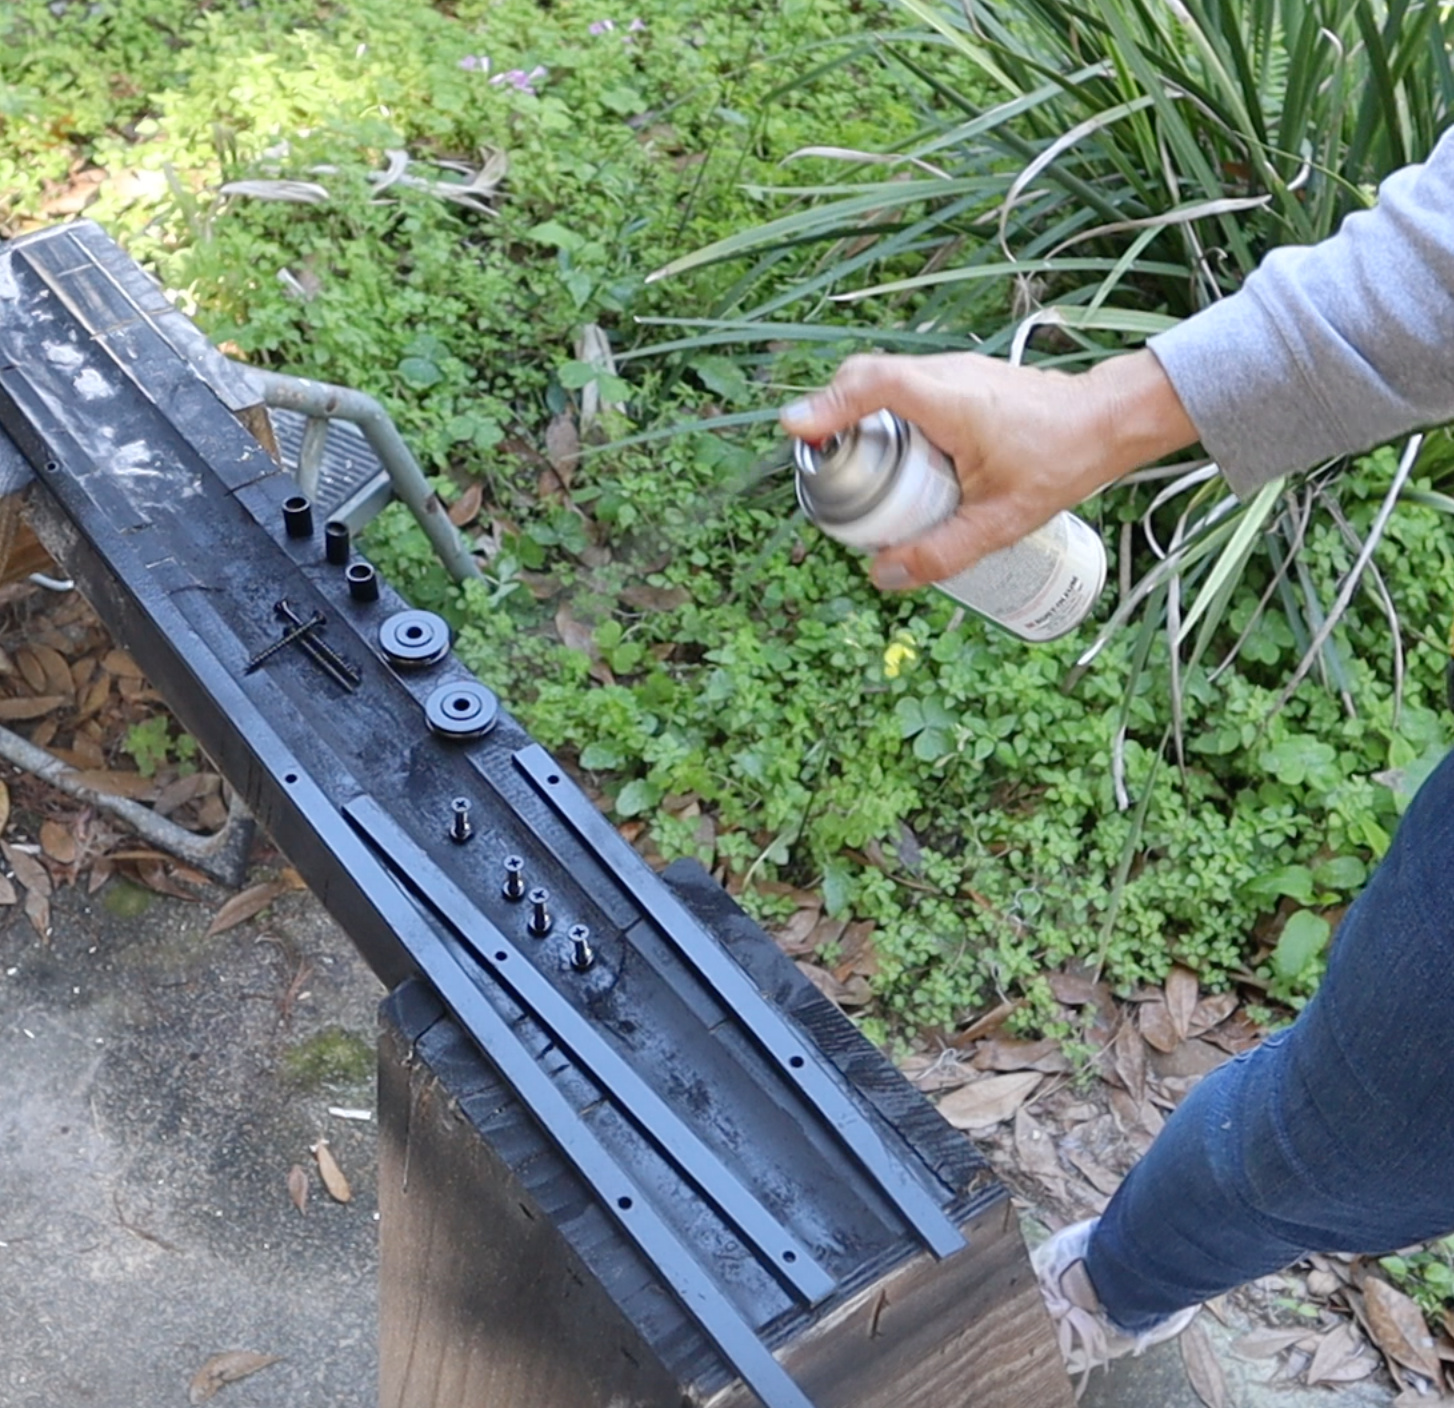 I painted all the pieces and parts black.
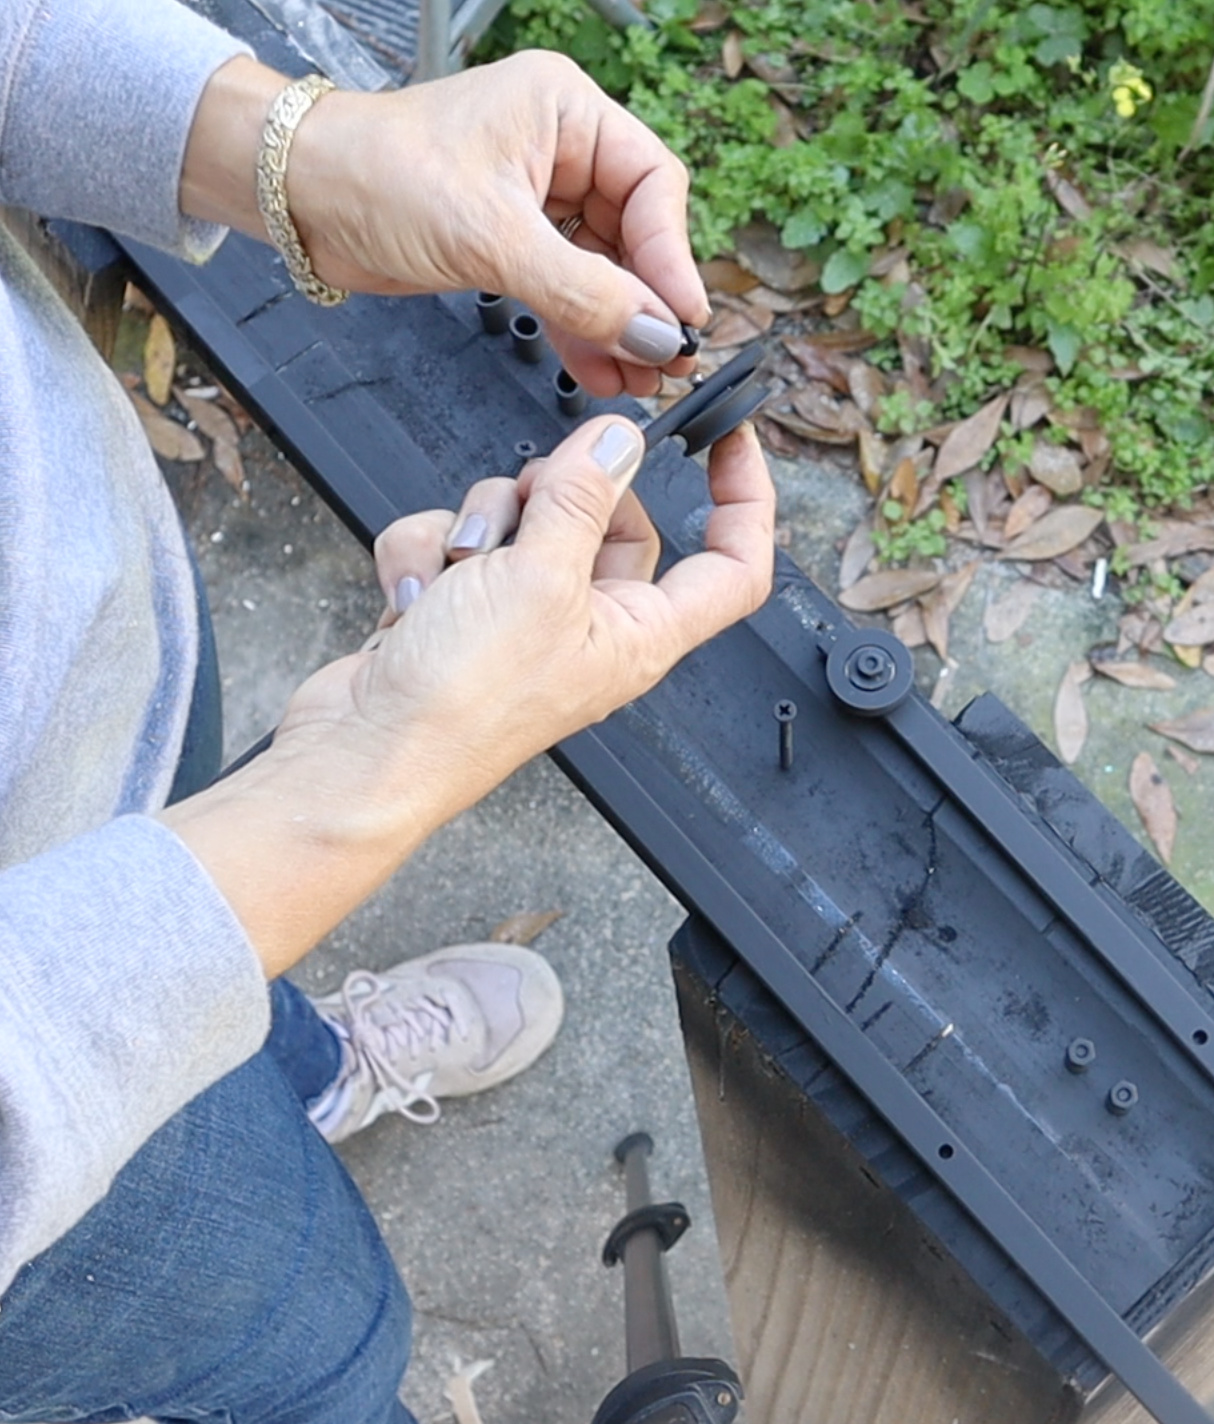 Now assemble the pieces by fastening the wheel to the flat bar with a nut and bolt. The good thing about the patio door wheels is that they have a ball bearing part in the center so no matter how much you tighten down your nut, the wheel still turns smooth. No need for a washer.
 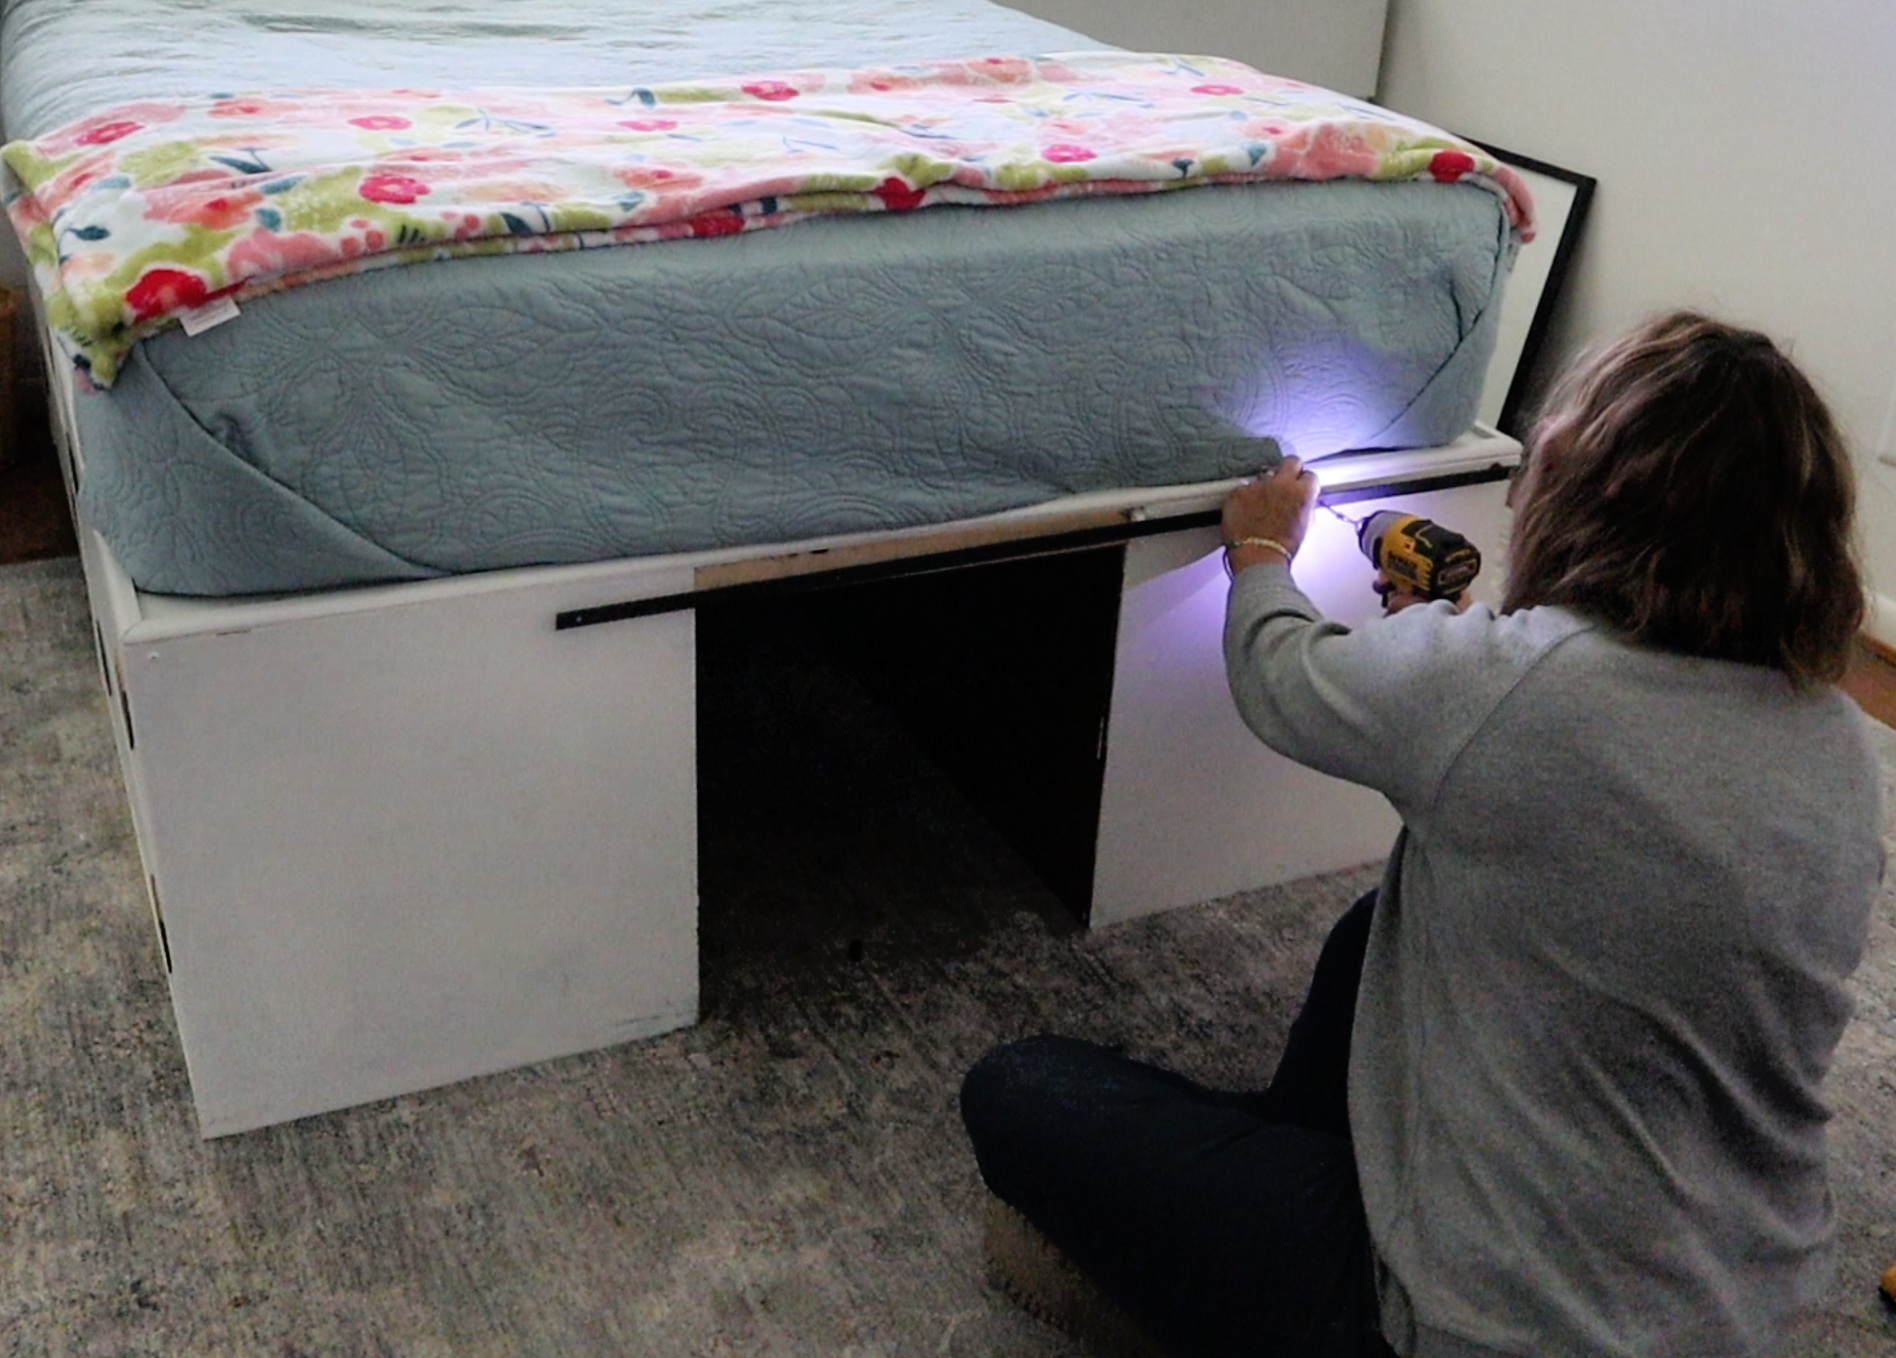 Then fasten the flat bar (track) to the piece(bed). It’s a good idea here to go ahead and mark your hole locations and pre-drill your holes. This way you can make sure it’s all level and if you’re working alone it’s manageable.
Then put your 2″ screw through the flat bar, through the spacer tubing and into the pre-drilled hole in the wood. The spacer tubing will hold the flat bar away from the wood so your wheel will turn freely and your door will clear the bed(or piece your working on).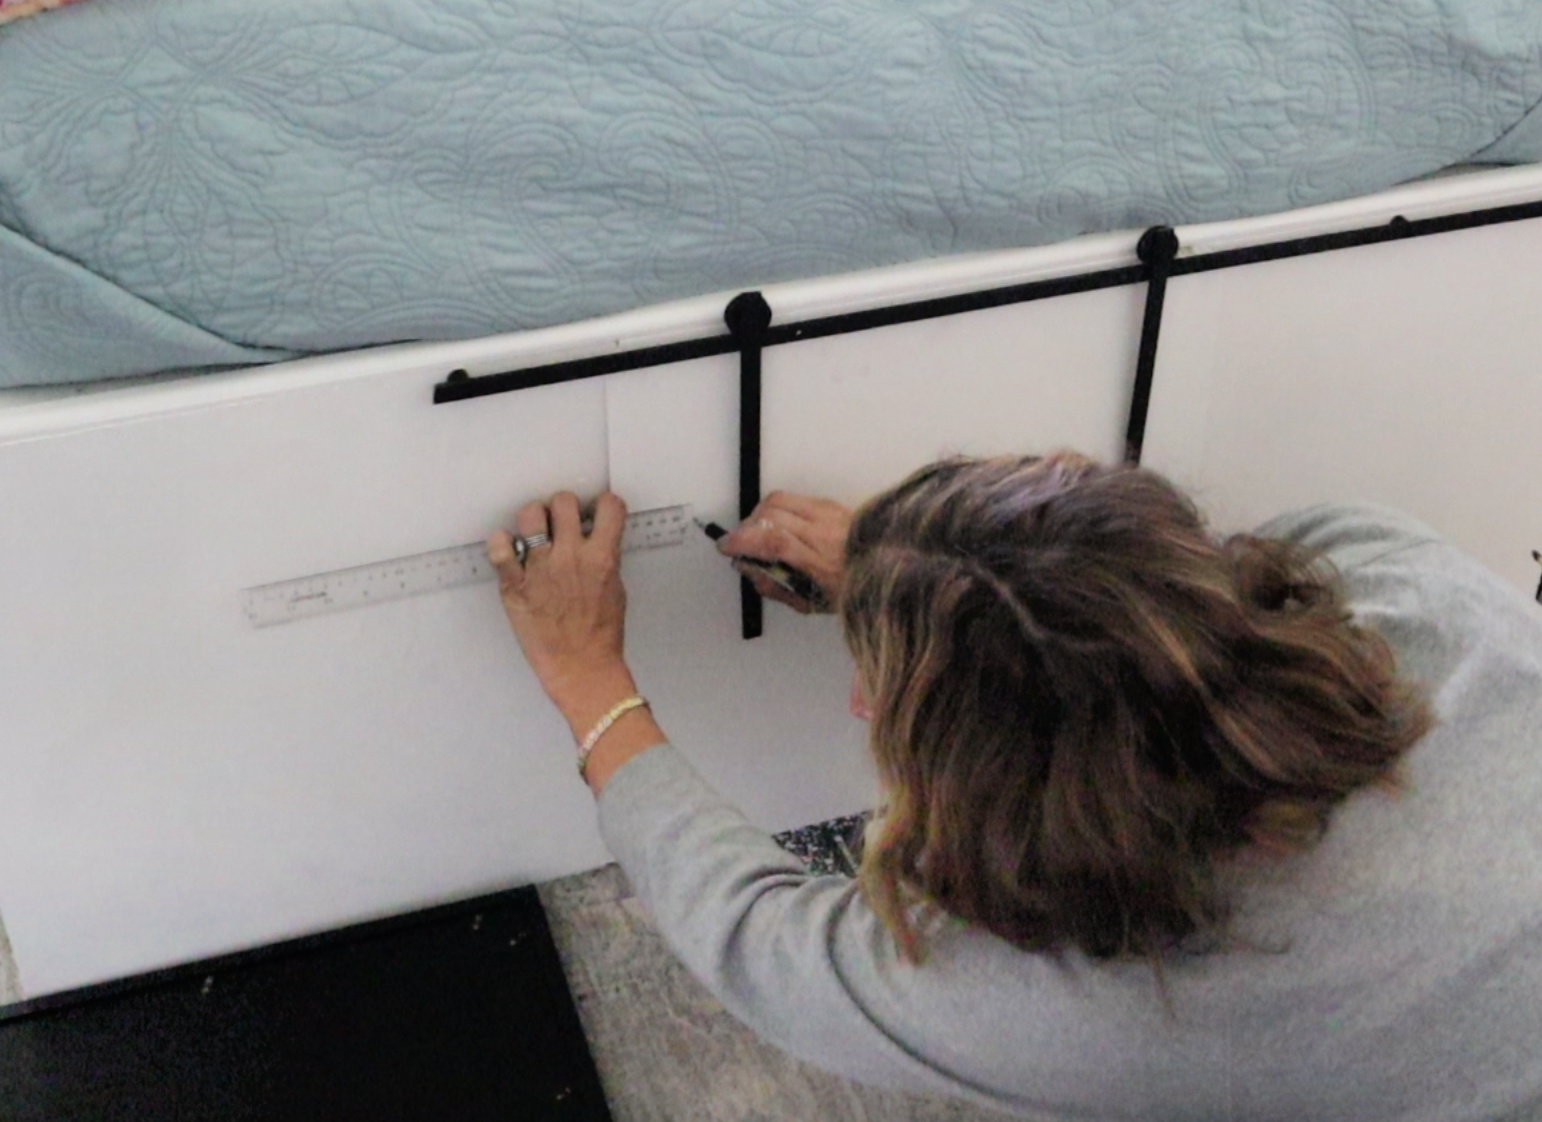 Set the door in place and mark where you want the vertical flat bar to be positioned on the door. I made mine two inches from each door edge.
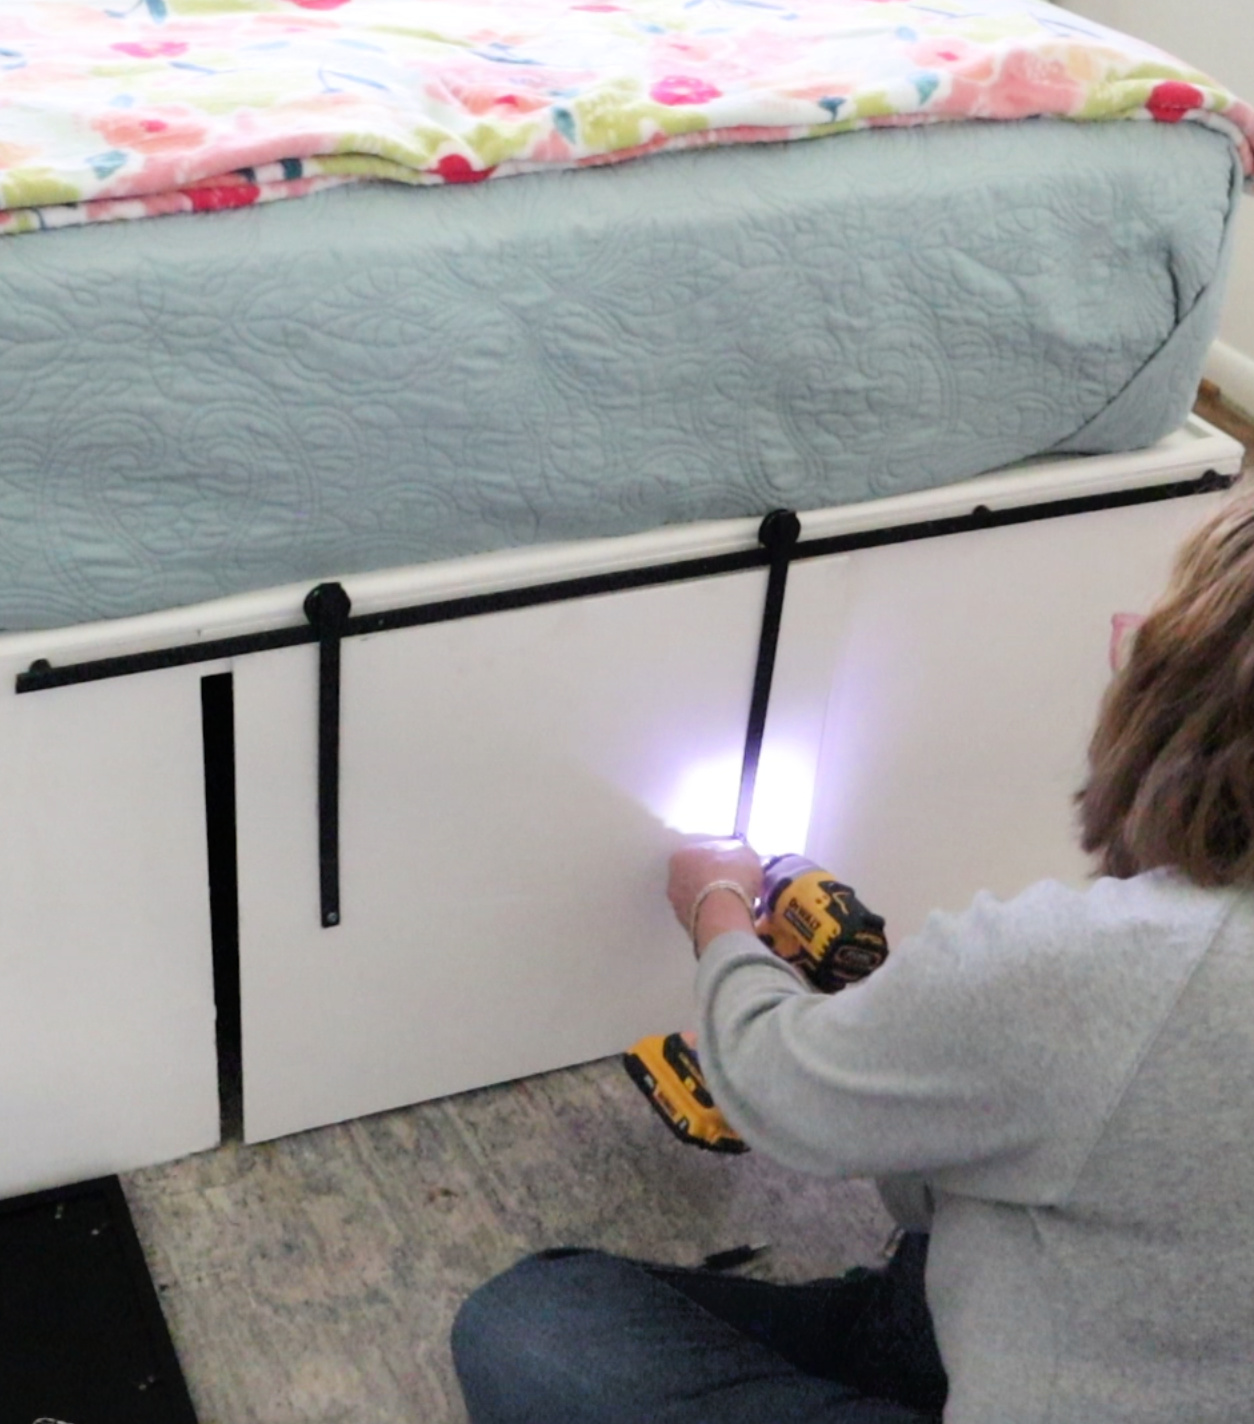 Fasten door to the flat bar. For this you’ll need very short screws. Be careful to not over tighten the screws as the shortness of the screws makes it easy to strip the hole. It would be a good idea to use a manual hand screw driver for this part. Ask me how I know this…
Another tip…take the door off and lay it on the ground for this part. Do as I say not as I do…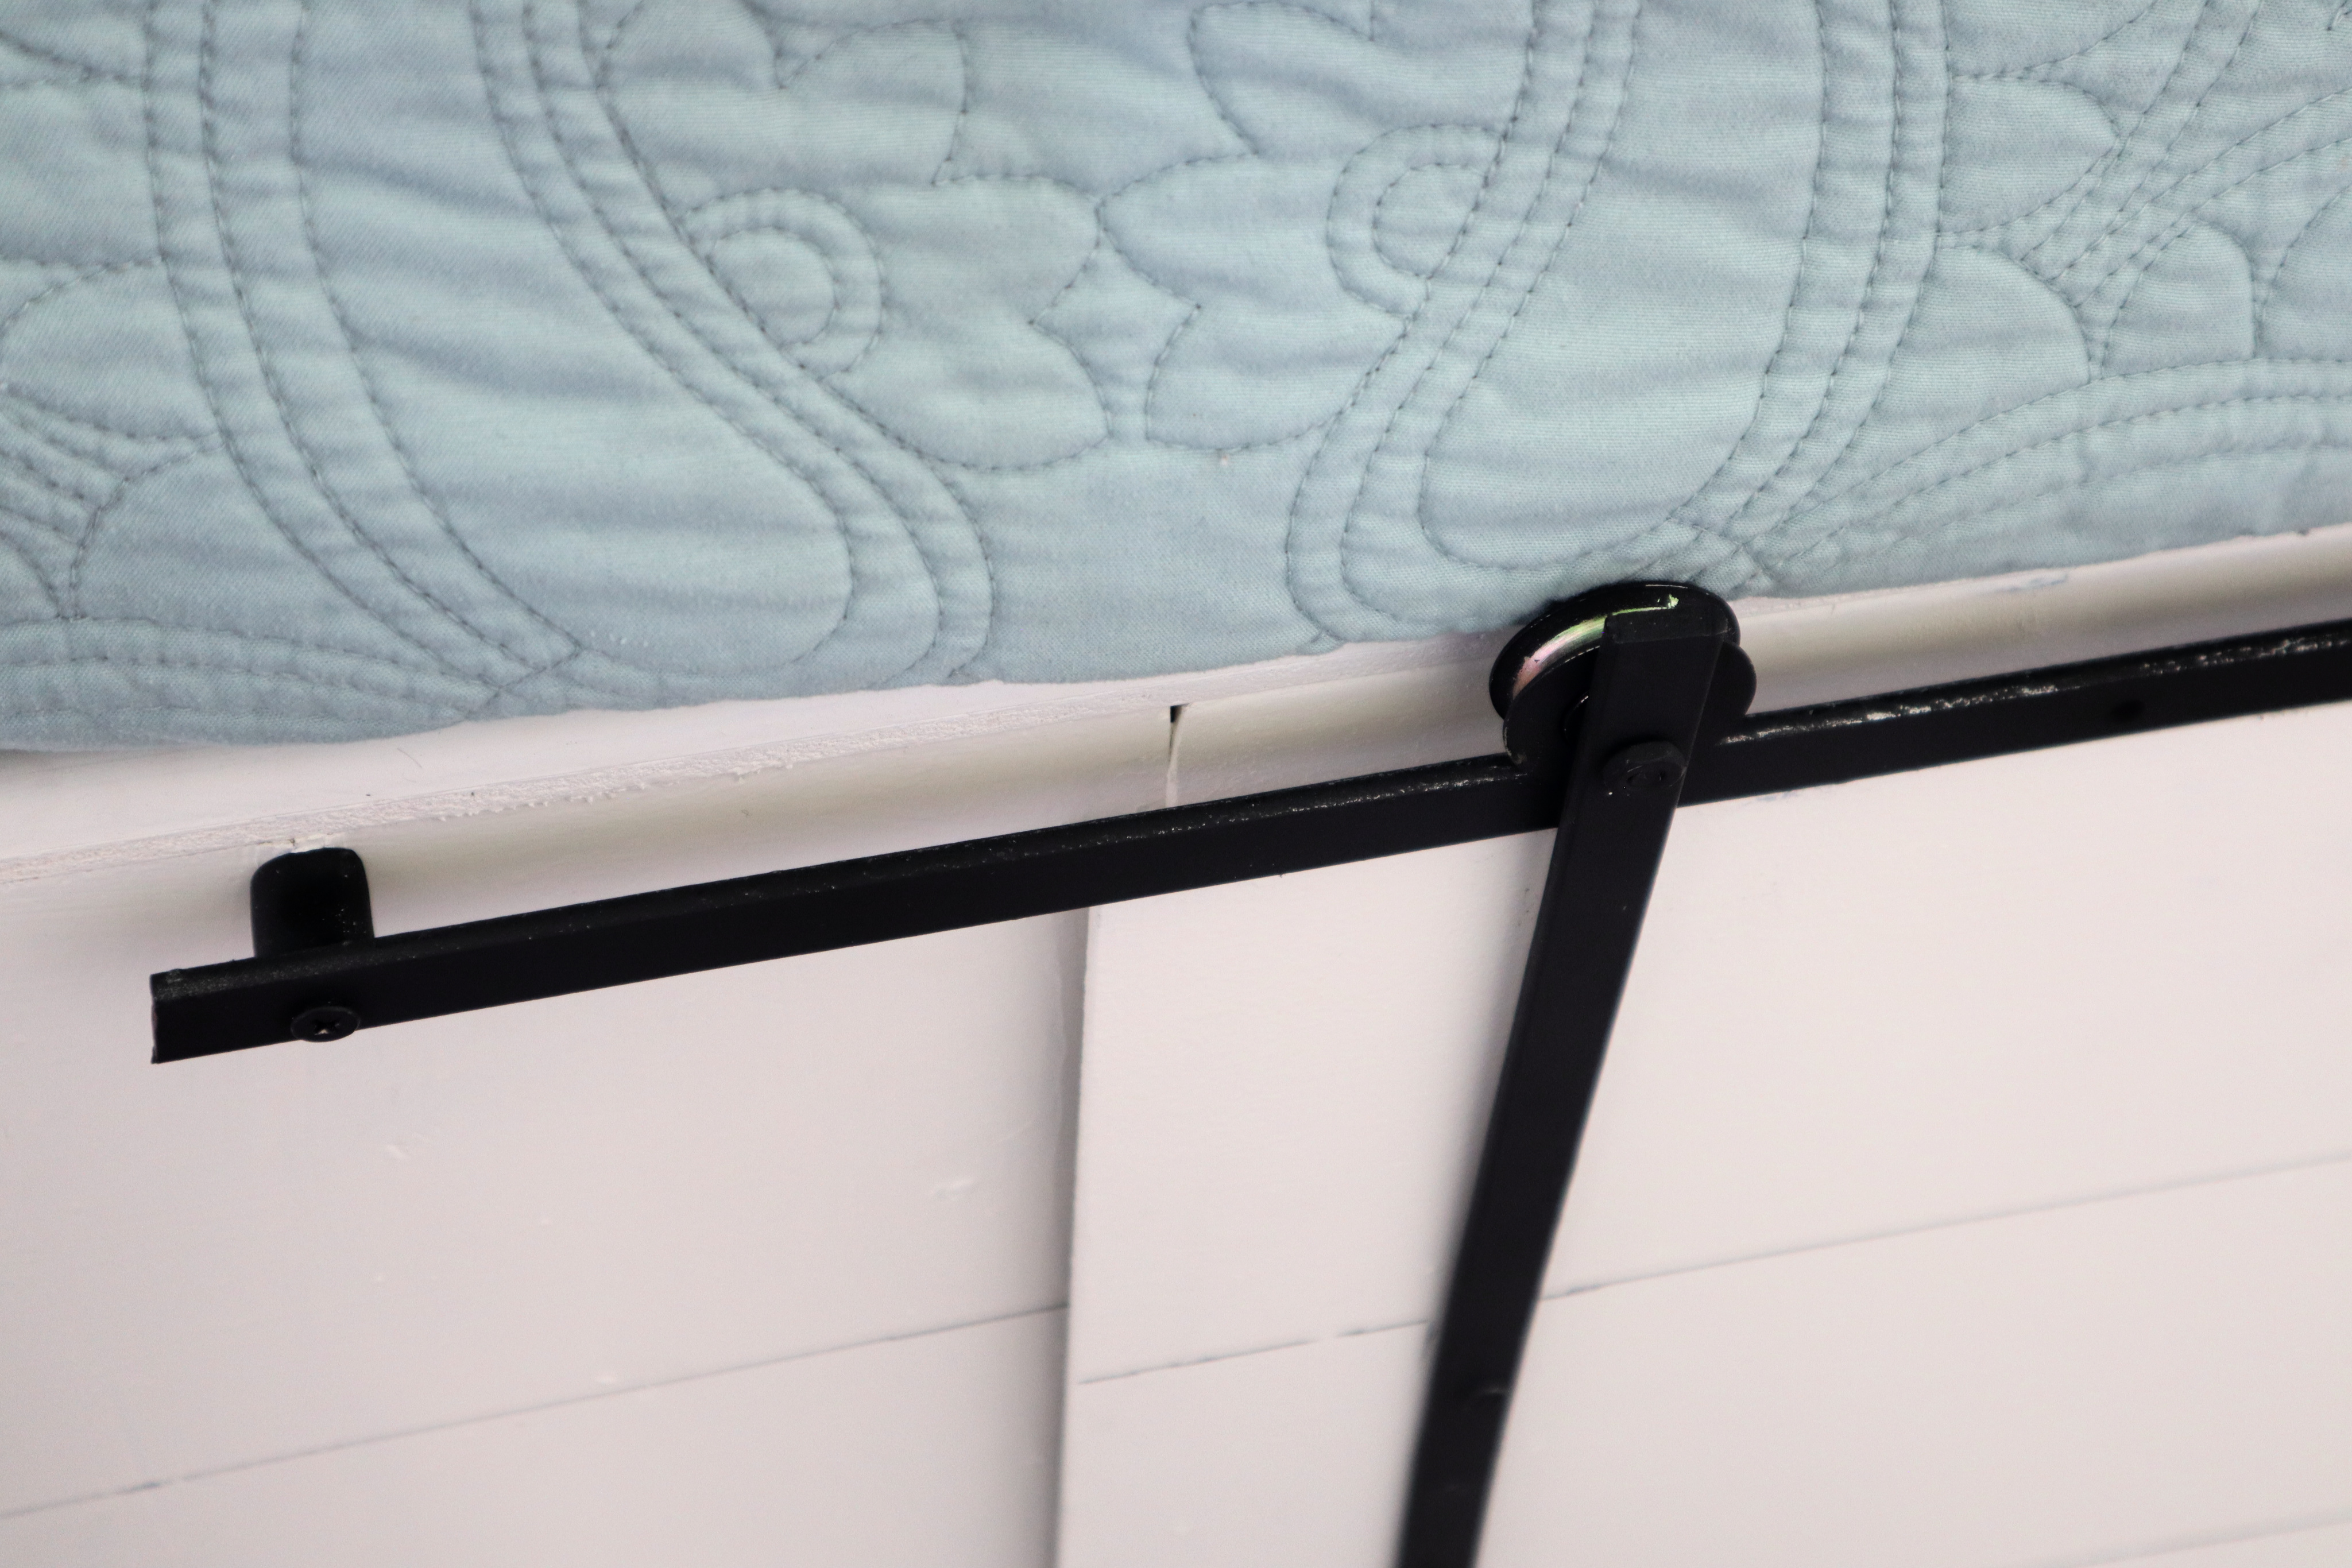 The very last detail on my tiny barn door project is the faux shiplap. I used a sharpie marker and drew lines across the bed and the door to match the real shiplap walls behind the bed. I made the lines a little imperfect to mimic the look of the wall.
 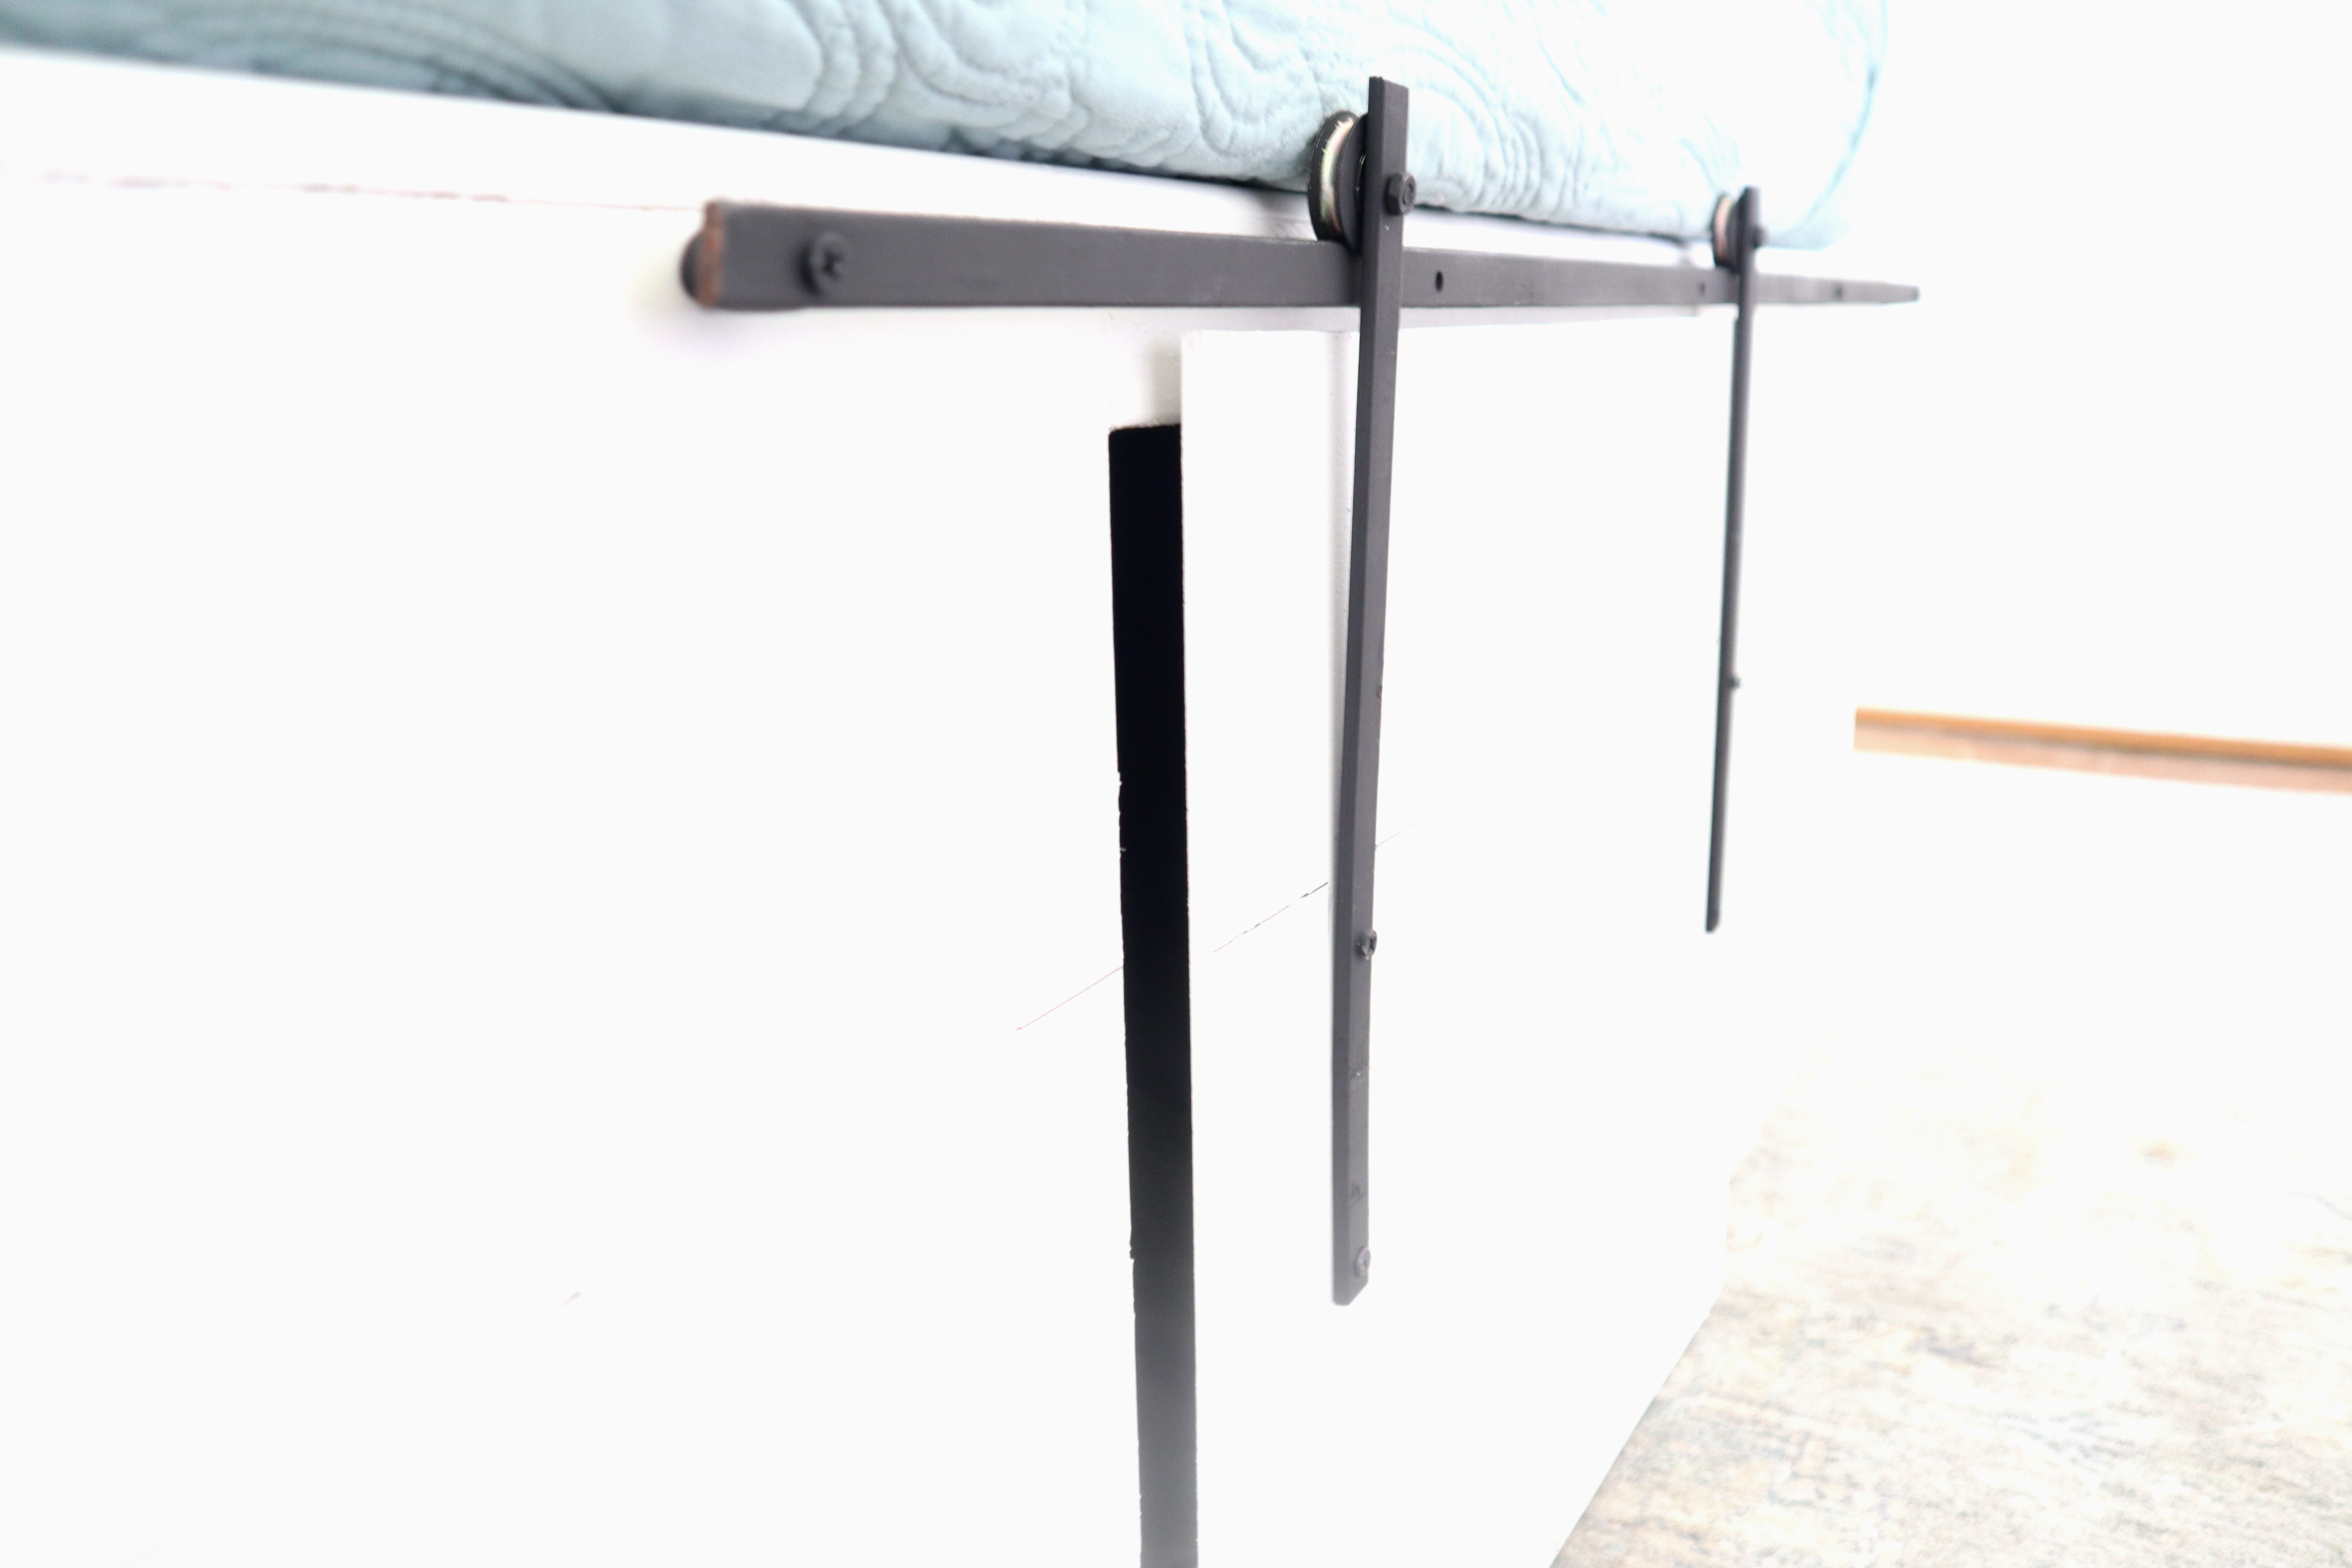 This tiny barn door project is so simple and inexpensive I want to use one somewhere else!

 Susan says
March 15, 2021 at 7:05 pmGreat job Mimzy!!! I love your barn door kit!
 mimzylombardo@gmail.com says
March 16, 2021 at 9:36 amThank you so much Susan!
 Joanne Fleurrey says
March 8, 2021 at 8:44 pmI absolutely LOVE this project. My son has always wanted a bed with drawers underneath – but to buy one is out of my budget. Your project looks like something that even I could do – with a little help from a friend with more tools than me! I cannot wait to get started on this. He is out of state right now, but when he returns home, I want his room to be transformed. The bedframe was one of my biggest obstacles. Thank you, thank you, thank you and my son will Thank you, too!!