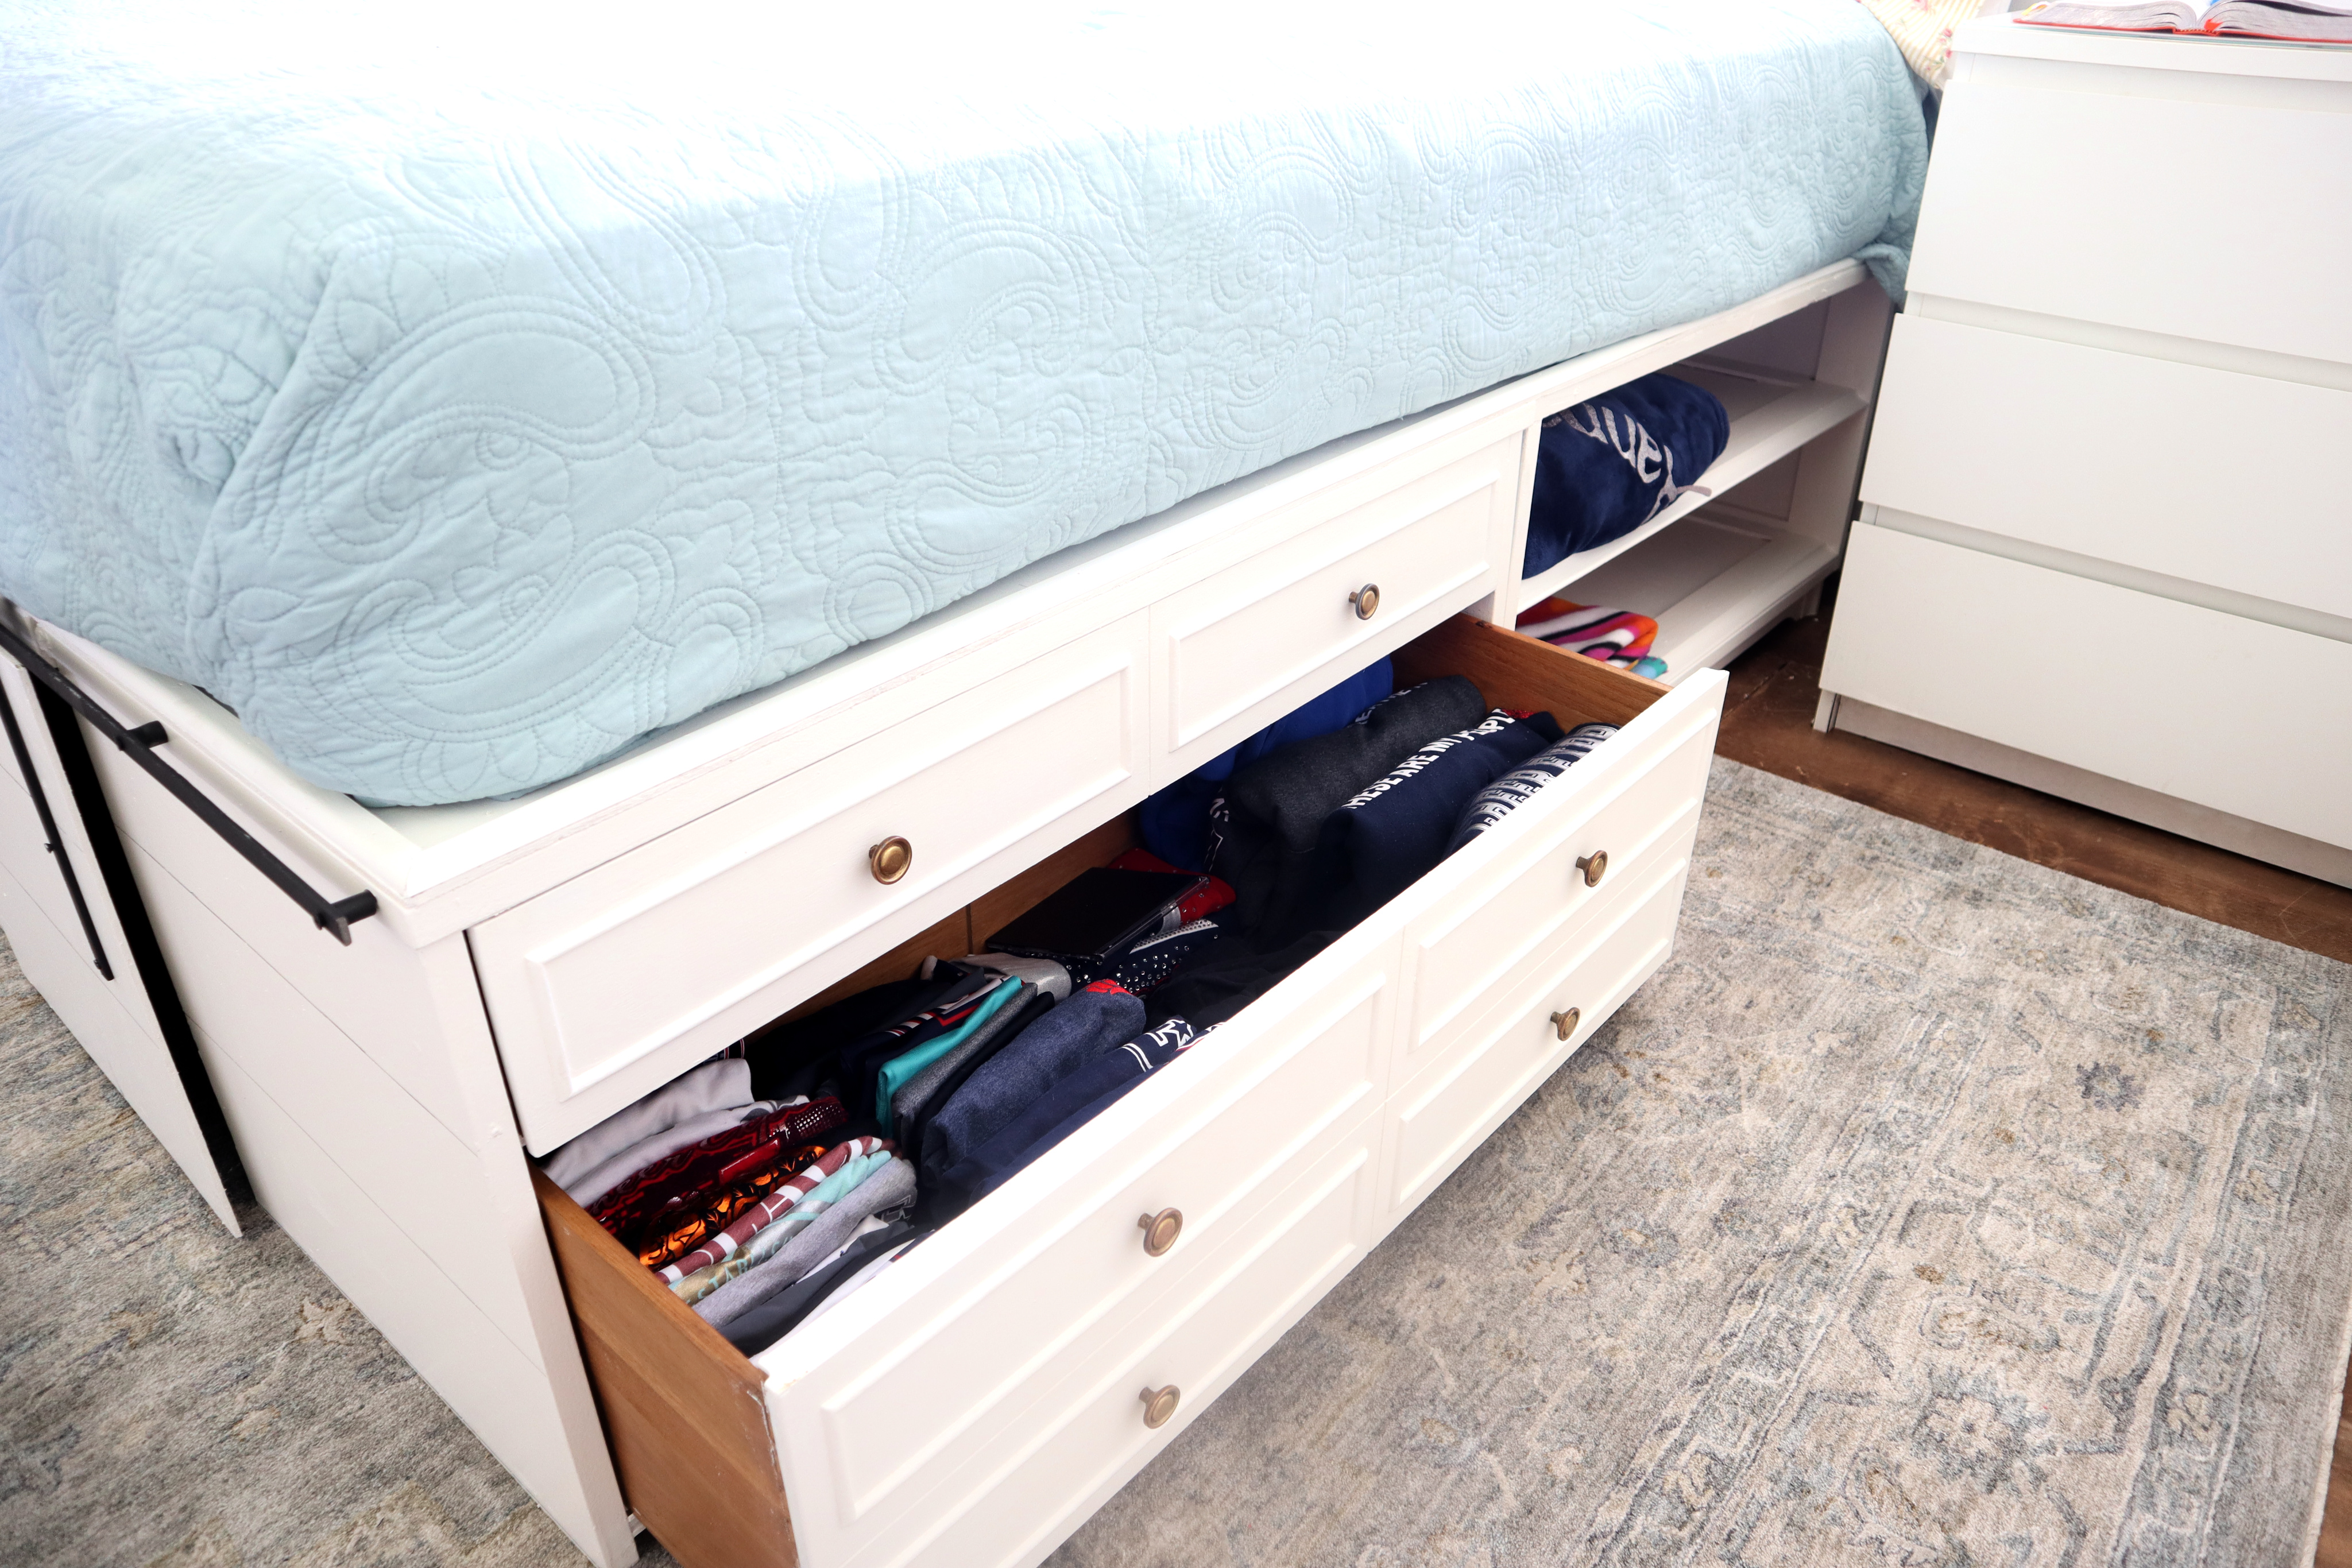
 We’re in the process of renovating what used to be my son’s room into a “modern farmhouse style” bedroom for my daughter. Since my girls are both teenagers now, they need their own space, so we moved my son into the guest room and my youngest into his room.
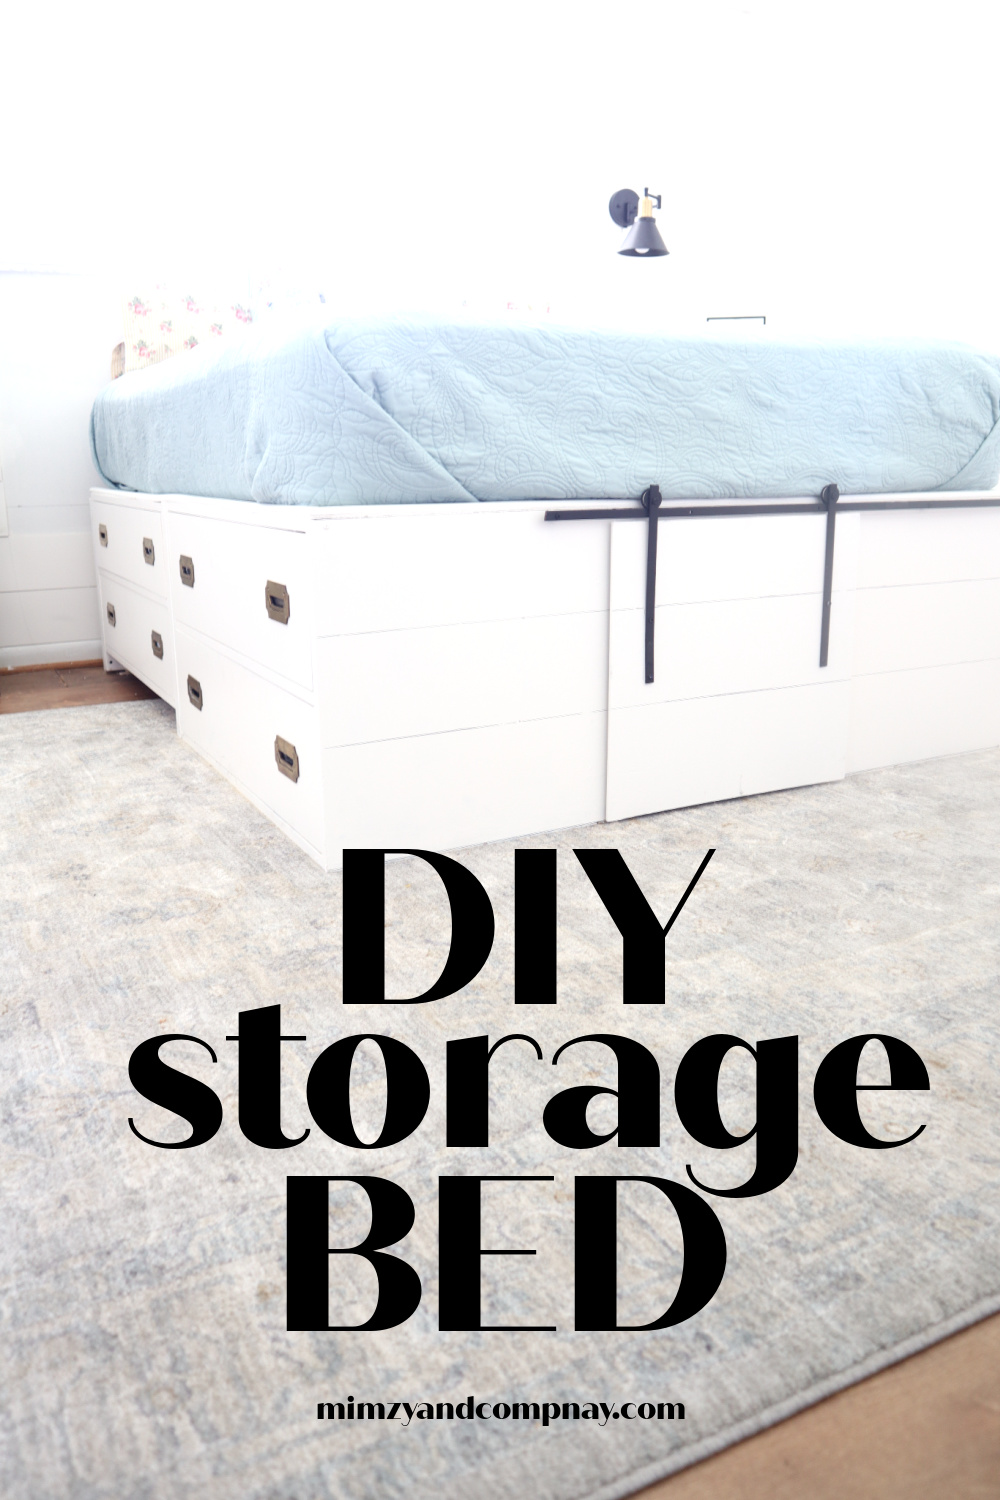 The desire of her heart was for the IKEA Brimnes Bed because of the copious drawer storage underneath. She’s very organized and likes to have a place for everything and everything in its place. Well, the IKEA bed was out of her budget since she’s paying for the room reno. herself. We searched FB marketplace, CL and Offerup but to no avail.
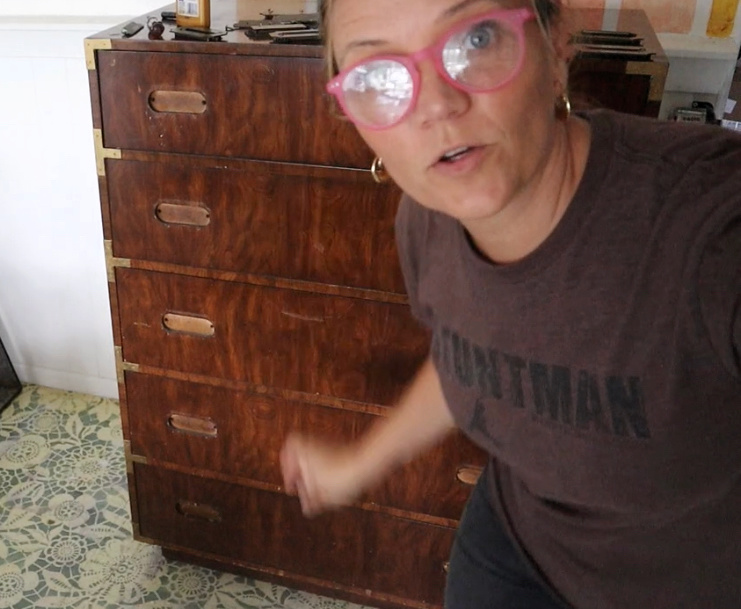 Lucky for her I had this $30 Dixie Campaign dresser that I picked up at Habitat that I intended to resell. One of the drawer pulls was damaged beyond repair and I couldn’t find a replacement at a reasonable price, so I had already decided to just sell the pulls on eBay. UNTIL, it occurred to me I could use it for the base of a storage bed, along with the other unused highboy dresser from my son’s room.
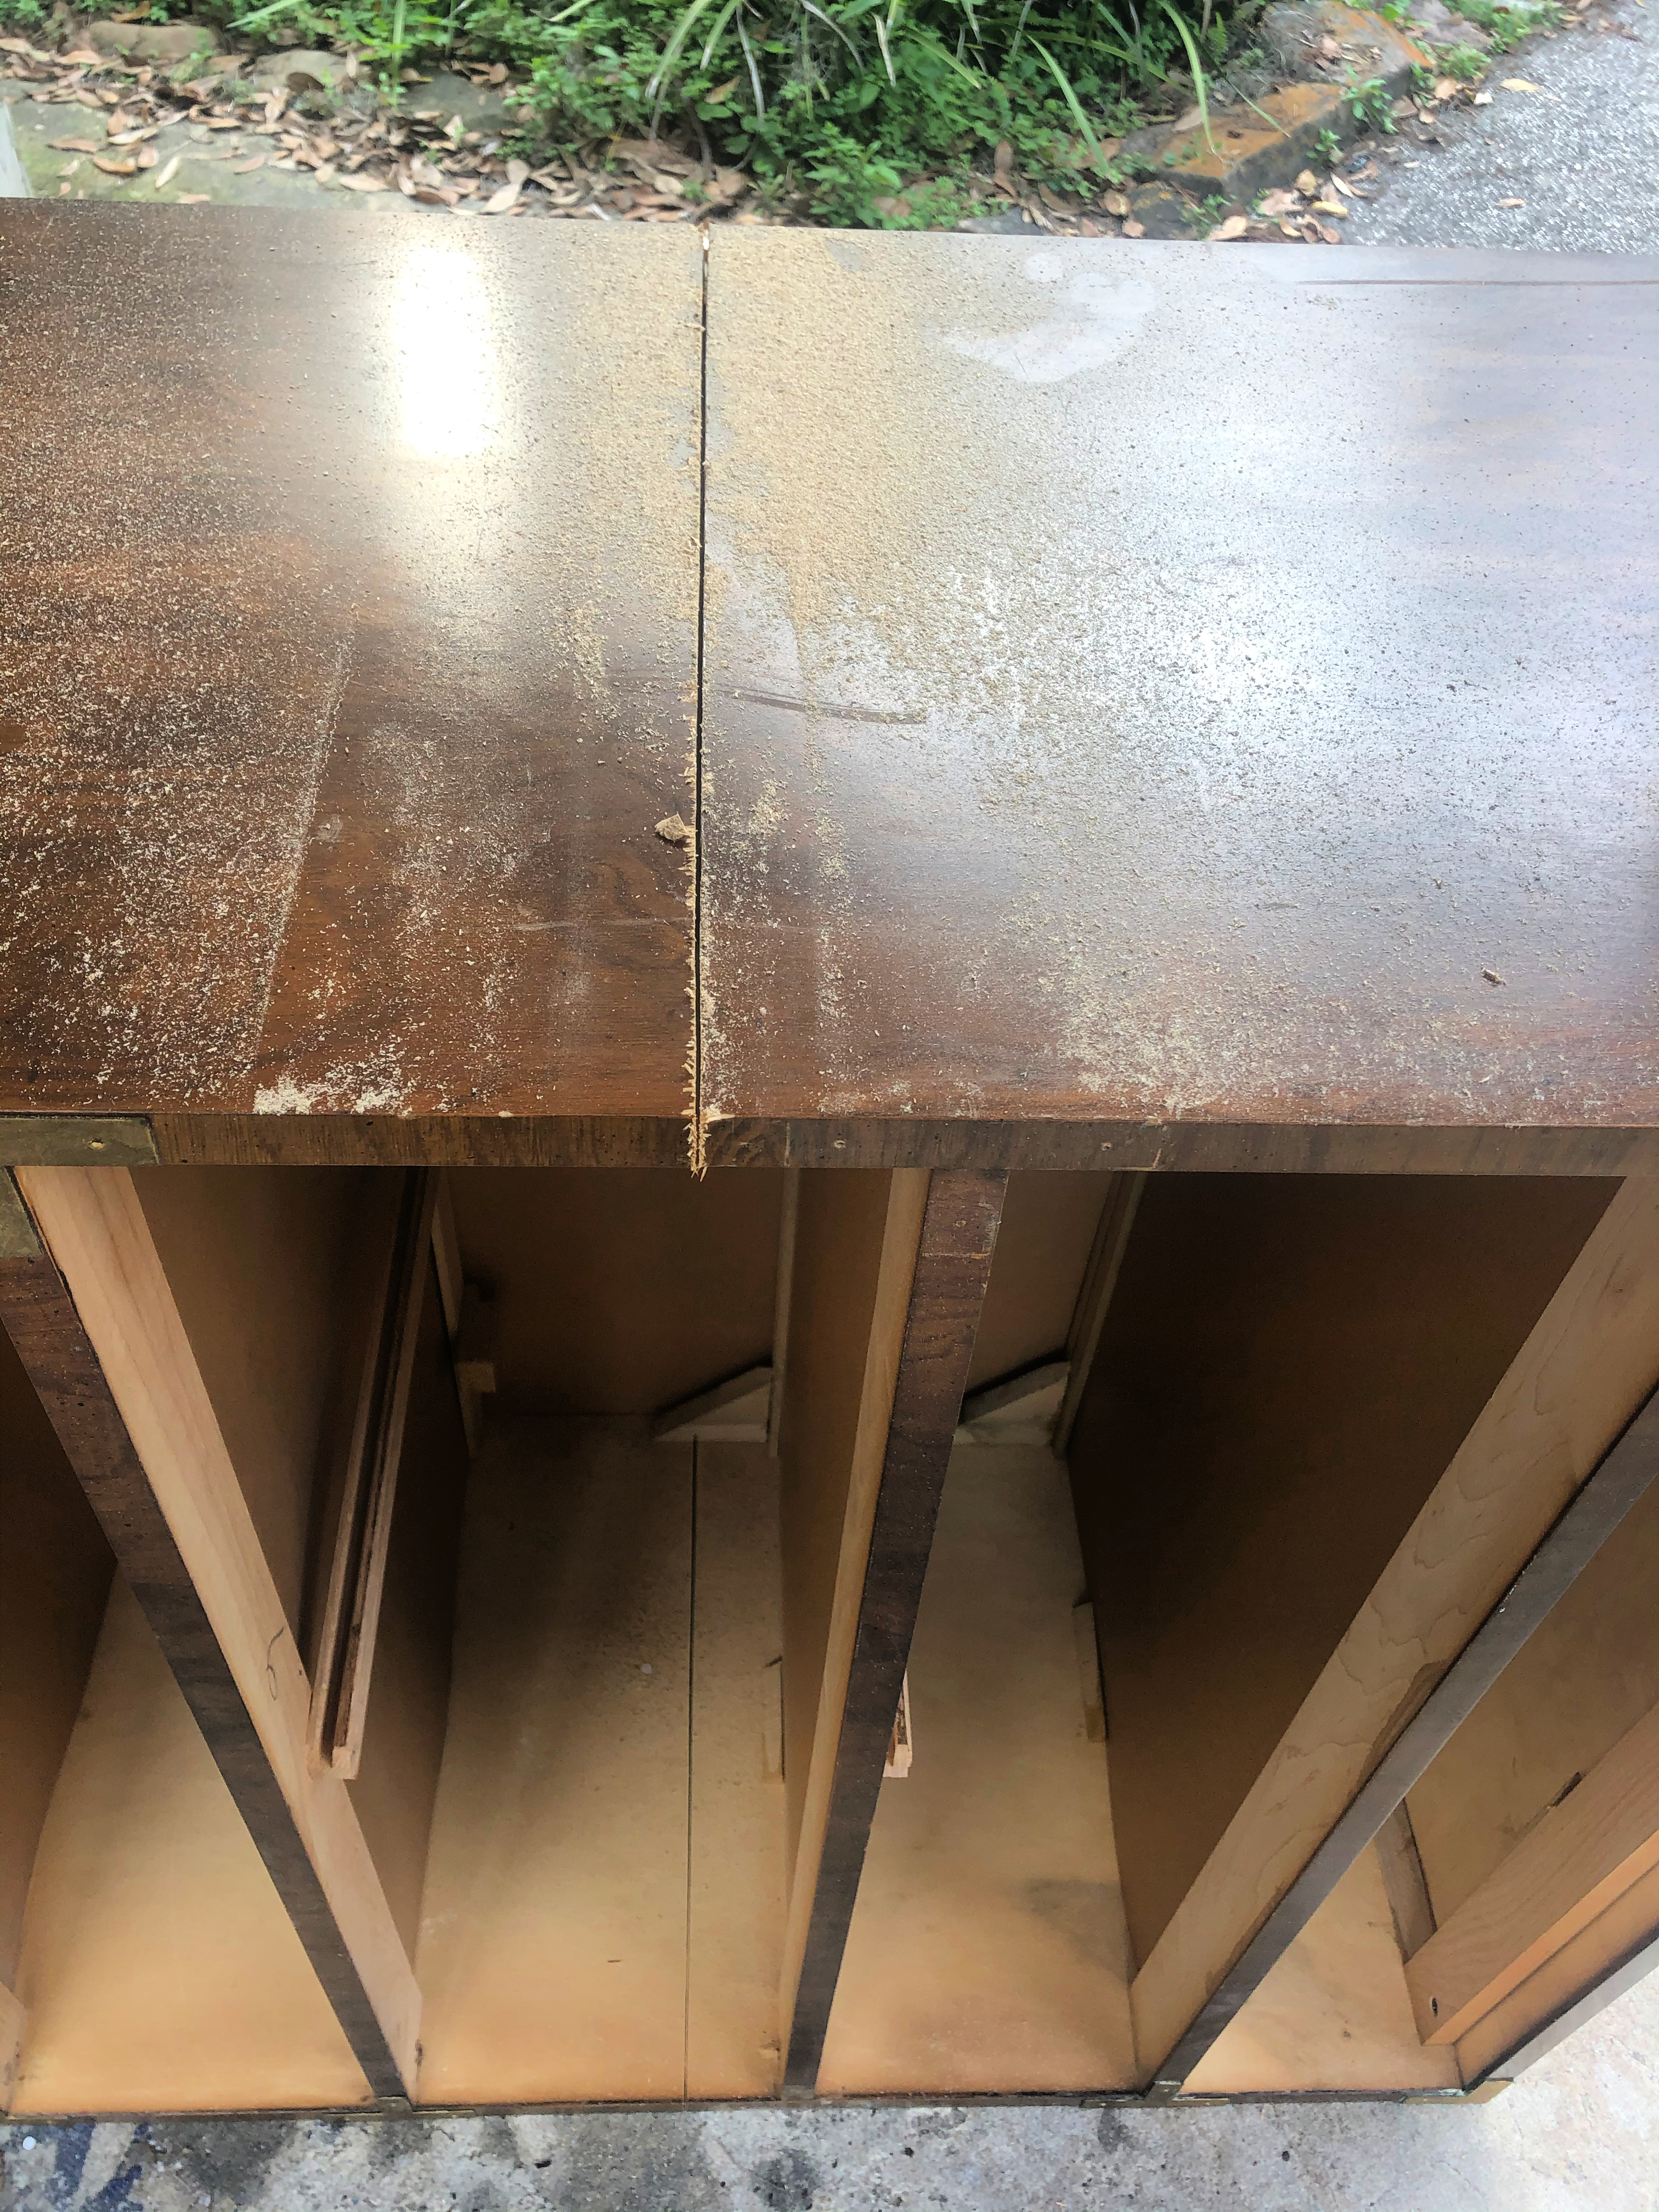 STEP ONE of this storage/drawer bed …cut the two dressers down to the proper size. I used the top two drawers and the bottom two drawers. I cut all four sections to 19″. I decided on that dimension because the bottom two drawers of the Campaigner dresser measured exactly 19″.
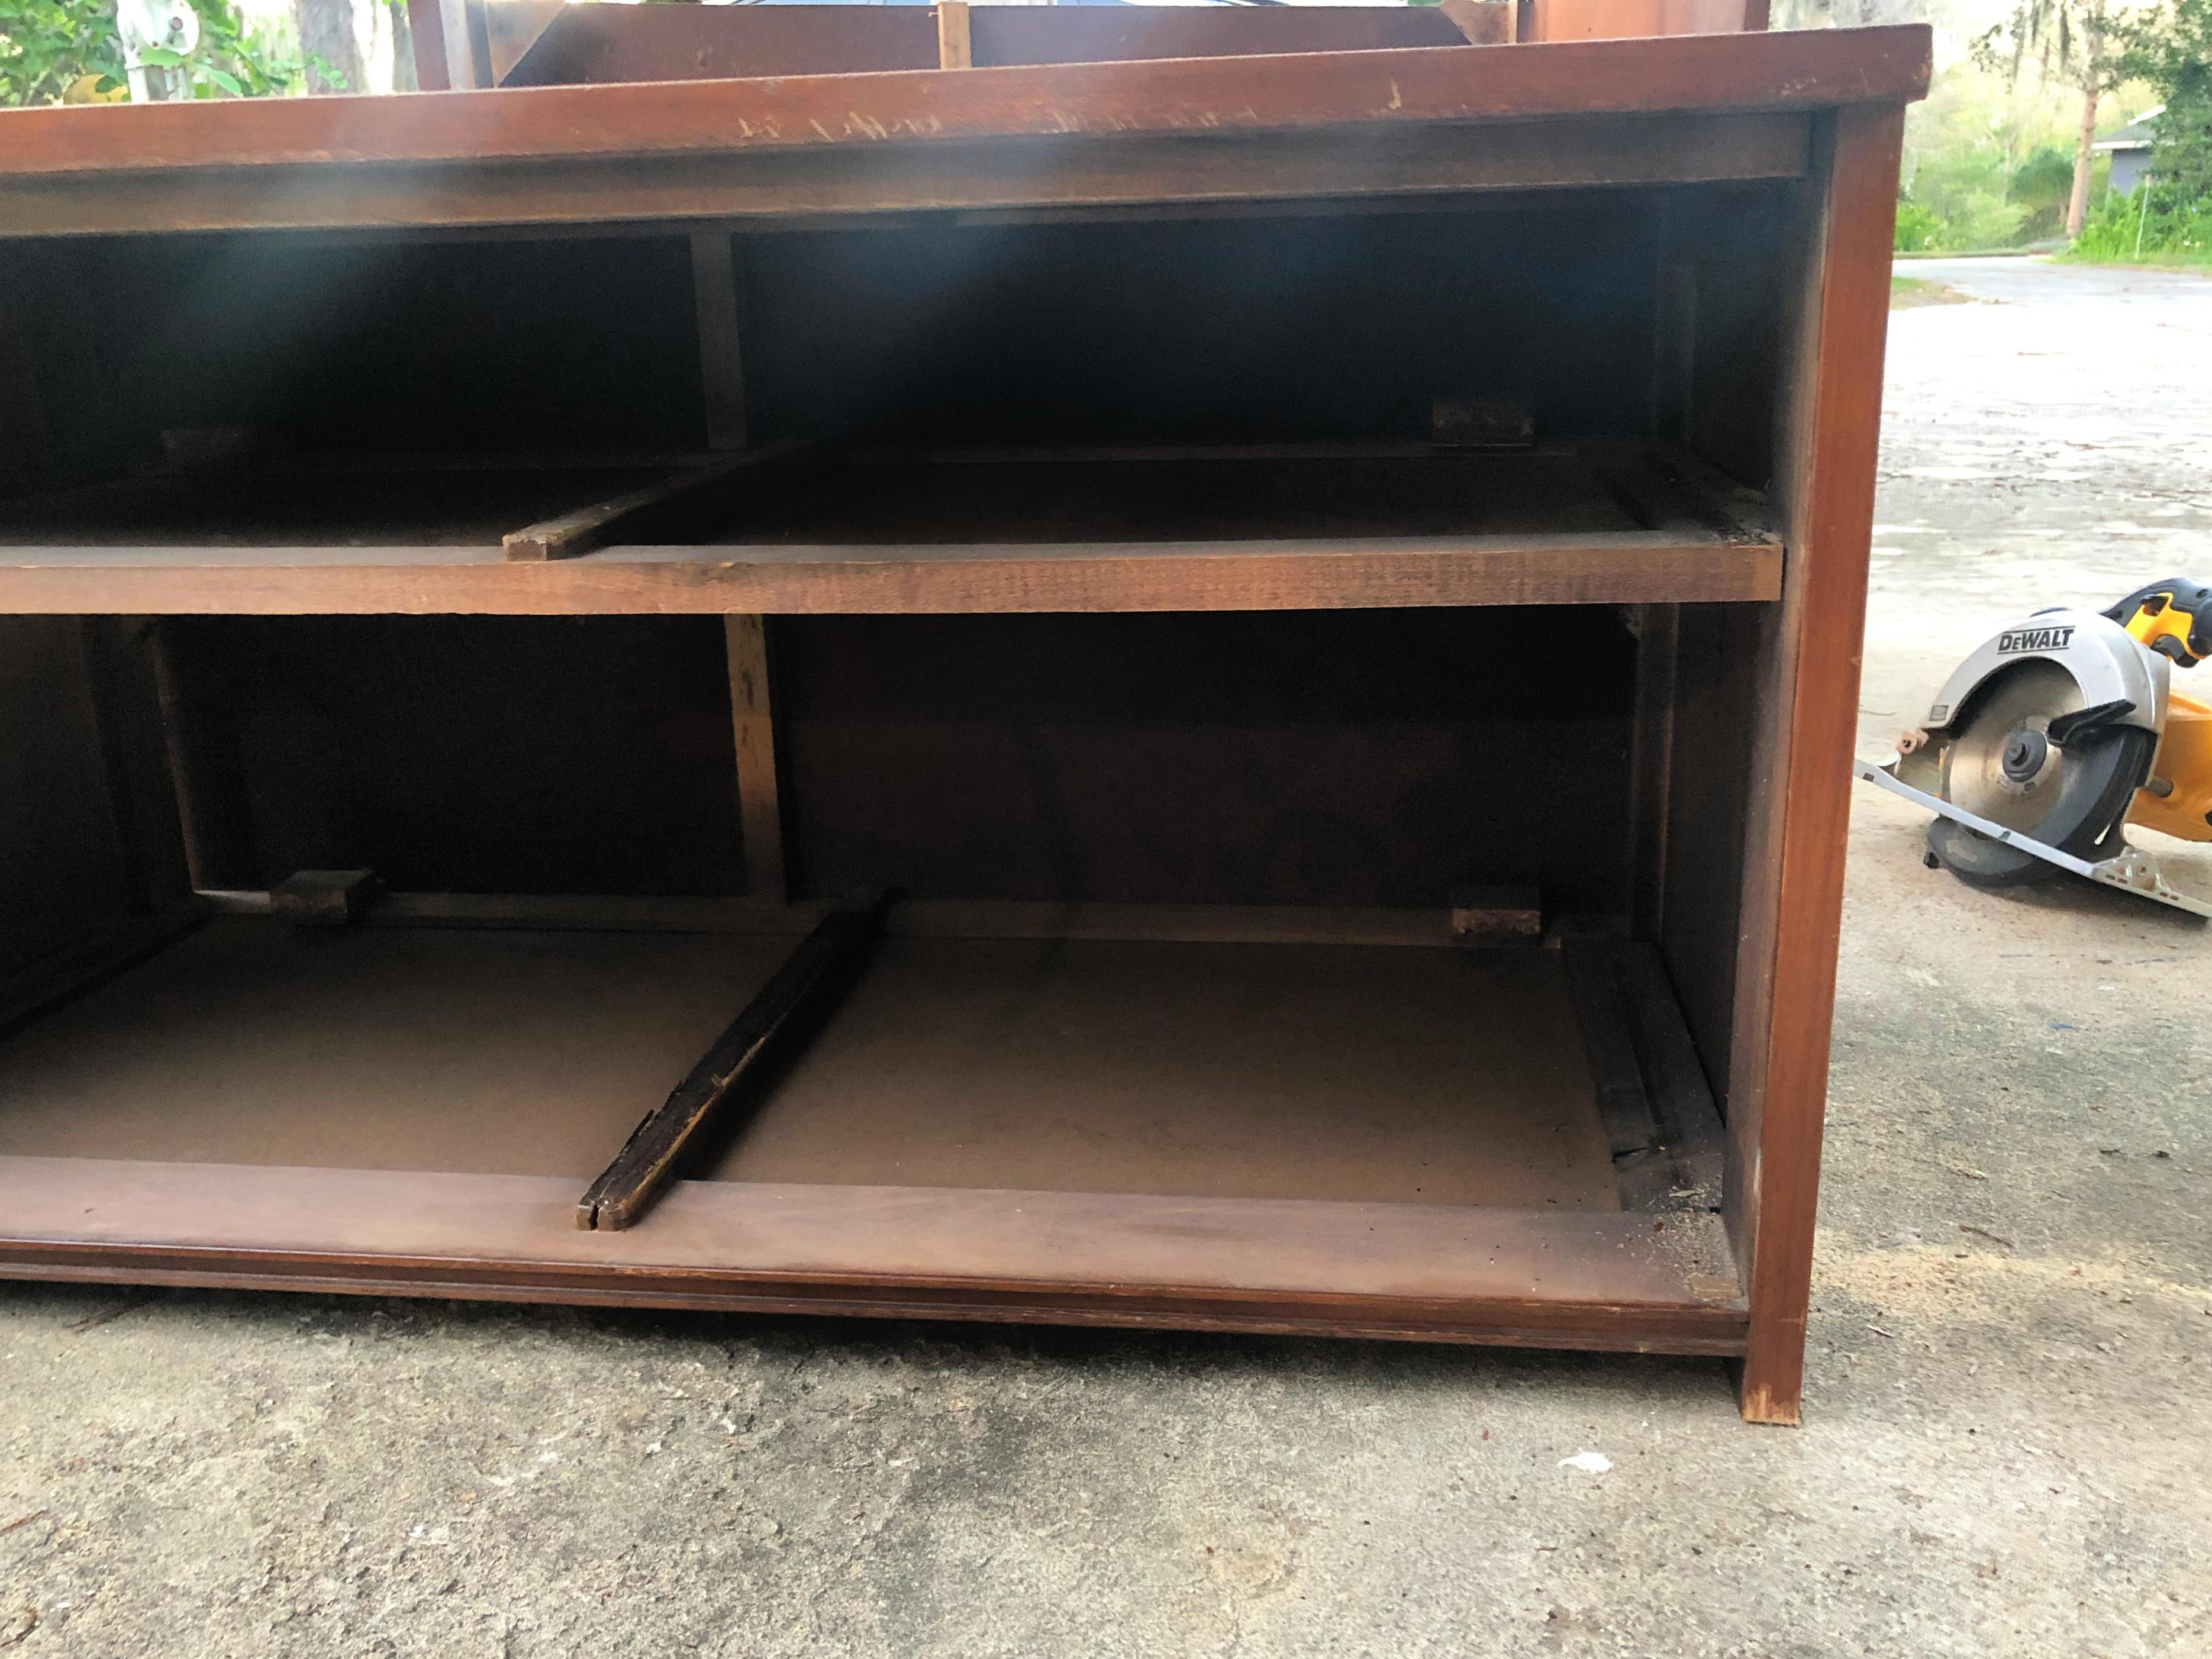 The top two drawers were not exactly 19″ so I had to leave a bit of a “foot” on the bottom to make it the same exact height. Pictured above.
 The piece above without a top is the section we left open (without drawers) to accommodate books, blankets and other stuff. We left it open because we have a nightstand on that side of the room which would block the drawers from opening.
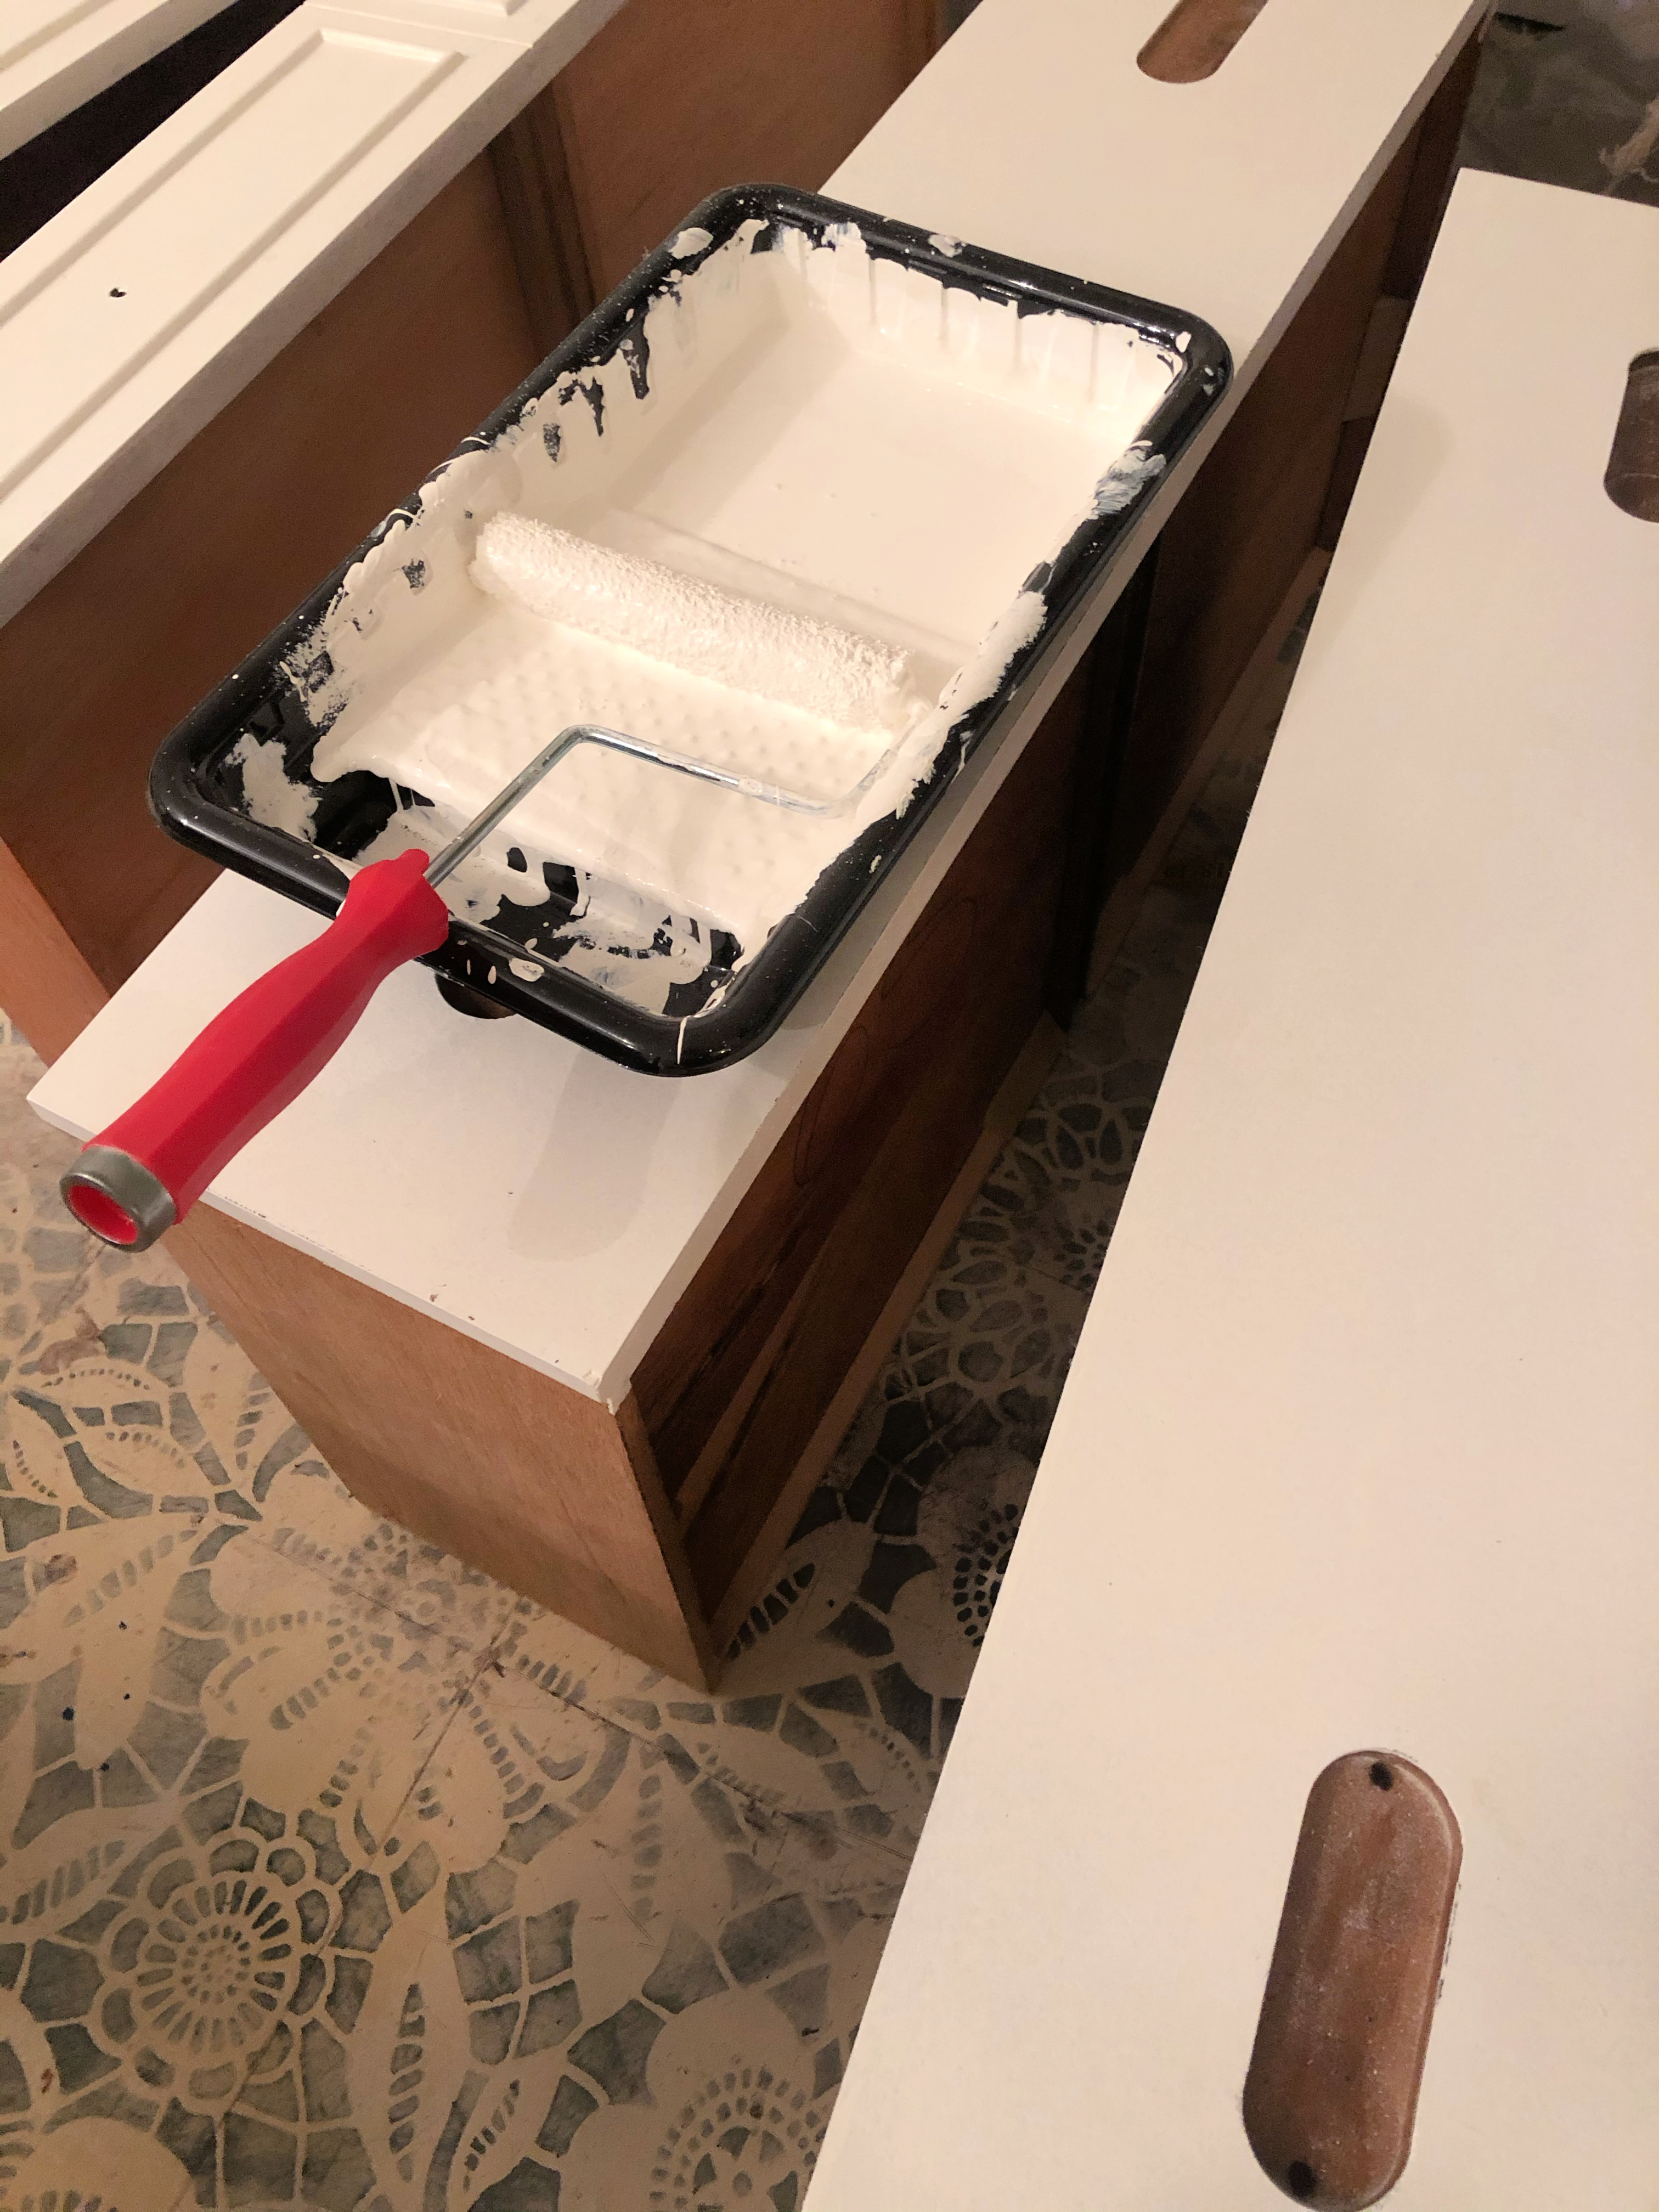 STEP TWO After I cut the dressers up, I brought them inside and painted everything using regular latex house paint and a good high bonding primer.
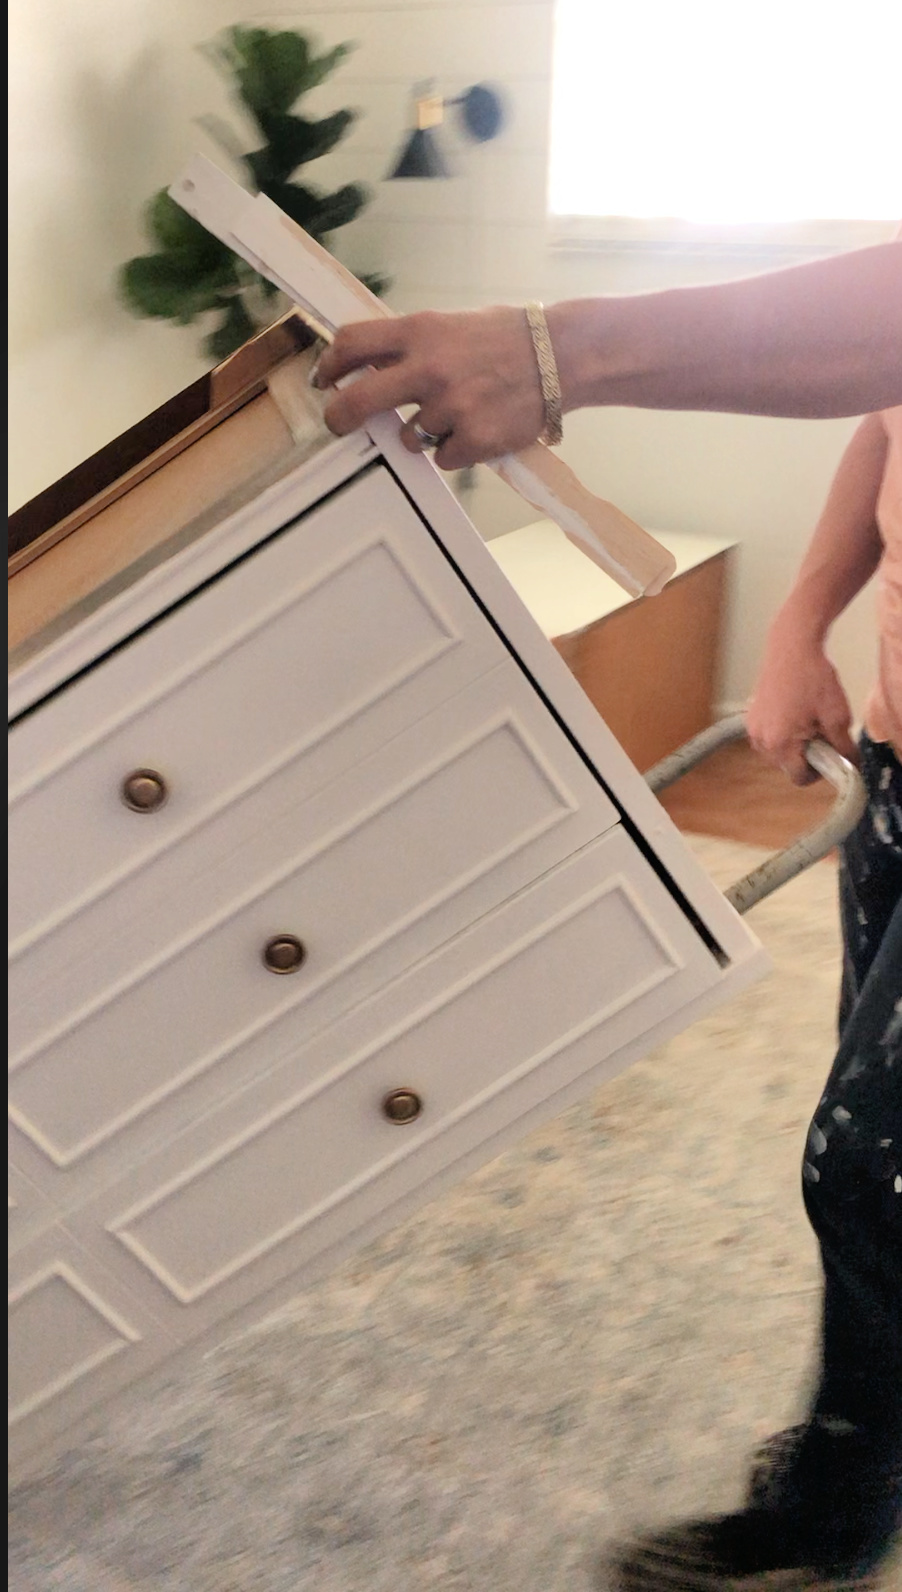 Then I hauled everything to my daughters room to assemble it.
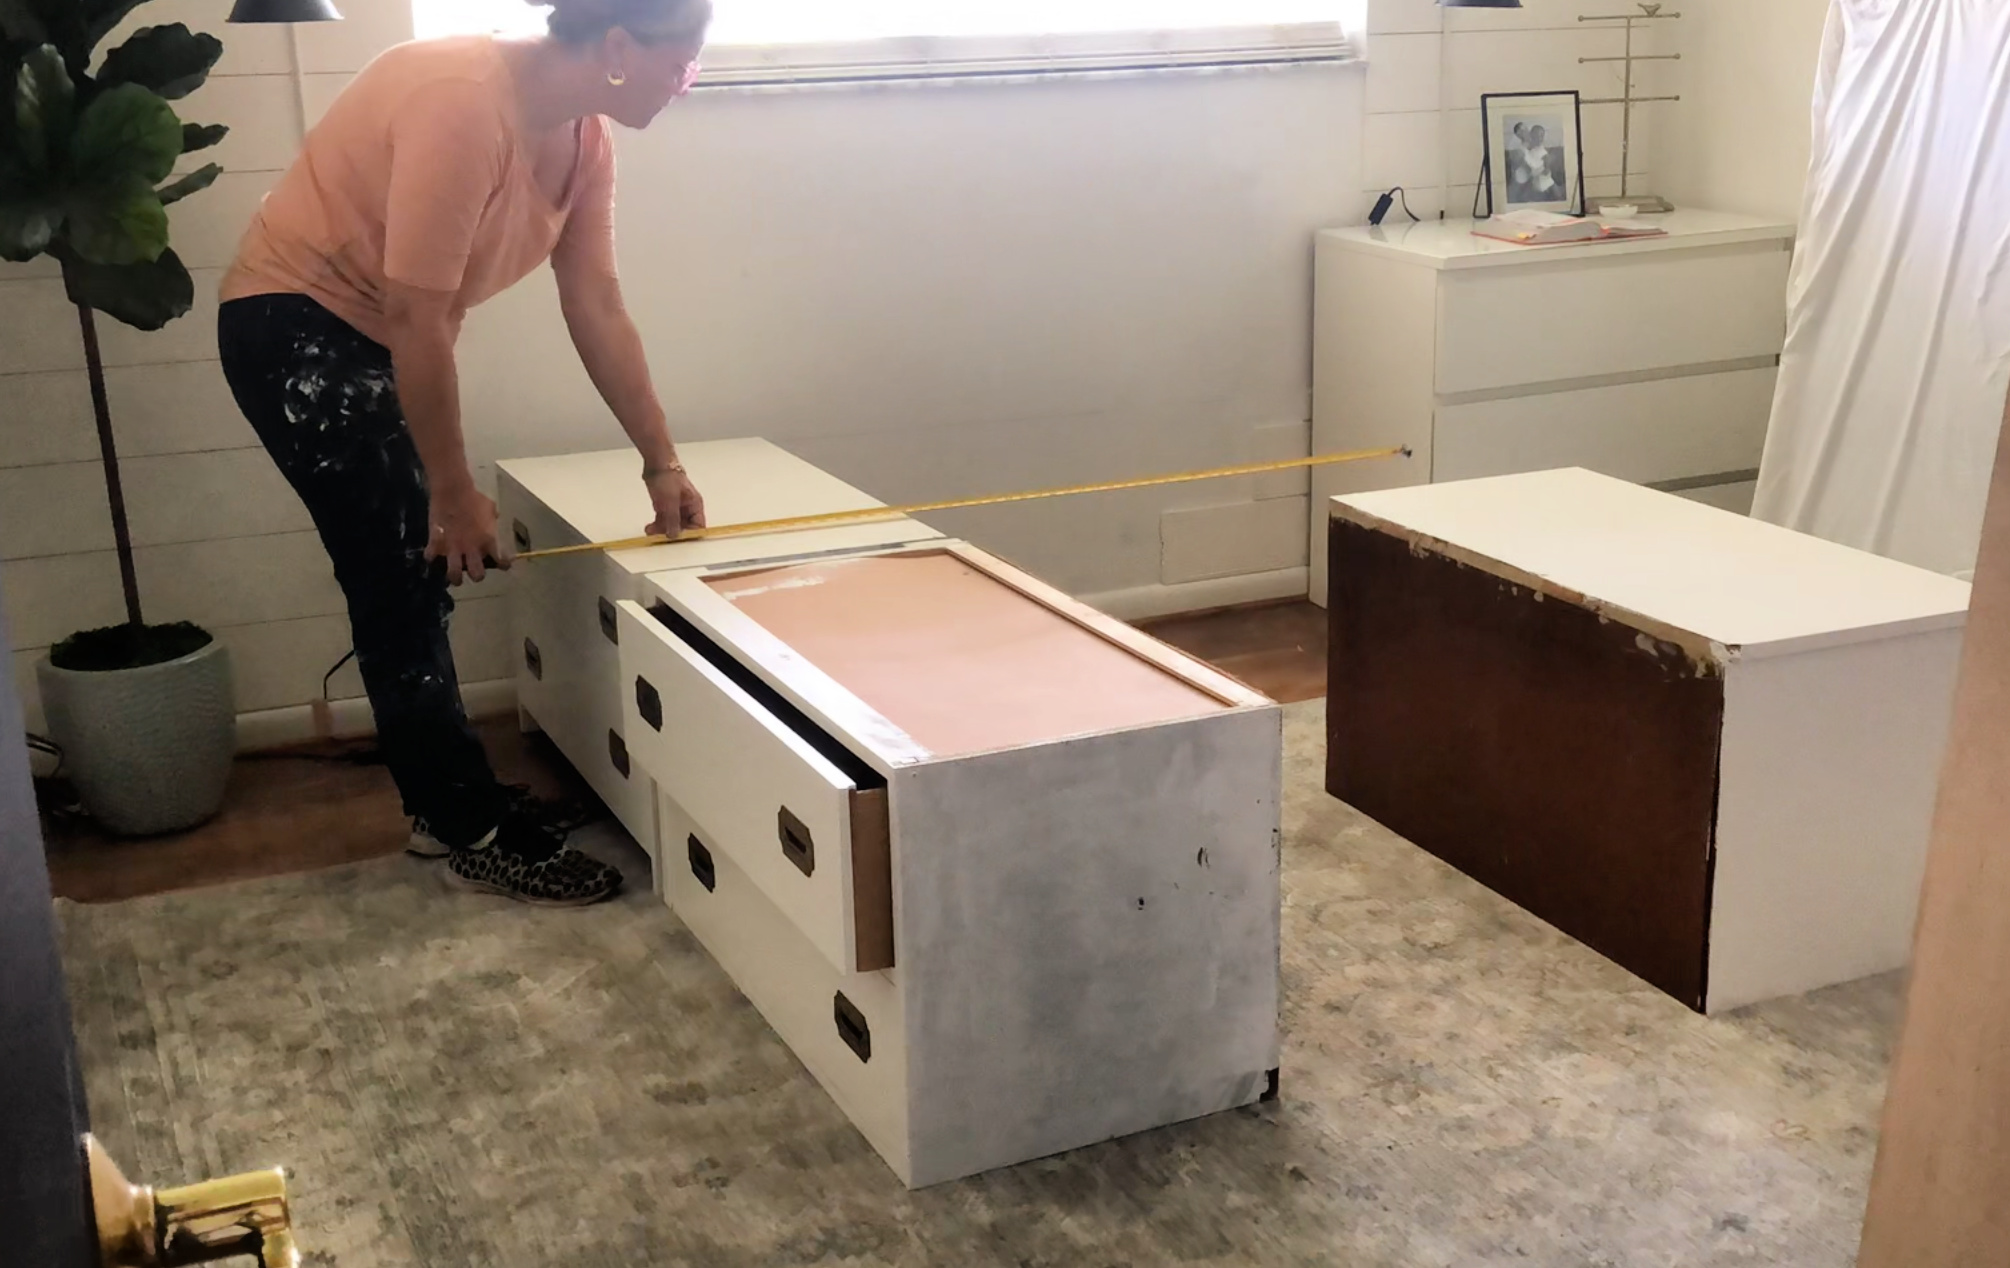 STEP THREE I arranged the dressers to accommodate her full size mattress.
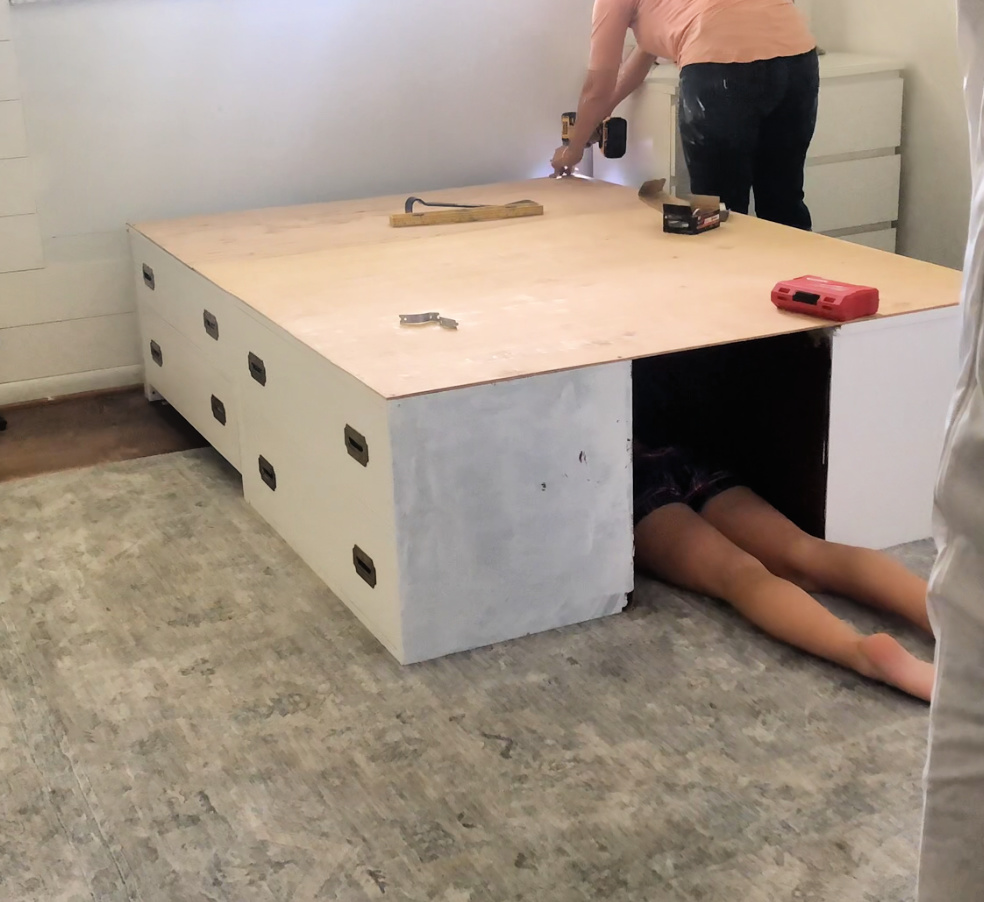 STEP FOUR. I used thin plywood, AKA Luan, AKA flooring underlayment from Home Depot for the top of the dressers to support the mattress. I also secured the dresser pieces together with two screws between each section.
Initially I intended to cover the opening in the middle with a long strip of the same thin plywood from side to side. However, once my daughter saw the space in the middle and immediately slithered in and decided she wanted to keep it open for naps. So she came up with the idea for a barn door to close the space in the middle. Genius!
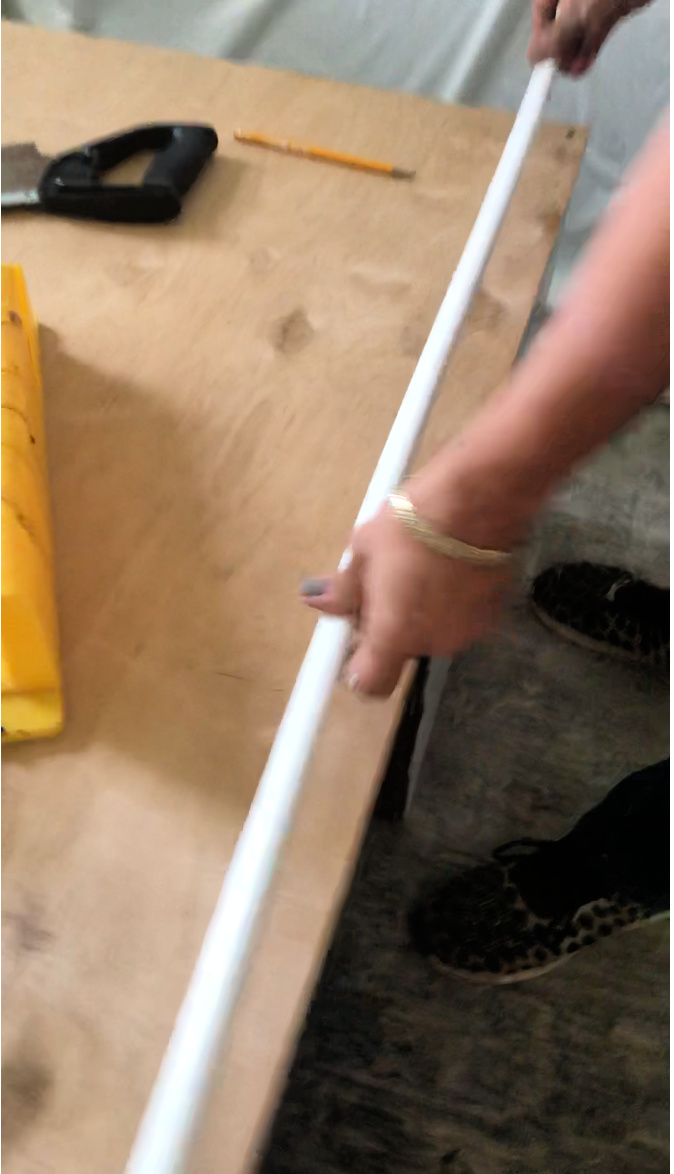 STEP FIVE. Lastly, I trimmed out the top edge. I cut down thin trim pieces I had leftover from another job and trimmed the outside edge of the plywood to cover the screws and clean up the edge.
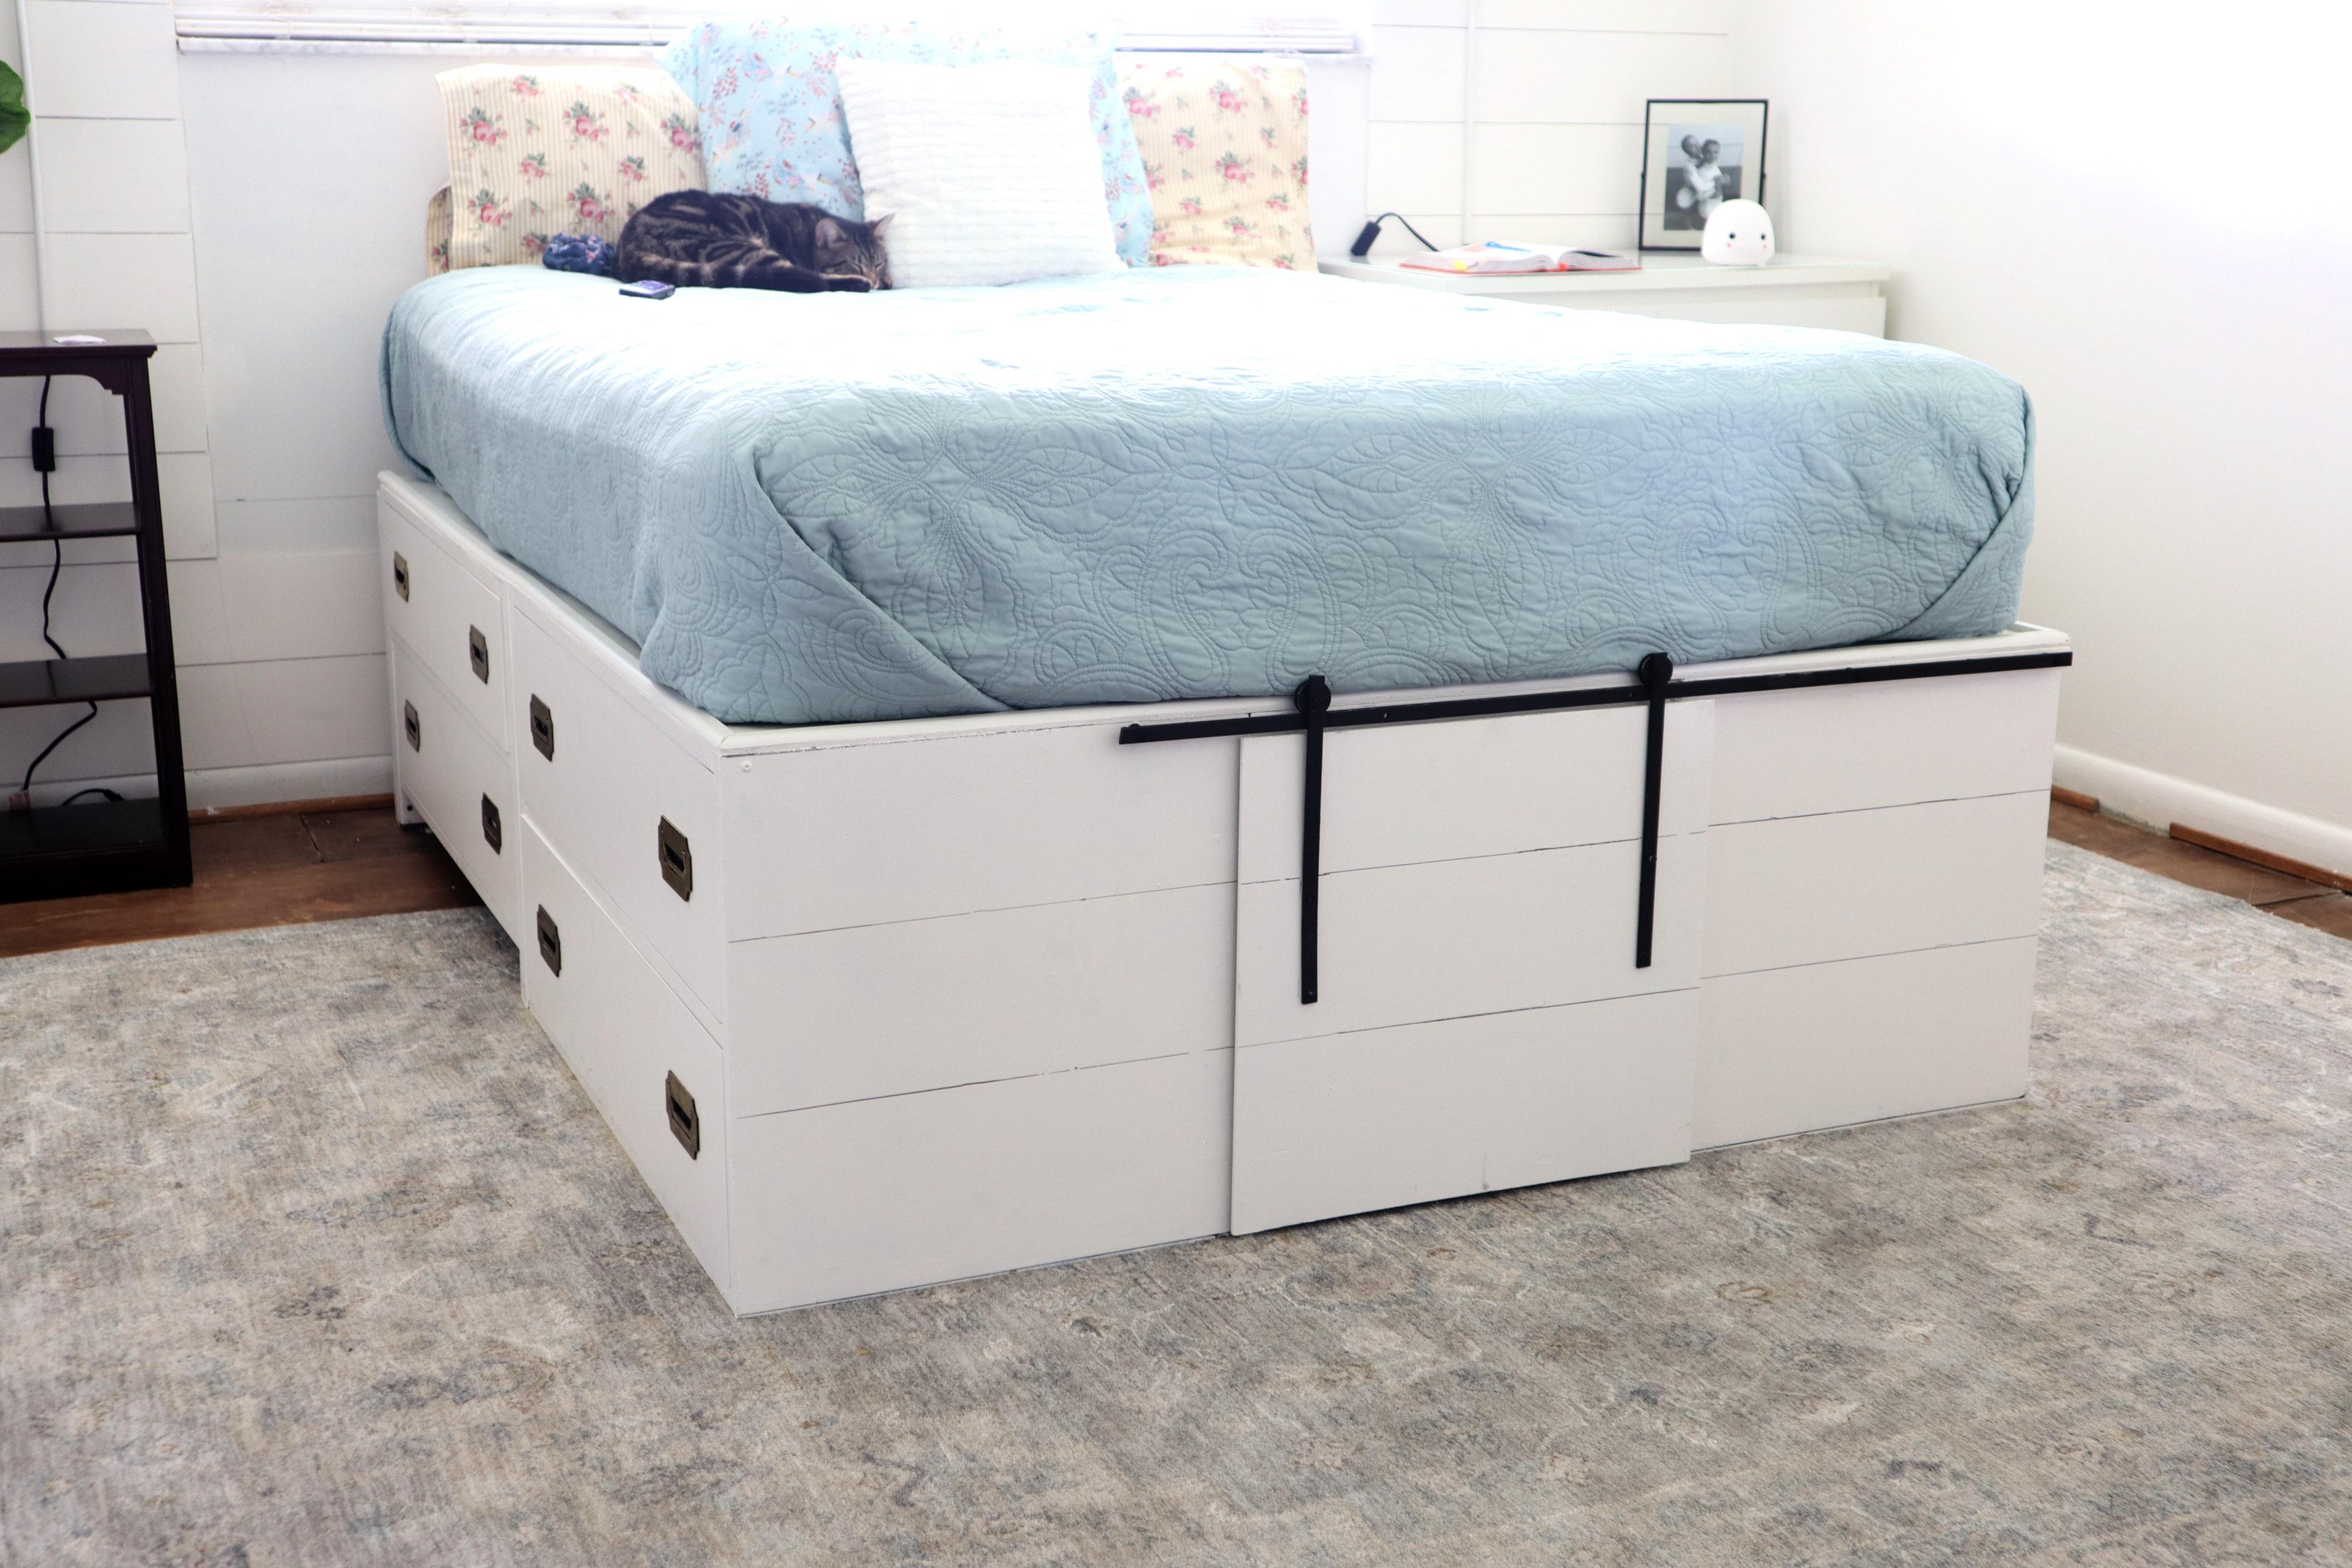
STEP SIX The very last step to this storage bed DIY is the tiny barn door. I cover that in a separate post <HERE>. The barn door was such a genius idea my daughter had, and since I already had the metal flat bar it only cost me about $6 to make it. 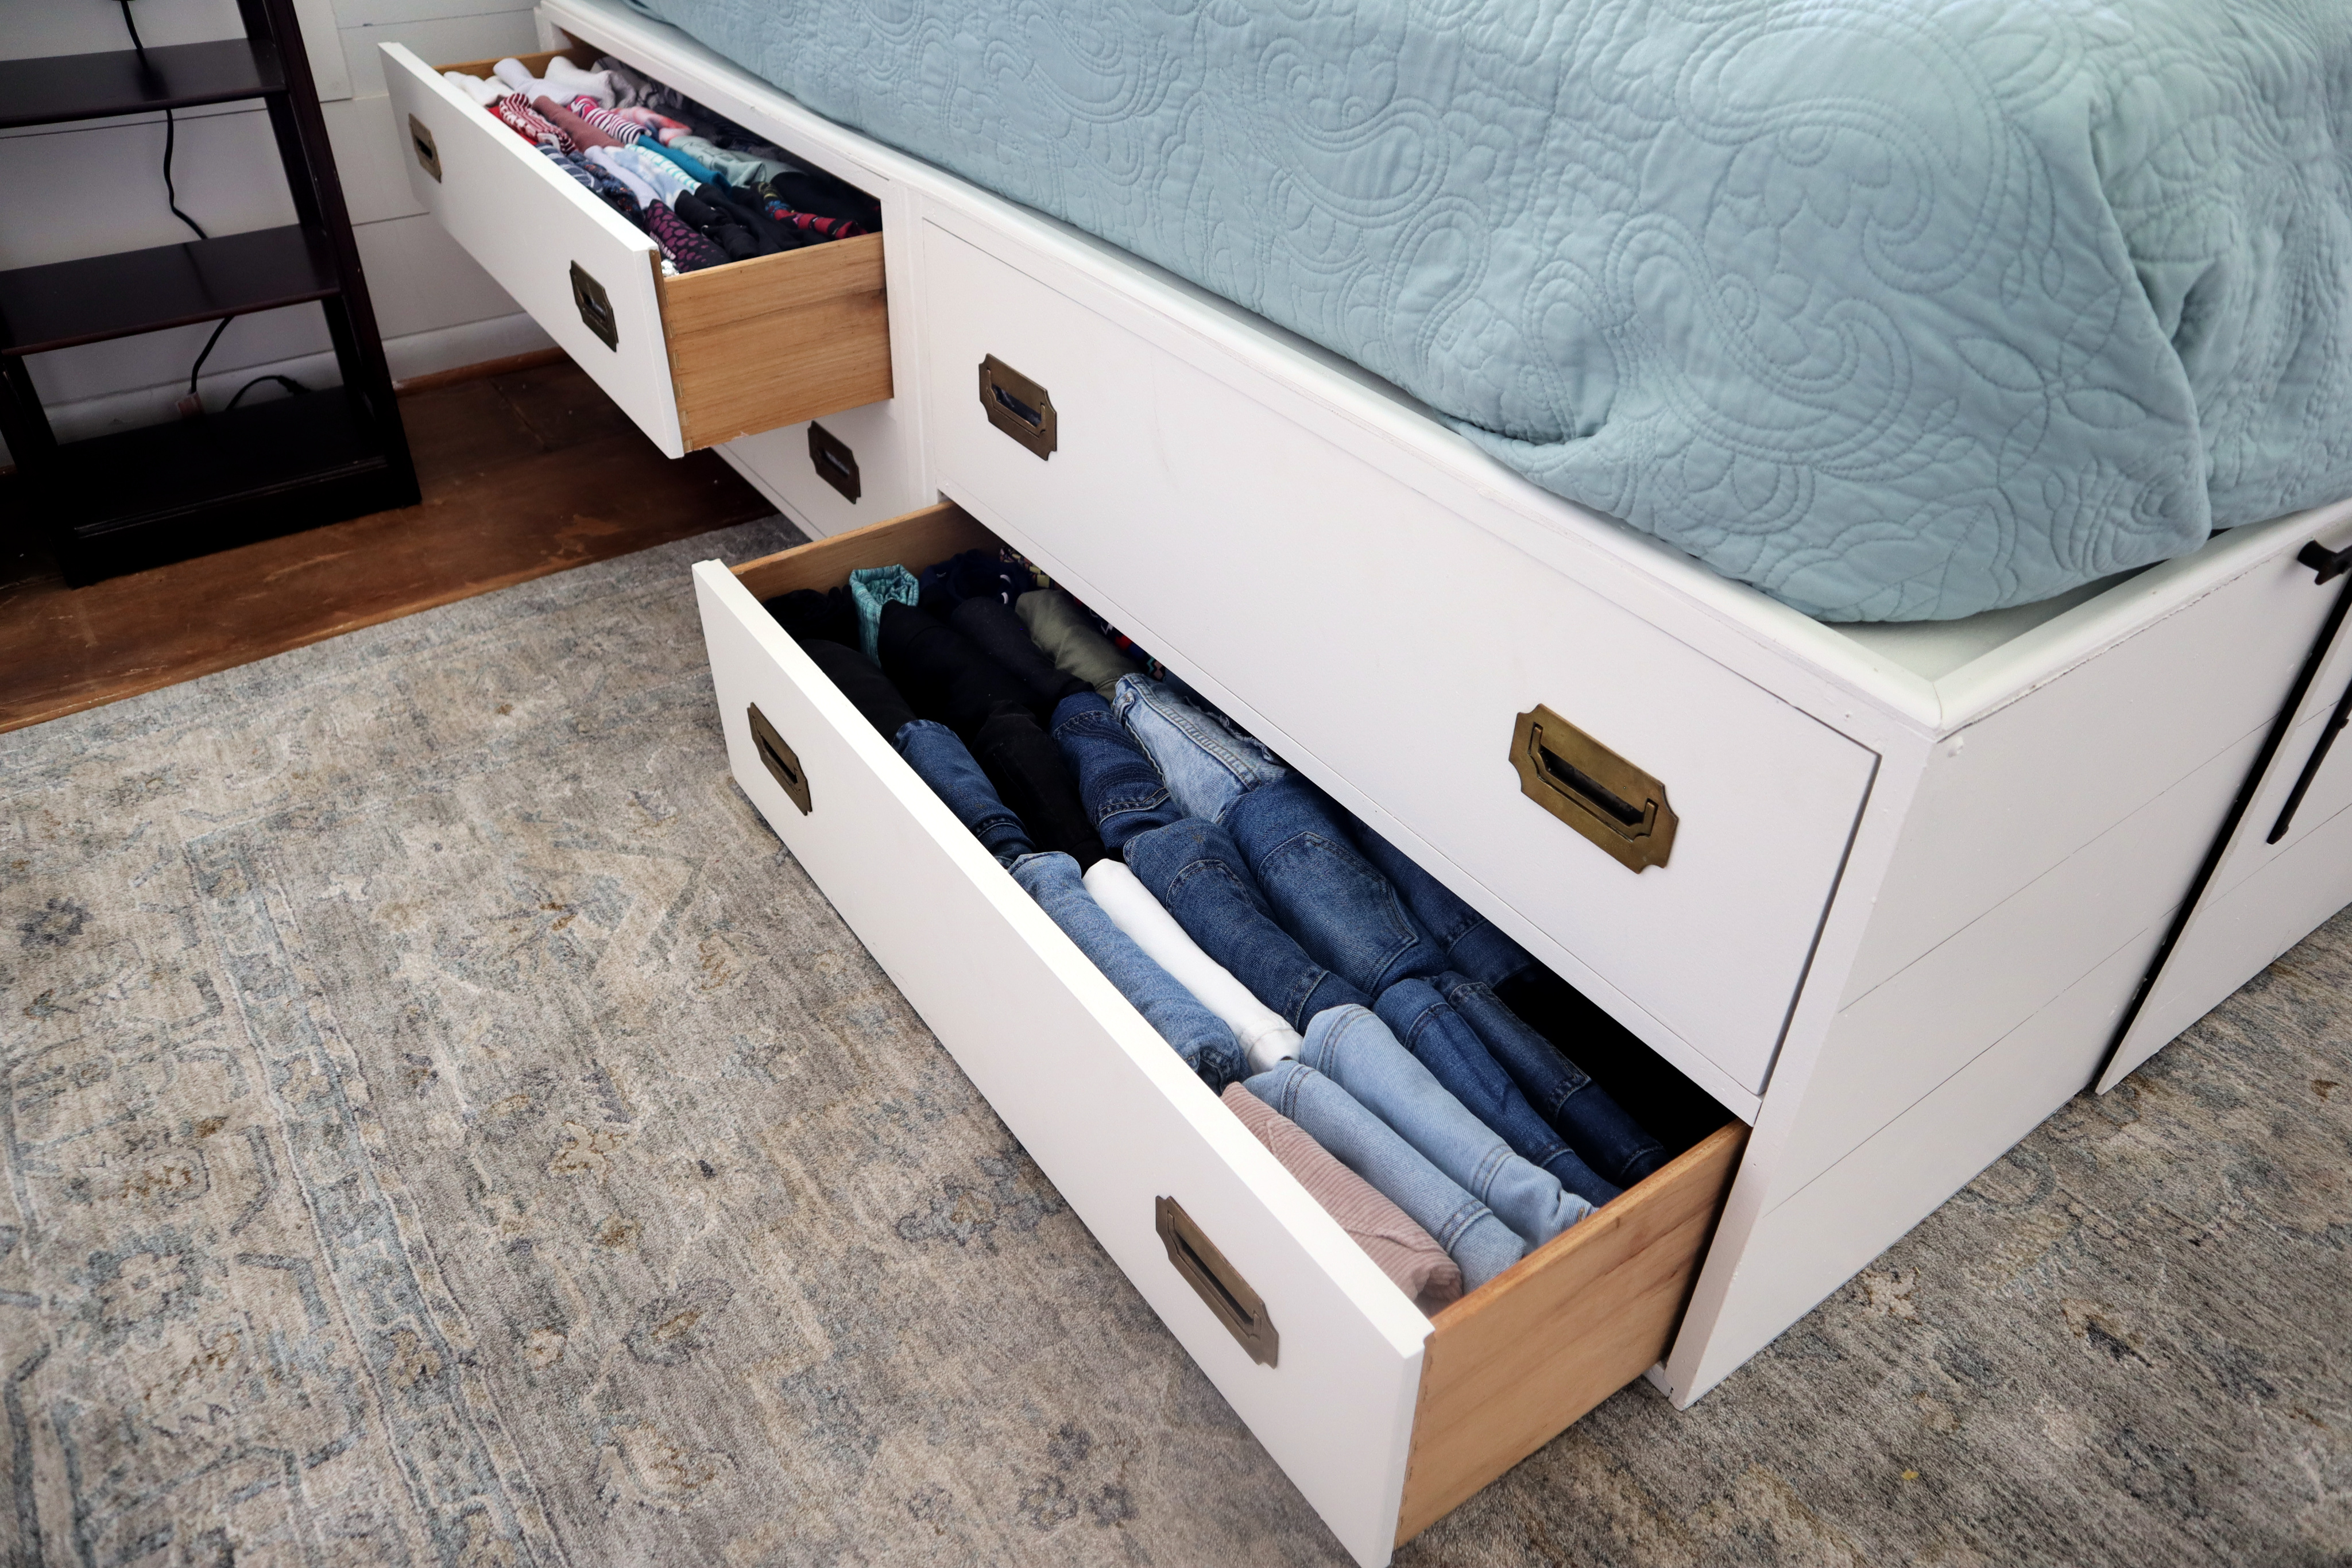 My daughter is thrilled with her storage bed and she even has space to spare.
We still have a bunch of other projects planned for this room renovation. I plan to make curtains and a roman shade for her window, make a duvet cover and some pillows for her bed, make a fabric headboard of some kind, and hang some pictures, so stay tuned for those projects. It oughta be a really cute room in the end.
supplies list…
- two dressers similar size, mine were highboys about 36″-38″ wide..thrift store, etc.
- high bonding primer…THE BEST…Zinsser BIN Shellac primer…sticks to anything including ikea laminate.
- thin plywood… flooring underlayment…Home Depot in the lumber dept. sold in 4’x8′ sheets approx. $14
- sliding door replacement wheels.
- metal bars…Home Depot in hardware.

 Glenda says
March 28, 2021 at 10:46 pmBrilliant!
 Dawn Mason says
March 28, 2021 at 8:03 pmWhy nap in the hole under the bed instead of more comfortable in the bed? I think it would be ideal if you have a dog to sleep in the bedroom but not in bed with you.
Love the whole idea though. Thank you
 Regina says
March 15, 2021 at 10:20 amLove it and all you ideas for reno on a budget we are in the process of buying a 1986 ranch style home and I can’t wait to do some of your projects to make it beautiful! Thank you for sharing your projects and ideas with us! You rock!!!!
 mary jones says
March 9, 2021 at 10:14 amGreat job. love this! would like to try it, but not sure how to cut down dressers.
 Debby says
March 8, 2021 at 1:15 pmI think what you did is wonderful. I think this because I had to pay for one level of drawers of the same idea many years ago. They were not cheap. I salute you and your daughter and the memories you’re making are priceless. I look forward to seeing what else is going on.
 Lorri Lefebvre-Jackson says
March 6, 2021 at 1:22 pmWhat a beautiful bed. Such a smart idea to use the dressers like this. You have a clever daughter too. A little barn door. Brilliant execution!
 mimzylombardo@gmail.com says
March 6, 2021 at 3:06 pmThank you Lorri!