This DIY reusable grocery bag is a really simple pattern that anyone can sew. You can use your favorite fabric or mix and match all your favorite fabrics. It would also be a great use of leftover fabrics. The simplicity of this pattern makes it easy to alter the dimensions to make any size. I made the grocery bag on the right below shorter and wider to use as a beach bag. 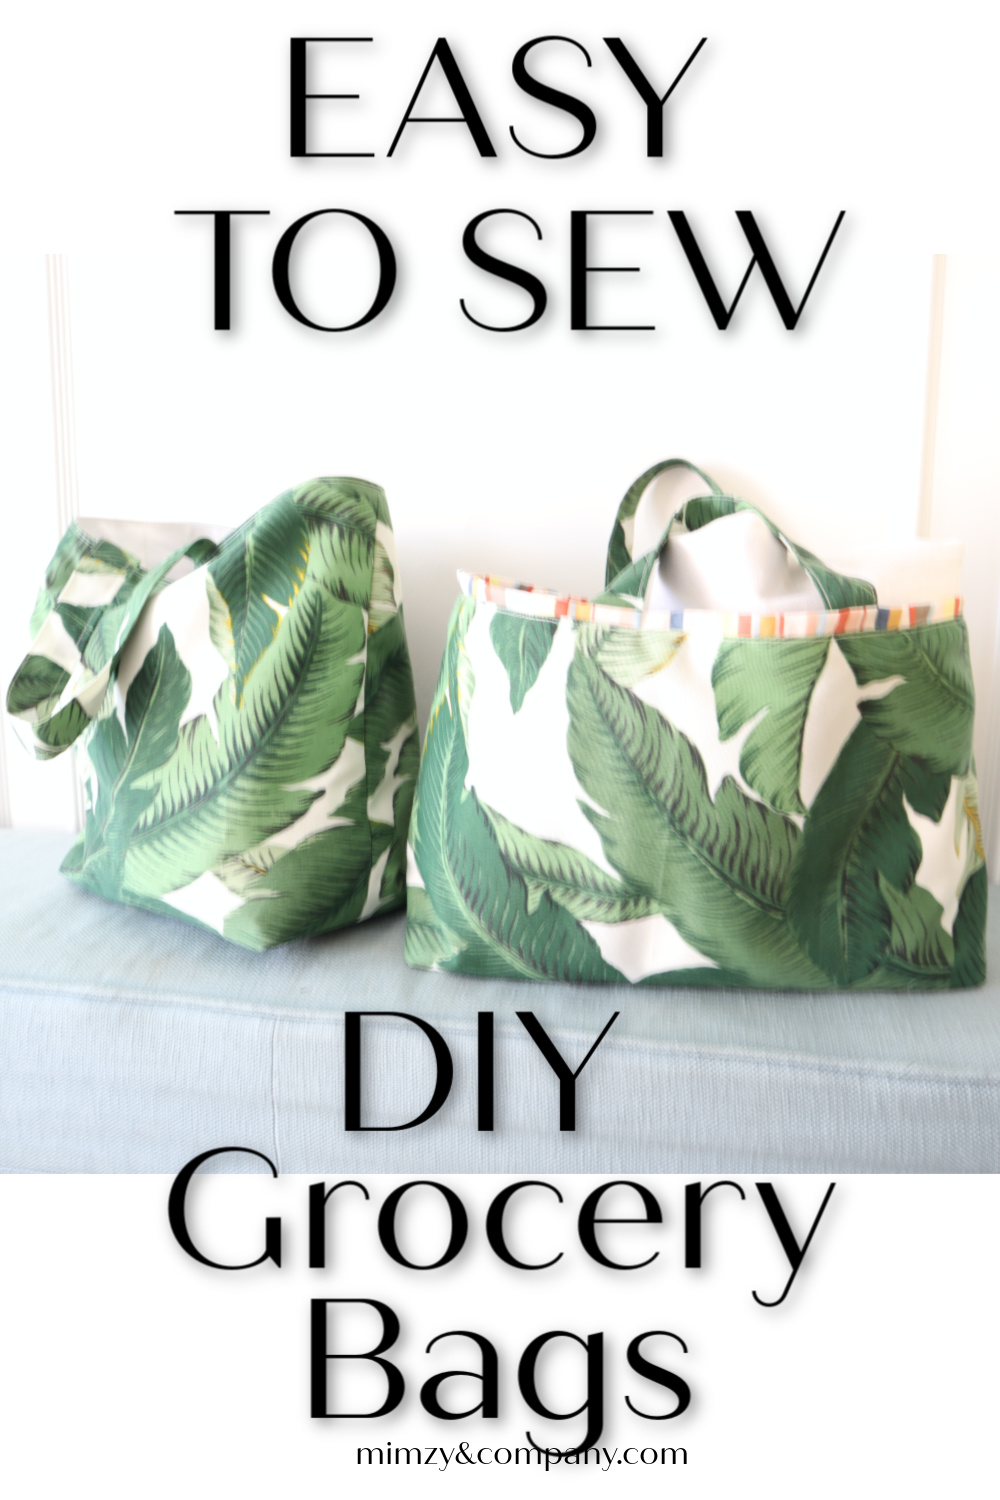
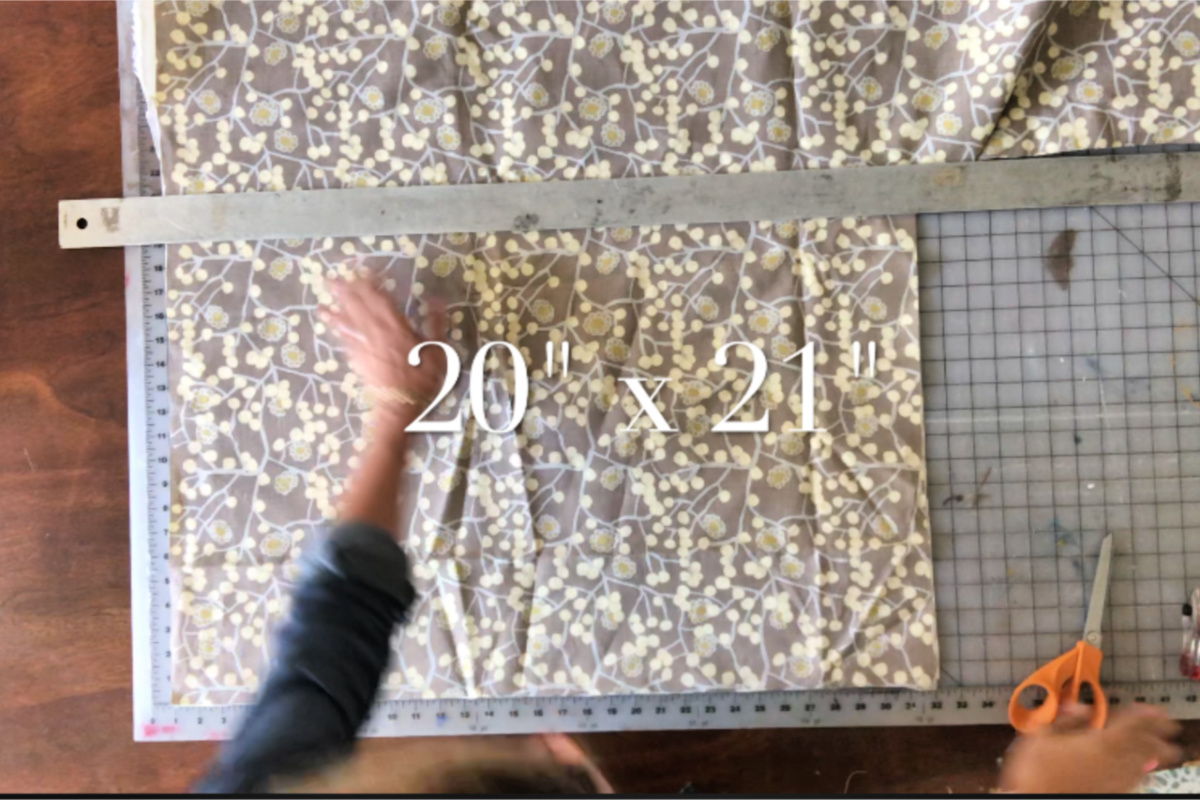 Step 1. Cut both your decor fabric and your lining fabric to 20″ wide x 21″ tall. You need two pieces of each.
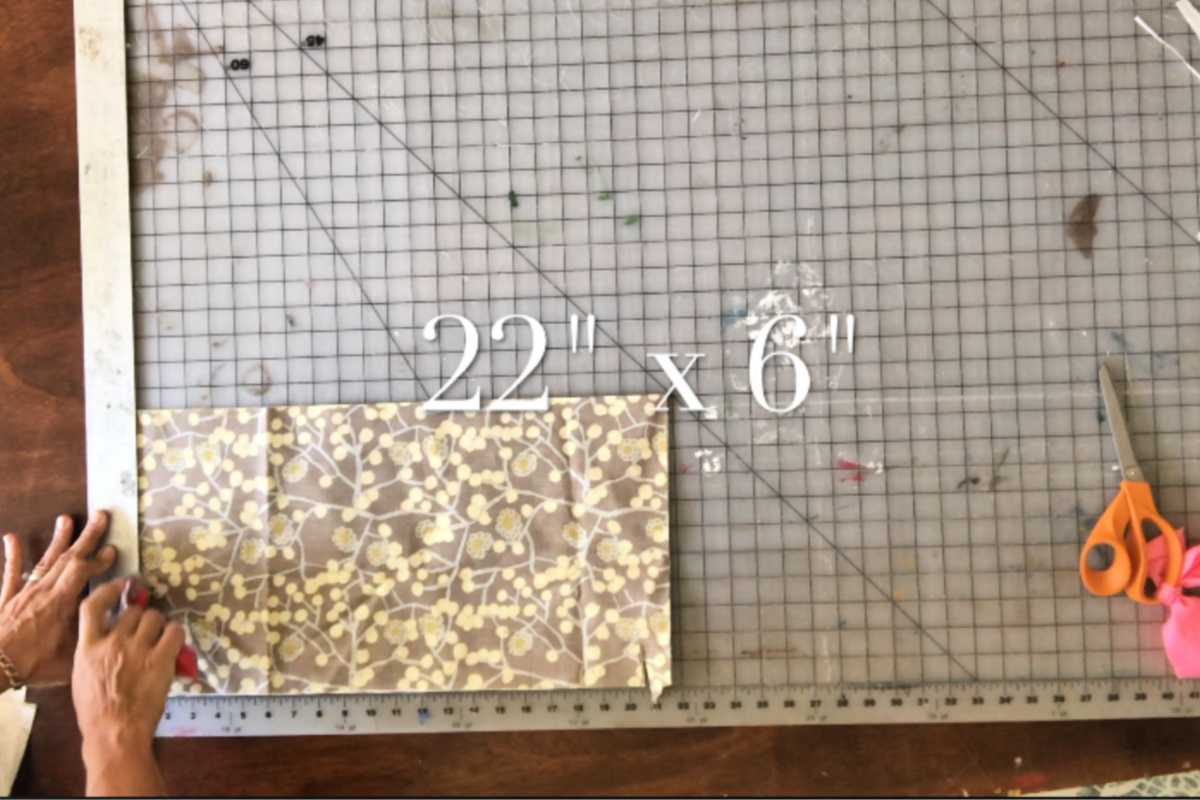 2. Cut your straps. You can use the same decor fabric as the body of your bag or use complimentary fabric. The cut size should be 22″ x6″, and you need two pieces this dimension.
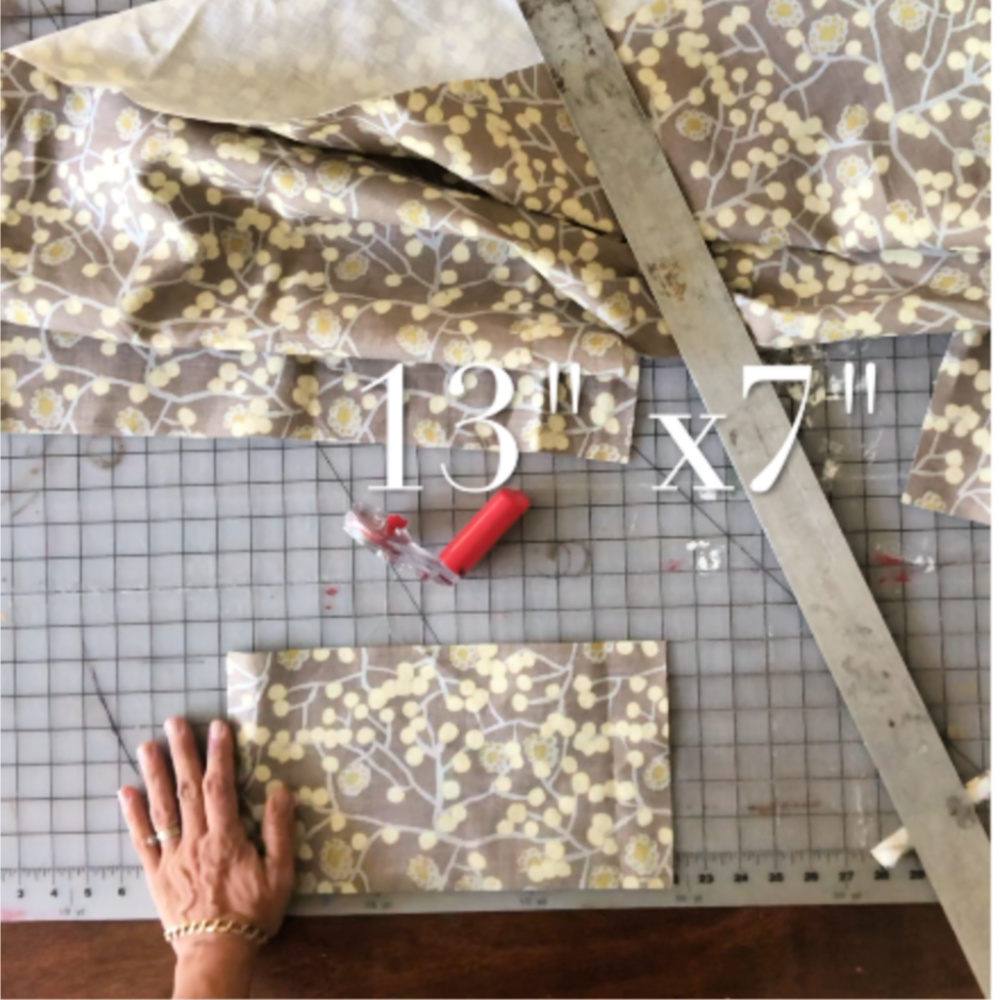 3. Cut the bottom piece of the bag. This piece is additional and optional. It adds a little more stability to the bottom of the bag, and it also creates a nice guide for sewing the corners. You can either use the same decor fabric as the outside of the bag with HeatNBond to fuse it to the bottom of the bag, or you can use fusible stabilizer instead of fabric and HeatNBond. Or you can just sew this piece into the bottom of the bag.
You’ll see how this works later in the tutorial. The video explains this part in detail as well.
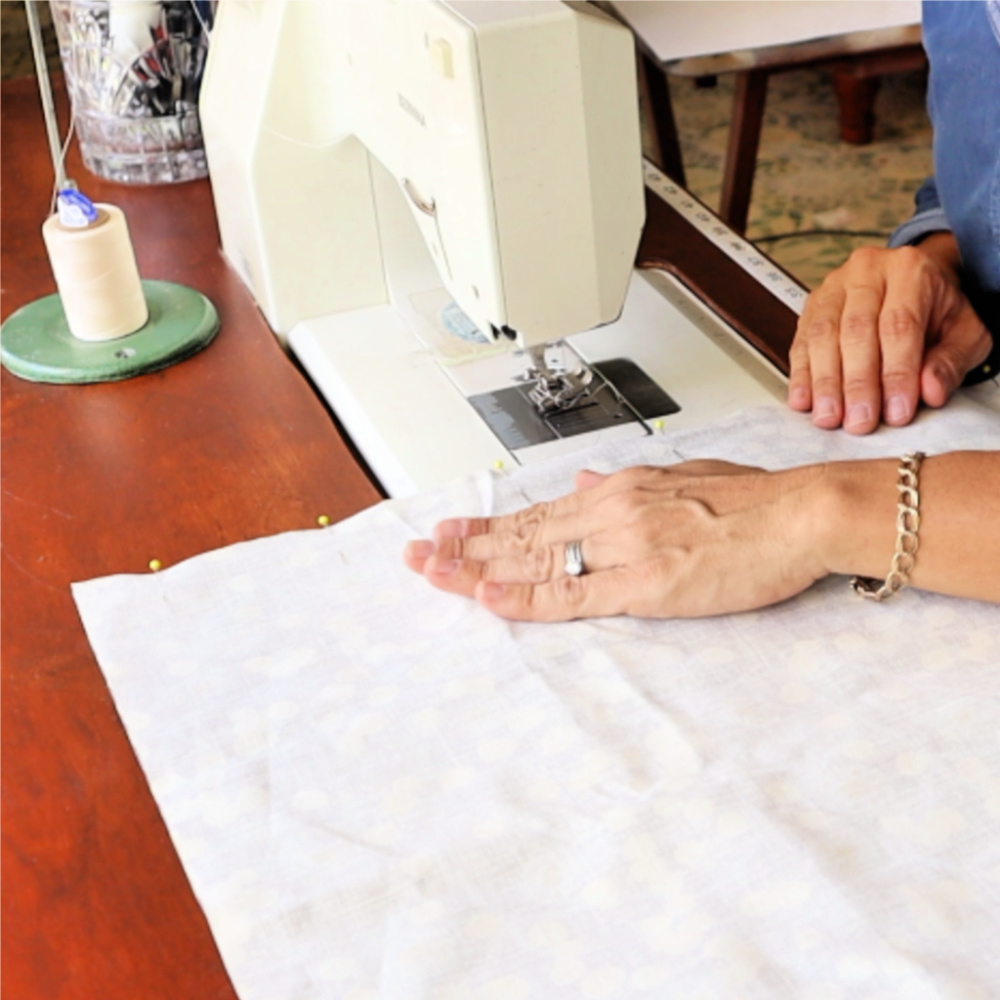 4. Sew across the bottom of the outside of the bag with 1/2″ or 5/8″ seam. And then sew around two sides and bottom of the bag lining.
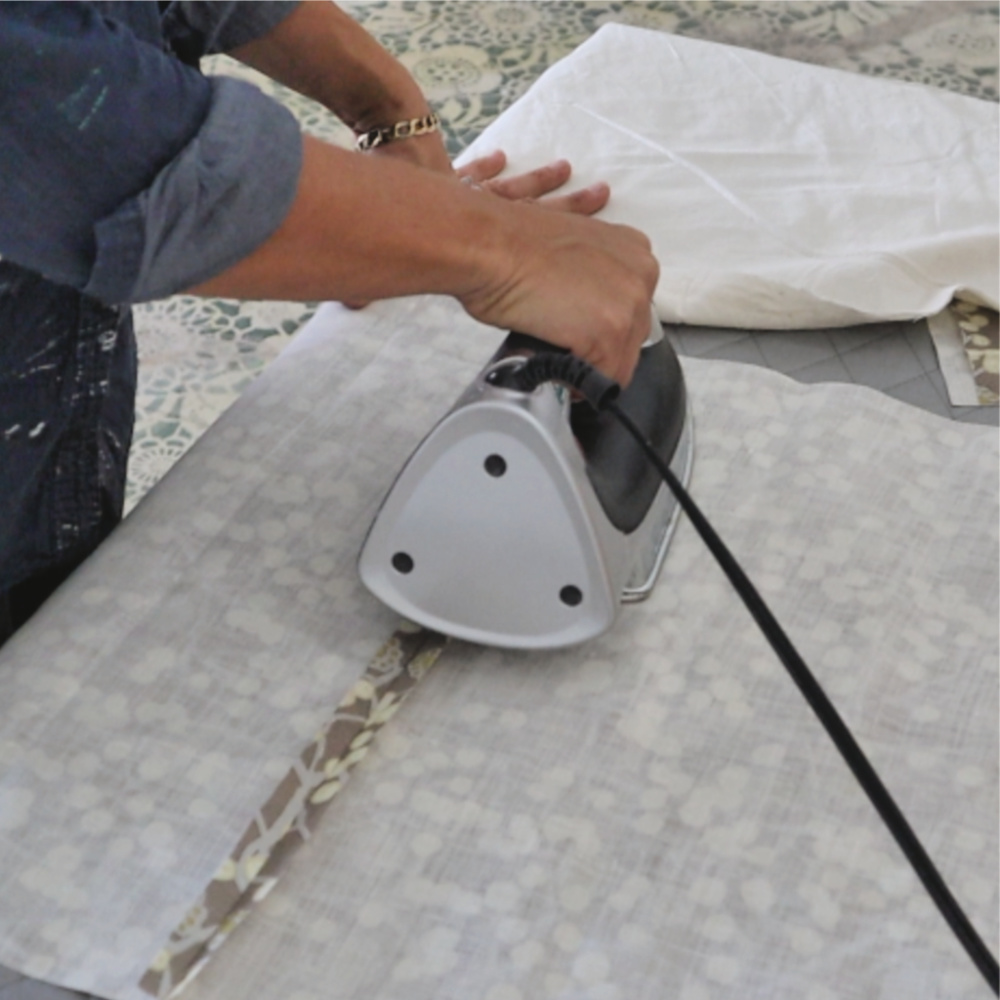 5. Press open all the seams.
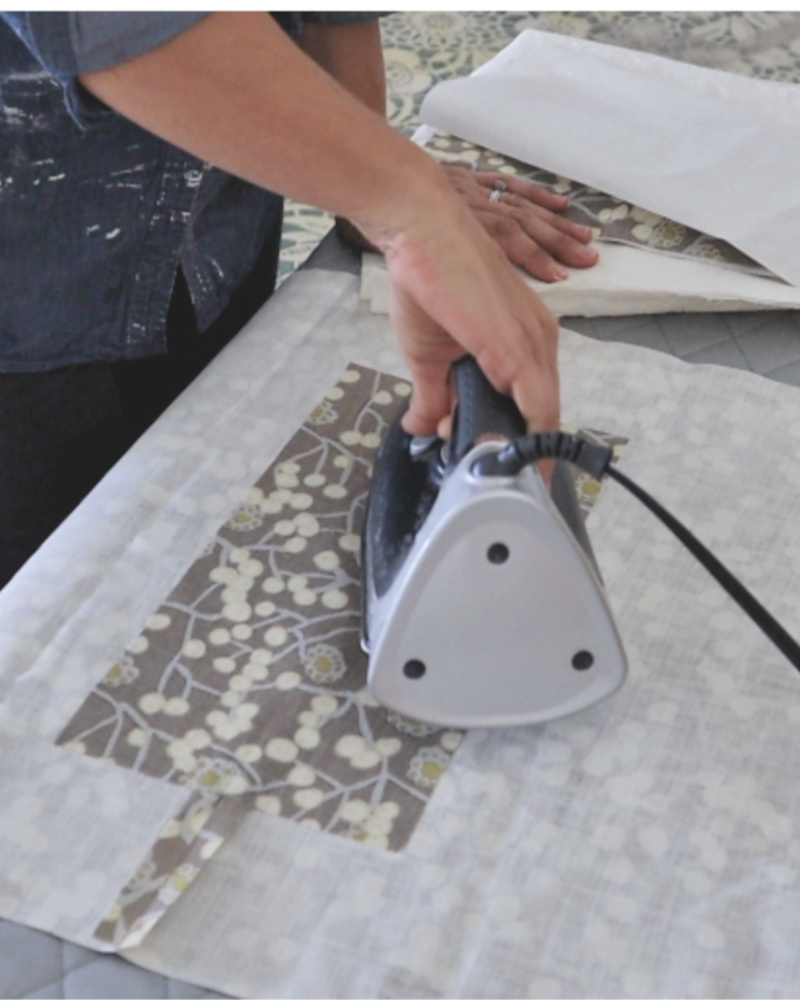 6. Attach the additional bottom stabilizer to bottom of the bag. Center it on the seam at the bottom of the bag and fuse it using HeatNBond or fusible stabilizer. Then press a one inch hem around the top of the outside of the bag as well as the lining.
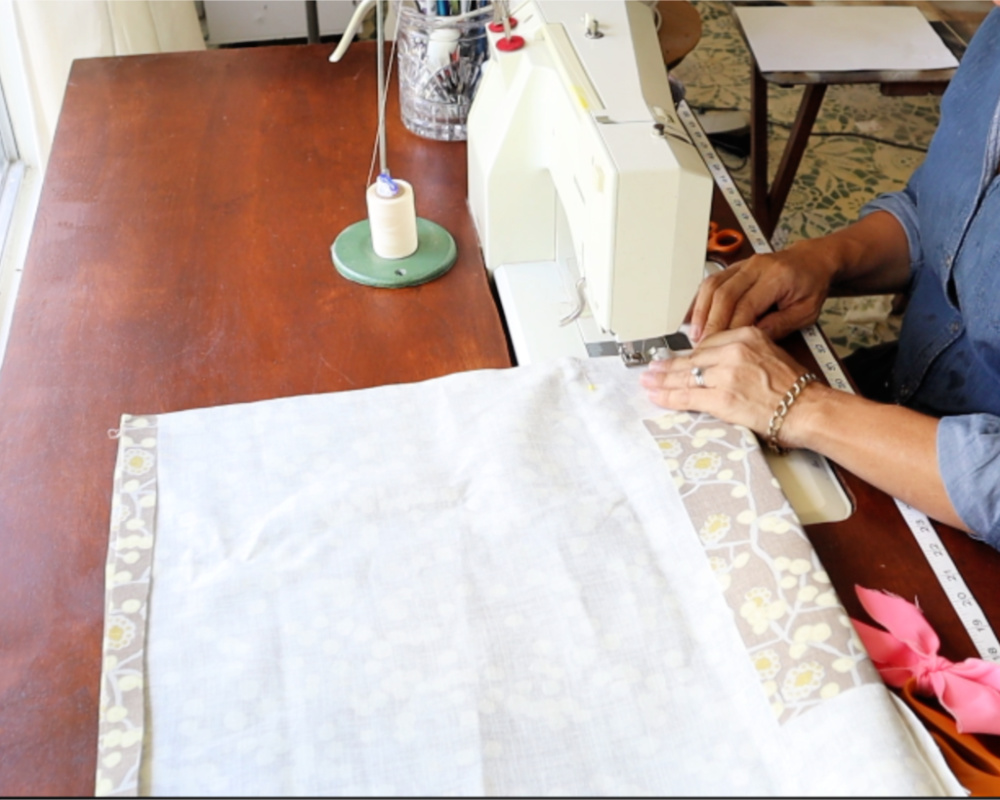 7. Sew down both sides of the outside of the bag.
 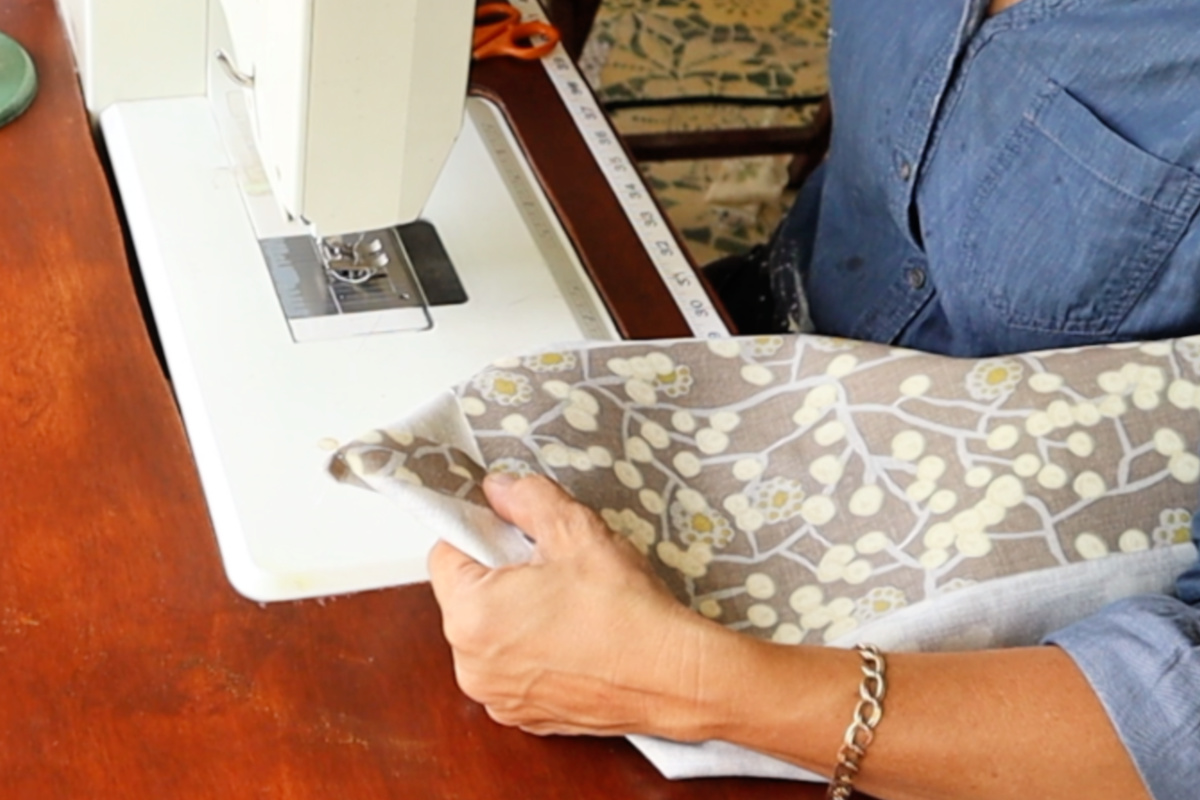 8. Make a box at the bottom corners of the bag. Do this by flattening the corners until the side seam and the bottom seam meet. Place a pin across the triangle you just created and sew across the triangle just inside the fused bottom fabric.
9. Trim off the corner 1/2″ from the sewn seam and set aside the triangle you just cut off. You’ll use it as a guide/pattern on the lining piece.
10. Do the same method at the corners of the bag lining. Use the triangle cut from the outside to pin to the lining and sew your seam 1/2″ from the edge of that across the corners of your lining.
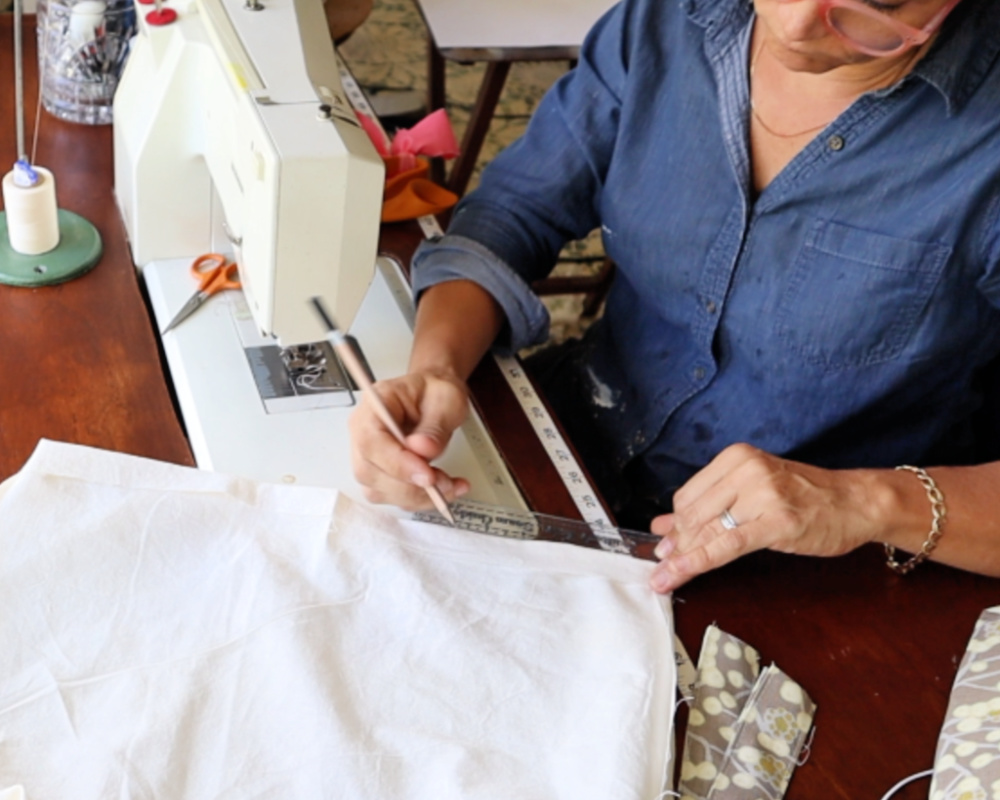 11. Mark 6″ from the edge on both the front and back of the bag to attach your handles.
 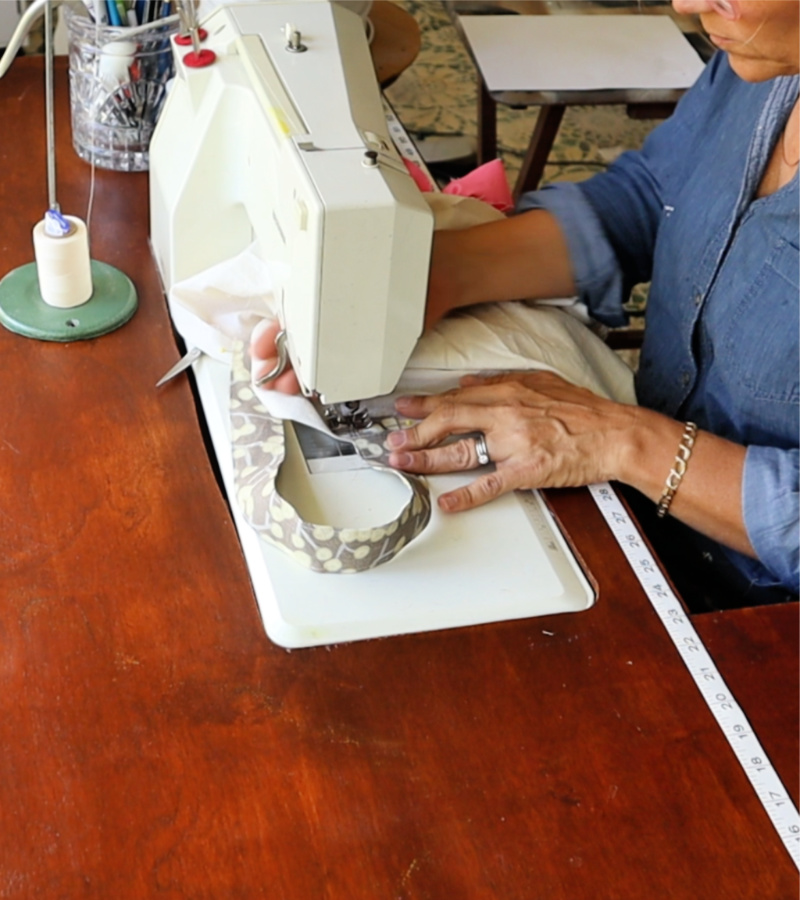 12. Sew the handles to the wrong side of the bag lining.
 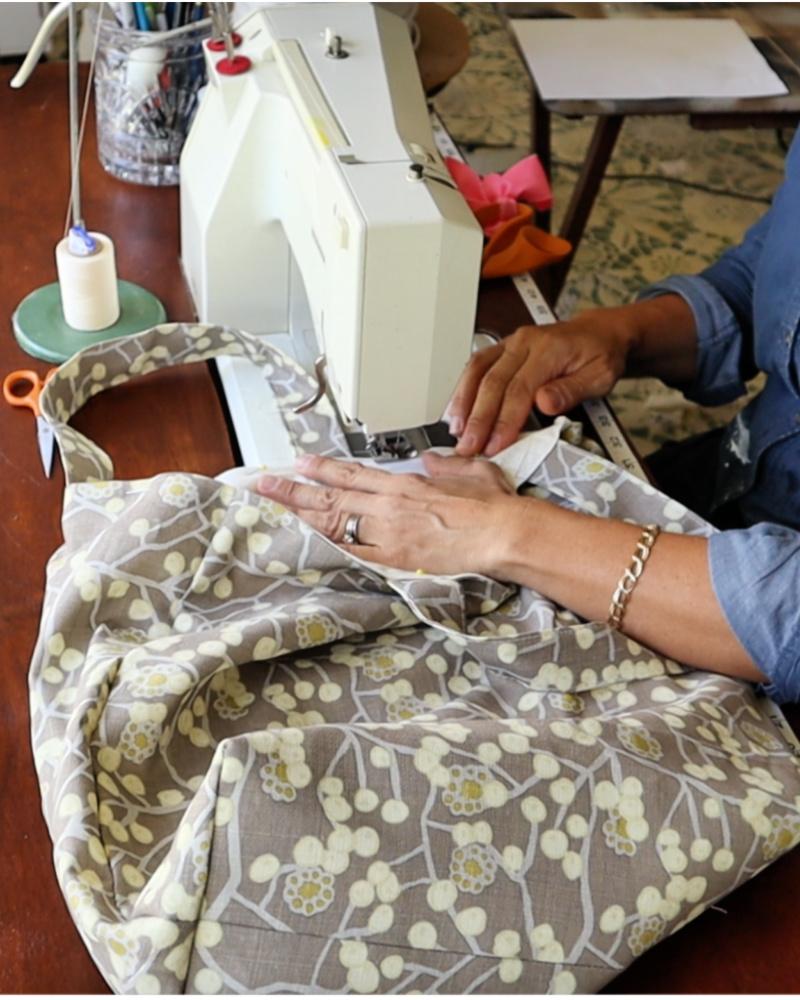 13. Finally turn the outside of the bag right side out and sew the lining to the outside of the bag WRONG sides together. Topstitch 1/4″ from the top edge of the two pieces put together. Then do another topstitch 1/4″ below the first row of stitches.
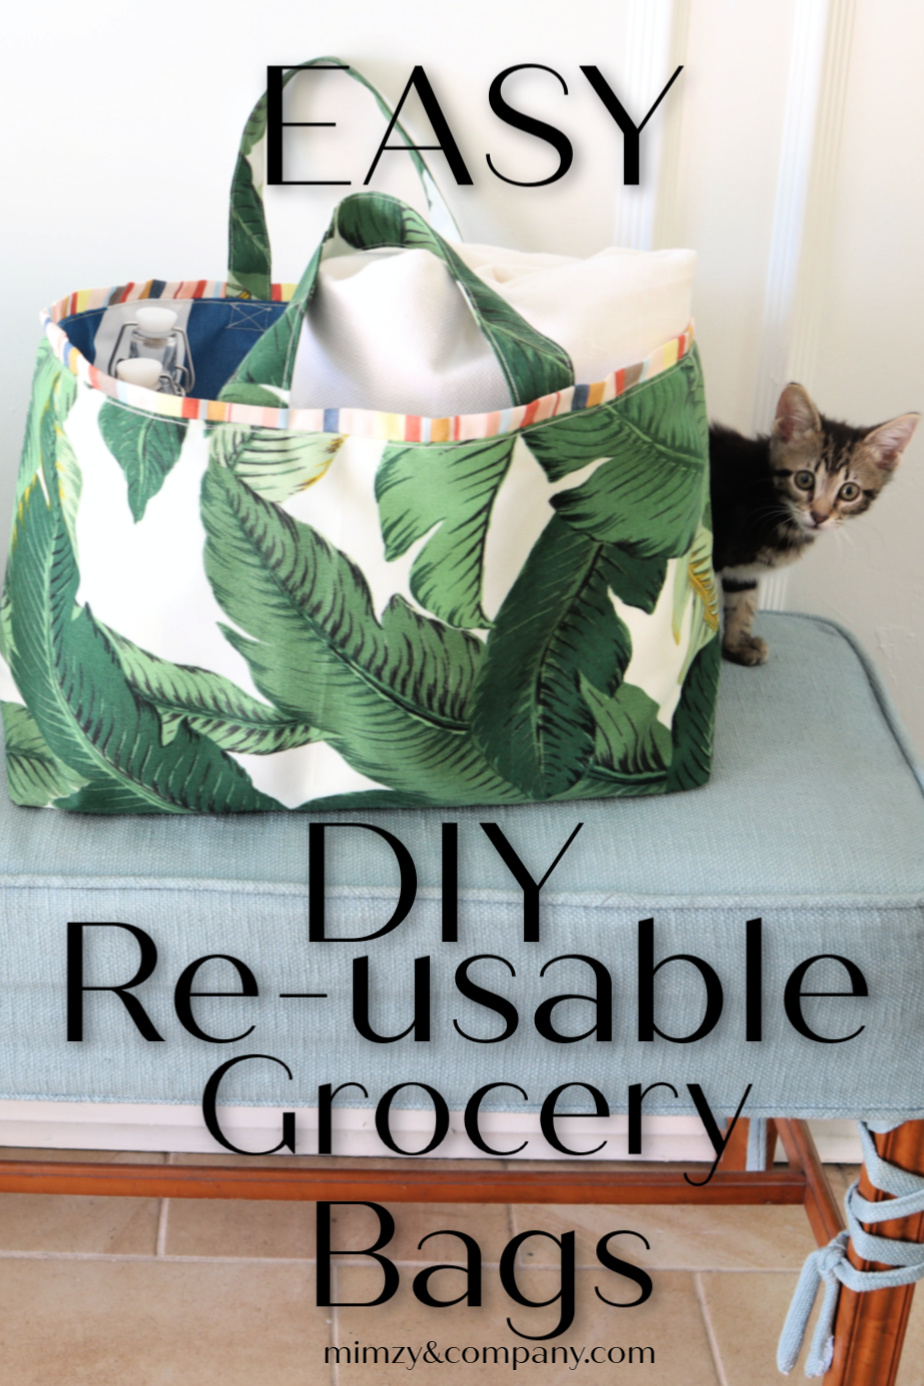
That’s all folks. It seems like a lot of steps but it’s really not hard. The video really clears up any confusion you may have from the still pictures and instructions.

 Elaine says
June 2, 2021 at 4:16 pmI’m wondering why the bag you made in the video is so completely different to the bags in the photo?
 mimzylombardo@gmail.com says
June 2, 2021 at 4:29 pmI ran out of the palm leaf fabric and had to use a different fabric.The one palm leaf bag is shorter and added trim but the patterns and the procedure is the same.