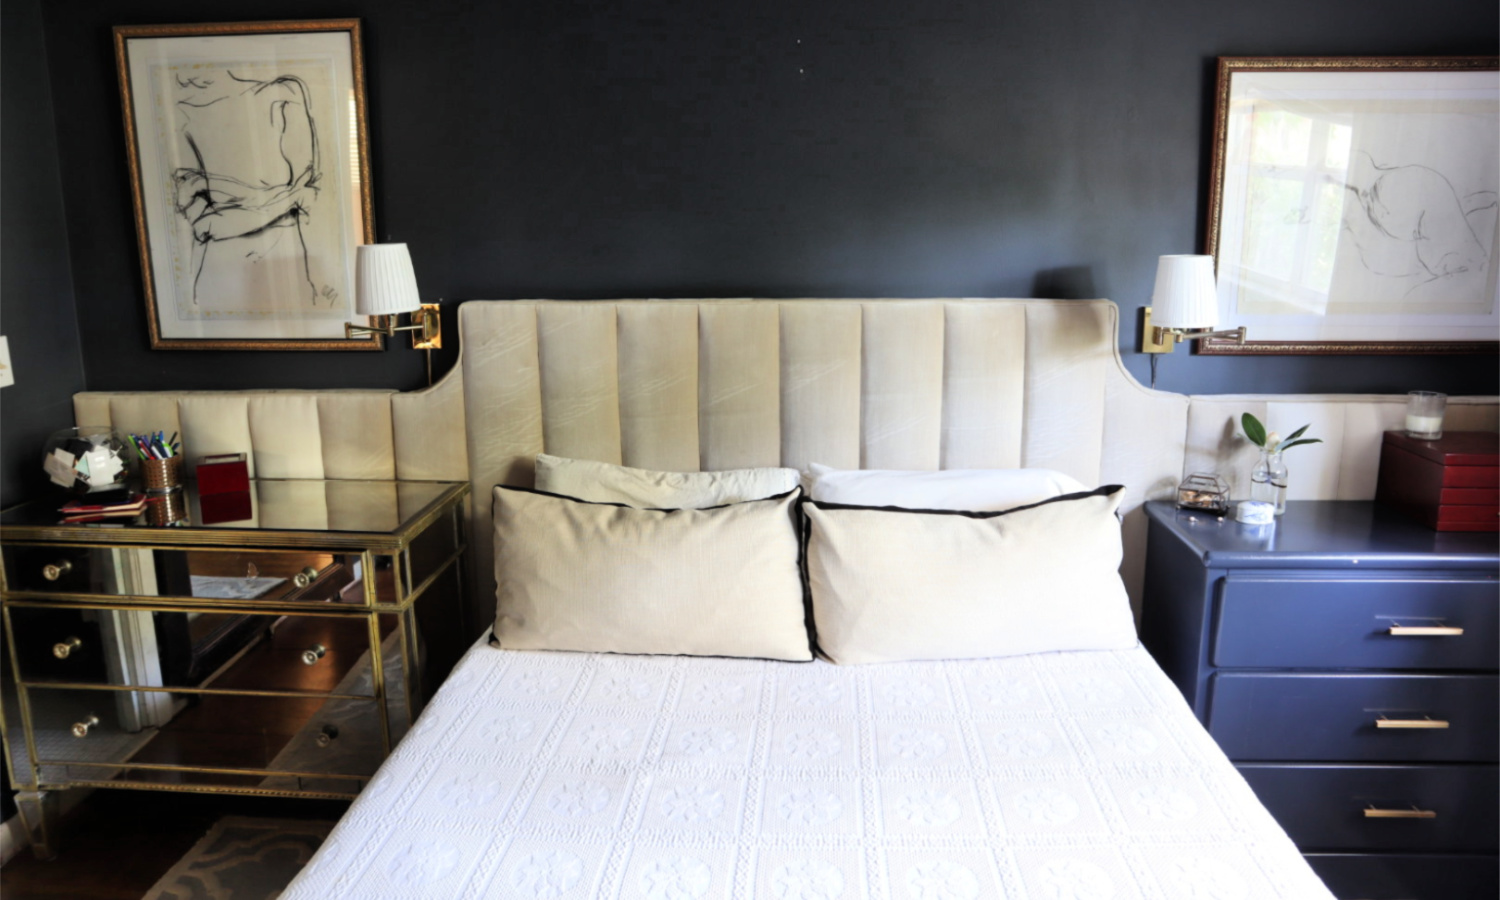
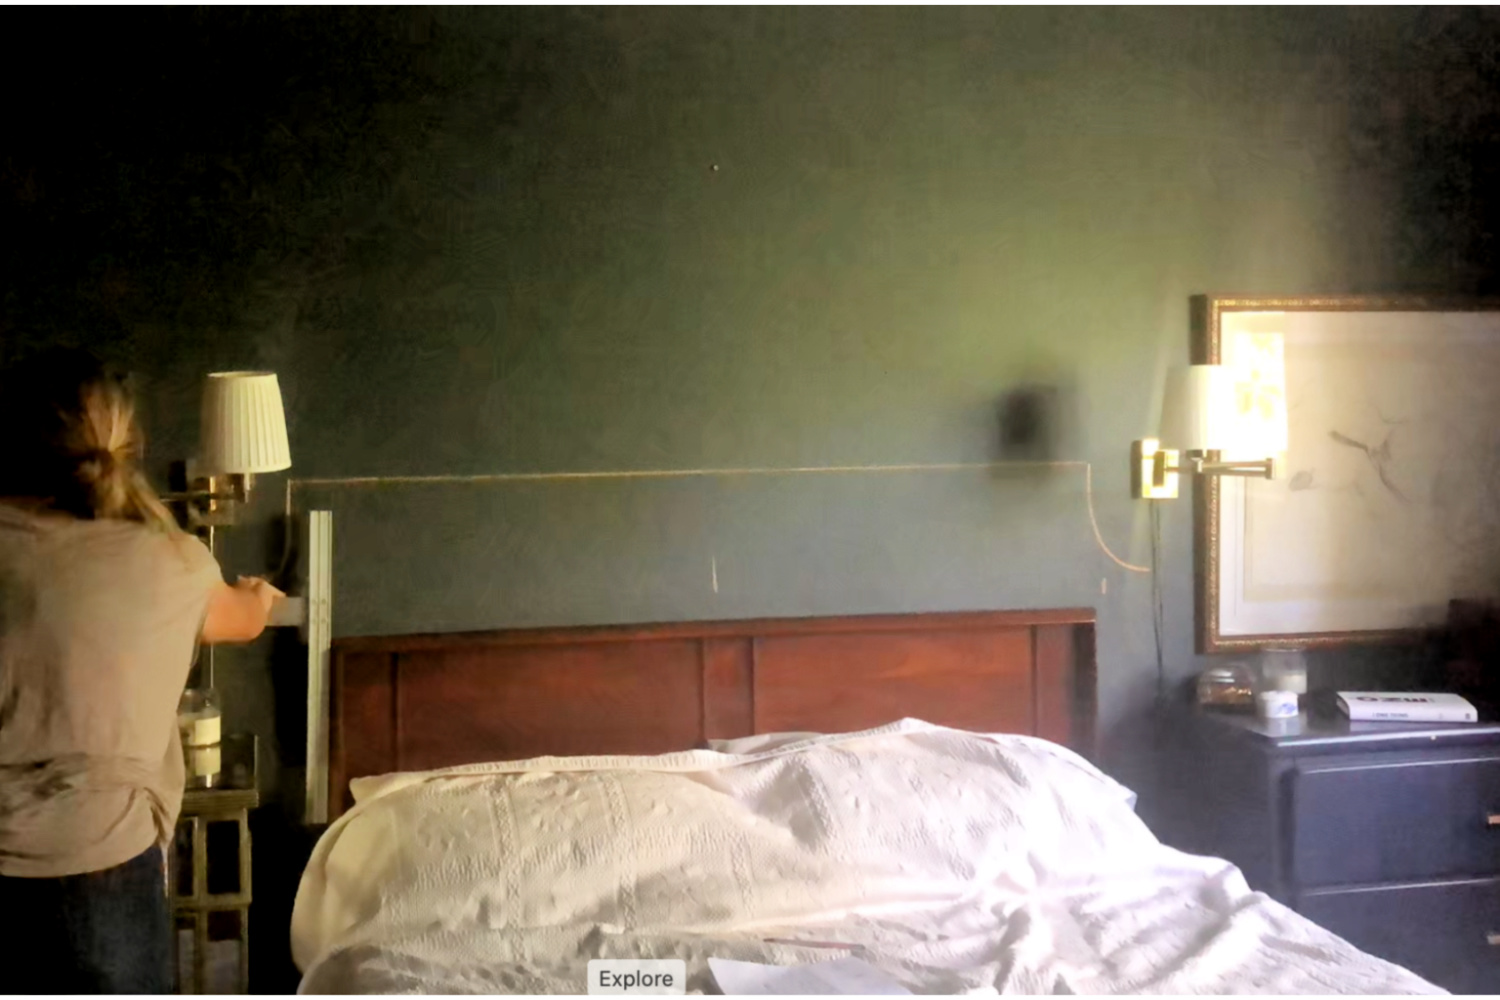
 First, I drew the pattern on the wall with chalk to see if the pattern I had in mind was suitable and to determine the dimensions.
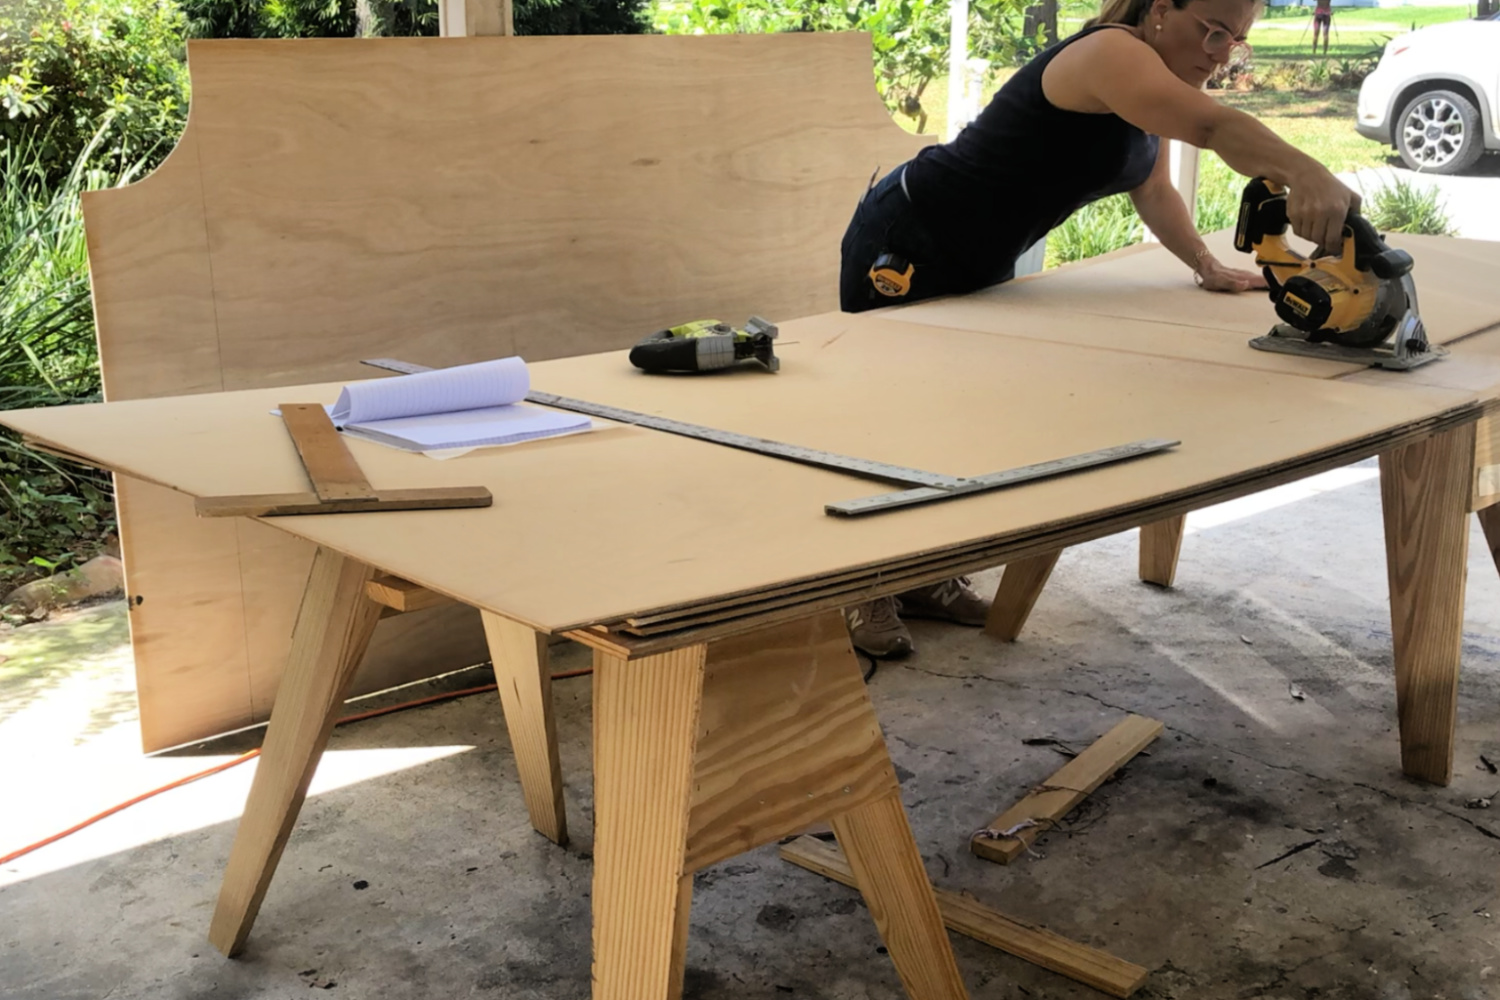 Then I transferred the pattern to plywood and cut it out. After cutting out the shape I used 1×2 pine to frame out the back of the plywood and create some depth to the frame, and also create 4″ feet to bring my headboard to the proper height.
My headboard spans the whole 14′ width of my bedroom. So I had to make the headboard in three sections in order to be able to move it and handle it.
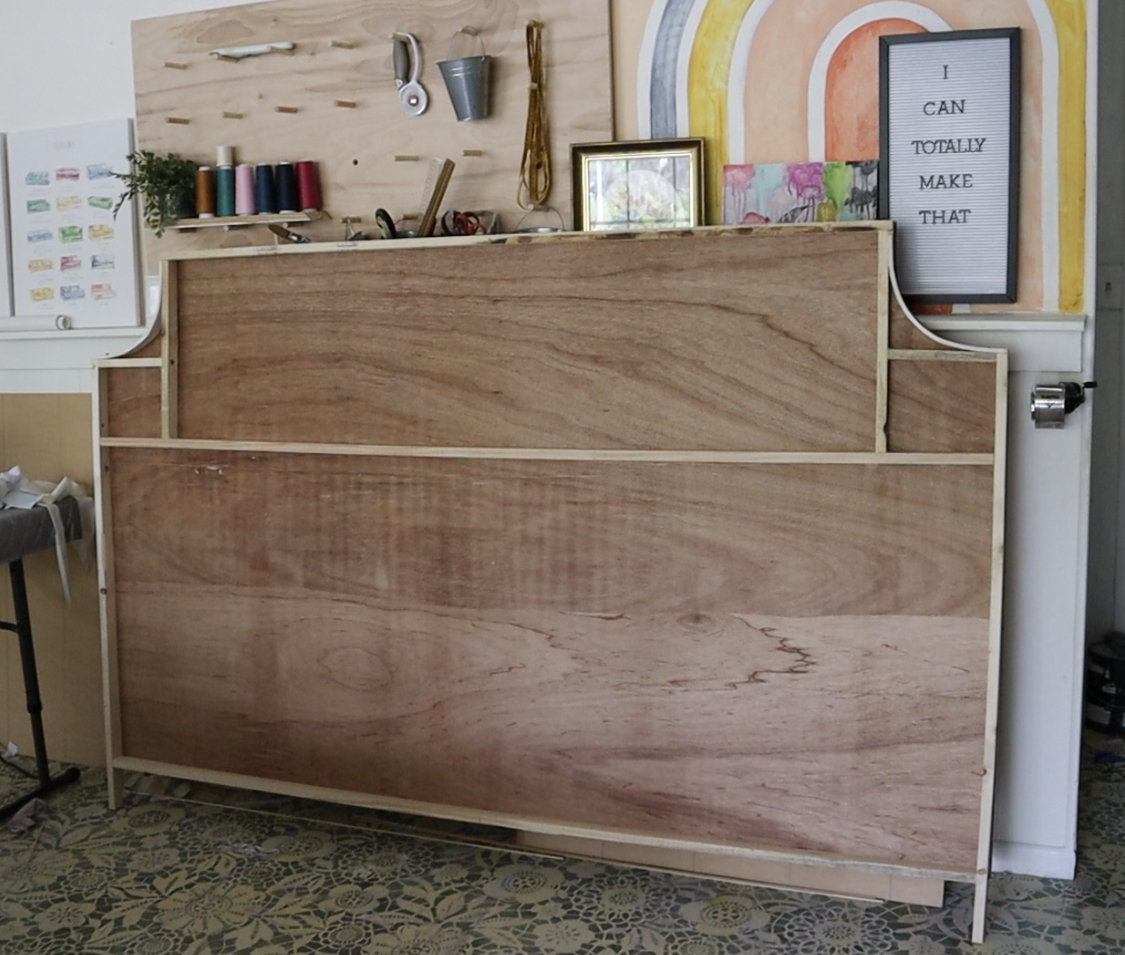 I created the curved corners with plastic flexible trim moulding from Home Depot.
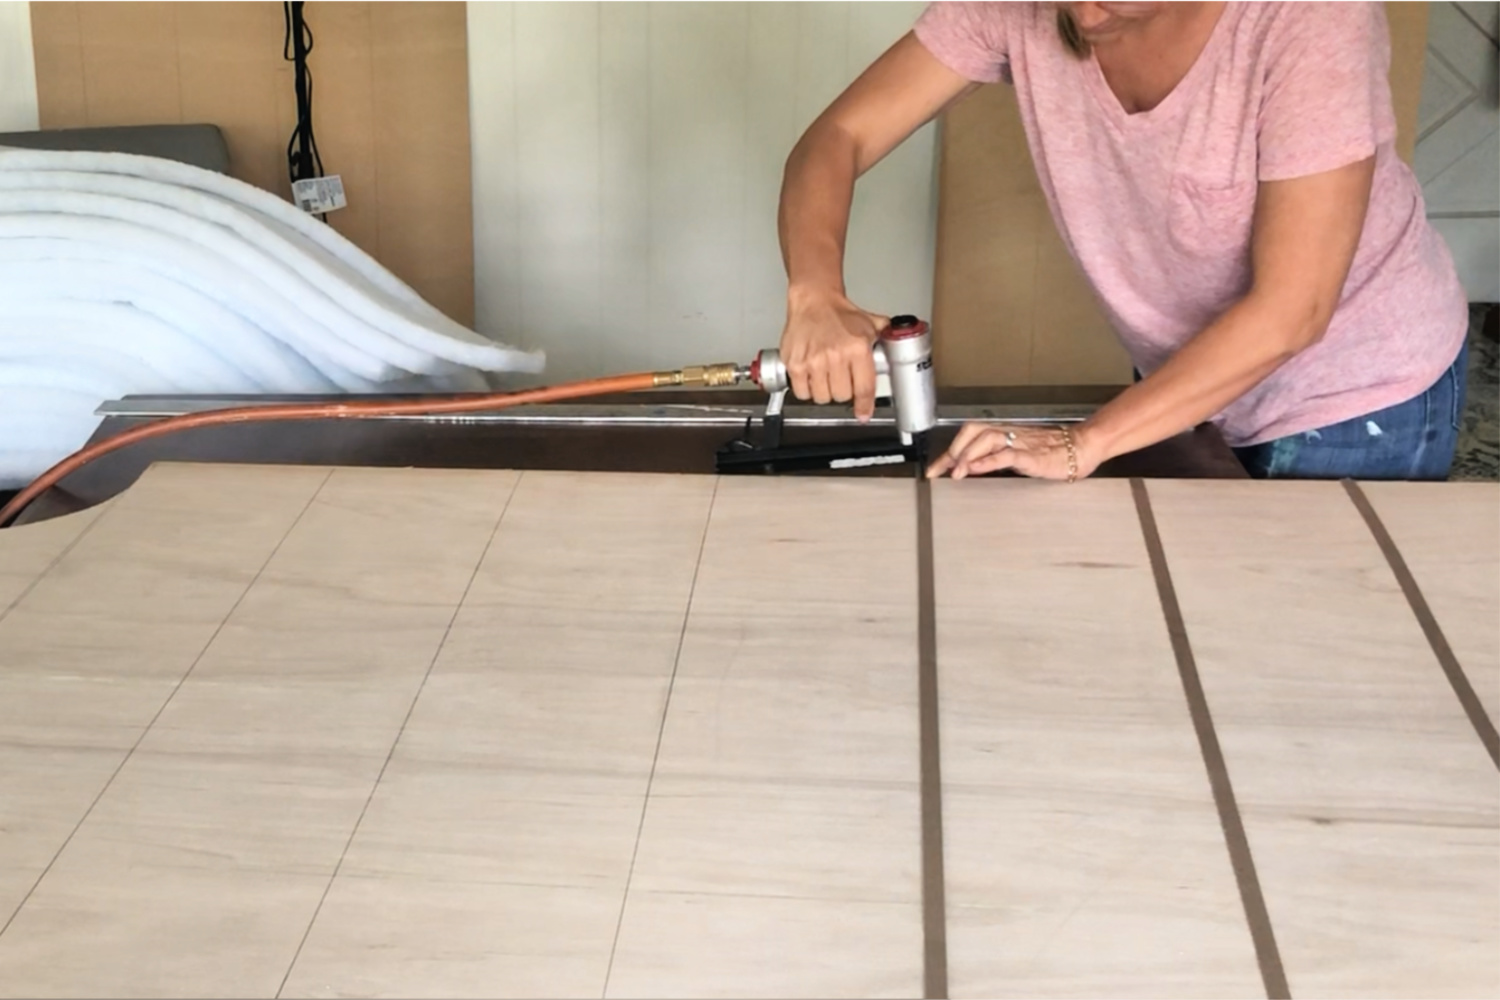 I measured the middle section of the headboard and evenly divided it into 8″ sections. I stapled cardboard tack strip on top of the pencil drawn line from bottom to top. The tack strip has two purposes. It provides a straight line to follow and it provides a tactile guide that can be felt through the layers of fabric.
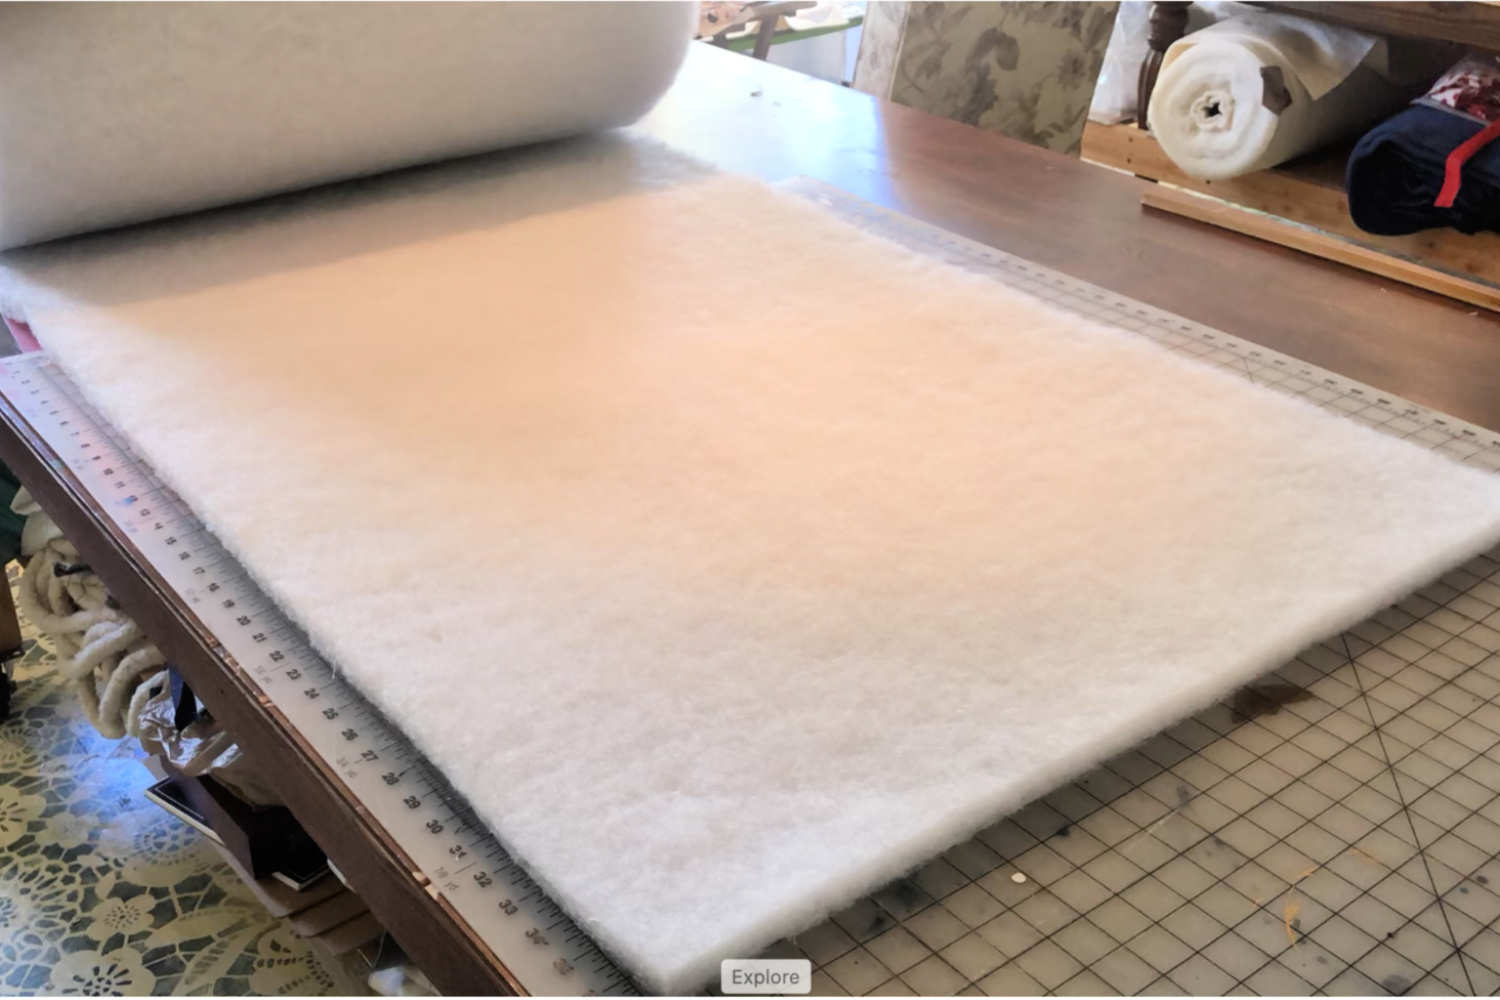 The picture above is Dacron. It’s upholstery batting, which is very hight loft, dense batting. It’s not the same as quilters batting. You can buy a whole roll of upholstery Dacron at the fabric store by the yard, or go to your local upholstery supplier and buy it by the roll for much cheaper. I cut all my Dacron strips ahead of time. I like to do my projects assembly line style to try to be as efficient as possibly. I’m not a fan of task switching.
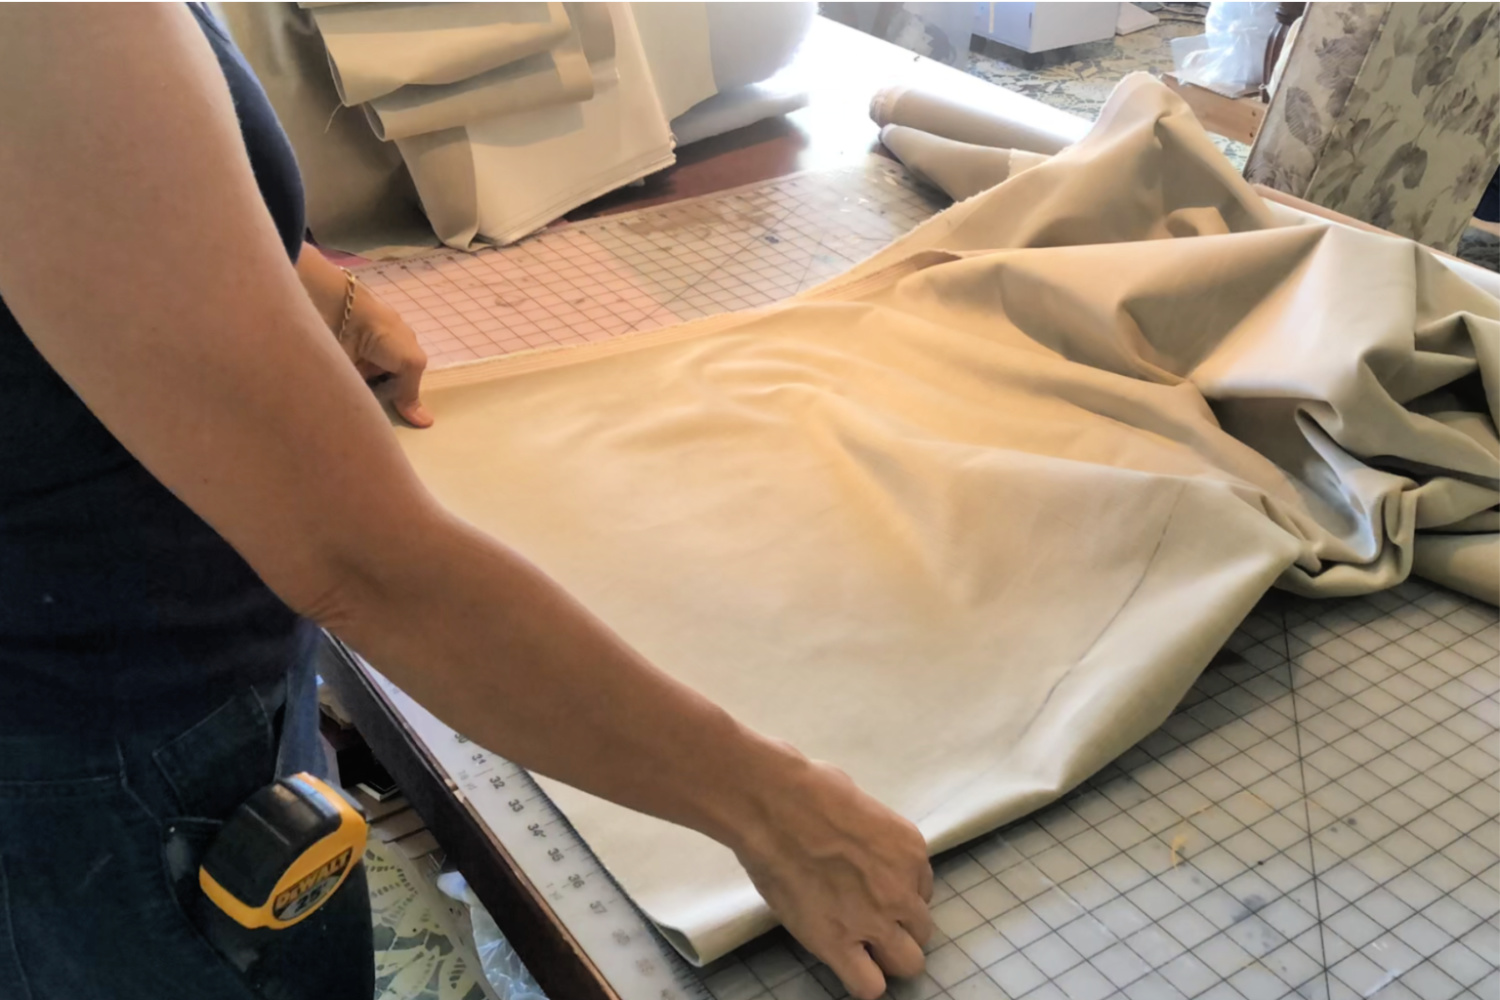 I also cut all my fabric strips right away. I cut my fabric strips 12″ wide, so I’d have plenty of fabric to pull and staple, and allow for the crown(poofy-ness) of the Dacron. Nothing’s worse than stapling into a fraction of an inch of fabric while trying to pull it taught.
Start the very first strip of fabric on outside edge of the frame. Take care to make the first piece straight and staple the fabric all the way down the frame. Place the Dacron between the tack strip and fold the velvet fabric over the Dacron and staple the fabric tight over the Dacron, stapling the fabric to the tack strip. Feel for the tack strip as you move your staple gun to make sure you’re stapling into the tack strip. This will keep your seams straight.
After the first strip of fabric is stapled down, cut off the excess fabric so it lines up and reveals the tack strip underneath.
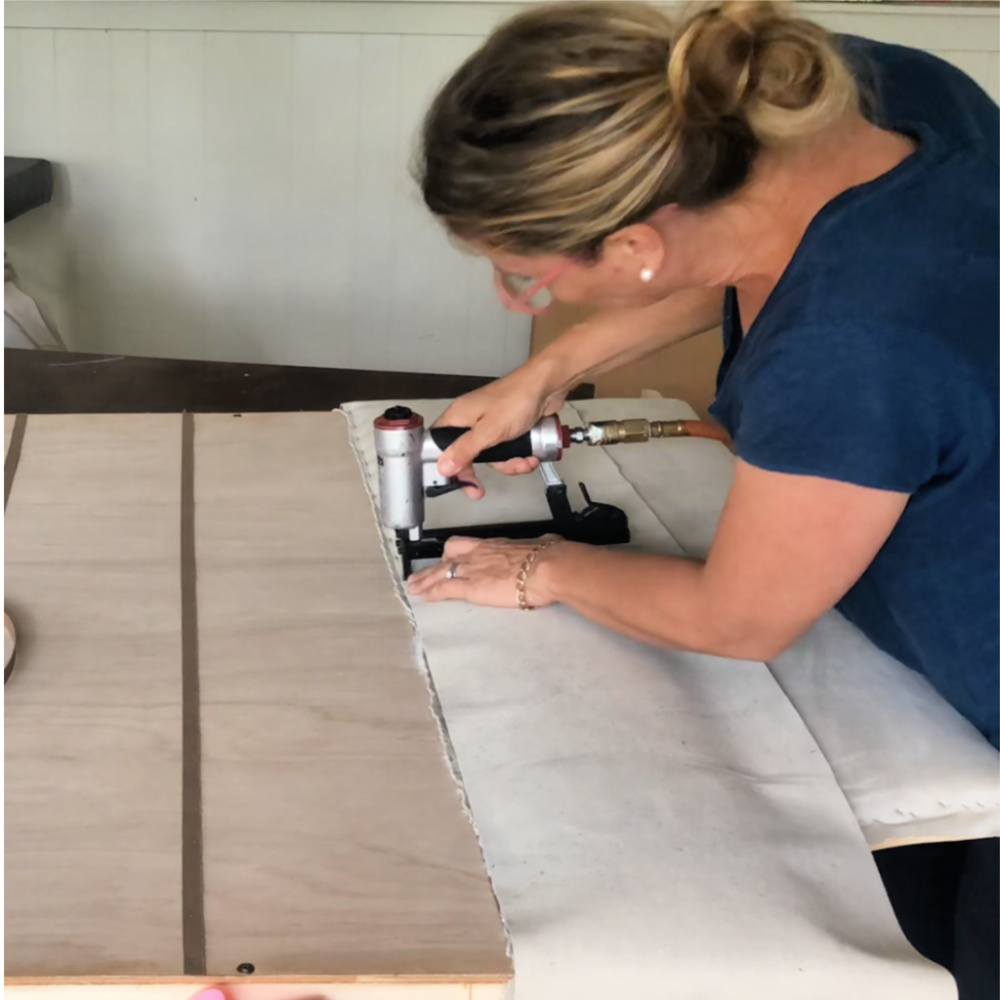 The next strip of fabric is then placed right side down on top of the first strip of fabric. Make sure the edge of the top piece of fabric is lined up perfectly to the first tack strip and staple it down.
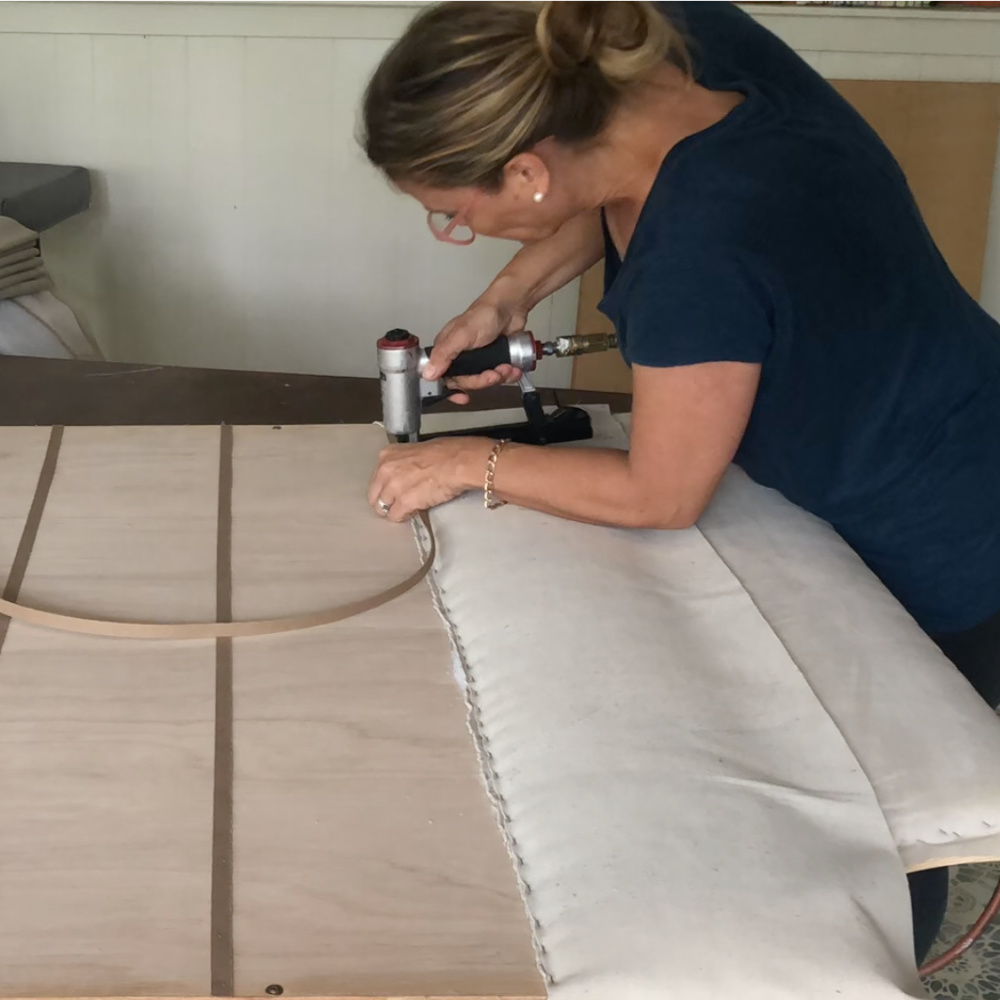 Then staple another piece of cardboard tack strip right on top of the first tack strip and fabric. This cardboard will create a very straight and sharp seam between the channels.
Make sure you have 3/8″ staples, otherwise the staples will be too short to reach the wood and will pull out of the cardboard.
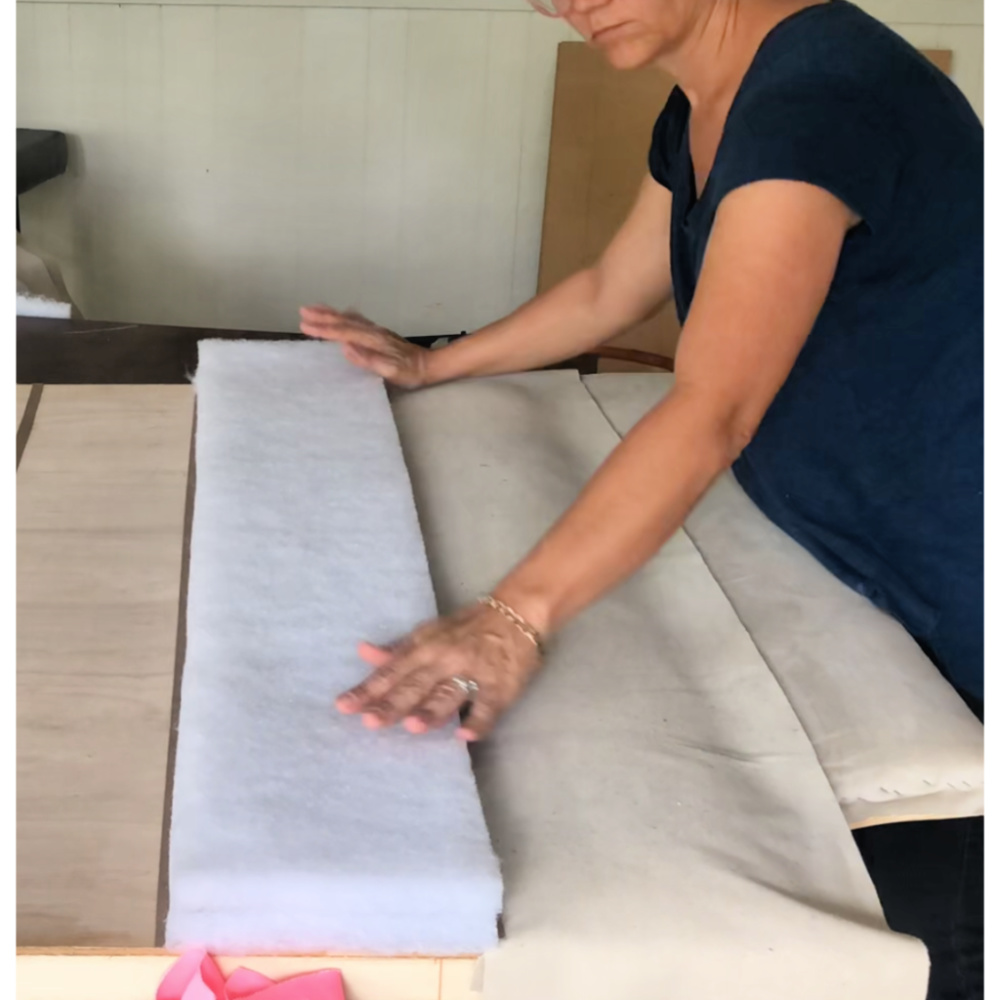 Lay down two more pieces of Dacron. I used two layers of Dacron so my headboard would have a bit more fullness. You can use only one piece if you prefer a flatter looking headboard. Usually upholsters will use 1″ foam with a single layer of Dacron over the foam. But, foam is very pricey and I prefer to not use the petroleum laden stuff anyway.
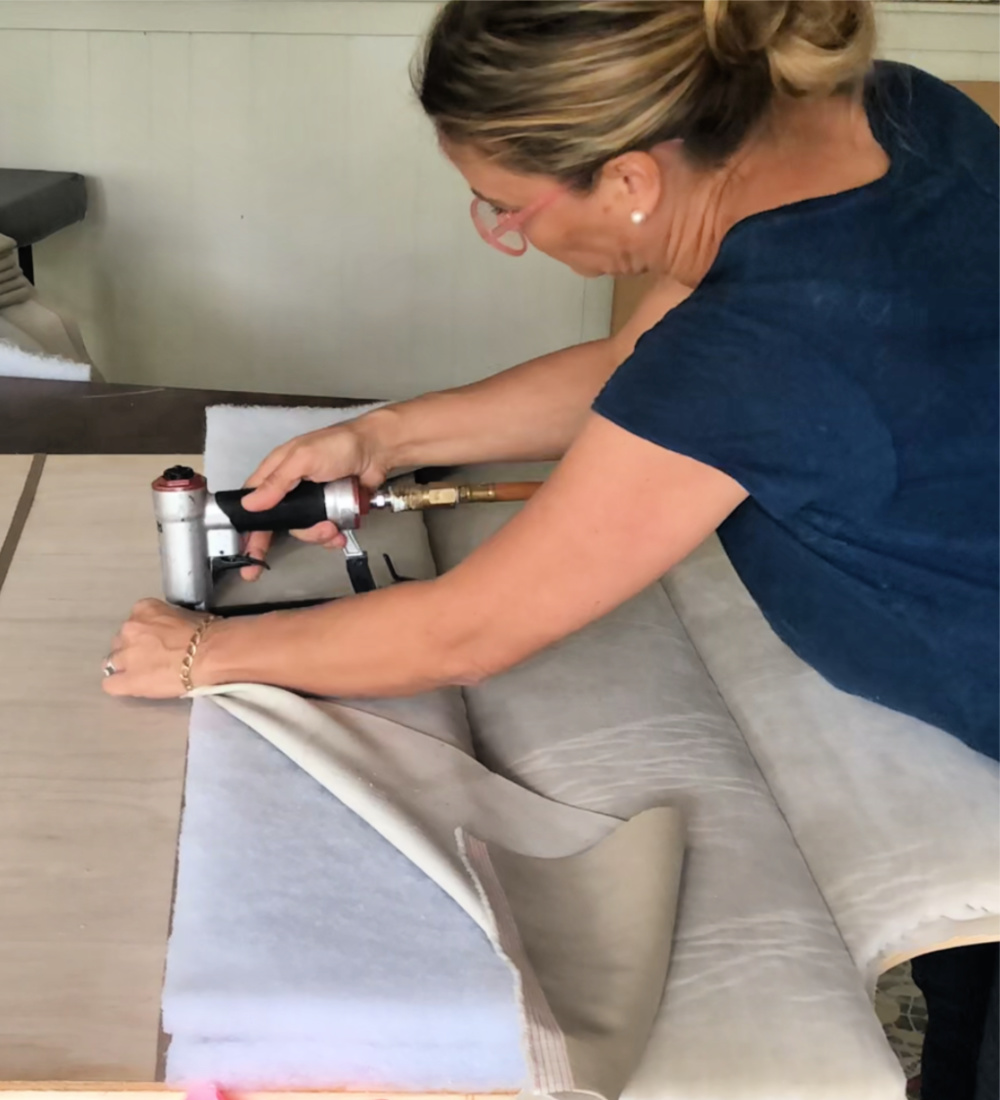 Then repeat the same process over and over until you reach the end. Fold the fabric over the Dacron, smooth it out, make sure it’s taught and staple it down.
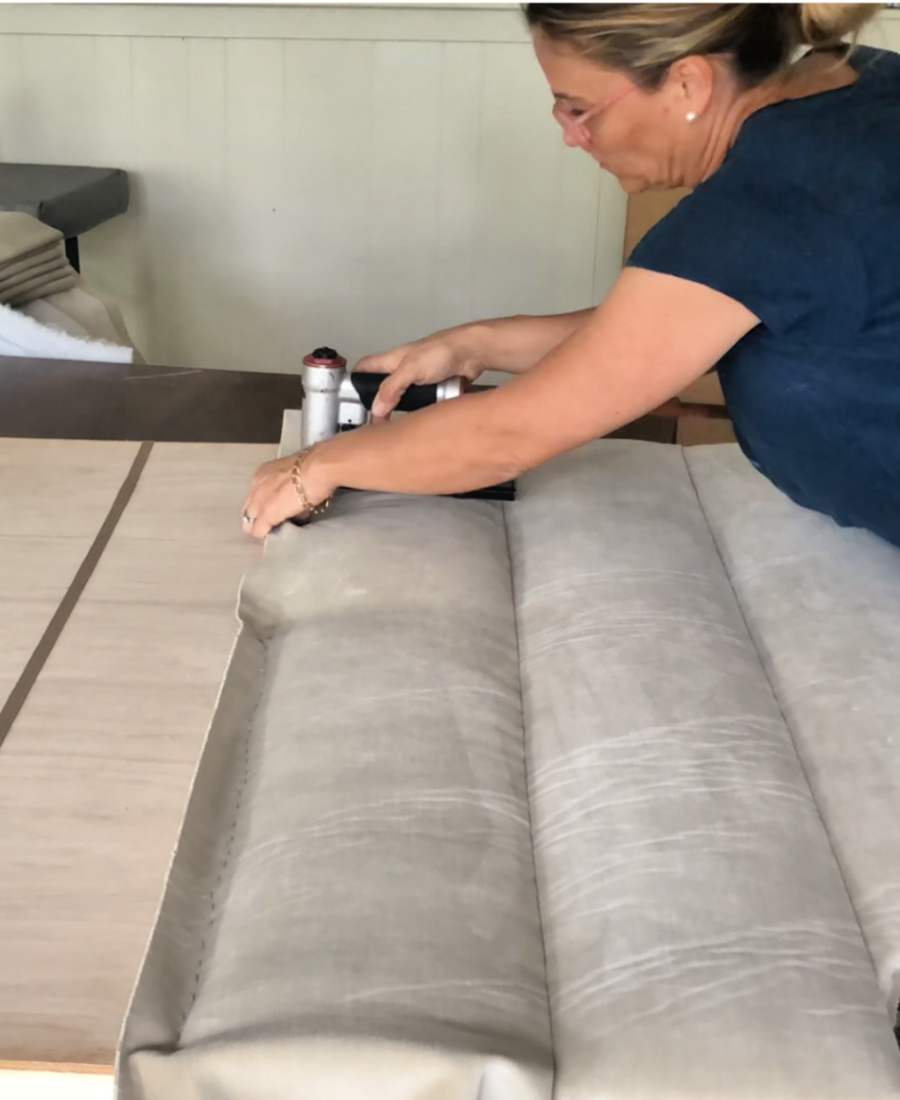
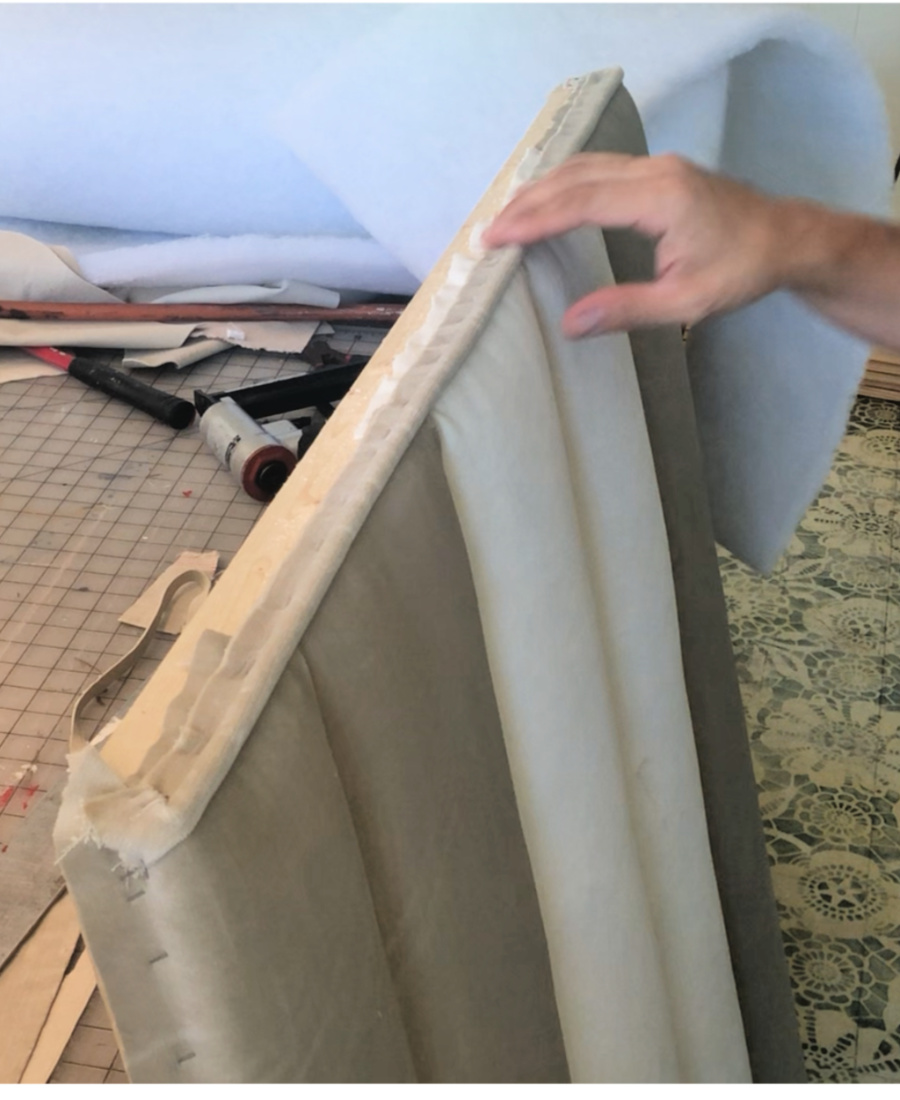 The last step is to finish off the top of the headboard. I boxed mine out with welt in front and back. I couldn’t get the fabric lay down smoothly over the curve on each side, so I opted to use welt in front and back. If you plan to make a rectangular shape headboard with no curves you can simple wrap your fabric over the top of the headboard and staple it to the back of the frame and be done. No messing with welt. But I had to complicate things and make curved corners.
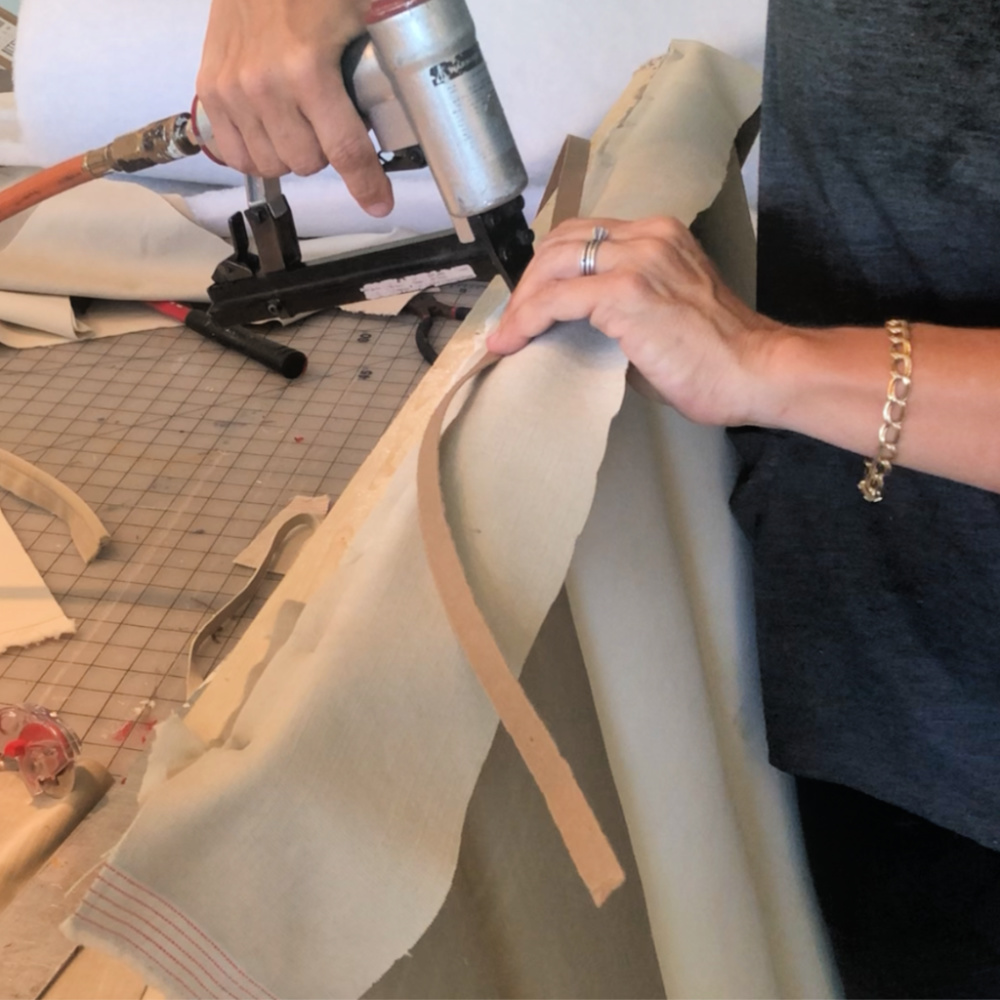 The welt gets stapled on first. Then the fabric, then a strip of cardboard tack. Fold over the fabric, insert a strip of Dacron and staple the fabric to the back of the headboard frame.
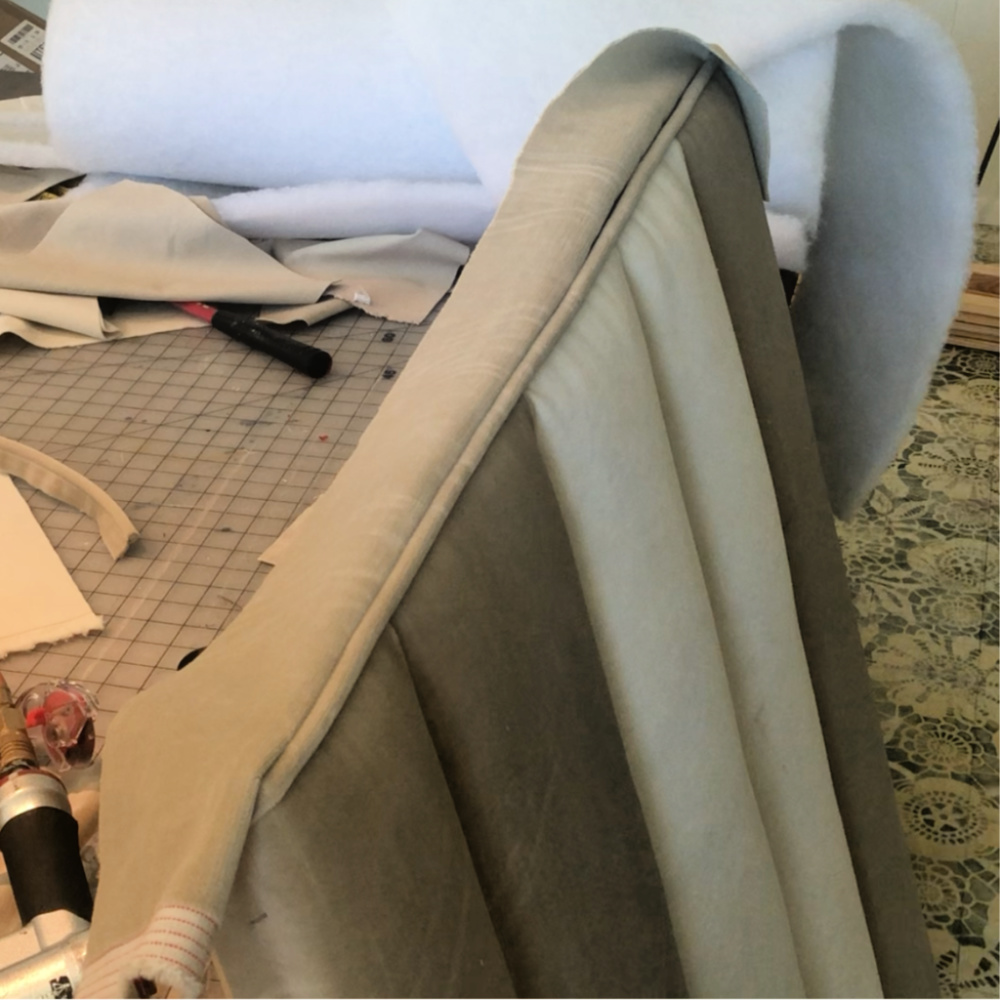 The last step is to attach one more piece of welt along the back of the headboard frame and install.
 I made my headboard in three pieces for ease of installation. The hallway leading to my bedroom is narrow and long so a 14′ headboard wouldn’t fit. Not to mention I don’t think I could’ve managed upholstering it in one piece. So I had to screw together the three pieces in my room. Fortunately one screw was sufficient to pull the pieces together at the seams, and the seams are almost imperceptible.

 Supplies List:
cardboard tack strip… https://amzn.to/3f6f5Mb
staple gun… https://amzn.to/3f5vQaq
compressor… https://amzn.to/2KQQZac
fabric… your choice of upholstery fabric
1×4 pine… Home Depot
flexible moulding… Home Depot
upholstery Dacron… https://amzn.to/3d53QBI
underlayment plywood… Home Depot. 1/5 in. x 4 ft. x 8 ft. Hardwood Plywood Underlayment Specialty Panel
screws… Home Depot

 Sameer says
July 10, 2021 at 2:45 pmVery good
 Daisysews says
June 17, 2021 at 3:37 pmThe quality of this instruction is quite above par. I’m impressed.
 Helena R says
May 7, 2021 at 2:09 amGorgeous!
And thank you, for sharing your knowledge!
 Christine Dunstan says
April 27, 2021 at 1:45 amStaggeringly impressive project……you must be very proud to have made this beautiful headboard Mimzy.
You are an inspiration
Thank you
Chris x
 Burhan says
February 1, 2021 at 10:52 pmhello..
I’m one of your new followers on pinterest,and I like what you do.
I want help from you for some information, I want to produce a base bed on wood and leather myself, but I have no knowledge and experience,how to practically make a wooden base bed carcass?
how to aesthetically attach feet with side boards?
how to make a different nice base headboard?
is there a site or book where I can find this information?
Thanks
Burhan
Turkey/Istanbul
Whatsap
+90.5072201167
 Alissa says
February 1, 2021 at 7:11 pmWow super impressed with this headboard! I think this will take me some days.. do you remember which upholstery fabric you used? It’s beatiful! I would like to use it too or find something similair. Looking out to your next projects!
 Rebecca says
January 30, 2021 at 10:45 pmI absolutely love this!! And the video couldn’t have been anymore helpful!! Thank you.
My only question is how did you secure it? To the bed? Or to the wall? And how?
Thank you again! It’s gorgeous!!❤️
Rebecca
 Débora says
December 12, 2020 at 2:32 amThank you ❤️
 mimzylombardo@gmail.com says
December 13, 2020 at 1:51 pmYW Debora!
 Liz Nix says
April 30, 2020 at 6:06 pmVery professional job! Who is the artist for the two sketches over the nightstands? Excellent!
 mimzylombardo@gmail.com says
May 6, 2020 at 5:10 pmThank you Liz. Sorry for the slow response…I drew those in college.
 Geri says
April 30, 2020 at 10:25 amI think you did a fabulous job. Wow! It’s beautiful!
 mimzylombardo@gmail.com says
May 6, 2020 at 5:11 pmThank you Geri!
 Richard Shockley says
April 25, 2020 at 7:49 amGreat project! My 13 year old daughter wants a head board and I think this would be a great project.
I some questions;
1. The staple gun you were using looks like it was running on compressed air but I didn’t hear an air compressor, what kind of air compressor was it and what brand/model of staple gun did you use? Do I need different staples guns for different size staples? What would you recommend.
2. You cut all your fabric before you started, how did you measure and cut everything so accurate? Do I need go get one of those boards you have with all the squared on them.
3. Do you go to Michaels of some other craft store for your supplies or do you order online?
Great project and thank you for sharing.
 mimzylombardo@gmail.com says
May 6, 2020 at 5:20 pmRichard…sorry for the slow response. I buy supplies at a local upholstery supplier in my town. I use a compressor for my staple gun and I almost always use 3/8″ staples.