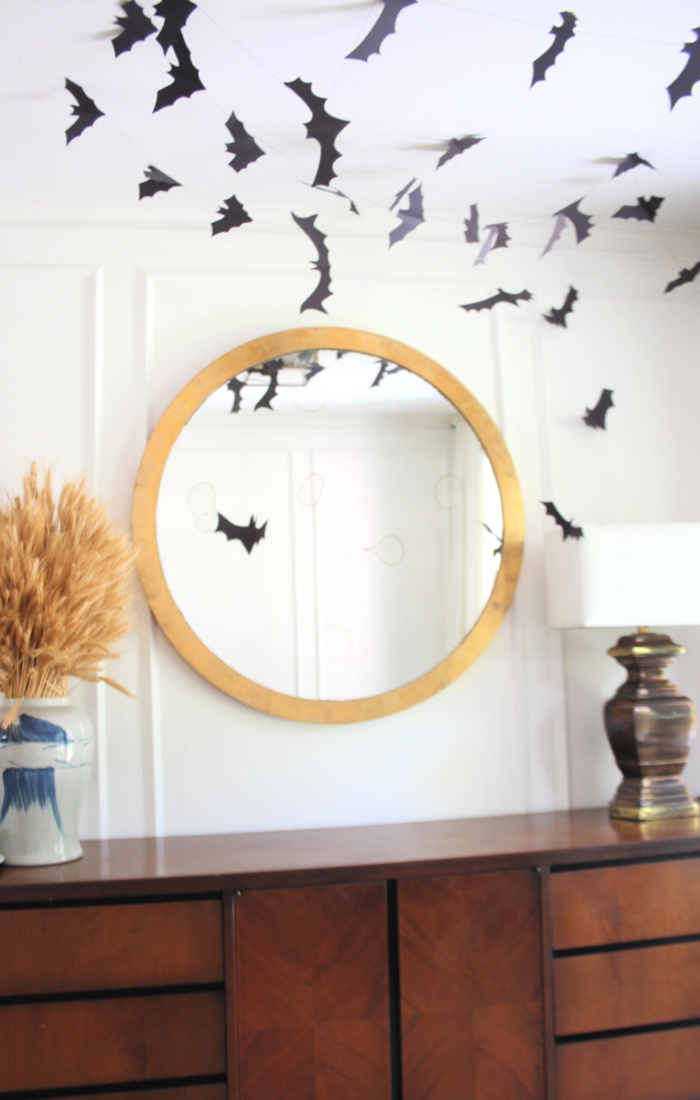
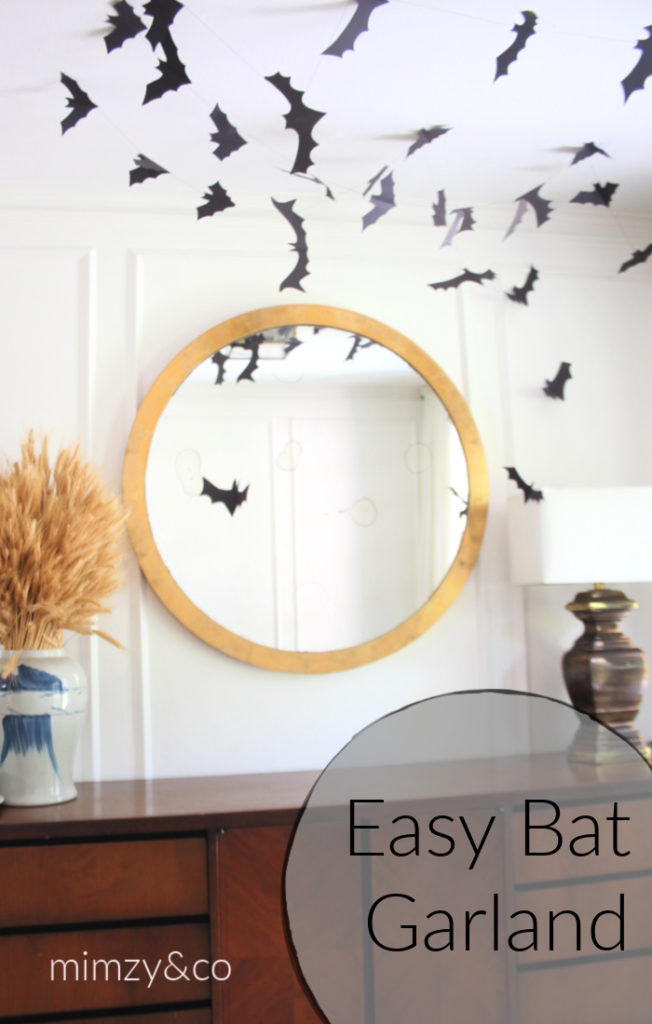
 This bat garland is such an easy, inexpensive and impactful way to decorate for your Halloween party, fall fest or just for the season.
The only supplies needed for this project are black card stock or construction paper and black thread for your sewing machine.
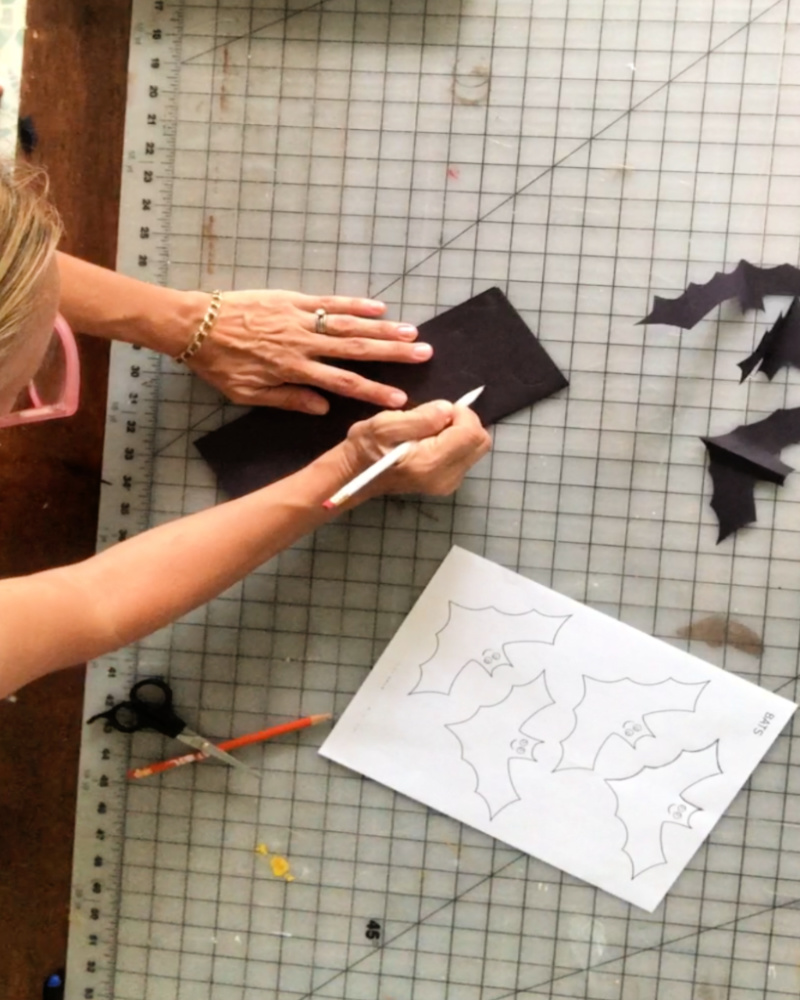 Fold a sheet of black card stock or black construction paper in half lengthwise. Draw or trace half your bat on the fold. Fold one or two more pieces of paper and layer them inside one another so you can cut multiple layers at once.
I printed this free printable from the web and used it as a reference…most of my bats I freehanded after I traced the first couple. I varied the size and shape of my bats, but that’s a personal preference…I kinda like the idea of having them all the same size. It’d make the installation more uniform.
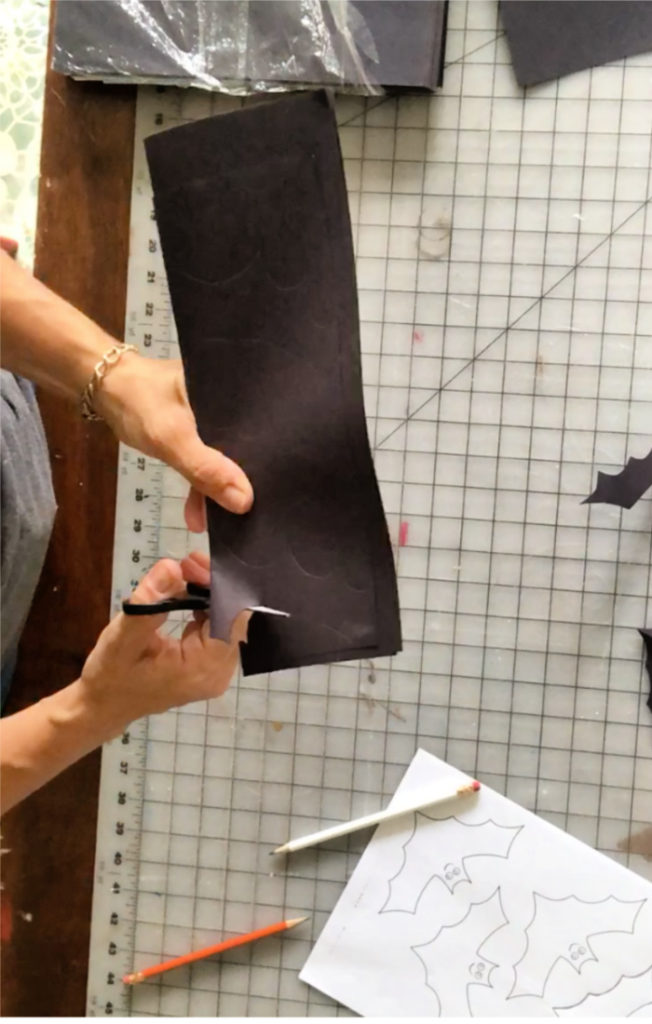 Cut out your bat shapes.
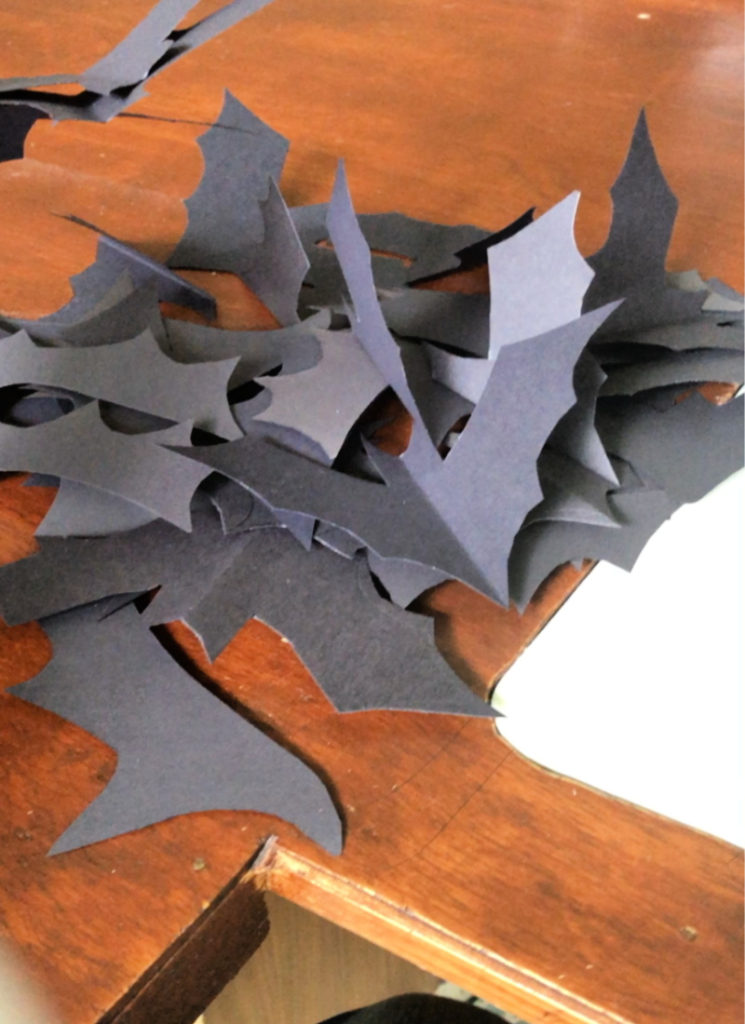 Pile all the bats next to your sewing machine and load black thread or monofilament thread on your top spool and your bobbin thread.
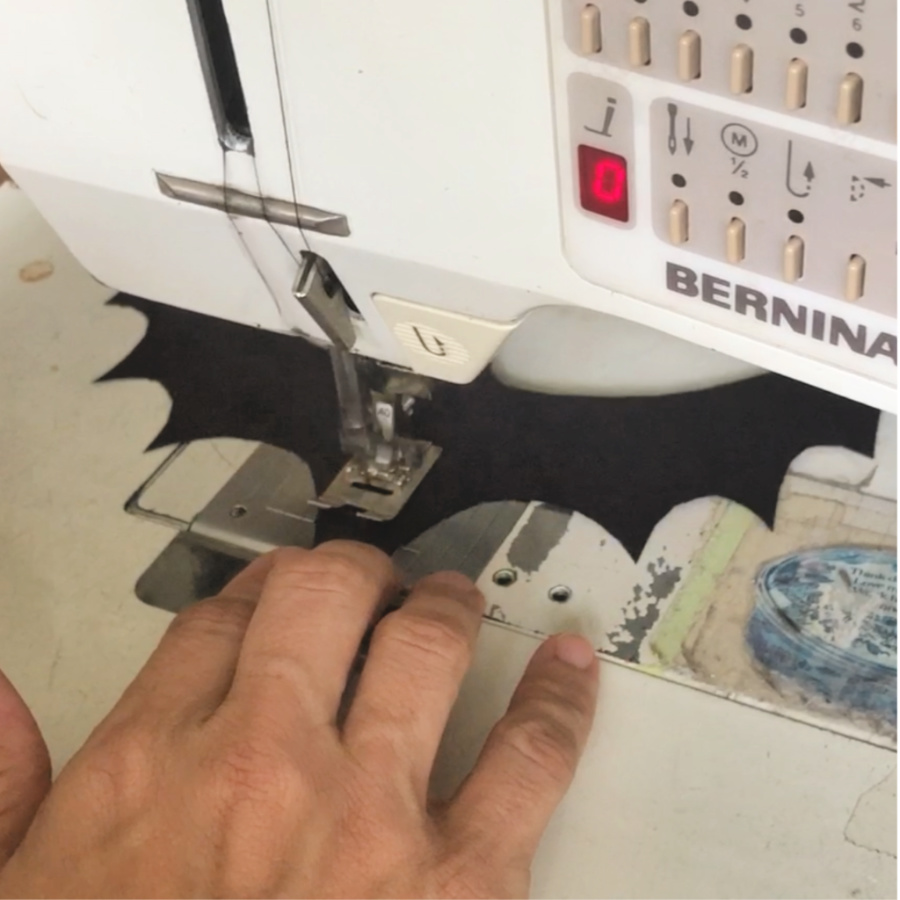 Start with a long tail of thread so you can tie your garland to something if you want. Then sew through all your bats one after another leaving your desired space of stitches in between each bat. I made my spaces very random, some bats almost on top of each other and some spread out.
Make your garland any length depending upon where you’re hanging your garland, and how long of a span you want to stretch.
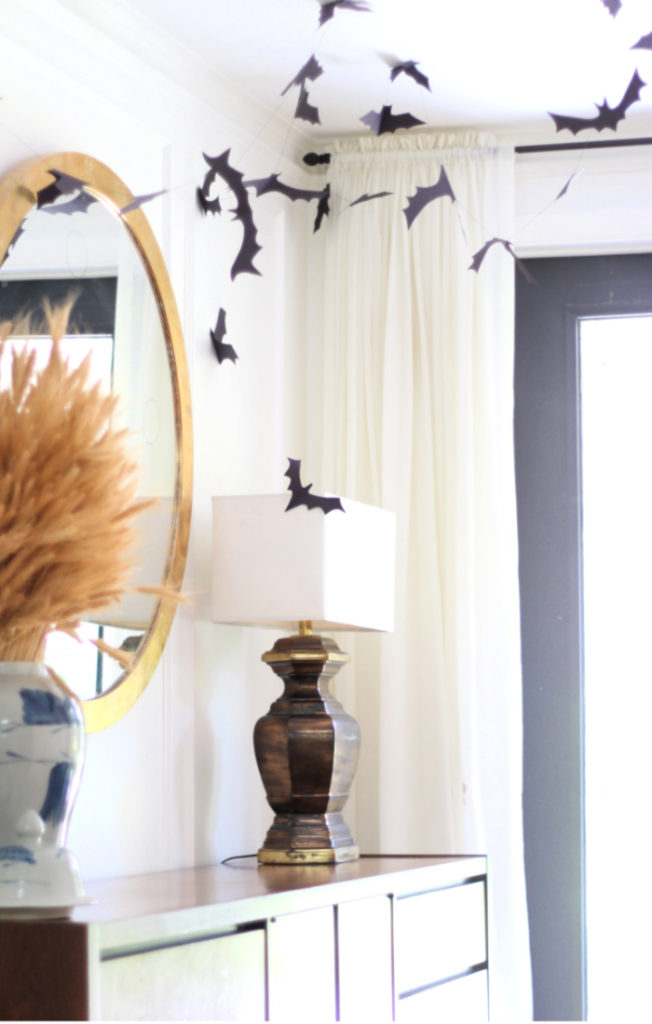 I generally start all my garlands in the same general area(a corner, or a doorway)so it looks like the bats are all coming out of a bat box or a cave, and then spread them out from there.
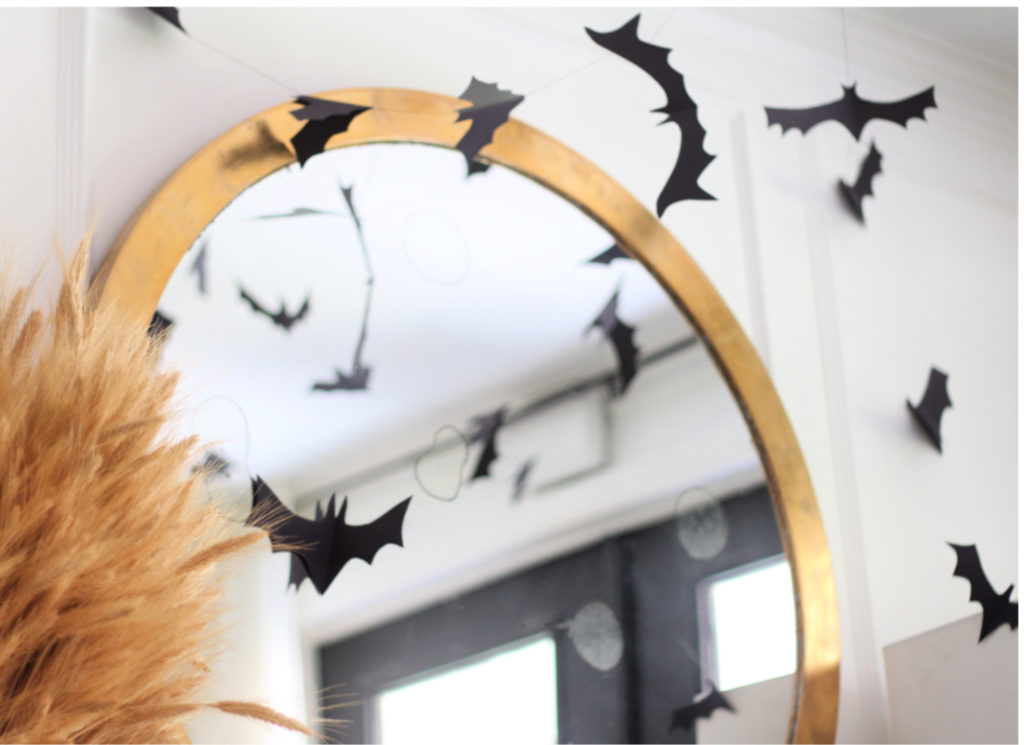 One year I made about 25, 25′ lengths of bat garland for a my kids halloween party. It looked so great! My kids helped cut out the bats so it didn’t take long and the bat ceiling treatment really made the room. Projects like this are a great way to spend time with kids talking and listening to music …
