This tutorial and video, how to reupholster a boxed dining chair seat, is a detailed(video) and step by step tutorial, so if you’re about to embark upon a project like this, definitely tune in.
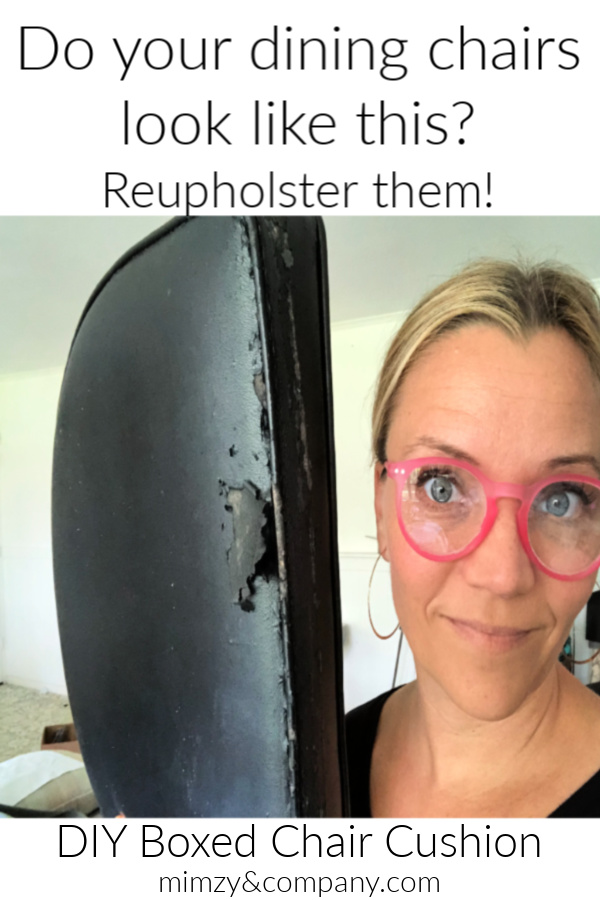
Do You have a dining chairs that look like this????
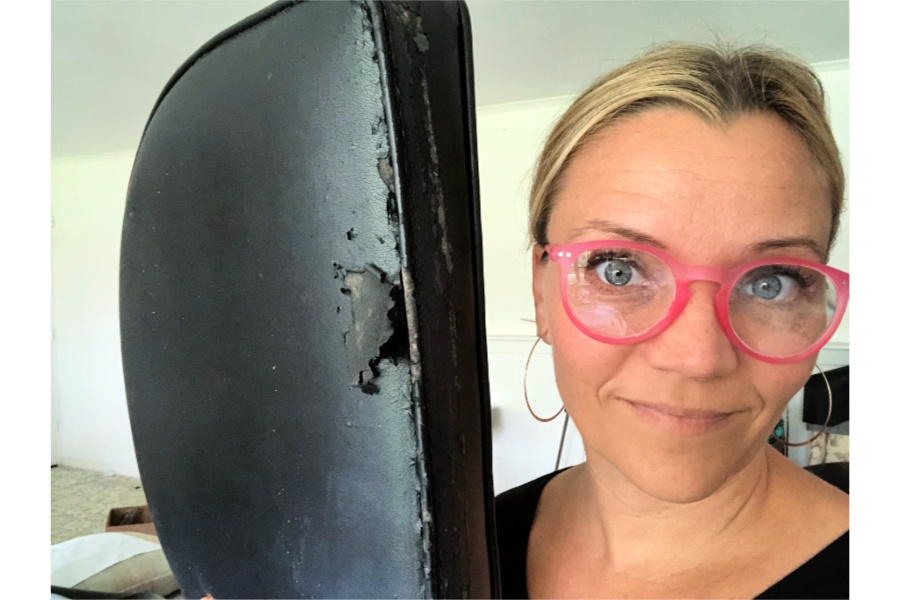
This post might contain affiliate links…check my disclosure here.
This boxed dining chair seat is generally beyond the DIY realm. The “boxed” design…meaning welt(piping) on the top edge of the foam and the bottom edge, requires sewing welt, cutting the boxing piece, and sewing those two pieces together to create the boxed design. I’ll show you how to make this happen even if you only have basic sewing skills and a home sewing machine. It’s a little time consuming the first time, but not that difficult.
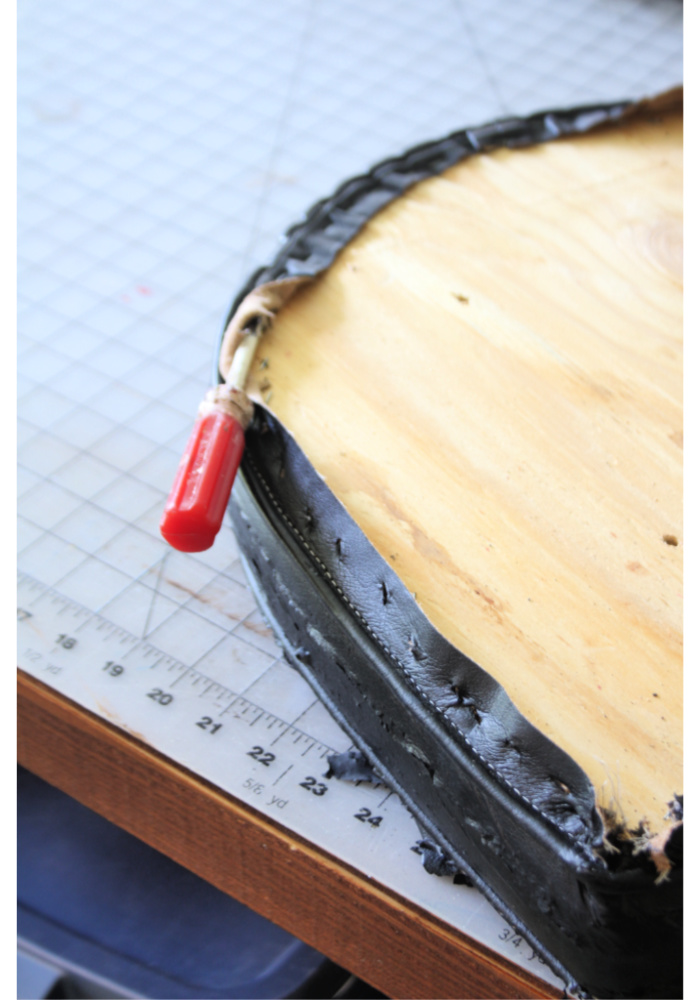 The first step is to remove the old cushion cover. I use a flat screwdriver to pry up the welt. You don’t necessarily need to take out the staples unless they’re sticking out or broken off. As a matter of fact most of the staples will stay securely in the plywood platform. If the staples start to pull up you can either take them out with a pair of pliers or hammer them down flush. (notice all the staples in the pic below).
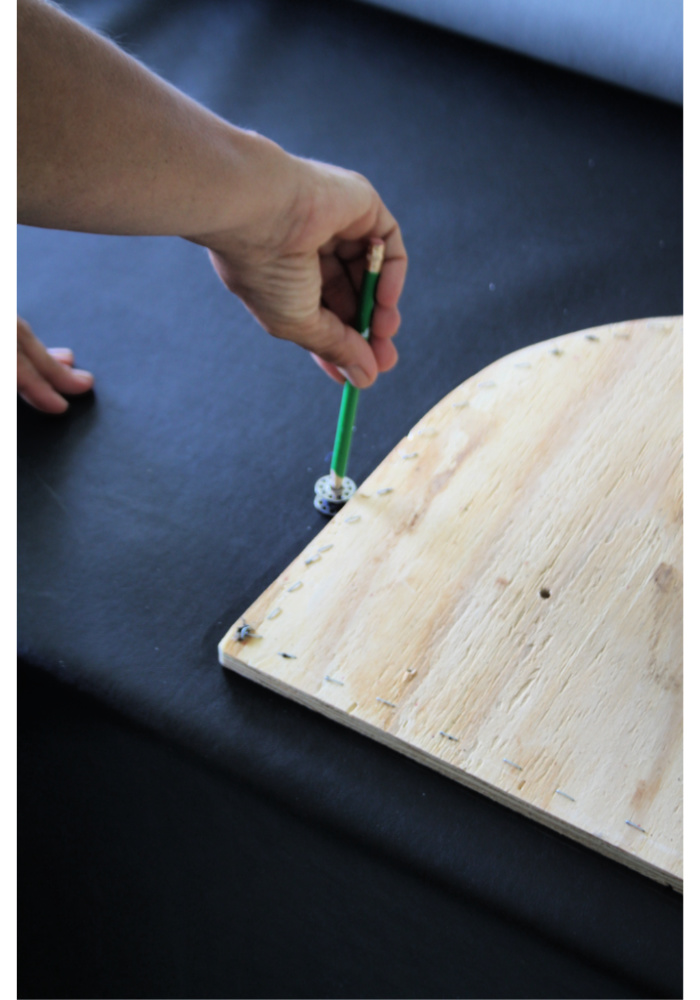 Once you remove the cover trace the wood platform with 1/2″ seam allowance. I use a bobbin and a pencil. I stick the pencil into the center hole of the bobbin and roll the bobbin around the perimeter of the plywood platform leaving a crisp pencil line on the leather. This method works like a charm!
Side note…In the video I used the old cushion cover as a pattern. This method works too, but it’s likely to make the top piece a little too big, so use the bobbin method for more accuracy. If you don’t have a bobbin you can obviously use a ruler to mark 1/2″ all the way around, then connect your marks.
Proceed to cut out the cushion top.
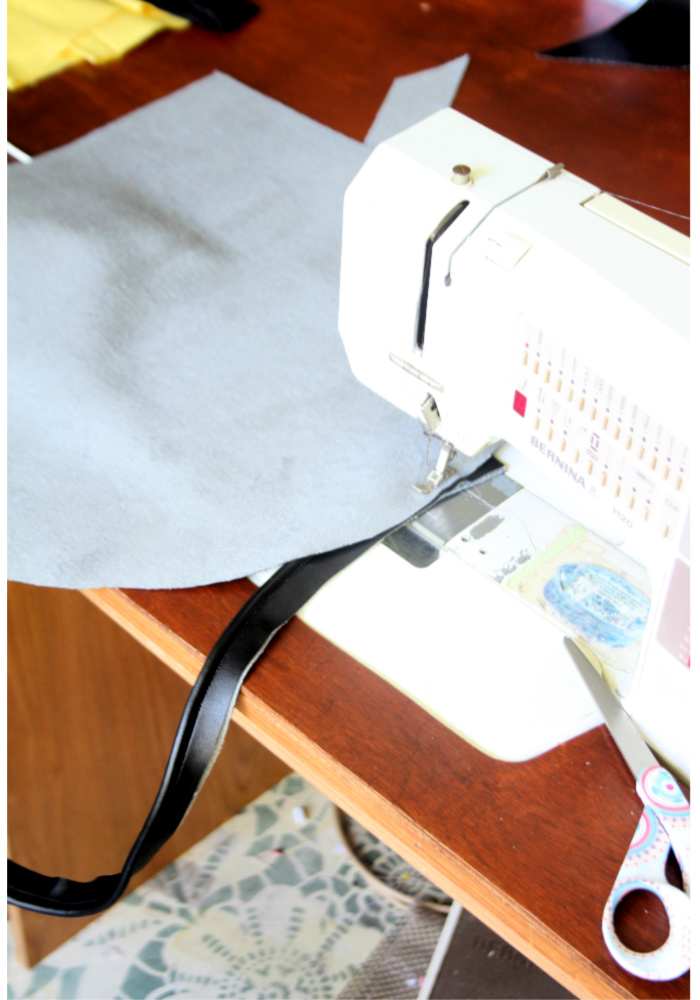
Once the cushion top is cut out, you’ll sew the welt(piping) to edge. I have a “how to make welt” tutorial here. This is fairly straight forward…sew as close to welt as possible with your zipper foot(if you don’t have a welt foot). I have a welt foot but prefer the zipper foot. All home sewing machines come with a zipper foot.
The one PRO TIP I have for you on this step is to make sure the welt is against your feed dog…meaning, the welt is on the bottom(against the feed dog) and the cushion top fabric is on the top(against your presser foot). This is especially important with fabric(not so much leather). The reason is the feed dog will pull your bottom fabric at faster rate than the top fabric, causing puckering. It’ll be ever so slight, but on a cushion it’s super noticeable …the fabric will NOT lay flat.
Another method to avoid puckering is to pin the welt onto the cushion top all the way around. This is time consuming with leather so I just sew with welt on the bottom.
One last thing on this subject…If you have a commercial sewing machine with a walking foot disregard all this nonsense and just sew together your top, welt and boxing all at once in utter time saving bliss. Lucky! The walking foot, for those that don’t know, pulls the fabric evenly, eliminates puckering, and is a HUGE time saver. ,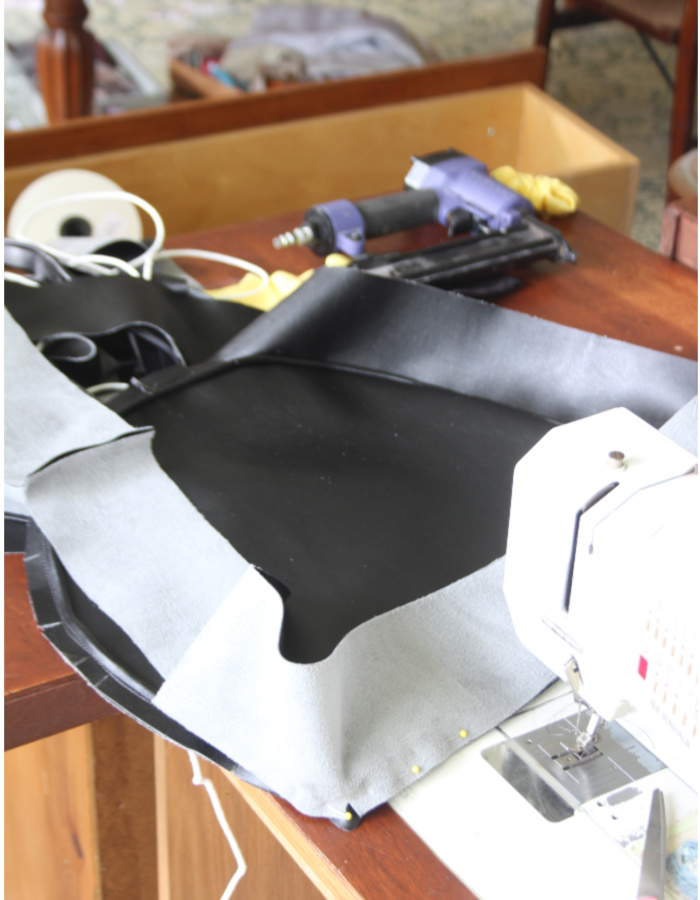 The next step is to cut the boxing strips and sew those onto the cushion top sandwiching the welt in between the two layers.
 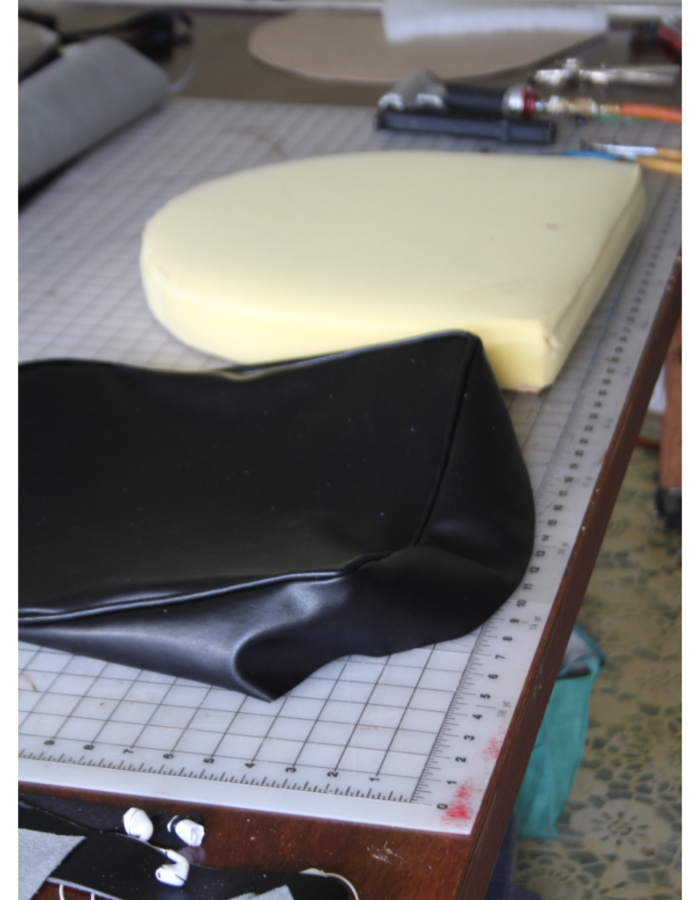 Flip the cushion right side out and inspect it to make sure you got tight seam all the way around. Sometimes I have to go back and restitch the corners to get a good close seam.
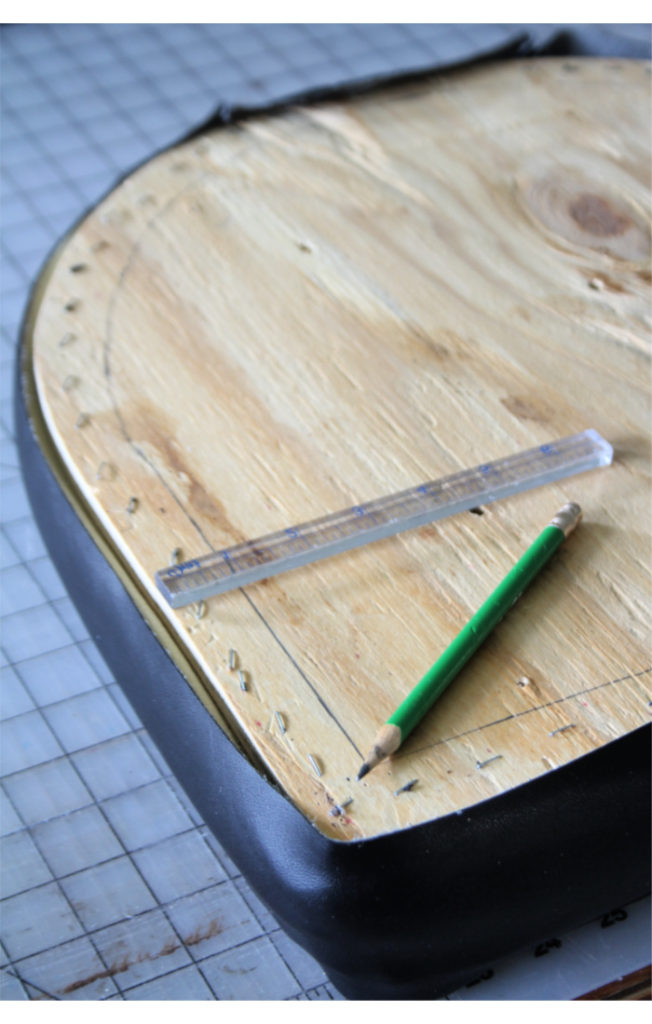 Mark the plywood platform with 1″ line all the way around to ensure an even staple job. This step is not totally necessary…after a few cushions you can probably eye-ball this step. But, I like to do this so my boxing is exactly the same depth all the way around my cushion.
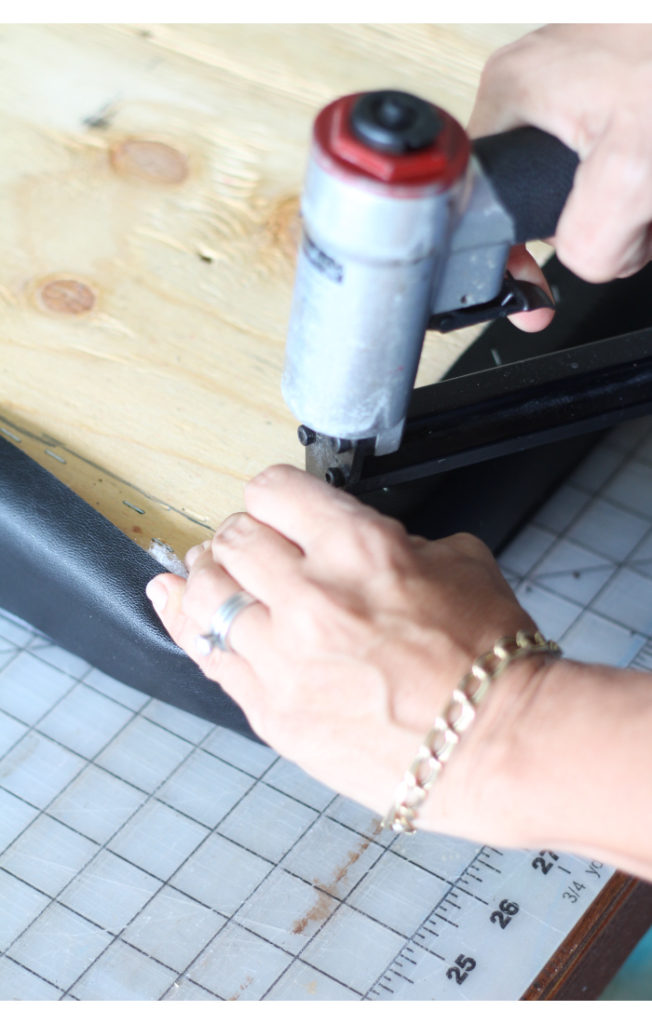 Staple the cushion cover on…start with one staple on all four sides. Turn the cushion over and make sure the cover is evenly placed and not askew…make sure the front corners are even.
The last step is to staple the welt all the way around the bottom of the platform and replace the dustcover. The dust cover could be cardboard, fabric, or cambric.
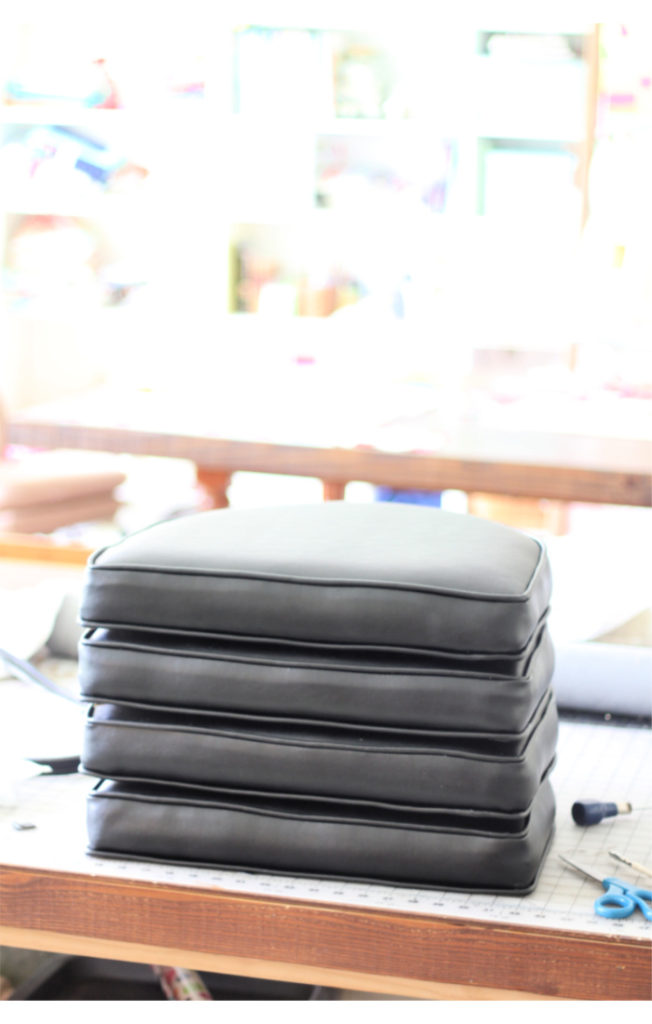 And Voila…brand new boxed dining chair cushions.
The video tutorial below shows each step in detail and contains many “pro tips”. So if you are embarking on a dining chair reupholster project with boxed seats, definitely check out the video. ALSO…check the part 2 video after because it has an addendum that shows my mistake and the way to fix it.


 Ann says
April 23, 2021 at 12:09 pmThe bobbin trick is brilliant!! I am prepping to cover 8 dining room chairs. Thanks for this step-by-step tutorial – I think I can tackle this…
 sirgliofrei says
October 12, 2019 at 3:13 amI do consider all of the concepts you have introduced to your post. They’re very convincing and can certainly work. Still, the posts are very quick for newbies. May just you please lengthen them a bit from next time? Thanks for the post.