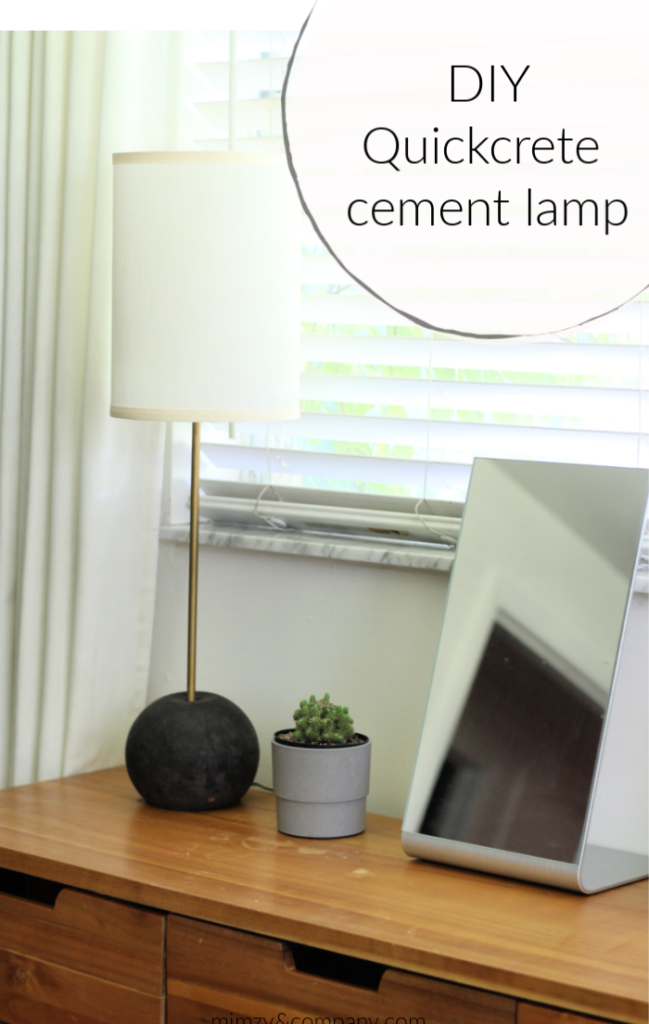
This One Bag Wonder DIY concrete lamp idea was birthed a few years ago when I first saw these Rejuvenation lamps on the blog The Makerista. I fell in love with the odd proportion of the lamps. They’re perfect for a Buffett or desk where a spindly silhouette is needed.
This is my second attempt at this concrete lamp project. You can read about the first here. Needless to say I’ve been intending to re-make the lamps since then. So when I saw the quickcrete One Bag Wonder Challenge online, I thought it would be a great opportunity to try this again.
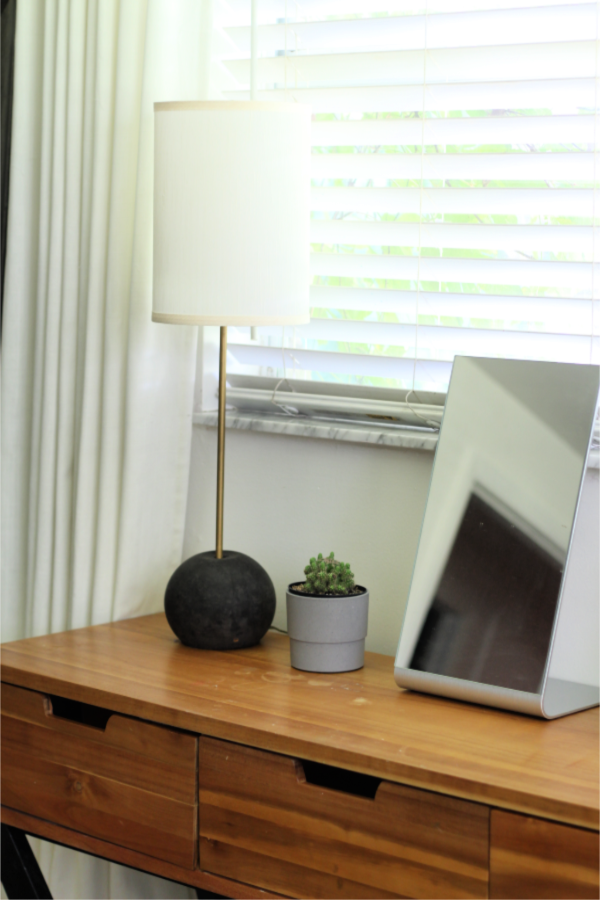 My girls have this little desk where they sit and do makeup and hair, which requires proper lighting, of course. But the lamp needed to be slender and not take up a lot of space. So this slim lamp is perfect!
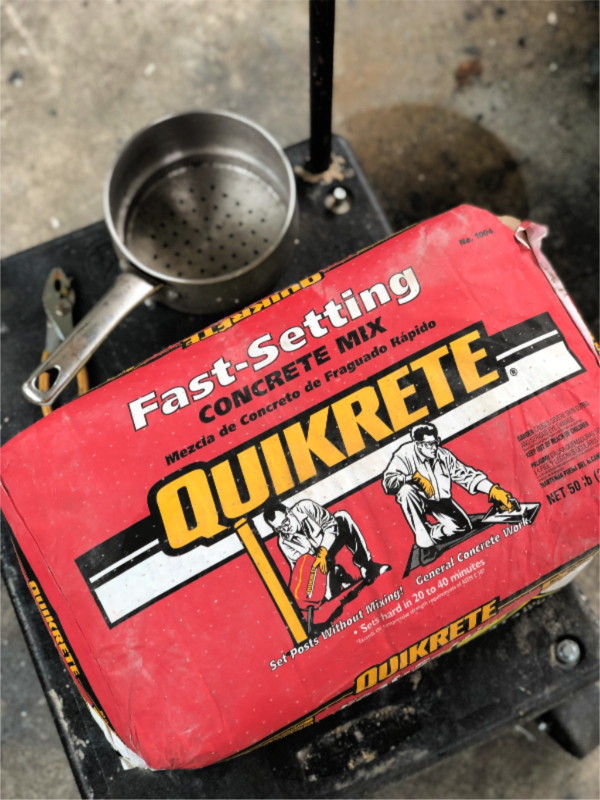 I bought a bag of fast setting quickcrete and got to work.
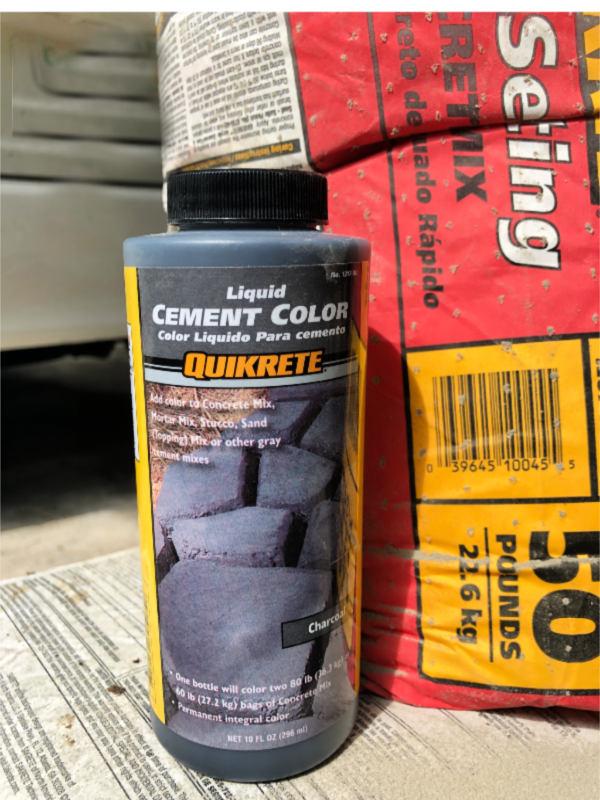 I used the quickcrete colorant to make the cement a beautiful charcoal grey.
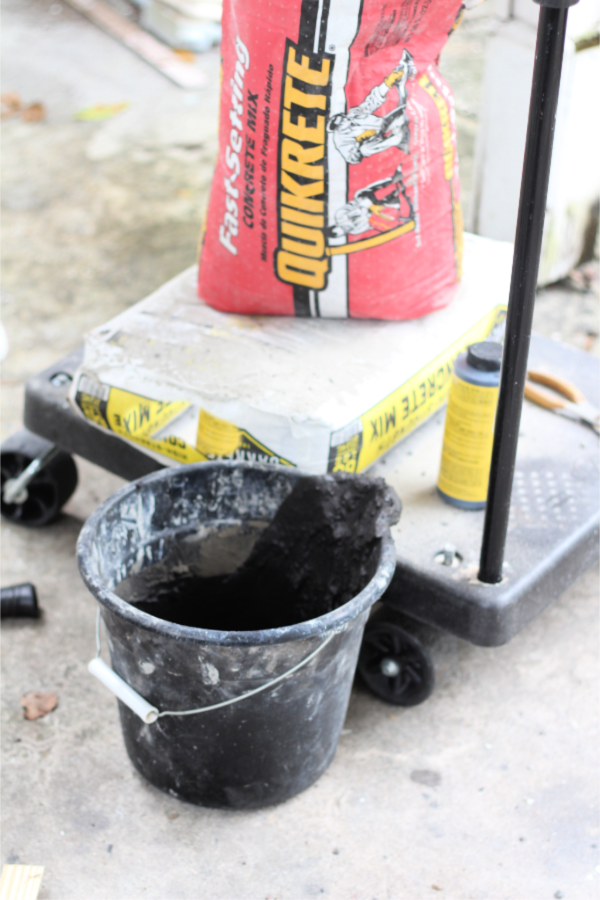 I poured some water in the bucket FIRST and then added the cement and colorant to the water(makes mixing much easier), and mixed until it was the consistency of toothpaste.
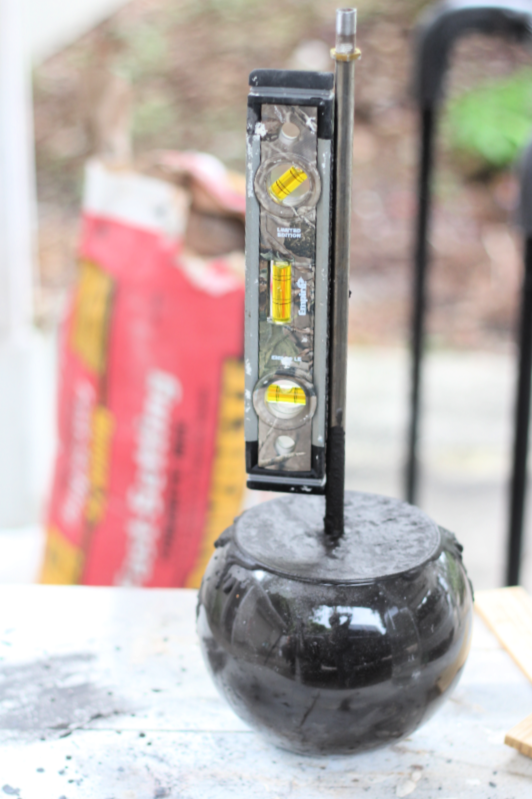 I poured the quickcrete into the glass container while holding the threaded lamp pipe. The first attempt(in the video below) I poured the cement into the glass bowl and then inserted the lamp pipe into the wet cement. Even though I shimmied, and muscled that pipe until I thought it was at the bottom of the bowl, it didn’t actually reach the glass at the bottom of the bowl. So when I tried to push the pipe all the way through the hardened cement, it broke off a chunk of cement. Lesson learned. Put the lamp pipe in first, and pour the cement around it…it may take an extra set of hands.
I used a magnetic level to ensure the plumbness of the lamp pipe. I really think checking for plumb can be done with the naked eye adequately. You just have to make sure to walk around the piece 360 degrees to make sure the pipe is plumb at every angle. Otherwise, when the lamp shade is installed, it’ll be immensely obvious that the pipe is not plumb. Take it from me…
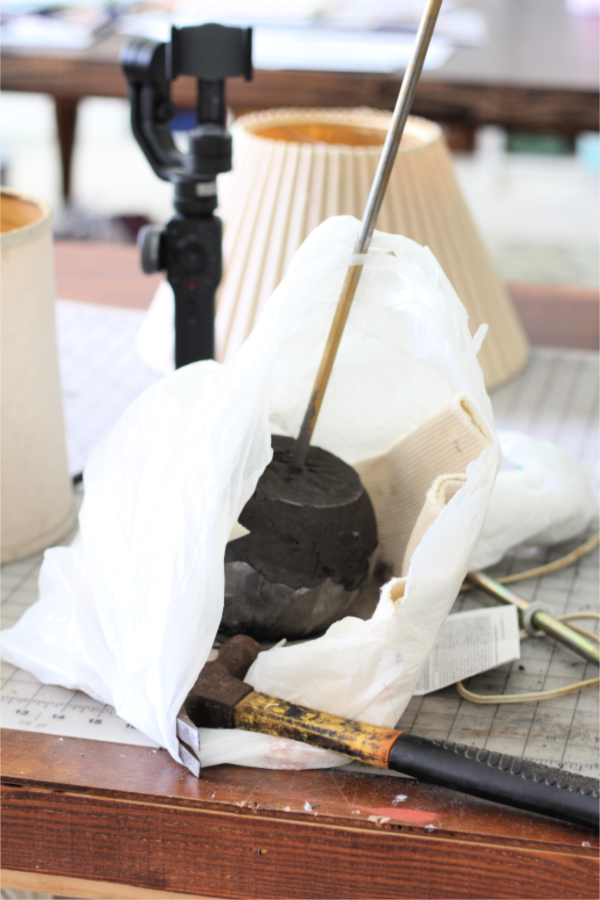 After the cement is cured for about 30 minutes or so, I broke the glass off the outside of the cement ball with a hammer. Just be sure to wrap the piece in a couple bags or fabric because glass will fly. Just a little tap, tap, tap is all it takes. I found the cement released from the glass a lot easier when the cement was still warm from curing.
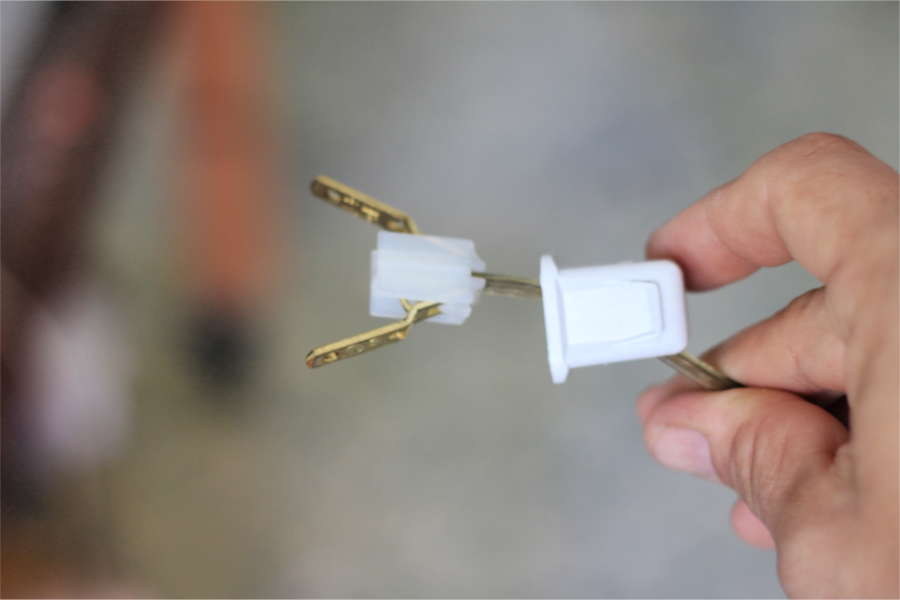 Then I reassembled the lamp. I threaded the lamp cord through the cement ball, the lamp pipe, and screwed it all together. I had to install a new plug on the end of the lamp cord where I cut off the old plug. The drawings on the package were a little vague so I included this picture above for reference.
Also…before I put the whole thing back together I used gold Rub N Buff to paint the lamp pipe. Rub and Buff is kinda miraculous. I’m not sure what it is exactly, but it comes out of the tube like paste, rubs on like shoe polish, and coats like a thick opaque oil paint. I love it…I recently used it on these cheap brass bathroom faucets and they’re like brand new.
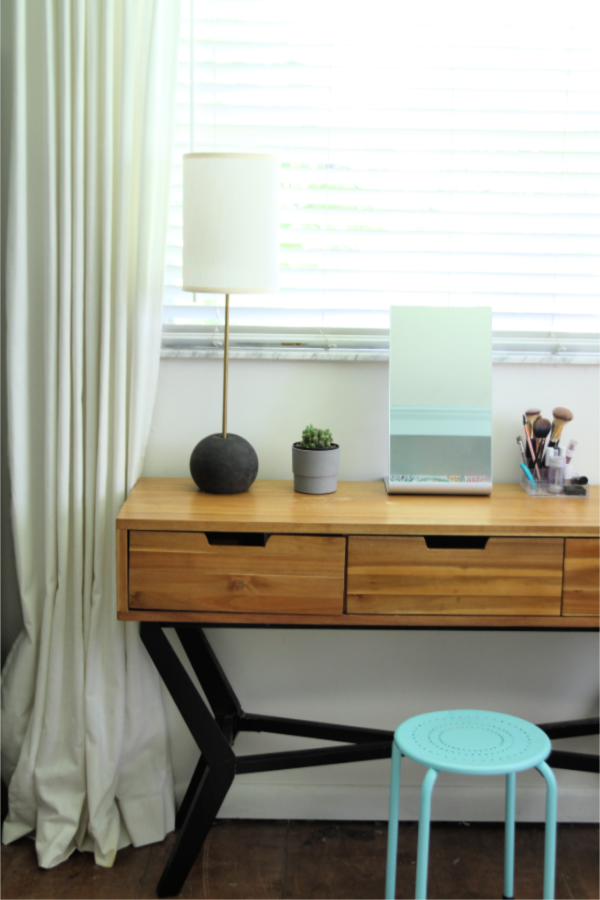 I love the Dr. Sueuss-ish silhouette of this lamp. And the size is just right for a small space like this.
 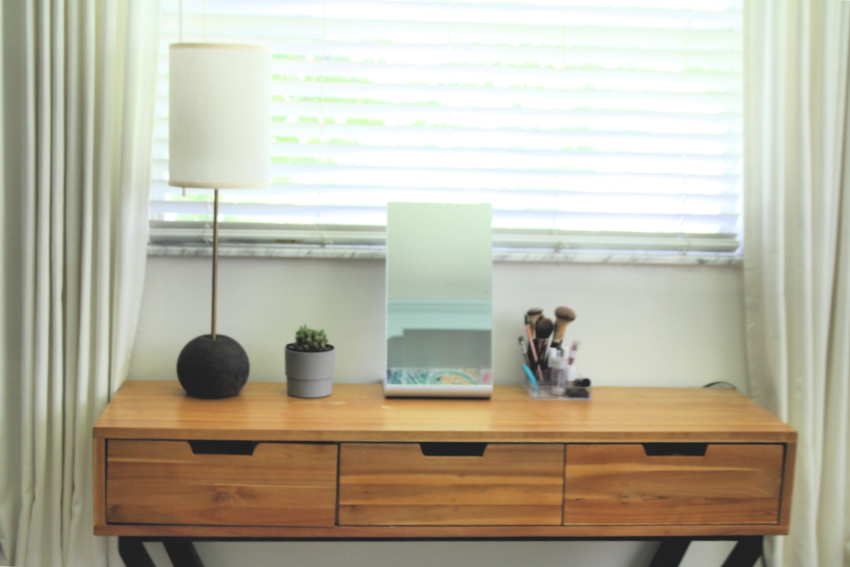 I did buy a new shade for my lamp here. All in all this lamp cost me about $28 including the brand new shade. I love the way it turned out and I think I may make another for the other side. It brings such a nice glow to the room at night.
