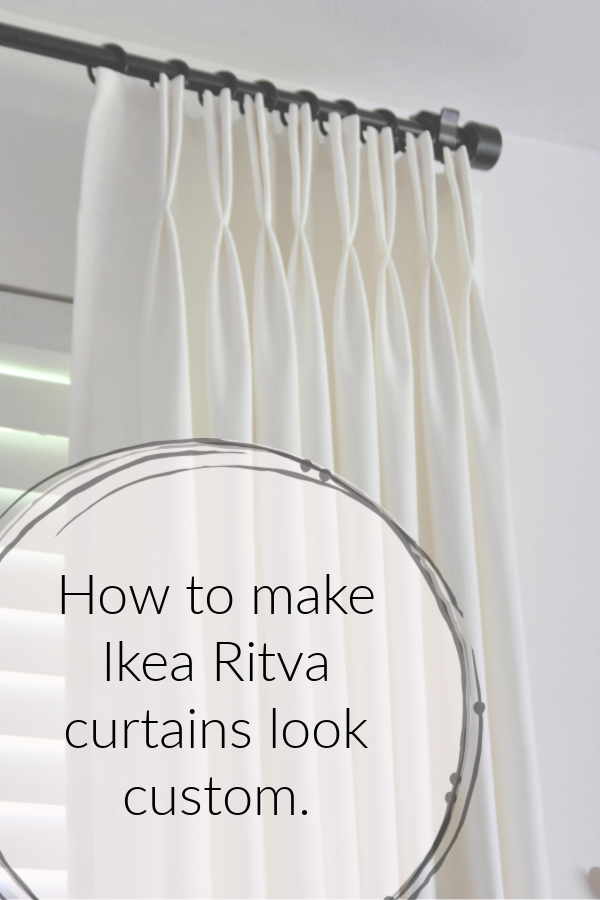
You don’t have to spend a fortune on custom drapes…I’ll show you how to make ready-made Ikea Ritva curtains look like expensive custom drapes.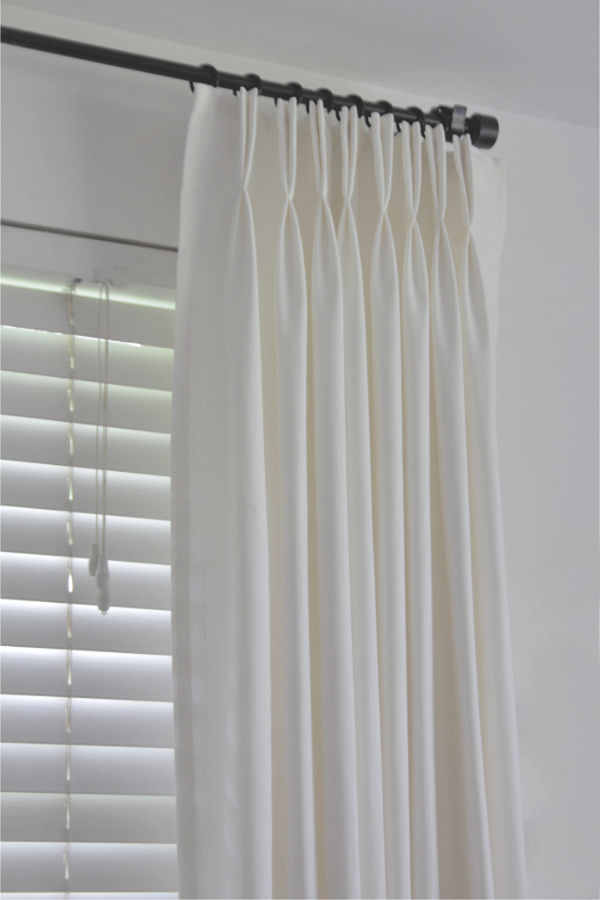
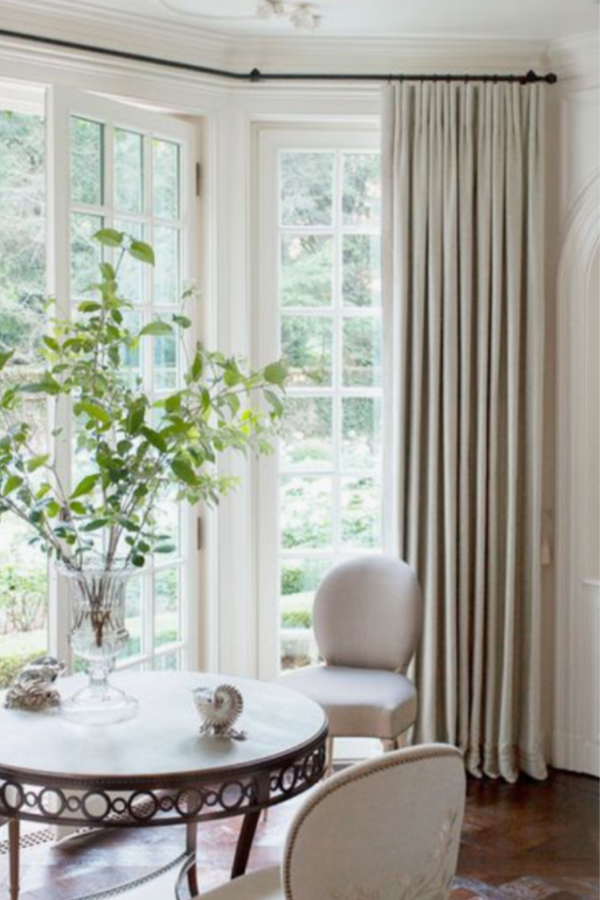
Custom drapes with lining, inter-lining, hand sewn pinch pleats, perfectly hung and styled makes my knees weak. I think beautifully designed and created drapes(window treatments) are second only to good lighting in a well designed space. I obviously have a soft spot for good window treatments and an equal disdain for poorly styled drapes. I even have a Pinterest board devoted to poorly styled drapes. Beautiful window treatments can be the finishing touch every room needs.But, the price tag for custom made drapes is definitely prohibitive for the average household. So let me show you how to get a high-end custom look with affordable, ready-made Ikea curtains.

So…Let’s get on with it. The Ikea Ritva curtains are certainly popular, and for good reason. They’re well priced for the length and come with buckram installed in the header. The fabric has a nice texture and it’s a poly blend which is good for drapes because it doesn’t stretch like linen fabric.
The cons of the Ikea Ritva’s …they are not lined or interlined and they have a dinky little 1″ hem at the bottom. Custom drapes always have at least a double 4″ hem, and are always lined and sometimes interlined.
Step 1. Cut the Ritva to the proper length for your window.
Hang your curtain rod, including the rings. Measure from the bottom of the rings to the floor…this is the finished length of your drapes. Then add 8″ to this measurement and now you have the length at which you will cut your drape(cut length). 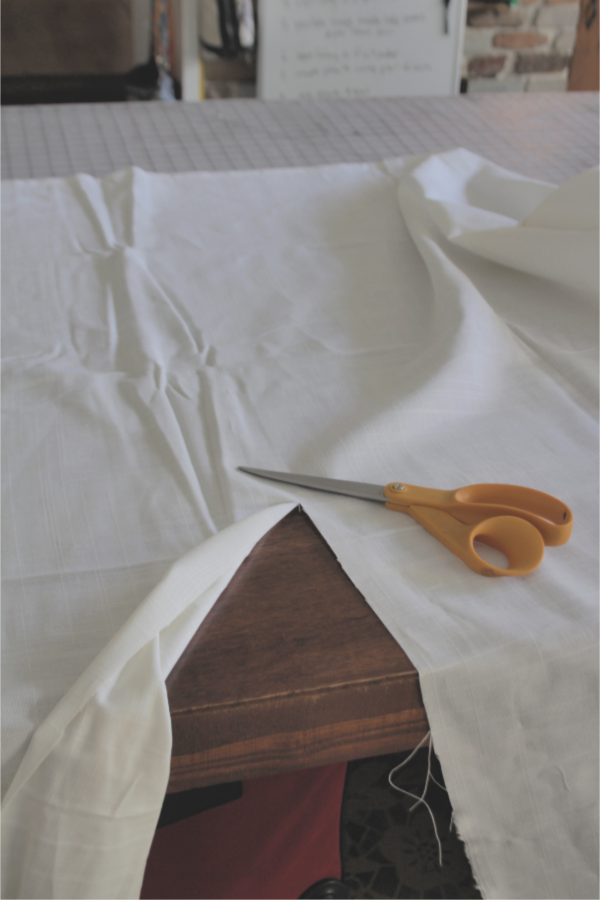
Step 2. Open the side seams with a seam ripper. Easy, but be careful not to rip into the face fabric. 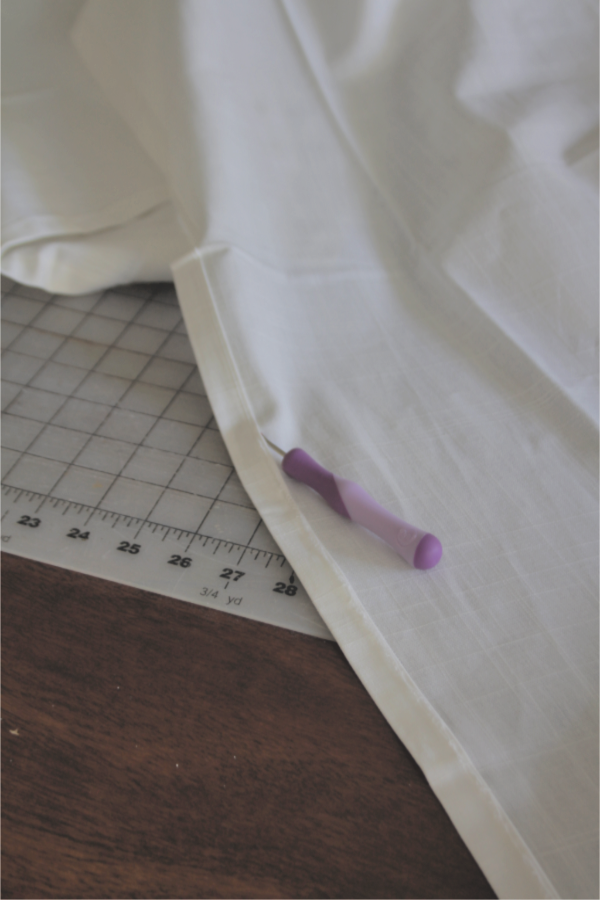
Step 3. Press and sew in the double 4″ bottom hem.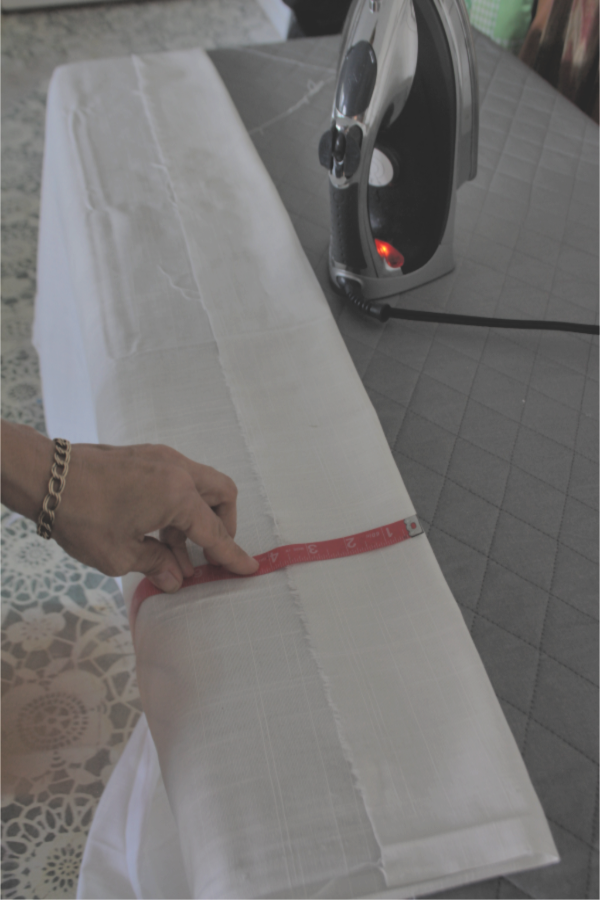
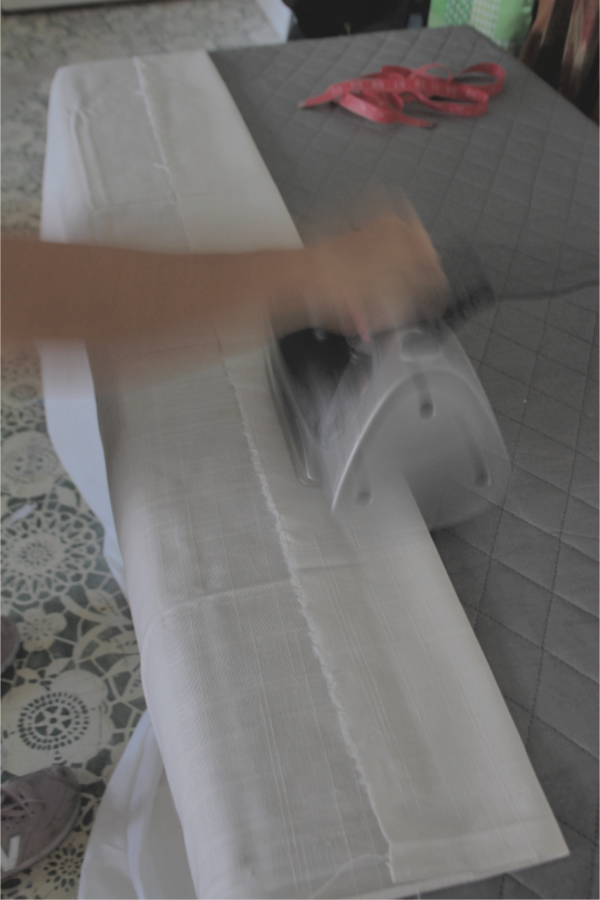
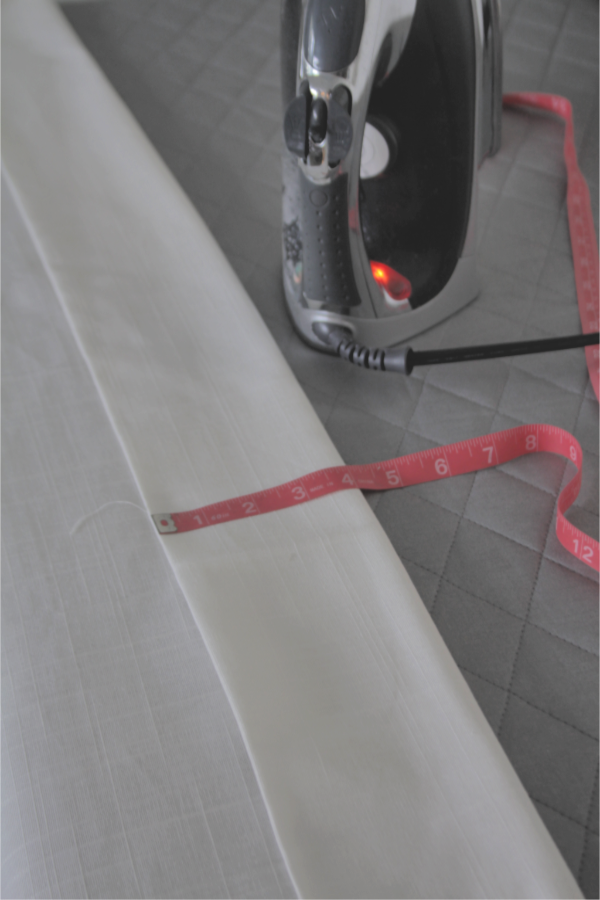
Step 4. Cut lining to the proper size. The lining should be cut to the exact finished length and width of the drape.
Since I made these curtains for my own house I used white sheets from the thrift store for my lining. It’s cheaper than buying lining fabric and it’s already hemmed. 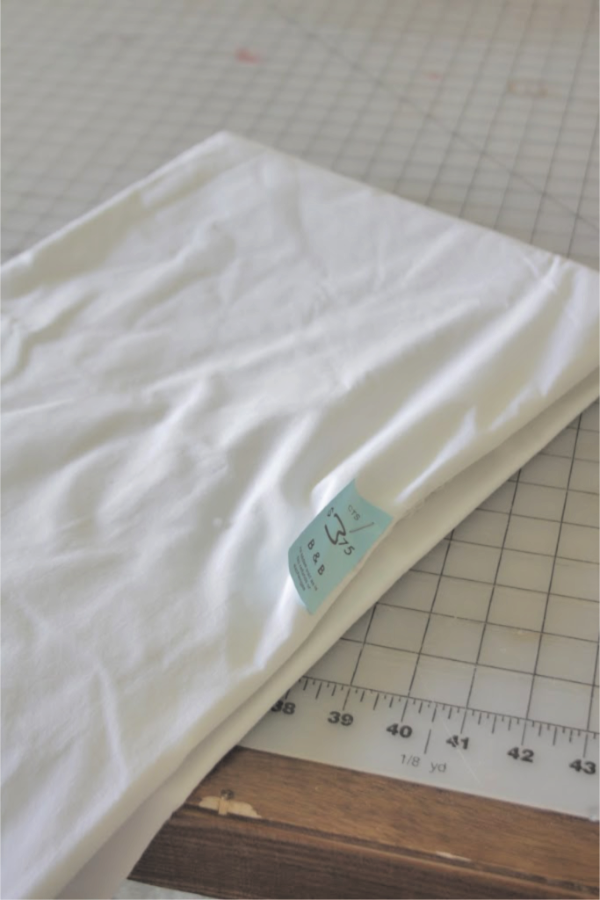
Step 5. Position lining inside the side seams of the curtain on both sides. 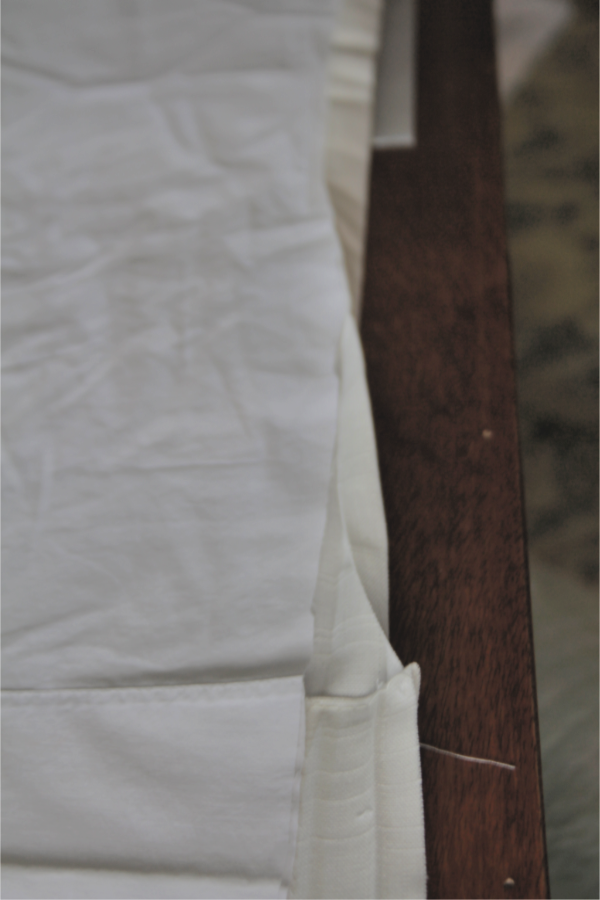
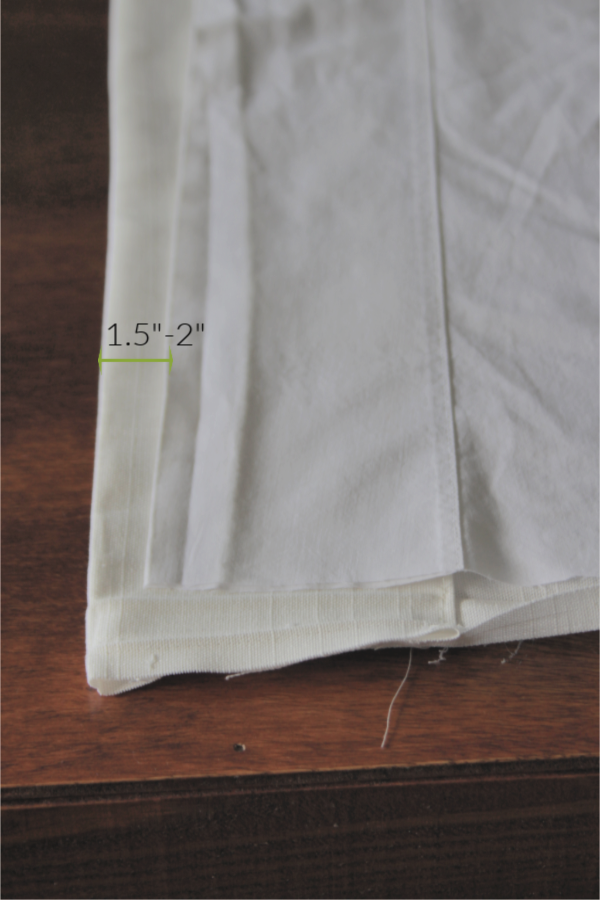
When you position your lining to sew it under the side seams you’ll place the lining fabric 1.5″ to 2″ above the bottom of the curtain(pictured below). The bottom is NOT sewn together…the lining and the face fabric hang independently.
You only sew the lining to the face fabric on each side and at the top header.
Step 6. Create pleats. I generally make my leading edge 3″ and my return 3″. Then figure out whats left to divide between my pleats and spaces. Your spaces should be between 4″-6″ and pleats should be between 4″ and 8″ typically. I actually made my pleats 3″ on this panel because it’s only double pinch pleat and I wanted more pleats. If you’re making a triple pinch pleat you’ll have go with a 6″ -8″ pleat, because you’ll obviously need more fabric to create a triple pinch pleat. There’s tons of tutorials on pleat spacing.
Sidenote: When your making drapery panels that are not operable…meaning, you’re not planning to open and close them, make the pleats smaller so you can have more pleats. It looks funny to have a panel with only 4 or 5 pleats.
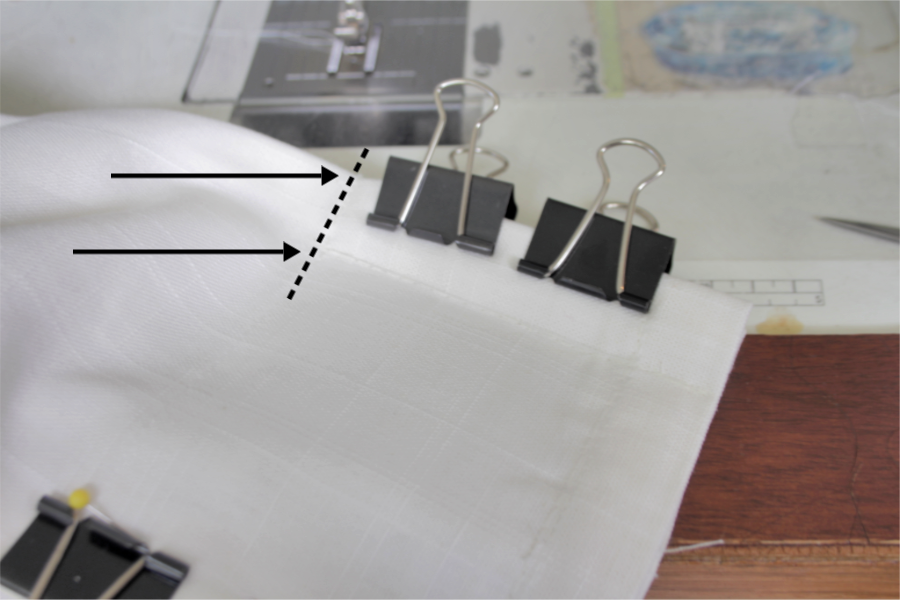
Also…as you can see pictured below, I use binder clips to hold my pleats in place. It works like a charm. Much easier and it really trains the pleats.
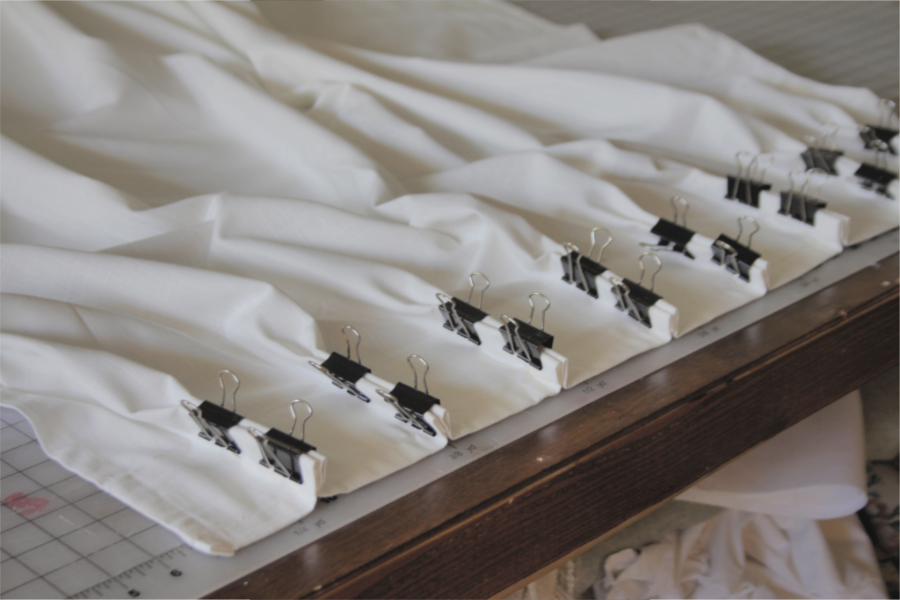
Step 7. Sew pleats. I move the binder clips closer to the edge of the pleat and sew the pleat behind the folds(only sew through two layers of fabric on all the folds).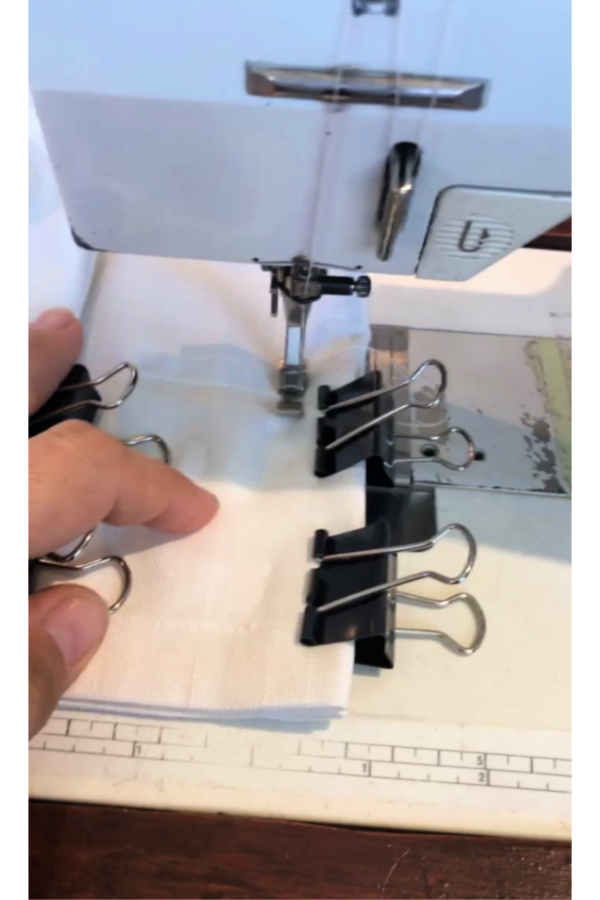
Then sew the “pinch” at the bottom edge of the buckram. Sew from arrow to arrow(the edge to stitching line you just sewed behind the pleats).
Step 8. Insert drapery hooks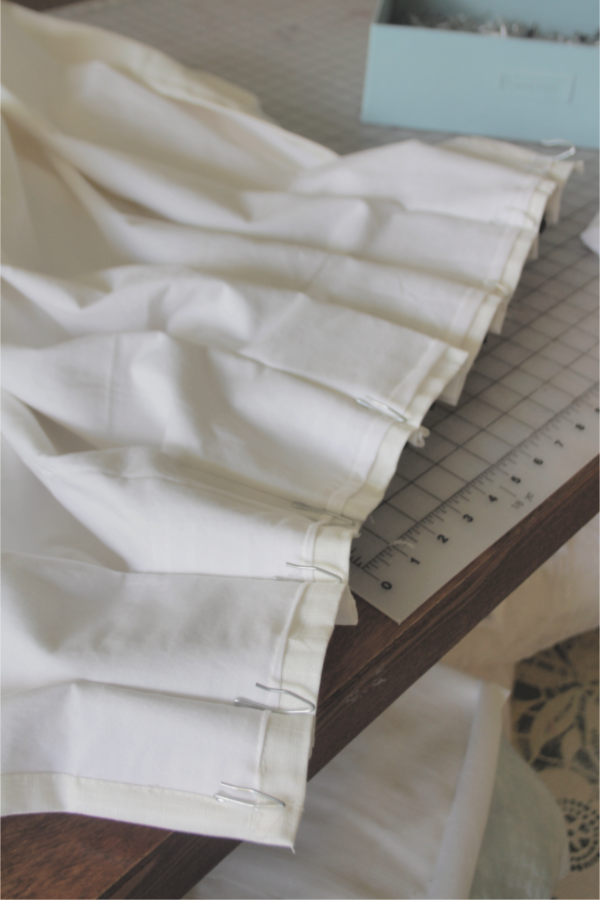
Your finished! You can now hang and style your drapes. You may need to train your drapes for a while by tying the drapery panels so they’ll stay pleated properly(like the pros do). I’ll make another tutorial on styling drapes so stay tuned.![]()

 Cherie Bradley says
May 28, 2021 at 8:44 pmHi again just trying to figure out a curtain rods to use for a sliding glass door where the curtain can be stacked on one side and opened and closed with ease. Any suggestions?
Thanks
 Deborah says
June 5, 2021 at 6:17 pmCheck out Art Decor Nexgen traverse rod. They are sold at Home Depot, but you have to order them online. I have it at my patio door and it does exactly what you want. If you have a heavy drape, order the upgraded ball bearing slides.
 Cherie Bradley says
June 10, 2021 at 8:45 pmHi there. One more question. Would you think a blind hem stitch would work well?
 Cherie says
May 24, 2021 at 2:14 amDo you recommend washing first? Also did you think the color of the white was an acceptable true white? I read a couple of reviews that recommended oxi whitening
 Kristy says
April 15, 2021 at 11:28 amThank you! I am doing this for three large window openings, so I have a lot of panels. I would like to line mine without opening the Ritva seam, by using a 5/8” fold-over of the lining and then top stitching it into place. What are the risks of doing that instead of opening the seam?
 Mary says
March 11, 2021 at 3:44 pmGreat tutorial! What is the thickness of the curtain rod and size of rings used? Are they from Ikea?
 Tami Nagel says
March 1, 2021 at 8:37 pmMimzy, Thank You so much for the great tutorial. The video is so helpful. You are so right about how beautiful draperies make a room. My mom made custom draperies for several designers. So I was extremely spoiled. She would make draperies for me. Unfortunately, I did not inherit her mad skills. I have made “curtains”, but have not have the confidence to try draperies. With your clear instructions, I will give it a go. Thanks again.
 Kristie says
February 1, 2021 at 3:37 pmYou lost me at (only sew through 2 layers)??? I’ll have to Google buckram!
 Lynn says
January 13, 2021 at 10:34 amYou make it look so easy. You lost me when you said you didn’t sew through the pinch pleat. I am not a sewer so maybe I just miss understood. Thanks for the great video. Can’t wait to watch more of your videos.
 mimzylombardo@gmail.com says
January 18, 2021 at 9:03 amThank you Lynn!
 Kara says
April 27, 2021 at 10:15 pmYou can use pleating hooks and avoid the sewing!
 Sophia says
January 7, 2021 at 3:10 amHow to find good ready made curtains in the UK?
We are planning to improve the decorations of the interior of our home and are planning to get some ready made curtains for the purpose. Can anyone throw some light on the places from where I can find them in the UK?
 Alyssa says
June 19, 2020 at 12:53 pmLove this hack! How wide did the panel end up being after sewed? We moved into a new house and I will be doing curtains for the whole house. I love this hack! So beautiful! I am trying ti figure out how many panels I would need.
 Brittany says
May 17, 2020 at 10:40 pmSince the pleats take away from finished width how do you measure/figure how many panels you need if you want the drapes to function traditionally and close all the way?
 Cel says
April 1, 2021 at 5:22 amYou purchase enough Ritva curtains to equal 2 1/2 to 3 times the width of your opening. For example, I bought 3 packs (6 pair) for a sliding glass door to get the fullness I wanted and made triple pinch pleats.
 Maria says
April 27, 2020 at 10:16 pmCan’t wait to try this. Already have the drapes, just need the lining.
Thank you so much !
 Debbie says
April 21, 2020 at 12:14 pmI’m not clear on where the lining attaches at the top.
 mimzylombardo@gmail.com says
April 23, 2020 at 12:05 pmI attached the lining to the bottom seam of the buckram that was installed by Ikea. That way I could just follow the same stitching line and sew right on top of it. You could go all the way to the top of the curtains as well.
 Lori says
March 31, 2020 at 10:54 amThanks for your tutorial, how long is the pleat from the top of the curtain ?
 mimzylombardo@gmail.com says
April 23, 2020 at 12:05 pm4 “
 Michelle says
January 8, 2020 at 9:46 amThanks for the tutorial! Where did you get your drapery rings? Thanks!
 mimzylombardo@gmail.com says
January 16, 2020 at 4:15 pmIKEA
 Theo says
December 17, 2019 at 2:30 pmHey, I’m a long time fan and reader of your blog, first time commenter. Just wanted to say this post really hit home with the stuff I’ve been looking into. Thanks!
 Rebecca | Restyled Homes says
November 16, 2019 at 8:09 amThank you for creating this blog post and showing us this curtain hack! I have to update a few curtains in my house due to the strong Florida sun fading the fabrics, ugh. I don’t have the time right now to bust out the sewing machine again and make my drapes. I’m grateful IKEA carries long length curtains.