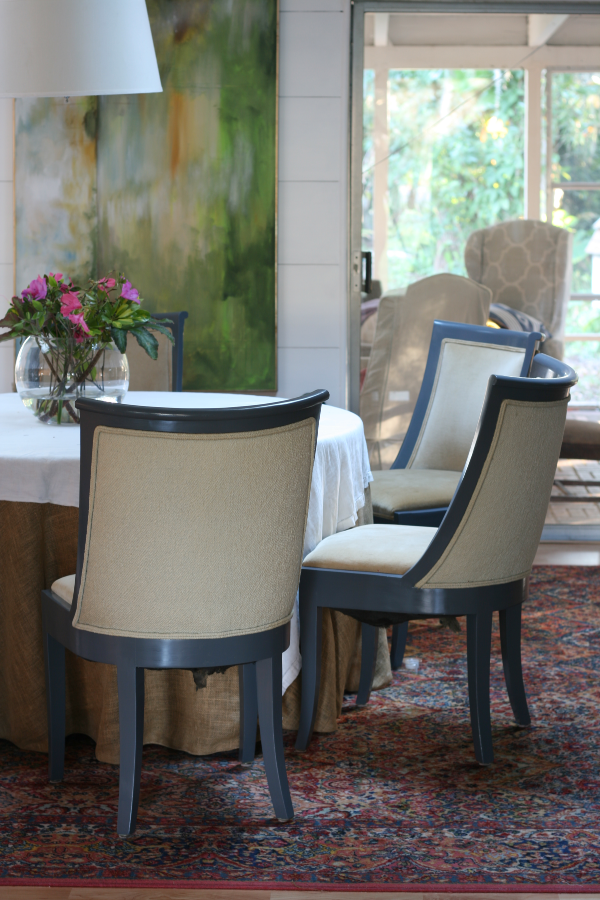
 This tutorial and video will give you some tips and tricks for painting dining room chairs with oil paint.
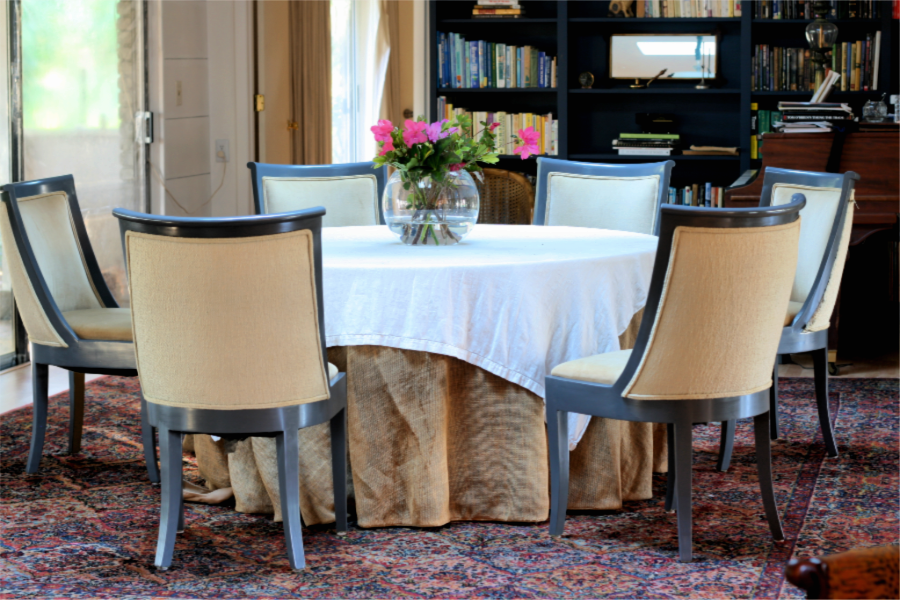 A little bit of back story…I bought these chairs from craigslist for $8 a piece. I fell in love with the shape of the chairs and the upholstered seat and back. We don’t have an eat-in kitchen so most of our meals are eaten at our dining room table…except for quick meals eaten at the breakfast bar. So I like our dining chairs to be very comfortable to encourage lingering at the dinner table as long as possible.
The last set of dining chairs I bought didn’t work out. I thought they were perfect because they were a smallish upholstered wing-chair style chair. I made slipcovers for these chairs, but the slipcovers wouldn’t stay in place because they didn’t have a seat cushion. You can see those here. They were always baggy and saggy and looking like a mess.
The set before the wing chairs were the bomb. They were a midcentury chippendale chairs. You can see those here. They were absolutely gorgeous, but were just too precious for my family, so I sold them.
Enough about my chair addiction…let’s talk about painting these chairs with oil paint, shall we?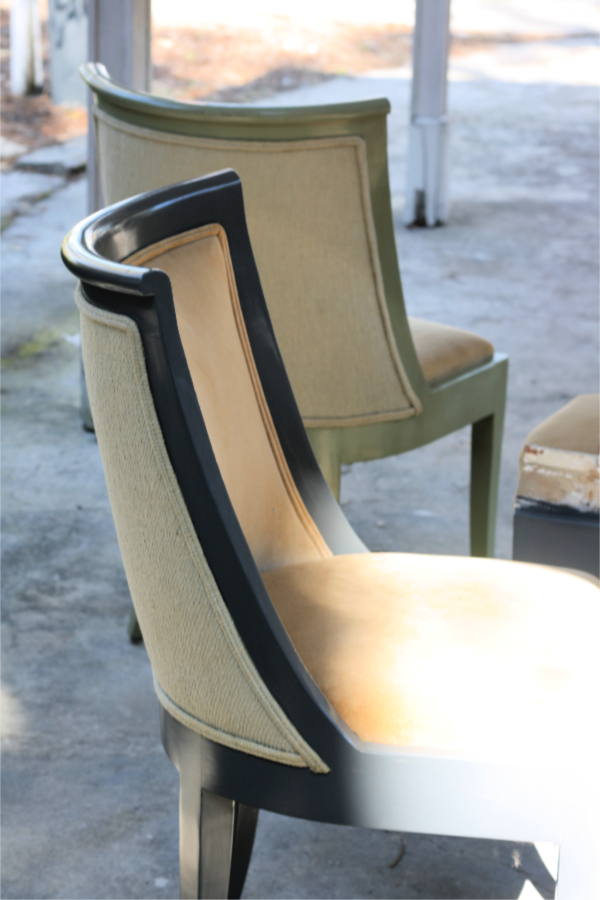 1. Move the chairs to a well ventilated area.
The first thing you need to do is move the chairs to a well ventilated area. Preferably outside. Oil paint is very stinky and doesn’t easily clear the air and will quickly pollute your whole house. I painted my closet cabinet in my bedroom with a large window open and when I left the room and came back, it smelled like I didn’t even have the window open. So, if you’re going to paint inside you should wear a respirator. 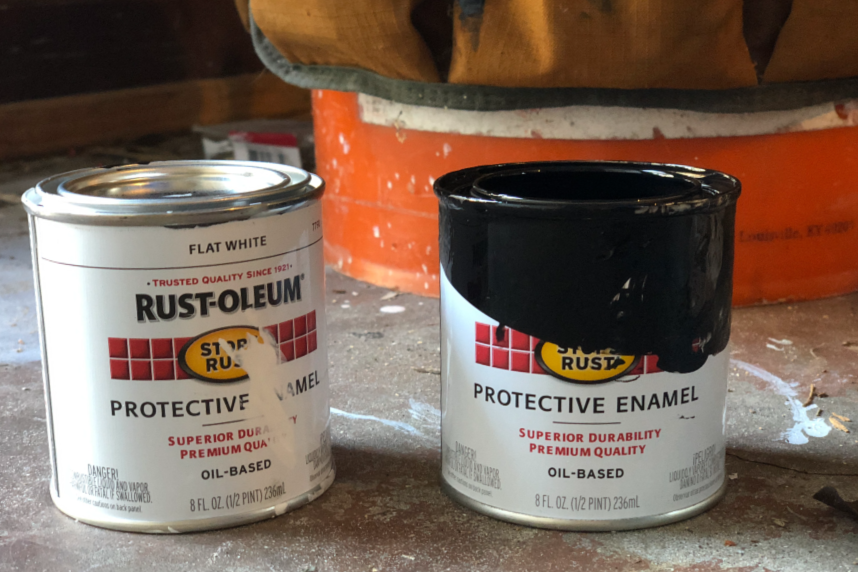
2. Select your oil paint.
I chose to use this premixed oil paint by Rustoleum. I decided on Rustoleum because it’s so cheap for these tiny cans. I didn’t even use all the paint for six chairs. By mixing together one can of gloss and one can of flat I got a perfect medium/dark satin finish paint.
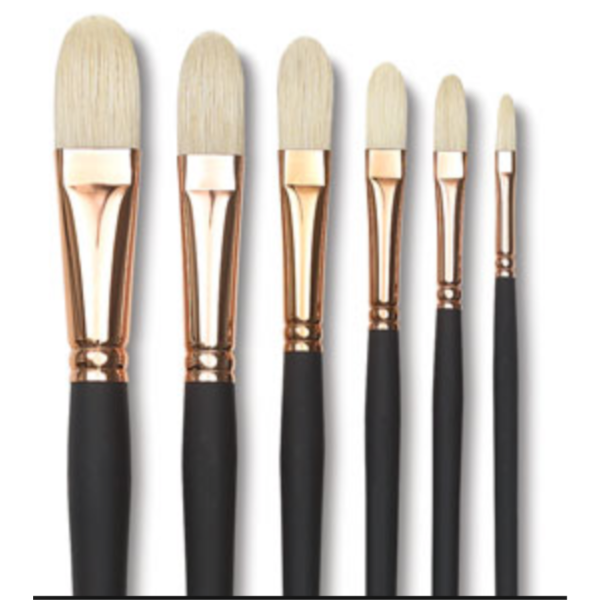 3. Buy a decent artist brush.
Either a filbert brush or a round artist brush will be the best option for this paint job. You need to be able to get the paint in between the welt and wood without getting paint on the welt(cording). The very thin tip of the filbert or round brush will allow you to get into that tight space. 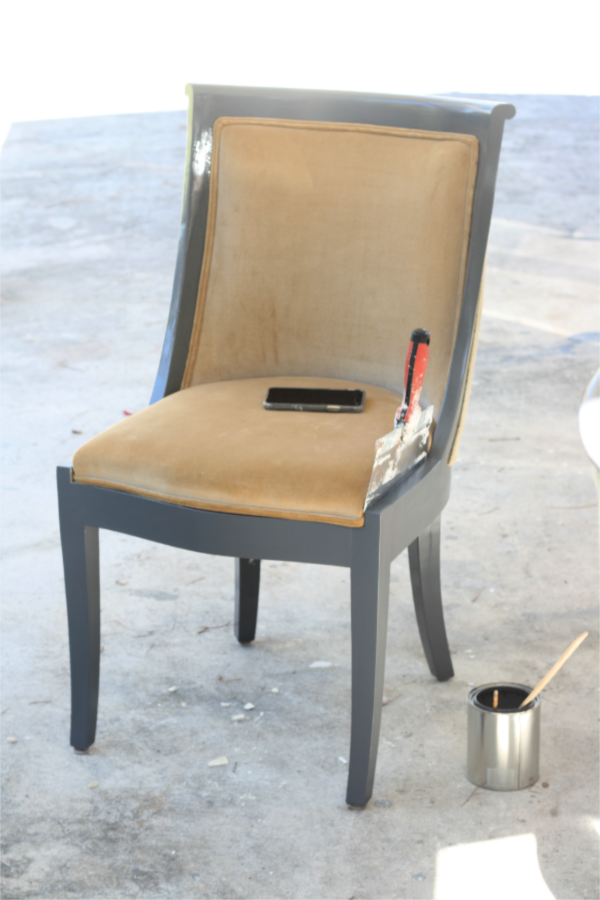 4. Manipulate the fabric to avoid paint.
I used a mud knife to hold the fabric away from edge of the wood so I could paint the edge without getting paint on the seat. I also used my finger nails to pull the welt away from the edge of the wood as well. I demonstrate this toward the end of the video below. 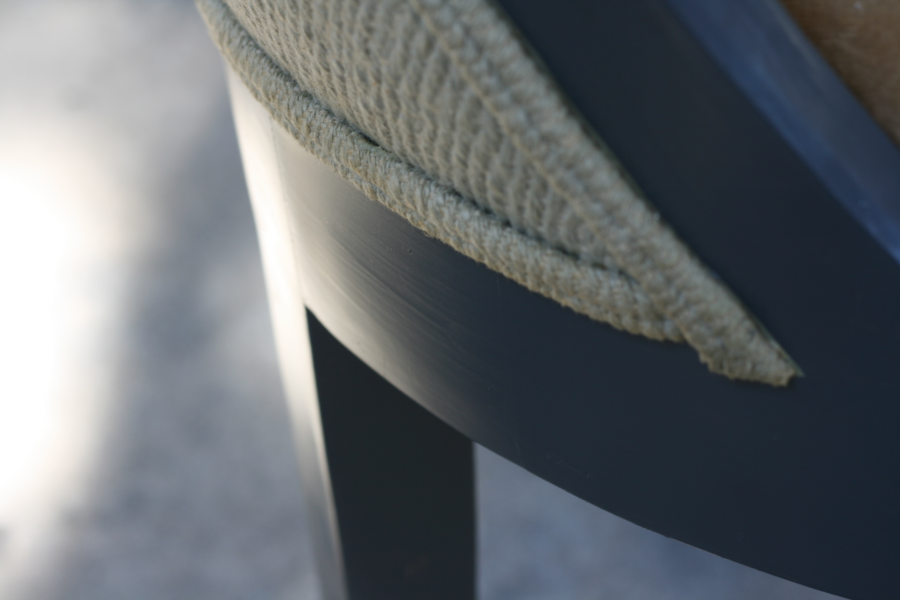 5. Paint, paint, paint.
Carefully paint all the exposed wood on each of the chairs. 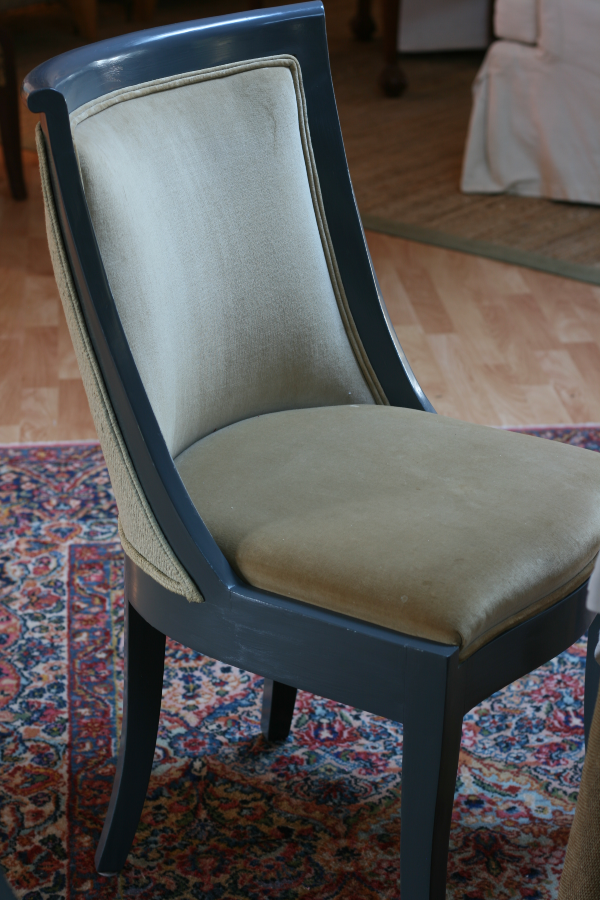 Pro tip…don’t be tempted to cover the wood with one heavy coat of paint. Put the paint on in two thinner layers to avoid dripping and sagging.
 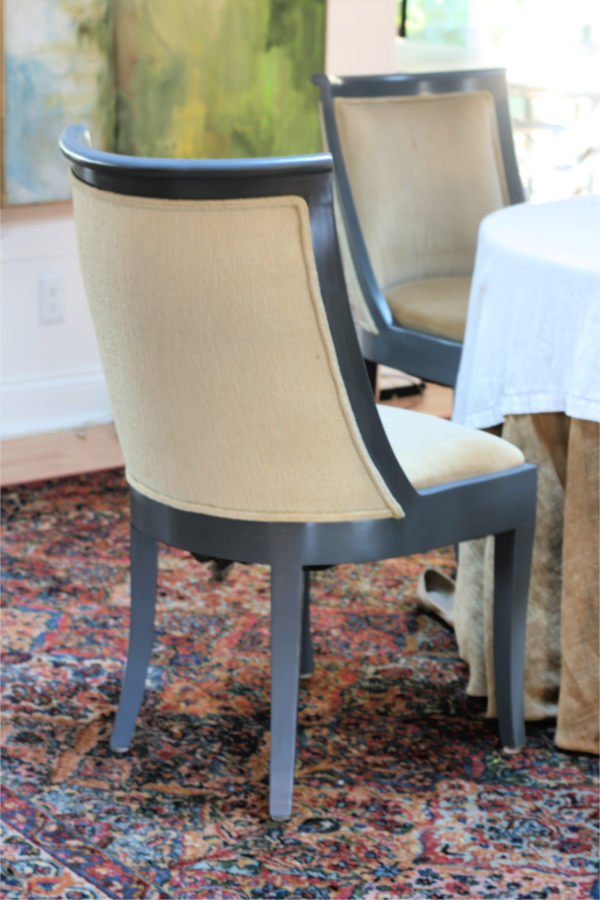 Allow your chairs to dry for a good two hours and bring them in and enjoy them for years to come. Oil paint is a very durable finish and it creates the most beautiful velvety sheen.
Here’s a video of the process…

 Sprint Reno says
November 5, 2020 at 2:16 amWonderful post and I really appreciate your hard work.
Best regards,
Mead Henneberg
 3M 3200 says
June 19, 2020 at 3:47 amImpressive! Thanks for the article.
King regards,
Dinesen Duke
 Wendi@H2OBungalow says
March 3, 2019 at 6:50 amHi Mimzy! What a great deal you found on your chairs! It’s wonderful what a little paint and a change of color can do. I’m sure you guys are enjoying your new chairs, they look great in your dining room.
 mimzylombardo@gmail.com says
March 7, 2019 at 8:19 pmAwe…thank you so much Wendy! Thanks for stopping by!
 Joe says
February 11, 2019 at 8:00 amThe chairs were pretty in the original color, but even better in that dark gray.
 mimzylombardo@gmail.com says
February 11, 2019 at 8:01 amThank you Joe! glad you approve.
 Janice Noguera says
February 9, 2019 at 4:20 amThank you for this post as I’m thinking of painting legs on my dining room table but have been hesitant.
 mimzylombardo@gmail.com says
February 9, 2019 at 5:16 pmYou’re welcome Janice! Go for it! It was easier than I expected and using oil paint was really nice because it flows so smooth and there’s really no prep work needed.