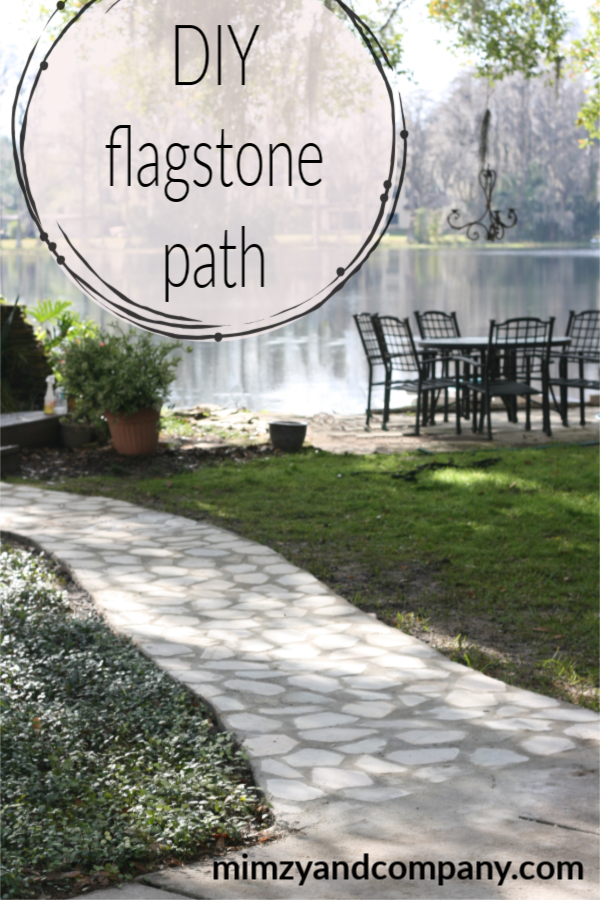
This is a tutorial and time-lapse video of how I made my DIY flagstone path.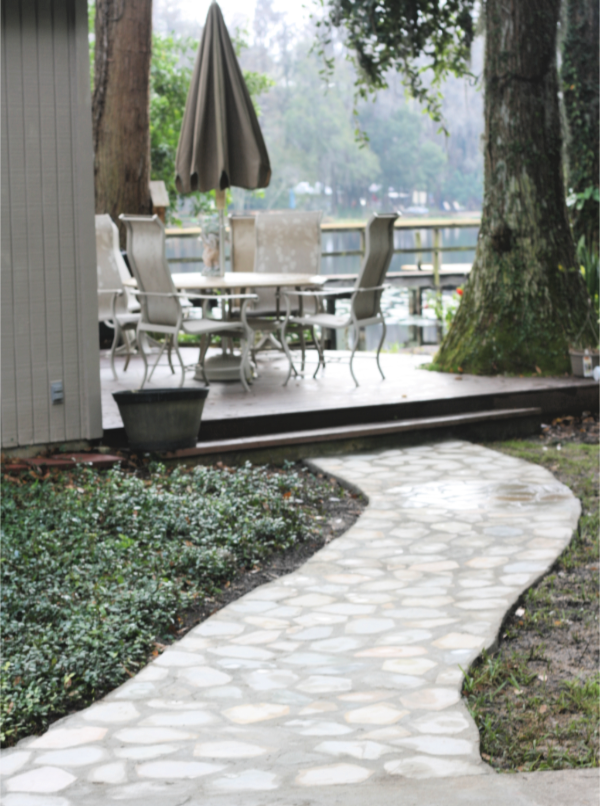
There are many ways to pour concrete and set flagstone and no two masons do it exactly alike. I’m certainly not a mason, but a hacker that knows just enough to get in trouble. ;0. So take this tutorial with a grain of salt and do some research for yourself…specially if you live in a freezing climate. I live in Florida so that’s hardly ever an issue.
The picture below is how the path looked before. The flagstone was a cast-off from a job that my brother-in-law worked. It was all free and a huge blessing. 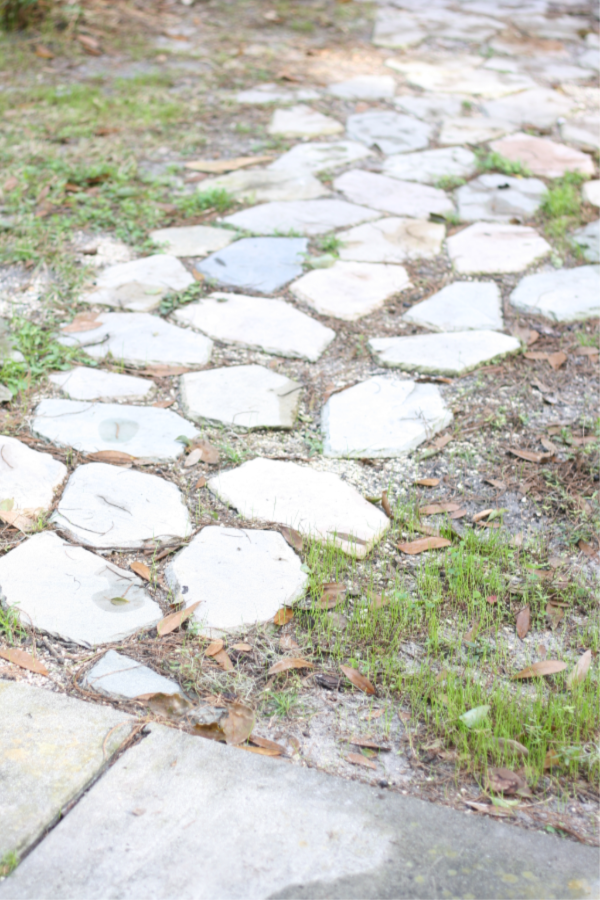 When we got the flagstones we initially set them in a gravel and sand base. This method is fairly stable temporarily until grass and weeds start to grow in between, and the flagstones shift and buckle, becoming quite dangerous. Not to mention very unattractive.
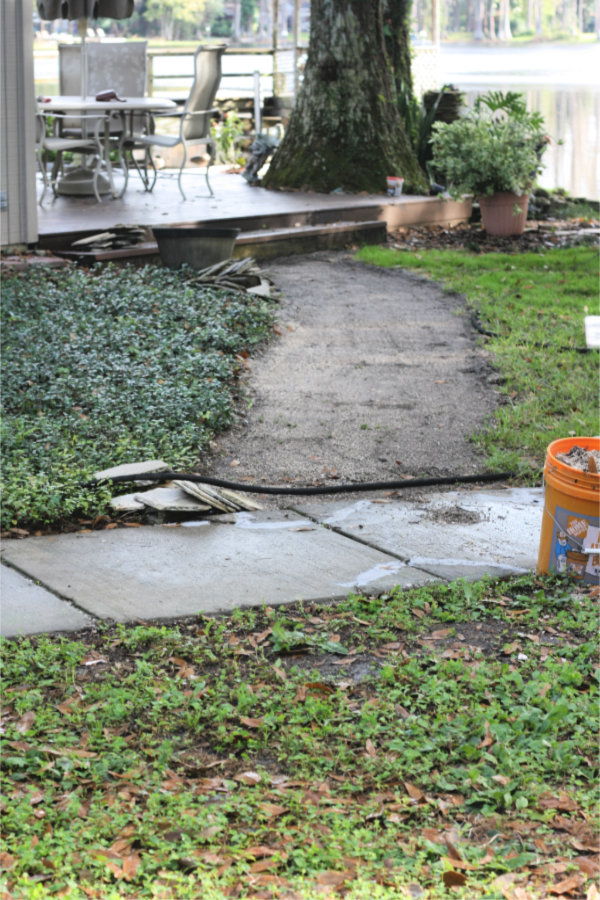 This path leads to my mother-in-laws house. The picture above is after removing the flagstones in prep for the concrete pour.
 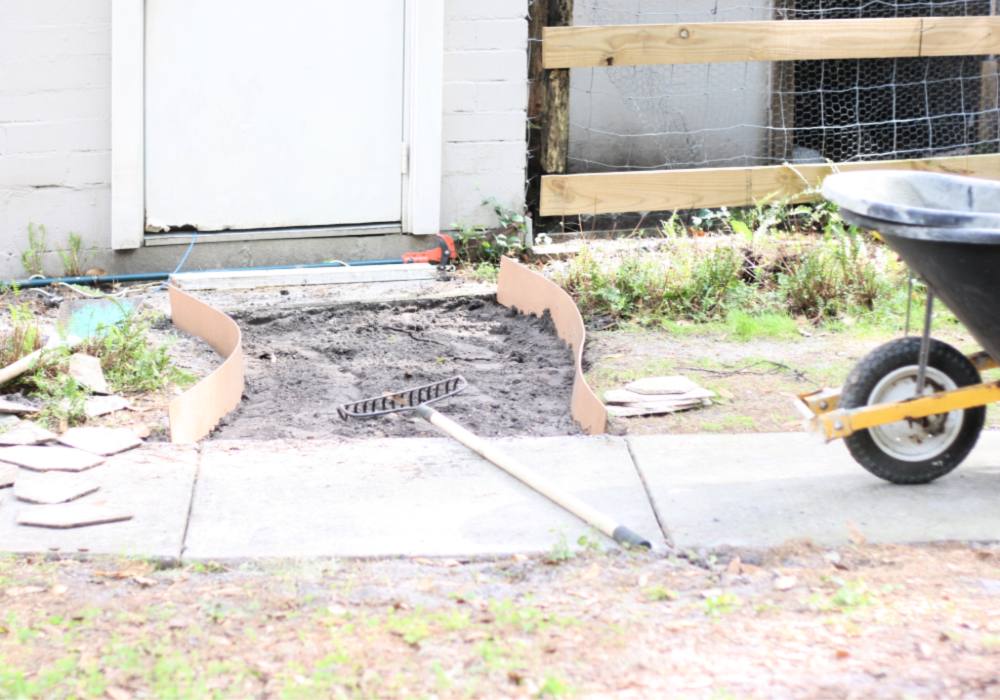 This is the MUCH shorter path I poured the day after working on the 22′ path to my MIL’s house. I failed to take still pics of her path because I made the time-lapse of that project. So I’ll give you the step by step process on this locale. First I cleared the path of any obstructions…ei. grass, weeds, roots, etc. I used a flat shovel to carve out the edge of my path creating a softly curved design.
To line my path and create the edge/form for the concrete slab, I used this 4’x8′ sheet of hardboard from Home Depot ripped down to 6″ strips. It’s very bendy and can curve around anything. The Home Depot kindly ripped it for me on the panel saw. Once I had my hardboard installed along the edge of the path I dug out another inch or two of soil so my path would be below grade by 2″ and above ground 1″.
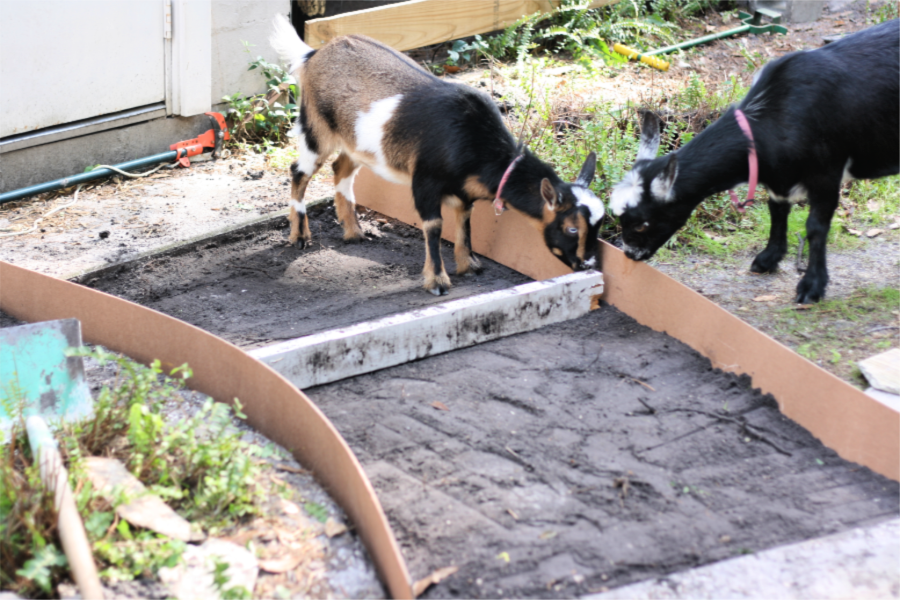 After I dug out enough soil I used and old 2″x4″ to level the ground and pack down the dirt. My two helpers were trying to eat the hardboard. At this point a tamper would be a good idea to make the ground nice and packed down.
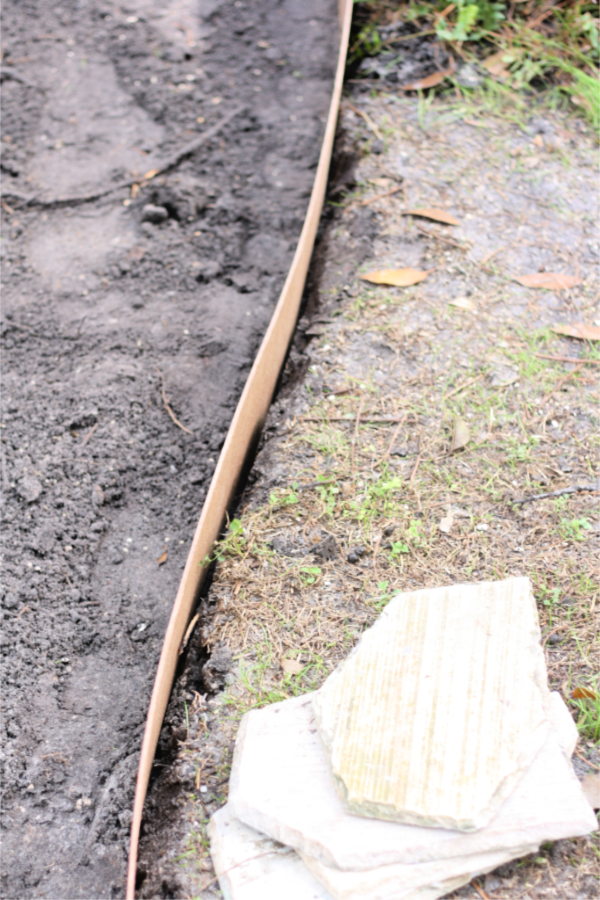 Since I dug about two inches below grade the hardboard edger was stabilized by the ground behind it eliminating the need for many stakes. On my MIL’s path however, we used a stake about every 12 or so inches. Use more than you think you’ll need to eliminate bulges when you pour the cement into the form.
 With the ground prepped and ready, I started to mix the concrete.
Sidenote: I wouldn’t recommend doing this project alone…at least not a long path like the video. I did this short path by myself and it was super difficult to pour the concrete alone. I had the hardest time trying to tip the wheelbarrow and coax the cement out by myself. So if your thinking about doing a project like this I would highly recommend a helper. It makes the difference between grueling and actually having fun.
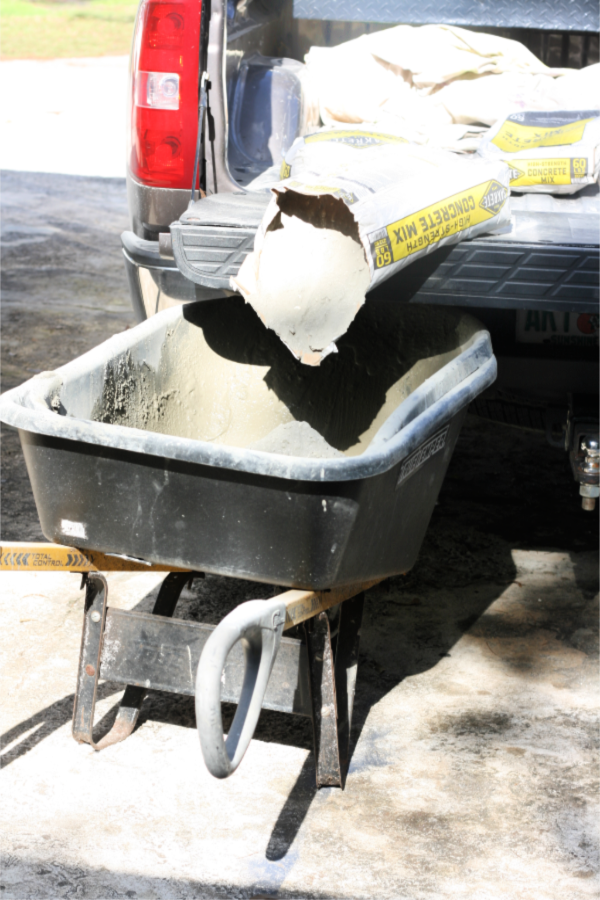
TIP: if you are pouring concrete alone… DON’T unload your bags of concrete from your truck or SUV. Just pull your wheelbarrow under the tailgate of your truck and open the bag over the edge to let the concrete pour out on its own. Then you don’t have to lift the bags out of the truck, carry them or wheel them back to your location and then lift each bag into the wheelbarrow. I found this method a whole bunch easier when working alone.
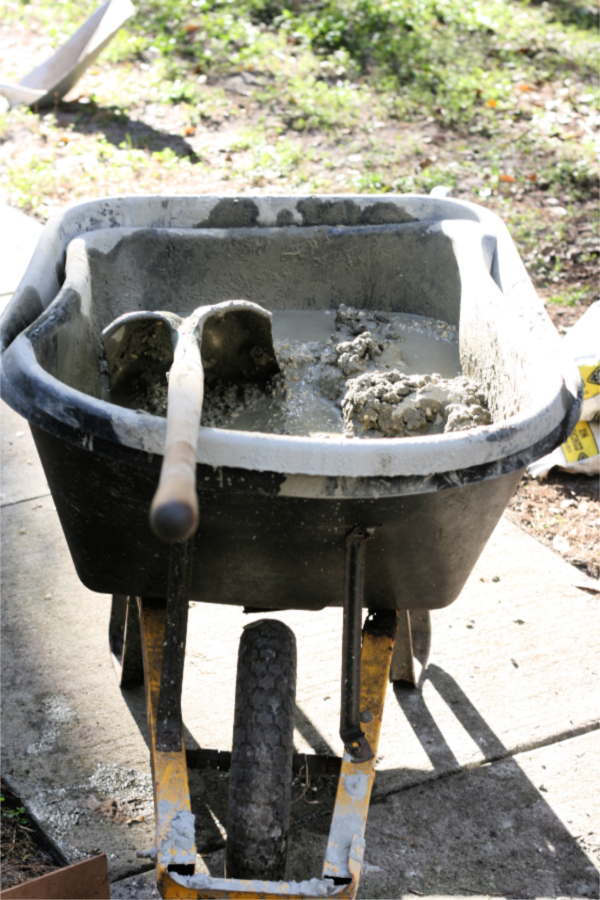 I mixed the concrete directly in the wheelbarrow. I put my hose on low and let it sit in the wheelbarrow while I mixed the concrete with a flat shovel. You want the consistency of toothpaste or maybe a little looser for easy screeding.
 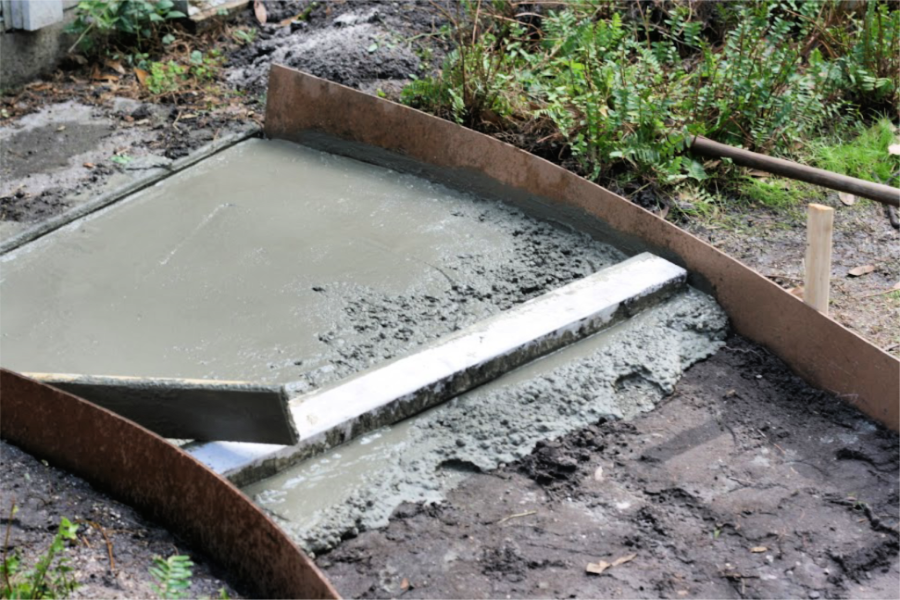 I dumped my first load of concrete in the path. I used the same old 2″x4″ to screed the concrete immediately after dumping. Screeding is the method of leveling and smoothing the cement. You basically shimmy the 2″x4″ side to side in short quick motions. This causes the rocks to go down and the smooth wet cement to rise to the top, leaving a beautiful smooth finish. If the cement is too dry, screeding will be difficult, so just spray the cement with a little water.
I screeded the edges with my homemade float. I used a 1″x4″ and a metal handle I had in the tool closet. Knowing that I would put flagstone on top of this cement, I didn’t feel the need to use a metal float for a super smooth finish.
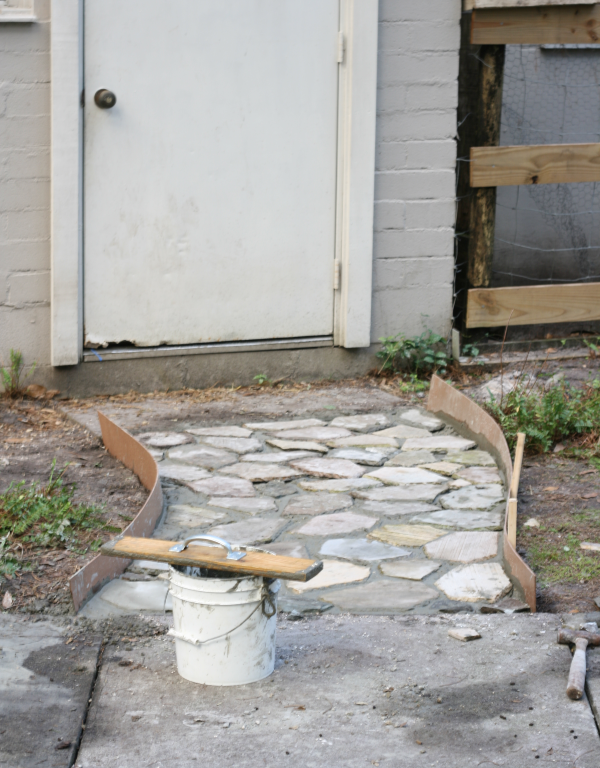
After the concrete was all poured and still damp but not soft, I set the flagstones. I “back-buttered” each stone(put the cement on the back of the each stone rather than the ground) because it was just easier for me as a Lone Ranger. I had my cement bucket next to me as I sat next to the path and set all the stones.
I used enough cement on the back of the stone to cover it, placed the flagstone and tapped it down with a rubber mallet making sure each stone was level and firmly set in the cement. I pretty much set all the edge stones first and then filled in the middle. I didn’t cut any stones to fit. I broke only a few stones with the hammer to fill in some small spaces. My spaces between stones are not tight and that’s just fine with me.
After I set all the stones in cement I used pre-mixed mortar to “grout” the flagstone in place. I used a rubber tile float to push the mortar into the joints between the stones and to smooth it all out. Then I wiped the stones clean with a sponge and bucket of water. Just like a tile job.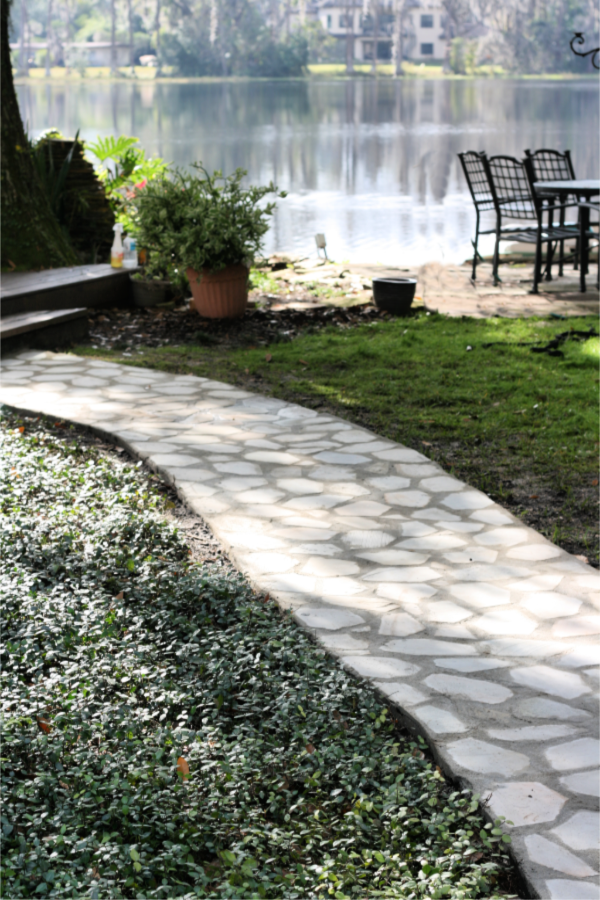
TIP: When your working with concrete you want to keep your surfaces damp. For instance, if you’re installing flagstone on an existing slab you need to wet the concrete before setting the flagstone. Also, wet the back of the stone to remove dust. 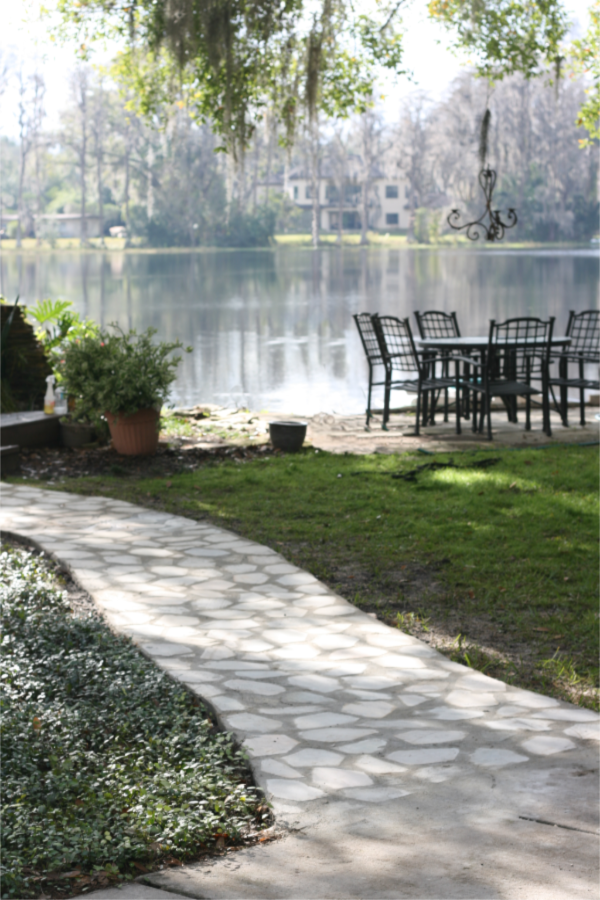
I’m very pleased with how the paths turned out! They’re pretty flat and level and there’s only one spot where water pools a little. So when the cement is totally cured in 28 days we might seal it. I’ve heard it’s important to get the right sealer that breaths…if you know of a great durable stone sealer, let me know in the comments.


 smackdown live says
May 12, 2020 at 7:49 amI blog often and I truly appreciate your information. The article has really peaked my interest.
I am going to take a note of your website and keep checking
for new details about once per week. I subscribed to your Feed as well.
 mimzylombardo@gmail.com says
May 12, 2020 at 9:05 pmThank you.
 affiliate dating says
May 8, 2020 at 8:16 amI seriously love your site.. Excellent colors &
theme. Did you develop this web site yourself? Please reply back
as I’m looking to create my own blog and would like
to learn where you got this from or just what the
theme is called. Appreciate it!
 steal says
April 21, 2020 at 3:06 amI’m excited to find this web site. I need to
to thank you for ones time just for this wonderful read!!
I definitely really liked every bit of it and
I have you saved as a favorite to check out new information in your blog.
 Jeanette Pappas says
February 18, 2019 at 9:58 amBeautiful job lovely walkway! Love doing projects too. Never had a lot of money so I did them myself and enjoyed the process.
 mimzylombardo@gmail.com says
February 26, 2019 at 10:18 amThank you Jeanette…I generally don’t have a lot of money for projects either. This one was surprisingly cheap since the flagstone was free and cement is not arms and legs. Plus my mother-in-law paid for it. Always nice when someone else funds things. Thanks so much for commenting.