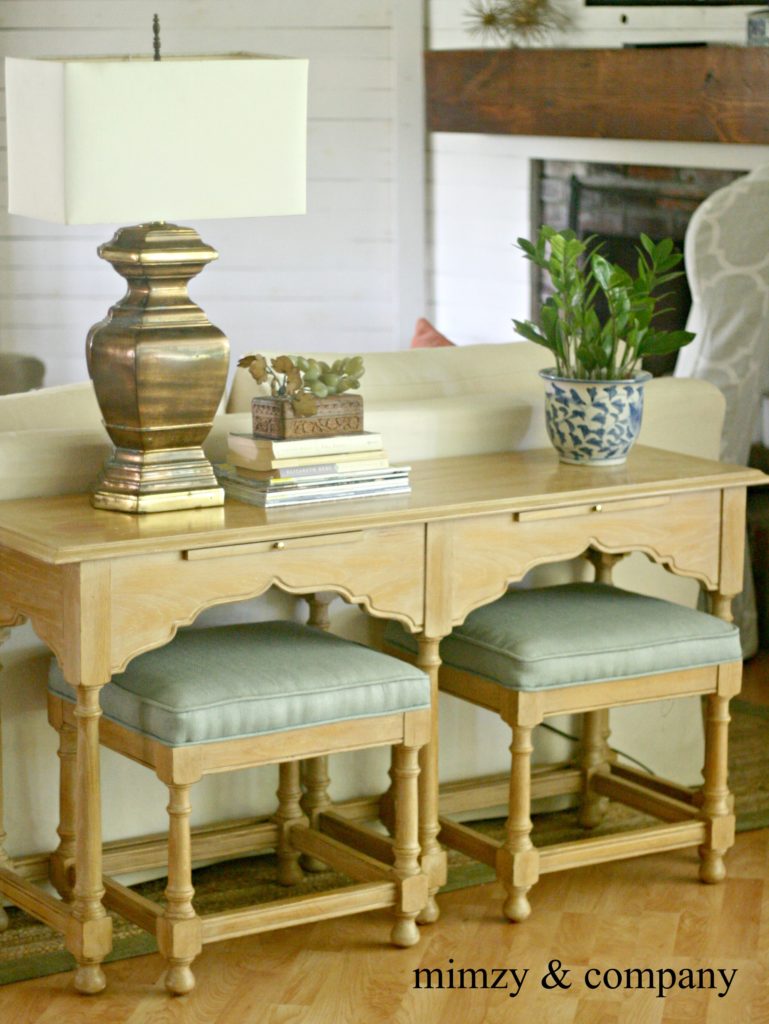
I picked up this cute little sofa table/desk from Craigslist last week. I intended to use it in my foyer but when I placed it in it’s new home it was way too small. Maybe not waaaay, but not what I imagined for the space. No big deal though, because I recently sold the MCM dresser I had behind my sofa so I plopped this sweet little desk behind the sofa and it’s perfect. The wood looks like oak but prettier and it looks cerused(lime washed). I love it.
The original dark green fabric and braided trim had to go asap and my ever growing fabric stash supplied me with plenty of replacement possibilities. So this tutorial will show you how simple it is to replace these seats.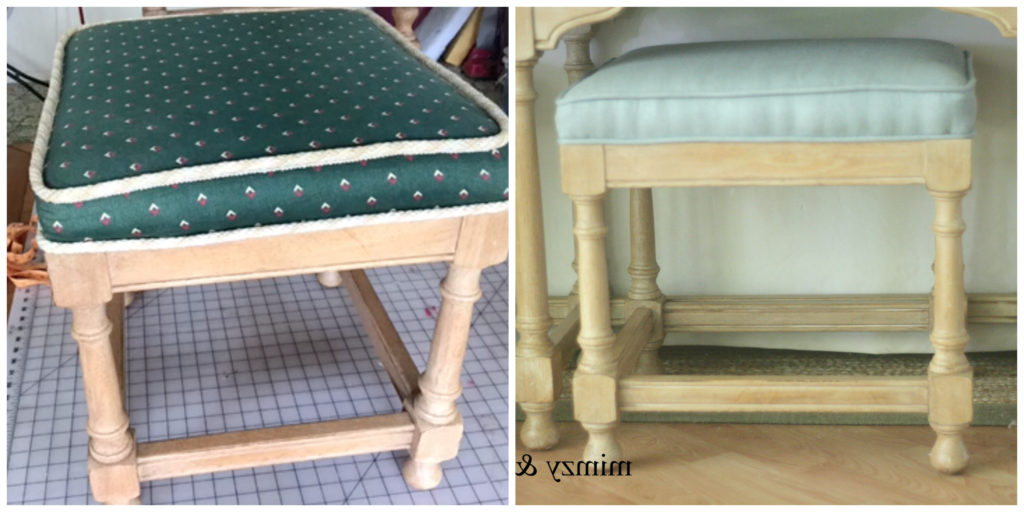
This attached boxed seat cushion tutorial works for a boxed bench cushion like these small benches or dining chairs. You’ll see from the tutorial, these bench cushions are attached to a platform, which is then screwed to the bench frame.
I’ll include a few still pictures of each step of the process of recovering these benches, but it will be an abbreviated version of the “how to” because I made an extensive “how to” video. Probably too much information. My camera skills and video editing leave a lot to be desired, but you have to start somewhere right?
Step one:Unscrew the cushion from the frame. Just four screws.
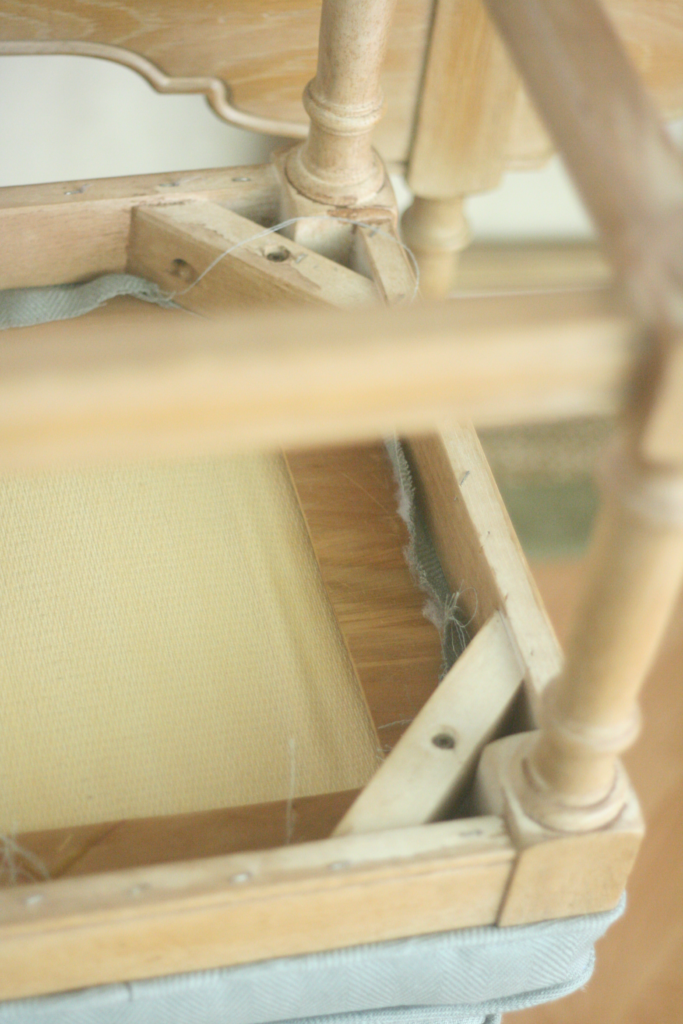 2. Remove the old fabric and welt from the cushion. This may not be necessary if the old cushion cover didn’t have welt(piping), and if the new fabric will totally hide the color and pattern of the old fabric.
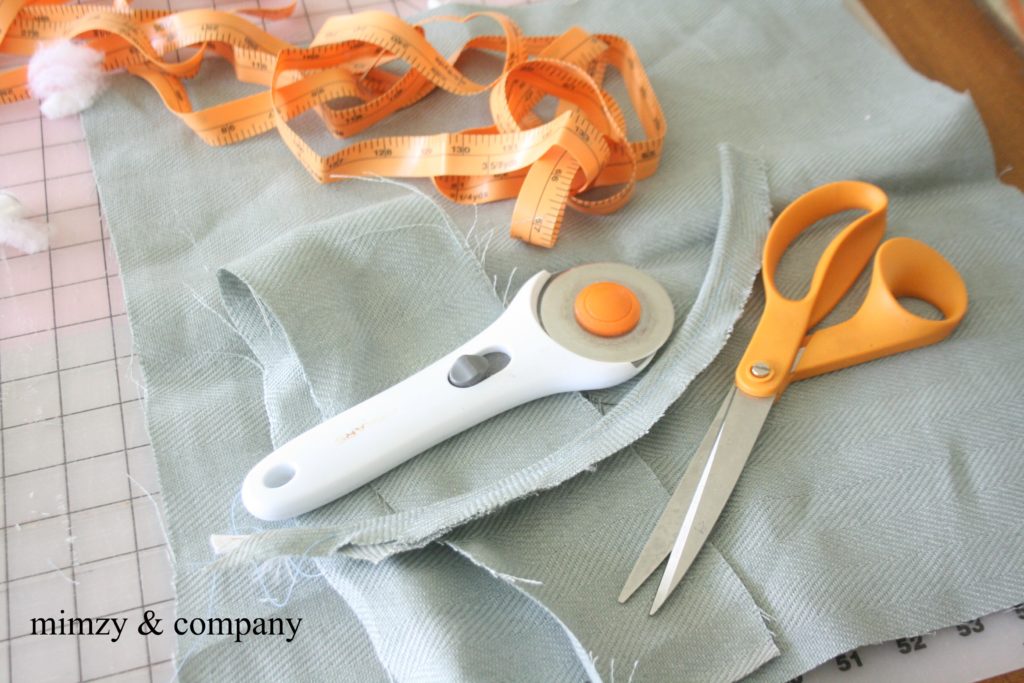
3. Cut your fabric to the proper dimensions. Measure the foam front to back and side to side and add one inch for the seam allowance. Measure the box(the height of the sides of the cushion) and add 3 inches. 1/2″ for the seam allowance and 2″ to wrap around the bottom comfortably.
4. Cut and create welt(piping)….previous tutorial …https://www.mimzyandcompany.com/how-to-make-welt-for-an-upholstered-headboard/
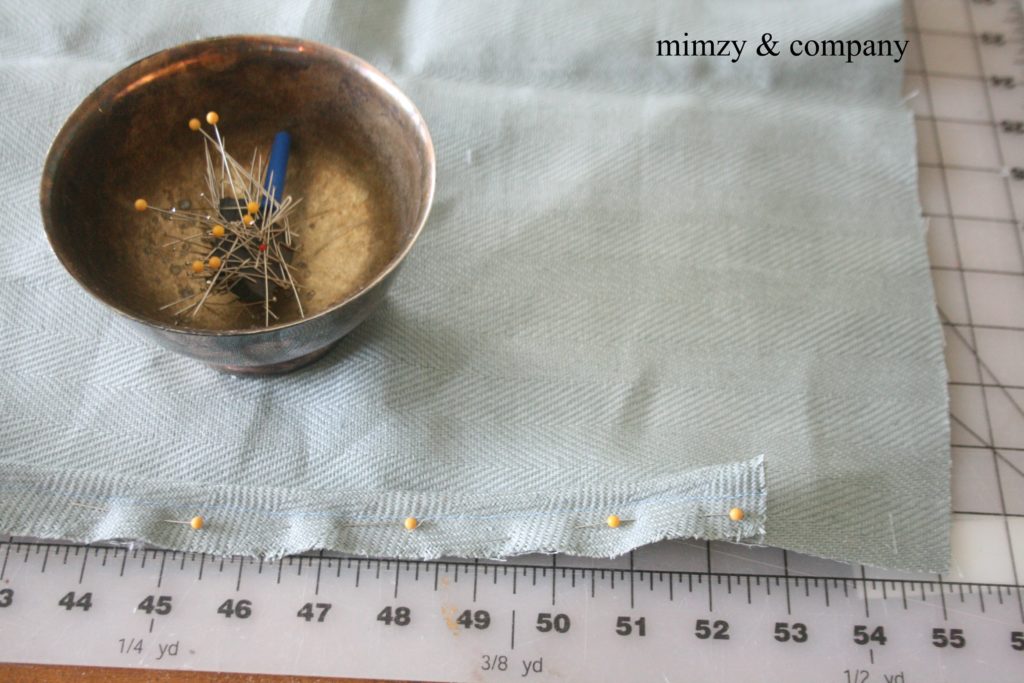 5. Pin the welt to the top piece of fabric and sew it together.
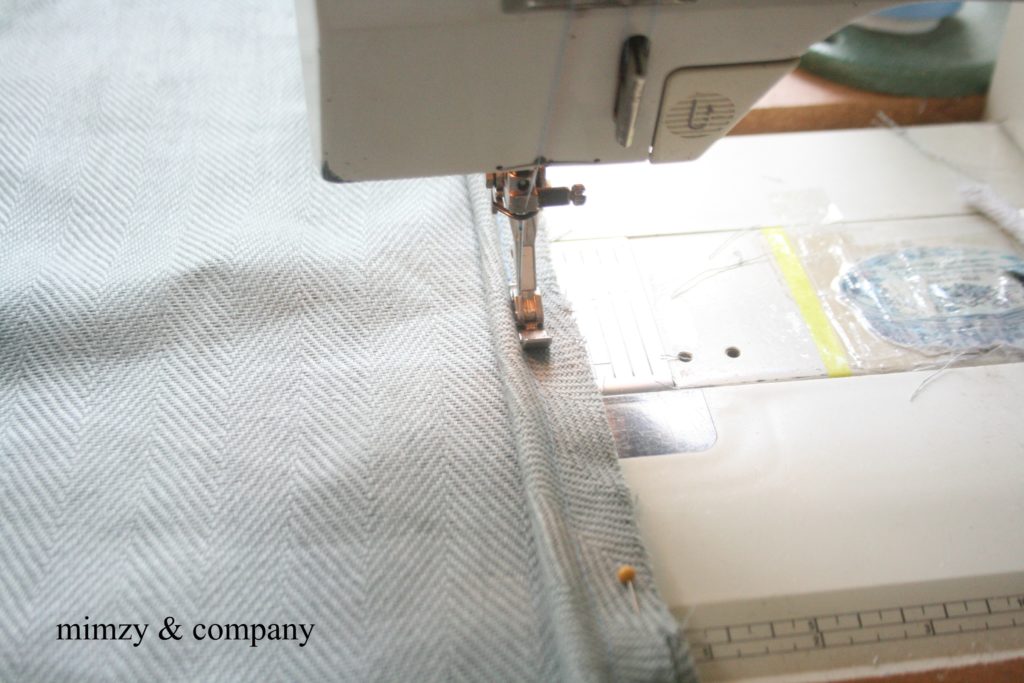
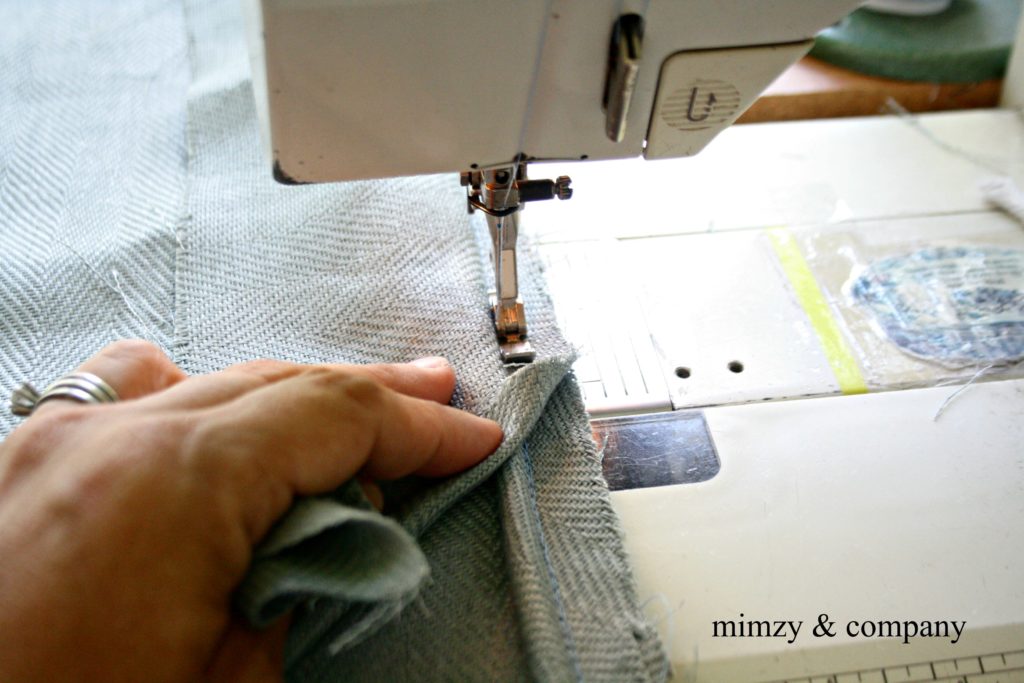 6. Sew the box piece to the top piece of fabric sandwiching the welt in between. Remember, right side of fabric to right side of fabric. Also, the unfinished edge to the welt goes out….I did this wrong so many times when I first started home decor sewing. So, if you turn your piece right side out and find the welt is backwards give yourself a break…it happens.
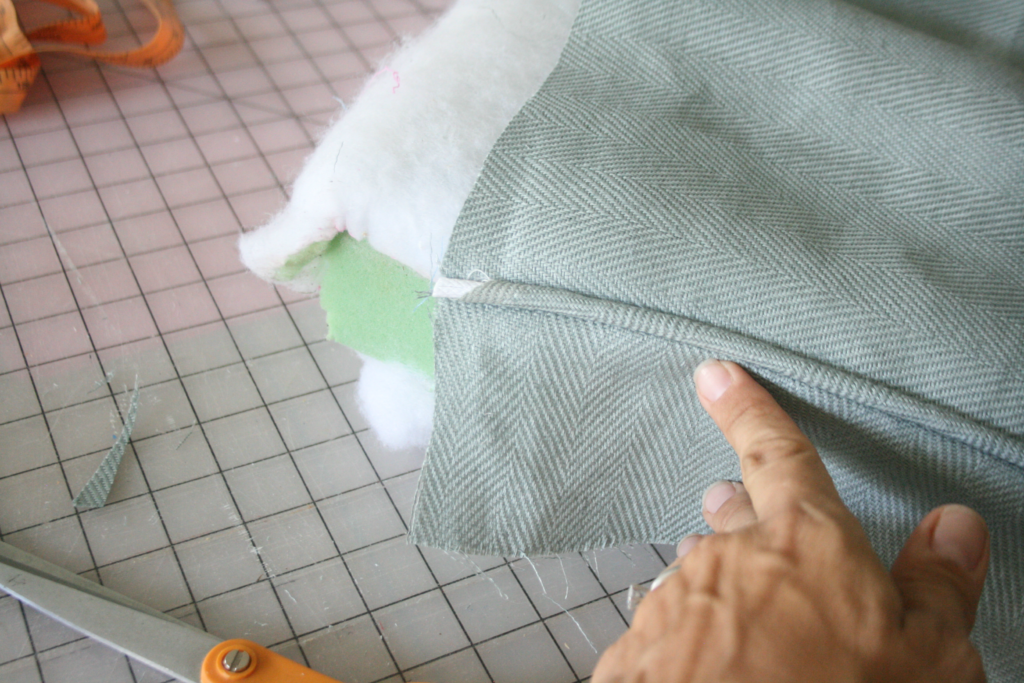
7. Now that all the sewing is complete it’s time to attach the fabric to the foam and staple it together. Turn the fabric cushion cover right side out and fit it over the cushion and the wood platform. You may want to add a little more batting into the corners of the cover to plump it up a bit. 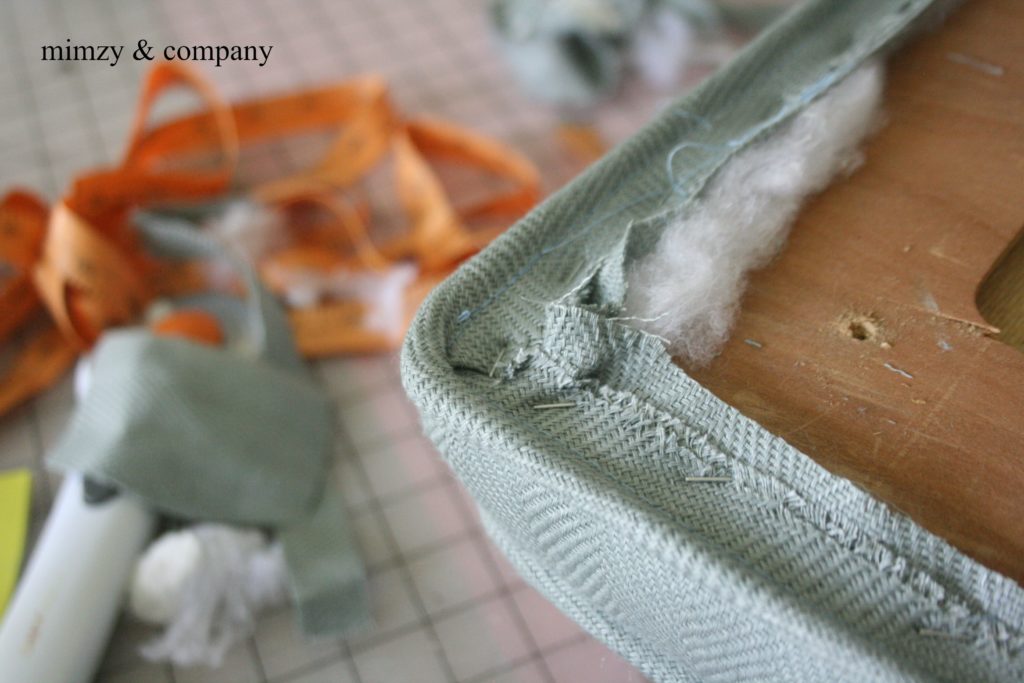 8. Staple the cover to the bottom of the wood platform and attach the bottom welt.
This picture tutorial is over simplified and there are a lot of little steps that are really hard to convey with still pictures. If you want to get the full gist of the project definitely watch the video below. Just be warned it’s a lot of information. 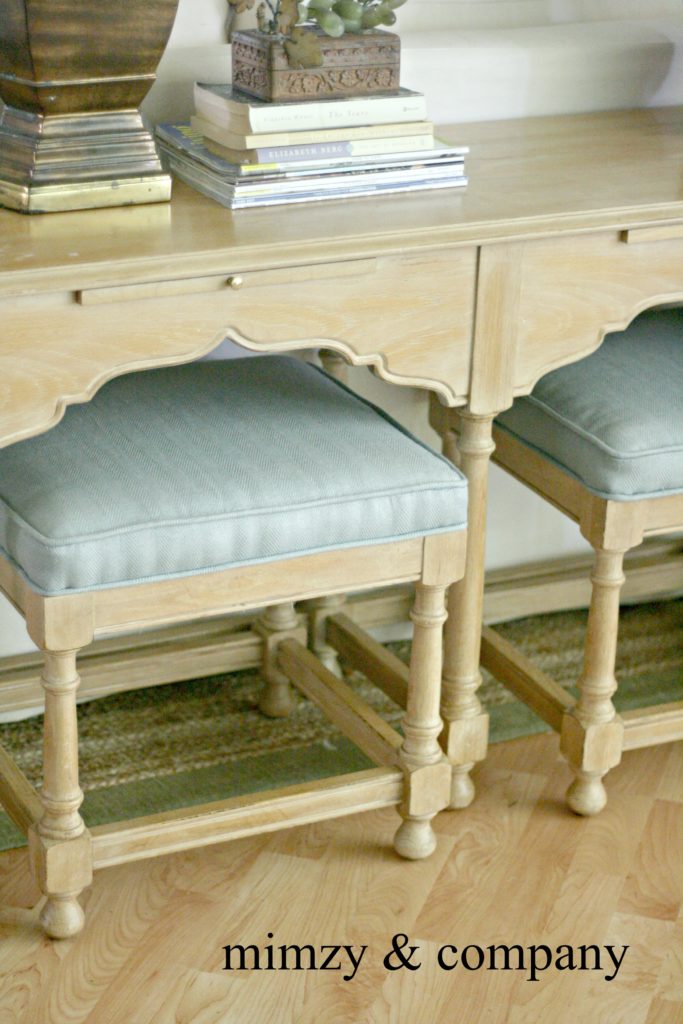

 Barbara Courtright says
January 3, 2019 at 5:45 amExcellent instructions and video!
Thanks.
 mimzylombardo@gmail.com says
January 3, 2019 at 11:56 amThank you Barbara!
 Darlene Brink says
August 18, 2017 at 3:36 pmLove the outcome! Great tutorial and pics!
 Tracy says
August 18, 2017 at 11:32 amWow! I love the new updated look!! Great instructions too!
 mimzylombardo@gmail.com says
August 18, 2017 at 1:18 pmThank you Tracy!