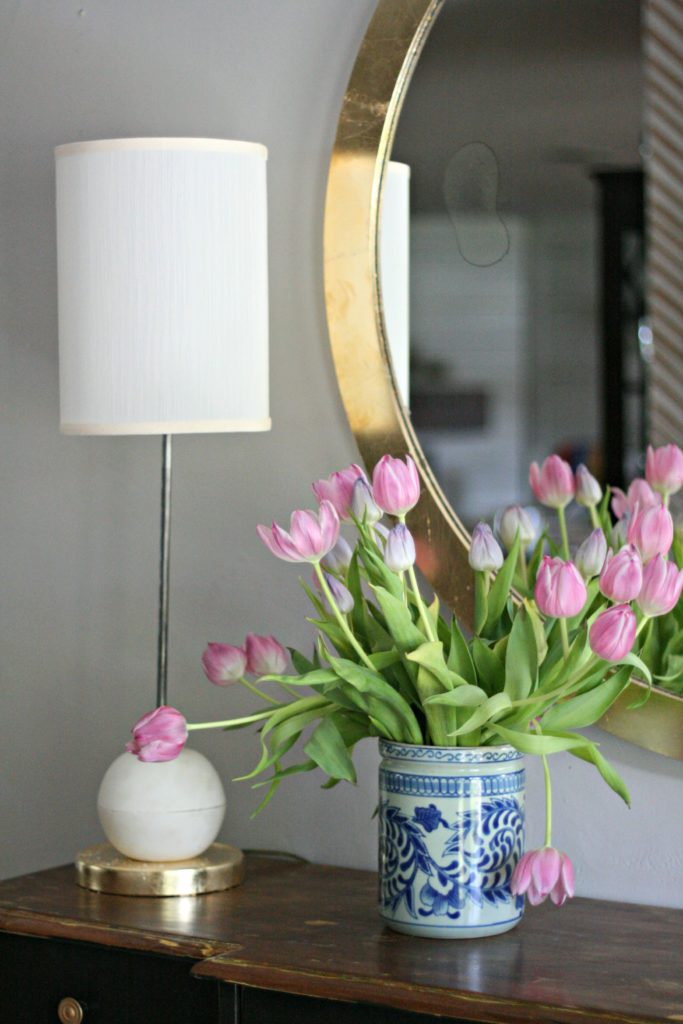
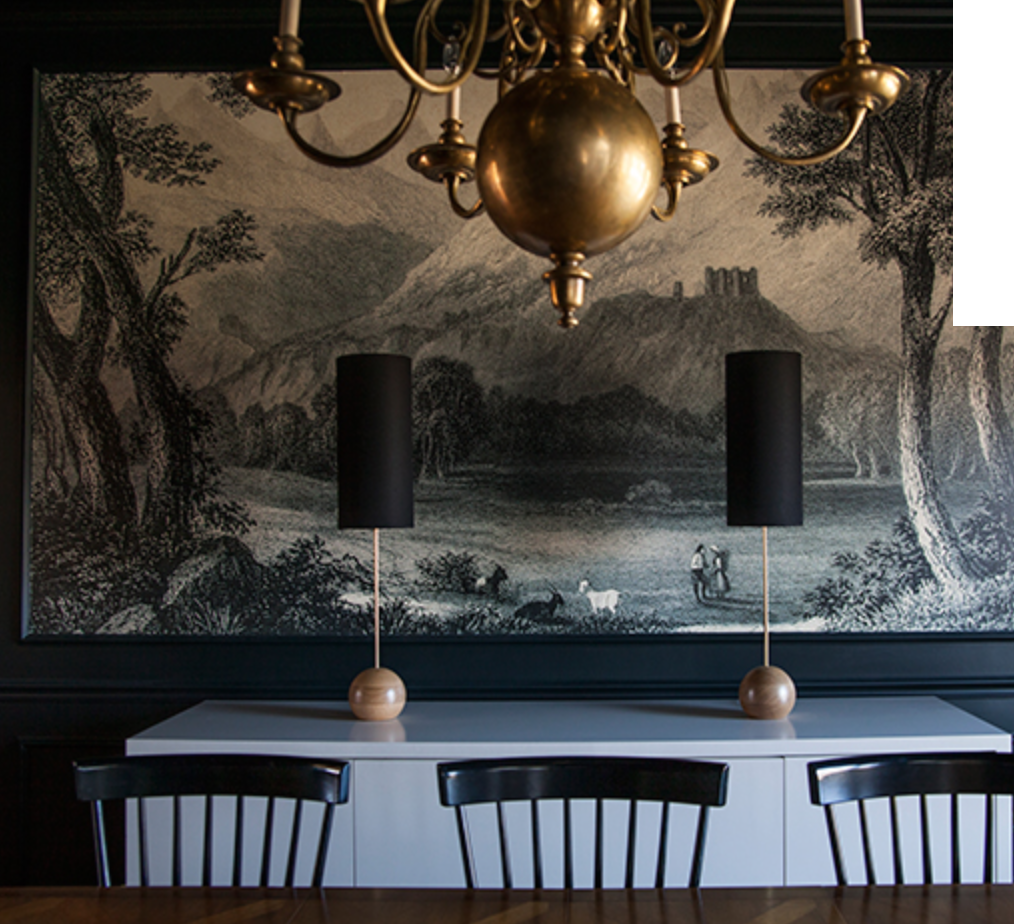
I first came to know these Rejuvenation table lamps when Gwen, the Makerista, one of my favorite bloggers used them in her dining room. It was love at first sight. That shape, and that height…drool worthy. However, the price tag for these babies is just not in my range. So, I started to ponder a DIY. The wood ball shaped base is gorgeous but there’s no way I can make that happen, so I settled on plaster of Paris for the base.
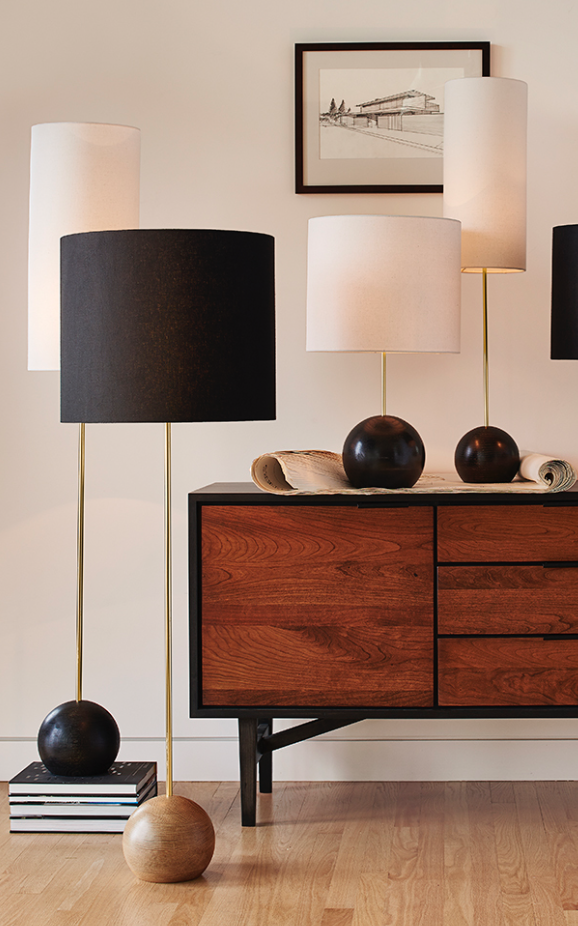
https://www.rejuvenation.com/catalog/collections/stand-table-lamp-6-base
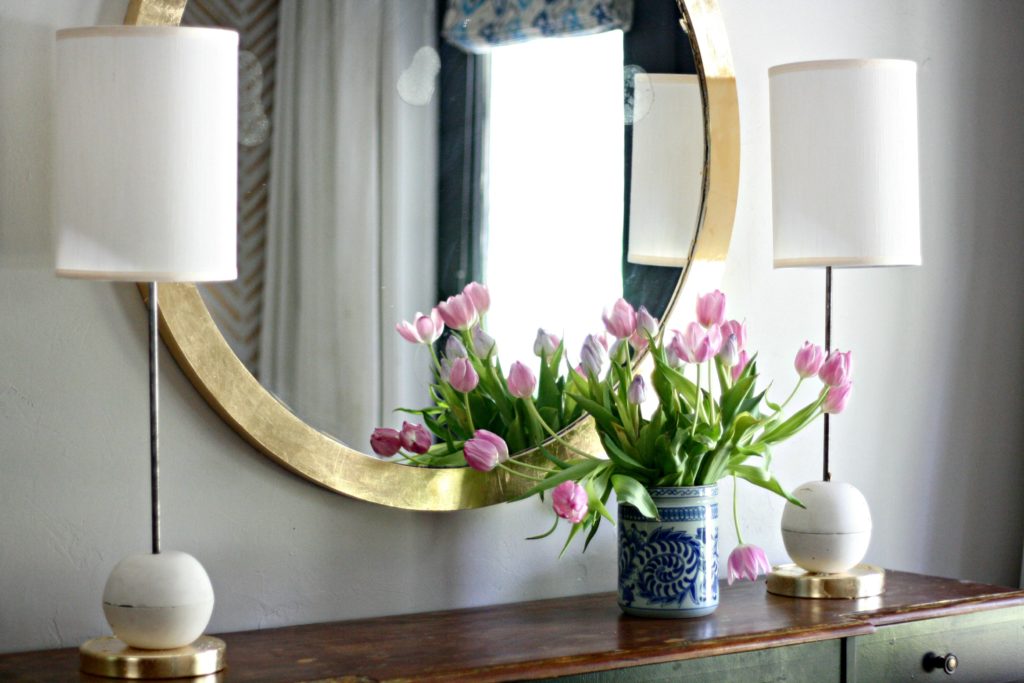 This project started just days before Easter in hopes of having brand new lamps for my family gathering. Per project usual.
My intention was to use bouncy balls as the forms, but when I cut the first one open it totally deflated. I already had the plaster mixed(of course) so I had to give it try anyway. No dice. The bouncy ball did NOT hold any sort of round shape whatsoever, it was an amoeba of plaster. Since plaster of Paris sets up in 30-60 minutes I quickly moved to plan B. I couldn’t let $3 worth of plaster go to waste, so I grabbed two matching bowls(not faves knowing I may have to break them to release the plaster) out of my drawer and squeezed the plaster out of the plastic ball into the bowls. Hence the seam in the center of the base. The plaster set up and I broke the bowls inside a paper grocery bag to get it out. Somehow they match up pretty well.
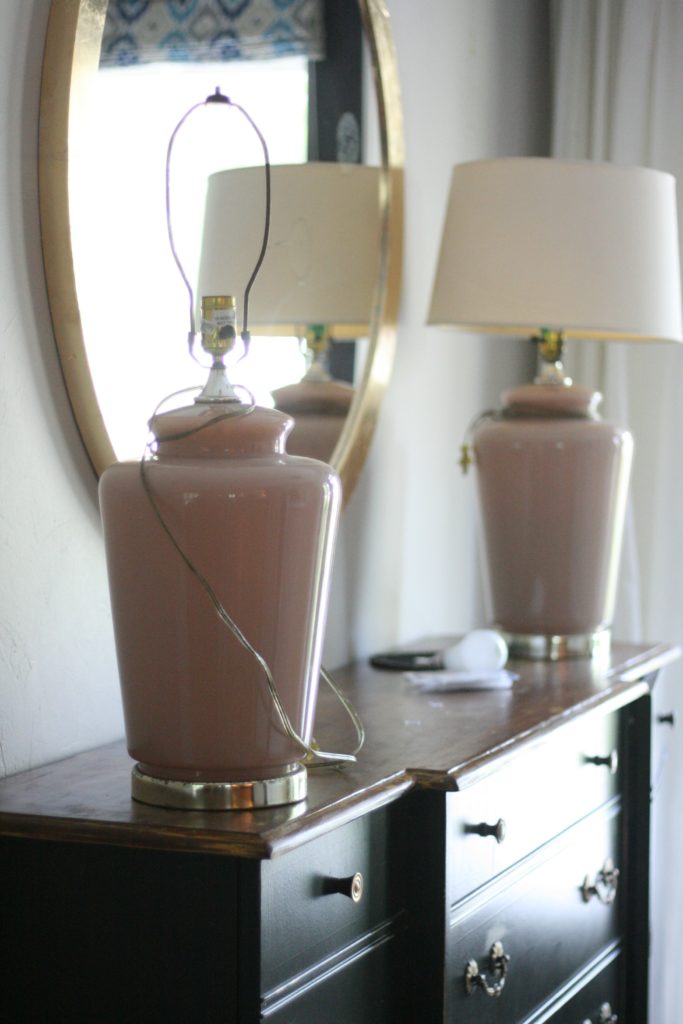 I bought this pair of matching tall lamps to use for parts. The price was reasonable at $10 for both. Way cheaper than buying all the parts separately from the store. Plus, the lamps serve as my template for putting the new lamps back together.
I picked the tallest matching pair I could find. Still not tall enough, so I may buy some new taller stems here.
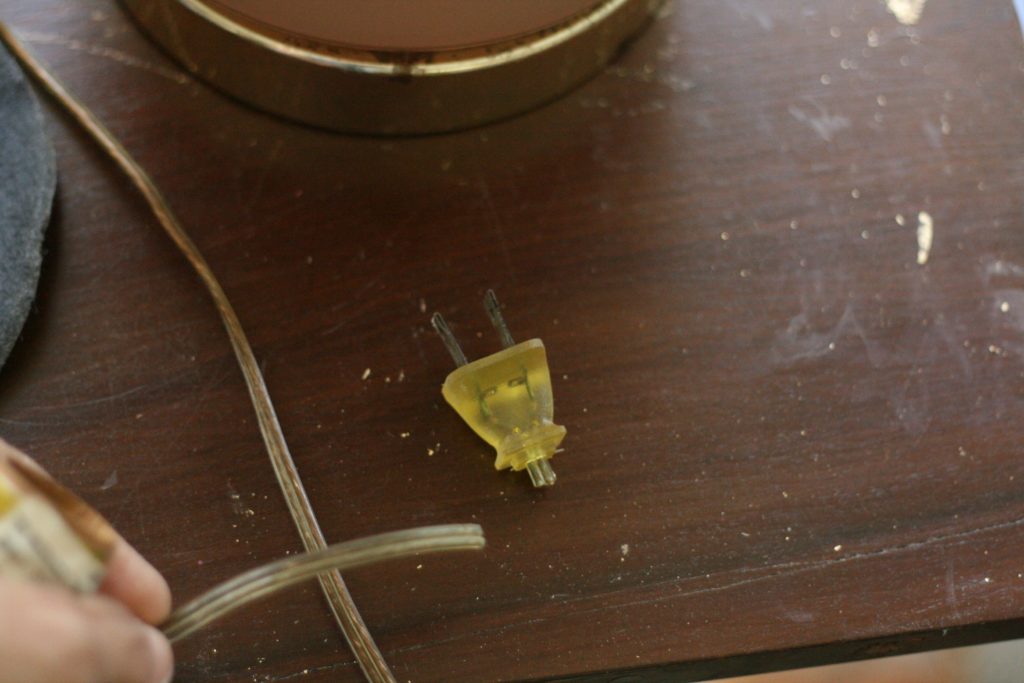 First, I cut the plug off the cord to disassemble the lamp.
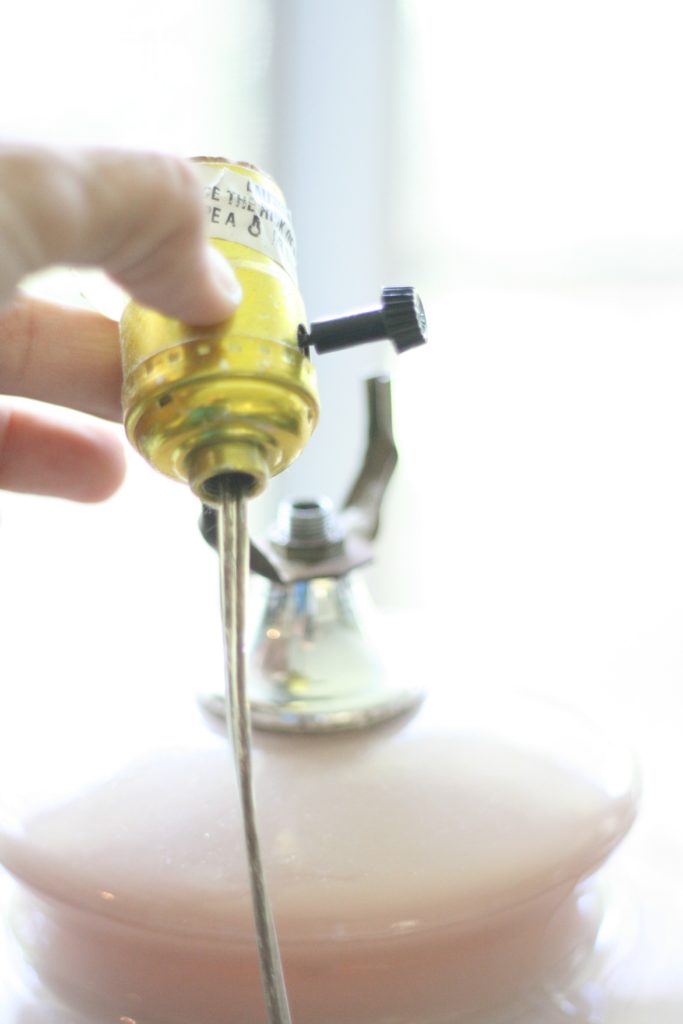 I unscrewed all the parts from the lamp stem. There’s really only three parts, the bulb holder(socket), the harp holder, and the base, with a couple nuts and washers in between. Pretty simple.
Then I pulled the lamp cord out of the lamp stem.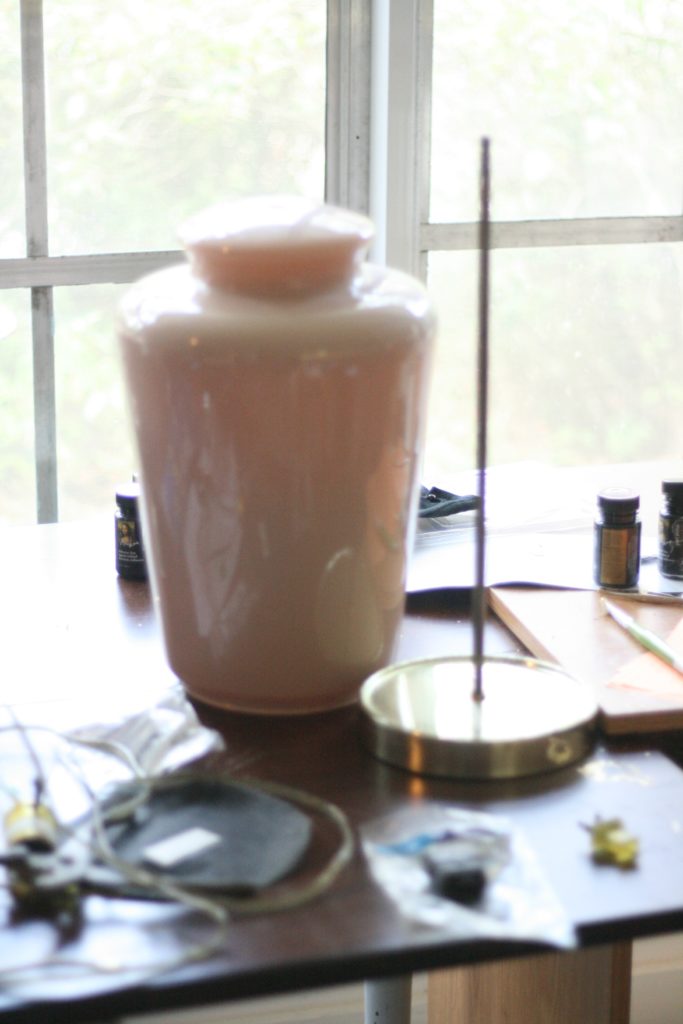
You’ll be left with the base and stem.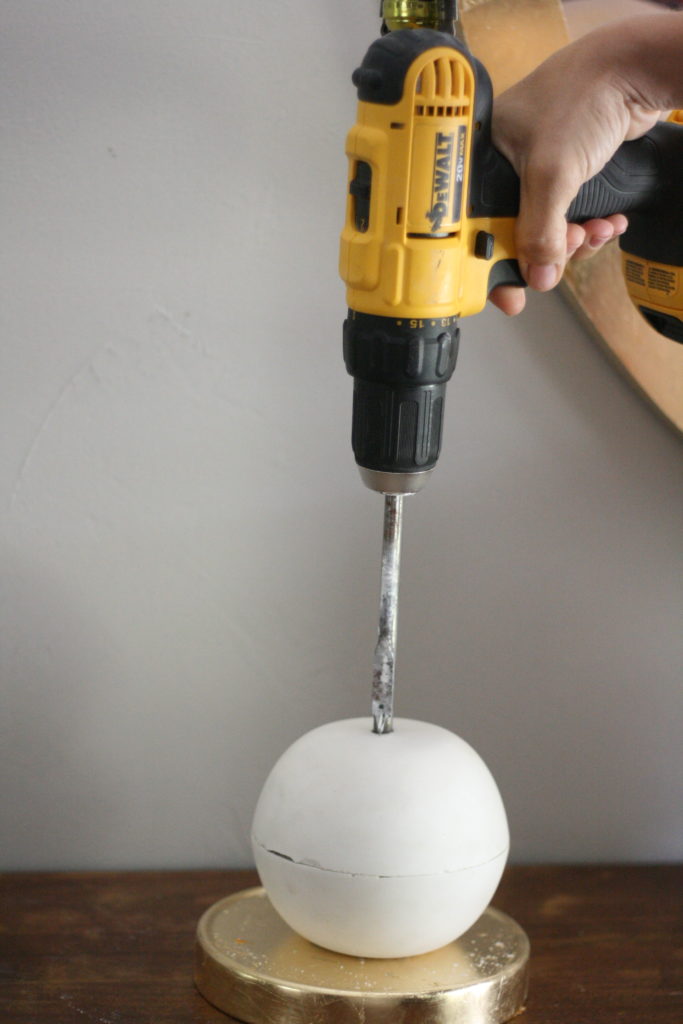
Time to reassemble the lamp. Drill a hole all the way through the two half circles.
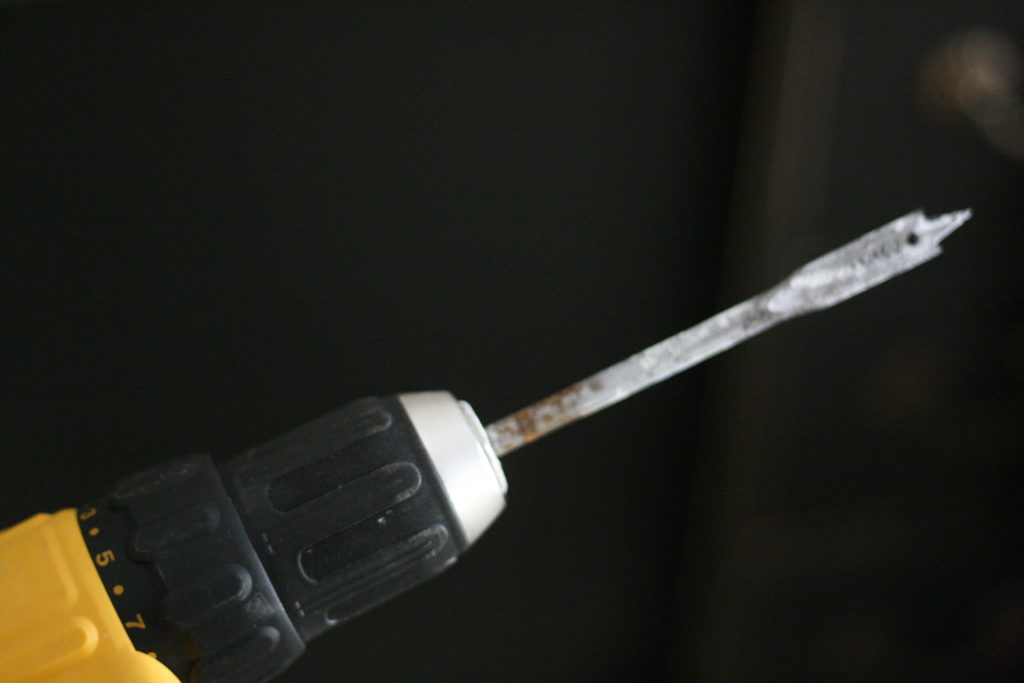 Use a spade bit the same size as the lamp stem. Or a forstner bit works as well, I used a forstner on my first lamp, but found the spade bit was a bit faster and smoked less.
Sidenote: a drill press would be ideal for this part because its imperative that the drill is plumb(completely straight vertically)when drilling into the plaster or the lamp stem will stand up crooked(like mine). It’s easier said than done…
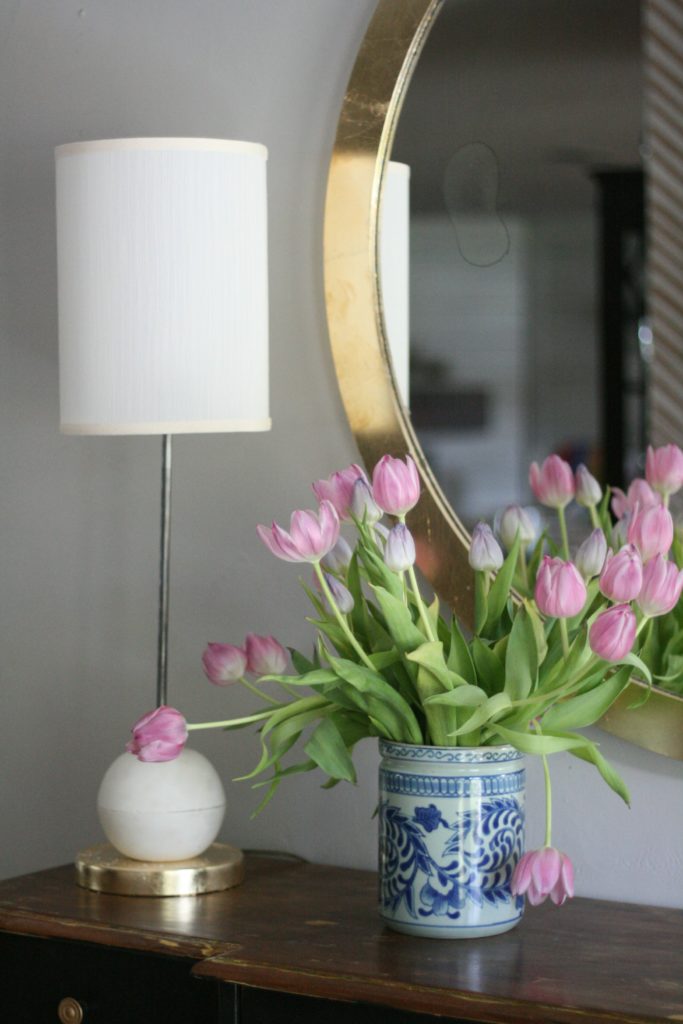
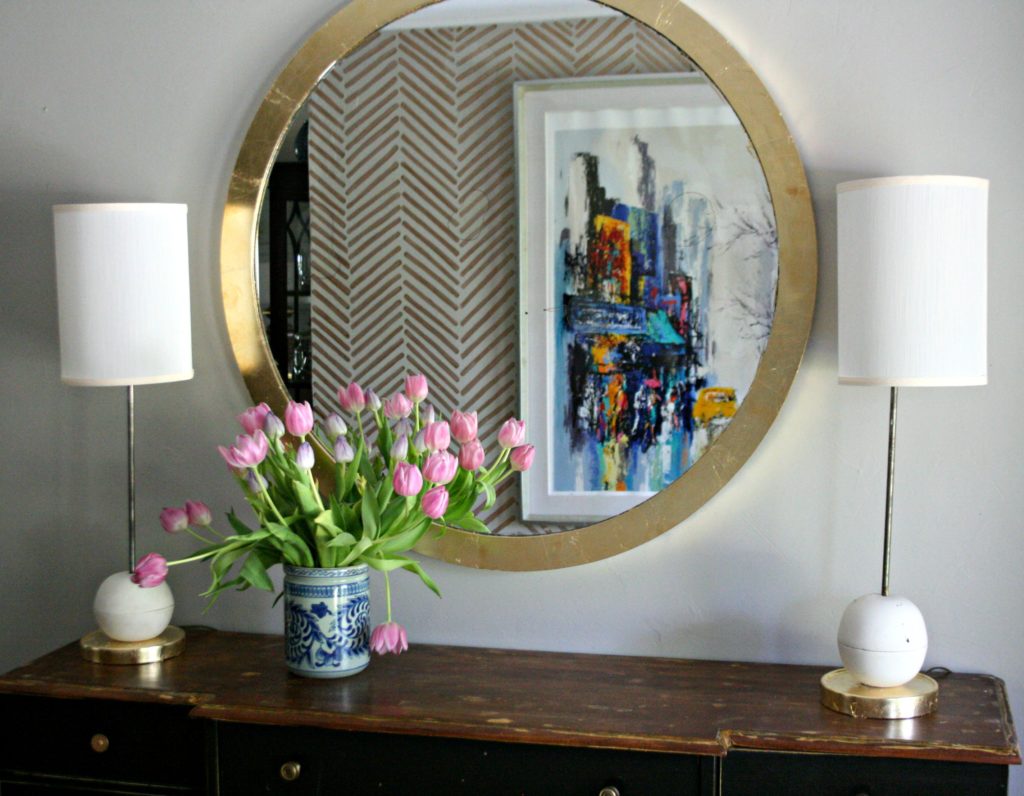 Since I had to dump the plaster out of the deflated balls on the fly, I grabbed two of the roundest bowls I had. The problem is I only had two, so I went to the dollar tree and picked up two more bowls in the closest size I could find. Obviously not exact.
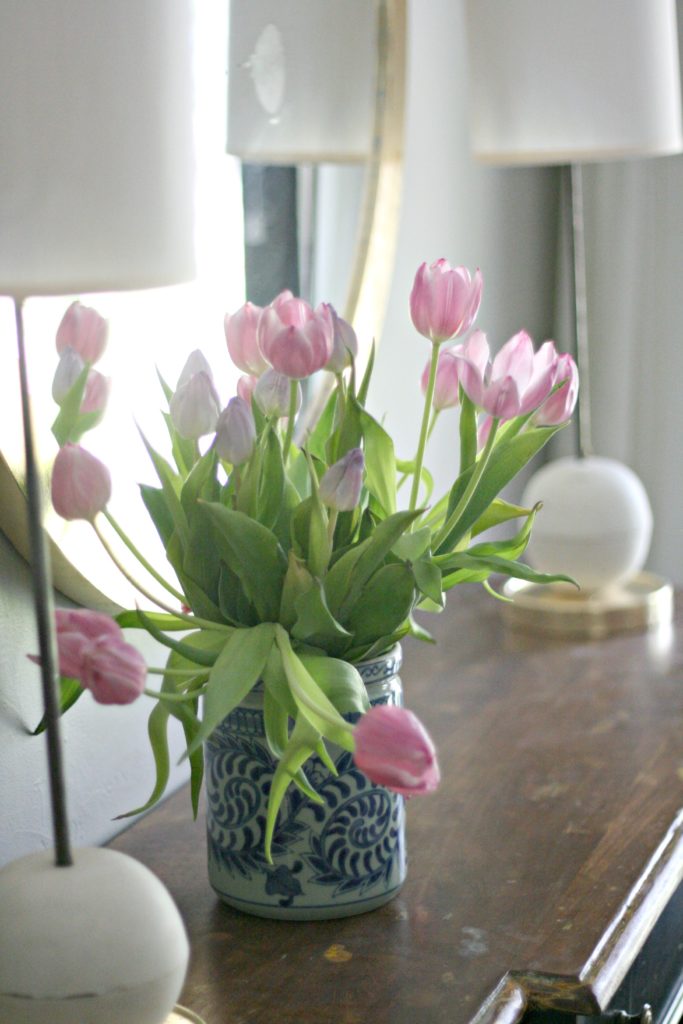
 I love the look of the lamps but they’re far from perfect. I’m gonna try this again but with something other than two bowls to make the base. Maybe I’ll try a pair small fish bowls and I’m thinking I may buy some taller stems(depending upon the price). And… I think I want black shades. We’ll see…unless I get started on the re-do right away it may never happen.
There you have it….a dry run on my DIY Rejuvenation lamp knockoff. Now I’m off to Michaels Crafts to see if I can buy a breakabley throw-away price fish bowl for my next try.
I’ll update you on the re-do soon I hope….
Mimz

 Karla Ireland says
April 20, 2017 at 8:56 pmJust beautiful! I’ll have to try it. I have a few lamps that need help!
 mimzylombardo@gmail.com says
April 21, 2017 at 9:07 amDo it! This project was a lot easier and faster than I expected….which is unusual for any project. Thanks!
 Katrina Michael says
April 20, 2017 at 5:36 pmAlways amazed at your creativity and ingenuity!
 mimzylombardo@gmail.com says
April 20, 2017 at 5:57 pmthanks Katrina!!!