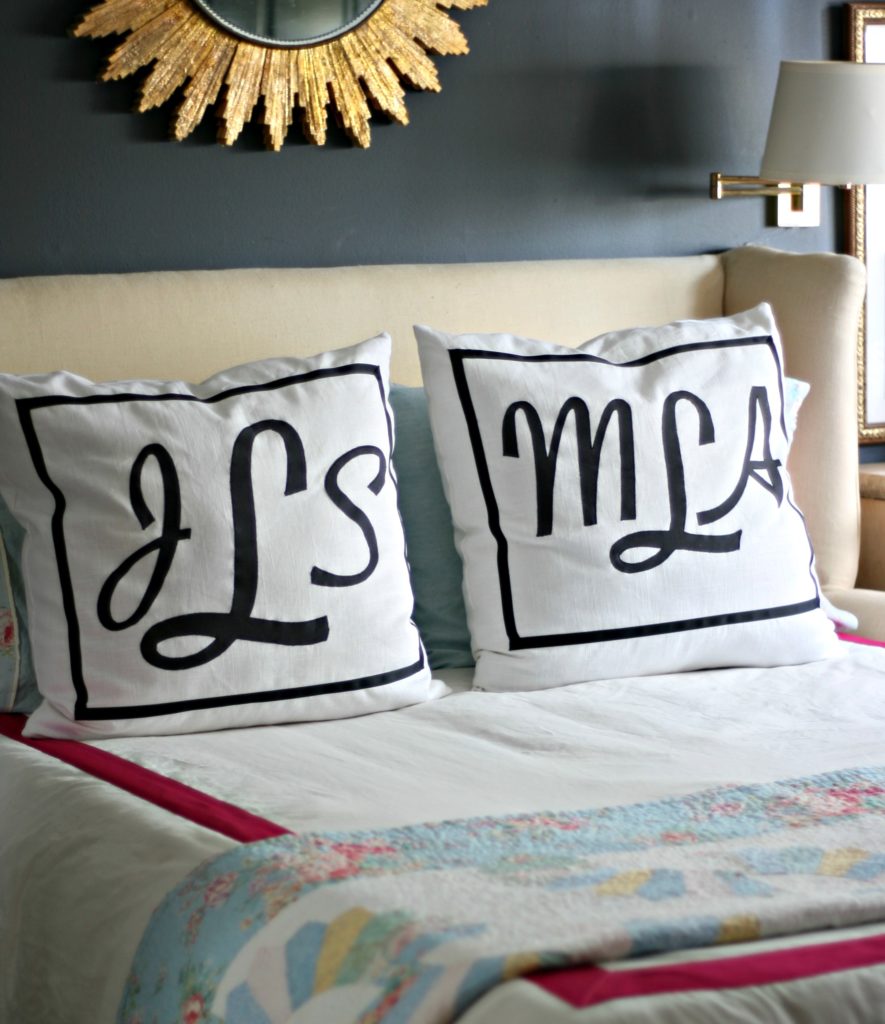
 I love a good preppy monogram in the right setting. They’re so traditional and can really personalize a space. On Instagram, I came across a monogram pillow made by a fellow seamstress and it inspired me to try my hand at appliqué.
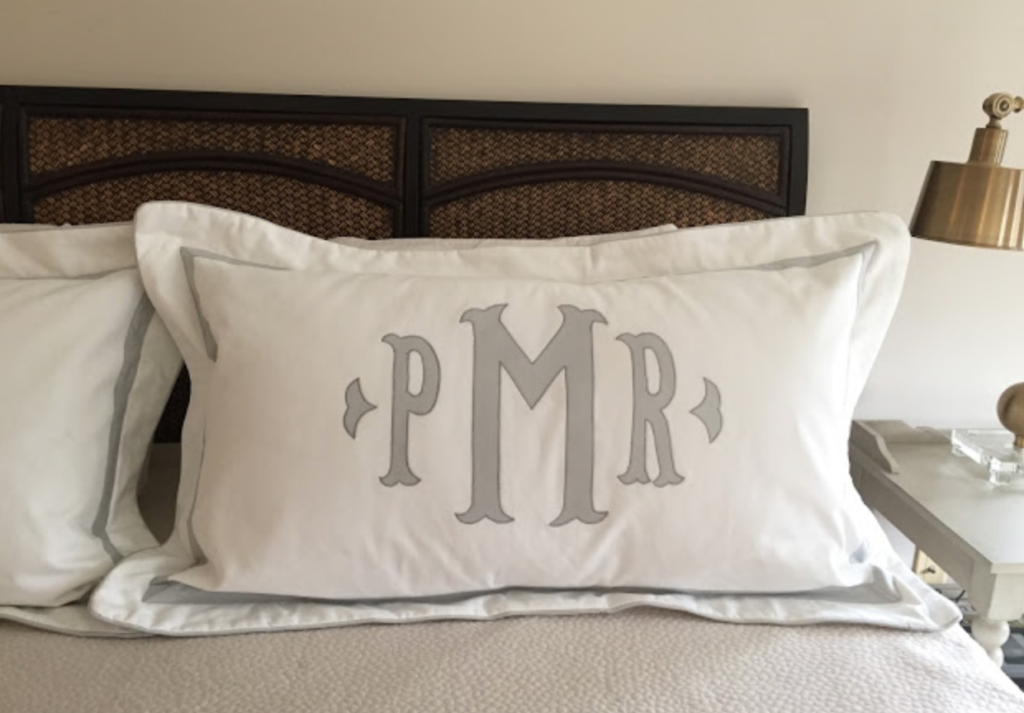
http://pammorrissews.blogspot.com/2017/01/applique-monogrammed-shams.html
This is a project I wish I wasn’t in such big hurry to finish. I went to the fabric store not sure if my pillows should be high contrast black and white or if they should be more tone on tone. My bedroom paint is a dark color and my duvet cover has hot pink trim so I decided to go high contrast so they wouldn’t fade away in all the surrounding color. Now I’m starting to feel like I should scrap everything in the room and start over. Maybe when I do the floors. Which will hopefully be soon.
Anyway…I’m not thrilled with the results. I should have made the lettering more script-y and smaller and maybe in a traditional circular shape. I think I was subconsciously trying to make them less traditional. Also, the lettering fabric is dark grey and I kinda wish I selected a lighter grey because this definitely reads black. For now they’ll suffice. Maybe they’ll grow on me.
The process is pretty simple and I’ll share few little things I learned in case you want to make anything monogrammed with an appliqué.

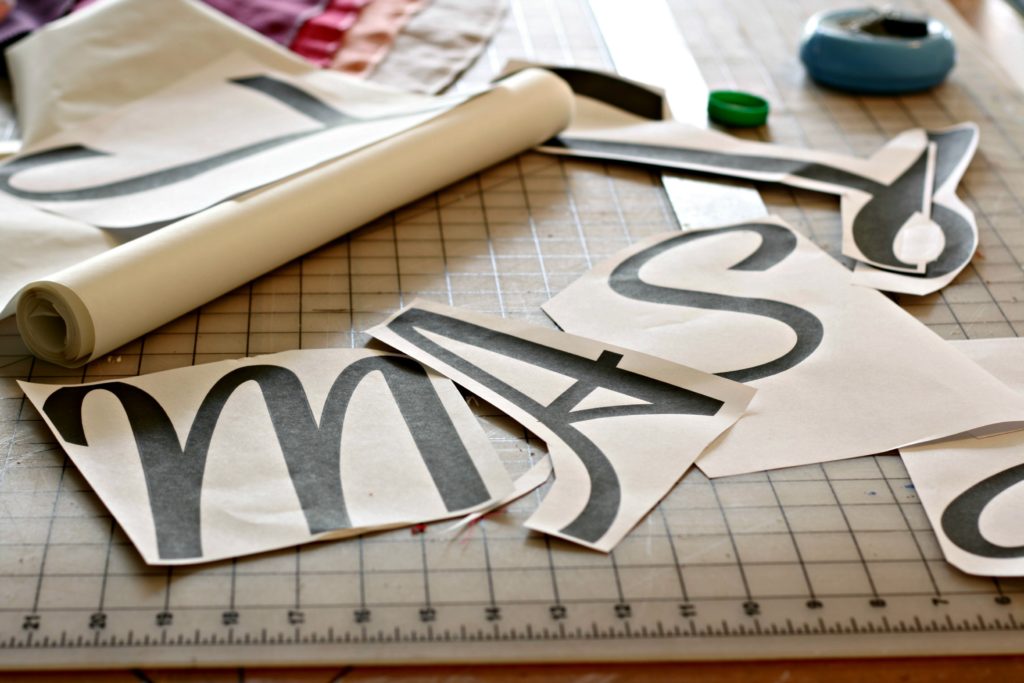
First, I print the lettering in my desired font and style/shape.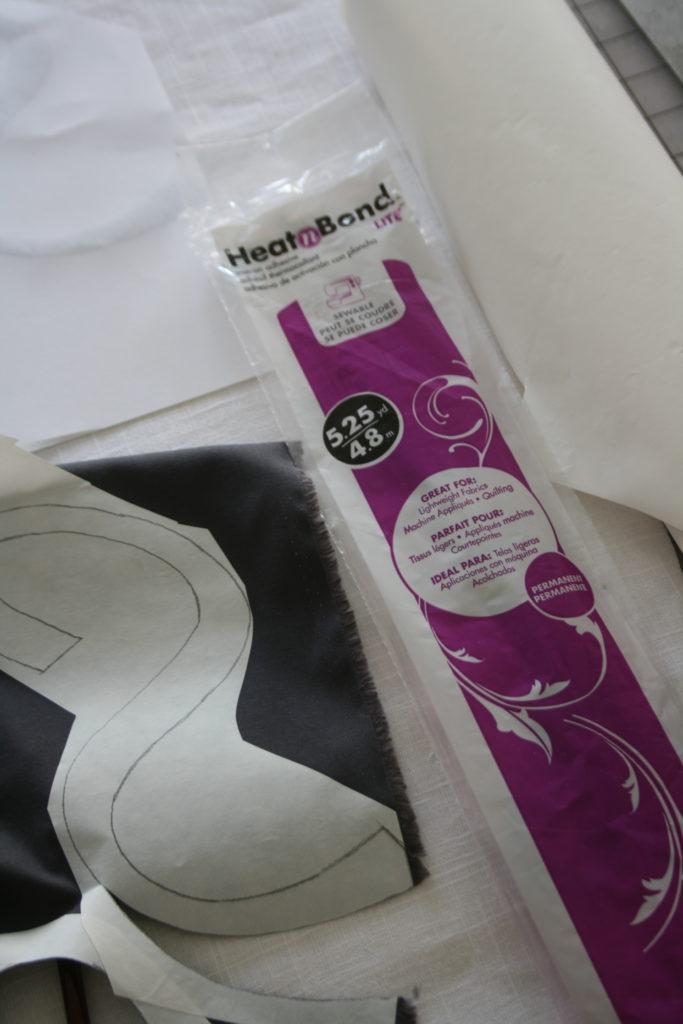 Next, grab some heat and bond and cut out a piece slightly bigger than your letter. Heat and bond is a heat activated adhesive that adheres two pieces of fabric together with heat.
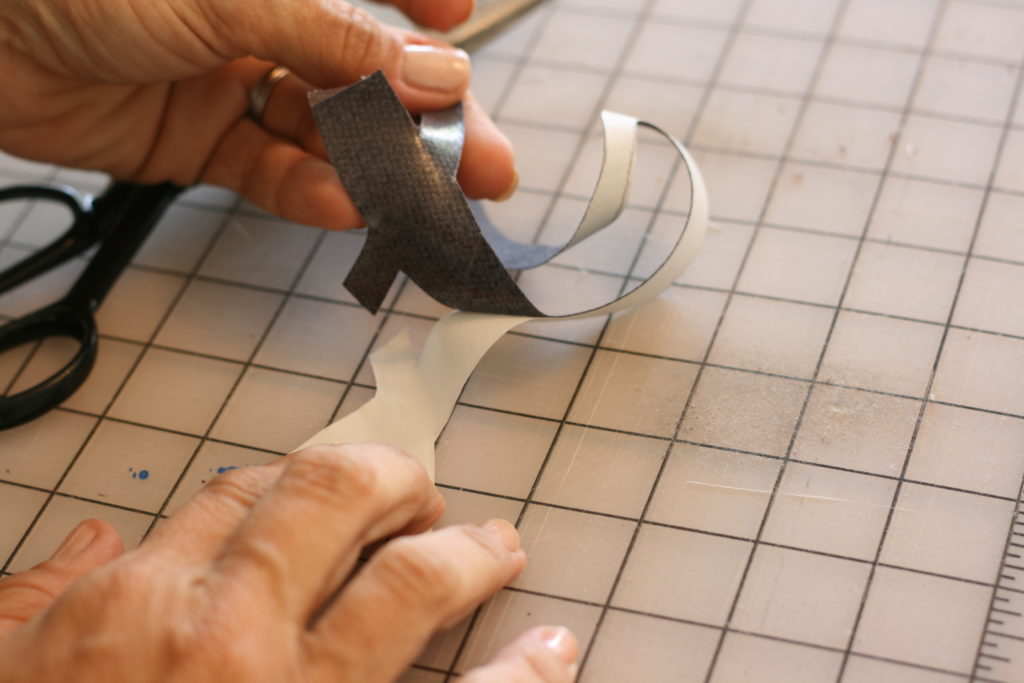
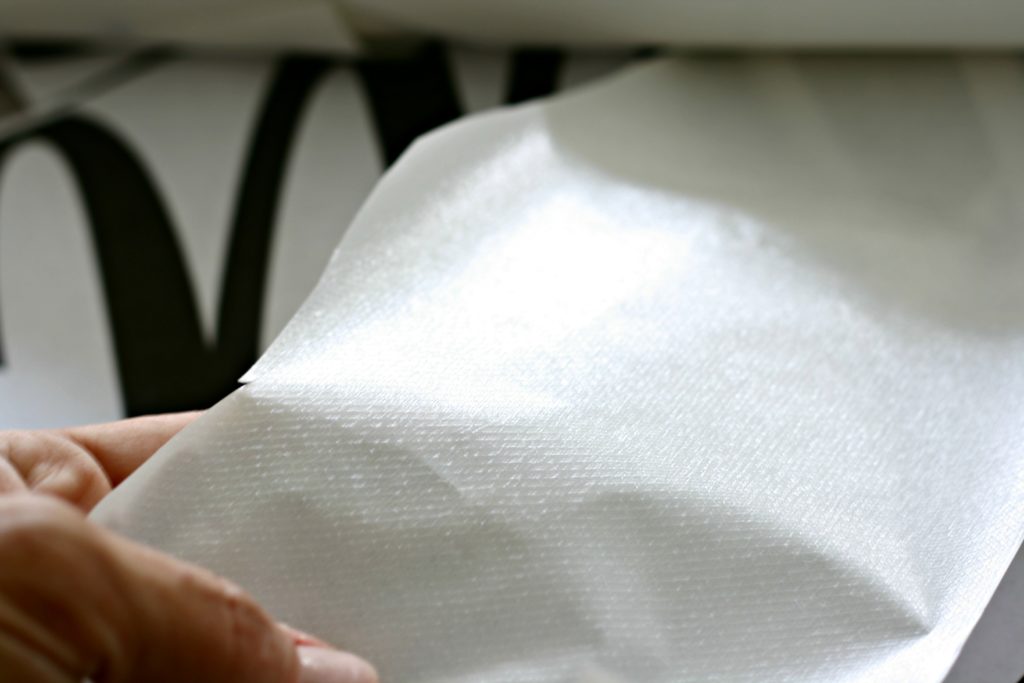 Transfer the letters to the heat and bond. The picture above is the back side(textured) of the heat and bond. Adhere this side to the appliqué fabric(letters). That means when you trace the letter, or any design, onto the heat and bond the letter needs to be backwards(like the picture of me below). This way when you flip the letter over to adhere it to the background it’s facing forward. If you use a symmetrical design it doesn’t matter which way the design is facing when you trace it onto the heat and bond.
 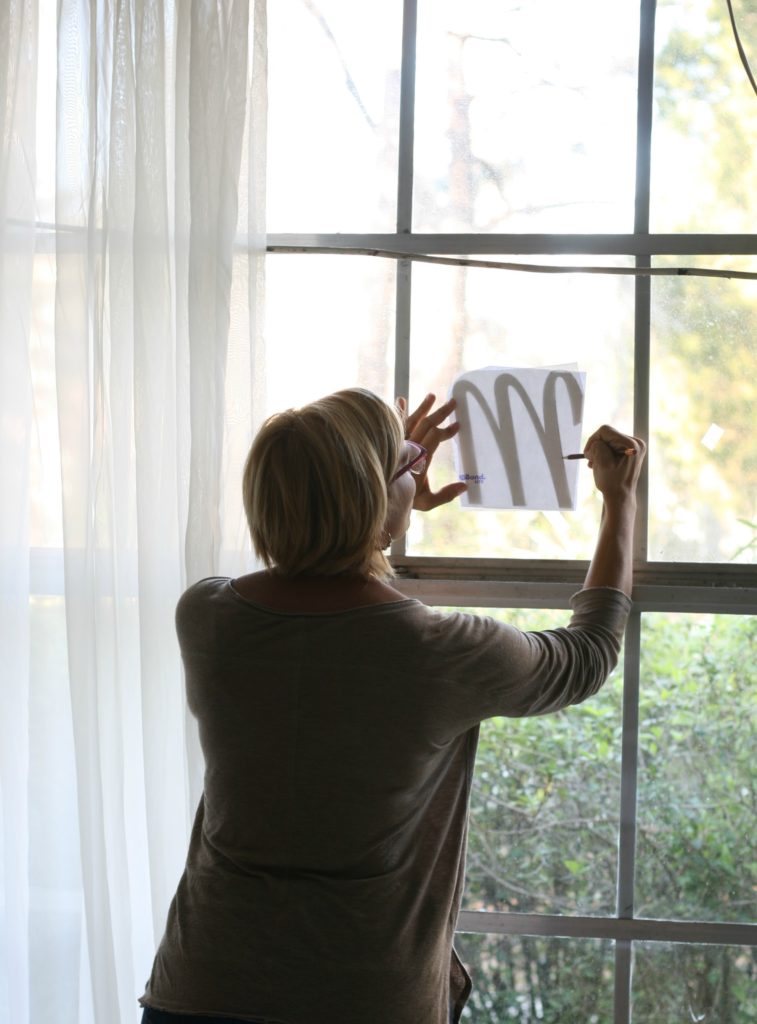 I trace onto the smooth side, the textured side is facing the letter. Notice the letter is backward. Like me, you’ll probably have to do it wrong a couple times before it sinks in.
Then you press the heat and bond to the fabric for about 2 seconds.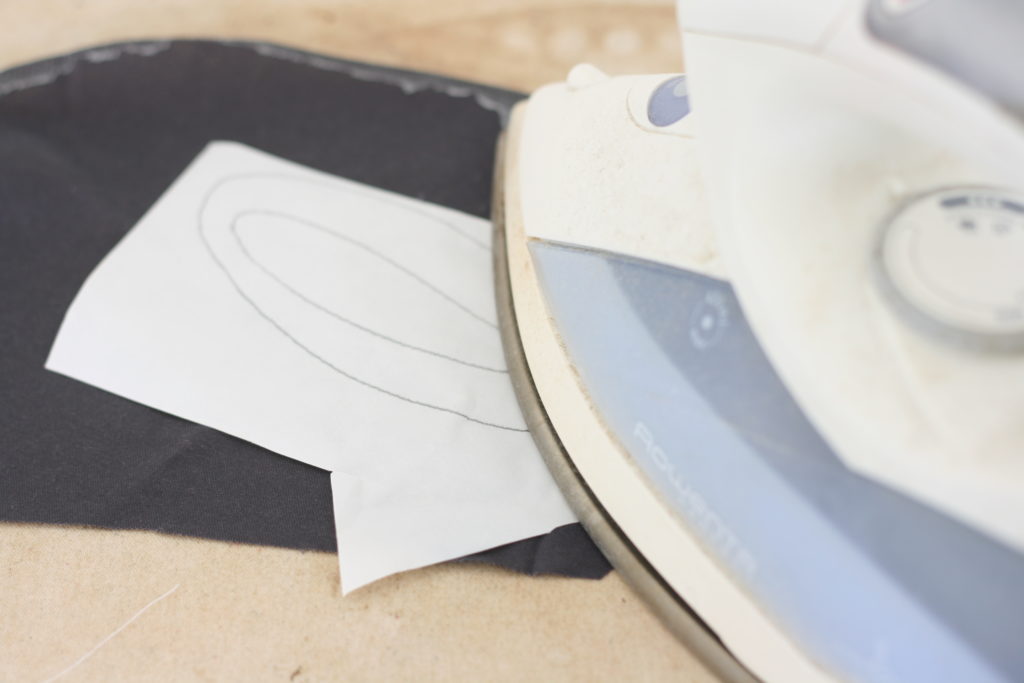
Once it’s cooled off, cut out the letter.
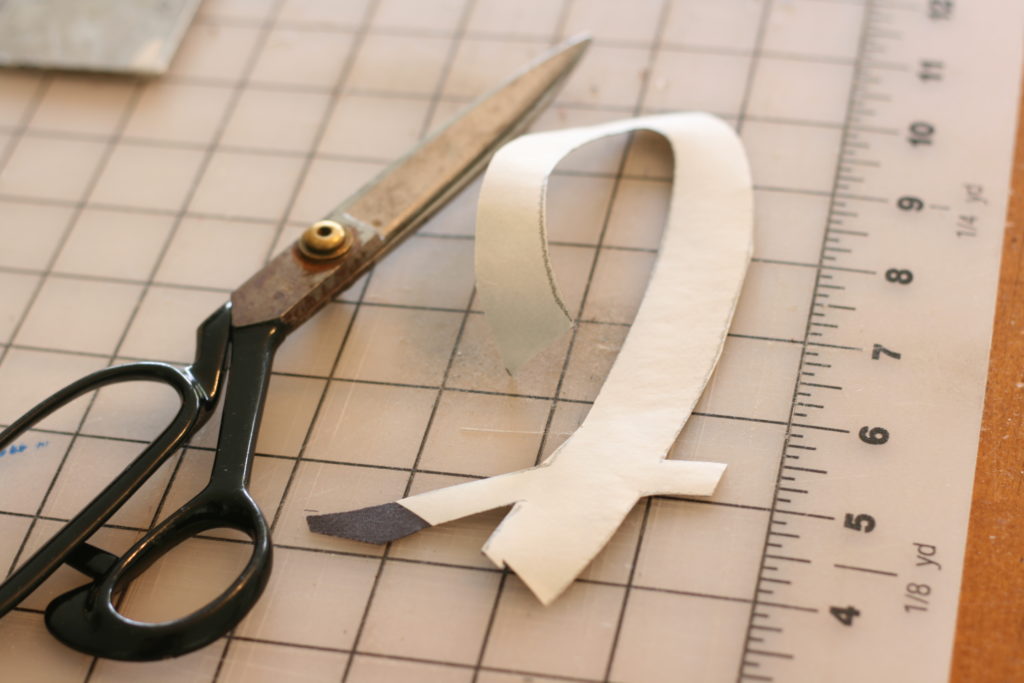 Separate the heat and bond paper from the fabric letter.
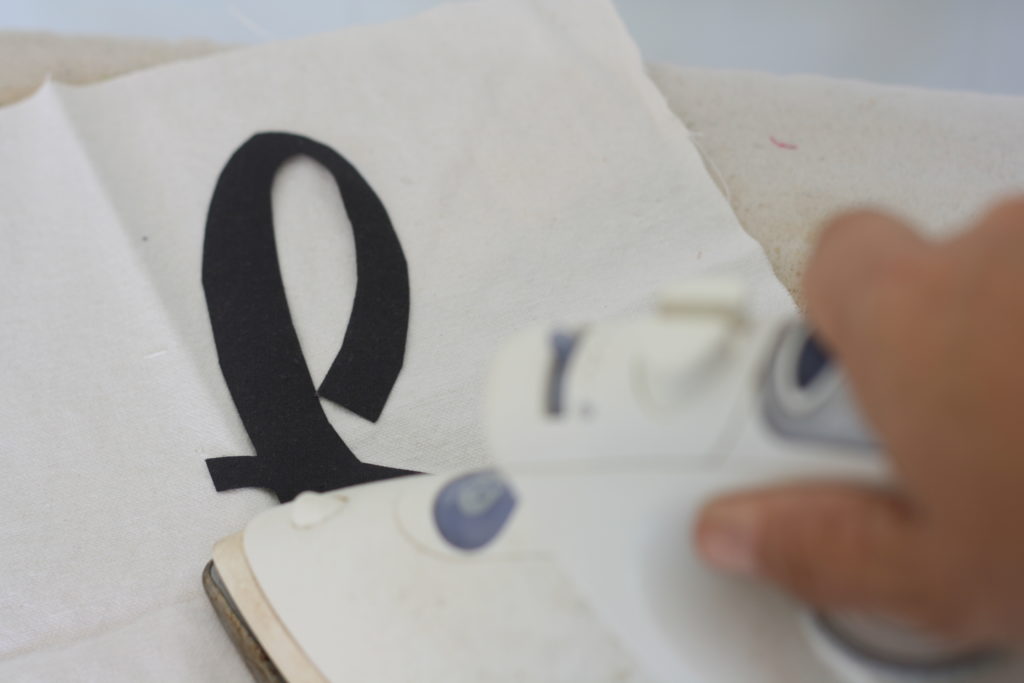
 Finally, press the letter onto the background fabric.
 Then the finishing touch to the appliqué is the satin stitch that holds the letter to the background fabric. The heat and bond is just to keep the design from shifting while you stitch around it.
You could skip the stitching around and just use the heat and bond to adhere the monogram, but you’ll need to use the heat and bond ultra rather than lite. It’ll stick better and longer. 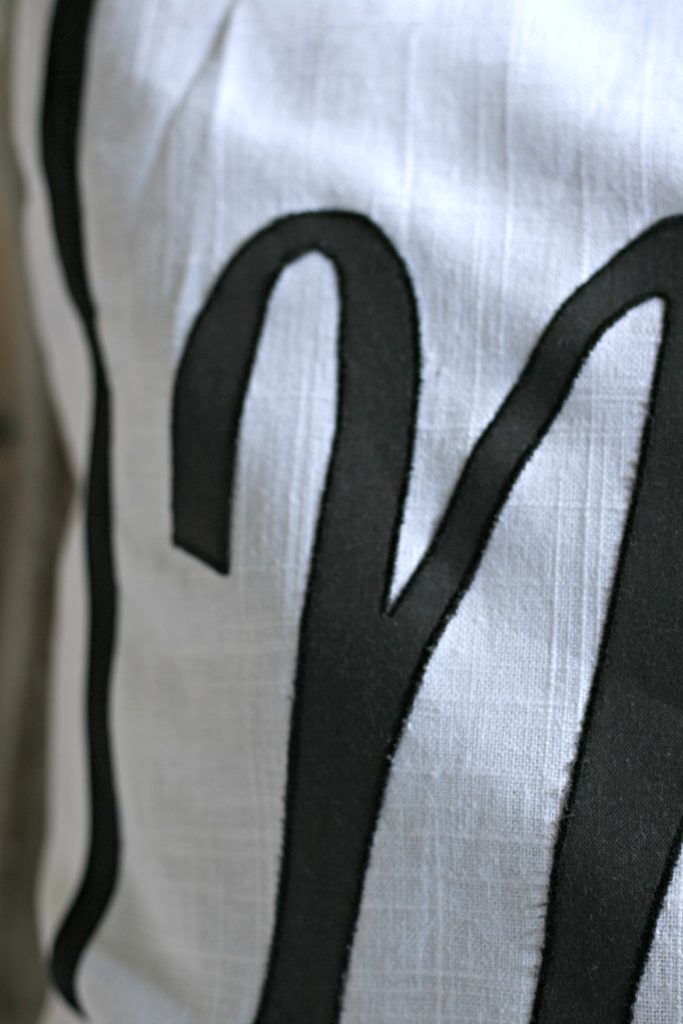 I use a preprogrammed satin stitch on my sewing machine. The following video is a quick tip.
NEAT SATIN STITCH VIDEO
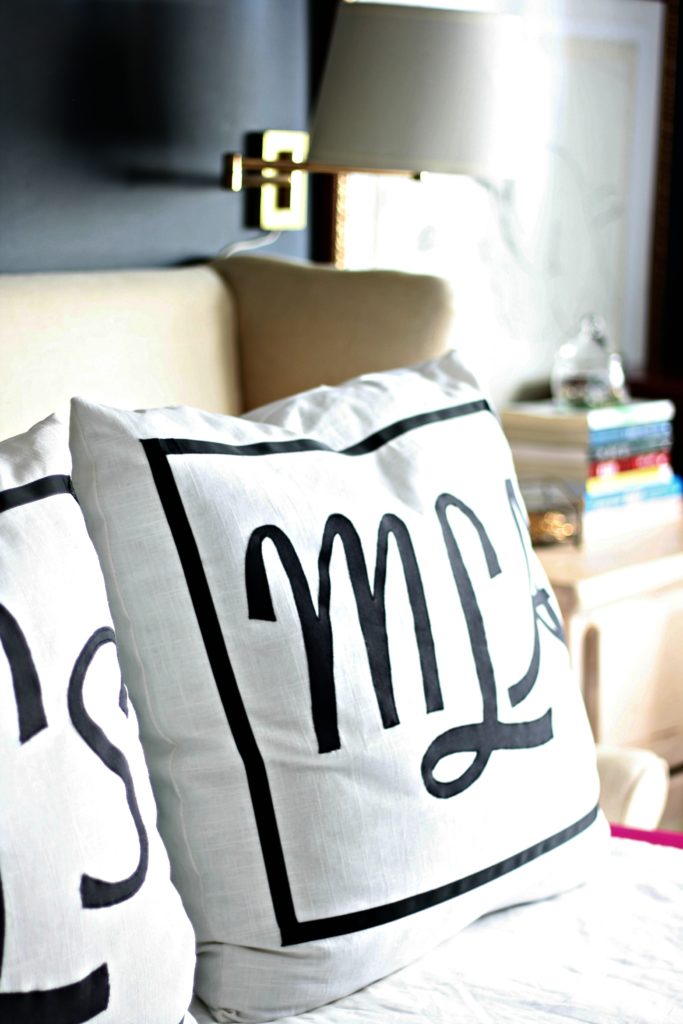
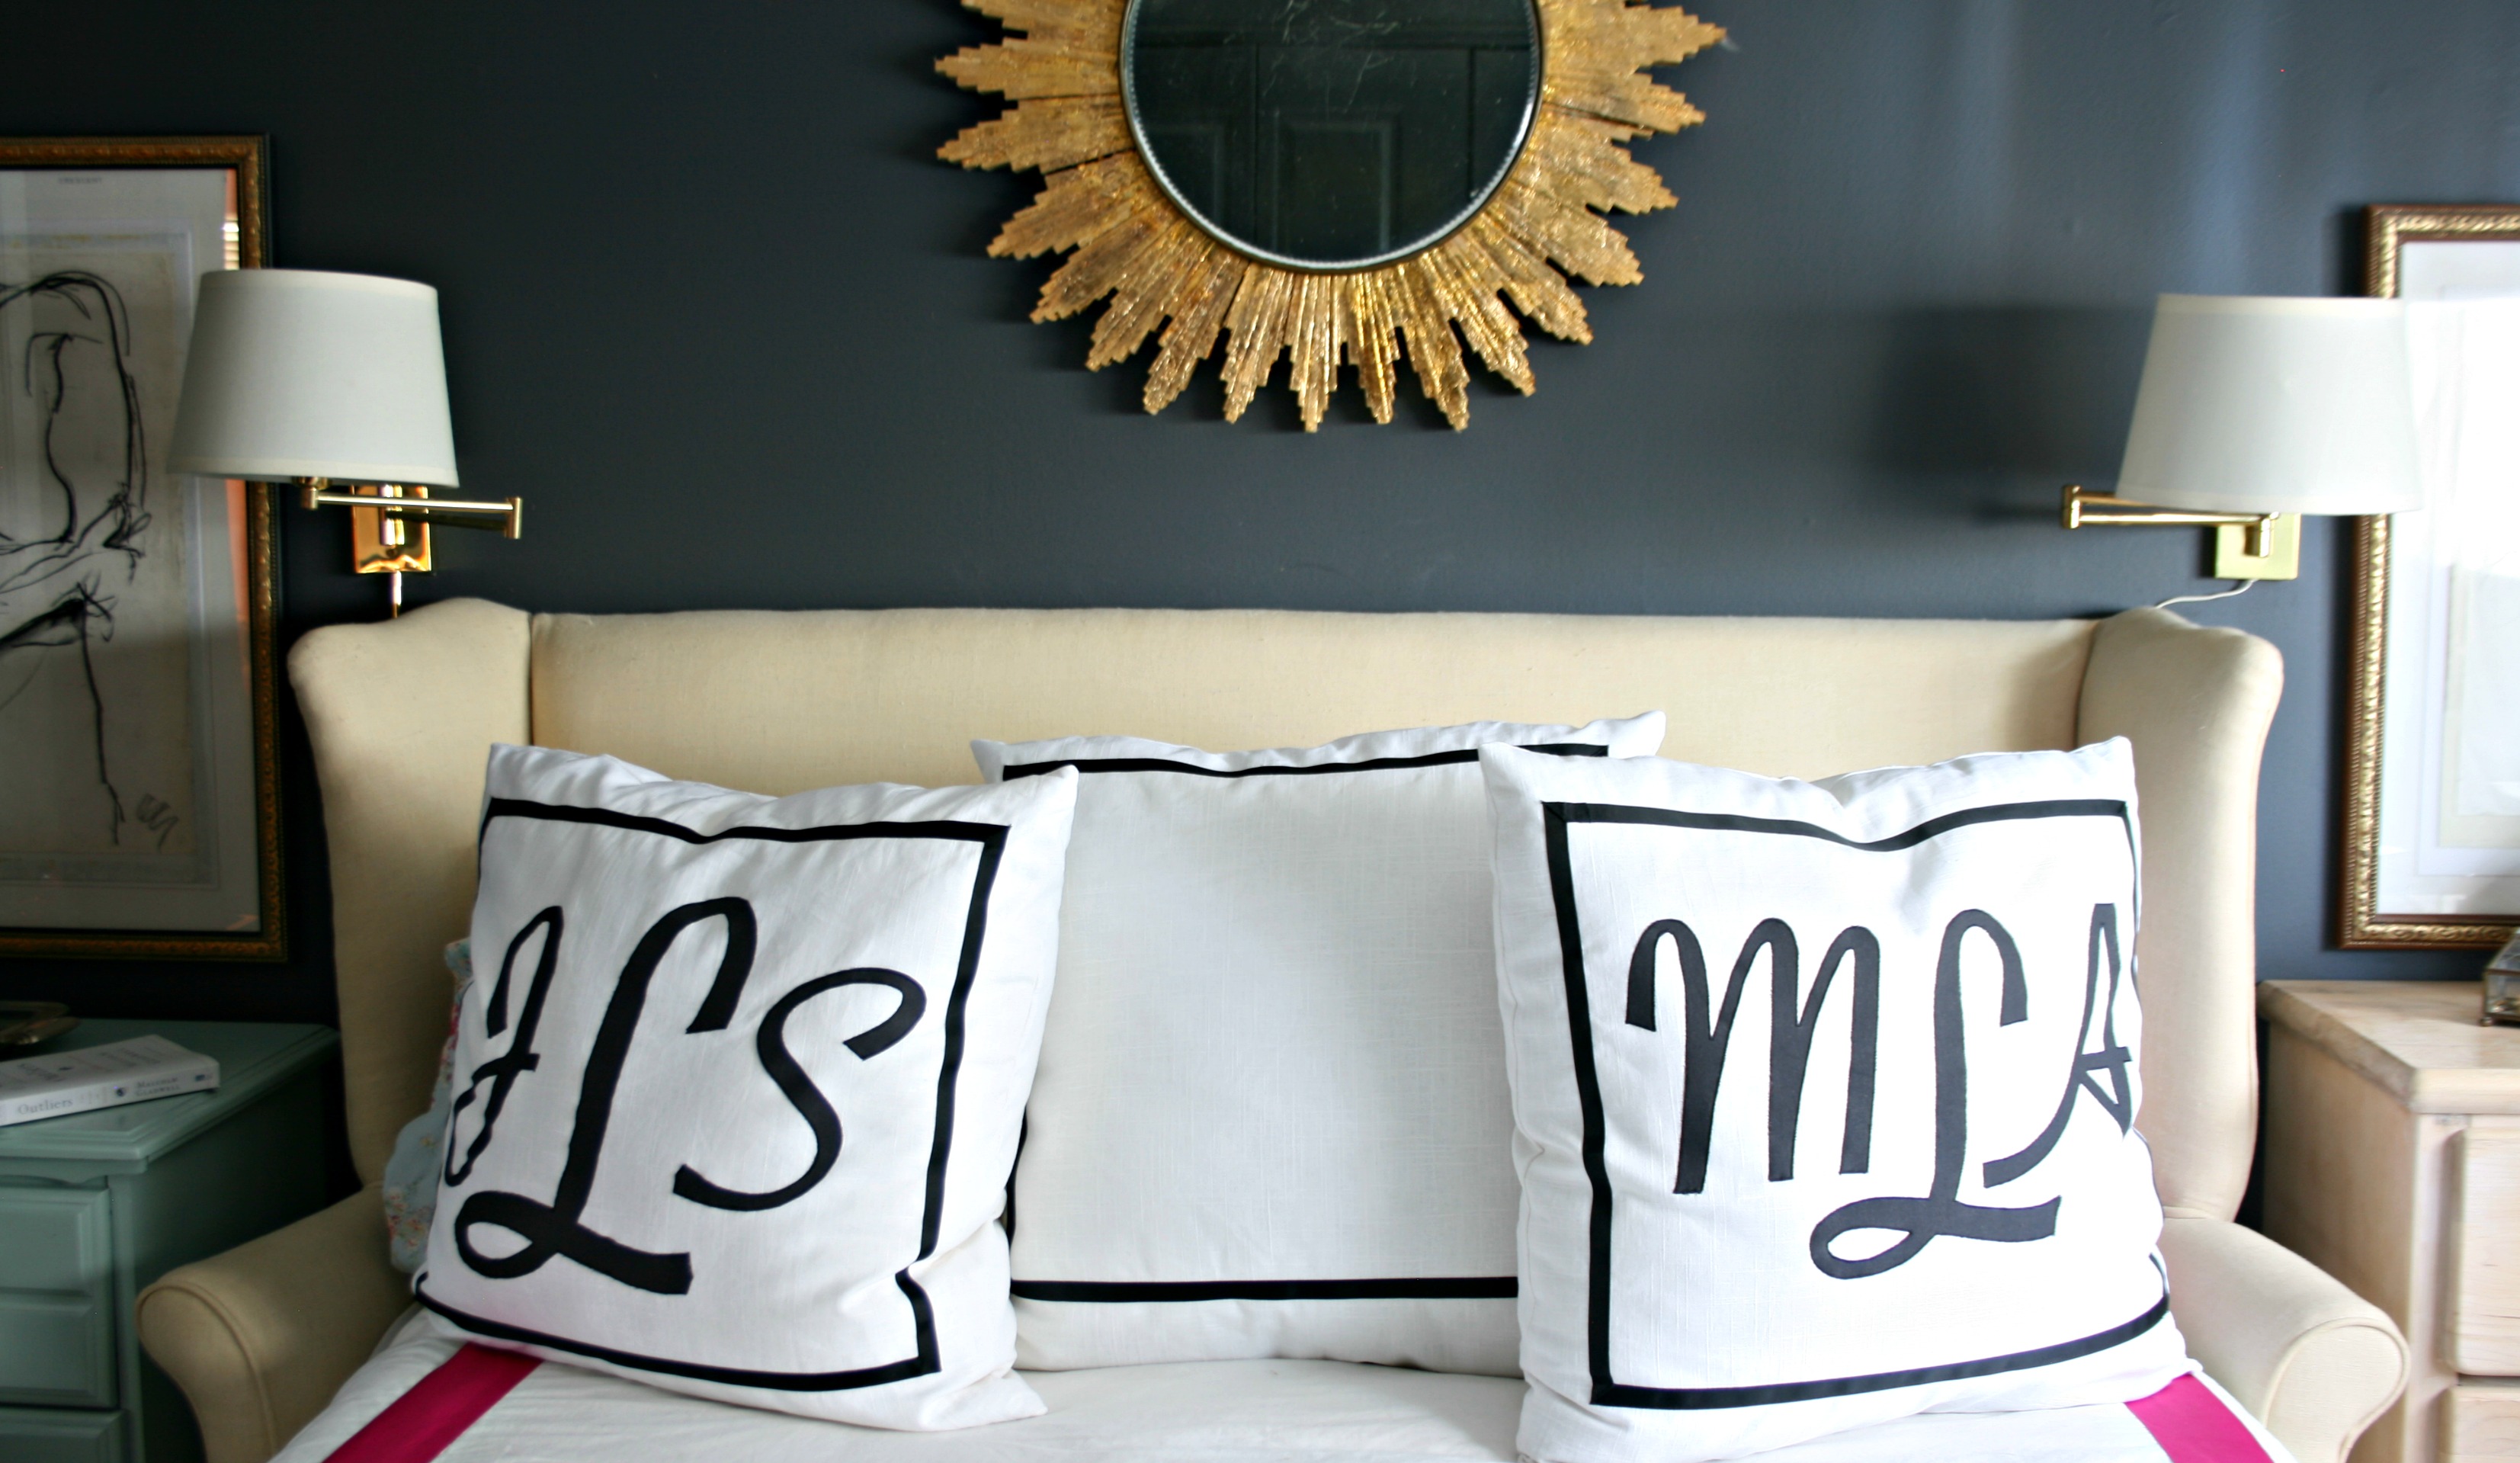
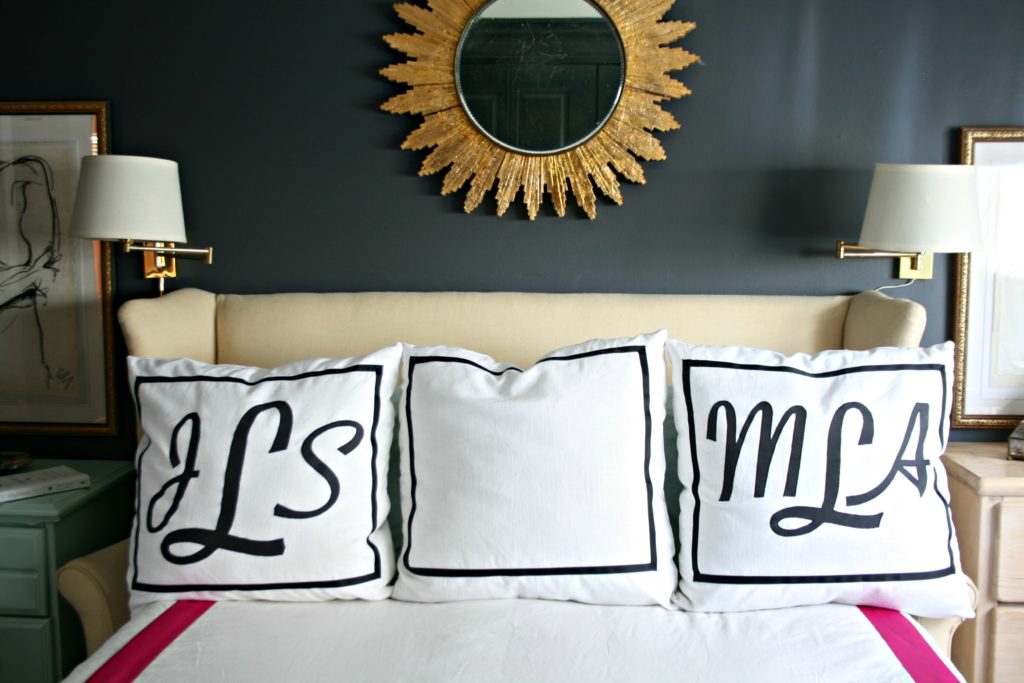
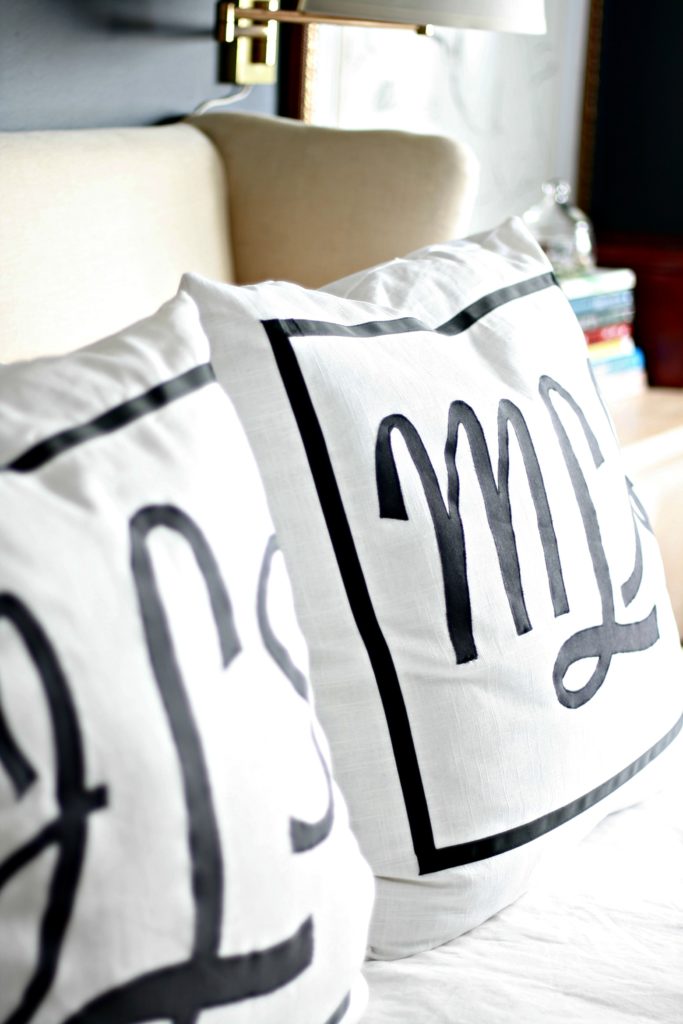
I made three pillows, but it turns out they don’t fit straight across my bed like I hoped. So, I may overlap them or just use the two monogrammed pillows and use the plain pillow on my bedside chair.
I will definitely do this project again. Both my girls want a custom monogrammed pillow now, so that’ll be included in their bedroom re-do eventually.
Does anyone else ever get less than stellar results on projects? Or am I just tired of looking at these pillows after working on them for so long?

[…] heat and bond method that I’ve used so many times to stick the animals to the pillow. This monogram pillow tutorial is the most detailed heat n bond method. Check out the post if you want to […]